
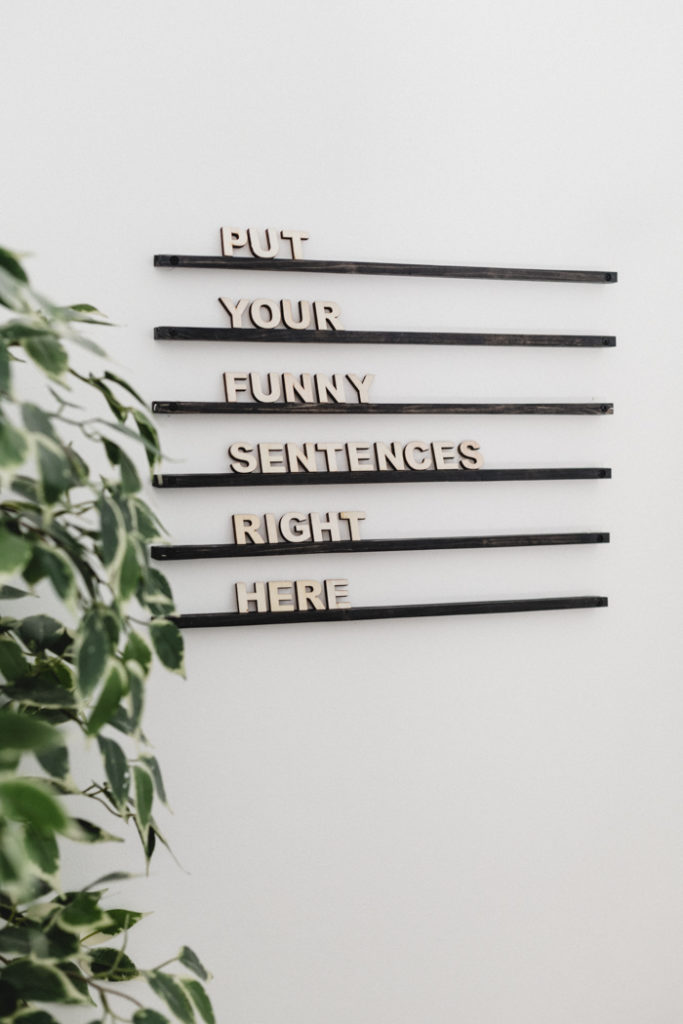
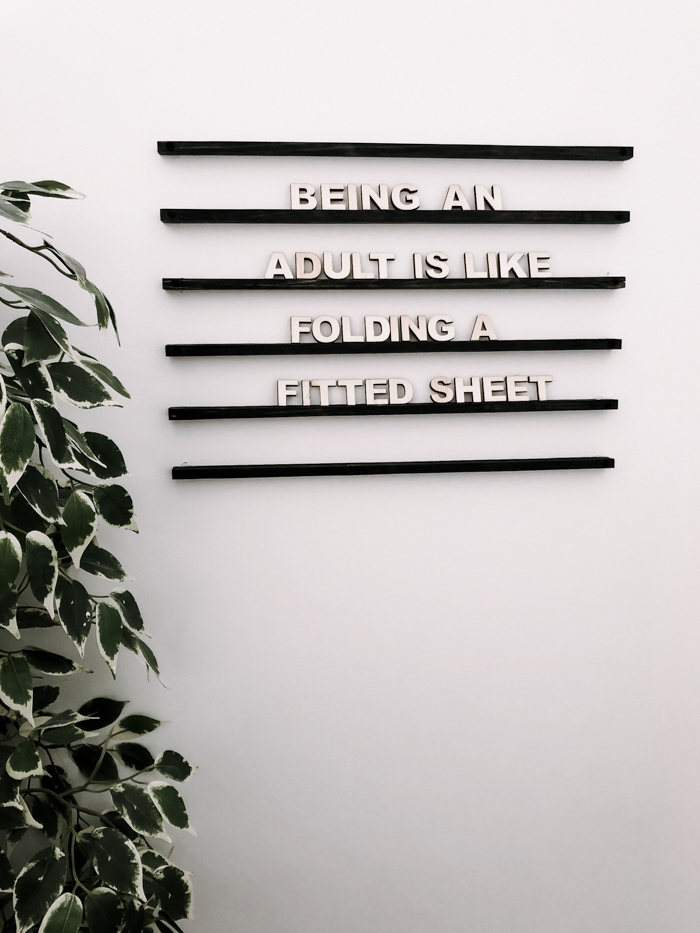
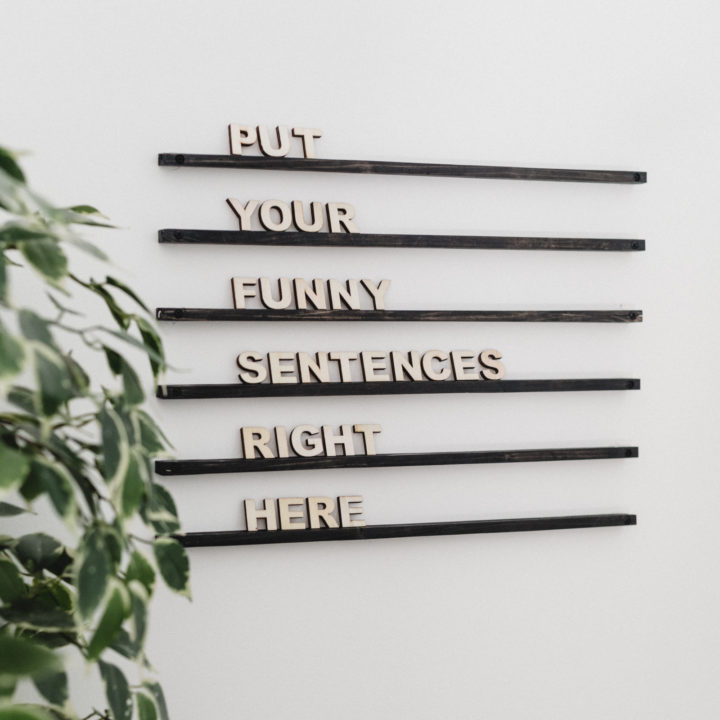
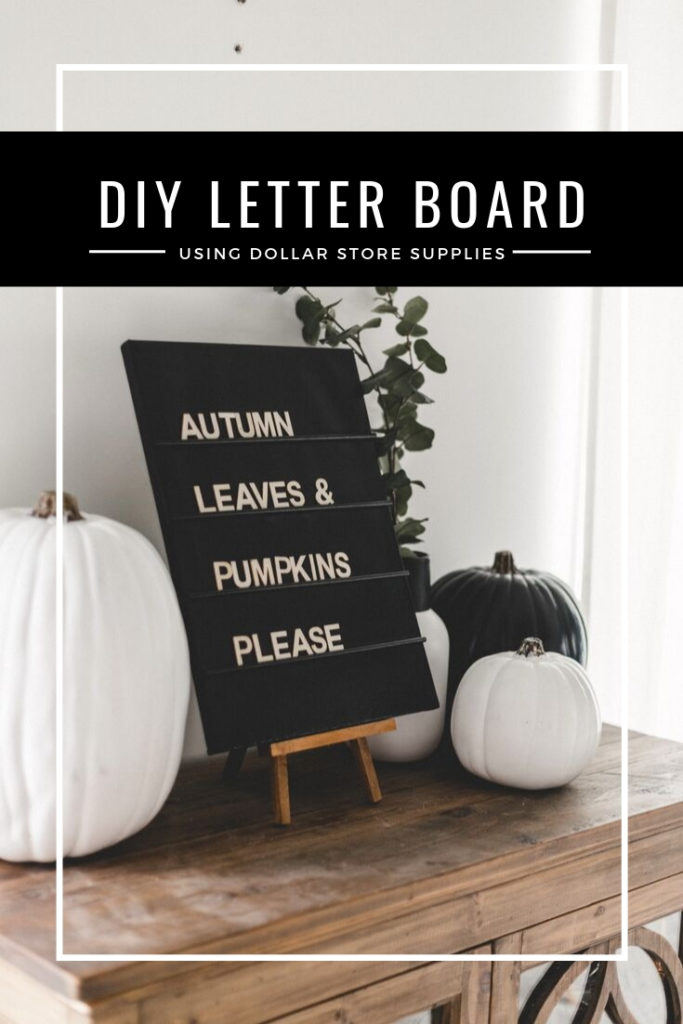
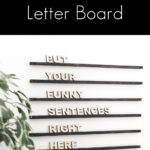
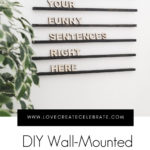
Make your own wall-mounted wooden letter board! Anyone can make these DIY letter boards are made from scrap wood, and add their favourite funny quotes!
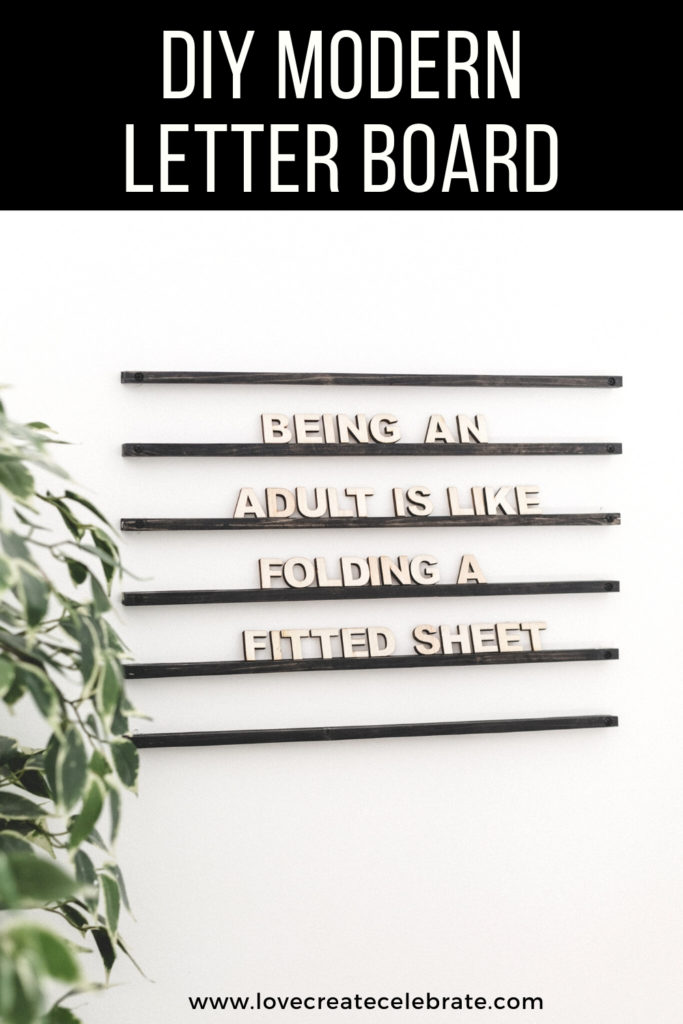
Everyone loves letter boards these days, don’t they? There’s a huge trend towards filling up our walls and shelves with these trendy signs, and adding our favourite seasonal sayings, song quotes, or funny sentences. I’m all for it! I love seeing what people write. But they can also be expensive! I’m all about creating thrifty versions of things, so I’m making my own wall-mounted wooden letter board and I think you’re gonna like it!
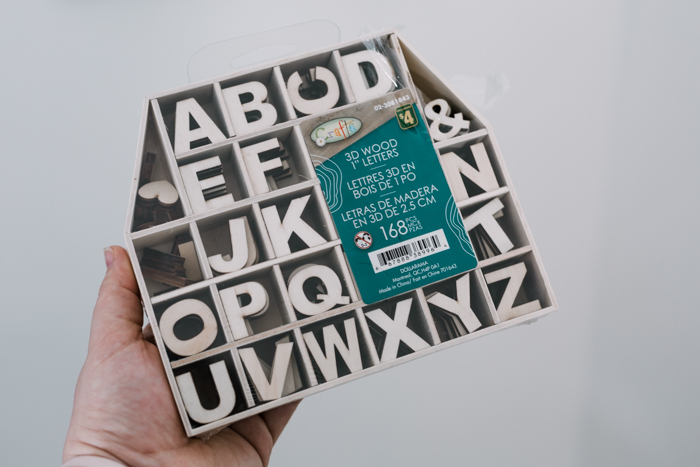
This is the purchase that inspired the whole project. I saw these little wooden letters at my local dollar store and knew that I could create something great out of it! If you don’t have these at your local dollar store, you can also buy similar ones online that are inexpensive!
I had seen wall-mounted letter boards, like these ones, online, and knew I could probably make my own for a fraction of the cost. Especially if I used scrap wood!
Video tutorial for making your own Wooden Letter Board
I shared a video with a couple of easy scrap wood projects the other day, and, of course, had to include this DIY letter board!
If you’re a visual learner, or just want to see how we made this guy, watch this video for more tips and instructions:
And don’t forget to subscribe to our YouTube channel!
How to Make Your Own DIY Letter Board
The instructions for this project are all written out below, but I’ll briefly go through them here too with some step-by-step photos.
Instructions
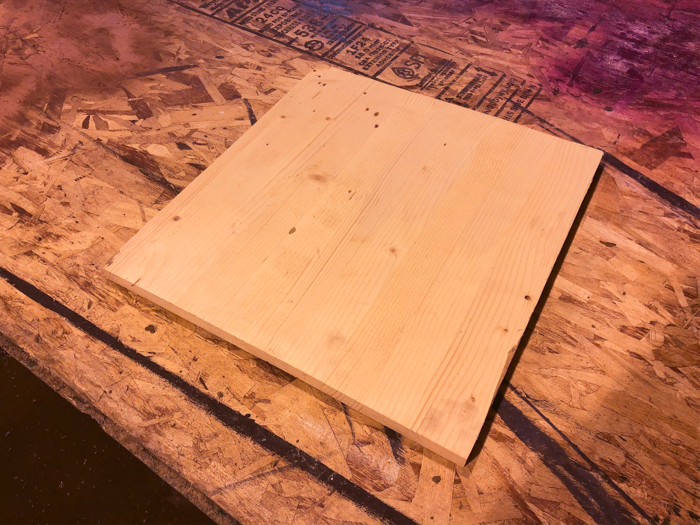
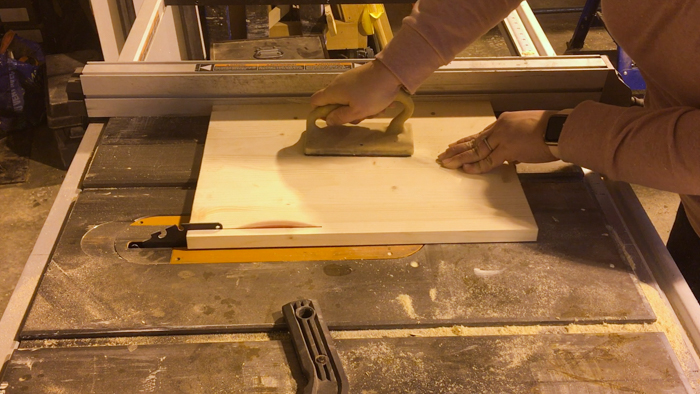
This is the scrap wood piece that I started out with. A not-quite square piece of leftover pine board.
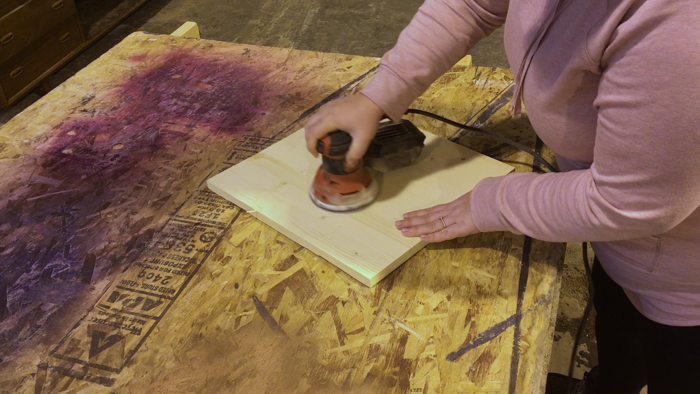
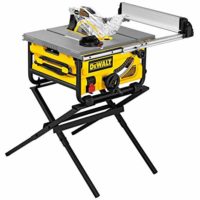
Start by sanding down your scrap wood on all sides and edges. Before you cut your first strip, use a table saw to square off the edges of the board and make sure everything is square.
Cut your board into wood strips. These strips will act as the ledges for your letter board. We made 6 of them, but you can make more if you’d like to have more on your wall.
In fact, most of the measurements in this DIY are customizable to your space! Change the lengths, heights, etc. to suit your own room.
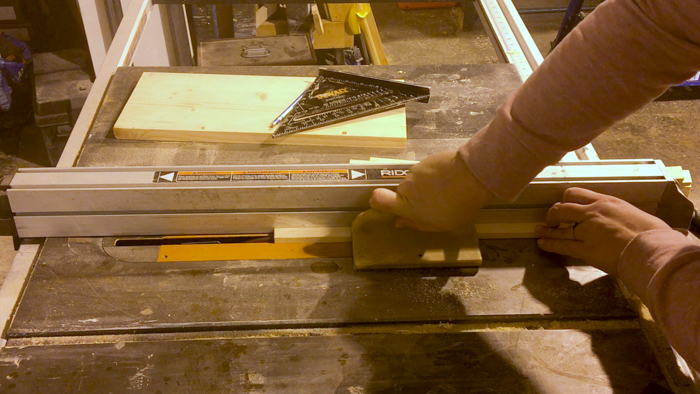
After the strips were cut, we lowered the saw on the table saw so it was only about 3/16″ up, and we carefully cut grooves through each of our ledges.
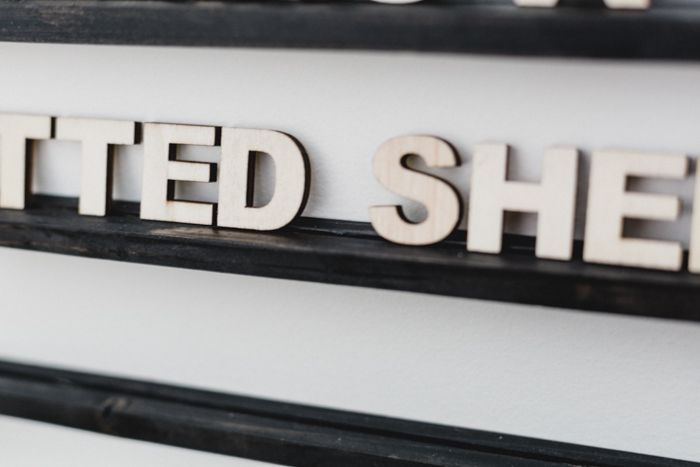
You can center these grooves, or cut them slightly closer to the wall side of your ledges, as we did. These grooves are what will allow the unbalanced letters, like the top-heavy “P” to stay upright and balanced when it’s sitting on the wooden letter board ledges.
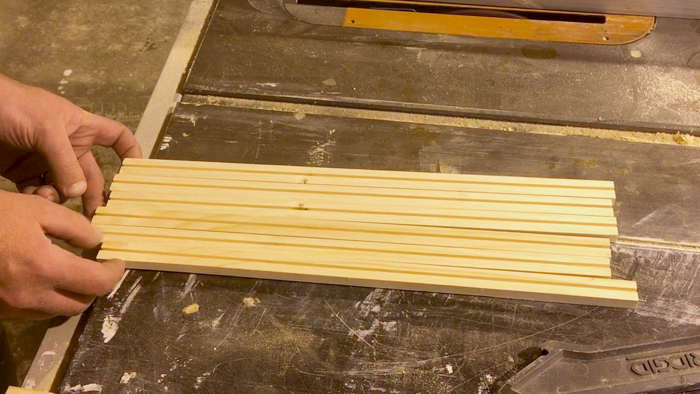
When you’re done, you should have six boards with grooves cut into them, like the above picture.
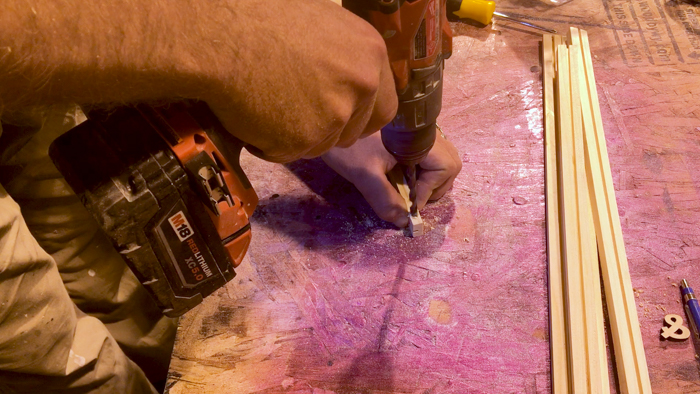
Use a drill to pre-drill into both sides of your ledges so that you can mount them to the wall after.
If you want to use a slightly larger drill bit afterwards, you can drill a second hole, part way down the board, that will allow you to countersink your screw afterwards. See the video for more on how to do this!
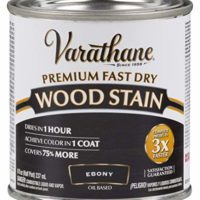
When you are done, stain and varnish your letter boards ledges. You can use a small paint brush to help get into the grooves.
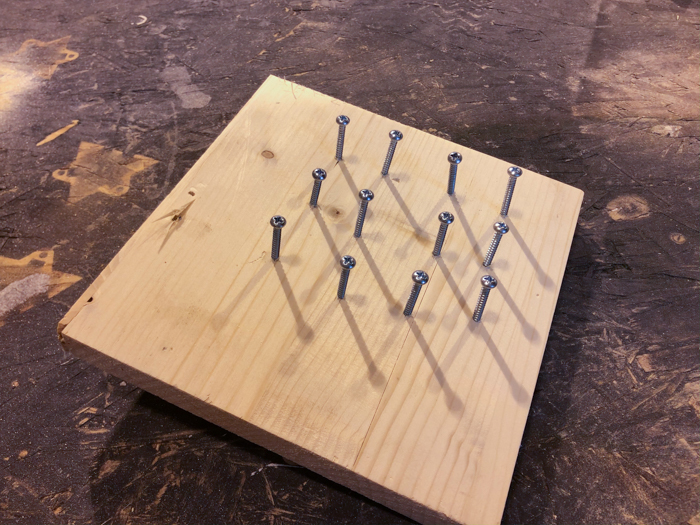
We screwed our screws into another scrap piece of wood so that we could spray paint them to match our wood stain too.
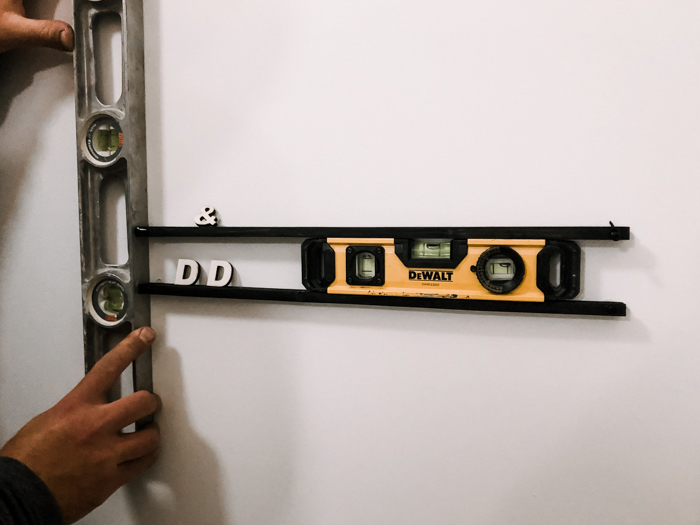
When you’re stain and varnish have set, you can use a level to help mount the ledges onto the wall straight. We used a level at the side to make sure we were line up, and a level on top to make sure our letters wouldn’t be on an angle.
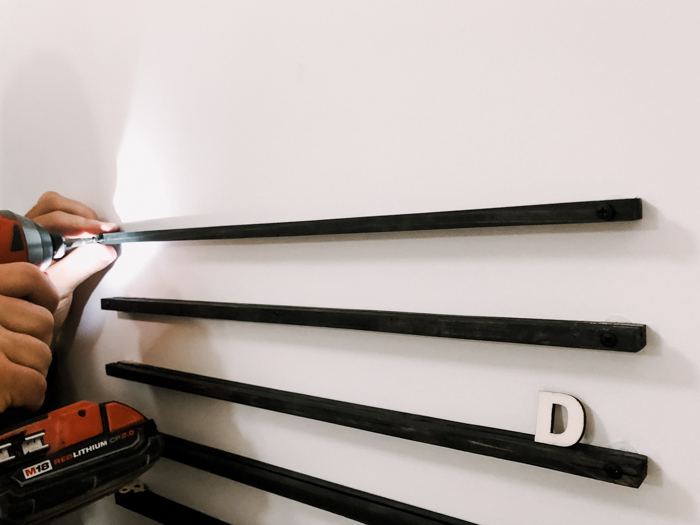
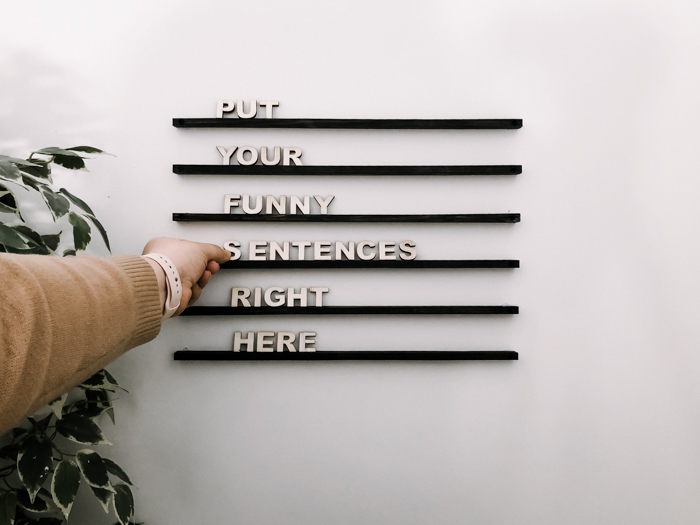
When you’re ready, screw the boards to the wall, and then fill them up with letters and phrases!
Our Finished DIY Letter Board
I absolutely LOVE how these turned out! To be honest, we just put them up temporarily so that I could take pictures, lol. But I have a permanent spot in mind for them, so we’re going to keep them where they are for now, and move them to a new spot when the room is ready :)
DIY Wooden Letter Board
Make your own wall-mounted wooden letter board! Anyone can make these DIY letter boards are made from scrap wood, and add their favourite funny quotes!
Materials
- Scrap wood (or new 3/4" pin board)
- Wooden Letters
- Wood Stain
- Wood Varnish
Tools
- Table Saw
- Sander
- Drill
Instructions
- Sand down all of the faces and edges of your pine board.
- Start by cutting your pine board into strips with the table saw. You can make them any length or thickness you want. Ours were 3/8" thick and about 17" long (because that was the length of our scrap wood).
- Lower the blade on your table saw to cut a groove about half way through your wood strips (slats are 3/8" thick, so we did a small groove around 3/16" deep). The groove should be slightly closer to one side (not perfectly centered).
- Carefully slide your wood strips through the table saw.
- Drill small holes at either end of your boards that you will put your screws into to mount the boards to the wall.
- If you want your screws countersunk, you can also use a second, larger drill bit to drill a small way through the front of the strips, that will allow your screws to sit lower (at the same level as your boards).
- If desired, spray paint your screws. We spray painted them black to match our black stain.
- Stain and varnish your wood strips, or ledges.
- Attach them to the wall using a level at the side, and tops of the ledges to make sure they are mounted straight.
- Add your wood letters and have fun!
Notes
There is a video in the post showing the step-by-step process for creating this letter board.
Recommended Products
As an Amazon Associate and member of other affiliate programs, I earn from qualifying purchases.


If you’re looking for another great Letter Board idea, try this Dollar Store version!
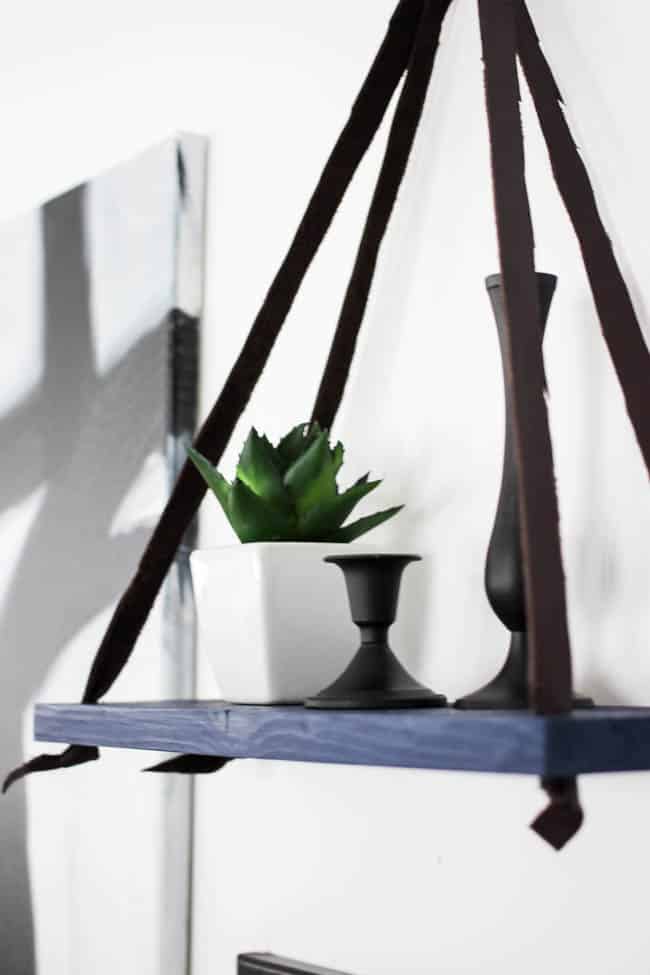
If you’re looking for another great scrap wood project, try this easy hanging shelf!


Sonya S
Sunday 25th of July 2021
Wondering if you could share the measurements of the shelves?