
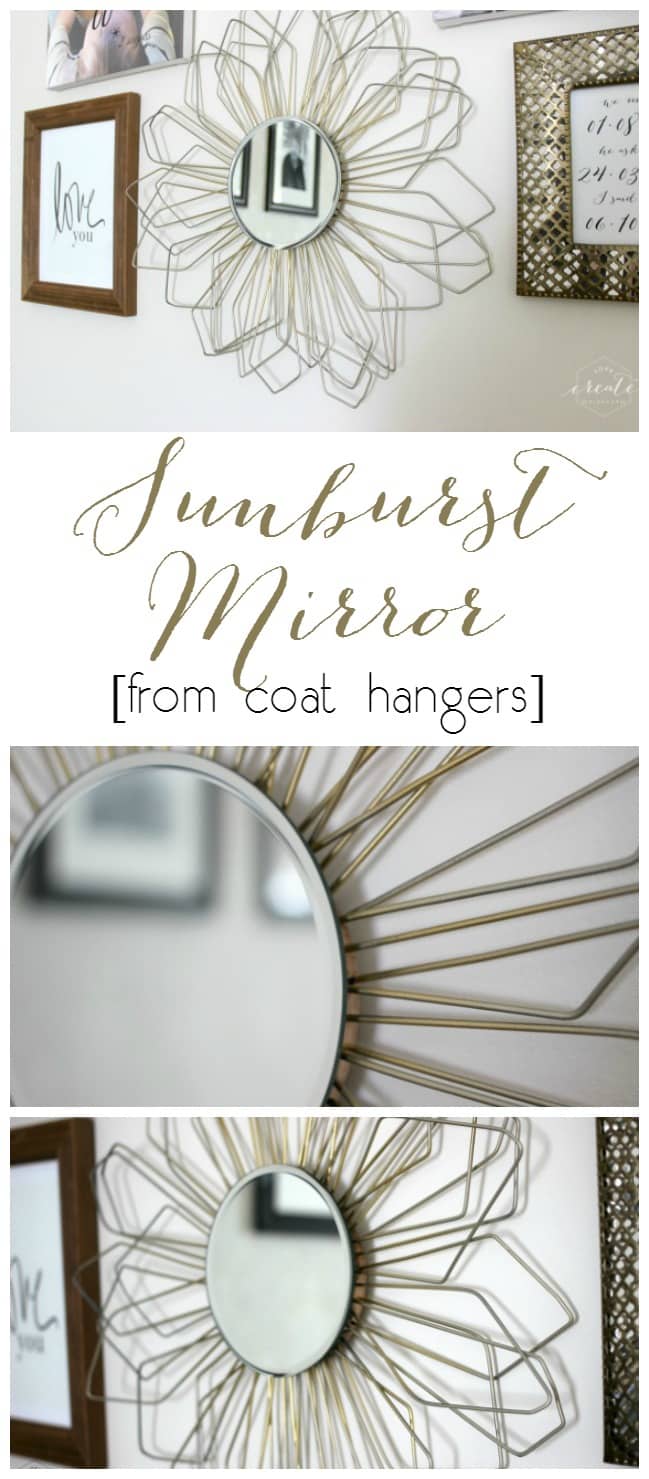
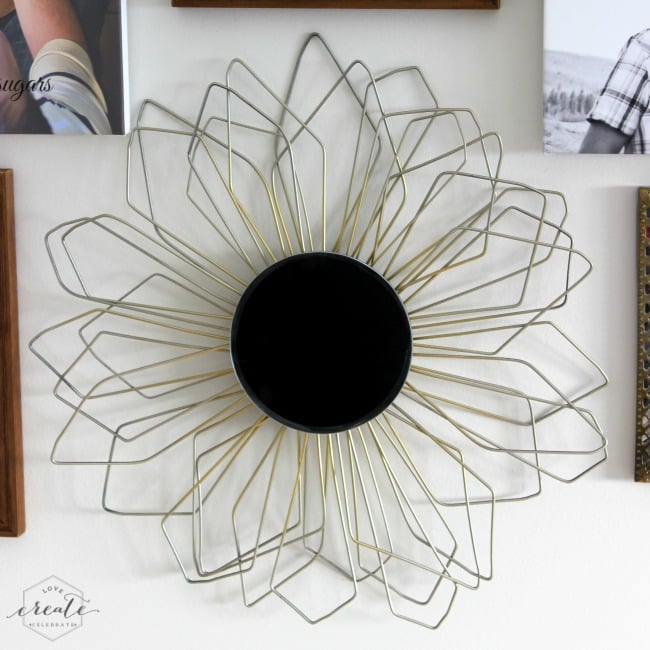
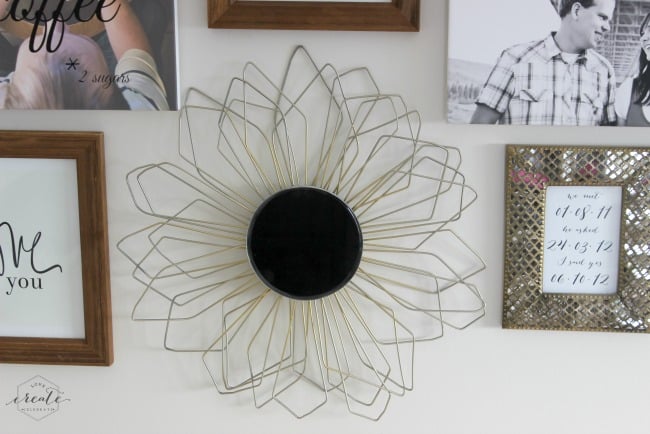
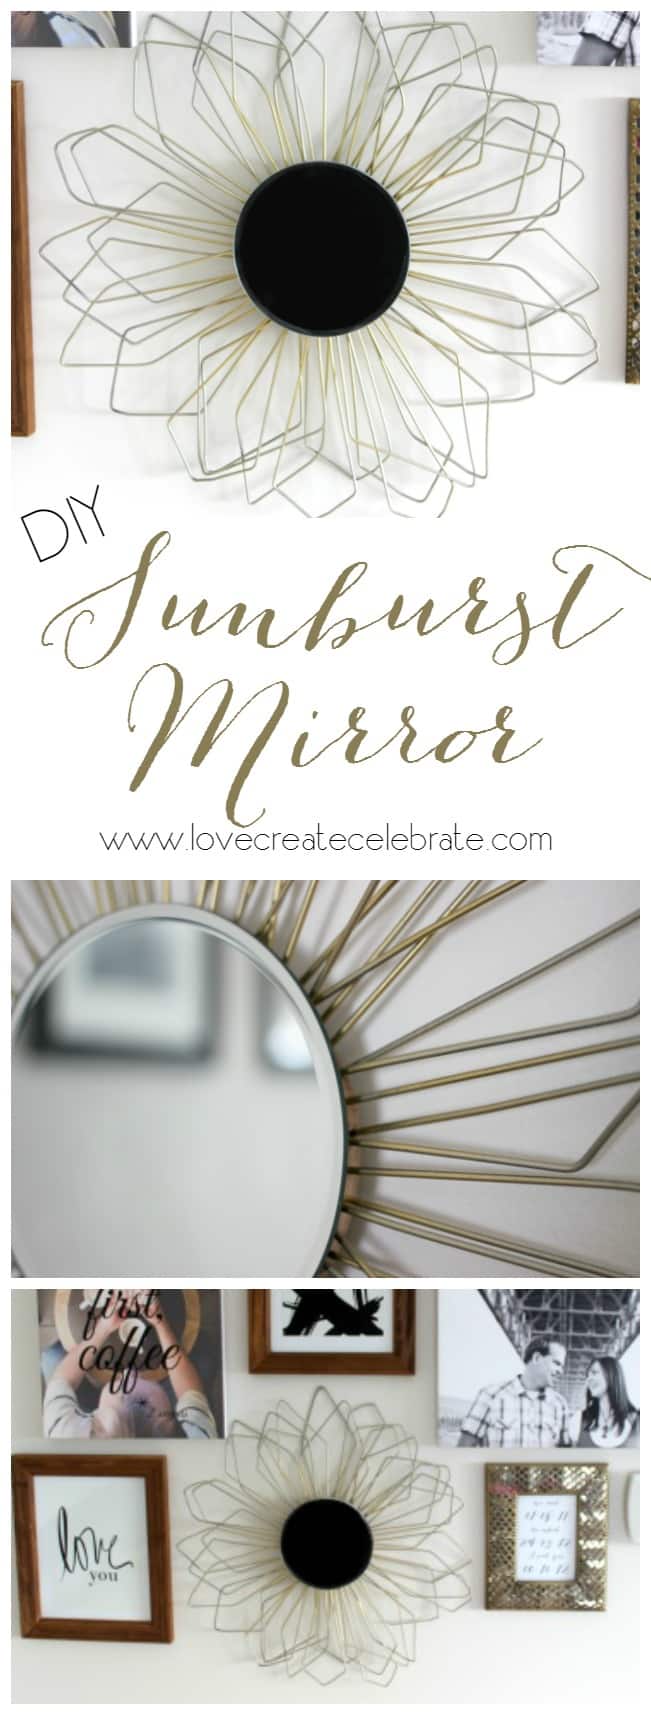
I may say this about a lot most of my DIY projects, but this one has to be one of my favourites! Last month I asked you which material I should DIY with this month, and you chose Coat Hangers. I’m not gonna lie… I was hoping you would chose that, because I already had an idea in my head! Say hello to my brand new Sunburst Mirror. Come see how easy it was to make!
*This post may contain affiliate links. Thank you for supporting Love Create Celebrate. for more information, please read my disclosure policy.*
Materials:
18 Coat Hangers
3/4″ piece of wood (1/4″ smaller than your mirror)
Circular mirror
Picture hanging hardware
3M Double-Sided Tape
Champagne and gold
spray paint
Tools:
Side Cutters
Drill
Drill bit sized to hanger (slightly larger)
Saw (for circle)
How to Make Your DIY Sunburst Mirror:
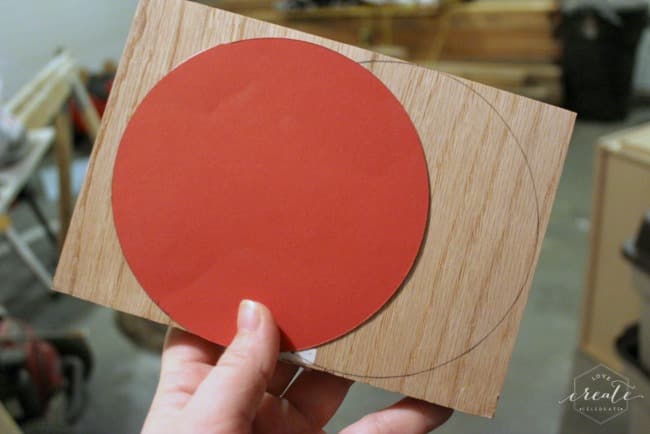
I started with a circle that was slightly smaller than my mirror and traced it onto an old 3/4″ thick piece of wood.
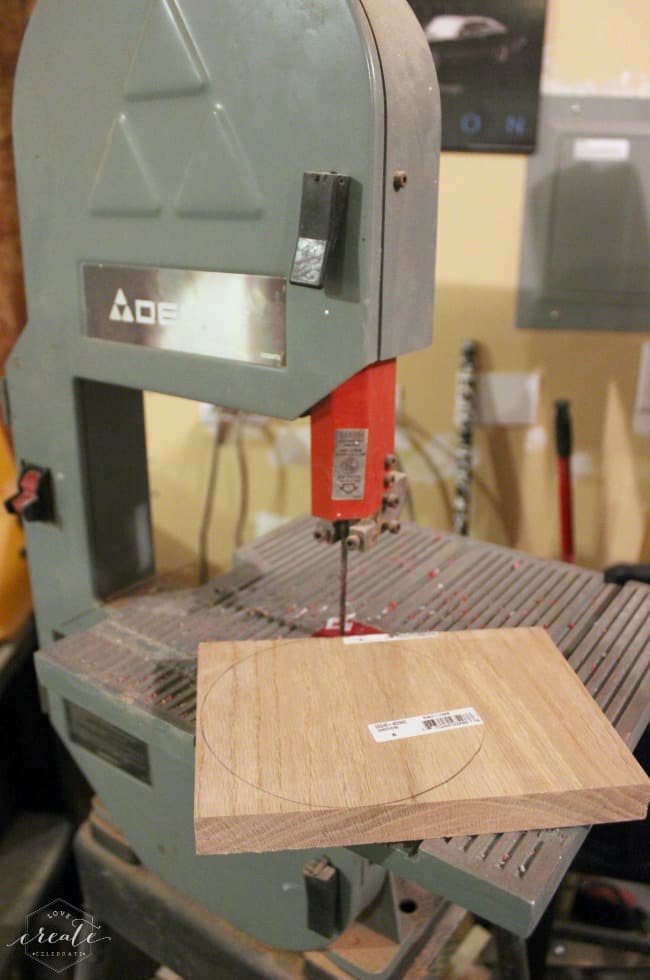
I used the band saw to cut my circle out, but you could use a jigsaw or scroll saw too.
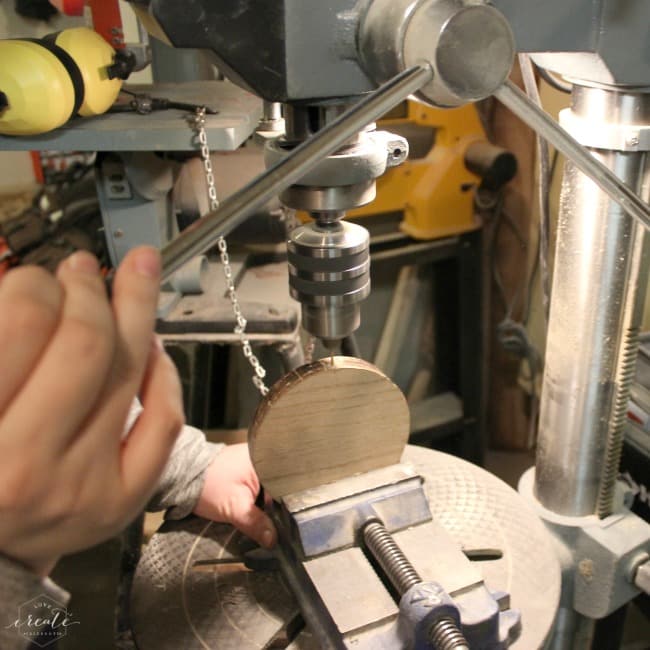
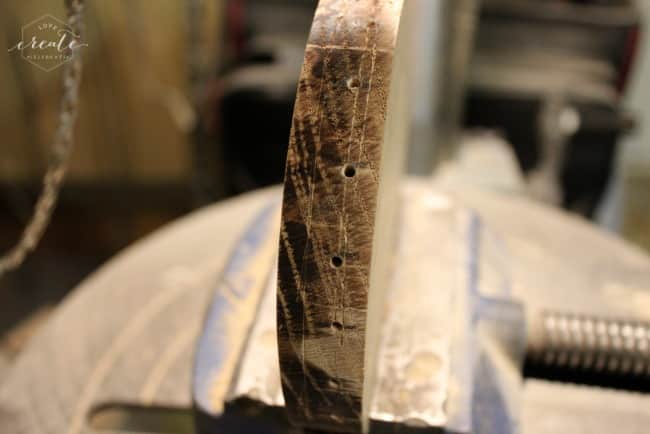
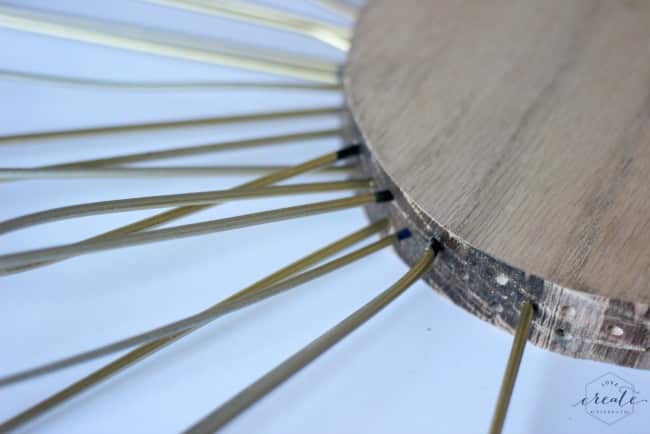
Next, drill holes into your wood. I found a drill bit that was slightly larger than my coat hangers and drilled three lines – one on each side and one in the center – all the way around the edge of the circle. I had 24 holes in each row at the end. I tried to make the holes so that they weren’t all lined up to off-set the hangers.
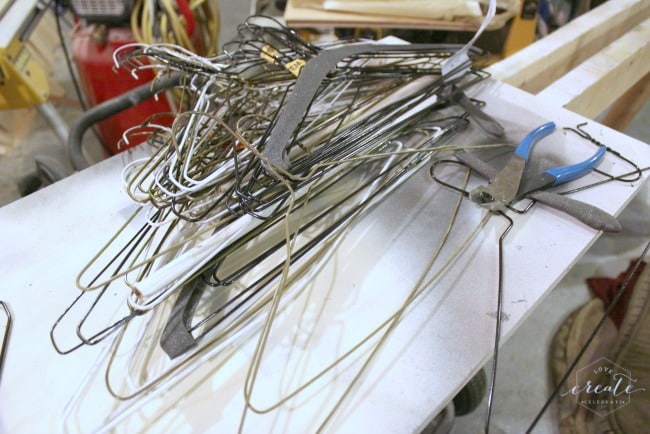
This pile of hangers was surprisingly hard to collect! I even had friends “borrowing” a few out of their work closets for me! Obviously I need to visit the dry cleaner more often…
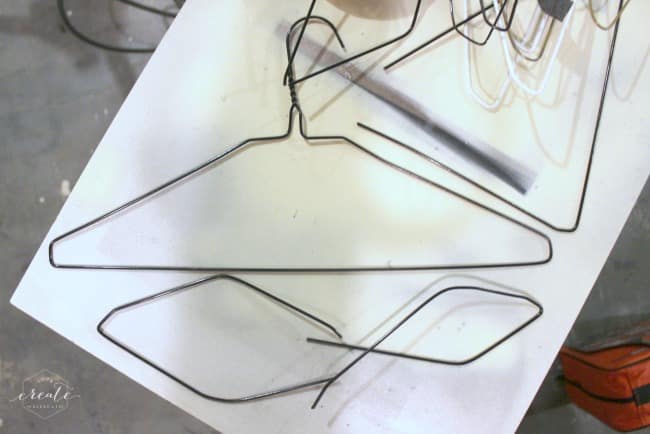
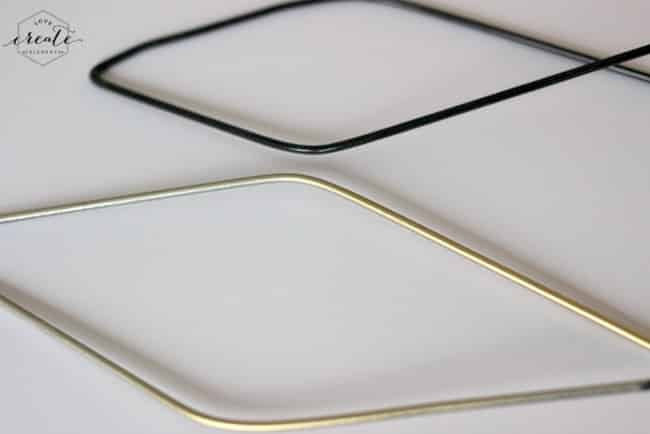
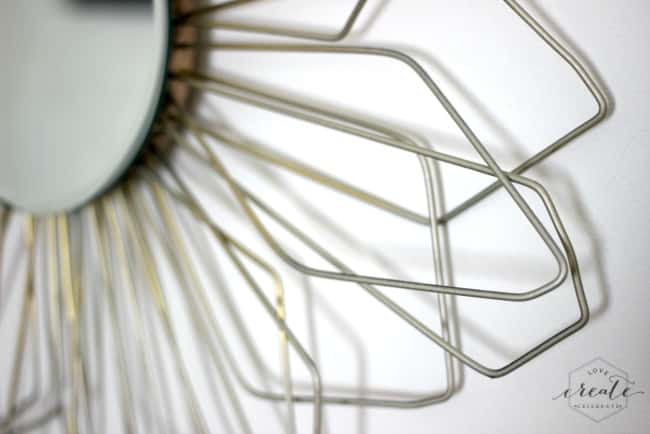
Next, take your side cutters and cut the tops off of the hangers (the curved part). Then you want to bend the sides. I bent them wherever I wanted by pushing them against a piece of wood. A counter top or any hard surface would work.
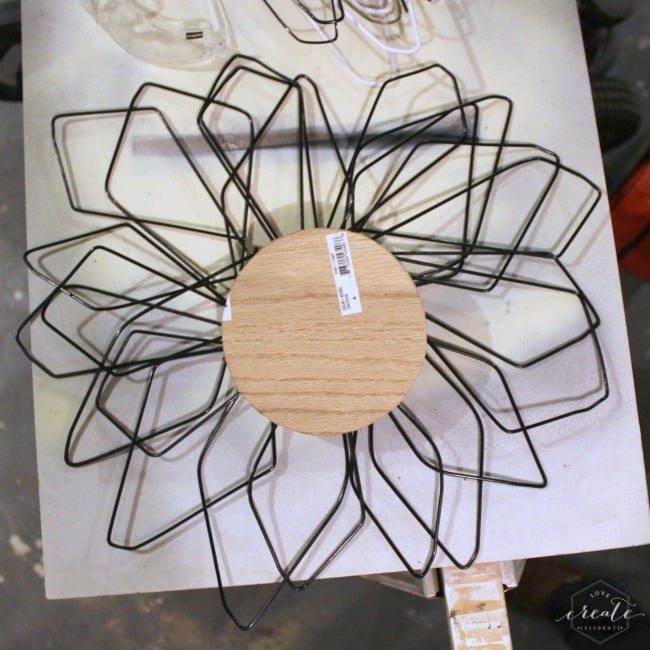
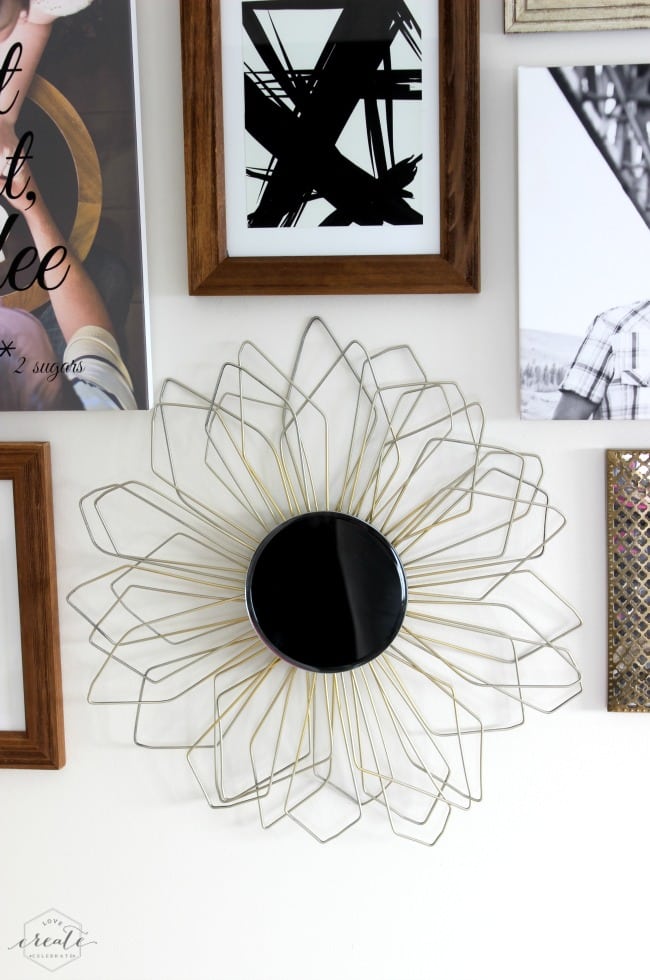
Lay the hangers out to make sure you like the look. [note: I cut more after this photo was taken because I didn’t think it was full enough]. I used a total of 18 hangers (36 pieces when cut up).
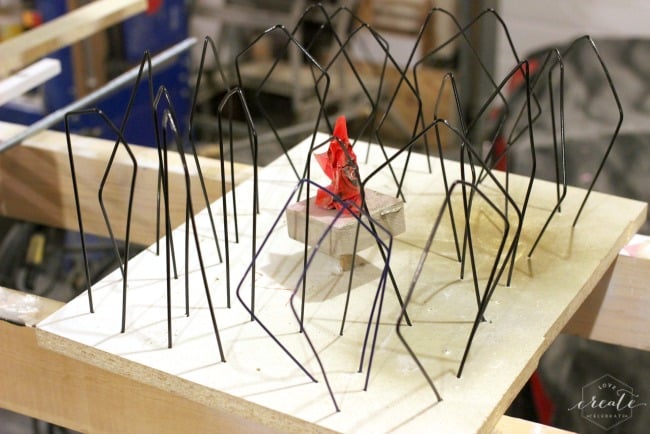
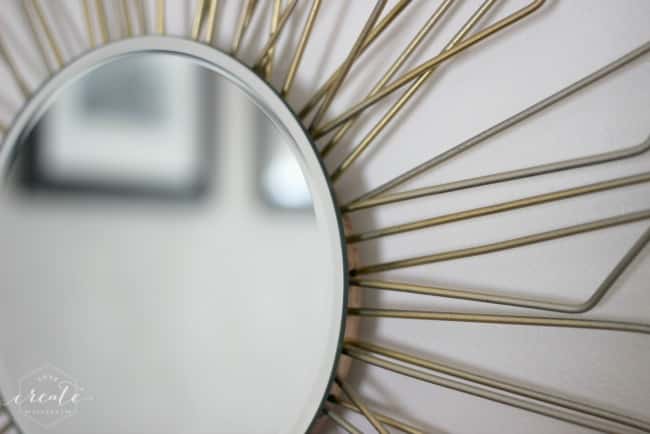
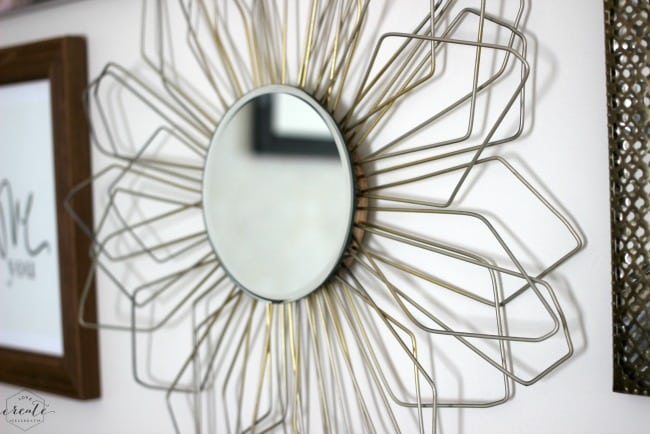
Then stick the hangers in a board and spray paint them. First paint the whole hanger with champagne, and then after that dries, paint the bottom half with gold. That will give your DIY sunburst mirror that ombre look.
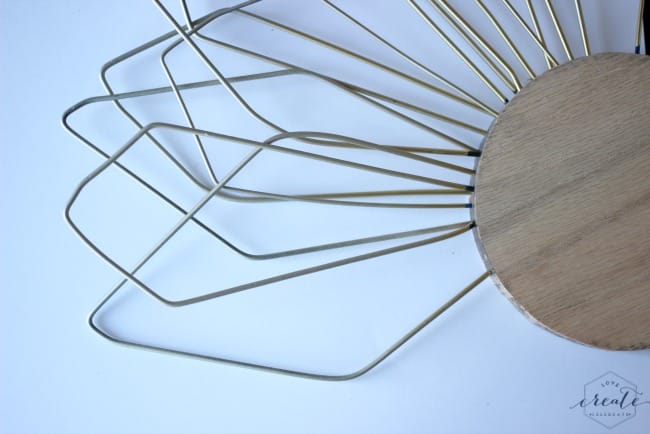
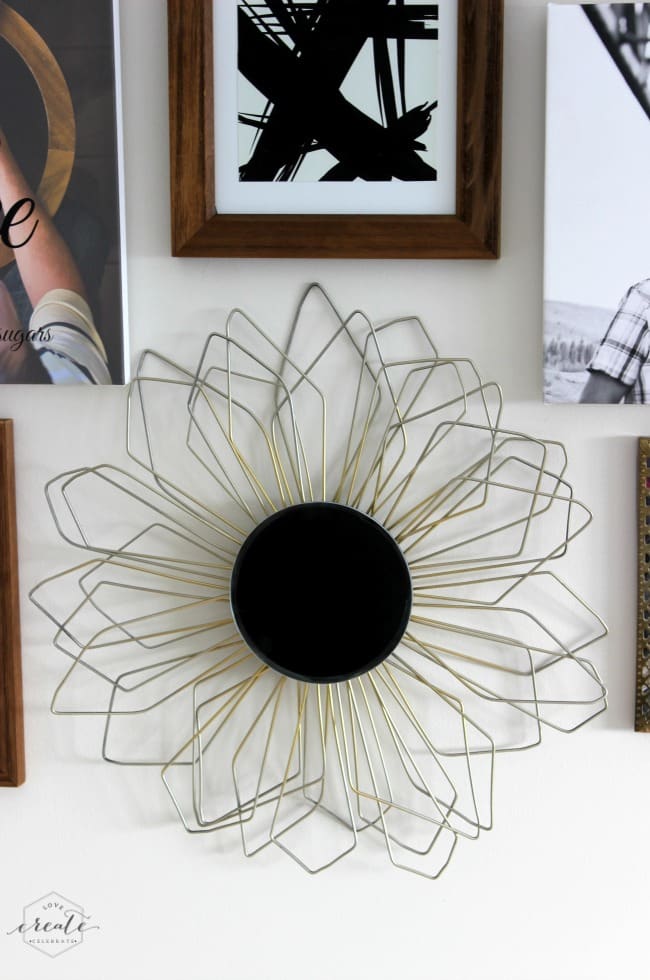
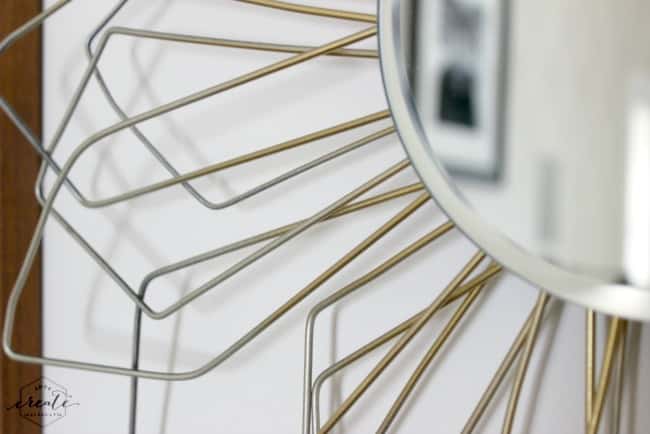
When they are all dry, you start placing them into the holes on your wooden circle. You have to push them in tight. You may want to dip the ends in wood glue to help them stay put if they aren’t staying.
Finally, I attached hanging hardware to the back of the mirror to hang it, and used 3M automotive double-sided tape to attach the mirror to the front.
Now hang it on your wall and enjoy your masterpiece!
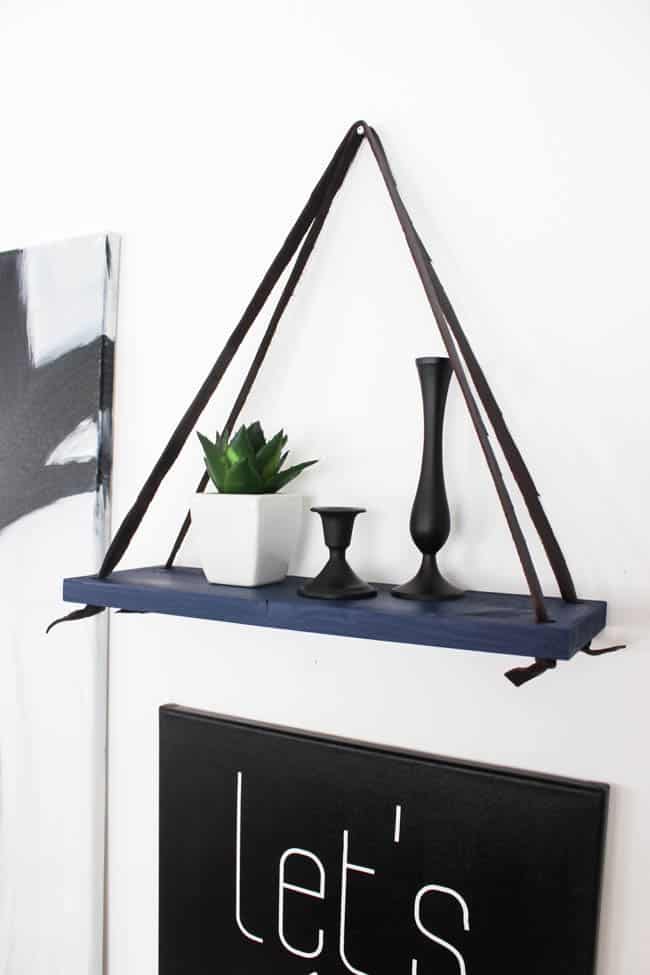
If you like budget-friendly DIYs, you’ll love this DIY Hanging Shelf too!
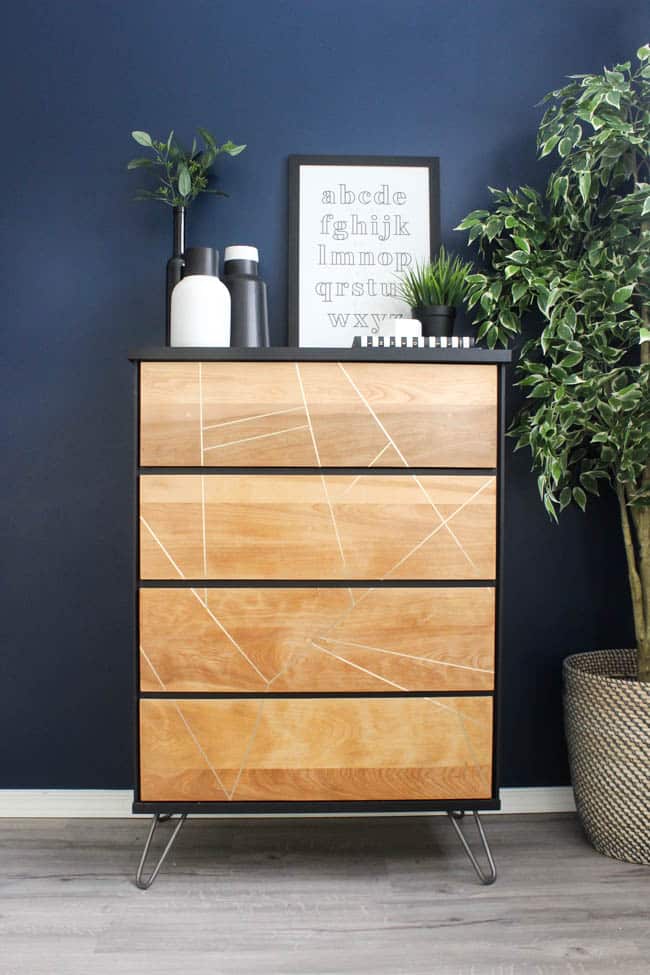
Or this budget-friendly beautiful Dresser Makeover!

Carletta
Saturday 22nd of May 2021
i have a question: so you made 3 line all the way around the circle and put 24 holes on each line making it 72 altogether??
Lindi
Saturday 22nd of May 2021
Honestly this was so long ago, but yes, that sounds correct!
30 Ways to Reuse and repurpose Old Hangers - Ideas To Know
Saturday 7th of March 2020
[…] Source: lovecreatecelebrate.com […]
Novos usos para cabides de arame | Joia de Casa
Friday 19th of April 2019
[…] Love Create Celebrate | All Seated | Beth’s Lemonade | Craft Me Happy | Etsy Greek Street Team | Shelterness | […]
Three Dozen Upcycled Hanger Projects – Direct Scrapbook
Monday 28th of January 2019
[…] 31. Sunburst mirror. Sunburst mirrors have been popular for several years now, but most DIY versions are made from plastic spoons, which is a shame. This upcycled wire hanger one is much more eco-friendly. […]
16 Designer Worthy Ideas For Over The Bed Decor - Making Manzanita
Thursday 24th of May 2018
[…] This inexpensive bedroom mirror that the DIY Playbook hangs above their bed adds so much to the big blank wall (which by the way, looks awesome covered in shiplap!). Mirrors always make rooms look bigger and brighter…in fact adding a mirror is one of the tips that I mentioned in this post about how to make a small room feel bigger. There’s just something about the reflection in the mirror and seeing “more” room that really makes an impact and make a room feel larger. You can purchase this round brass mirror above bed here! If you’re feeling like a DIY, you can even make your own DIY sunburst mirror! […]