
It’s gardening season! Last year I spent an unnatural amount of time looking for some spring planters that were modern, pretty, and affordable. In my northern neck of the woods, there aren’t actually a lot of great options. So this year I made a new plan, and it starts with the thrift store. If you’re lucky enough to find some ceramic pots at a thrift store or garage sale, snag those guys up! It doesn’t matter what they look like now, because a little bit of paint can change that.
*This post was sponsored by Krylon. As always, opinions are 100% my own. For more information, please see my disclosure page.*
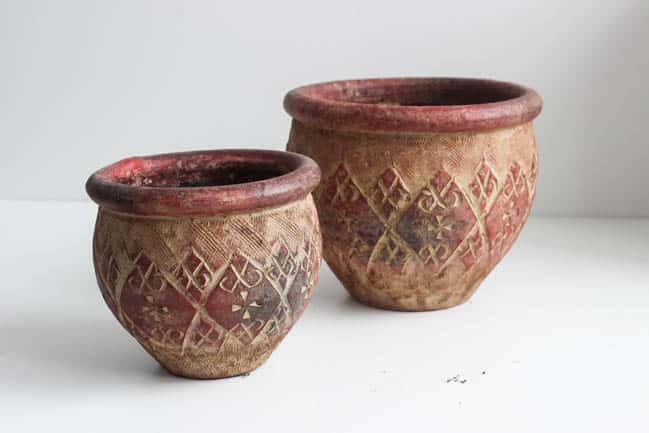
These are the ceramic pots I started with… I was not impressed with the colours. I think most people would walk right past them. But I liked the shape of them, especially the thick rim at the top, and I loved the texture! Look at that interesting pattern – so much fun to paint!
Enter spray paint! Blue is a beautiful colour for spring! Last year, I decked out my entire patio in beautiful shades of blue, white and grey. I’m so drawn to deep colours like the beautiful navy blue in the new Tiffany Pratt collection for Krylon. I also thought it would be a beautiful colour to paint an ombre pattern with – where the colour starts deep and gradually gets lighter.
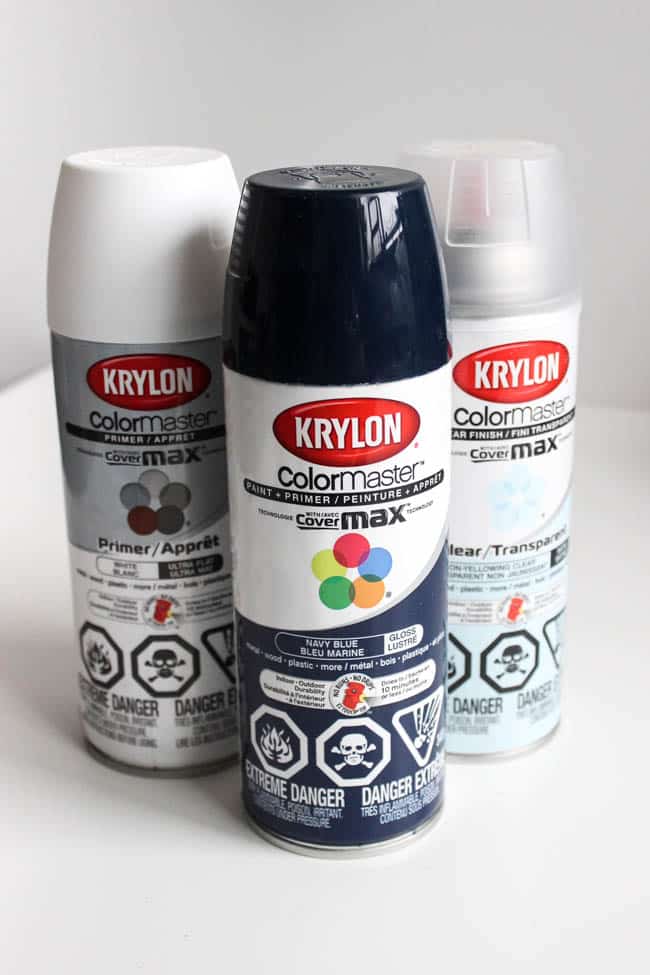
All you need to make this project is old ceramic plant pots and spray paint! The colours I chose were a simple white primer, a navy blue (with a beautiful gloss finish!), and a transparent clear protective spray.
How to Make DIY Ombre Ceramic Pots:
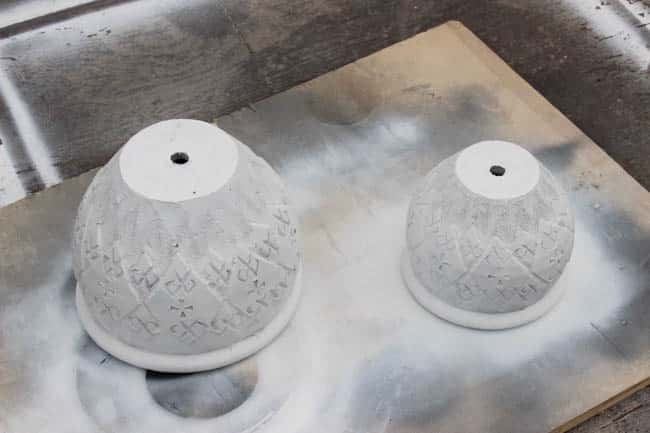
Start by painting your pots with the white primer. Paint the entire ceramic planter – or at least any part that might be exposed after it’s full of dirt and plants!
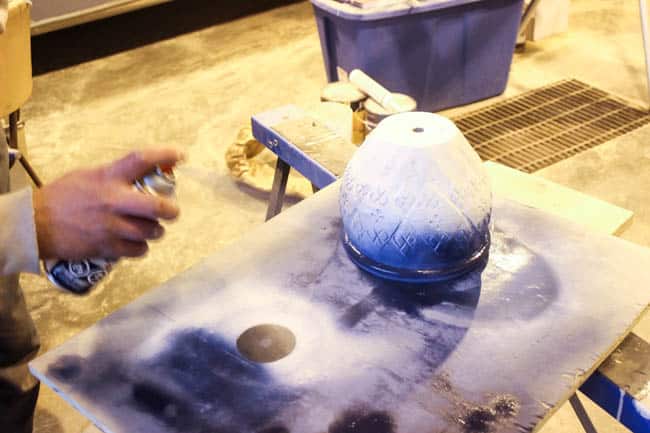
Once the white is dry you can paint your blue ombre. To get the ombre effect, you want to flip your pot over (so the top is down), and spray your navy blue paint aimed at the bottom of your pot. This way the paint will be heaviest and thickest at the bottom (which is actually the top of the pot).
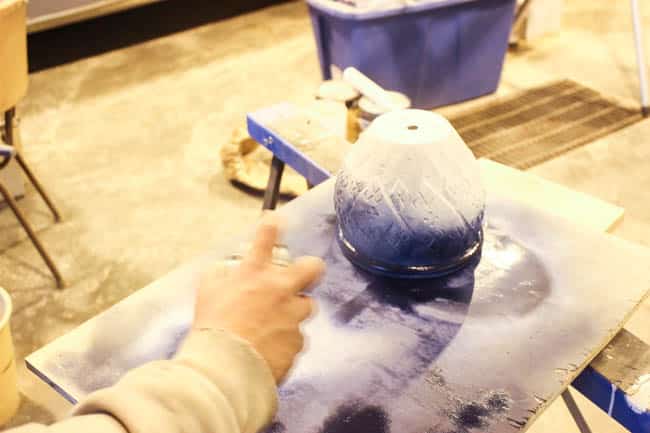
The trick to getting a great ombre effect is just to slowly angle your can up, while you step further away from the pot. Increasing the distance between you and the pot will mean a thinner layer of spray paint as you move upwards.
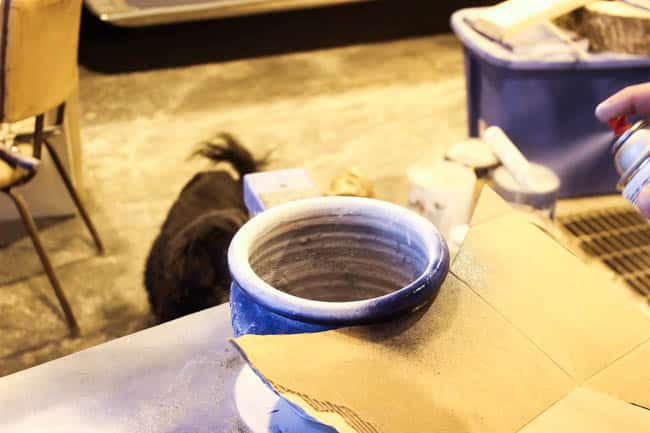
When the blue was dry, we flipped our pot over to spray paint the top rim, and the first couple inches of the inside. The top rim can go on dark because it’s the start of the ombre pattern. We cut a piece of cardboard to protect the pots underneath the rim because we didn’t want any overspray to get on the white paint. When they are dry, spray paint them with the clear finish spray to protect them from the elements.
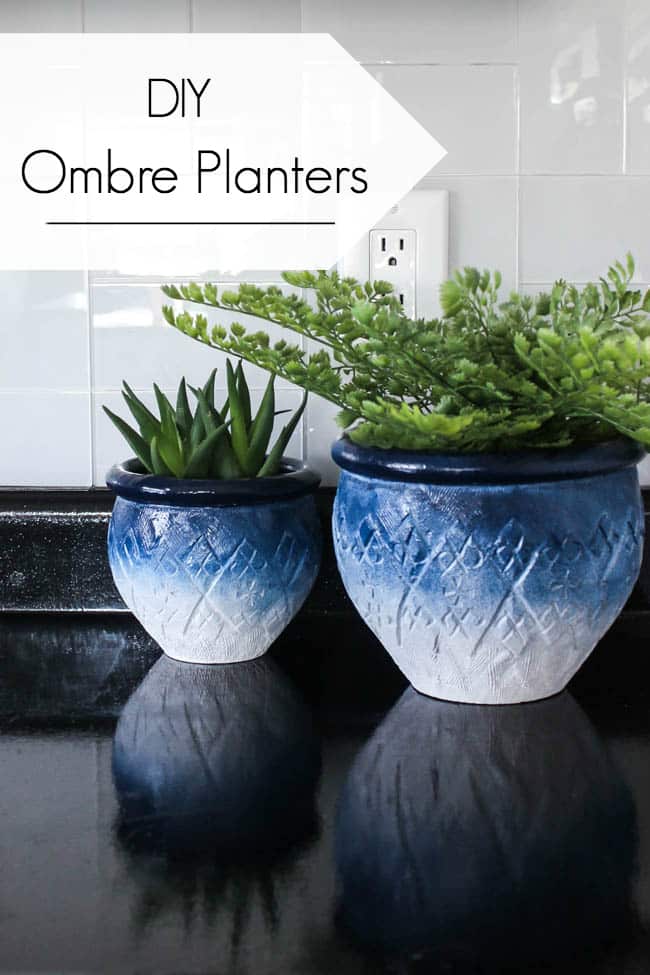
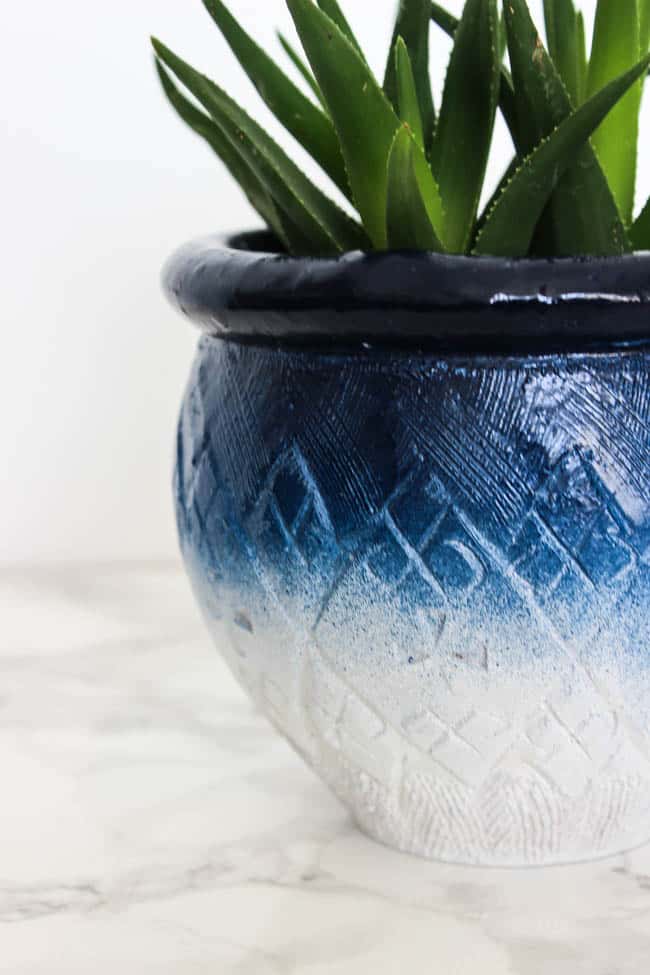
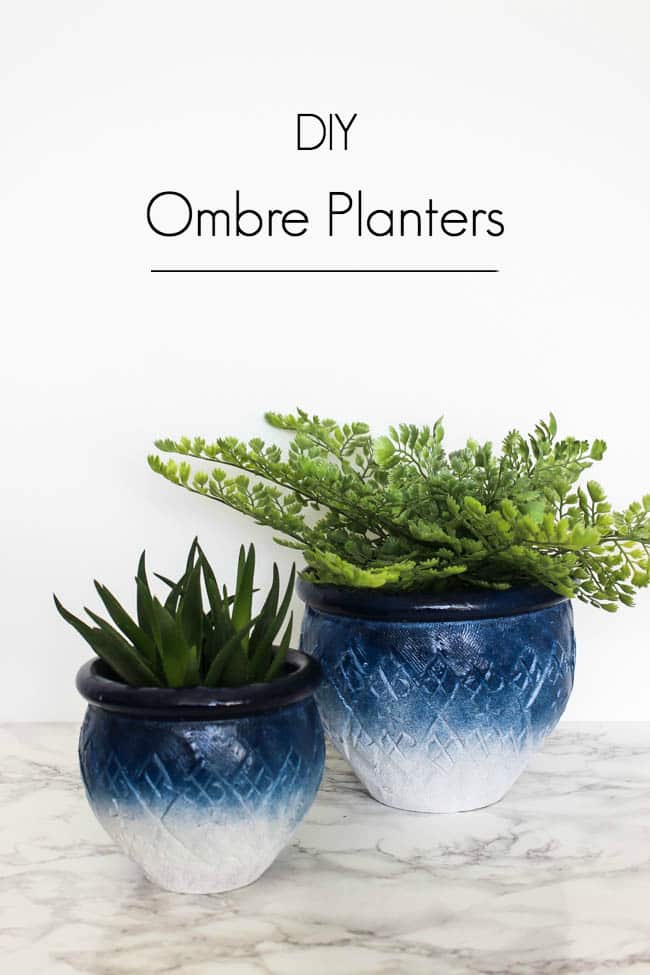
And here’s how they turned out…

LOVE my new and improved ceramic plant pots! The pattern adds so much visually to the ombre design. Some of the inlayed sections stayed white, accenting the colours and the pattern.
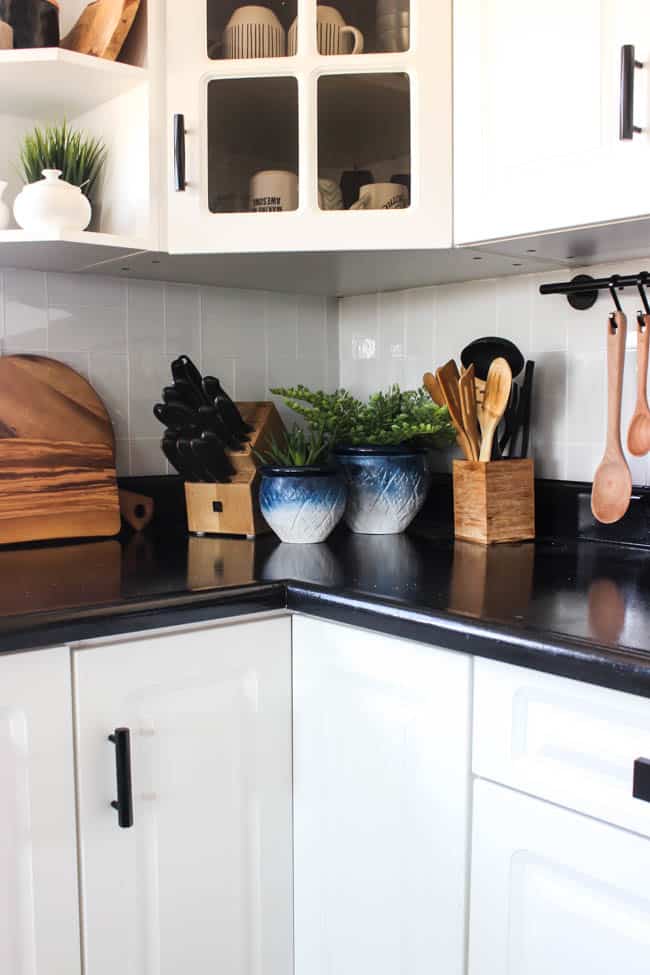
Eventually I’m going to bring these ceramic pots outside, but we still have frost at night here in northern Canada, so for now I’m experimenting with a few spots on my kitchen counters!
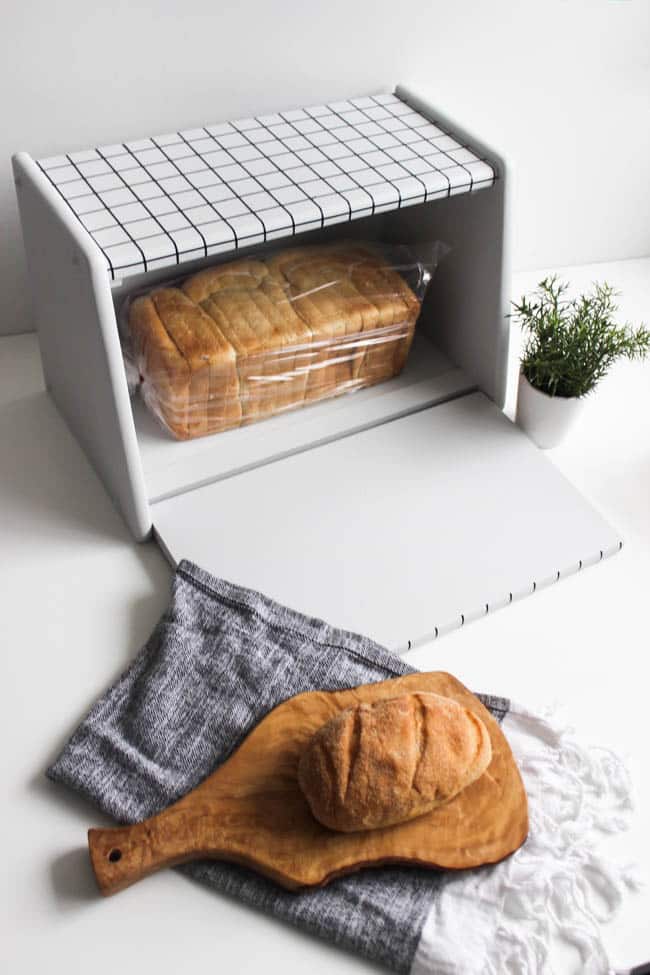
If you’re a fan of painting, you might like this quick and easy Bread Box transformation!
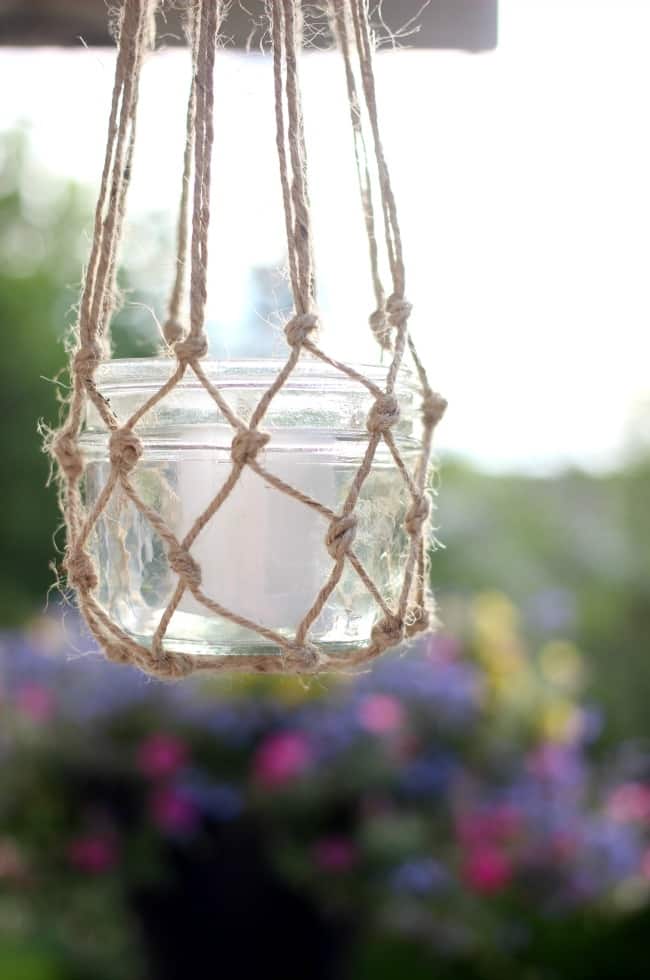
Or if you’re looking for more Spring inspiration, try your hand at these beautiful Jute String Lanterns!


The Furnshop
Thursday 24th of May 2018
This is really amazing. This paint changed the whole look of the pot. I liked this painted ceramic pot. Thanks a lot for sharing this post.
Lindivs
Thursday 24th of May 2018
Thank you! It's such a fun and easy upcycle! :)