
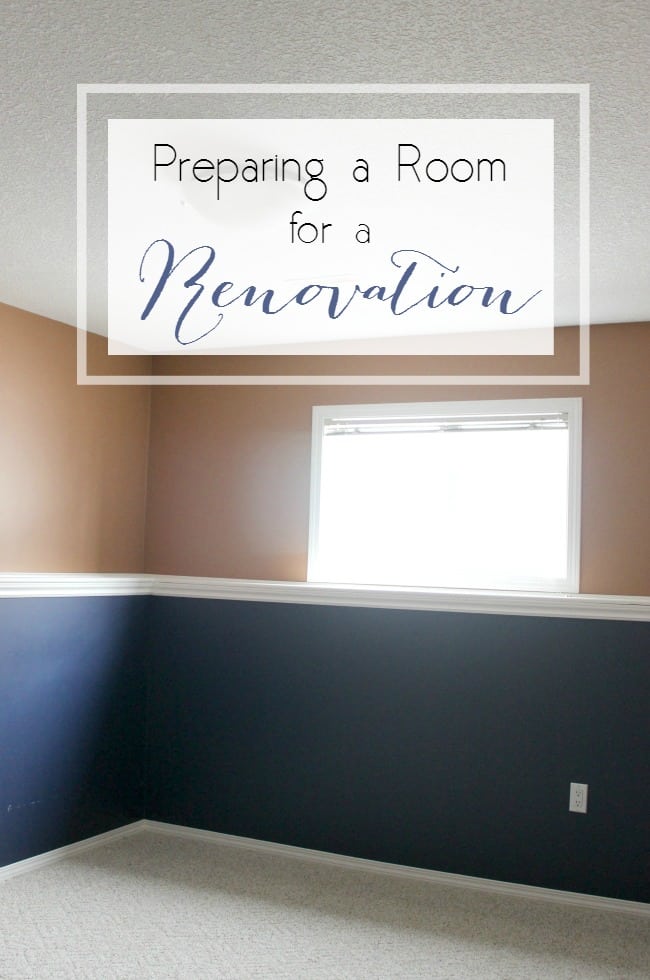
I can’t believe an entire week has flown by already! Let me tell you, we have been BUSY. If you missed it, last week I shared my plans for our Modern Industrial Guest Bedroom. I have four more weeks of the #OneRoomChallenge to create my beautiful space, along with a ton of other amazing designers and bloggers. Visit Calling it Home to be inspired by all of the decor! I’m sharing what we’ve been up to, and everything we did to prepare our room for the renovation.
*This post was sponsored by Sherwin Williams. As always, opinions are 100% my own. For more information, please read my disclosure policy*
Week 1 / Week 2 / Week 3 / Week 4 / Week 5
There are a few things that my husband and I do every single time we renovate to help prepare our room. Here are 10 of our “must-dos” when starting a room makeover:
- Remove all furniture (or tarp the big pieces)
- Remove moldings – You can just tape them off too, but if you are changing the flooring, or taking the time to update the moldings (like we are!), then this is the time to remove them. Renovations are always a great time to repaint and refresh that old trim too!
- Remove window coverings – we are replacing the blinds, but removing curtains and rods just makes life simpler!
- Remove outlet covers – Trying to paint carefully around them never works. The covers are SUPER easy to remove, and then you can paint right underneath them!
- Remove carpet – only if you are replacing it :) In this case we did do this!
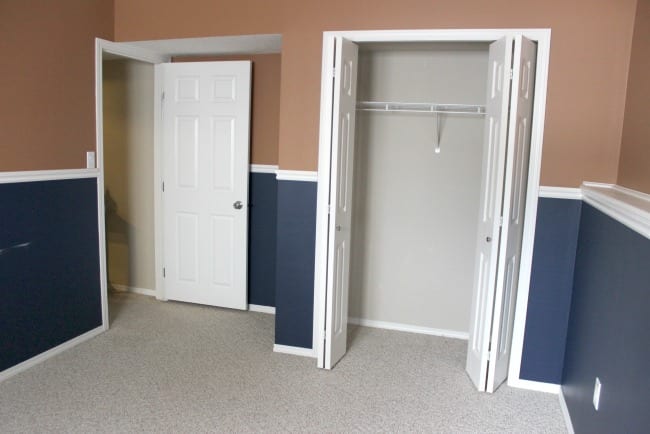
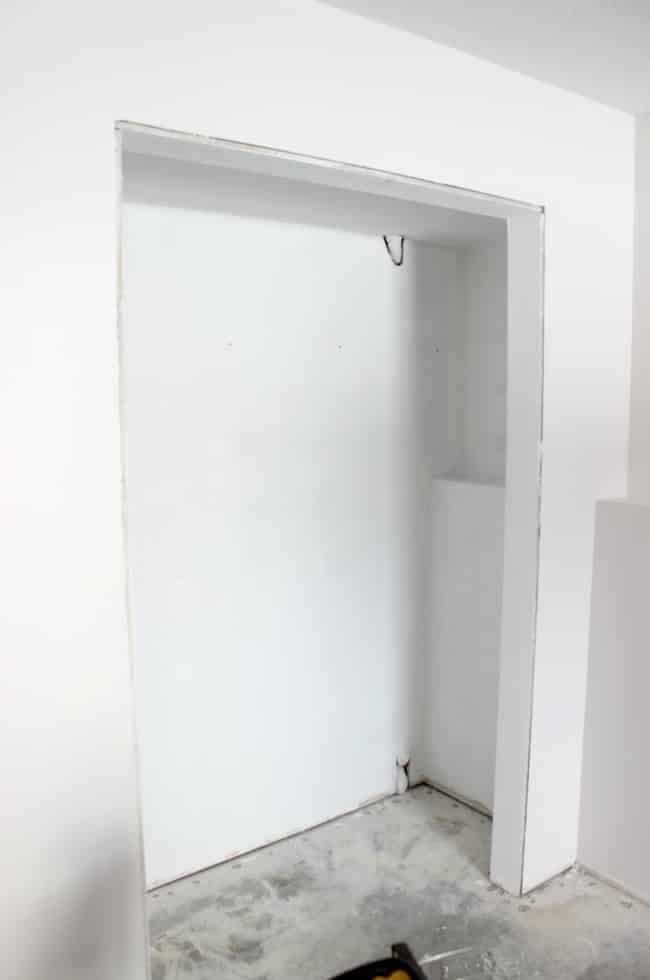
- Remove closet organizers and doors – again, anytime you are painting a room is the perfect time to repaint main doors, closet doors and inside the closets. Pull them off and paint them to match the trim. The little things (like fresh paint) make the biggest impact!
- Remove light fixtures – Since we always paint the ceiling when we re-paint (refresh everything!) it is easiest to remove the light fixtures, even if the same one is going back up.
- Clean walls – We use gloves, rags, and TSP. We wash down all the walls to remove anything and to give the new paint the best possible adherence.
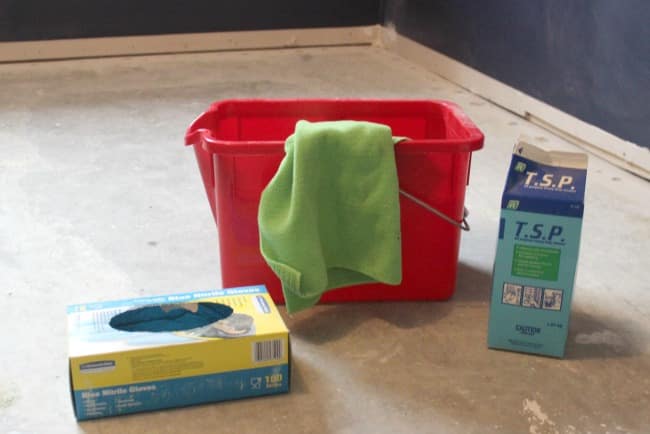
- Putty all holes/marks – Soooo important before you paint is to putty all of the holes – you know your room has some!
- Sand – After you putty, you always want to sand off those bits sticking off the wall. Also there may be high spots on the walls from previous drywall install or repairs.
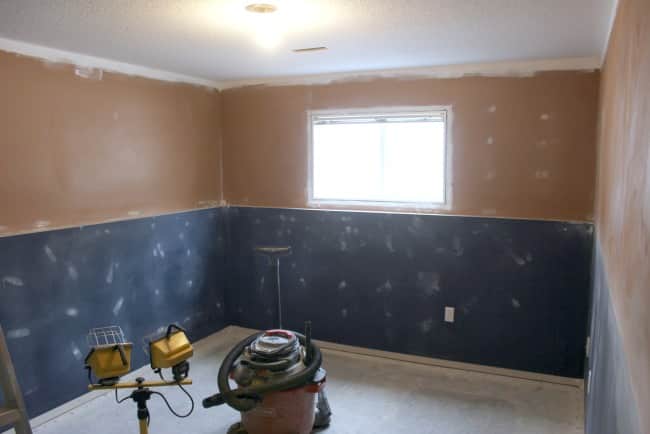
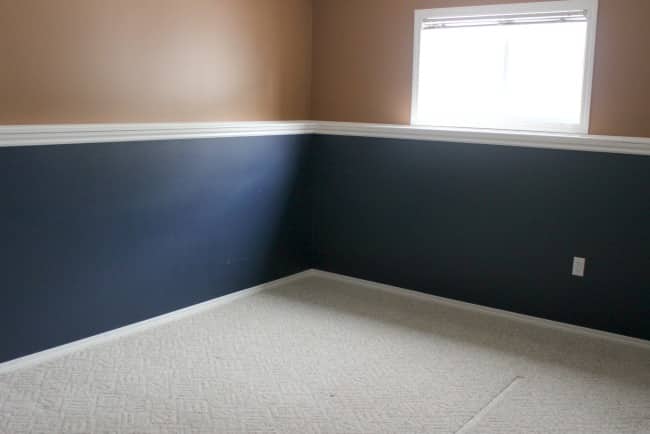
I’m pretty sure this room belonged to teenage boys before us. Look at how much we had to putty and sand!! UNREAL!
Finally, we are ready to paint!!
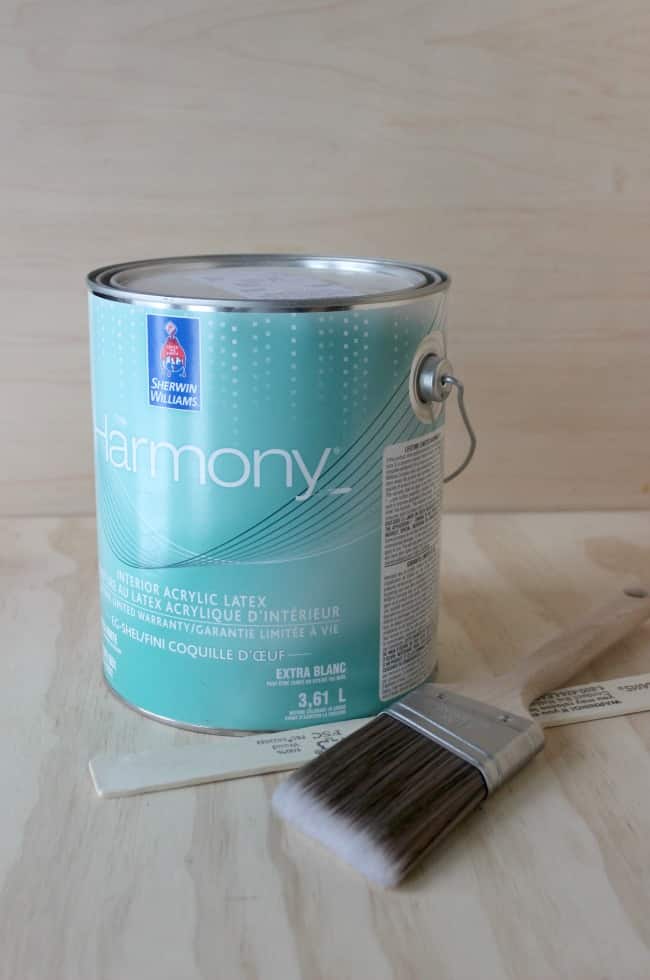
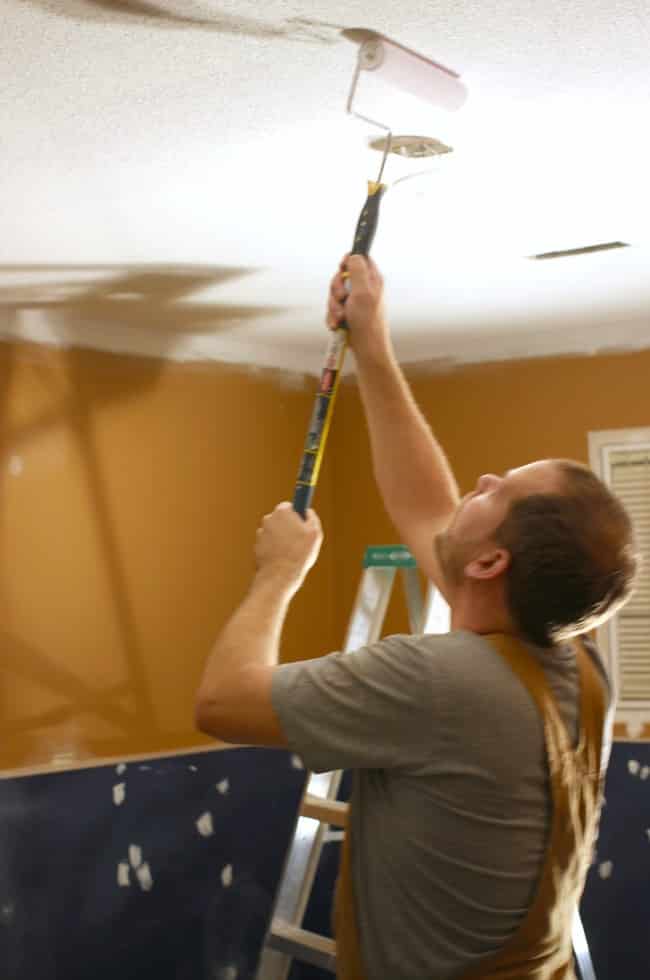
We used White Heron by Sherwin Williams to paint the room, and even after one coat the room looked 100x brighter!
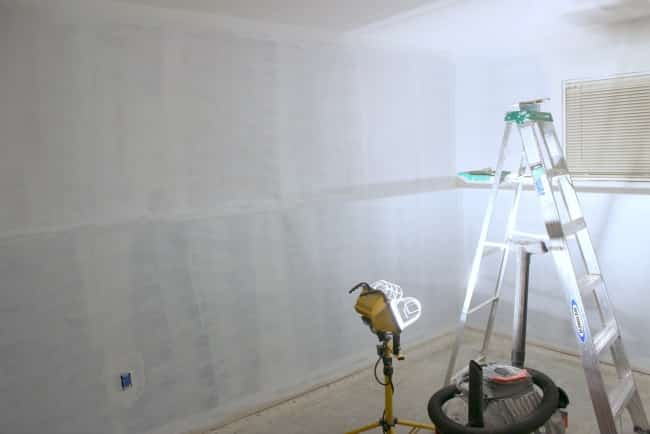
Most of our painting was done in the middle of the night. Whether day or night, we always use an industrial light to make sure the space is lit up nicely.
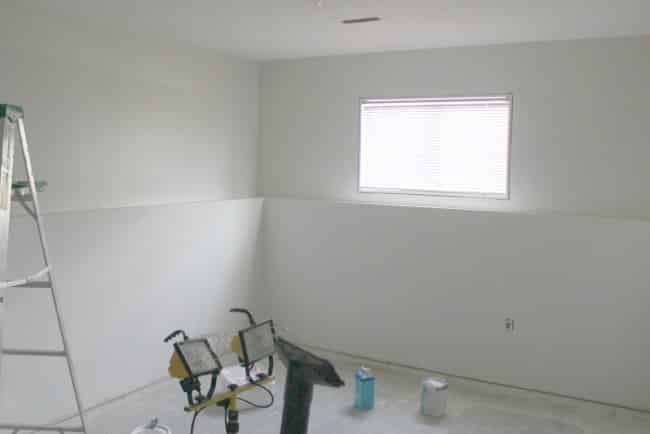
After many hours, we are finally done painting the ceiling, closet, and walls. Heron White was the perfect choice for the space. It’s just slightly off-white, so it stands out against are perfectly white ceiling and trim. It is the PERFECT colour for a basement!
With this new bright space, I’m already envisioning how the space will look :)
I also had time to hit the thrift store this week, and look what I found!

These old lights don’t look like much, but they are the start of my new DIY bedside pendant lights! Eeek!! SOO excited for this one. Stay tuned next week….

I also found this vintage chair and fell in LOVE. The shape is so unique! I think this tiny chair is the perfect place for my guests to throw their clothes or bags. It just needs a little bit of fabric and spray paint :)
Don’t forget to find more great Industrial Ideas by following my Pinterest Board.
Here’s how we are doing on our lengthy Industrial Guest Bedroom To-Do List:
Clear roomPaint walls- Paint ceiling, trim, and doors
- Install new flooring
- Install new trim
- Buy a new rug
- Buy new bedding
- Buy new pendant light
- DIY new bedside lights
DIY side table refresh (done!)- Install new blinds
- Make DIY Valence
- DIY headboard
- Build DIY sideboard
- Build DIY Towel Rack
Find/thrift room accessories- DIY or buy new artwork
What do you think of our plans

One Room Challenge Spring 2016 Reveals to Watch! | Madness & Method
Monday 28th of August 2017
[…] White is not a colour I have in any of my rooms, but seeing this space slowly come together might have me re-thinking my colourful views haha! Also, I’m dying to find out how she transforms a vintage chair. […]
One Room Challenge Spring 2016 Reveals to Watch! | Q-Schmitz Home Design & DIYQ-Schmitz Home Design & DIY
Monday 9th of May 2016
[…] White is not a colour I have in any of my rooms, but seeing this space slowly come together might have me re-thinking my colourful views haha! Also, I’m dying to find out how she transforms a vintage chair. […]
Katy {ashadeofteal}
Thursday 28th of April 2016
The room looks so much larger when its painted all white. I'm excited to see the rest.
Mary
Sunday 24th of April 2016
Lindi what a makeover and just from the paint alone. Ahh, the power of paint. I t makes a huge difference. The tips you gave us are spot on! Looking forward to your ORC progress and thank you for joining us over at Sweet Inspiration.
Keri
Thursday 21st of April 2016
Your off to a great start on this bedroom makeover! I love that chair!!!!! Can't wait to see the progress on this room. I would like to invite you to link up to our party, Sweet Inspiration. It starts on Friday and runs until Tuesday. Hope to see you there.