
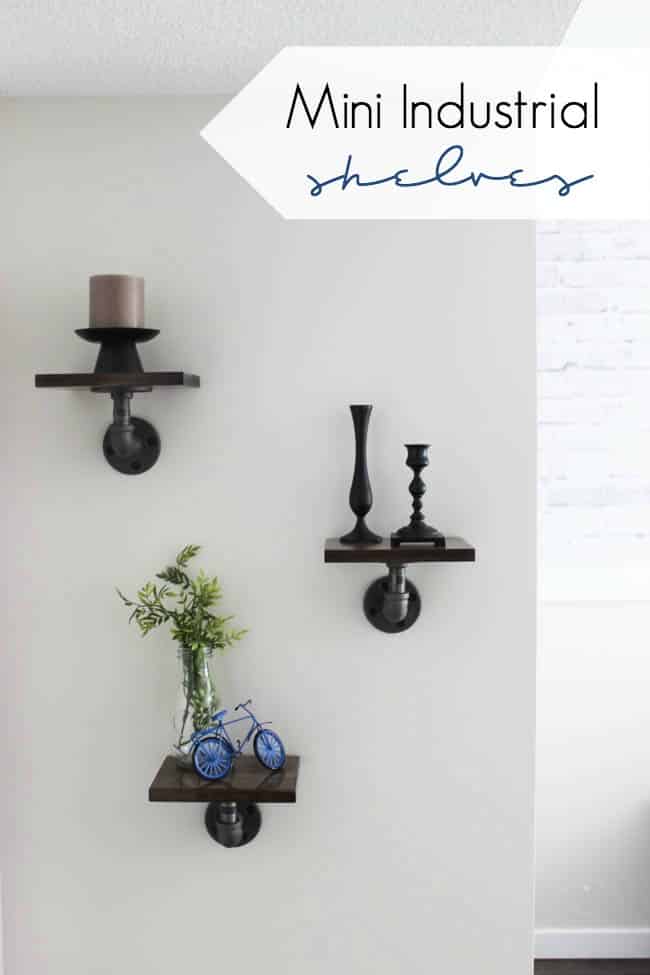
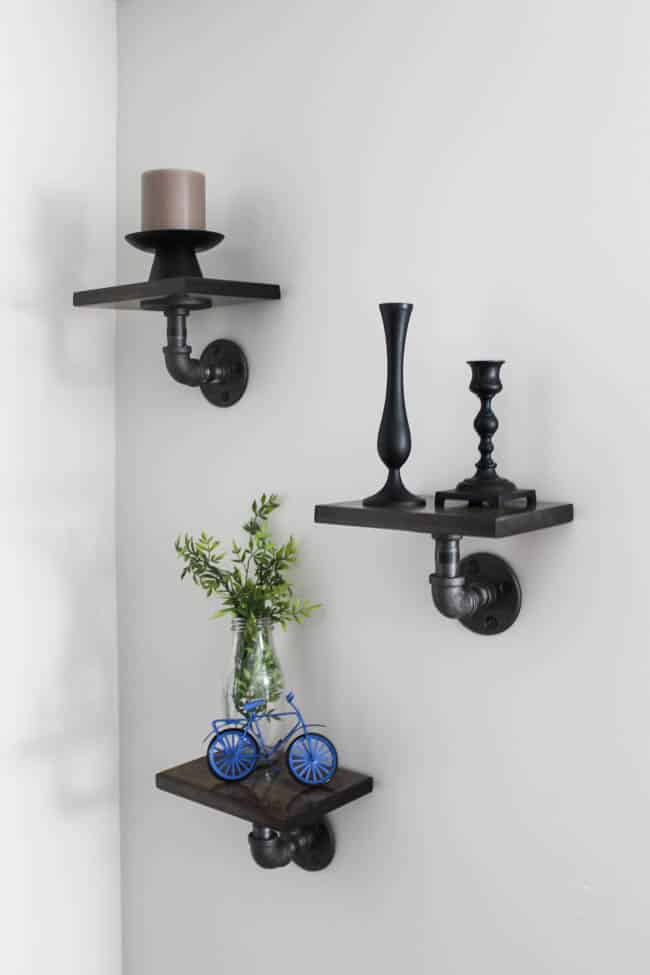
No matter what I do, a little bit of industrial design sneaks into my rooms. Our ensuite was a modern oasis, but is was still full of industrial touches, from hairpin legs to concrete soap dishes. You need to put what you love into your homes, and I’m always drawn to the cool industrial metals. I made these mini industrial shelves last year, and I can’t wait to find a more prominent place for them in our new home!
*This post contains affiliate links. When you buy a product through one of my links, I get a commission at no cost to you! Thanks for supporting my blog so I can continue to bring you posts like these. For more, see disclosure page.*
This project was fun and simple to make. If you’re looking for something to fill one of those empty walls or strange places, this is the perfect project!
Materials:
- 1″ x 6″ x 2′ board
- 6 – 1/2″ black steel flanges
- 6 – 1/2″ (diameter) x 2″ (length) black steel pipes
- 3 – 1/2″ black steel elbows
- 12 – #10 1 1/2″ wood screws (flange to wall connection)
- 12 – #10 1/2″ wood screws (flange to shelf connection)
- Wood Stain
- Varnish (gloss)
- Acetone
- Clear coat
Tools:
- Chop saw (or circular saw)
- Sander
- Drill
- Planer (optional)
How Can I Make Industrial Shelves?
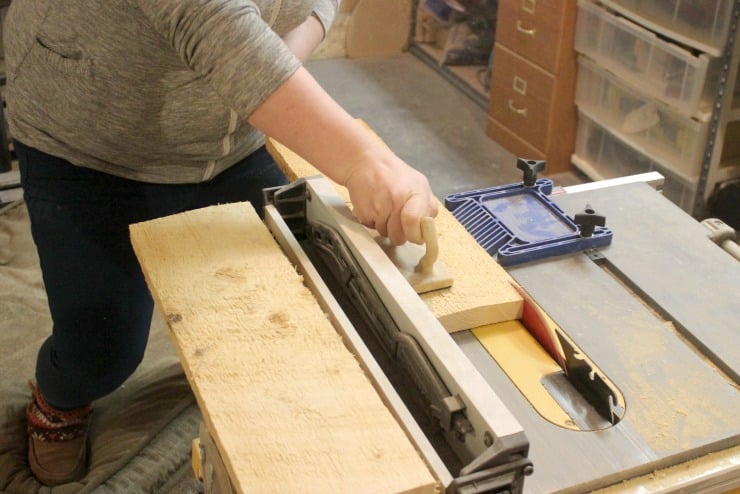
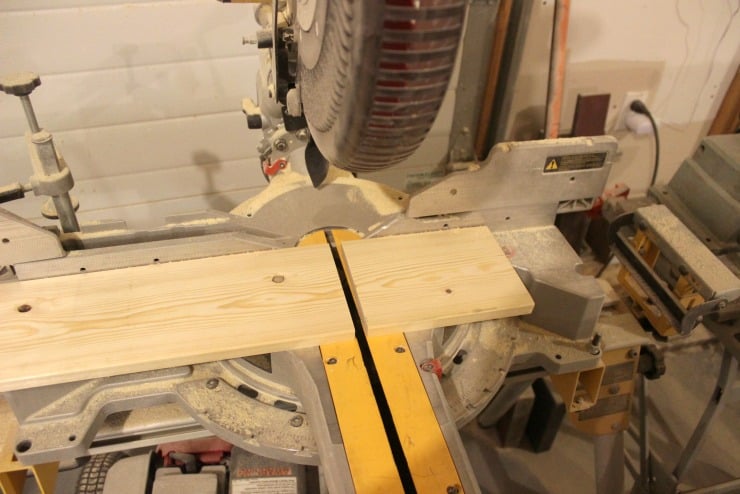
To begin, use the table saw or circular saw to cut the width of the board to 5″ for your shelves (you need a total of 21″ in length). If you are using rough wood, you may want to run the wood through the planer to make it flat and smooth. (If you bought wood that was straight, you don’t need to worry about this step.)
Grab your 1×6″ board and cut the board to 7″ inches in length.
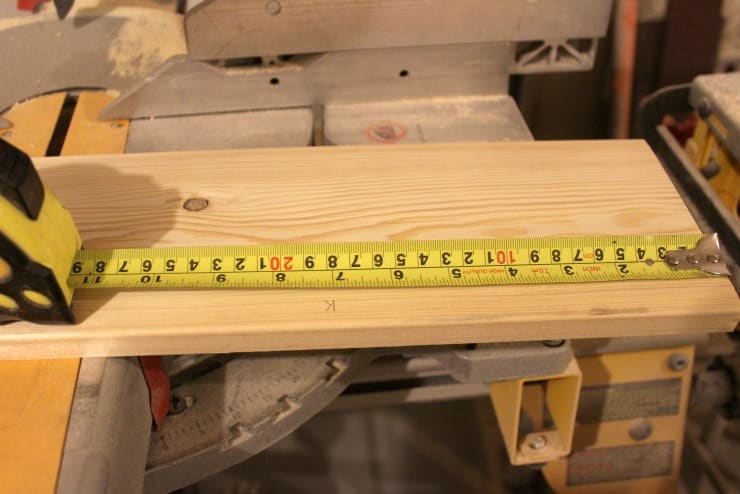
Use either a miter saw (chop saw) or a circular saw for this cut.
Next, pick up your sander and sand down all sides of your wood. Stain the wood with any color stain you chose.
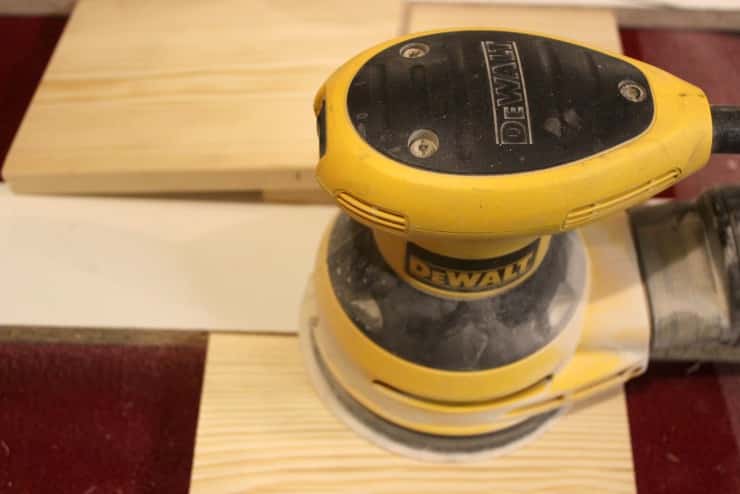
Let the stain dry for 24 hours, and then apply a coat of varnish to protect your wood.
Assembling the shelves:
Gather your black steel pipe pieces for the arms of the shelves.
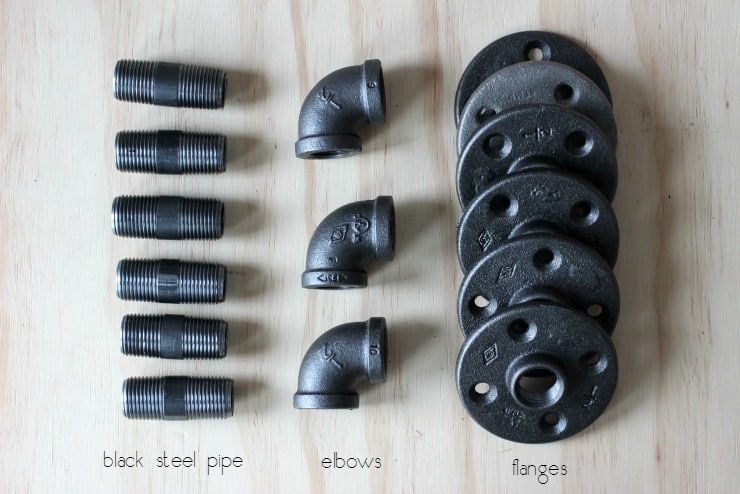
Assemble the pieces in this order: flange – pipe – elbow – pipe – flange.
Twist your connections until they are tight. You can temporarily screw one flange of the arm down to tighten the pipes easier.
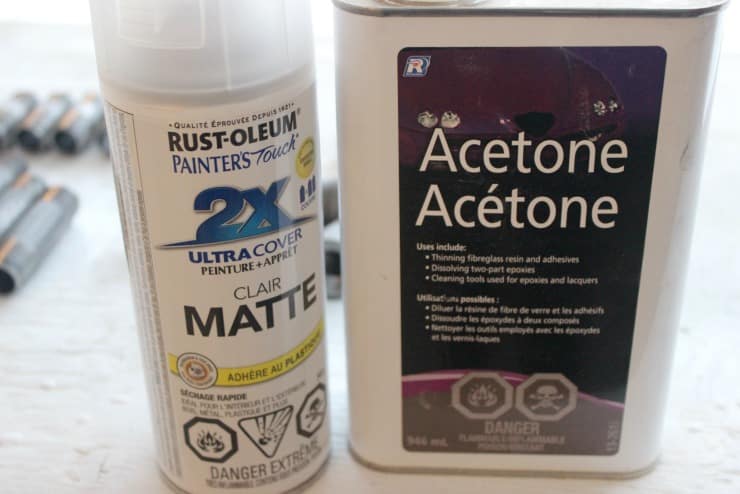
Once everything is assembled, put on work gloves and rub down your plumbing parts with Acetone and a paper towel or shop towel. This will remove any grease. When clean and dry, spray your display shelf arms with clear matte spray paint to seal it and protect it.
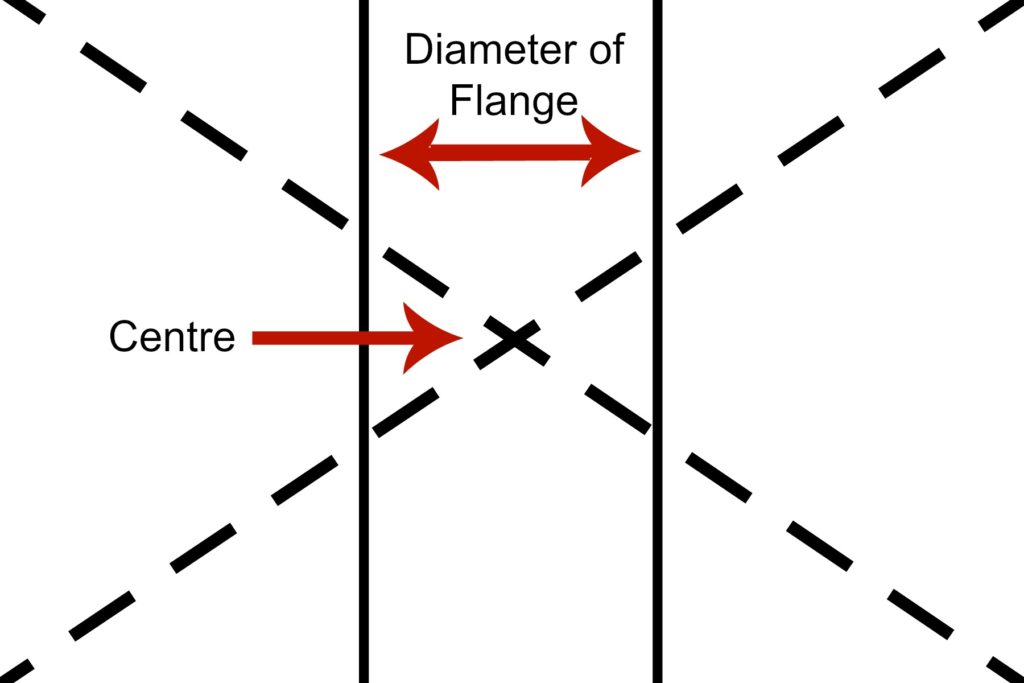
Find the exact center of your board by drawing a diagonal line from opposing corners. Then measure the diameter of your flange and measure half of that distance out from the center on each side. This will give you the area to screw your flange into (to keep the shelf level.)
Place your assembled arm against the wall, and place your wood shelf on top, making sure that your flange rests within the zone you just measured. When you are happy with the placement, draw through the holes of the flange to mark the screw locations.
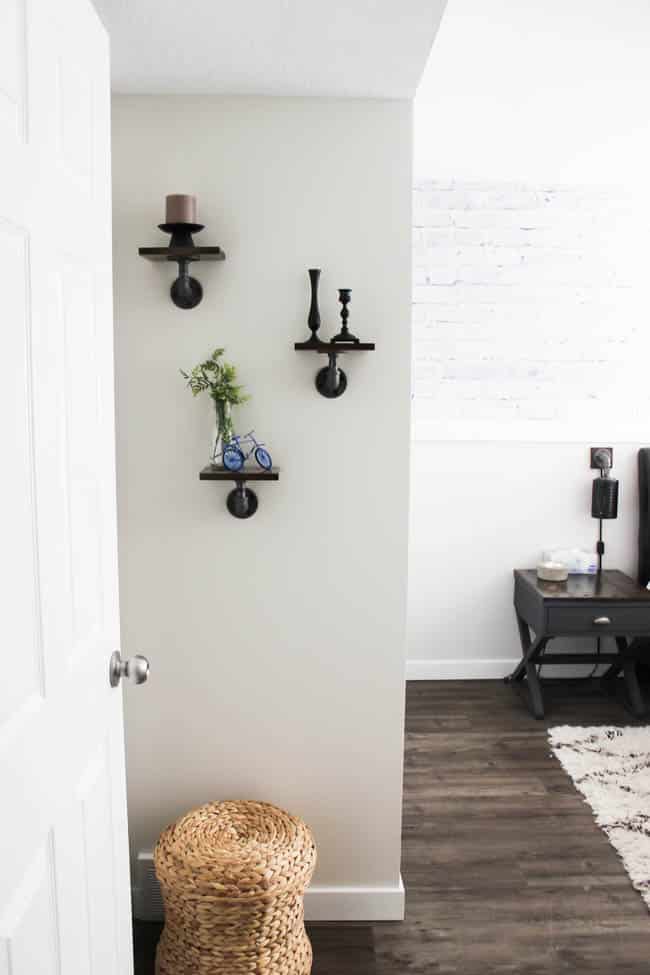
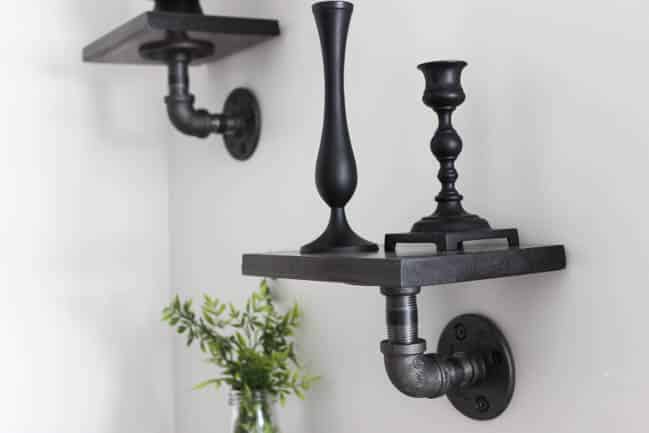
Take the display shelf off of the wall and screw the board in place with the 1/2″ wood screws. Level and hang the shelf on the wall.
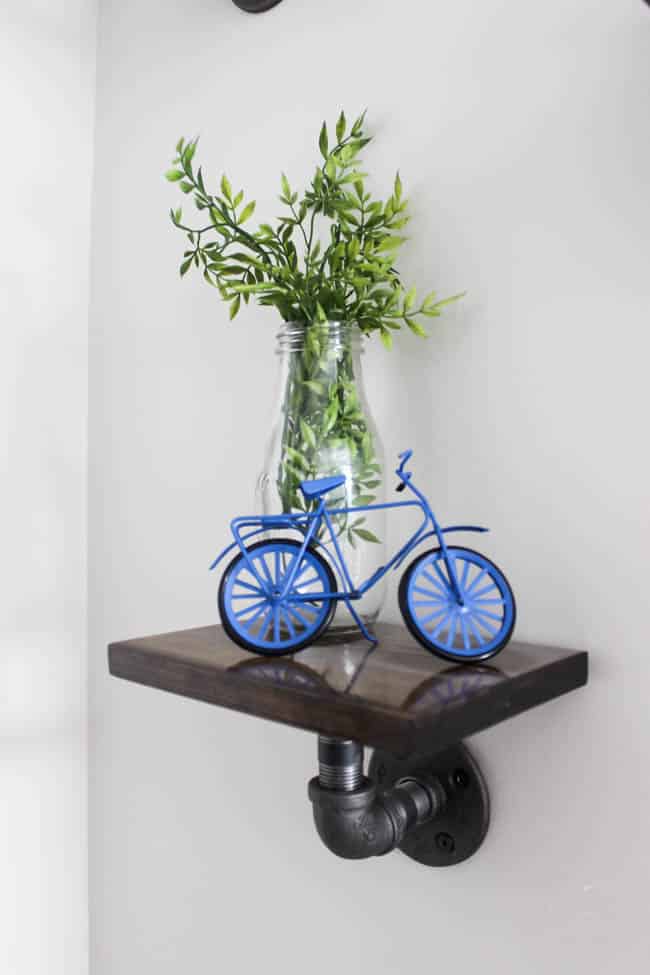
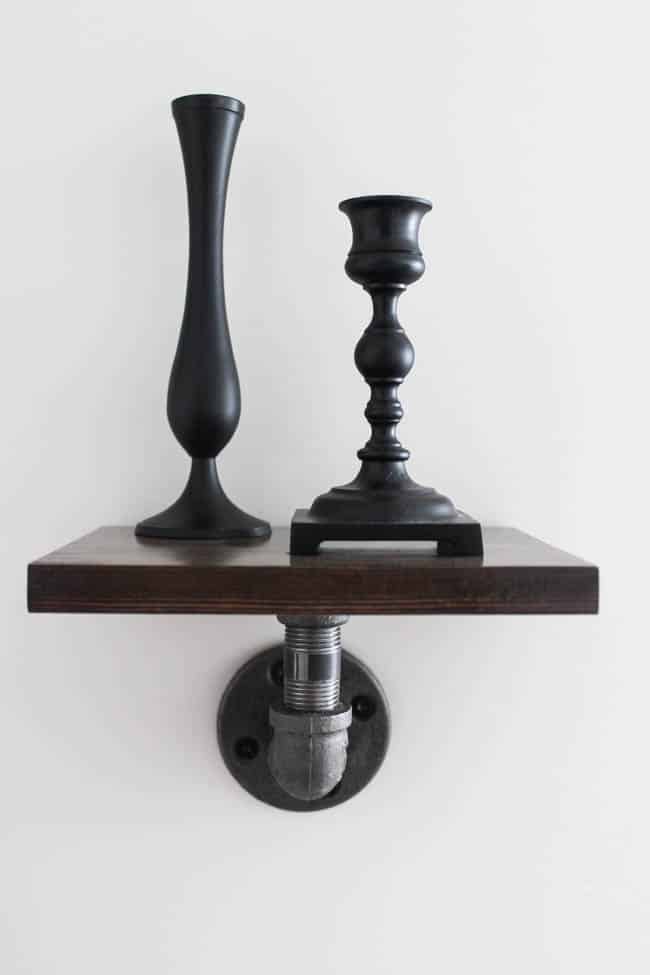
Throw some of your pretty knick knacks and plants on top, and you’re done!

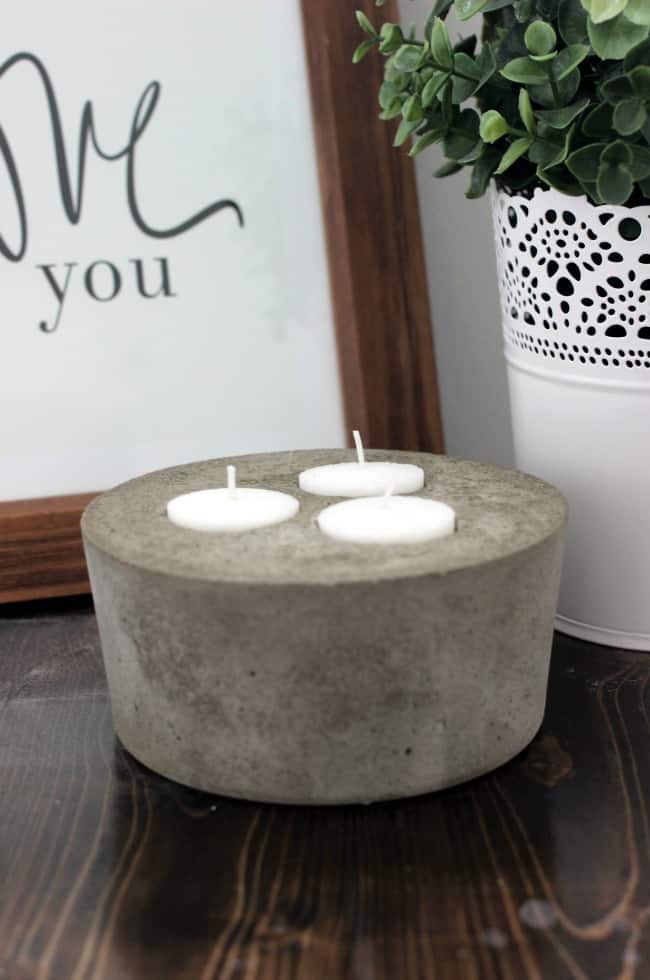
If you like industrial decor, you may like this Concrete Candle!
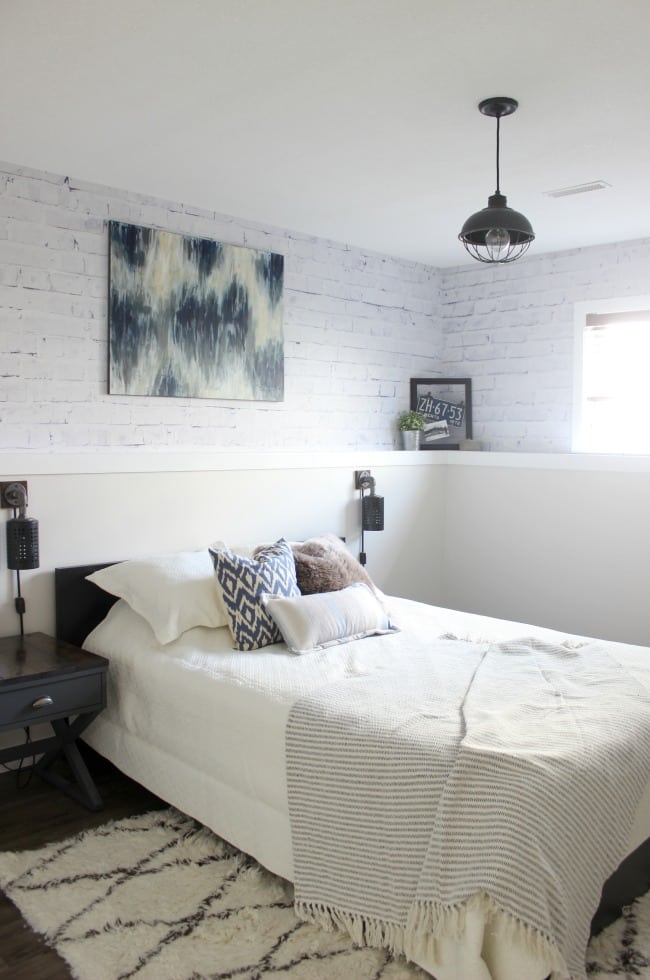
These shelves originally hung in our basement guest bedroom. Have you even seen a basement room this bright before?

30+ TUTORIALS FOR DIY WALL SHELVES - Unfines
Thursday 18th of July 2019
[…] Mini Industrial Shelves // Love Create Celebrate […]
30+ TUTORIALS FOR DIY WALL SHELVES - Spration
Tuesday 2nd of April 2019
[…] Mini Industrial Shelves // Love Create Celebrate […]
30+ TUTORIALS FOR DIY WALL SHELVES - Emities
Thursday 10th of January 2019
[…] Mini Industrial Shelves // Love Create Celebrate […]
30+ Tutorials for DIY Wall Shelves – Chandra Lockey – Blog
Wednesday 18th of April 2018
[…] Mini Industrial Shelves // Love Create Celebrate […]
30+ Tutorials for DIY Wall Shelves - HandmadeStorez
Wednesday 18th of April 2018
[…] Mini Industrial Shelves // Love Create Have a good time […]