
Looking for a DIY tutorial to create amazing canvas art for your home? This video tutorial is easy to follow to help you create your own canvas wall art.
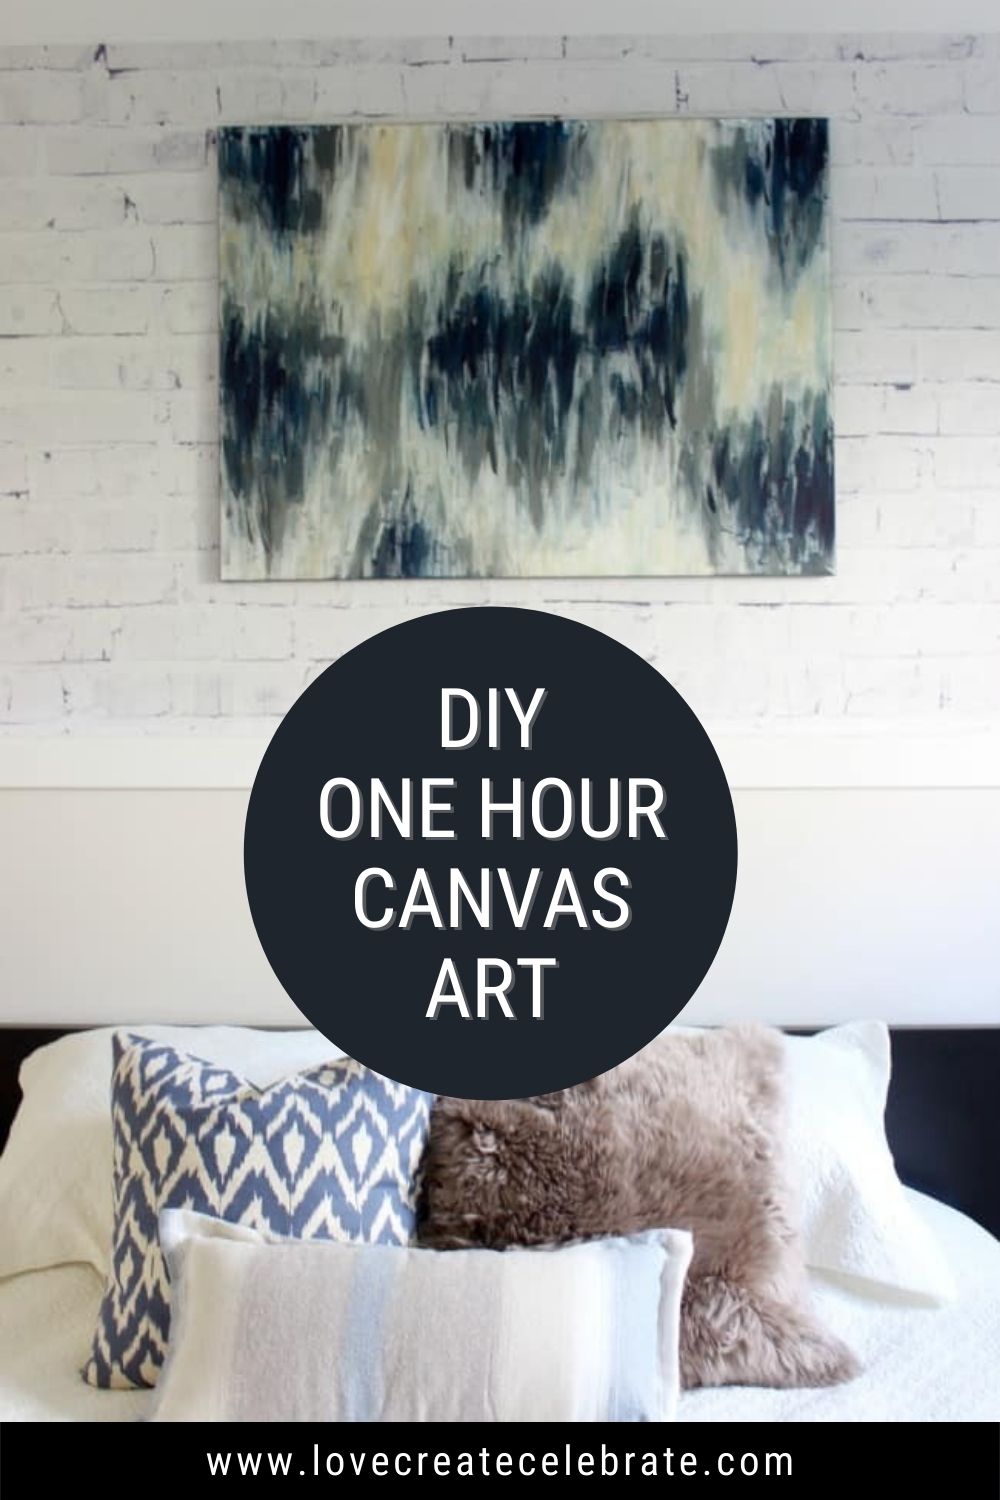
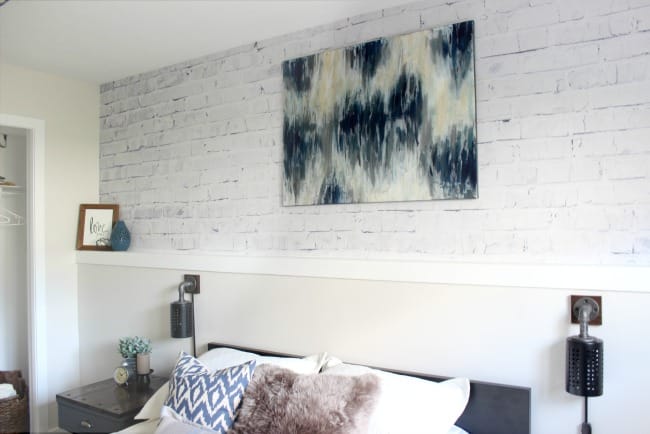
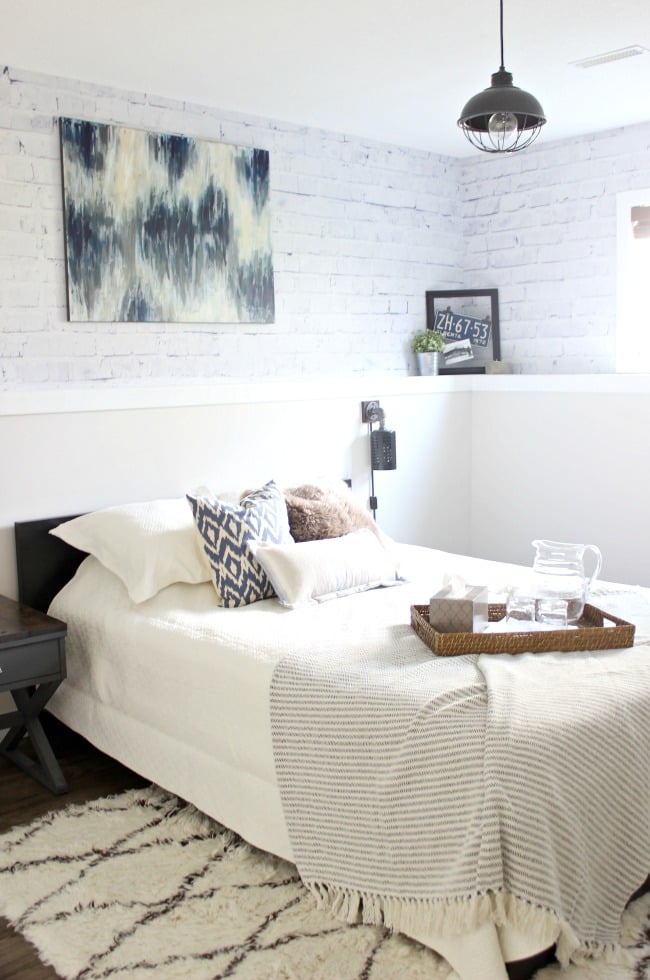
Today I’m sharing the final DIY from my Modern Industrial Guest Bedroom. If you weren’t here when I started the challenge, I went on a crazy adventure to completely transform our guest bedroom in six weeks and I was SO happy with the room! This room is full of DIYS, like our Industrial Wall Sconces, my DIY Decorative Metal Orbs, and my Industrial Side Table. This DIY canvas art video tutorial marks the official end to my Modern Industrial Guest Bedroom *tear*, but I’m SO happy to share it!
*This post may contain affiliate links for your convenience. Thank you for supporting Love Create Celebrate. If you have any questions, please read my disclosure policy*
Materials:
Large Canvas (I used 30″ x 40″)
Acrylic Paints
(I used 5 colors – white, cream, grey, dark grey, navy)
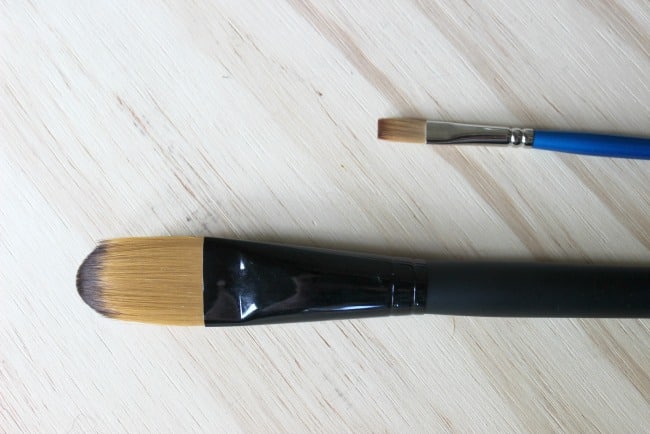
Two paintbrushes

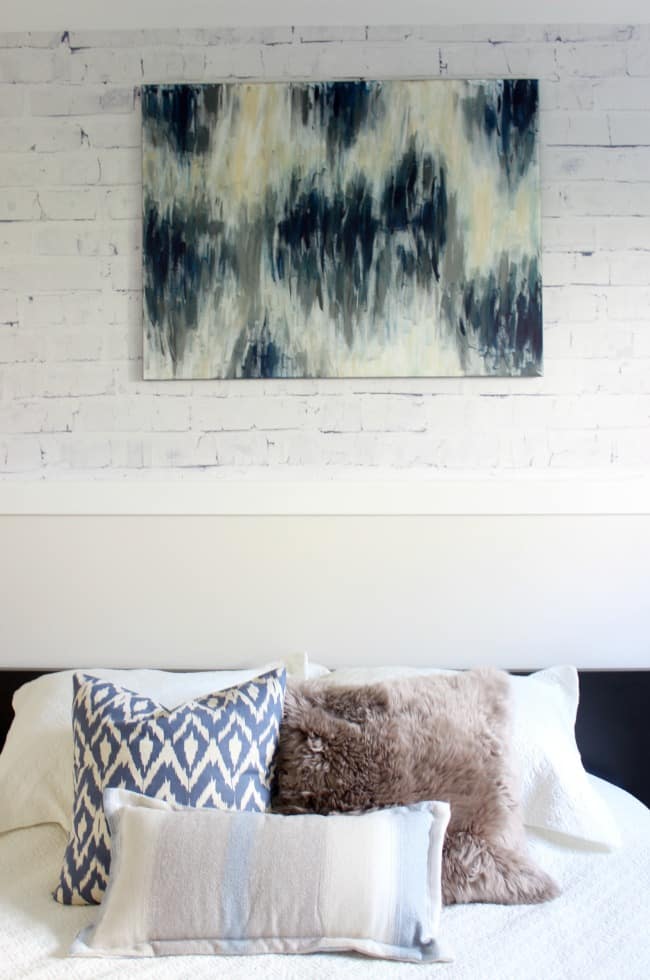
I’m going to jump in by saying that I am NOT an artist. I may be creative, but painting of any sort is not one of my skills (yet!). This however, is artwork that I CAN do! I honestly made this painting in less than an hour while my mom was visiting. She drank tea and chatted with me while I painted (see Mom, I told you I’d edit out our conversation! lol).
I promise you can make this and you will LOVE it. Check out the quick video tutorial!
How to Make Your Own DIY Canvas Art:
Don’t forget to subscribe to my Youtube channel! There may be a few videos I don’t show here *wink wink*.
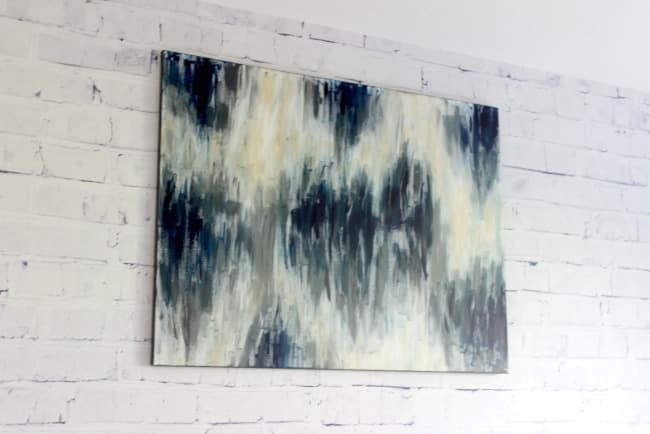
The only thing that I didn’t mention in the video was that I added the grey border to the artwork after it was done drying. I didn’t want the edges to stay white, and I had accidentally gotten some paint on the sides :) Painting the edge is the perfect way to finish off the piece!
This art makes such a huge statement! Everyone that enters the room mentions the artwork and loves it. I’m thrilled that I was able to share it here today!
If you are looking for more great affordable DIYs, check out these projects:

Canvas Art in Less than an Hour | DIY Lots
Sunday 6th of January 2019
[…] See The Original Article For Instructions […]
The Creative Gallery #188 - A Blossoming Life
Sunday 2nd of December 2018
[…] Make Beautiful Canvas Art […]
Sommer
Thursday 12th of July 2018
This is so beautiful! Would you suggest waiting to let the paint dry if I wanted to do two different colors so they don’t run? I want to do navy with a coral/peachy color.
Lindivs
Friday 13th of July 2018
You definitely could do that, but I think you would like the blended look better! I would suggest you try out both methods on a scrap piece of cardboard and see what you like better :)
renee
Thursday 29th of March 2018
you are awesome! glad I am following your blog! :)
Lindivs
Thursday 29th of March 2018
Thank you so much!! So glad you love the project! :)
Valerie
Saturday 3rd of March 2018
This is great and I love the final result!!! Two questions. Did you varnish this after to stop yellowing, dust, etc? Others suggest that we do that but not sure if it's necessary. Second question. I bought an acrylic print from Winners and I love it but it sure could use some colour. What are your thoughts on going in and adding a bit of colour to something you've bought?
Lindivs
Sunday 4th of March 2018
Hey! So glad you love the piece! I did not varnish mine, and it's been up for a couple of years without any yellowing or changes in colour so far! Also, I would be wary of painting something I bought, just because you don't know what kind of finish they used, and you wouldn't be able to achieve the same blended look. But if it's a piece that you won't hang without changing the colours, then why not experiment! lol.