
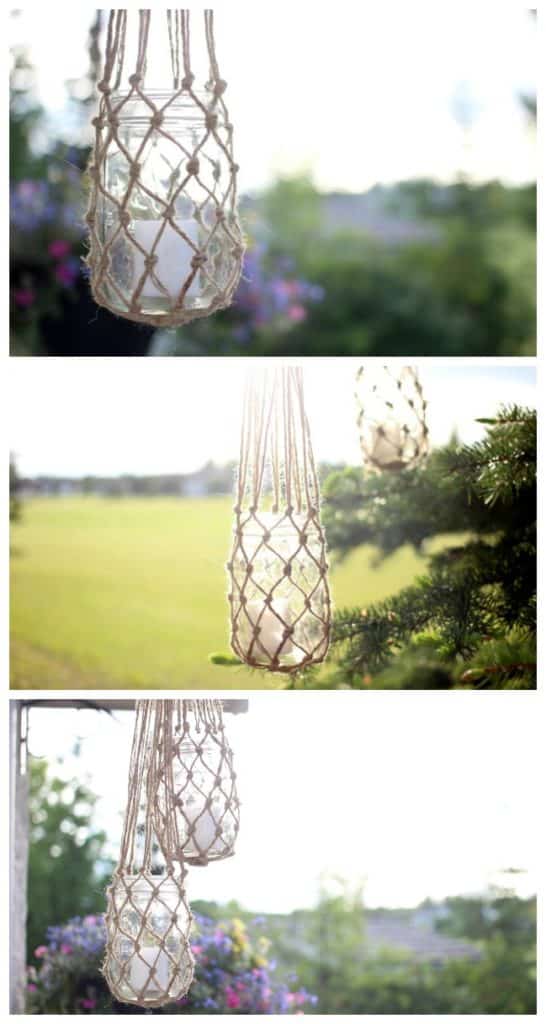
Summer is here and I can’t get enough! I made these quick Jute String Lanterns with mason jars to help decorate the backyard and patio!
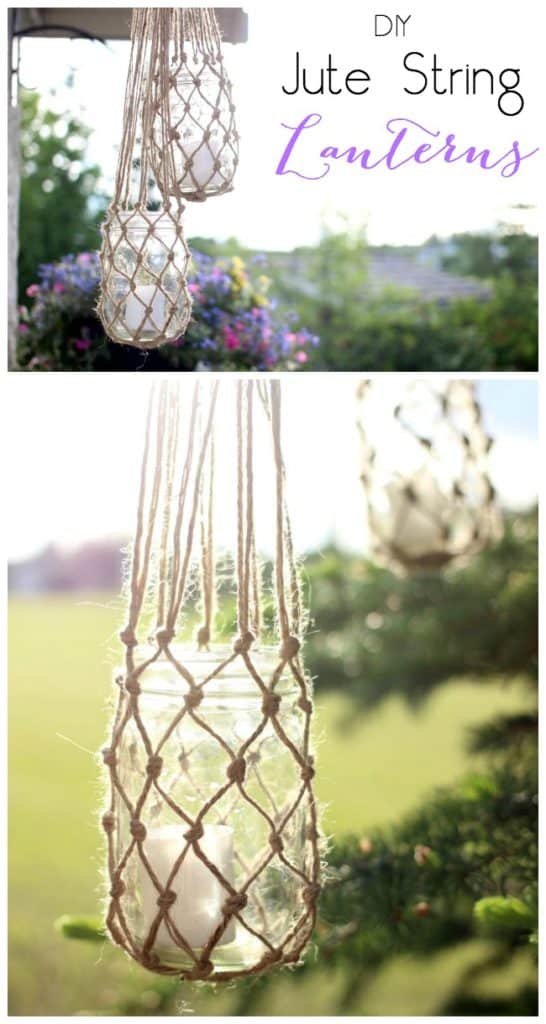
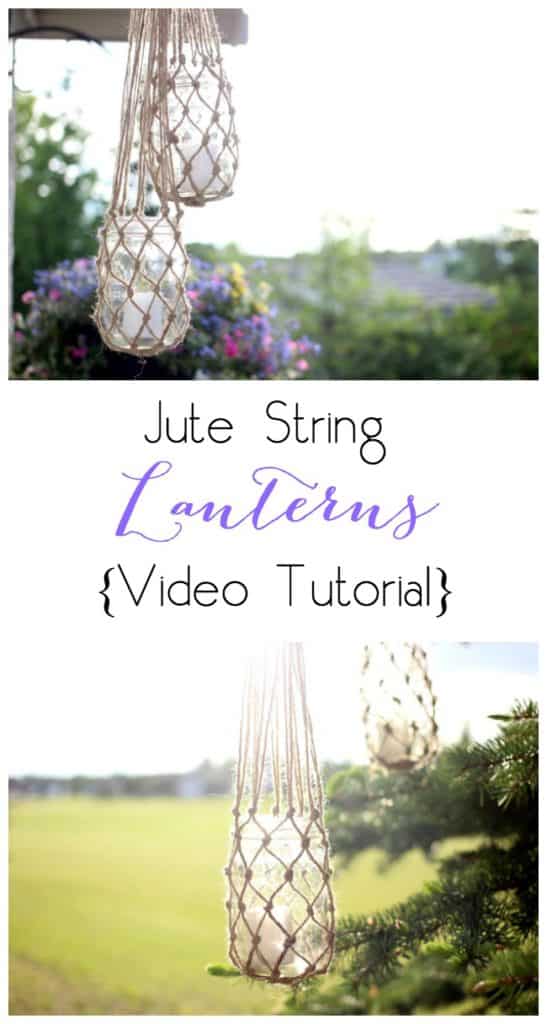
We’ve had sunny days, blue skies, and warm evenings and I am so here for it! On the first Monday of each month, I ask YOU what I should Create with. Last month, we made some amazing Leather Projects. When I asked what I should use this month, you voted for JUTE STRING or ROPE. I, along with three other friends, have made some amazing DIY jute projects and I can’t wait to show you the results! Plus, I need you to vote on what we will use next month! The summer weather inspired me to make these quick jute string lanterns!

*This post may contain affiliate links for your convenience. Thank you for supporting Love Create Celebrate. For more information, please read my disclosure policy.*
When you voted for me to use jute string, I honestly had NO idea what I was going to make. We recently got some new patio furniture so I’ve been spending all my time on the patio soaking up the sun. But the space was missing that summer evening ambiance. So, I thought I would make my own jute string lanterns to pretty up the patio.
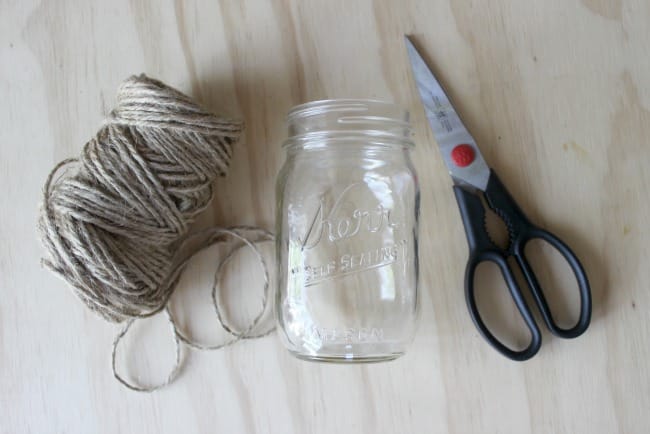
All you need for this project is jute string, a mason jar (or any glass jar), and scissors. It’s so easy, and such a great way to repurpose materials you probably already have at home. You may already have some mason jars you’ve been saving for a project just like this, or you might want to check your recycling bin for spaghetti sauce jars before the next garbage pickup. If you prefer a wider jar, you can find some great ones with lids at the Dollar Store.
Mason jars from sauces are great for smaller candles or LED string micro lights like this one from Amazon. But there are plenty of other options, so don’t just take my word for it, find what suits your yard best. If you want to use larger candles, or lights with wider battery packs make sure you find a glass jar with a top that is wide enough to fit those items. The Dollar Store has a great selection of wider glass jars.
You can follow along with my video tutorial or read the written instructions below. Choose your own adventure! The lanyard knot (mentioned in video and below) can be tricky if you haven’t tried it before, so this pin on Pinterest will make it easier for you!
Video Tutorial
How to Make a Jute String Lantern
Grab your scissors, jute string, and mason jar and let’s get started.
First, clean your mason jar, remove the label, and wash off the glue. Next, cut your jute string into eight long strands. Keep in mind that you will be knotting the string, so make sure it is at least four or five times the length of your jar from top to bottom. In fact, the longer the better. You can always cut any excess string when you’re done. Split your strands into two sections of four. Overlap the two sections in the centre and tie a lanyard knot. The knot will go directly underneath your mason jar. It will be the large centre knot that your jar sits on top of.
Once you have your lanyard knot tied tightly, you’ll notice that your strings come out in four groupings, each with four strands. Find two strands from neighbouring groupings and bring them together, tying a knot about an inch and a half away from the centre (lanyard) knot. Then, take the next two strands and tie the same knot the same distance, and so on. Do this all the way around the first layer.
Keep it Going
You’re working with a lot of long string at this point, so you might get some accidental knotting. Take your time, and keep going until you’ve gone all the way around once and end up with a snowflake shape.
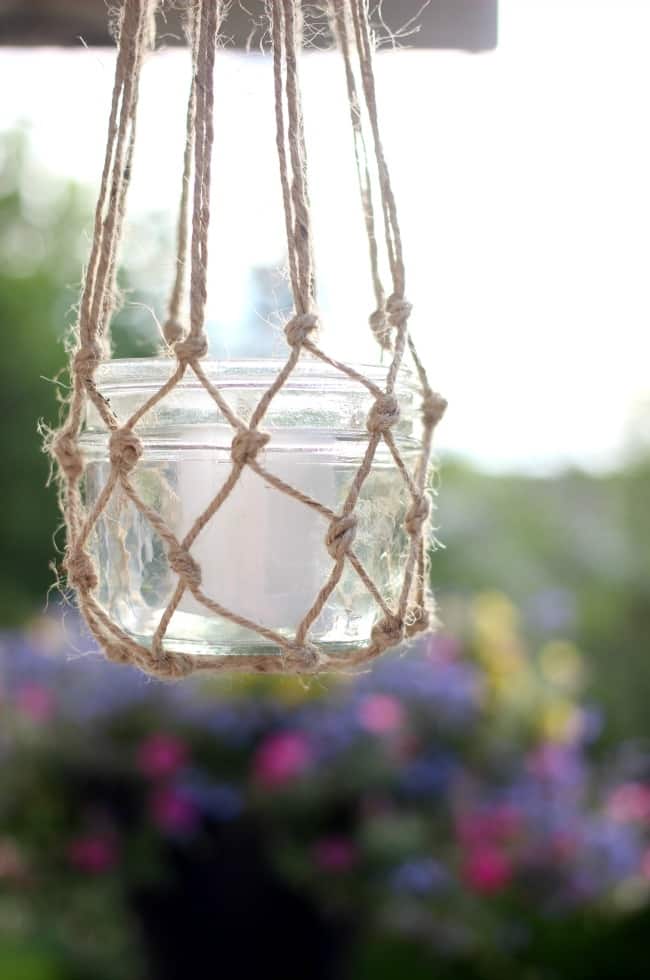
Continue with the second layer, tying two strands next to each other into a knot. Make sure the two strands you’re tying together both come from the knots on either side of them. Keep tying knots in this pattern for six or seven rows, or until you have enough rows to reach the top of your mason jar. If you are using a particularly thick string, your jute string might start to rise with each additional row. This is perfectly normal.
How to Use Your Jute String Lanterns
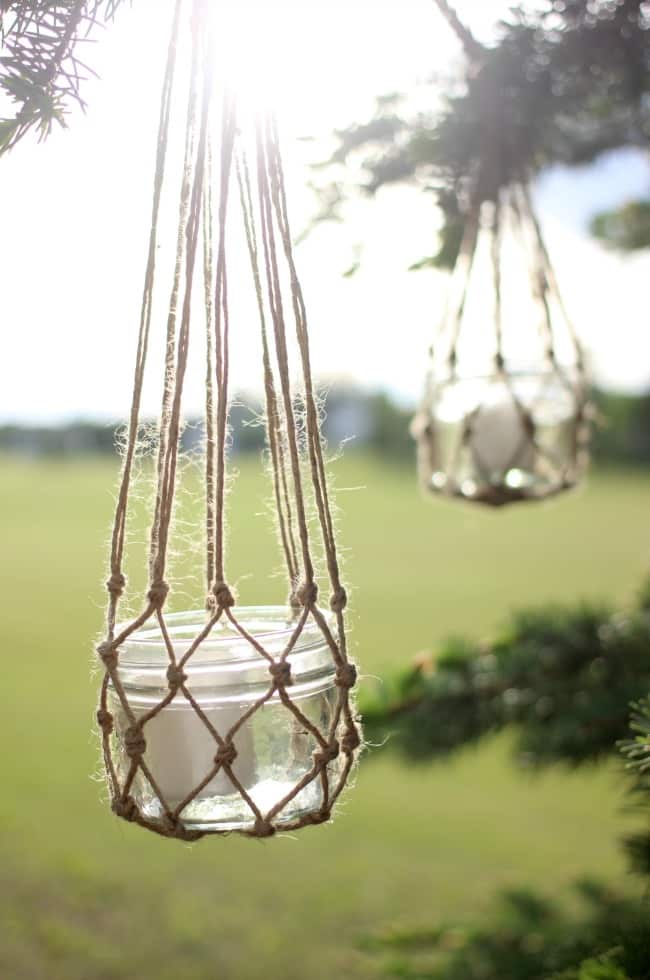
Once you’ve made your lanterns, you can fill them with faux candles or small battery operated lights and hang them up. Or you can even leave them empty. They’re pretty cute all on their own. If you do use battery operated candles or lights, make sure to cover the lanterns with lids in case it rains.
Decide how low you’d like your lantern to hang, grab all of the strands and tie a final knot at the top. This is the knot that will sit on your outdoor hanger or the tree branch or whatever you’re tying your lantern to. And you’re done! Now all that’s left to do, is to enjoy your new patio decor. I cannot wait to host a great patio party now! I made a few of them in one evening and hung them all over the yard :)
Don’t forget to subscribe to my YouTube channel for more great DIY videos!

Before I get to the other great blogger projects, I need YOU to vote for which item we should use next!
If you can’t see it on your mobile device, click here to take the survey!
Create your own user feedback survey
If YOU have a jute string or rope project, we want to see it! Share your project using the hashtag #CreateWithMeProjects! We will retweet and regram our favourites on all four of our accounts!
Now check out these other great Jute & Rope Projects!

Magazine Holder by Grillo Designs
Lamp Makeover by Pastels and Macarons
Rope Vases by Little Bits of Home
Can’t wait to see what you’ve made!!

19 Spectacular Outdoor Lantern Ideas Sending More Light Across your Space!
Sunday 18th of August 2019
[…] Details : lovecreatecelebrate […]
16 Boredom-Busting Fun and Frugal Summer Crafts & Projects - A Couponer's Life
Wednesday 29th of May 2019
[…] Photo from Love Create Celebrate […]
16 Stunning DIY Outdoor Lighting Ideas – chuckiesblog
Wednesday 30th of January 2019
[…] Diy outdoor decor idea via lovecreatecelebrate […]
16 Stunning DIY Outdoor Lighting Ideas - Style Motivation
Wednesday 30th of January 2019
[…] Diy outdoor decor idea via lovecreatecelebrate […]
20 DIY Romantic Outdoor Lighting Ideas - Craftsonfire
Saturday 19th of January 2019
[…] Diy outdoor decor idea via lovecreatecelebrate […]