
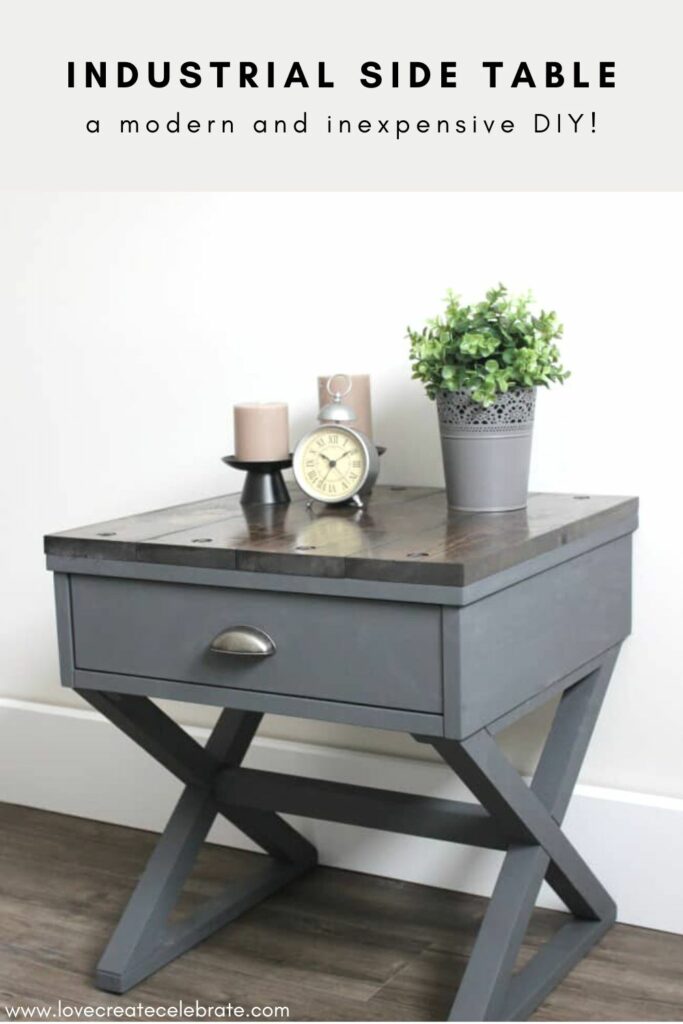
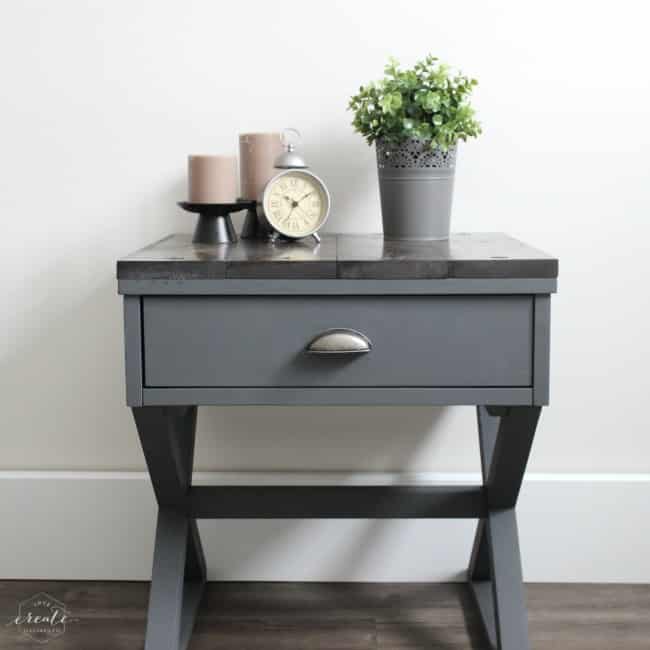
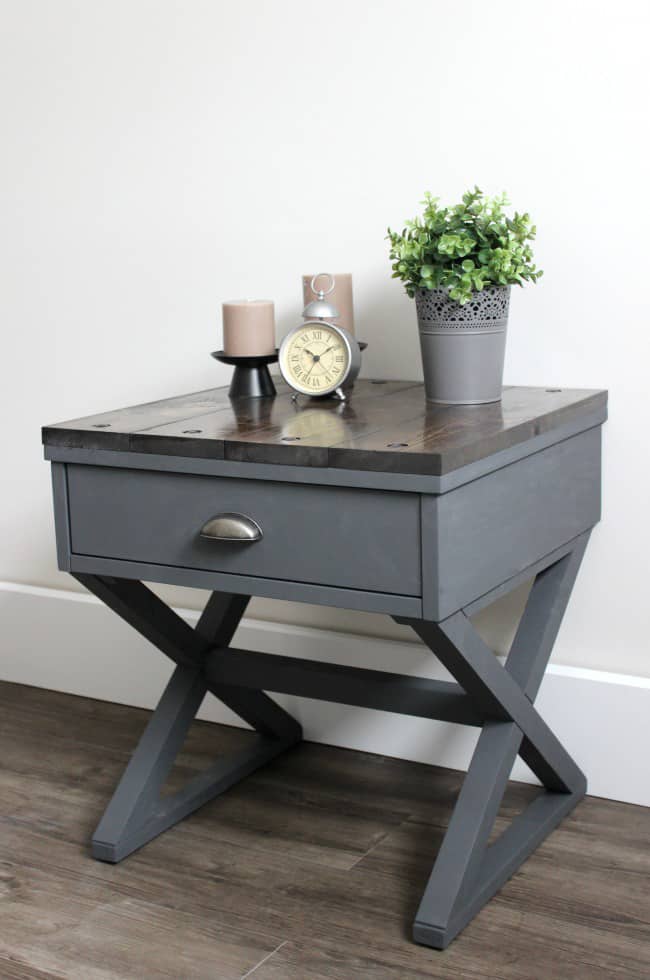
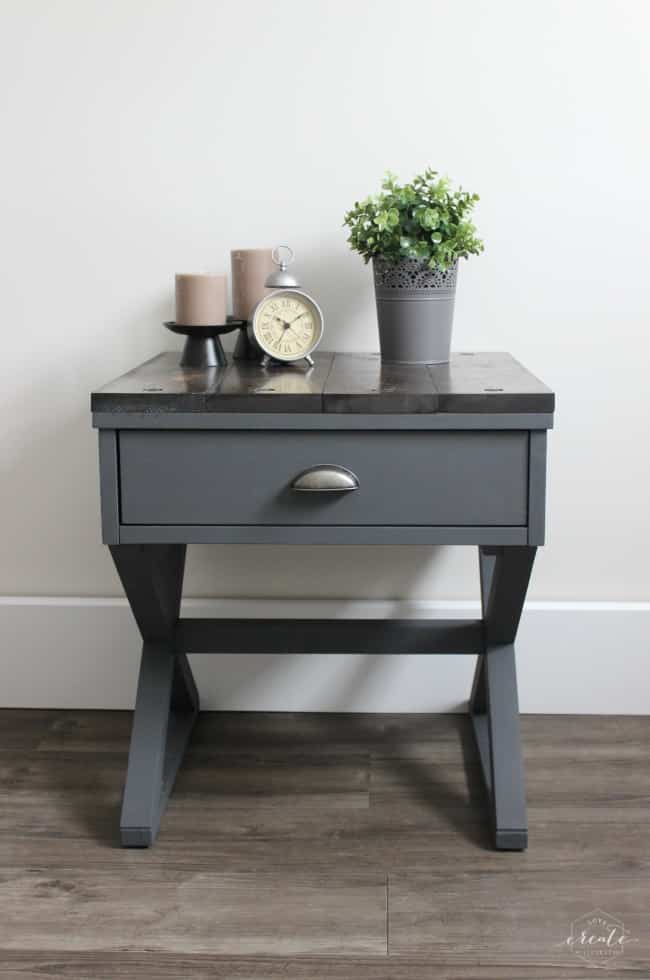
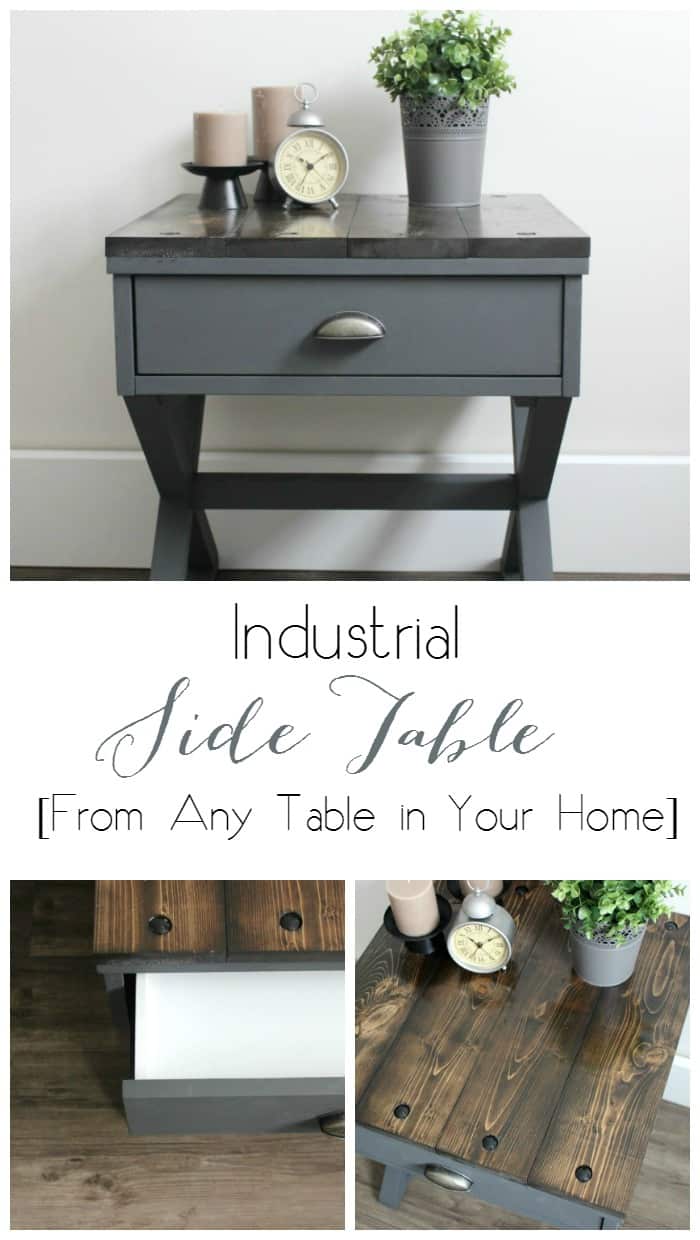
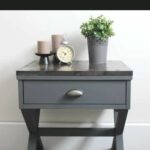
Build your own beautiful Industrial Side Table! Transform any old side table into a beautiful new piece in just a few simple steps!
With this industrial side table makeover, I’m joining 11 other AMAZING Canadian bloggers to share 12 #MarchWoodworking projects for #12MonthsofDIY! I had a plain Jane old side table that I bought when I first moved out on my own. Since I’ve been married, it’s been sitting in our guest bedroom, usually gathering dust. I’m planning to re-vamp the entire guest bedroom this Spring, so I thought it was the perfect time to give this side table a makeover.
*This post was sponsored by Fusion Mineral Paints. As always, opinions are 100% my own. This post may also contain affiliate links. Thank you for supporting Love Create Celebrate. For more information, please read my disclosure policy.*
Here’s what this side table looked like before the industrial side table makeover:

Please excuse the horrible grainy photo! I got SO excited about this table makeover that I forgot to take a before picture! This, unfortunately, is the only one I have. It still shows off the boring basics of the table though.
How to Make your Industrial Side Table
Materials Needed
- Old side table
- Paint (I used Ash and Casement by Fusion Mineral Paints)
- 1×6’s
- Carriage bolts
- Black spray paint (optional)
- Wood stain
- Varnish
- Epoxy
Tools
- Table saw
- Planer
- Drill
- Chop Saw
- Sander
- Grinder
Step-by-step Tutorial for your Industrial Side Table
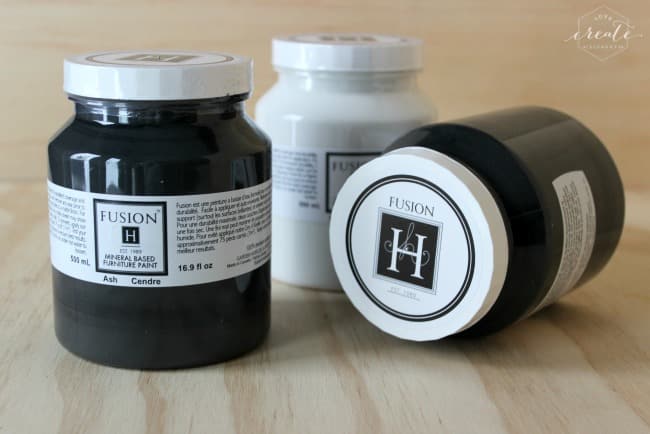
I was SO excited to work with Fusion Mineral Paints on this project. They have the most gorgeous colours, plus the paint won’t crack, fade, or discolour over time. Check out their Pinterest page for colour inspiration. I chose to use the colours Ash (deep grey) and Casement (off-white)
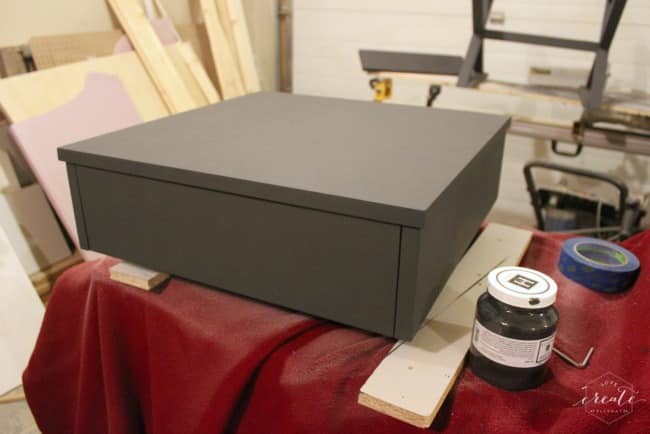
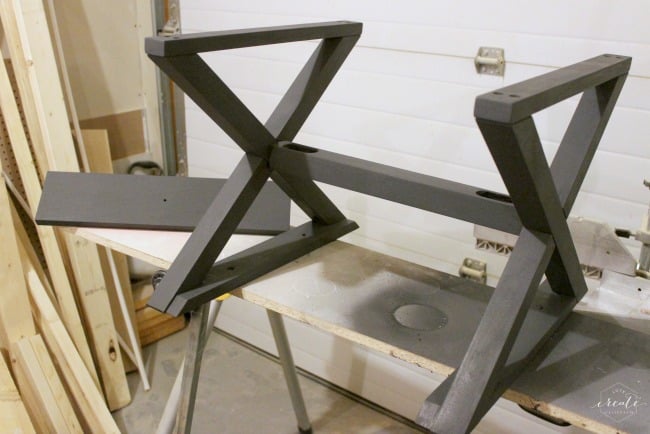
I started by taking apart my existing table, and painting each individual piece. Honestly, the paint went on SO smoothly! I did a second coat, just to be sure everything was covered, but I could’ve gotten away with just one coat of paint.
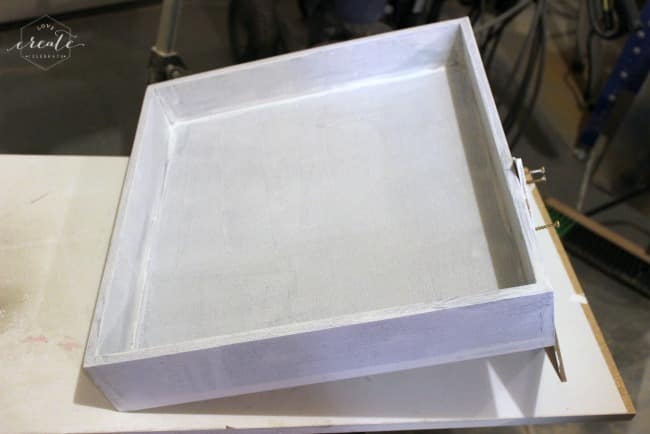
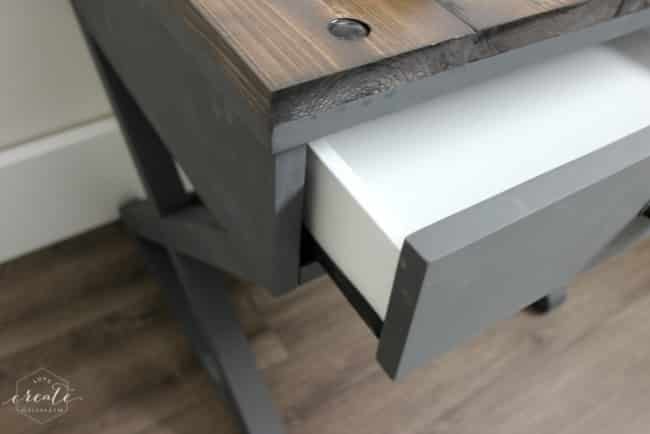
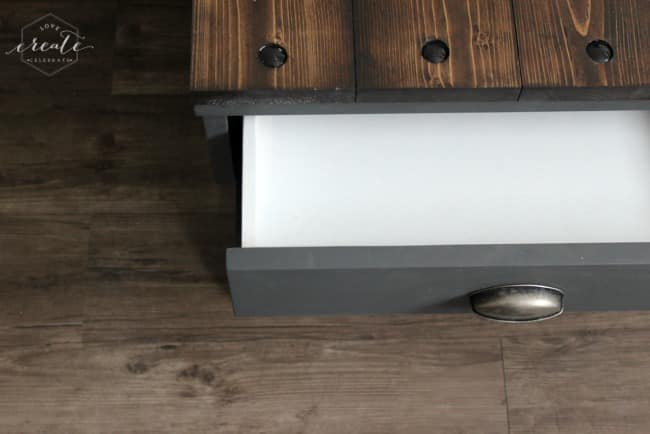
I wanted the inside of my drawer to pop out. Plus, I hate when you have a really dark drawer and you can’t see your things inside! So I used the Casement paint to brighten up the drawer. With the lighter colour on the dark original paint, two coats was definitely needed (only 1 coat of paint pictured above).
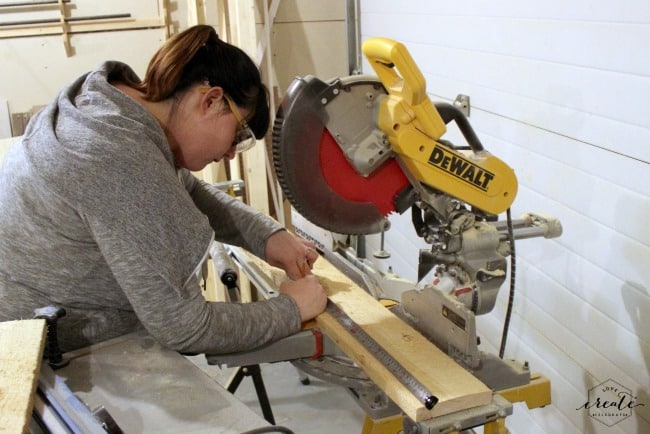
First, use the Chop Saw to cut the length needed to cover your table. My table top was 20 1/8″ long, so I cut four boards at 20 1/8″.
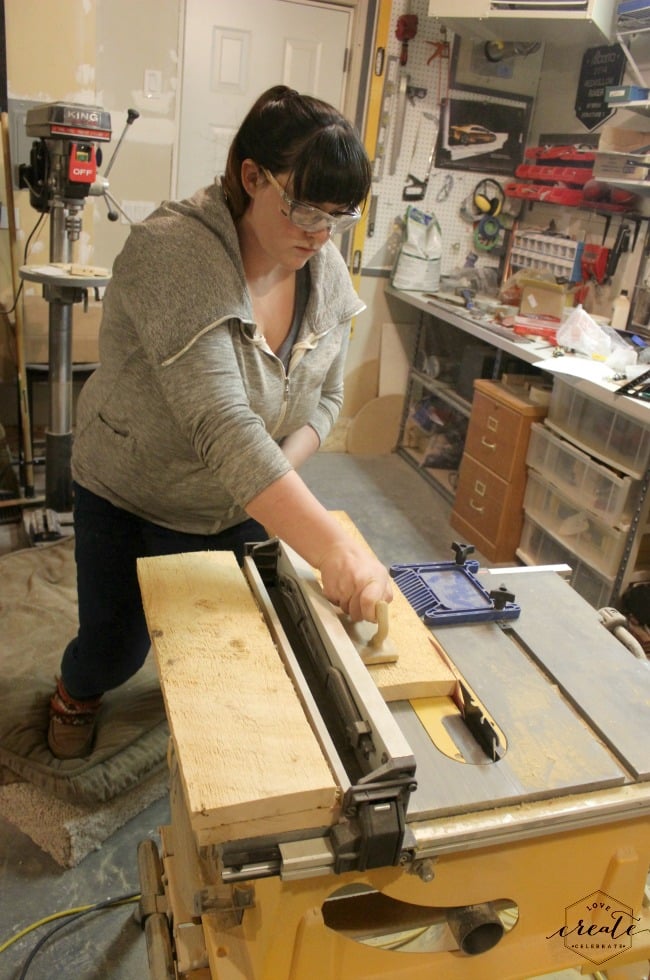
Next, use the table saw to cut your pieces (from the previous step) to the correct width. My table was 20″ wide, so I cut each of my four boards down to 5″ wide.
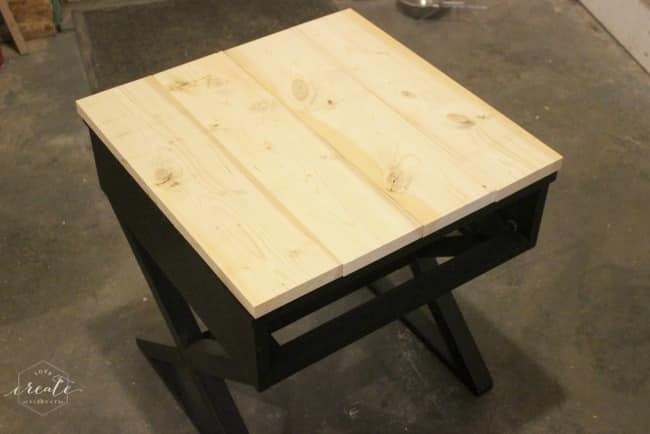
When I was done cutting, my 5″ x 20 1/8″ boards fit perfectly over top of the existing side table.
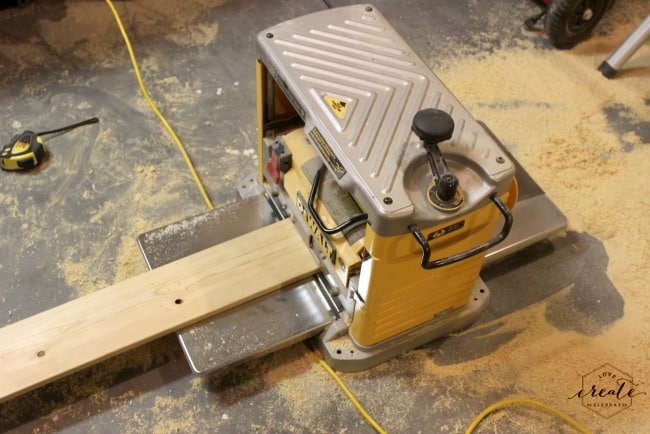
When I was done, I sent each individual piece through the planer (takes off tiny layers of wood at a time) a few times to make sure that they would lay flat on the tabletop and they would all be uniform.
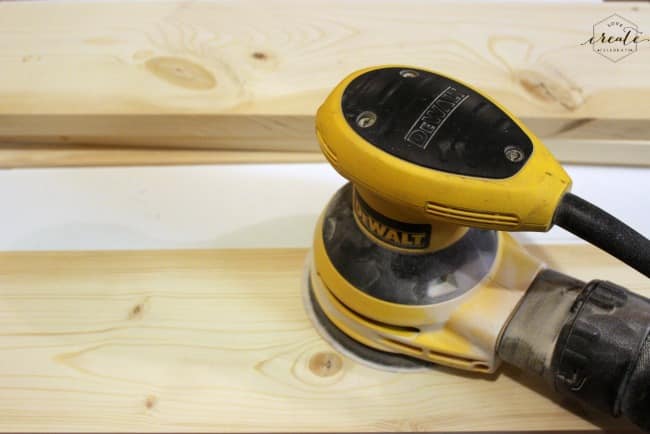
Then I sanded all sides of each piece to make sure they were smooth.
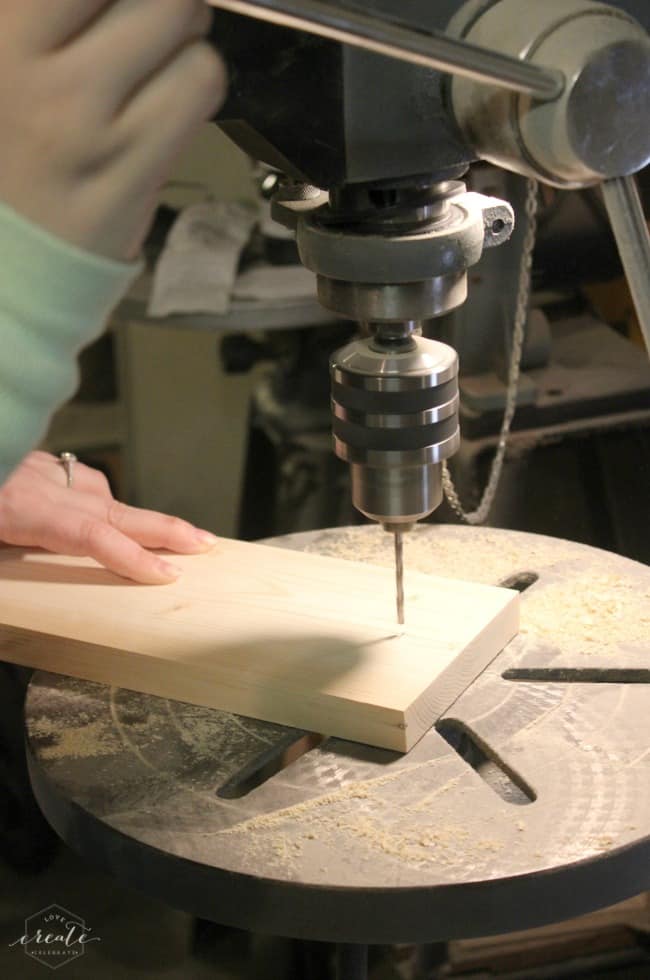
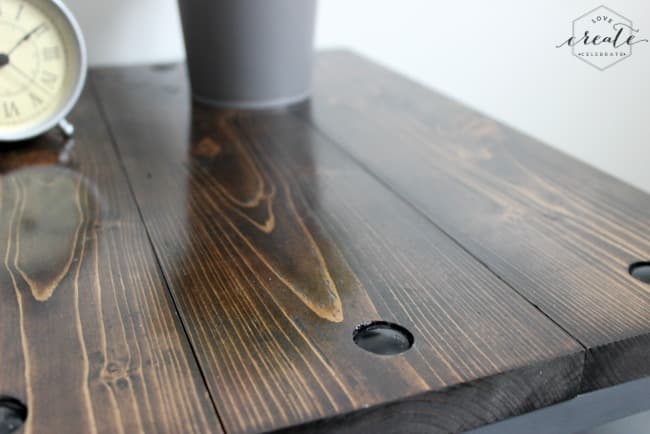
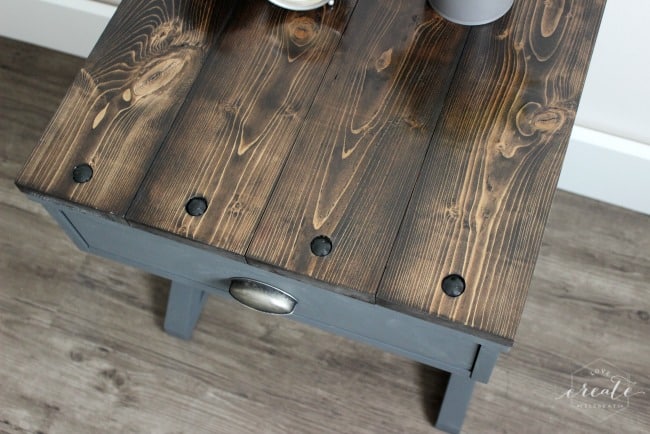
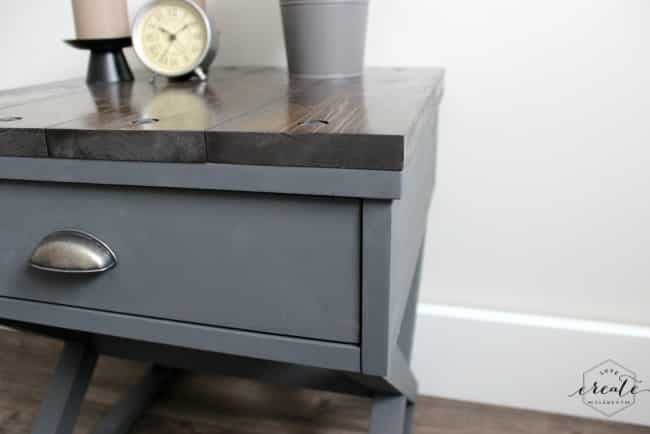
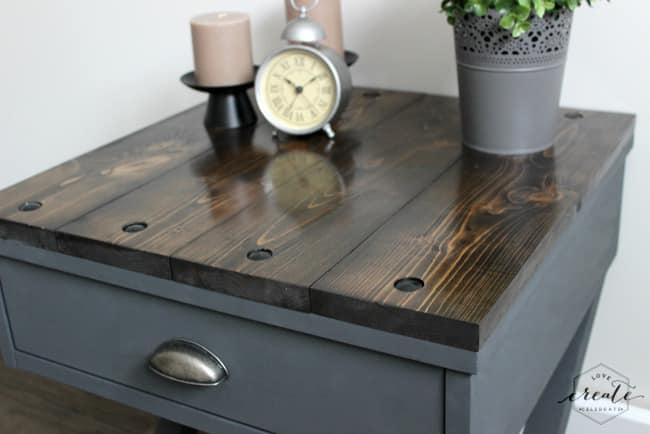
The last step before staining, was to make sure that I had my drill holes in place for the “bolted” industrial look. I put a drill hole about 1.5″ from the edge of each side, directly in the center. First drill a pilot hole, and then drill a countersunk hole using a drill bit (fostner bit) that is the same size as your bolt so that the bolt will sink down and end up at the same level as your wood.
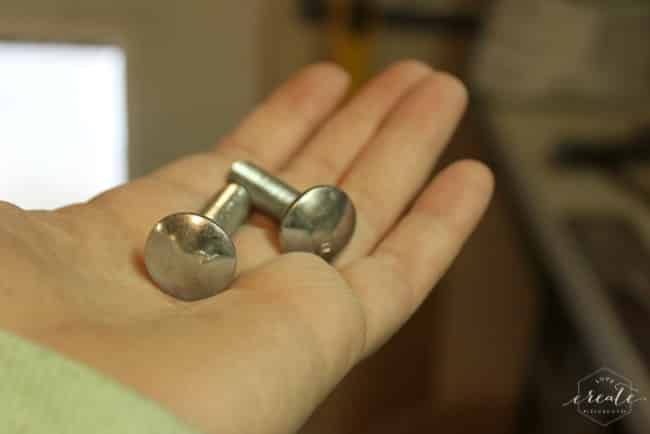
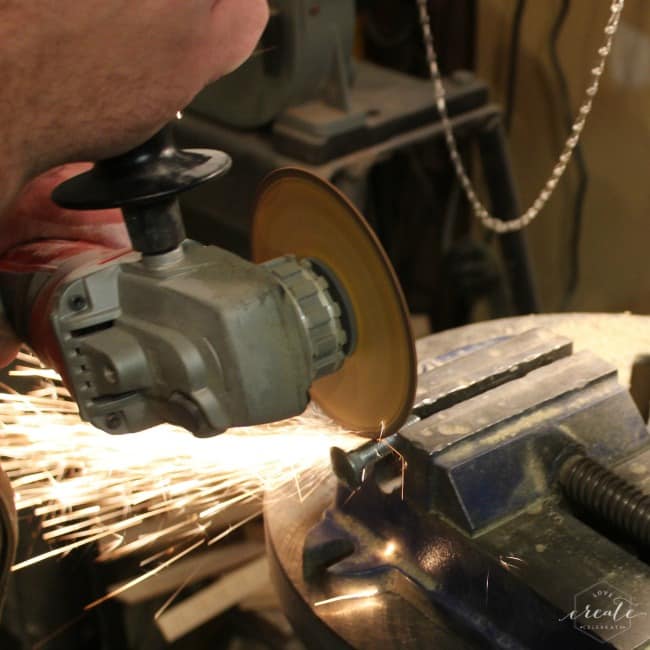
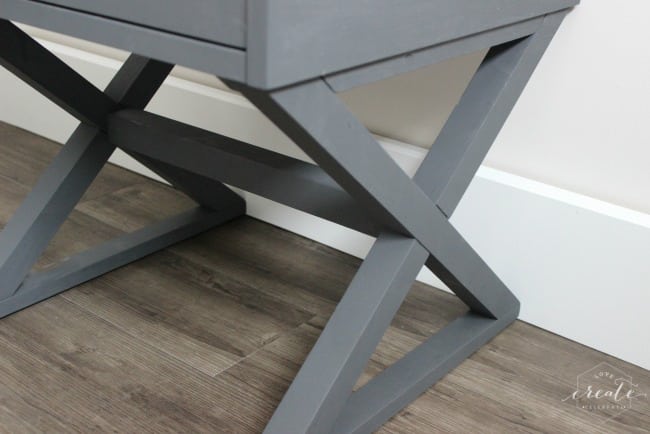
I chose to use 8 of these carriage bolts, but they were too long, so my handy hubby got out the grinder and chopped them down to the width of my boards.
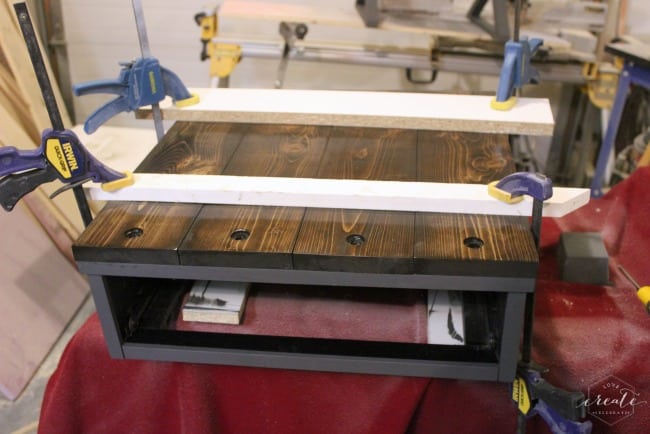
Next, stain and varnish your piece (not pictured) and let it dry overnight. You can also spray paint your carriage bolts at this point. I painted ours a gloss black. When it is dry, you are ready for your final step! Clamp your wood pieces to the top of your painted side table. I clamped onto thin boards above the stained boards to hold them all at once.
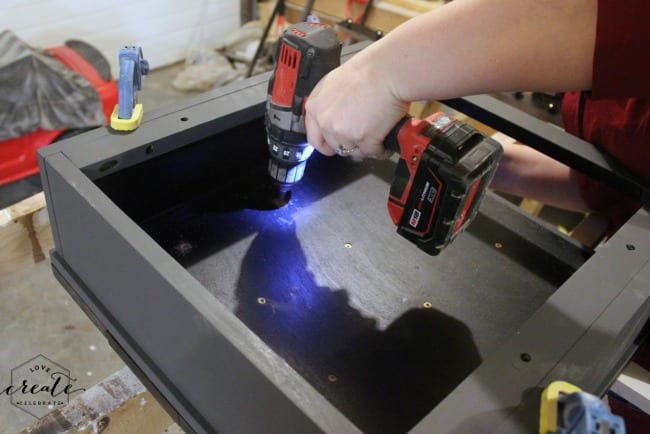
Screw into the boards from underneath, Double check that your screws are the right length. You want them to go into the stained boards, but not through them.
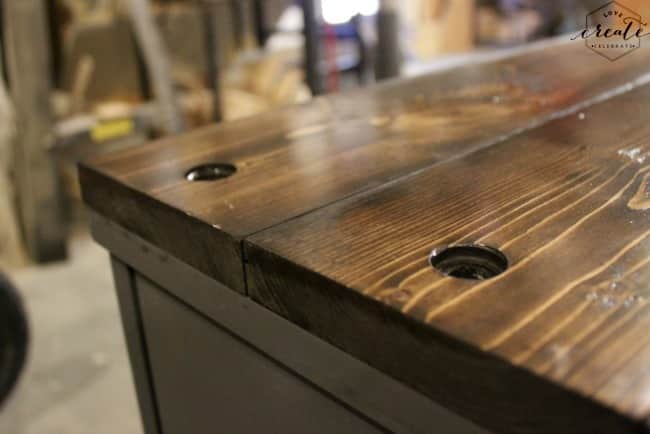

Mix some epoxy, drip it into the pre-drilled holes on top, and put your faux bolts inside.
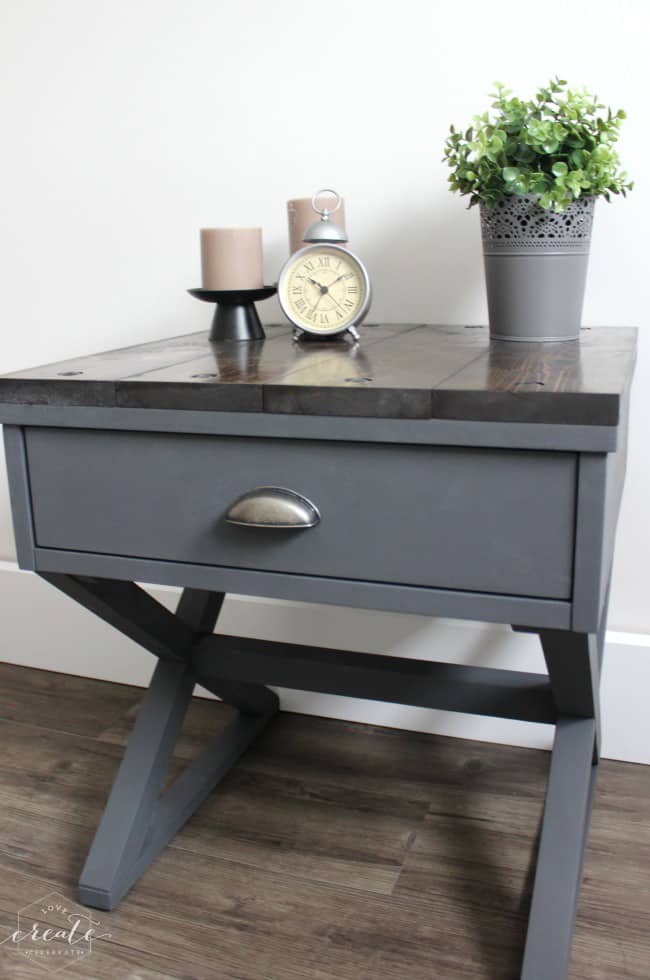
DONE! Now go admire your new re-vamped industrial side table :)
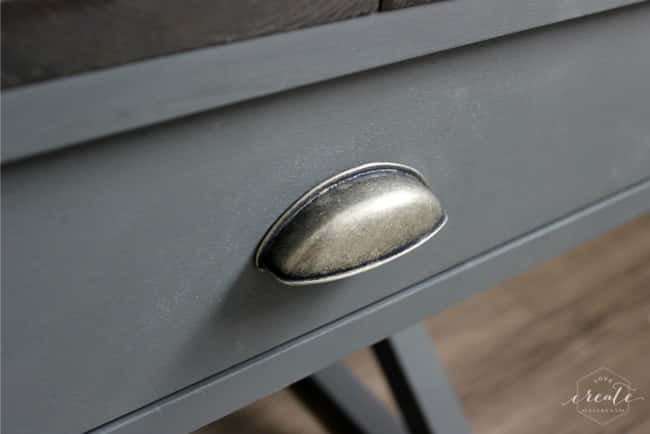
I also added new hardware… the plain old wooden knob wasn’t doing it for me!
Hope you liked the tutorial! Please leave any comments or questions!
More DIY Woodworking Projects
Check out these DIY woodworking project ideas from my Canadian blogging friends!
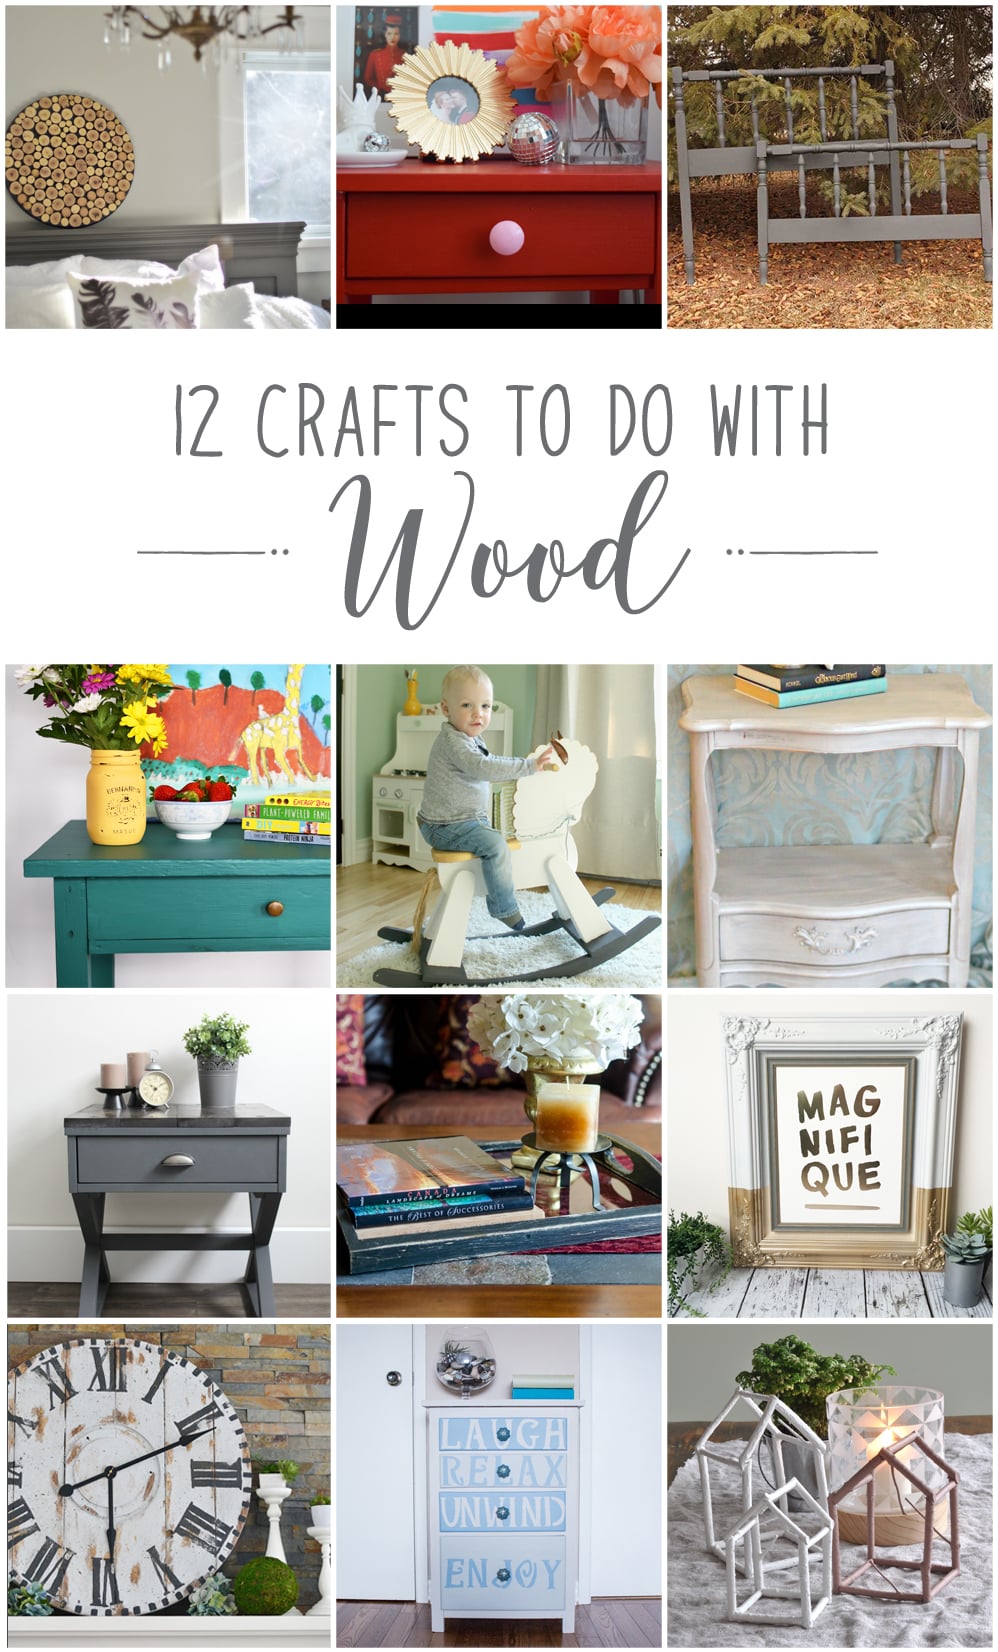
From the top left, they are:
Wood Slice Art from Vin’yet Etc.
Ikea Bedside Table Revamp from PMQ for Two
Painting Wood Furniture from Fresh Crush
Easy Wooden Table Makeover from Woman in Real Life
Wooden Rocking Horse Upcycle from Mommyzoid
Metallic Painted Nightstand from New House New Home
Industrial Side Table from Love Create Celebrate
Wood Coffee Table Tray Gets New Makeover from Time with Thea
Paint Dipped Frame from Brooklyn Berry Designs
Giant Reclaimed Wooden Clock from an Electrical Reel from The DIY Mommy
Beach Inspired Farmhouse Dresser Upcycle from Sustain My Craft Habit
Twig Houses from Life is a Party
Don’t forget to subscribe to our YouTube channel for more great woodworking DIYs!
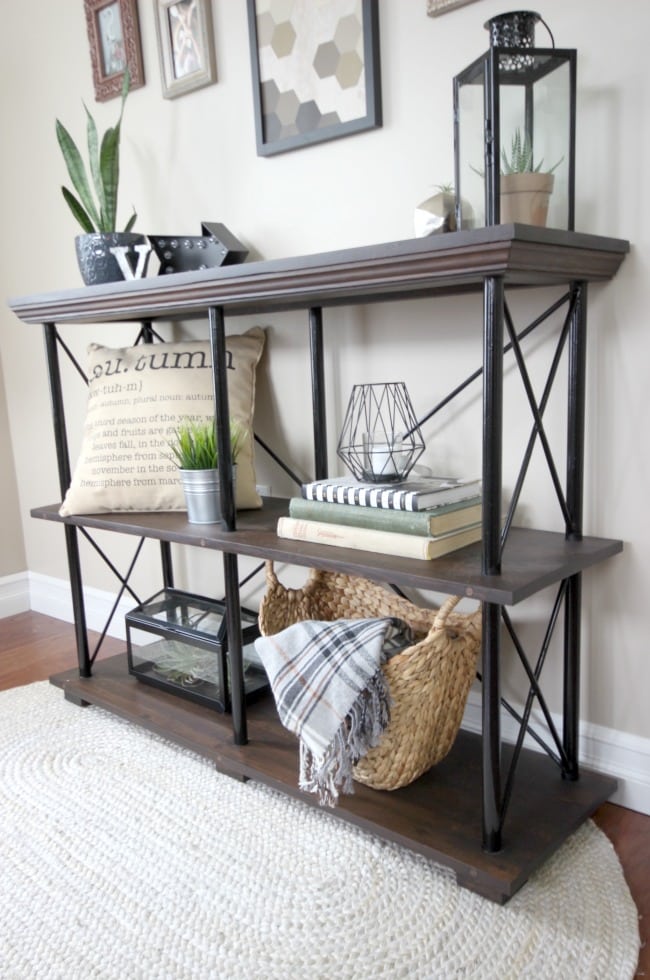
For another gorgeous industrial style DIY, check out this Rustic Industrial Shelf!
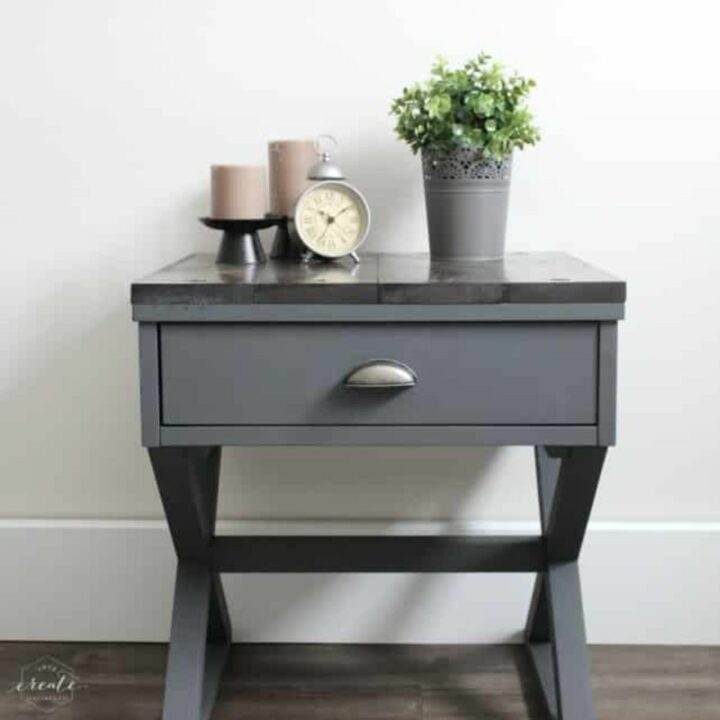
Industrial Side Table
Build your own beautiful Industrial Side Table! Transform any old side table into a beautiful new piece in just a few simple steps!
Materials
- Old side table
- Paint (I used Ash and Casement by Fusion Mineral Paints)
- 1x6's
- Carriage bolts
- Black spray paint (optional)
- Wood stain
- Varnish
- Epoxy
Tools
- Table saw
- Planer
- Drill
- Chop Saw
- Sander
- Grinder
Instructions
- Take apart your existing table and paint each individual piece (2 coats if required)
- Use the chop saw to cut the lengths of the boards needed to cover your table
- Use the table saw to cut the boards to the correct width
- Use the planer to ensure all boards are uniform
- Sand all sides of each board
- Drill pilot holes and then countersink holes in your boards
- Stain and varnish your boards and let dry overnight
- Spray paint your carriage bolts
- Clamp the boards to the top of the side table
- Screw into the boards from underneath
- Mix some epoxy, drip it into the pre-drilled holes on top, and put your faux bolts inside
- Add new hardware for drawer handle, if required

terry
Sunday 26th of April 2020
That is just wonderful! Really Really love it!! What kind of wood did you use for the top?
Lindi
Monday 27th of April 2020
Thank you so much! It's pine on the top :)
Caroline
Friday 26th of January 2018
That looks great! I'm thinking instead of an alarm clock, I'd put a mini cuckoo clock to put some attitude to the side table :-)
shannon b
Thursday 21st of April 2016
Love it! Can I ask what color stain you used? It looks great! I need to put a finish on my new table I built and I'm having a hard time choosing.
Lindivs
Thursday 21st of April 2016
Of course! I used Kona by Varathane :) We put it on pine boards here. So glad you like the table!
Dream. Create. Inspire. Link #41
Wednesday 6th of April 2016
[…] feature is…Industrial Side Table from Lindi @ Love Create […]
Sadie Seasongoods
Wednesday 6th of April 2016
Holy moly, what a transformation! I'd love it if you'd link up to Talk of the Town! :) http://www.sadieseasongoods.com/talk-town-link-party-14/