How to paint your wood fence in three easy steps! Whether you are using paint or stain, on an exterior fence, or a privacy fence in the backyard!

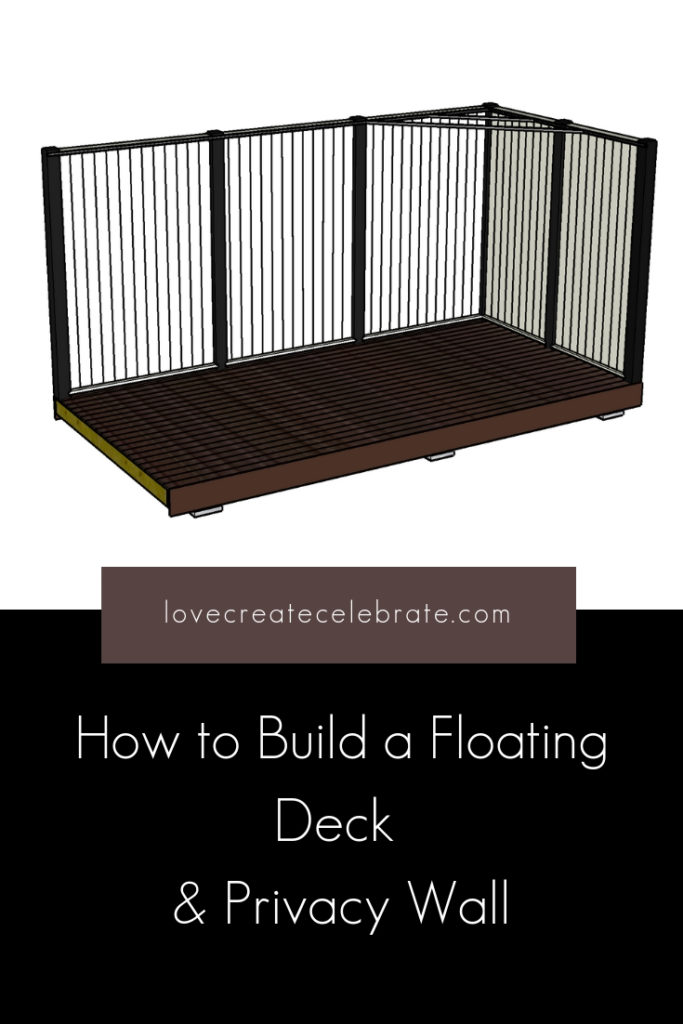
Do you ever come up with a plan, set it in motion, and then think, “ohhhhh…. shoot. I wish I had thought this through”? Lol. That’s how I felt about painting an ENTIRE privacy fence. My husband had an amazing idea (Legit. Best Idea.) to build us a big floating deck and privacy wall. I was so excited I jumped on board without thinking it through. You see, a large privacy fence sound really great until you realize it means a lot of fence slats to paint. Plus fence posts. And usually I would be really annoyed by this, but honestly the process went so fast! This is how to paint a wood fence in just three easy steps!
*This post was sponsored by HomeRight and may contain affiliate links. As always, opinions are 100% my own. For more information, please see my disclosure page.*
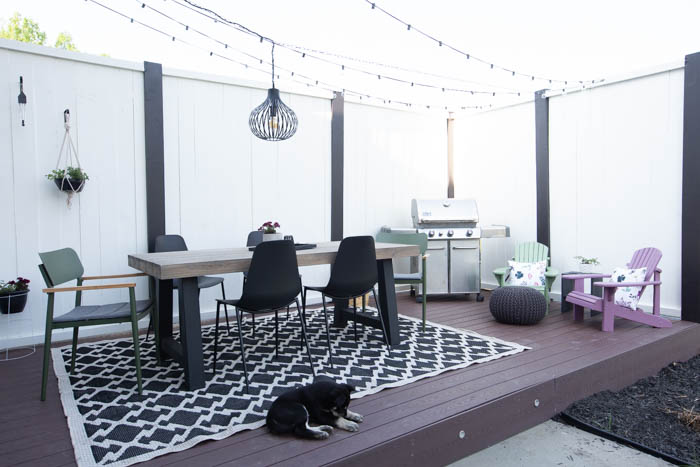
This is the deck we built last summer (you can find the floating deck build plans here! A beautiful deck space and privacy wall to block out the neighbours and provide some well-needed shade. Last year we painted every one of those boards and posts in the privacy wall, but we ran out of summer before we could give the fence a good second coat (which you always will need to do the first time).
This summer we wanted to finally add that second coat of paint to our fence, and we knew that we would do the exact same thing! Last year we painted the boards in groups spread out on saw horses before the fence was assembled. This year we will show you how to paint a wood fence that is already in place.
If you want to see the whole build in action, plus some paint spraying action, check out the highlighted Instagram videos we shared!
How to Paint Your Fence (In 3 Easy Steps!)
Painting or staining a fence doesn’t have to be painful, even when you have a huge backyard fence. We were able to paint this whole privacy wall in no time. Honestly, we could’ve done an entire backyard fence in just an afternoon! The three steps to painting your fence are 1) Protect the space, 2) Prep the space, and 3) Paint the fence with a paint sprayer.
Materials you may need
- Paint sprayer
- Fence Paint/Stain
- Drop Cloths
- Tape
- Sanding Block
- Scrapper
- Exterior Caulking
When it comes to fences you can either paint them or stain them (and you can use a paint sprayer with both!). You should use a exterior stain or an exterior paint as those are likely to hold up the best against weathering.
Protect the Fence
Step one is to protect your fence. Overspray with paint sprayers is real. The radius of our overspray was up to 10 ft (seriously impressive, lol). For the most part it’s teensy tiny dots of paint that go that far, but it’s still wise to protect any structures within that area. Remember, when you are painting a fence, the spray also goes through the holes between the fence boards. So warn your neighbour, or help them protect any necessary structures too.
Drop cloths from our local dollar store are only $1 or $2. We bought 4 of them and taped them around the deck to protect the fascia and around the house to protect from overspray.
If you are painting the fence around a property, you may have to cover just the side of the house where the fence connects or any nearby structures (e.g. shed).
Prep the Space Around the Fence
This is the most tedious step, depending on how big your fence is, and how warn out it is. Look over your wood fence for any broken pieces, loose nails, or screws, etc., and carefully remove them. If your fence is very old, this step can really slow you down because you may need to fix or replace some old boards as well.
Give a light sand to any areas that appear rough or have paint starting to peel lightly. If you have chunks of old paint that is peeling or needs removing, use a scrapper from any hardware store to do the job.
Finally there may be a few holes or gaps to consider caulking. We used an exterior caulking, which we would recommend for any deep cracks, knots in the wood, or joints that may have opened up over time.
Luckily we were working with a fence that was only a year old, so there was minimal work involved for us to prep our boards for paint.
Paint with the Paint Sprayer
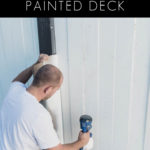
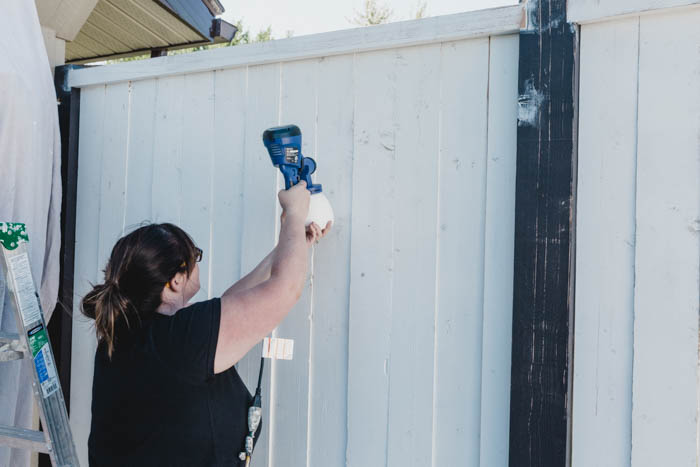
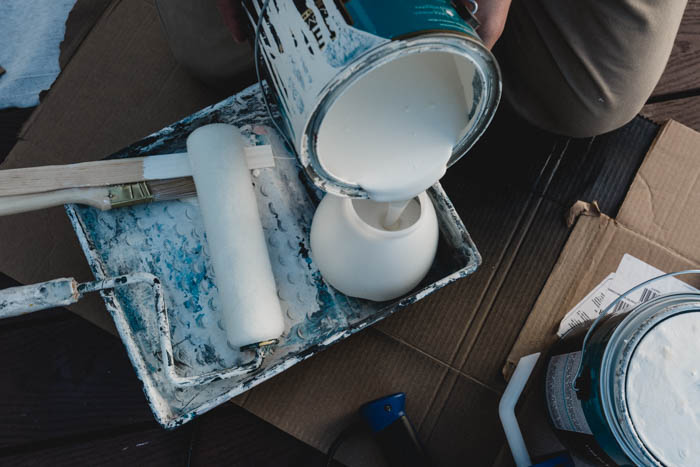
This is the fun part! Fill your paint sprayer with the paint or stain of your choice and get ready to paint the privacy fence. Use the manual to help determine which nozzle you need on your paint sprayer, based on the type of paint or stain you are using. We used an exterior Behr paint, and therefore the red nozzle for our spray job.
If you’ve never used a paint sprayer before, this video can show you how to put the sprayer together and take it apart:
Try to do your paint spraying in the morning, when the hot sun isn’t out yet. This will give you more time to work with the paint and help get a nice smooth finish, rather than trying to paint beside sections that are already dry. Finally, always keep a damp cloth nearby in case there is any overspray. It’s easy to fix if you catch it early enough!
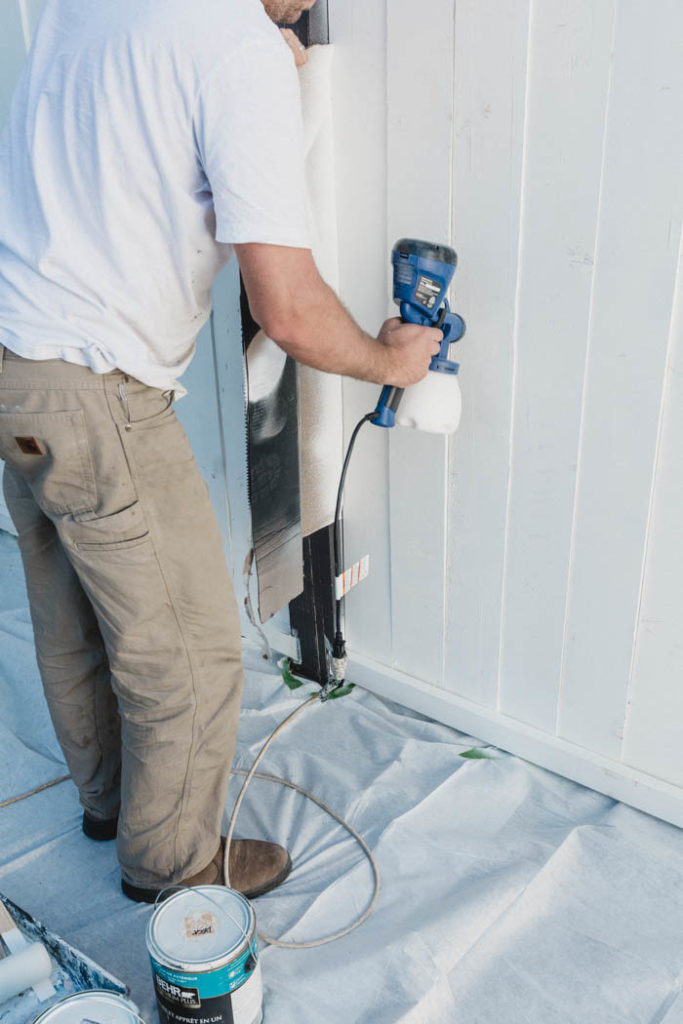
When you’re spraying, you want to have the sprayer approx. 8-12 inches away from the surface. Move evenly up and down the surface, leaving a light coat of paint. Too much paint in one spot can cause runs of streaks, so you want to be sure to use thin coats.
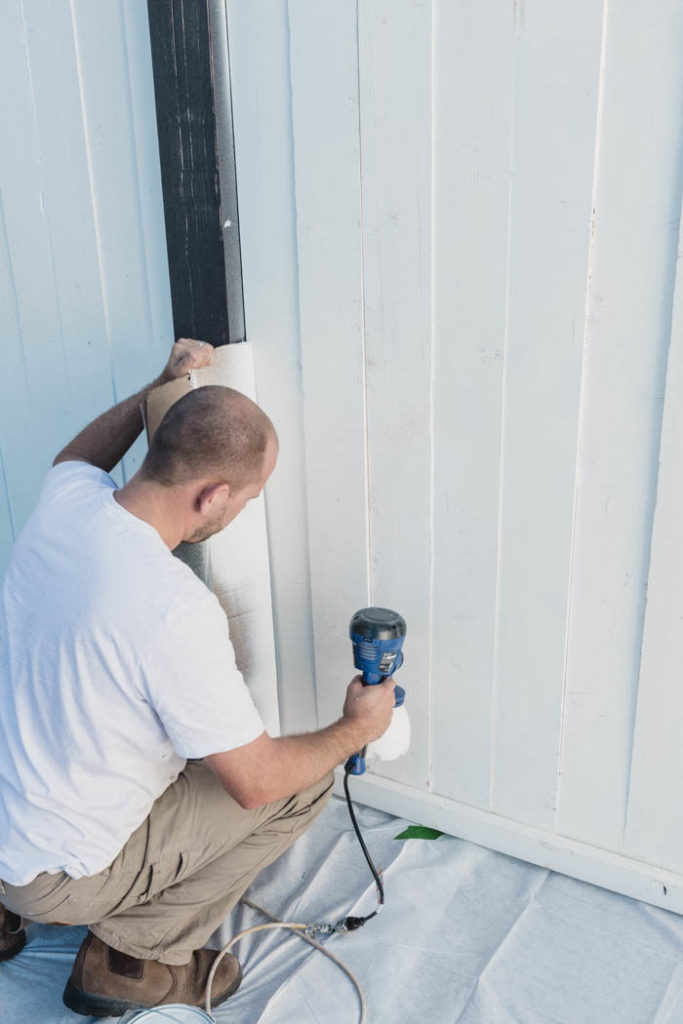
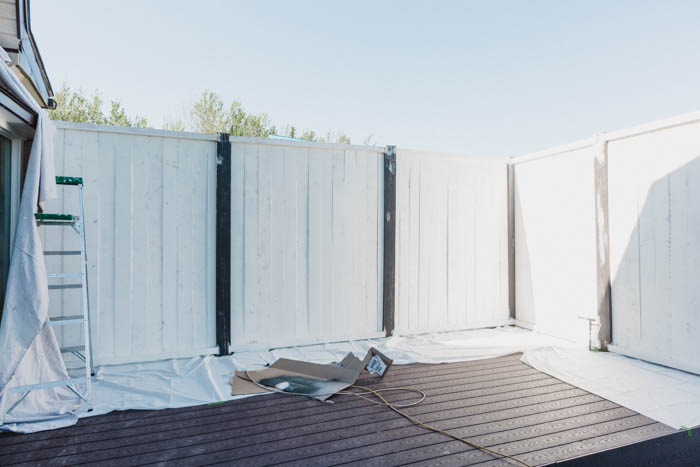
Most people won’t encounter this problem, but we decided to make our deck extra complicated by painting the boards a separate colour. In order to prevent too much overspray (and to avoid taping off the entire post because that would’ve been a huge pain!), we used cardboard pieces in front of the boards as we sprayed. It worked pretty well to minimize the overspray. After all of the slats were painted, we also went back and painted the posts with a brush and small foam roller in the deep brown colour. \
Once you are done with your paint sprayer, it is important to clean it immediately after use. Leaving it for too long cause cause it to easily get clogged. Even if you are just stopping to take a break, don’t leave your sprayer for more than 30 minutes or it can be a real pain to clean it out! Just take the sprayer apart, and follow the cleaning directions. If you’re using a water-based paint, you can clean it out with soapy water, but oil based paints must be cleaned up with mineral spirits.
Should I Paint or Stain My Wood Fence?
This is probably the biggest question people have about their wood fence. Should I paint or stain the fence? Both are good options for different reasons. Painting your fence is the cheaper option. One gallon of paint can go really far – even in a sprayer. However, paint is likely to peel and crack sooner than stain. Meaning it requires more maintenance, and a second coat every 3 or so years. But stain doesn’t come in fun bright colours, or give you that white picket fence look!
When it comes to stain, your initial costs will be higher, but the fence will require less maintenance over time. You won’t need to re-stain as often. There are also a ton of great stain options available these days, some in colours and shades that are both fun and modern. Eventually the stain will fade and your fence will need the same maintenance, but not nearly as often as paint. The stain also doesn’t peel or crack and won’t require the same amount of prep work as an old painted fence.
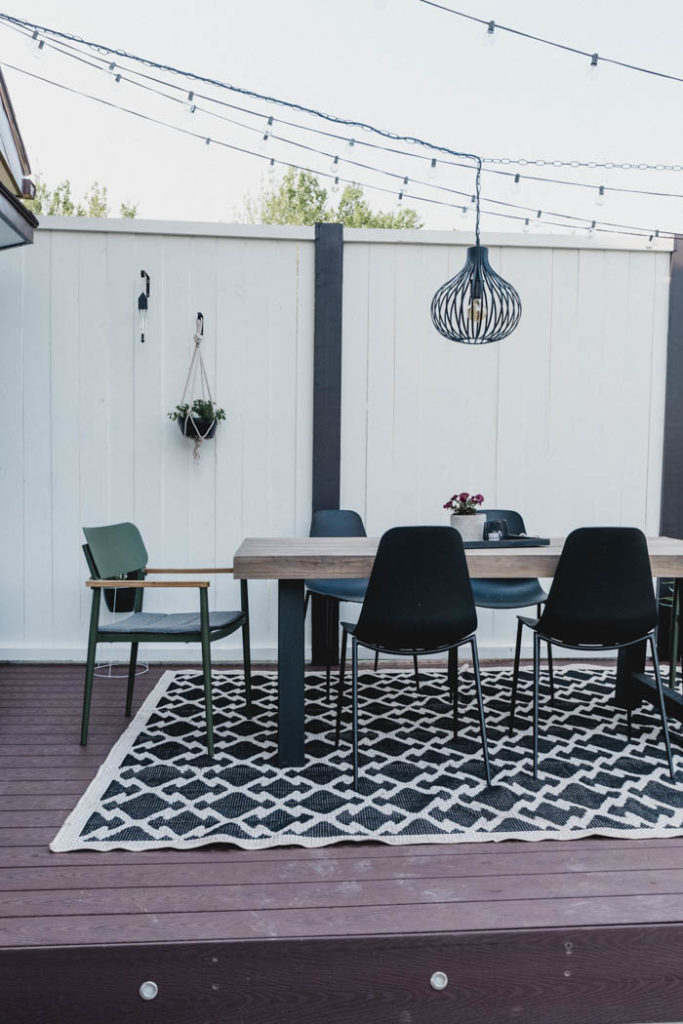
Ultimately we chose to paint our fence because I was stuck on getting a beautiful white and black pattern for that modern privacy wall.
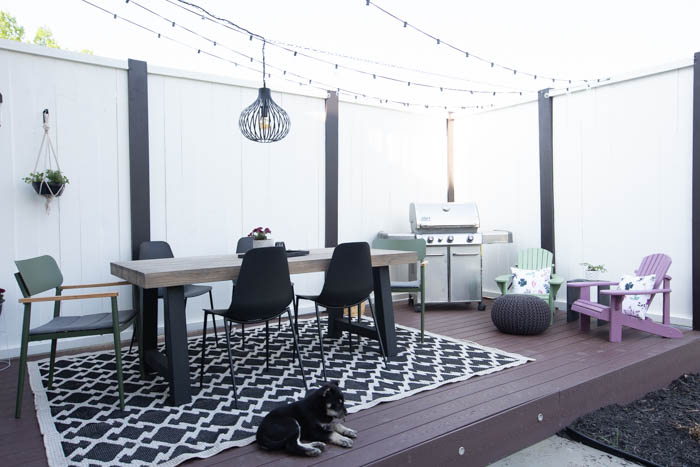
Our Finished Wood Privacy Fence
We were extremely happy with the fence when it was all freshened up! The paint sprayer made the job a LOT easier, and we finished the entire privacy wall in just a couple of hours (including the time to brush and roll the paint on the brown posts)!

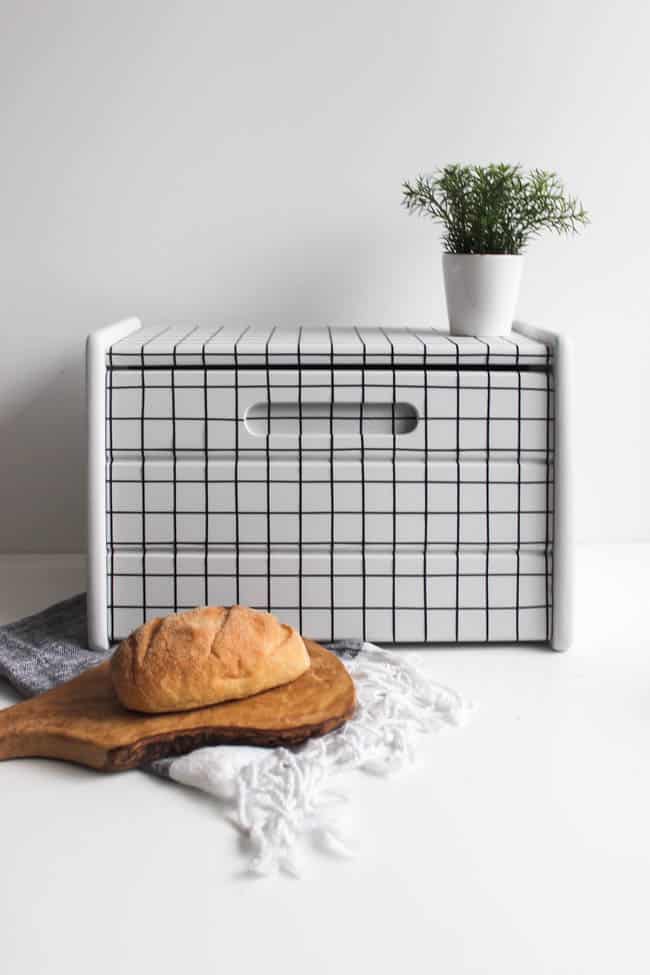
If you’d like to see the Paint Sprayer used on a smaller scale project, take a look at this DIY Bread Box Makeover!
Learn more about our Floating Deck and Privacy Wall!