
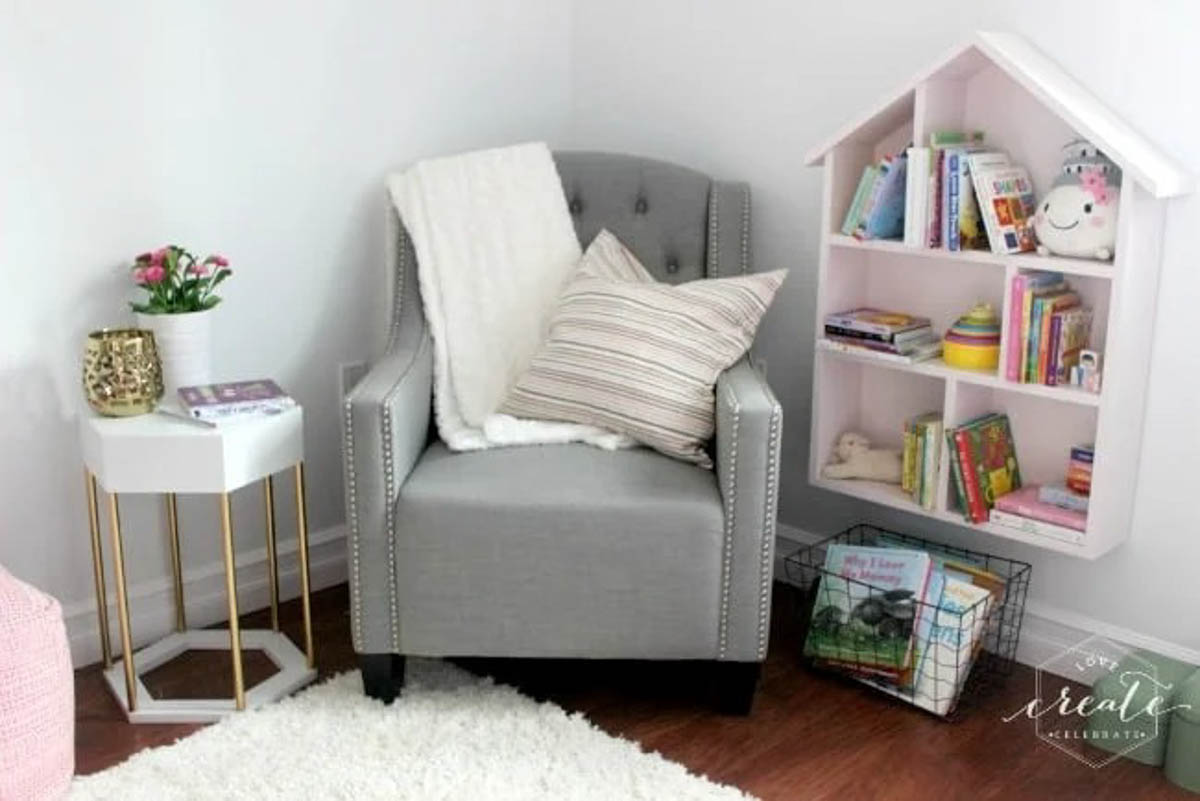
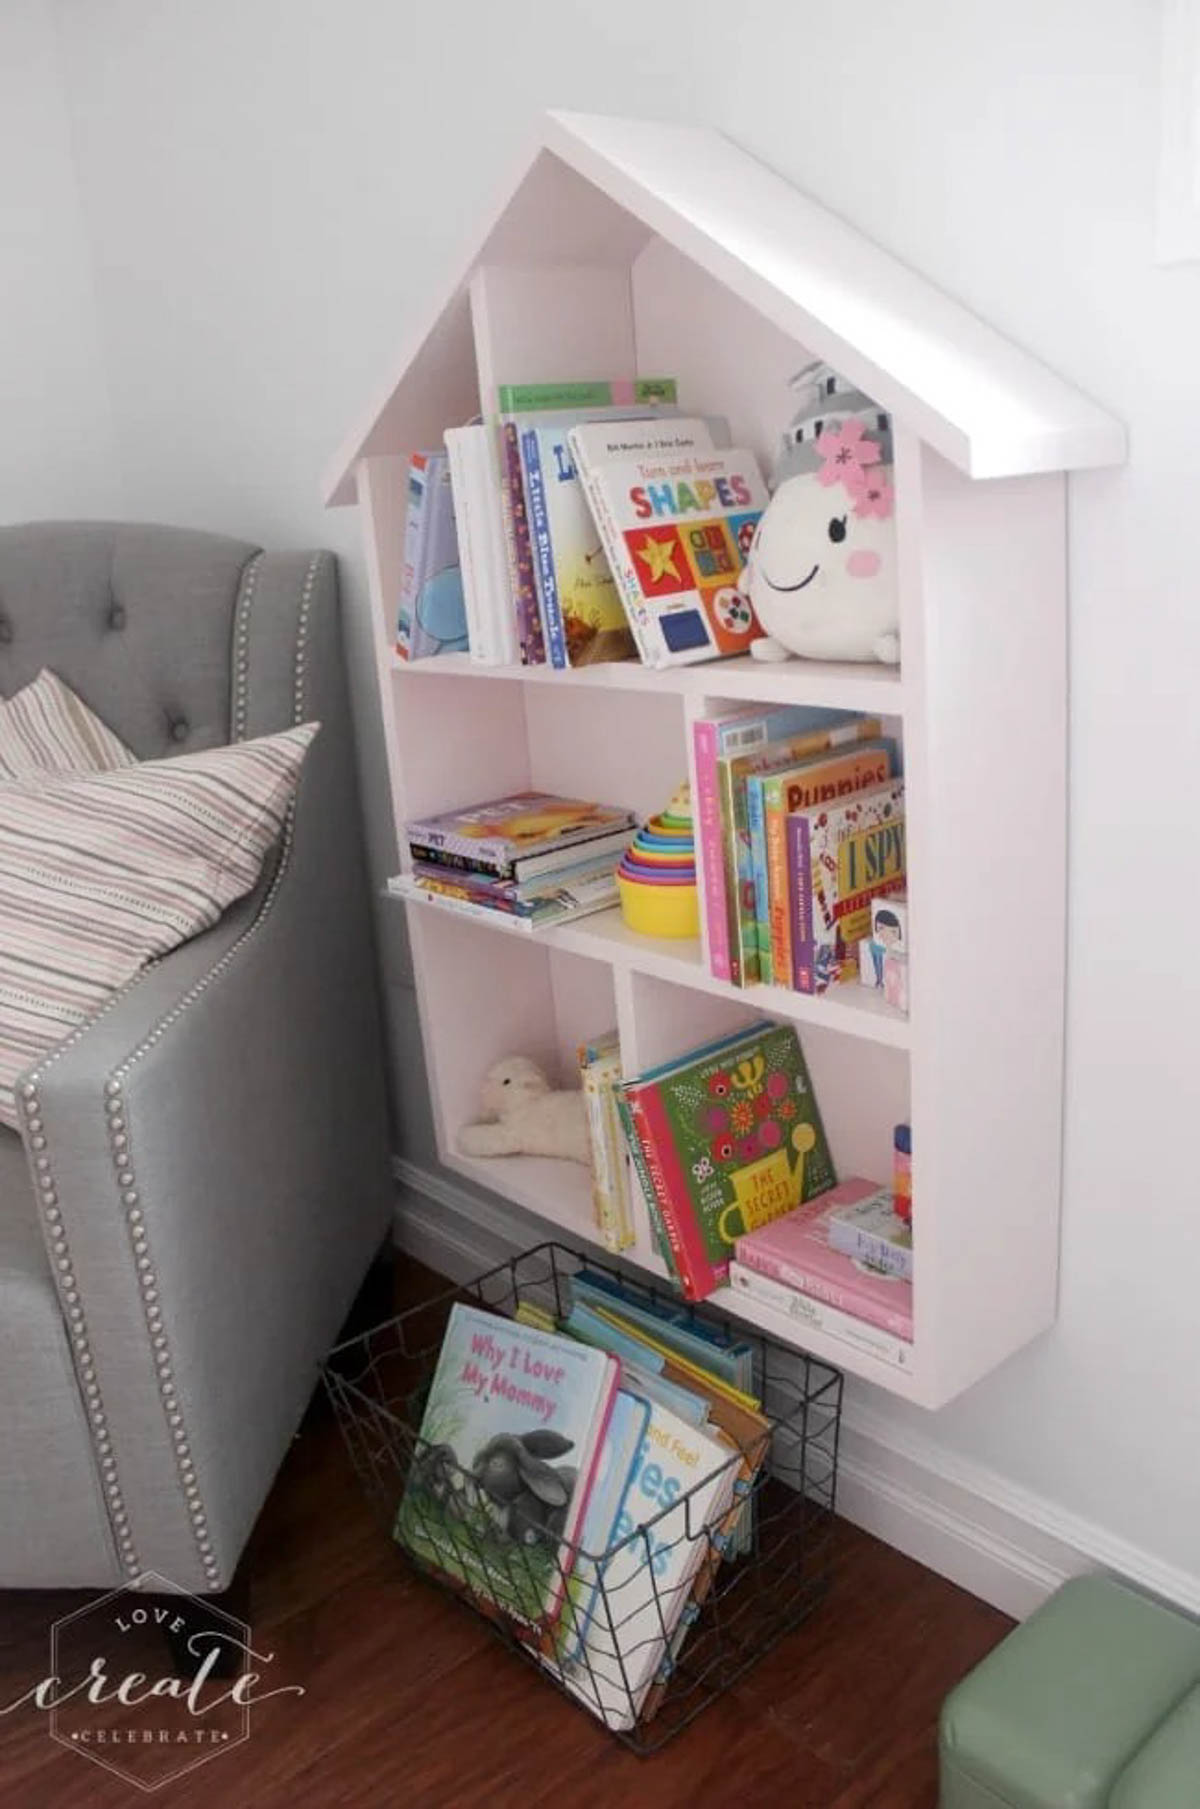
Recreate your own house bookshelf for a fraction of the cost of one you could find in stores. Use this step by step tutorial to achieve this beauty.
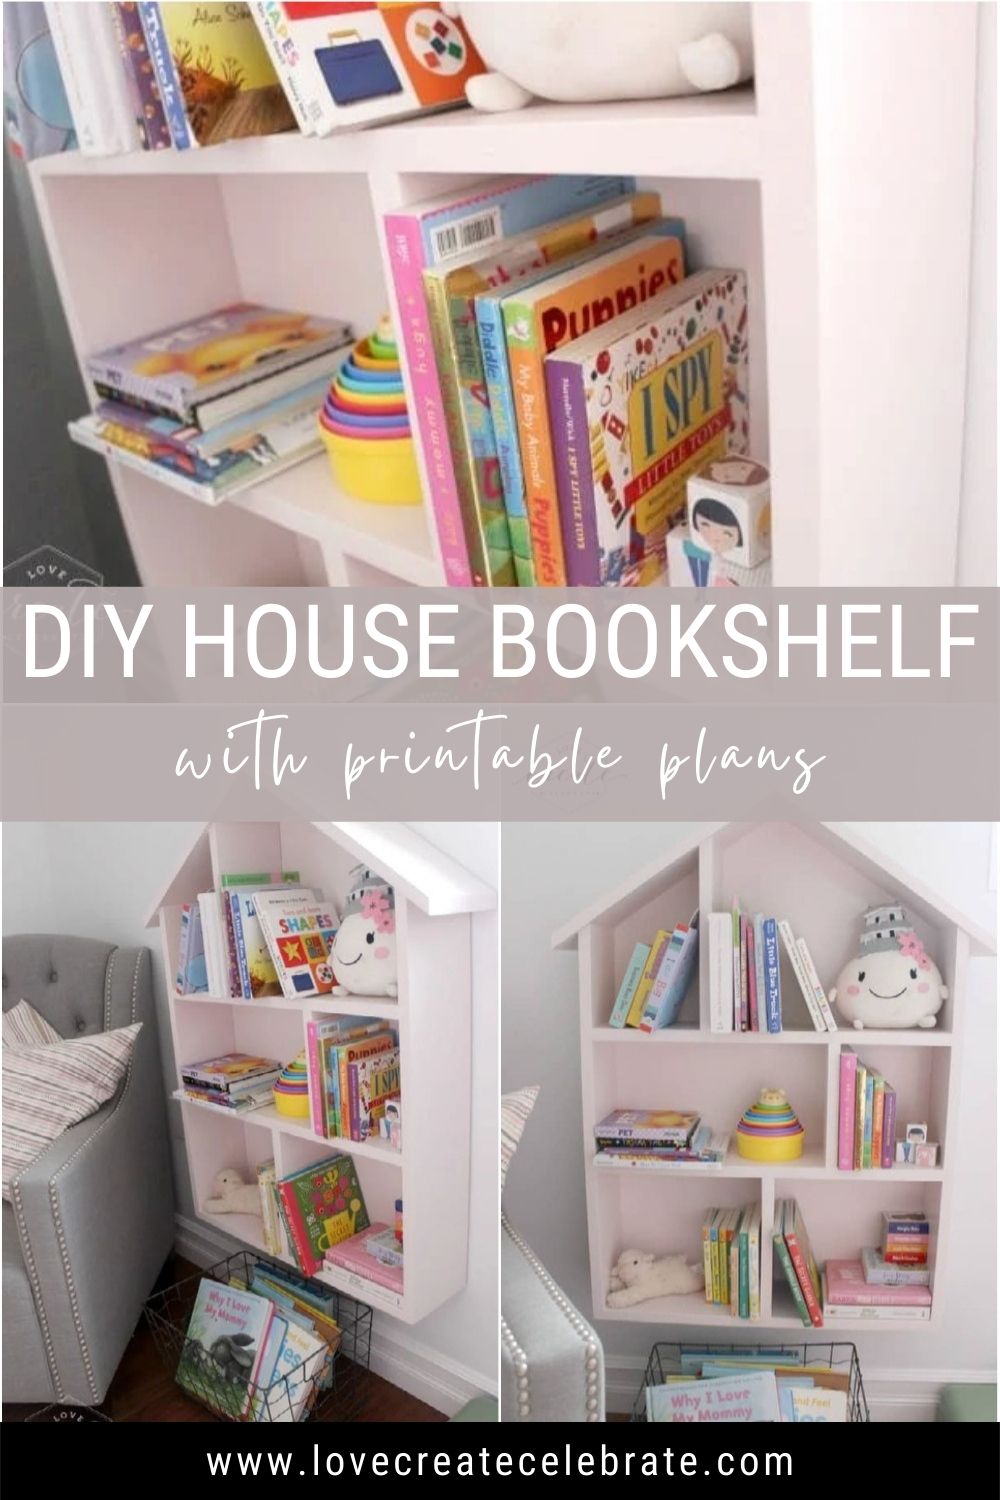
I have another SUPER exciting project to share with you today! I’ve seen a few house-shaped bookshelves in stores before, like this one at Restoration Hardware, and thought, “Pffftt…. I could make that for way less!”. And so I did! lol. We needed a new bookshelf for my daughter’s Big Girl Bedroom, and so her House Bookshelf was born.
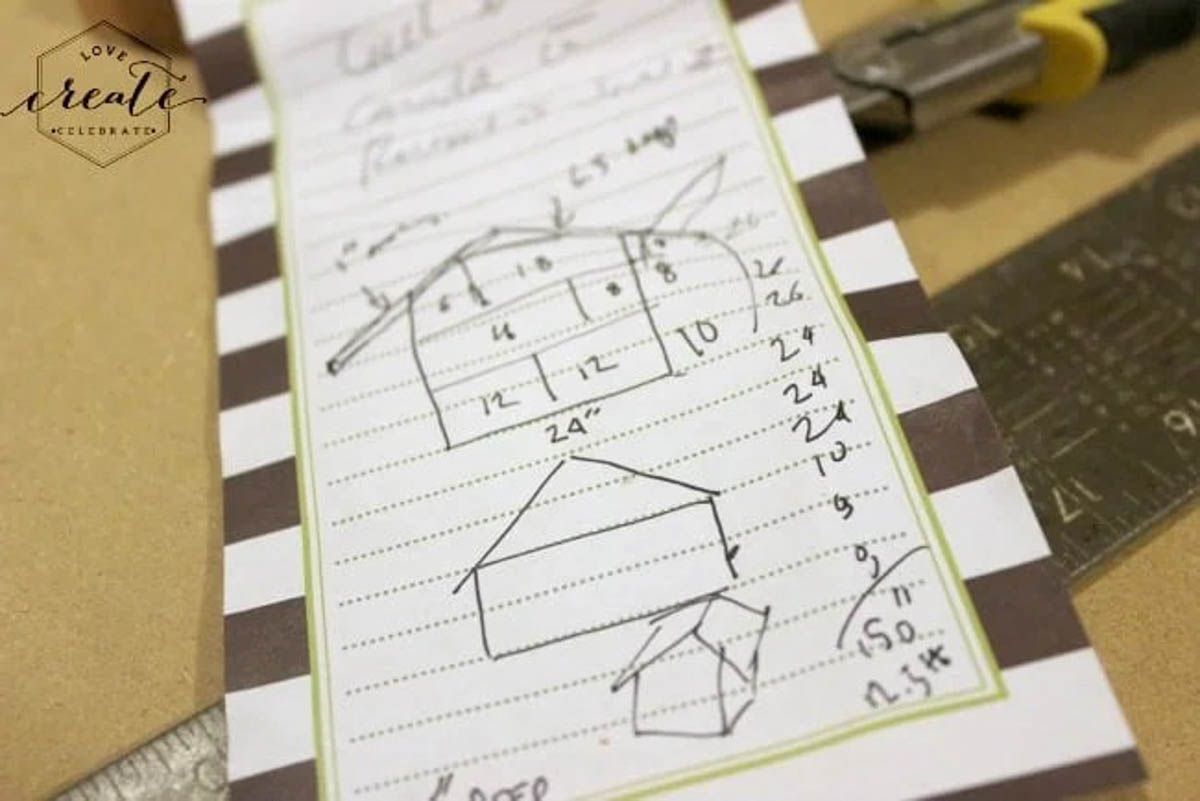
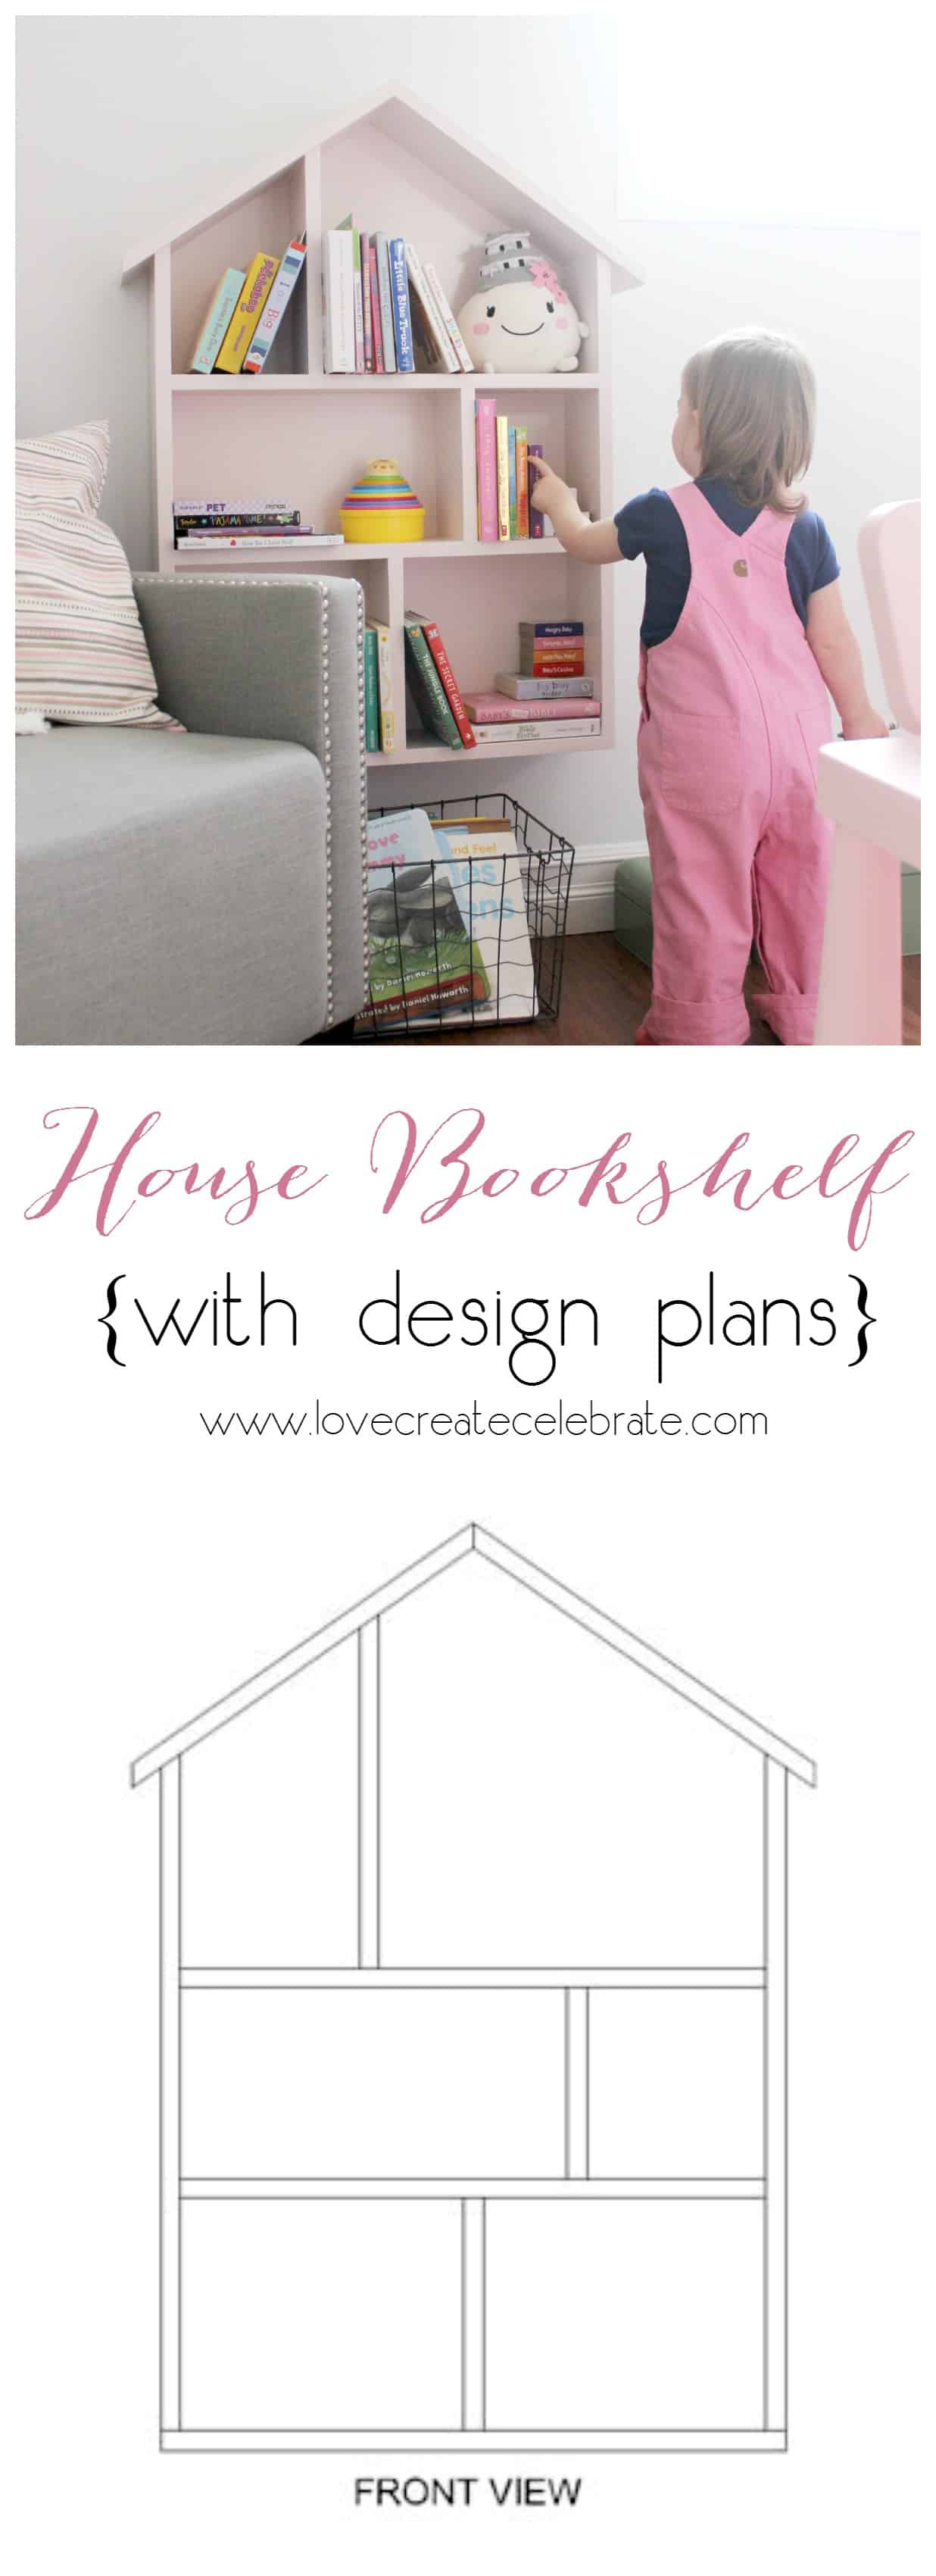
The house bookshelf started, as all good woodworking projects do, with a sketch on an old notepad :)
Here’s what you need to do this project at home:
Materials
3/4″ thick MDF – we bought a 4′ x 8’sheet but only used approximately 25% of it for this project
Wood screws
Glue
Paint – we used Behr Vienna Lace
4’x4′ sheet of 1/4″ thick plywood
Drywall filler
Tools
Table saw
Router table (to cut grooves) can use table saw as well [optional – for the advanced woodworker!]
Drill press or drill
Sander
Measuring tape
Square (ruler)
Putter knife
Hammer
3/8″ Claw Wood Plug Hole Cutter Drill bit
Please ensure proper safety equipment and protection are used at all times when handling power tools and completing this woodworking project.
The woodworking plans are available for free to anyone subscribed to our newsletter.
Step-by-Step Tutorial for Building the House Bookshelf
1. Download house building plans [above]
2. Cut pieces as per the attached plans
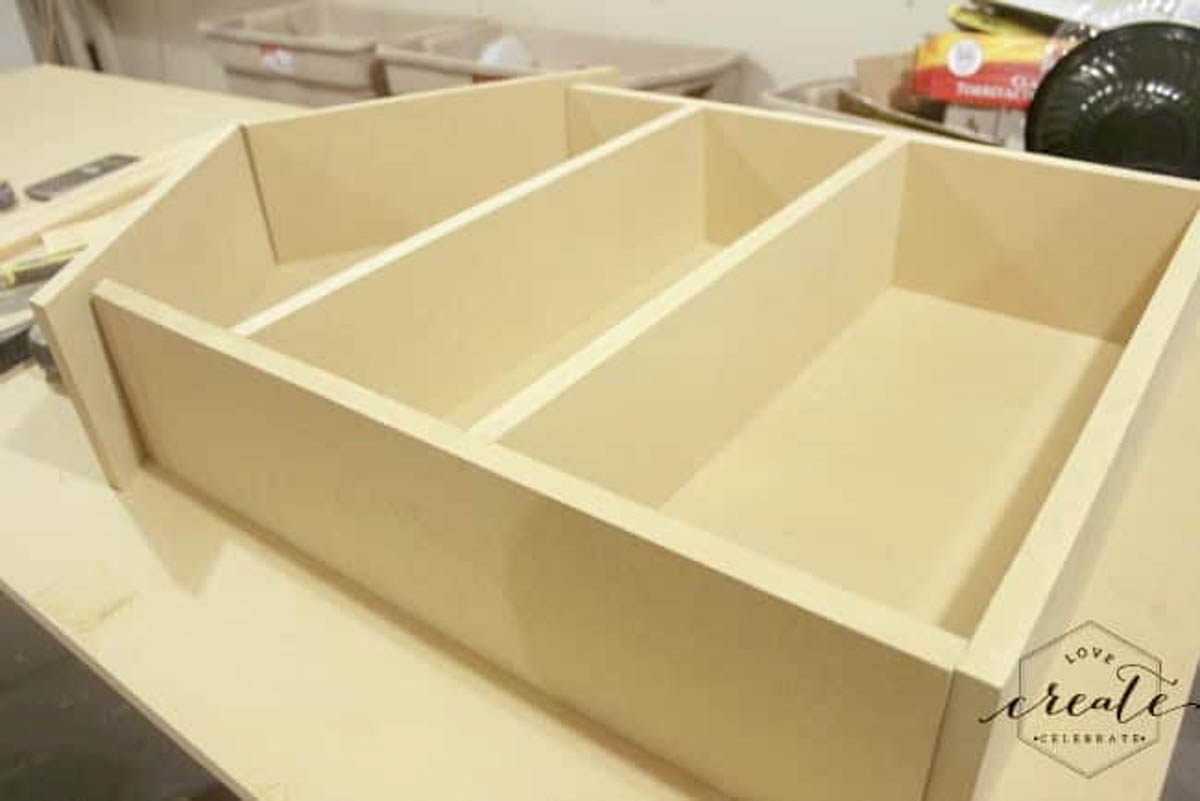
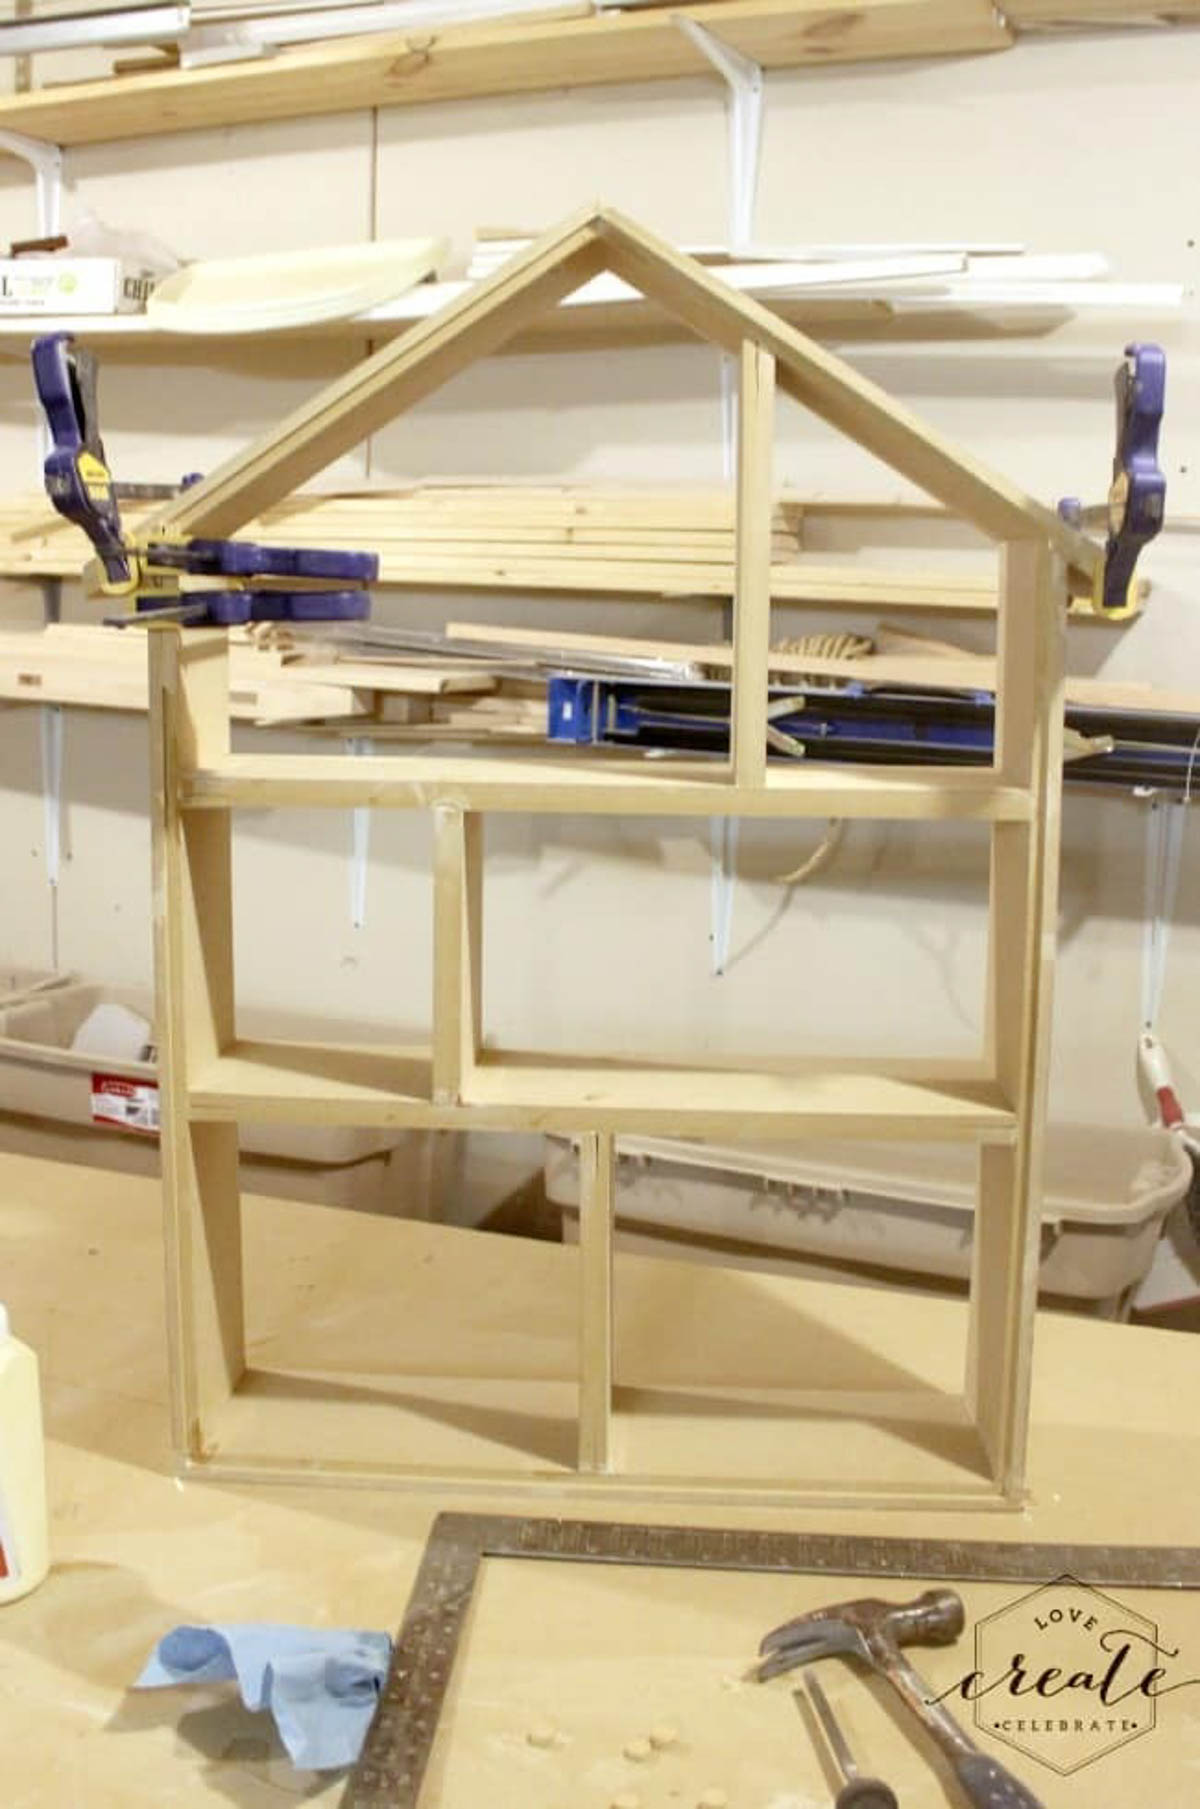
3. Lay pieces out and dry fit together (to double-check shape and measurements), you can use clamps to hold in place.
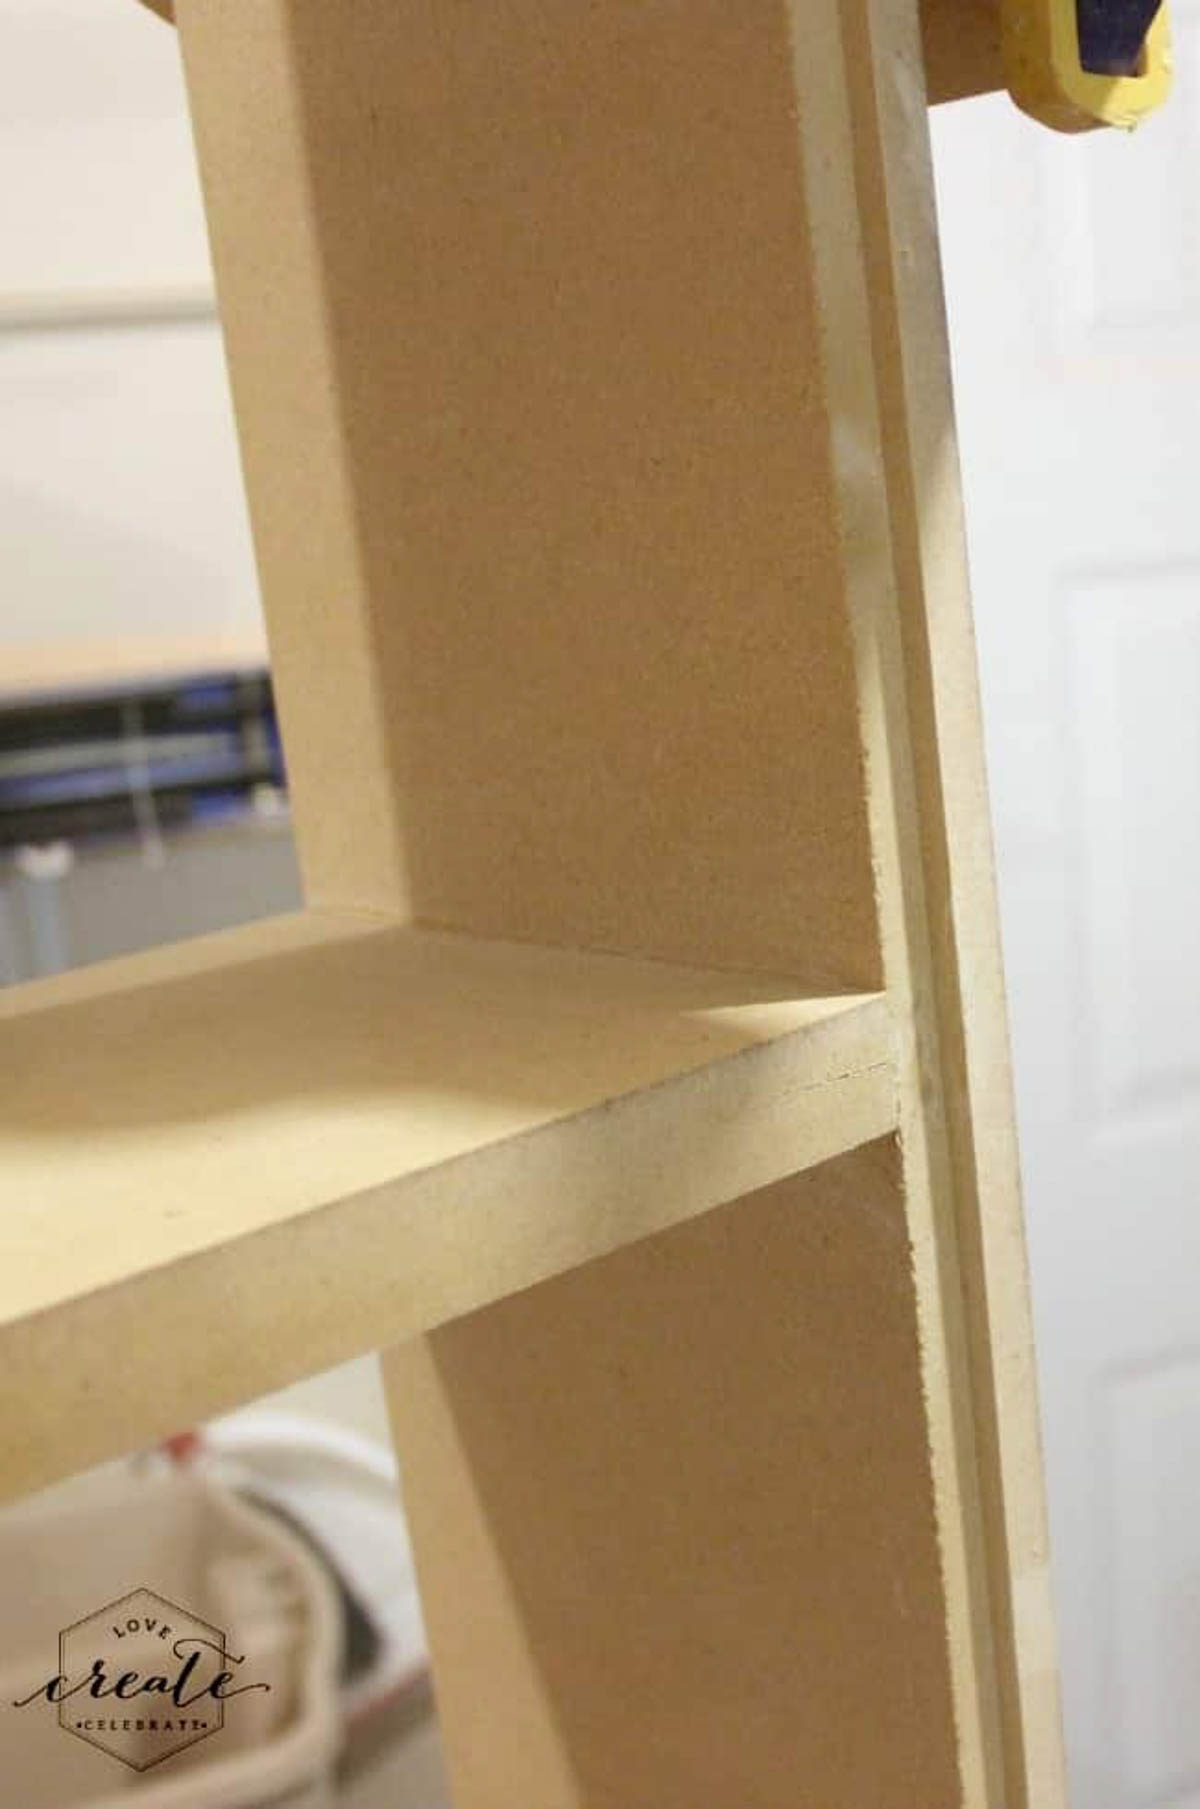
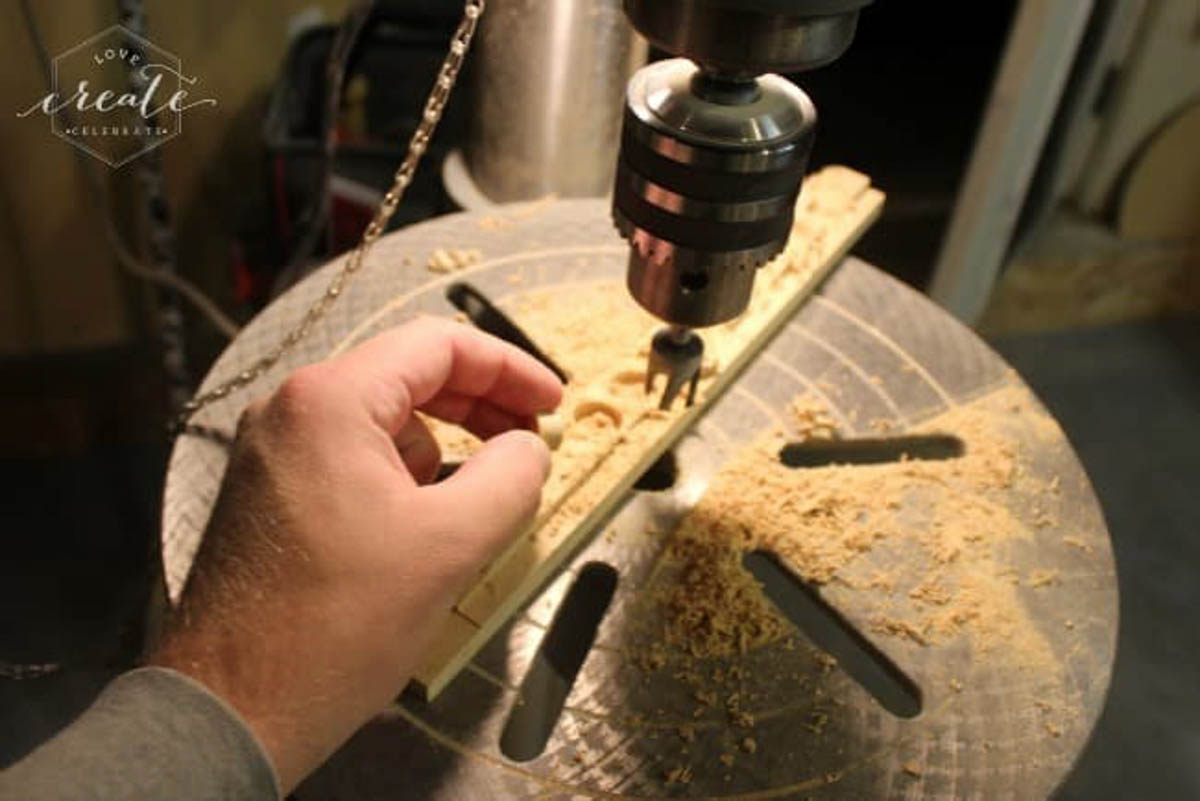
4. Pre-drill holes with a 1/8″ diameter bit for all your screw hole locations [Note: MDF is prone to splitting if screw holes are not pre-drilled, so you want to ensure holes are drilled deep enough]. We drilled two holes per side of each board.
5. Counter-sink the holes with a 3/8″ Forstner bit; 1/4″ deep
6. Cut grooves in the back of the perimeter pieces 1, 2, and 7 [circled in the attached plans] to hold the 1/4″ thick plywood in place. Alternatively, you can cut a piece of 1/4″ thick plywood to fit the back with no groove, however you will need to prep the edges with filler to finish nicely.
7. Assemble pieces 1, 2, and 7. Glue and screw them together.
8. Assemble piece 6 and 4 together. Glue and screw them together.
9. Assemble piece 5, 6, and 3 and 4 together. Glue and screw them together.
10. Assemble steps “7.” and “8.” together.
11. Assemble steps “6.” and “9.” together.
12. Install 1/4“ plywood backing.
13. Cut 3/8″ diameter plugs to fill the counter sunk holes drilled with a 3/8″ Claw Wood Plug Hole Cutter Drill bit.
14. Fill holes with plugs from step “13” and glue in place.
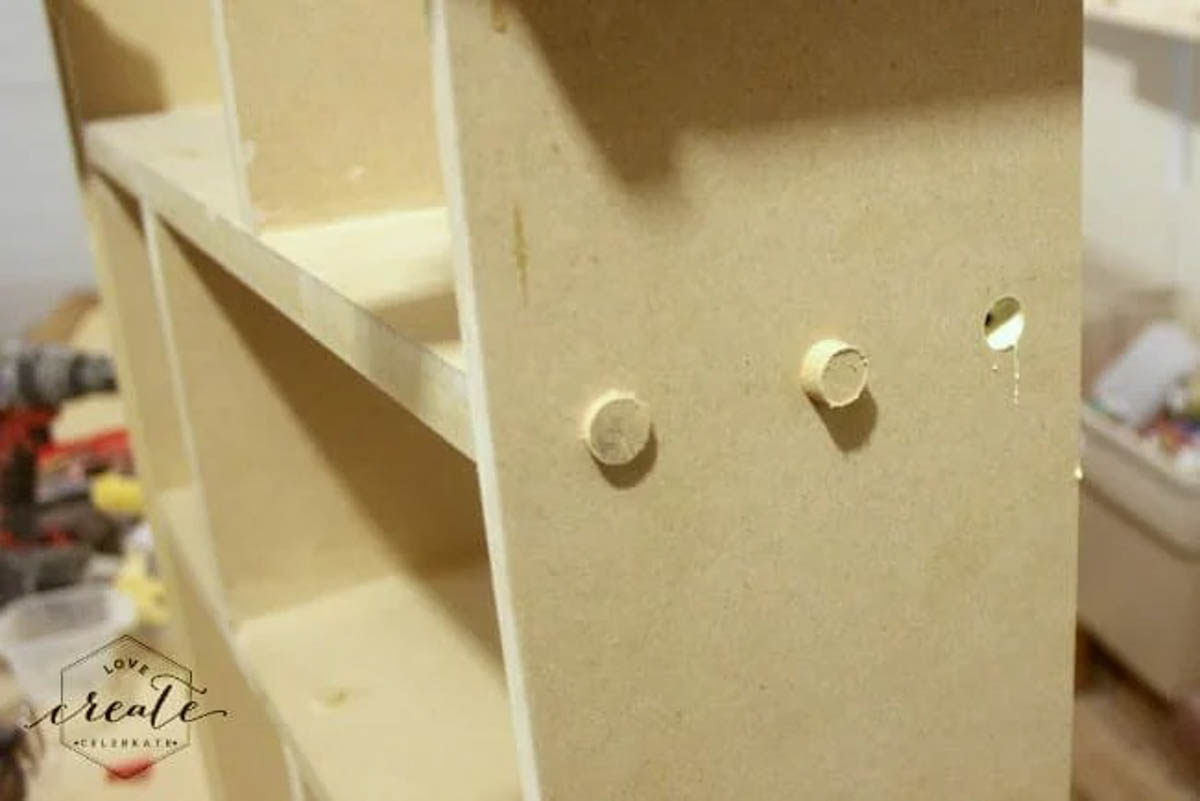
15. Once glue is dry sand plugs level, use drywall filler to prep all edges and any blemishes.
16. Complete a final sand, prime, and paint the house bookshelf to desired finish.
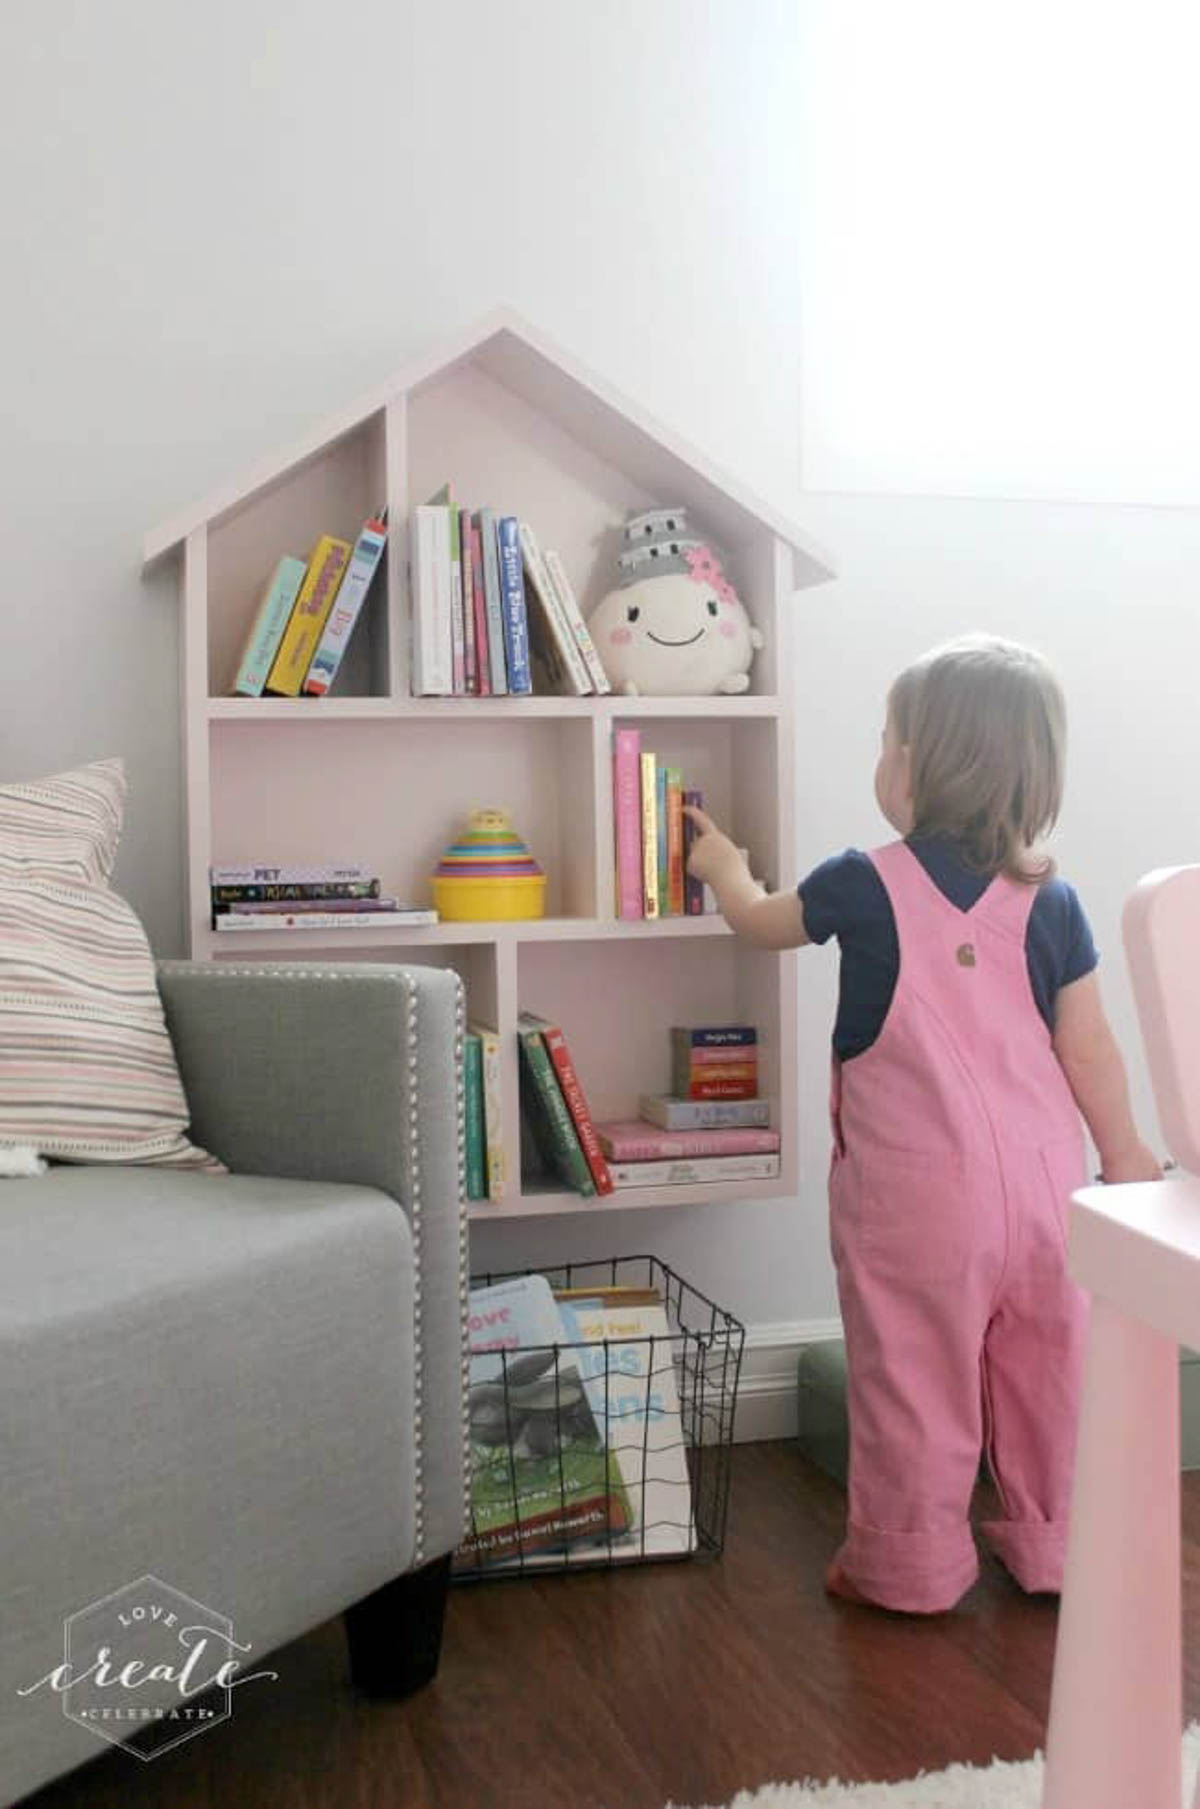
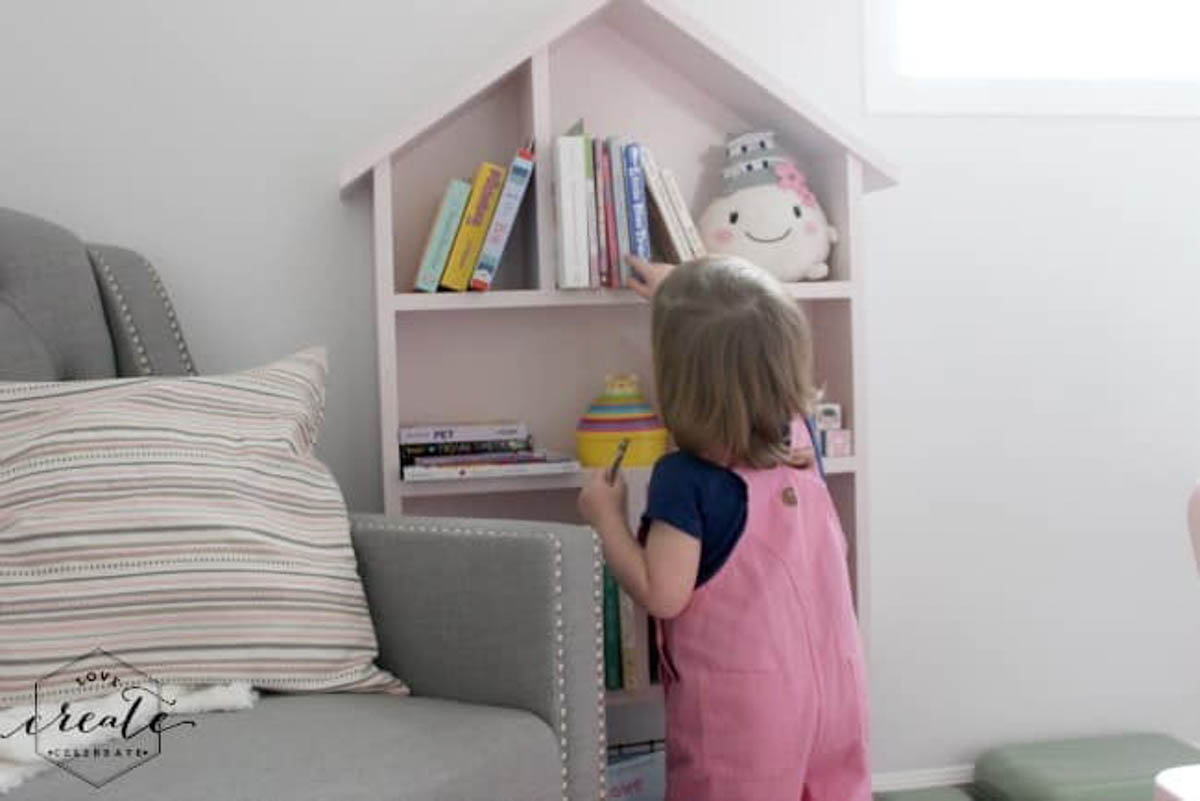
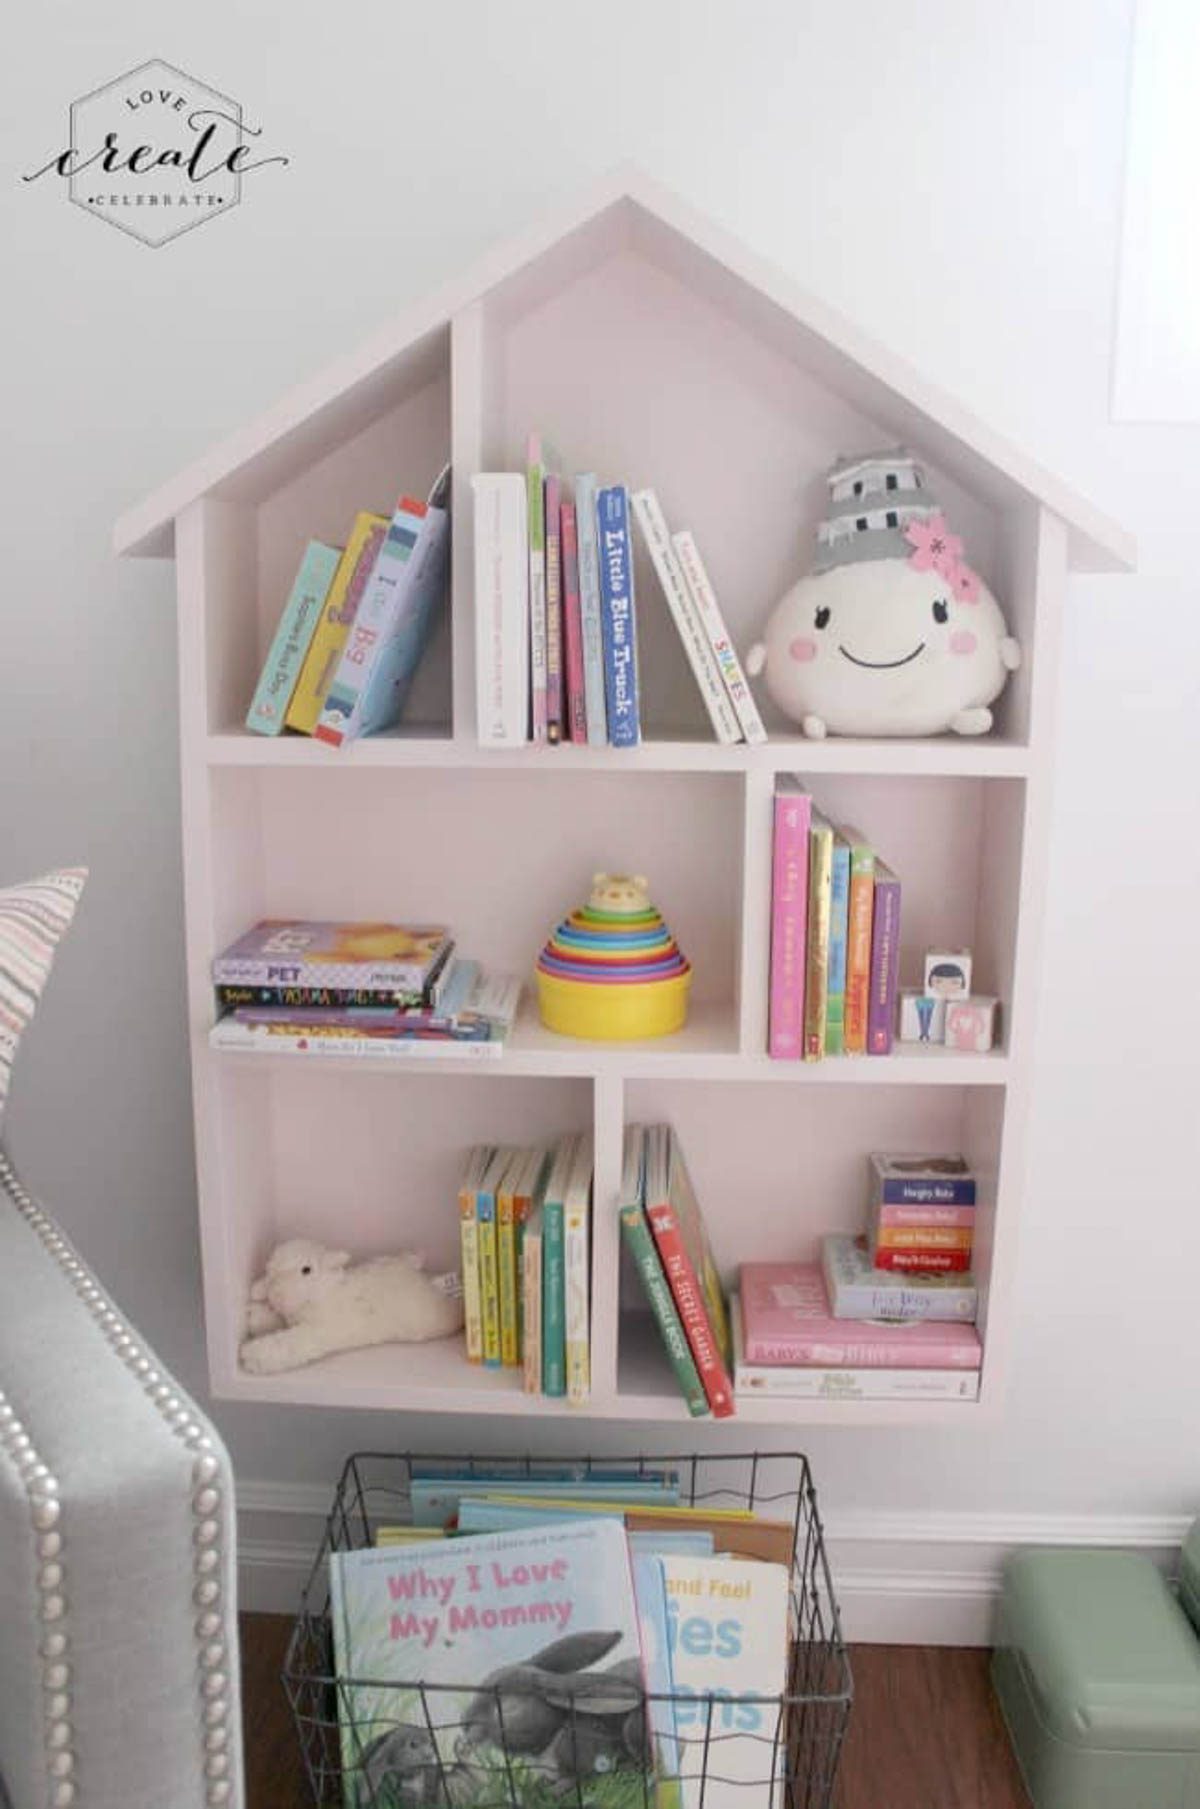
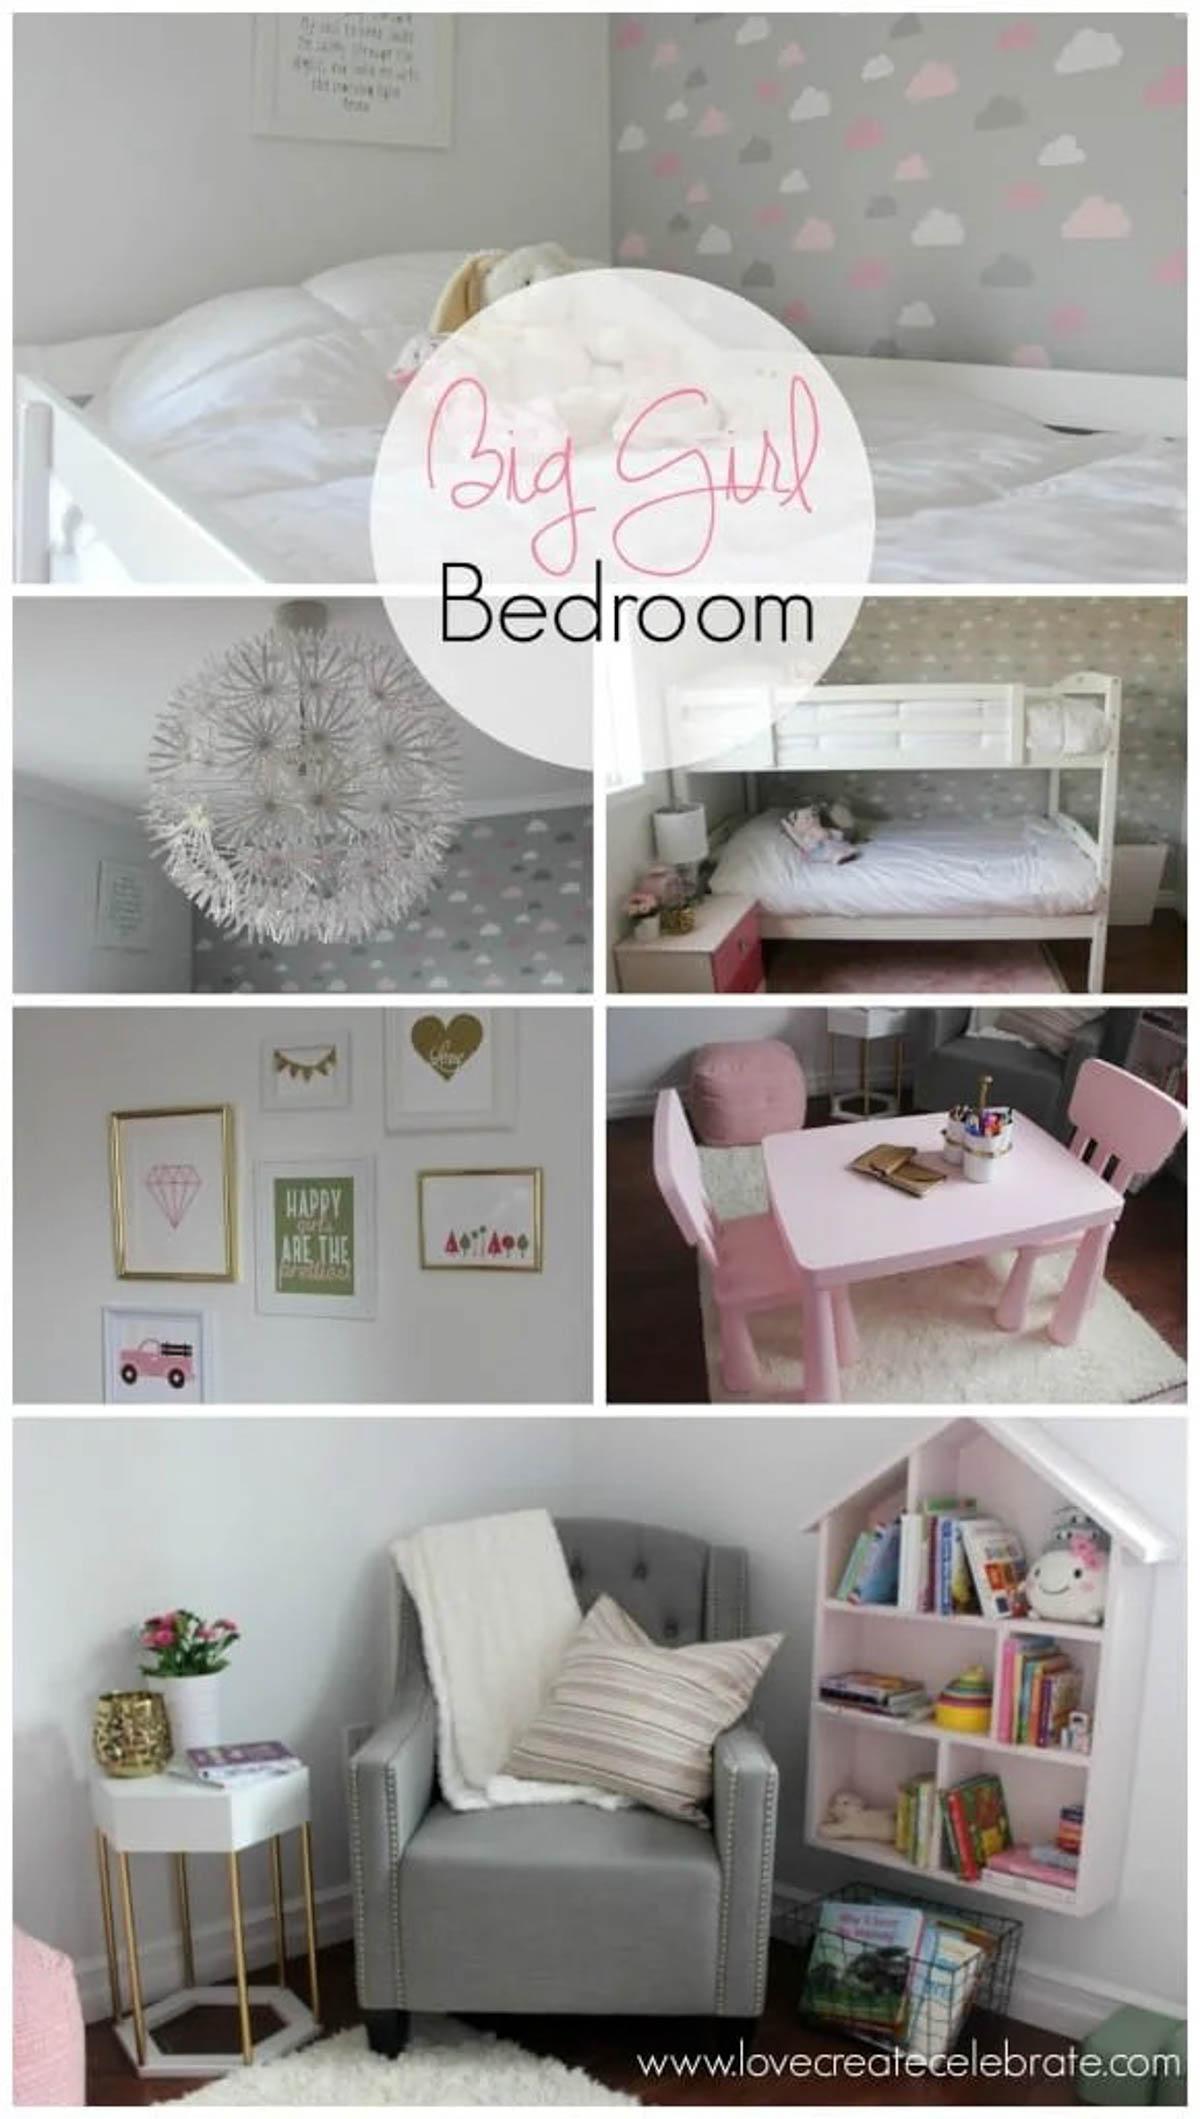
We painted our house bookshelf with a very soft pink – Behr’s Vienna Lace – which was perfect for our daughter’s Big Girl Bedroom!
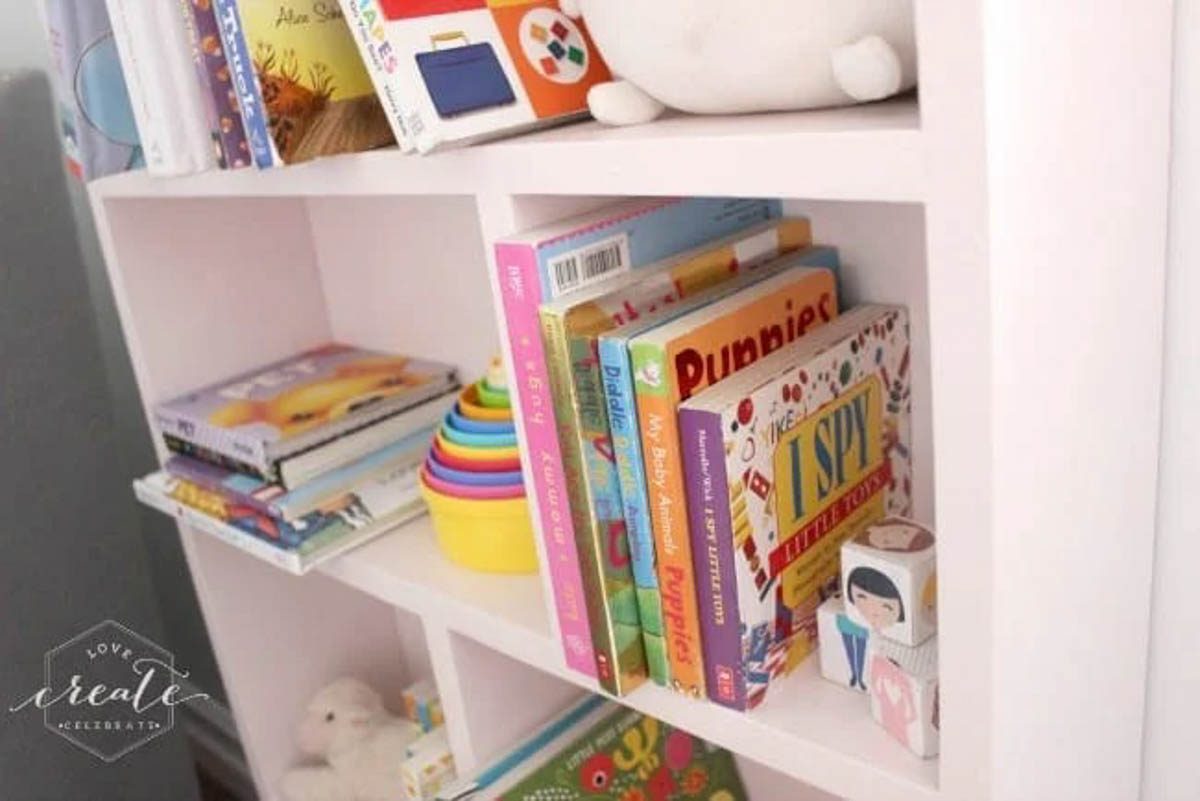
I’m SO happy with how it turned out! Our daughter actually puts her books away now too, although she definitely prefers to take them off of the shelf, lol.

Let me know what you think!
If you ever make this shelf yourself, I’d LOVE for you to tag me on Instagram so that I can see your projects too :)
See more great DIYs in our daughter’s Big Girl Bedroom here.

Samantha
Wednesday 31st of August 2022
This House Bookshelf craft Idea is amazing and unique. Super excited to try this one, perfect of kiddo's room. Thank you for sharing with us.
20 Amazing DIY Bookshelf Plans and Ideas – The House of Wood
Friday 28th of June 2019
[…] Learn More About This DIY Children’s Bookshelf → […]
Doll House Bookshelf | Life's Doodles
Wednesday 12th of June 2019
[…] a bookshelf in her room, but we didn’t have a lot of room. When I came across this post https://lindiandruss.com/house-bookshelf/ I knew right away that it was exactly what I was looking for, small and perfect for a girls room. I […]
DIY BOOKSHELF MAKEOVER | LIFE ON SUMMERHILL
Tuesday 9th of April 2019
[…] Love Create Celebrate […]
31 DIY Spielzimmer Dekor und Organisation - Dekorationen
Monday 10th of September 2018
[…] Liebescreate […]