
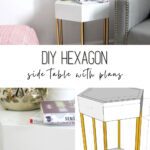
Make your own sleek and modern hexagon side table with this tutorial and step by step directions. Perfect for any room of your home!

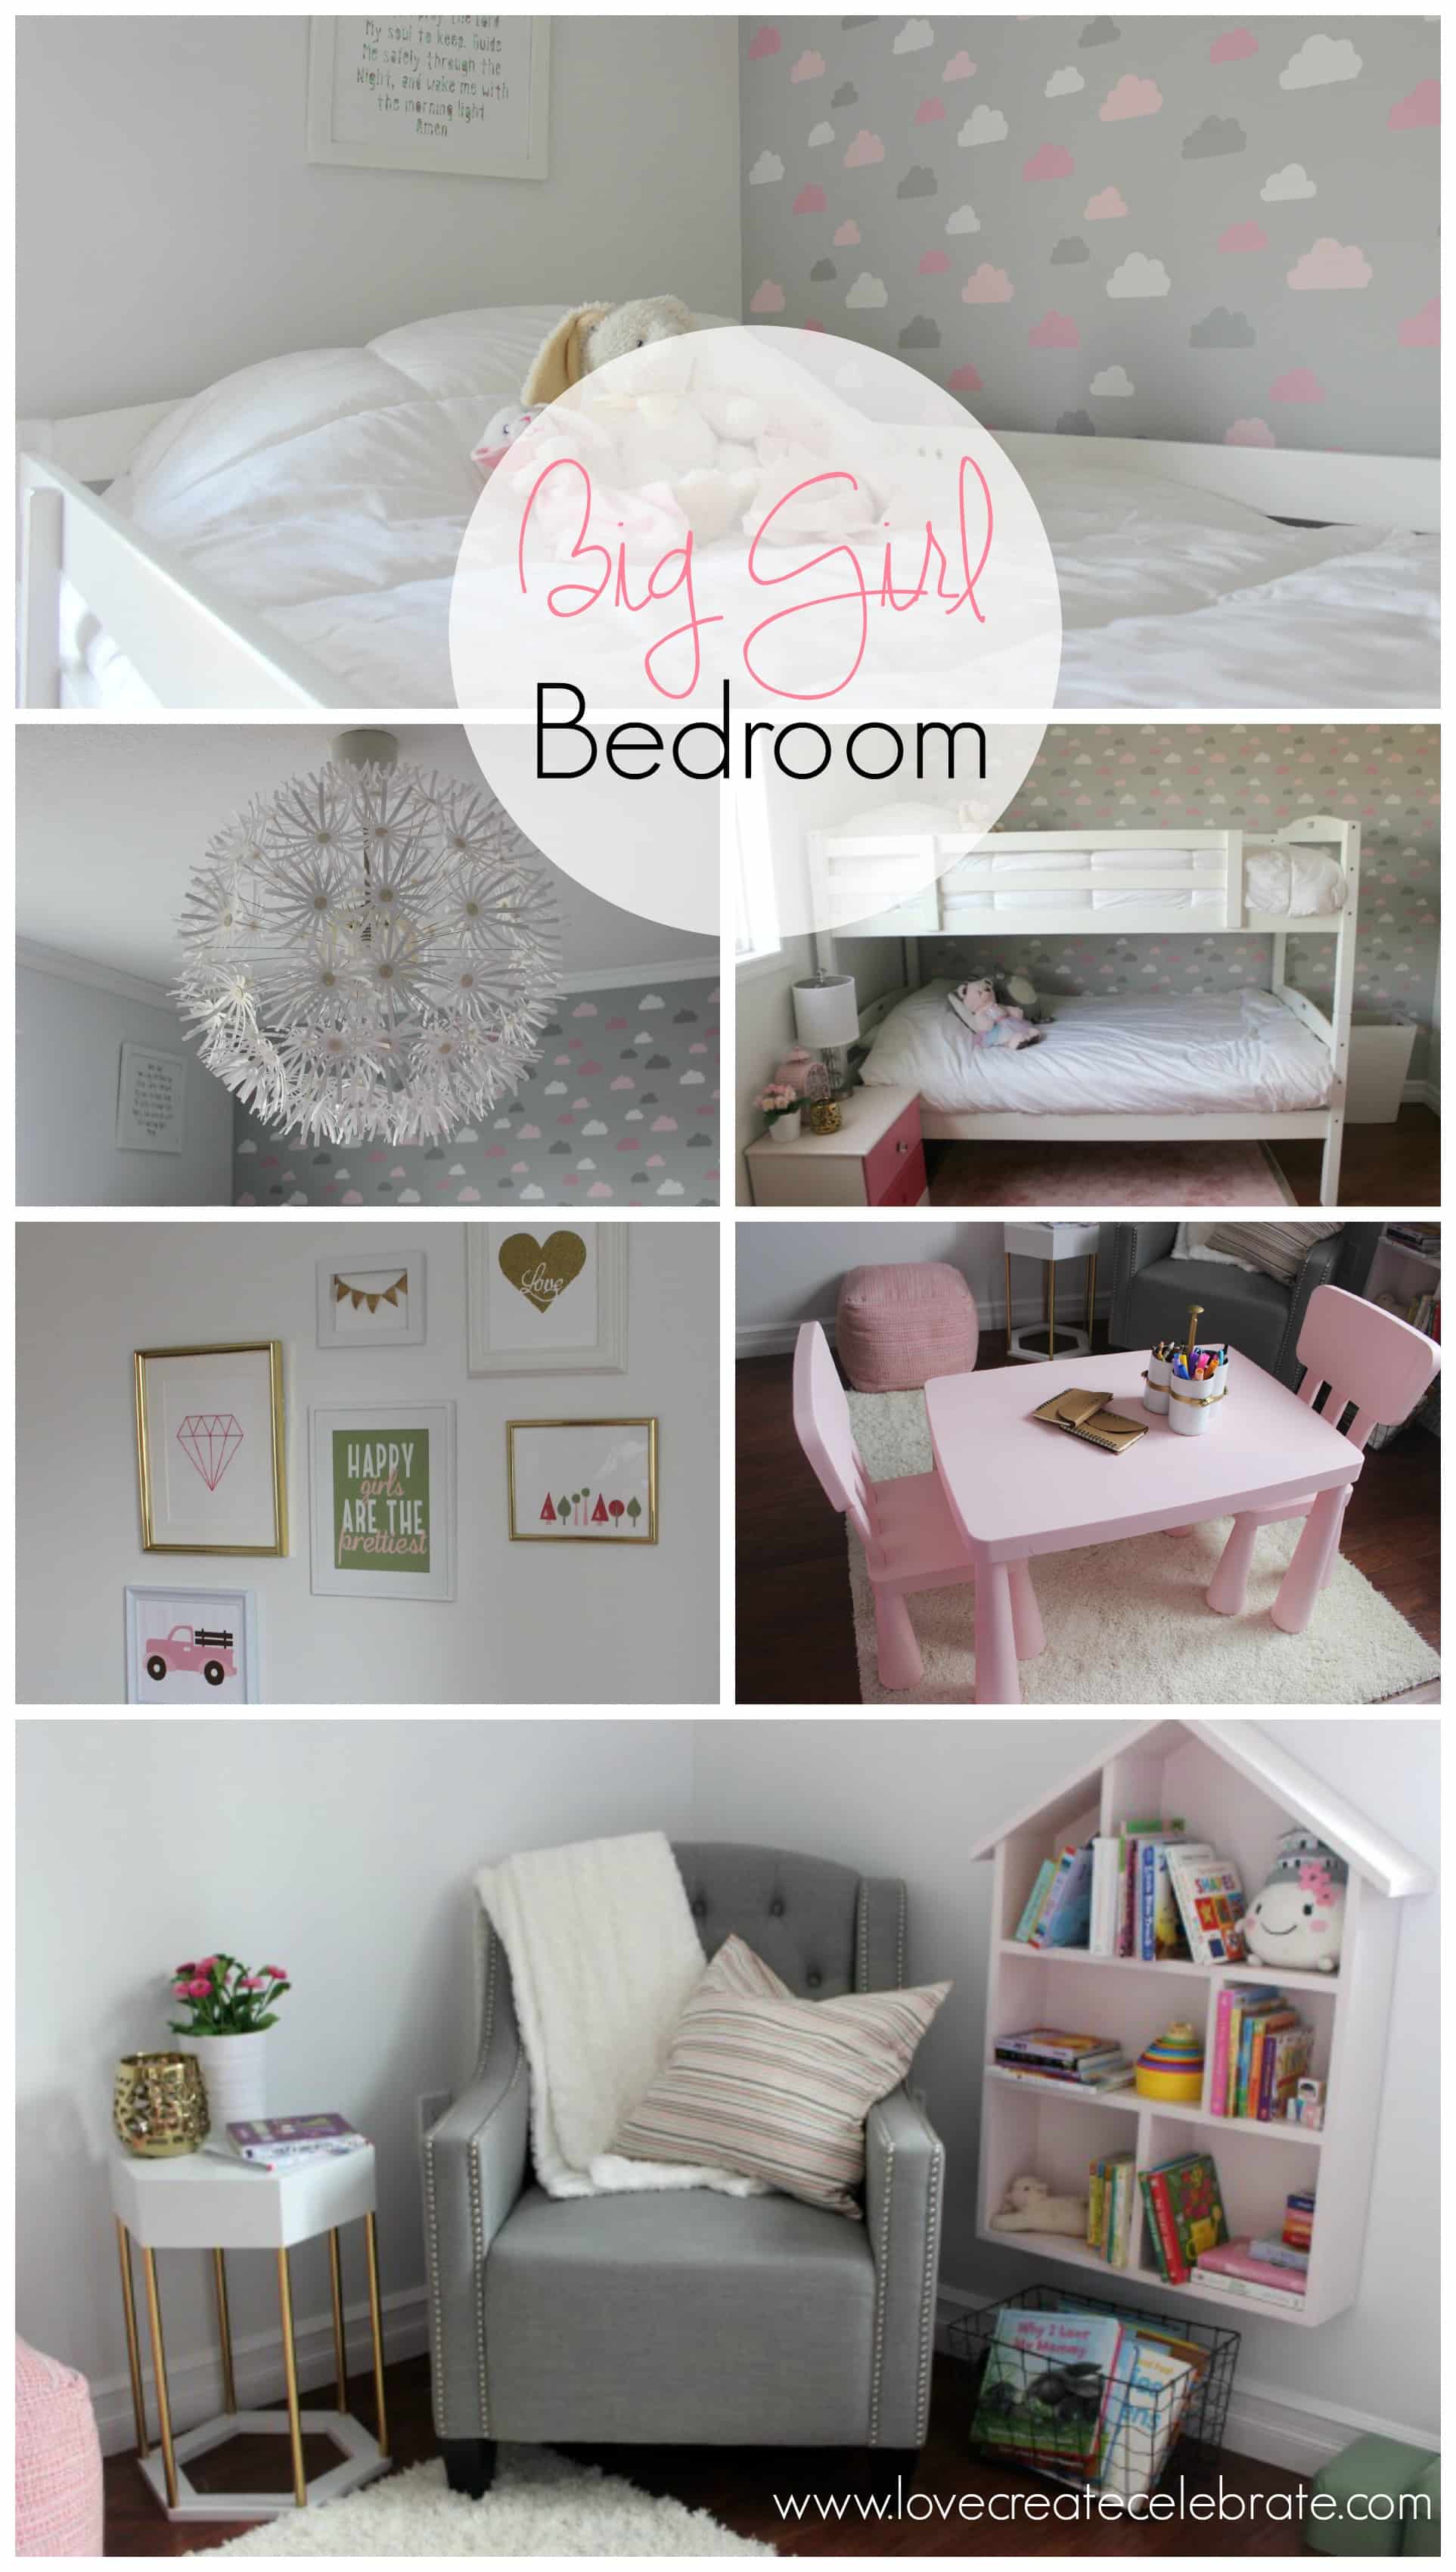
I am beyond excited to be sharing this project with you today! I first shared it on my Instagram account as part of the the #OneBoardChallenge. Then I shared it in the final reveal of my daughter’s beautiful (if I do say so myself!) Big Girl Bedroom. Today, I’m finally sharing the tutorial for this modern DIY Hexagon Side Table!
*This post may contain affiliate links. When you buy a product through one of our links, we get a commission at no cost to you! Thank you for supporting our blog so that we can continue to bring you posts like these. For more information, please see our disclosure page.*
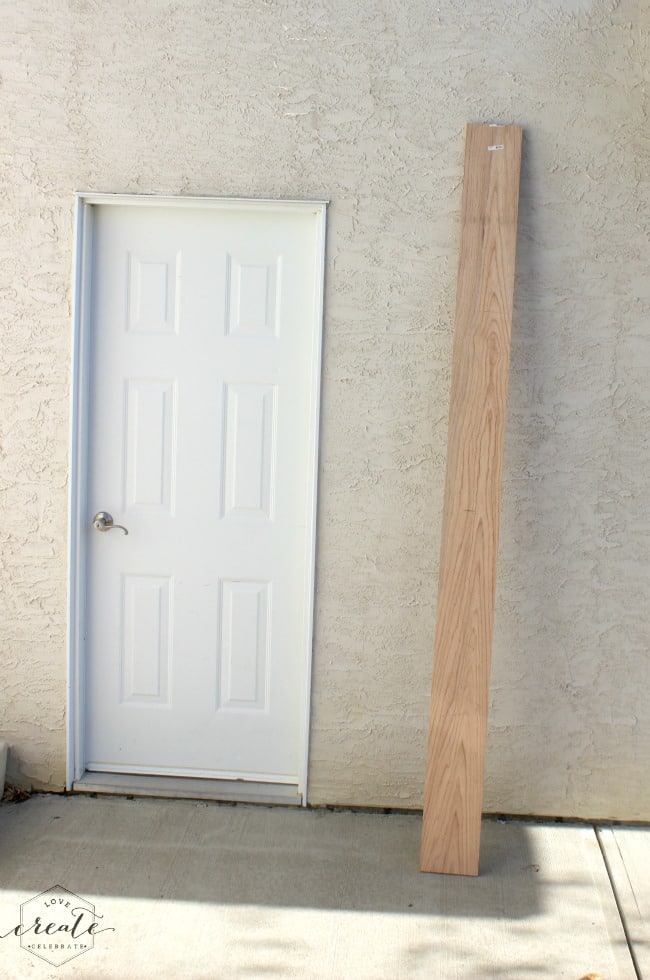
It all started with this 1″ x 8″ x 8′ board that we purchased for the #OneBoardChallenge. The idea behind the challenge is that we use one board only to create something unique, and THIS is what I made (with the help of my handy, behind the scenes husband of course!). [Note: if you just want to see pretty pictures, now is the time to jump to the bottom of the post! lol]
How to Make your Hexagon Side Table
Materials Needed
- 1″ x 8″ x 8′ board (we used oak)
- 102″ of 1/2″ diameter copper pipe
- wood glue
- nails for use during gluing
- epoxy
- white paint or varnish (based on finish desires)
- putty or wood filler based on desired finish
- gold spray paint
- proper safety protection (to wear at all times!)
Tools
- Table Saw or circular saw
- Drill Pressor hand drill
- Compound Miter Saw or circular saw
- measure tape
- protractor
- Pipe cutter or hack saw
- sander or sand paper
- clamps and/or ratchet straps for gluing
- 5/8″ Forstner Bit
Step-by-step Tutorial for your Hexagon Side Table
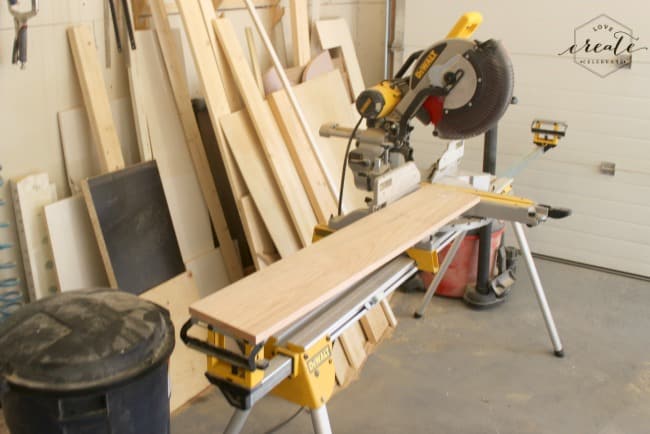
1. Cross cut a 50″ section off the end of the 1″ x 8″ x 8′ board.
2. Rip a 4″ wide section off the 50″ long piece you just cut.
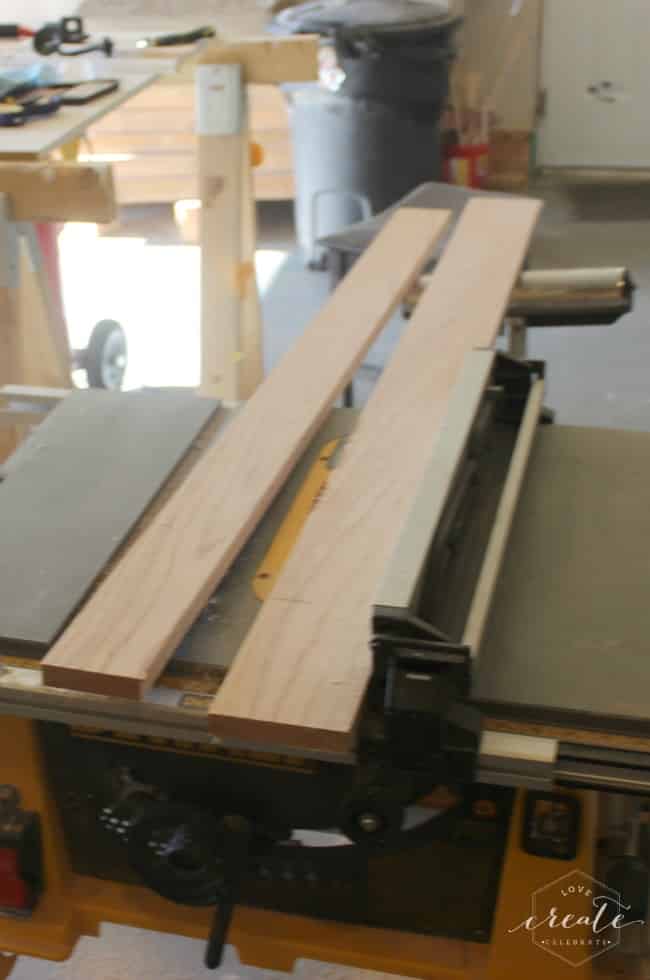
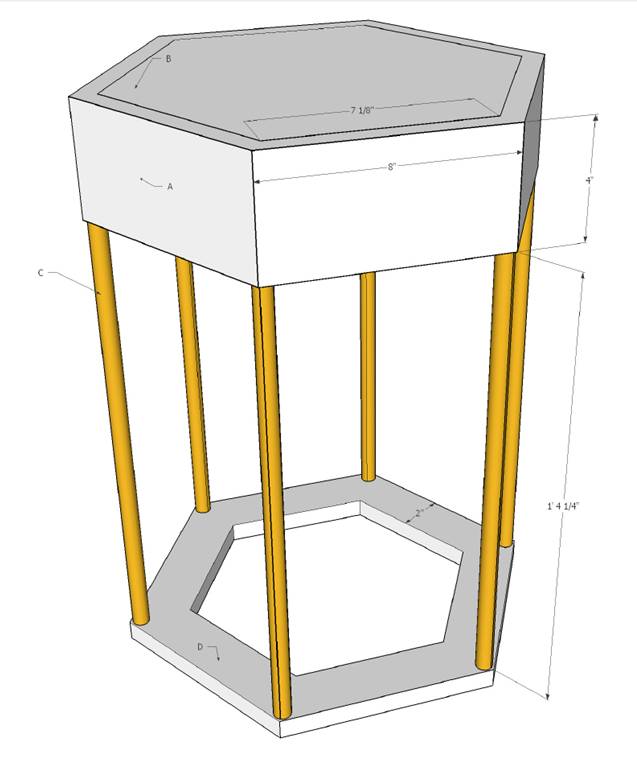
3. Cut six 8″ pieces vertically on the outside edges (for piece “A” off the diagram above) from the 4″ wide board (see photo below). Set your miter-saw to a 30 degree angle for the vertical cut and cut both angles inward (see diagram above).
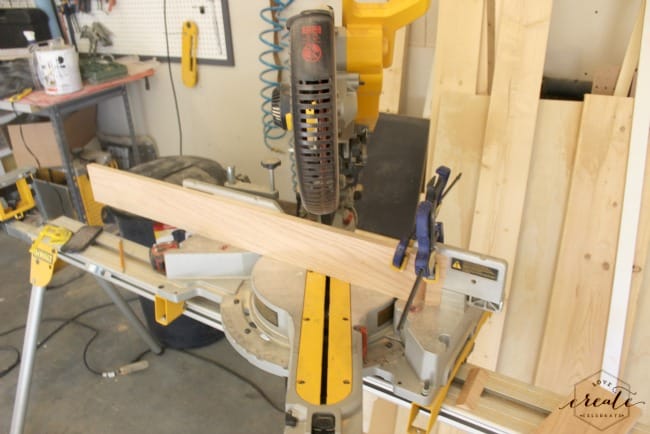
4. Using the remaining 3.75″ wide piece of board from the 50″ long piece – rip a 2″ wide section off.
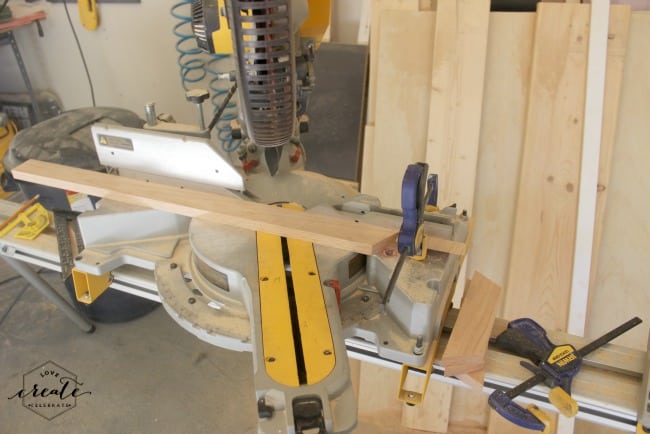
5. Cut six 8″ pieces vertically on the outside edges (for piece “D” off the diagram above) from the 2″ wide board (see photo below). Set your miter-saw to a 30 degree angle for the vertical cut and cut both angles inward (see diagram above).
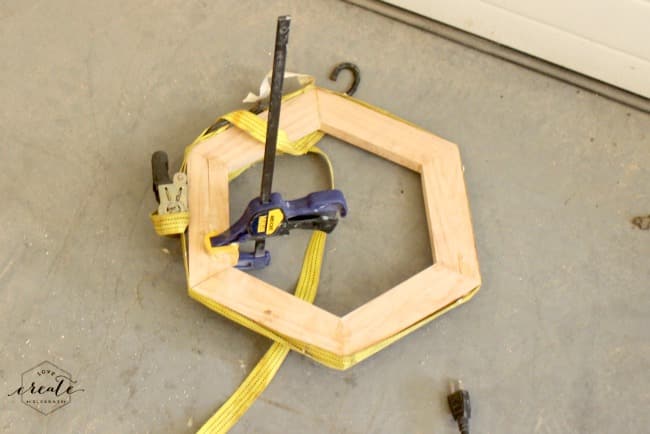
6. Glue the 6 “A” pieces together using wood glue to form a hexagon and let dry. We used a nails and a nail gun to temporarily hold the pieces in place. Once assembled, a ratchet strap and weights were used to clamp the piece together and maintain the structure while it dried. Note: After is dries, do not remove the ratchet straps until the nails have been removed.
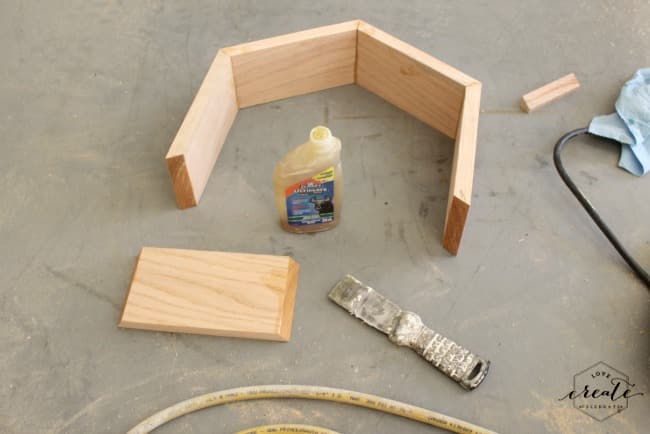
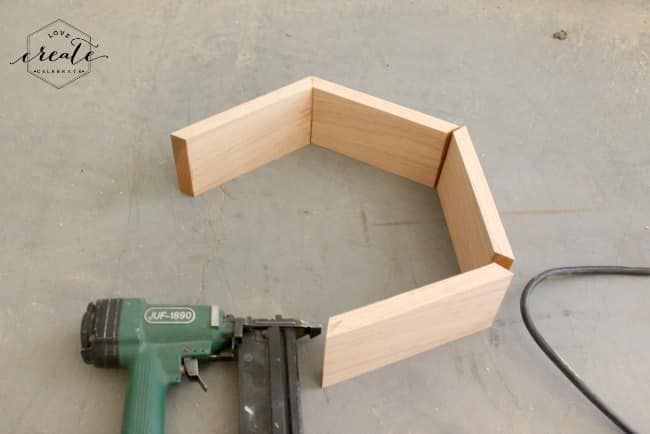
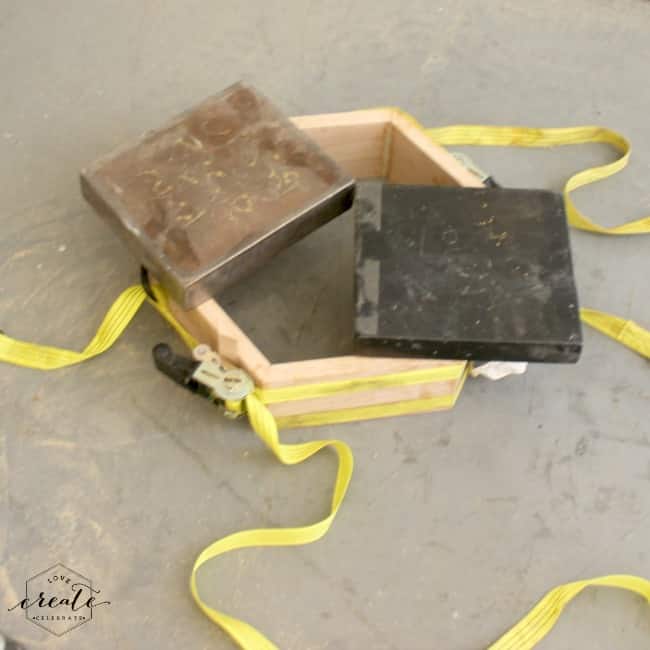
7. Glue the 6 “D” pieces together using wood glue to form a hexagon and let dry. We used a nails and a nail gun to temporarily hold the pieces in place. Once assembled, a ratchet strap and weights were used to clamp the piece together and maintain the structure while it dried. Note: After is dries, do not remove the ratchet straps until the nails have been removed.
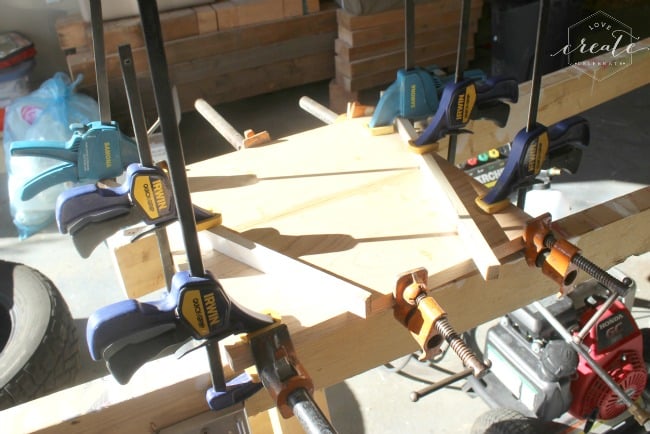
8. Cut two 7.75″ wide x 15″ long boards and glue them together to make a 15″ x 15.5″ rectangle. Clamp and let dry. This is from the remainder of the 1″ x 8″ x 8′ board.
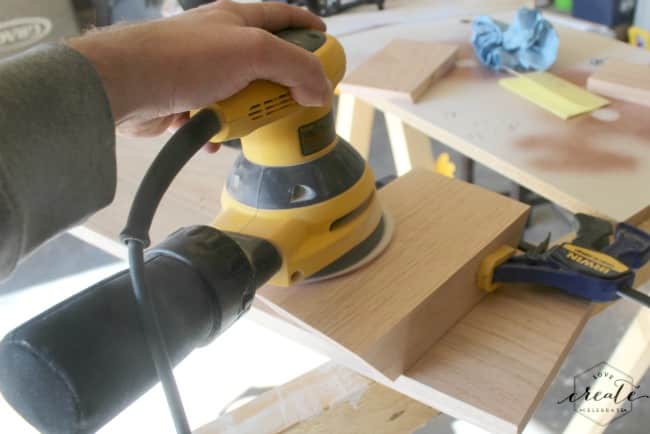
9. Once glue is set sand all joints flat. Be careful not to put too much pressure on the hexagon pieces as they can be fragile until they are assembled.
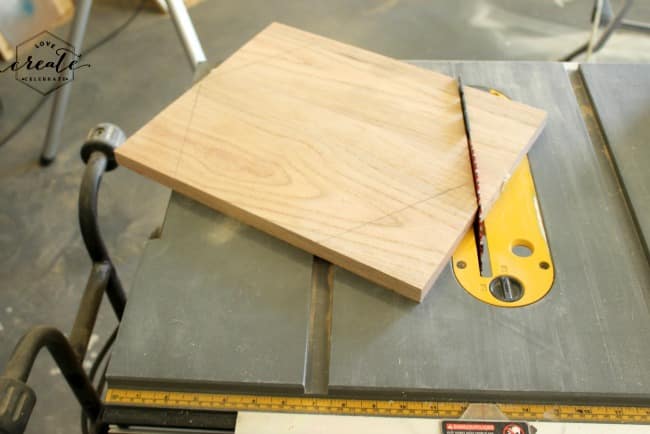
10. Once the 15″ x 15.5″ board is dry, use hexagon “A” as an outline to mark out section “B” and cut your hexagon out using the table saw.
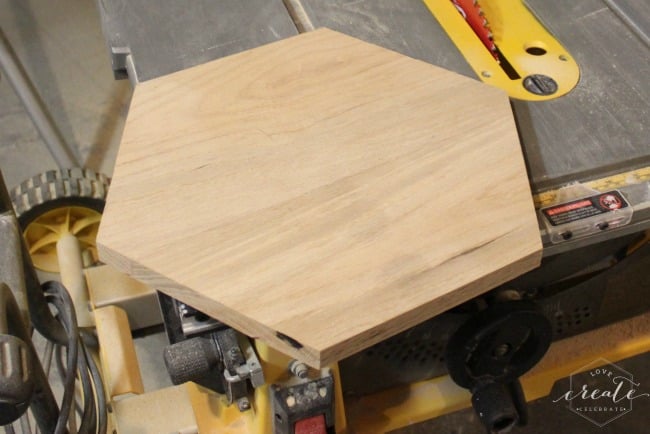
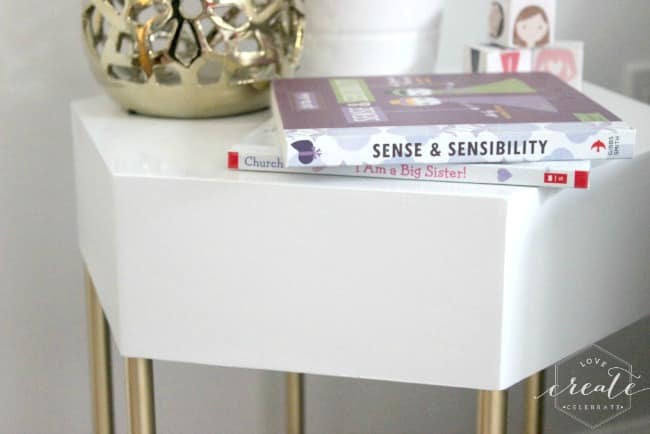
11. Glue and attach piece “B” to hexagon “A” to form the top of the hexagon side table.

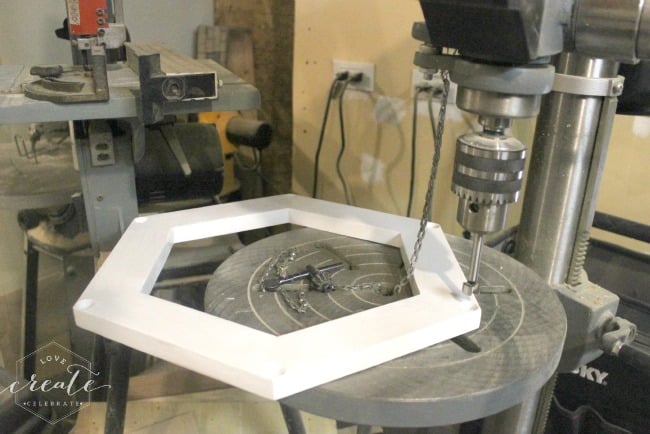
12. Prepare to add the copper pipe legs by marking out the center points of your 5/8″ diameter holes on the bottom on the table top and the top of the base. The edges of the holes should be 3/16″ off the outside edges, holes should be 3/8″ deep. We used a Forstner Bit on the drill press to make these holes.
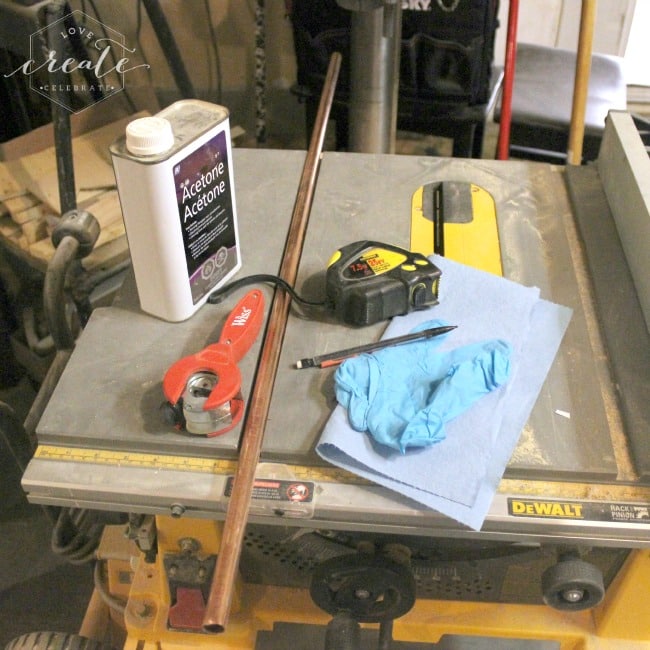
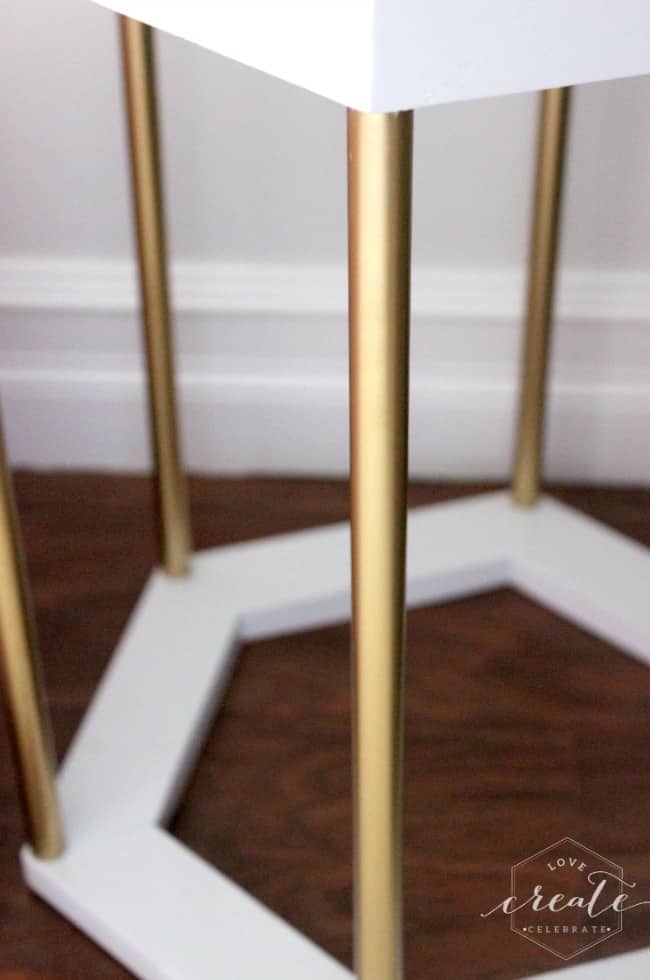
13. Cut six pieces of copper pipe 17″ long for the legs (“C” in the diagram above). Once cut, wipe them down with acetone (or cleaner of your choice) and paint them with gold spray paint.
14. Complete your final sanding and desired finish prior to assembly. We chose to have a gloss finish on the top and bottom hexagons of the table (“B” and “D” in the diagram above) by painting and using a wet sanding technique. Once complete, epoxy your legs (Piece “C” in the diagram) into the base and top of your hexagon side table.
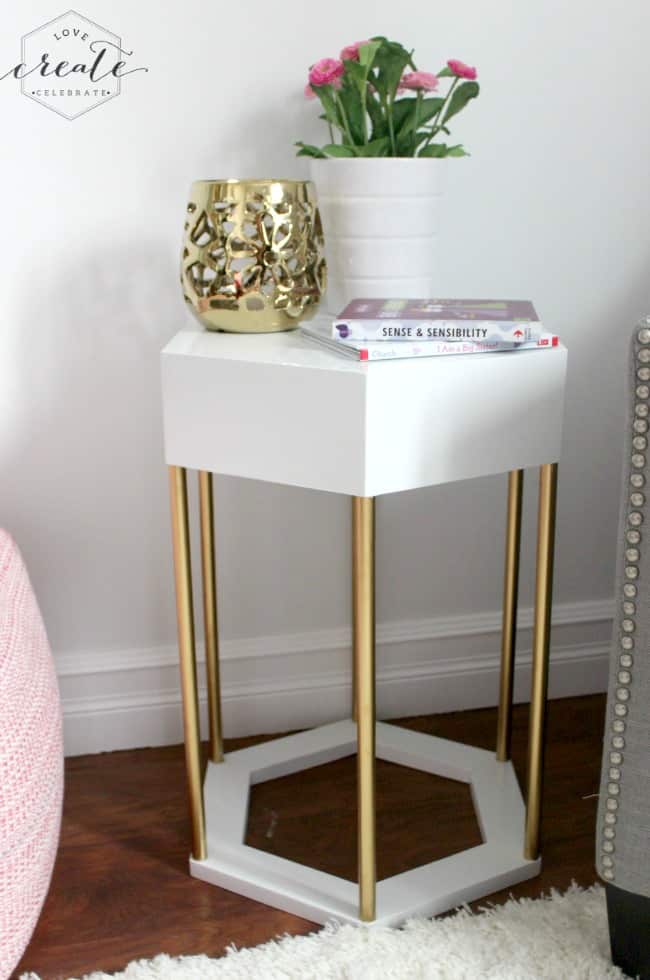
I am SO in love with this hexagon side table, and SO proud that we made it ourselves! It fits perfectly in my daughter’s bedroom, but I may have to steal it for myself one day… Here are some more beautiful pictures to enjoy :)

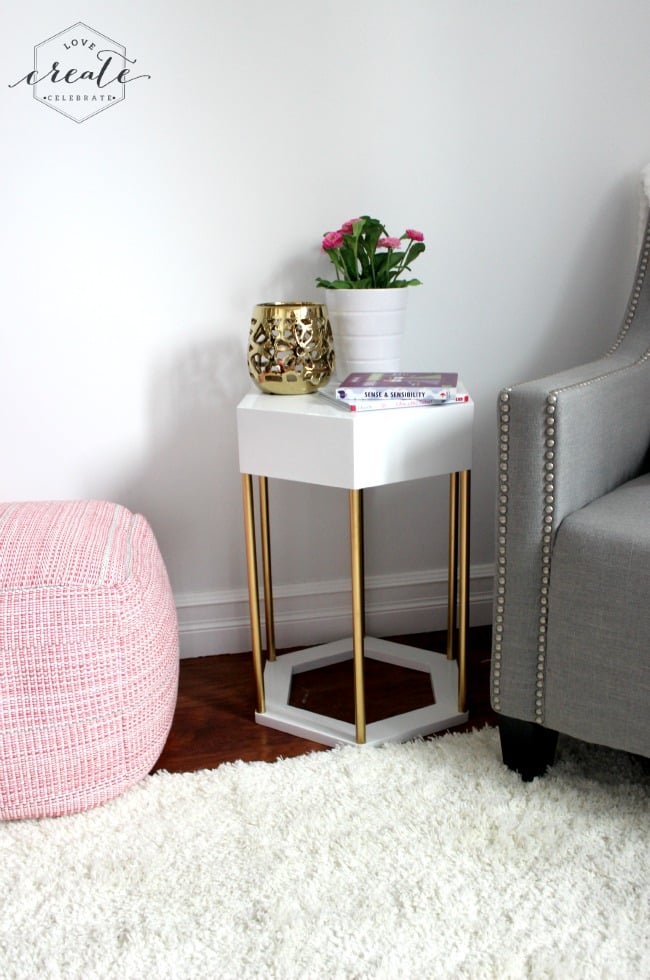
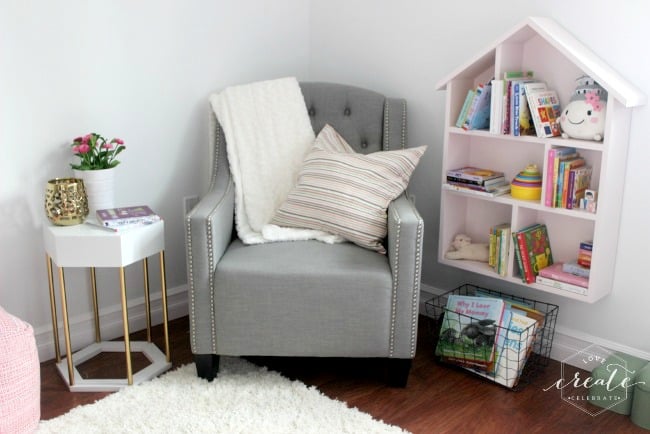
Make sure to stop by and see the entire Big Girl Bedroom that this gorgeous hexagon side table was made for :)
More DIY Woodworking Projects
Don’t forget to subscribe to our YouTube channel for more great DIYs!
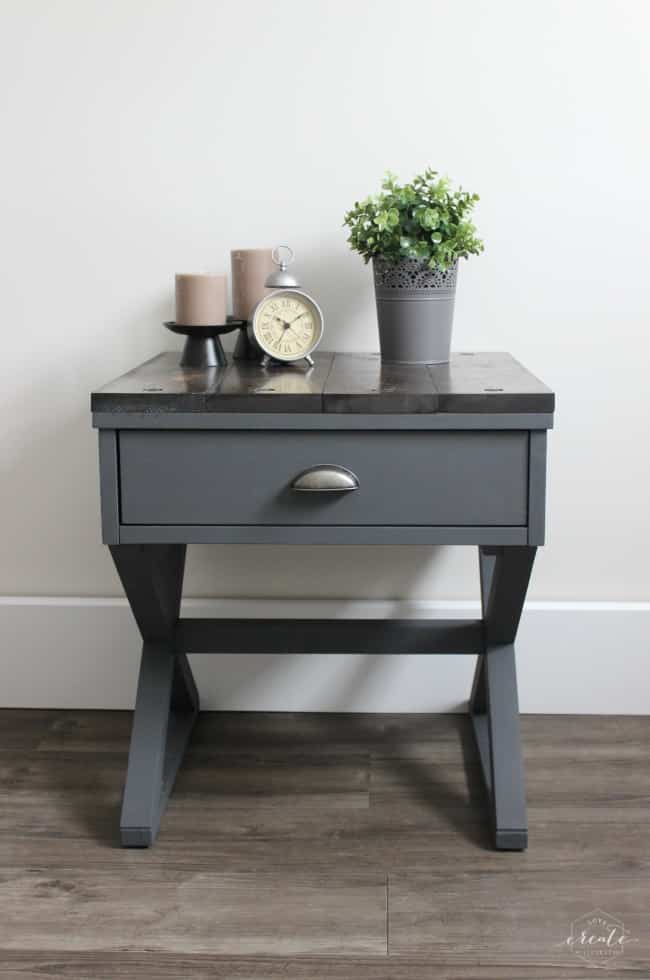
For more woodworking inspiration, check out this gorgeous Industrial Side Table!

Hexagon Side Table
Make your own sleek and modern side table with this tutorial and step by step directions. This hexagon side table is perfect for any room of your home and comes together quick.
Materials
- 1" x 8" x 8' board (we used oak)
- 102" of 1/2" diameter copper pipe
- wood glue
- nails for use during gluing
- epoxy
- white paint or varnish (based on finish desires)
- putty or wood filler based on desired finish
- gold spray paint
- proper safety protection (to wear at all times!)
Tools
- Table Saw or circular saw
- Drill Pressor hand drill
- Compound Miter Saw or circular saw
- measure tape
- protractor
- Pipe Cutter or hack saw
- sander or sand paper
- clamps and/or ratchet straps for gluing
- 5/8" Forstner Bit
Instructions
- Cross cut 50" off the 1"x8"x8" board
- Rip 4" wide section off cross cut board
- Cut six 8" pieces vertically from the 4" wide board and miter saw 30 degree angles on each piece inward
- Use remaining piece of wood from 50" piece to rip a 2" wide section
- Repeat step 3 on the 2" wide section
- Glue the six 8" pieces together from the 4" piece of wood to form a hexagon
- Glue the six 8" pieces together from the 2" piece of wood to form a hexagon
- Cut two 7.75"x15" long boards then glue together and let dry
- Sand edges
- Use the large hexagon to mark and cut tabletop
- Glue tabletop to large hexagon
- Mark center point for copper legs
- Cut six 17" long copper pipe pieces for the legs of the table, clean with acetone, and paint gold
- Do final sanding and apply finish before assembling, and then epoxy legs after finishing


Hexagon Side Table – Free Woodworking Plan.com
Wednesday 29th of January 2020
[…] to Build a Hexagon Side Table.For this fabulous hexagon side table all you need is one 1 x 8 x 8ft board and copper pipe. Here is how to build […]
40+ Genial DIY Beistelltisch-Ideen für Draußen und Drinnen – Home Decor
Monday 27th of January 2020
[…] Dieser Beistelltisch ist definitiv elegant und Komplex, wie es sollte, da es hexagon-Form. Es verfügt über eine solide, Dicke Sechskant-top und einem passenden Heiligen Sechskant an der Unterseite, die sind beide weiß und verbunden durch sechs Beine aus Holz, die lackiert in metallic rose gold. über lovecreatecelebrate […]
20 Incredible but Easy DIY End Tables to Build | SawsHub
Wednesday 22nd of January 2020
[…] Get the instructions here: www.lovecreatecelebrate.com […]
20 Incredible but Easy DIY End Tables to Build | SawsHub
Friday 8th of November 2019
[…] Get the instructions here: www.lovecreatecelebrate.com […]
27 Impressive DIY End Tables For Any Space - The Saw Guy
Monday 24th of June 2019
[…] Lindi at Love Create Celebrate decided to make an end table for her daughter’s bedroom. She did a fantastic job on this hexagon shaped side table. Try making your own modern and sleek side table. […]