
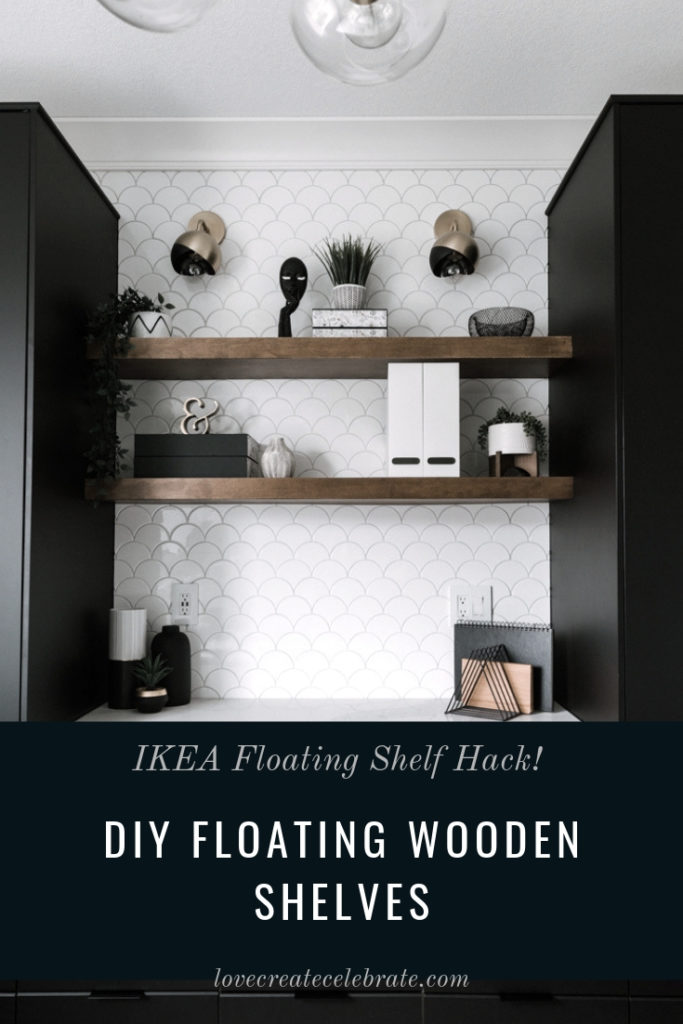
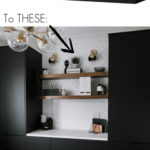
Anyone can make these Easy DIY Floating Shelves! Wrap wood around an IKEA Lack floating shelf for an amazing modern IKEA hack you have to try! The results are beautiful!
Every time we reveal a new space, it’s magical. There is so much excitement and anticipation. For Russel and I, we relish every comment and like and emoji! It’s so satisfying to see our work come together and to hear that we’ve inspired others to tackle a project or complete a reno, we’re always thrilled! These easy DIY Floating Shelves are one of my favourite projects from our new Home Office reveal, and I love that anyone could do it!
*This post may contain affiliate links. When you buy a product through one of my links, I get a commission at no cost to you! Thanks for supporting my blog so I can continue to bring you posts like these. For more info, please see my disclosure page.*
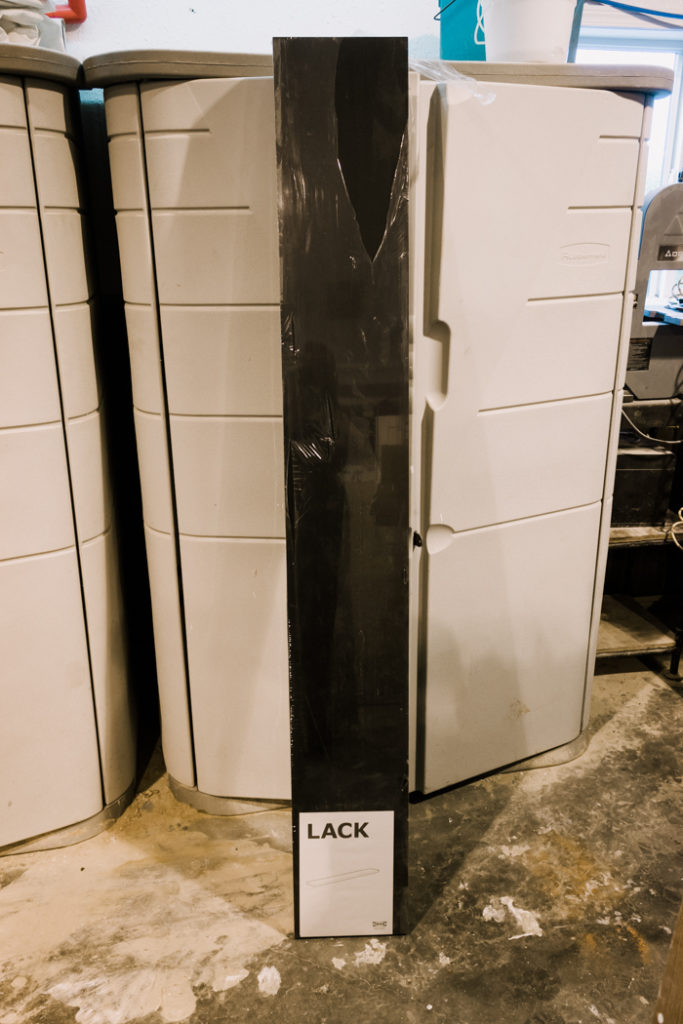
If you’re ever been to IKEA, you’ve probably seen one of their floating shelves in their displays. You may have even bought one for your home already! This project takes the super easy set-up of IKEA floating shelves, and adds a wood veneer wrap to completely change the look!
Materials Needed for Easy DIY Floating Shelves
- IKEA Lack Shelves
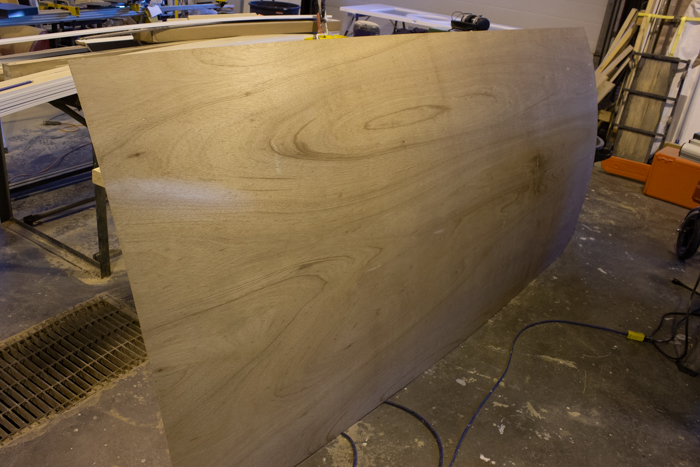
- 1/8″ Wood Veneer (we used Maple)
- Drill
- Drill Bit for Drilling Metal
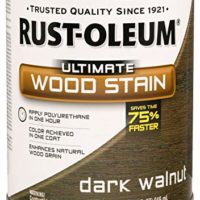
- Dark Walnut wood stain (or any colour)
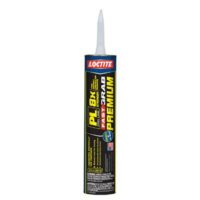
- PL Premium
- Pin Nailer
- Table Saw
- Mitre Saw
How to Make Easy DIY Floating Shelves
If you’re looking to make some DIY floating shelves for yourself, here is how we did our IKEA Hack.
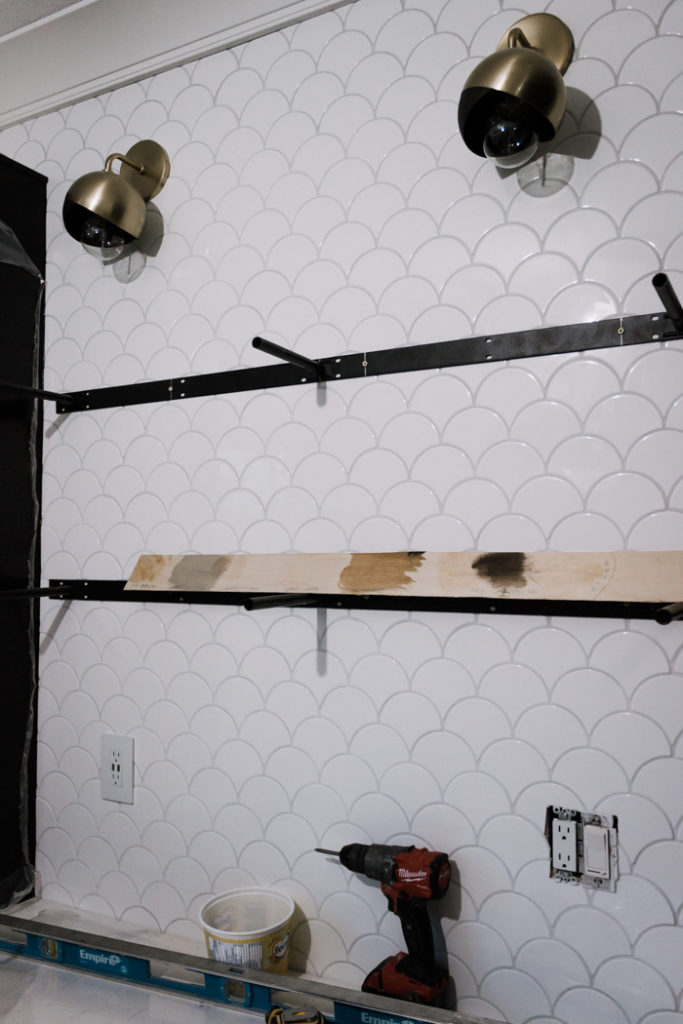
Putting Up Brackets
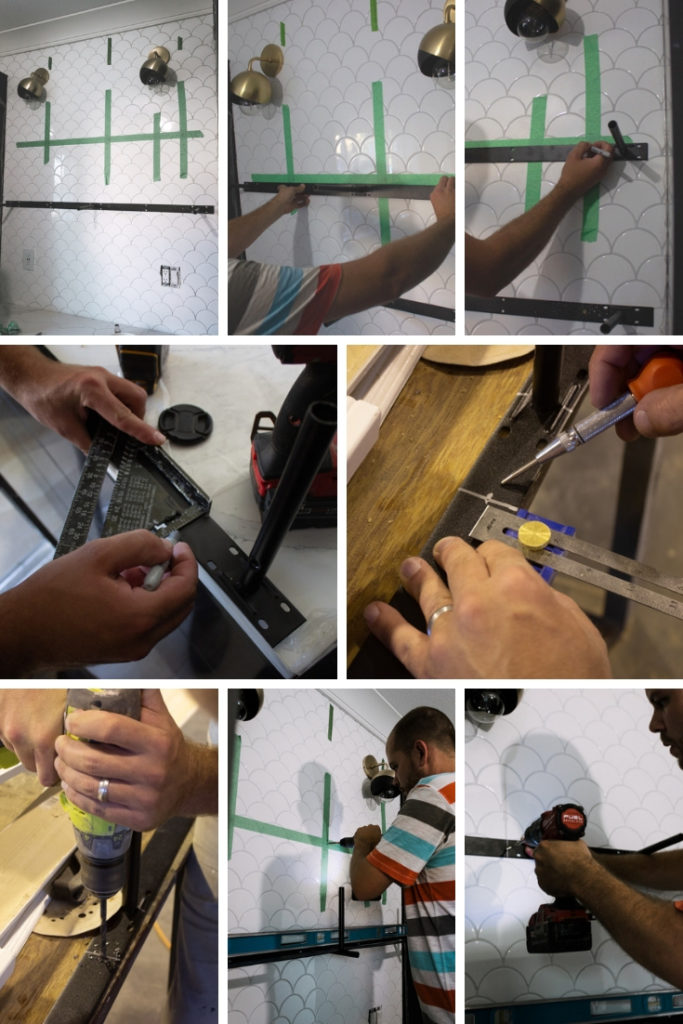
The great thing about this DIY, is that is starts by purchasing an easy IKEA floating shelf, which includes the brackets and hardware you need already. The photos in the collage go from top left to bottom right.
We bought the 74″ shelf, but IKEA also sells a 43″ shelf, if you are mounting a shorter shelf. The shelves come with holes that you can use to hold them up, but we prefer to drill our floating shelves into studs.
The instructions below who you how to attach your floating shelf to the wall by first finding the studs, then drilling new holes in the brackets that match the location of your studs, and then screwing the bracket into place. If you are drilling into tile, you can follow this tutorial!
We were lucky that our bracket fit perfectly into the space, but you could run into the problem of your bracket being too long. If that does happen, you can cut it down on one side with a metal cutting wheel on a grinder or Dremel.
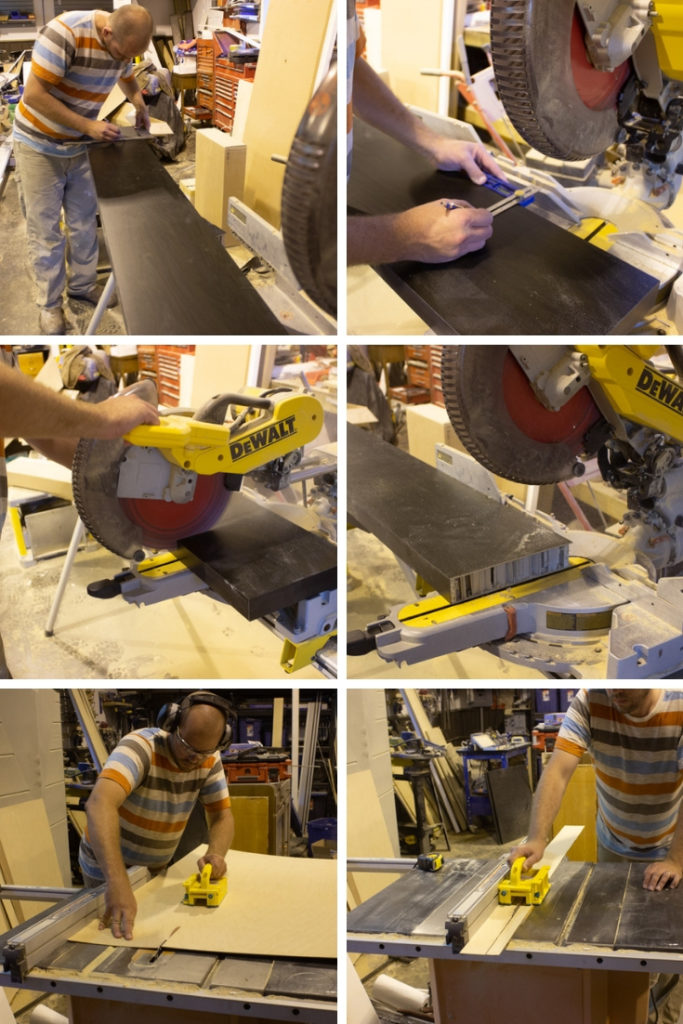
Cutting Your Shelf and Wood Veneer
The next step is to cut your shelf down to the correct size, and to cut your wood veneer for all visible sides of your shelf.
Following the instructions below, you will first cut your floating shelf down to size (or skip this step if you are using the entire shelf). When your shelf is ready, you need to cut your veneer pieces. The number of pieces you have will depend on how many sides of the shelf are exposed. If your shelf is between cabinets, like ours, you will cut four pieces. If your shelf is truly floating, you will cut 6 pieces (2 for the sides as well).
When all of your wood veneer pieces are cut, you can stain them the colour of your choice. We always suggest testing out as many stains as you can on a scrap piece of wood to make sure that you like your stain choices in the space. We chose to go with a dark walnut to add some warmth and colour to our home office.
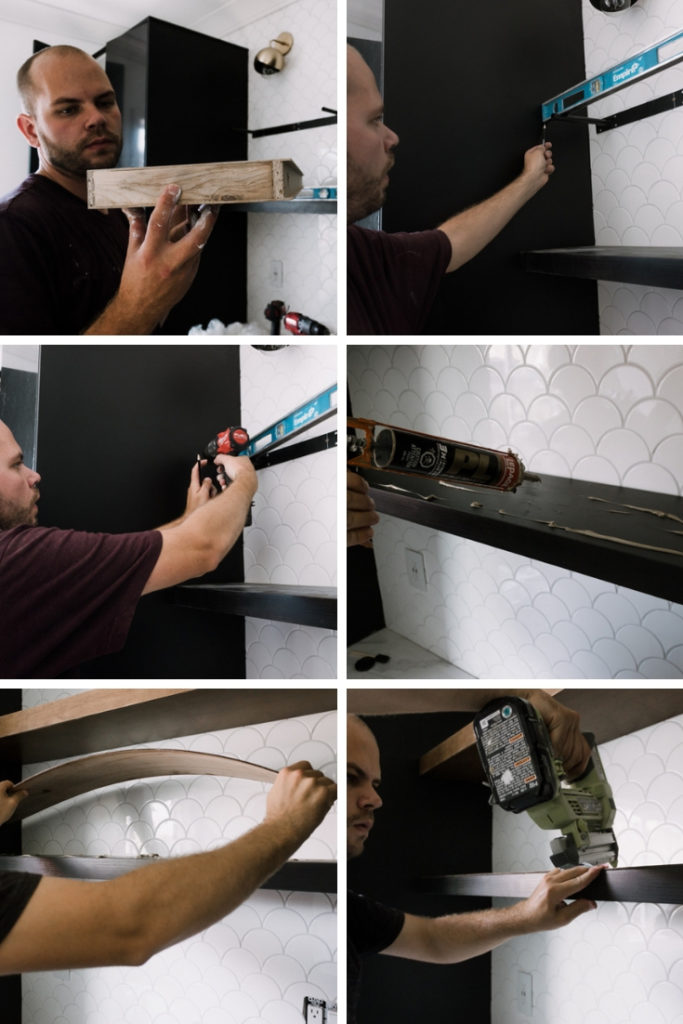
Attach Shelves and Veneer to the Wall
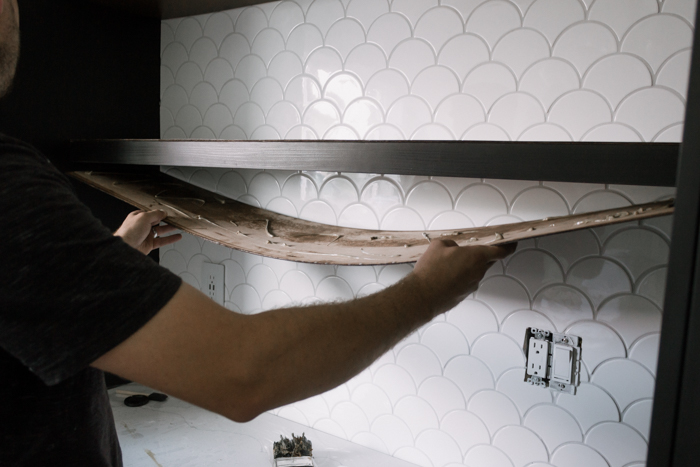
The final step is to slide your shelf onto your new bracket and adhere the wood veneer on top. If you choose to drill your shelves into the cabinet sides, like we did, it is a few extra steps, but very worth it if you plan to put anything heavy on your shelves! To glue the veneers in place, we used PL Premium and a pin nailer.
When we added our bottom piece, we put the glue directly on the wood veneer. Then we added the front piece last. Nail each piece in with the pin nailer, as above.
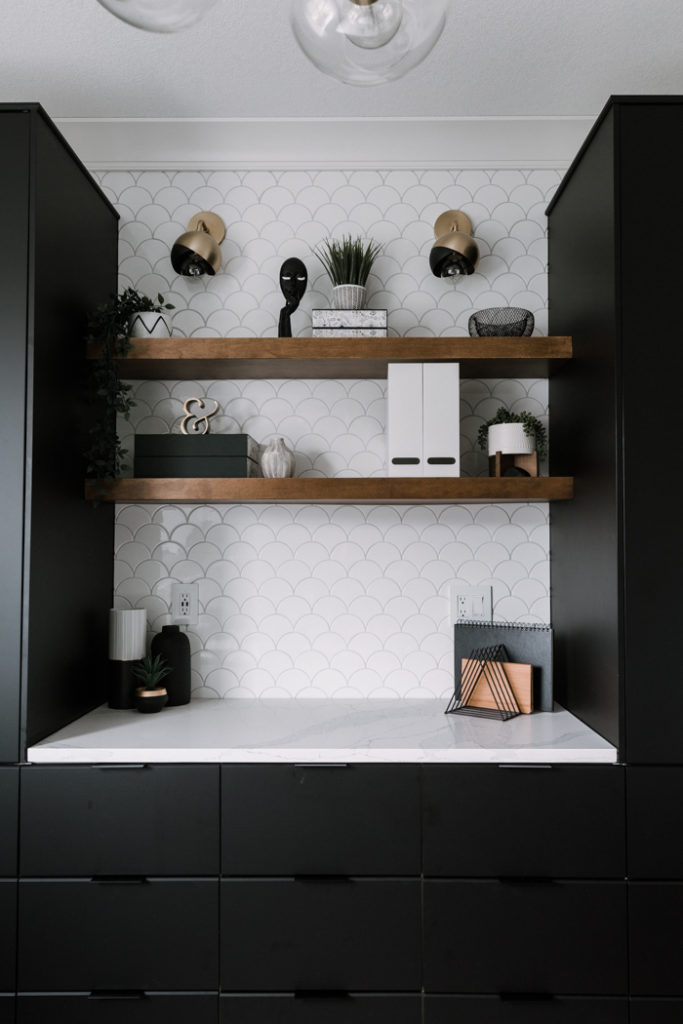
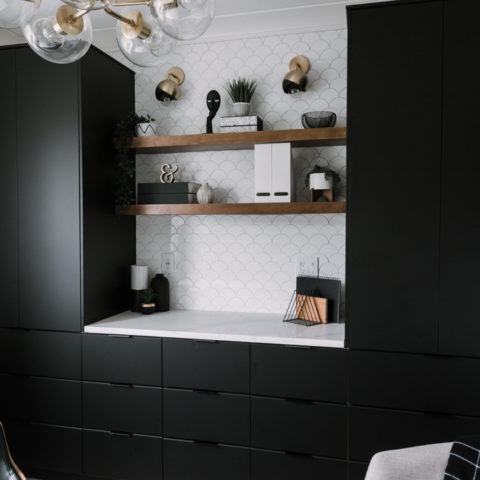
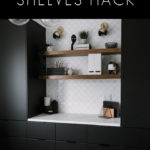
Our Finished DIY Floating Shelves
We LOVE how these shelves turned out! They have so much more character than the IKEA ones on their own. The wood adds the perfect amount warmth and texture to the office space.
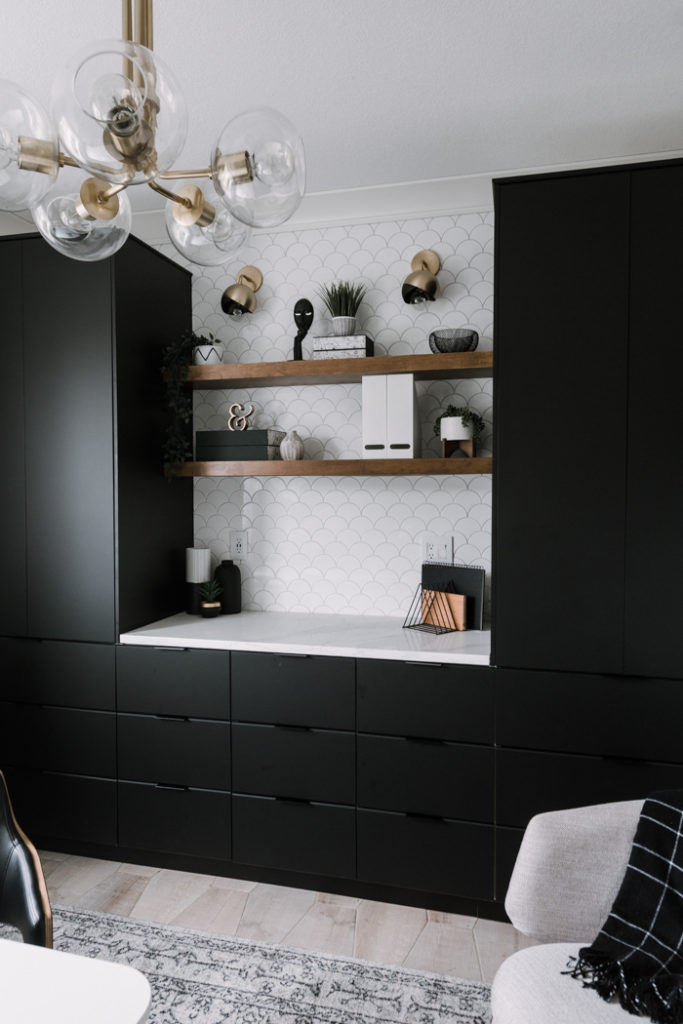
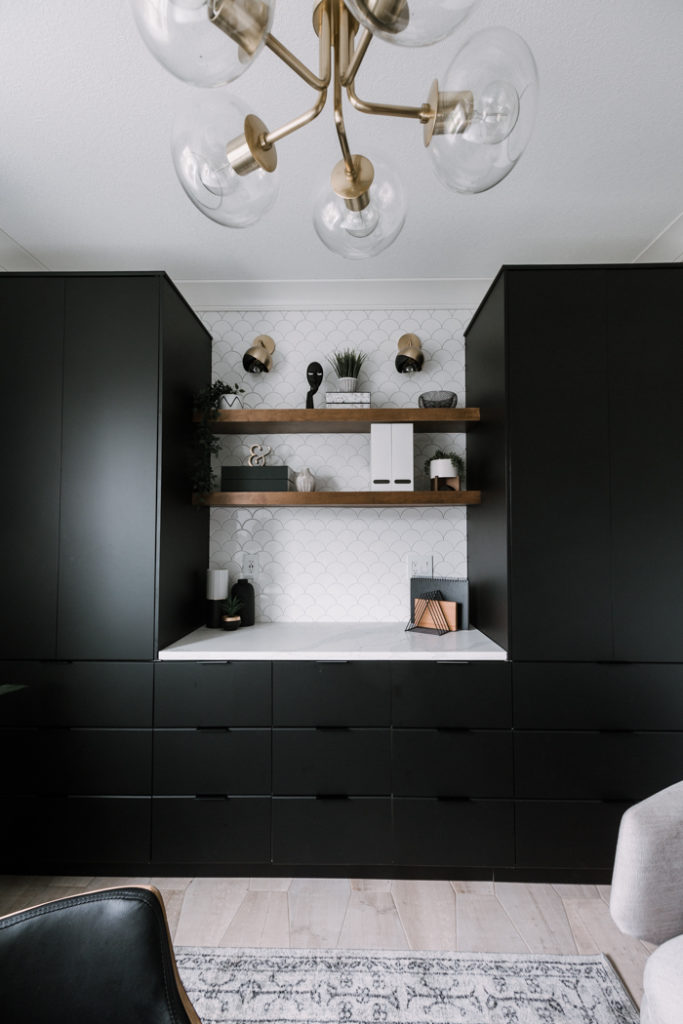
Don’t forget to check out our entire Home Office Makeover if you haven’t already!
Easy DIY Floating Shelves
Anyone can make these Easy DIY Floating Shelves! Wrap wood around an IKEA Lack floating shelf for an amazing modern IKEA hack you have to try!
Materials
- IKEA Lack Shelves
- 1/8" Wood Veneer (we used Maple)
- Drill Bit for Drilling Metal
- Dark Walnut wood stain (or any colour)
- PL Premium
Tools
- Drill
- Pin Nailer
- Mitre Saw
- Table Saw
Instructions
Putting Up Brackets
- Start by finding your studs and marking them out on the wall (we used green painters tape).
- Hold your IKEA bracket up on the wall and center it.
- Mark the location of your studs onto your brackets. If you're lucky one or more of your studs may already line up with the bracket's holes!
- Draw a line at the stud location you found, and mark the exact center of that line.
- Using a center punch, make a mark at the center point you just found.
- Using a drill bit for drilling metal (1/4"), drill through your metal bracket.
- Drill into the wall where your bracket is going (at the stud locations). If you are drilling into tile, you will need a diamond drill bit.
- Drill your bracket onto the wall.
Cutting Your Shelf and Wood Veneer
- Since we centered our bracket in the space, you also must measure from the center of your IKEA shelf, and cut equal amounts off of each side of your shelf.
- Measure the exact distance to but cut on each side of your DIY floating shelves.
- Using a mitre saw, cut your shelf down to size.
- Cut your wood veneer. Most wood veneers will have to be purchased from a specialty wood store. We bought ours at Windsor Plywood in Canada.
- When cutting the top and bottom, cut the exact width and length of the shelf. If you need to have wood veneer on the sides, add 1/4" to the height of your piece (to add 1/8" from the top veneer, and 1/8" from the bottom veneer). For the more narrow front piece, you will have to add another 1/4" to the width (1/8" for the top veneer and 1/8" for the bottom veneer), and if you added sides, you will also need to add a 1/4" to the length to account for the width of the veneer on the sides of the shelf.
- Stain your wood veneer.
Attaching Shelves and Veneer to Wall
- The first couple steps here are totally optional. We chose to attach our shelves to our cabinets, to provide extra strength, but you could just slide your shelves onto the brackets (which are already attached to studs), or you may have open shelving and may have covered the sides with veneer already. If you choose to attach the shelf to cabinets, start by adding a wood block to the edge of our shelf pieces (the shelves come with paper inside). Glue it in place with wood glue.
- Find the point on the cabinets where the floating shelves will attach.
- Drill holes into the cabinet. Then slide the shelf in place, and drill through the hole you made, from the inside of the cabinets.
- To glue the veneers in place, we used PL Premium. Simply spread the glue over the surface.
- When you're ready, add your wood veneer on top of your shelf and press it into place.
- Use the pin nailer to nail the veneer in place. Unlike a brad nailer it will just make tiny nail holes that don't require any touch-up or anything, yet the nails are still strong enough to hold the veneer in place.
Notes
Refer to the blog post at Love Create Celebrate for photos of each step and more in depth instructions.
Recommended Products
As an Amazon Associate and member of other affiliate programs, I earn from qualifying purchases.


Anna
Friday 11th of June 2021
Could you tell me either how wide the ikea support bar is or how much can be removed from the sides of the 74 inch Lack shelf?
Lynsey
Sunday 22nd of January 2023
Hi, I love this idea and am looking to do the same thing in my kitchen. Do you have any idea the weight limit with the lack shelves and bracket supports you used?
Lindi
Tuesday 22nd of June 2021
I'm not 100% sure we didn't measure before we put it up! You'll have to check at IKEA.
Allison
Thursday 11th of March 2021
Hi! I loved your idea! Thanks for sharing! I’d love to know where you bought the white cachepot with wood legs? Thanks!
Lindi
Friday 12th of March 2021
It was from Homesense/Homegoods :)
Shea
Thursday 8th of August 2019
Beautiful! If you don't mind me asking, about how much could we expect to spend on a sheet of the maple veneer? Thanks!
Lindi
Thursday 8th of August 2019
Thank you! It cost about $45 at our local store :)