
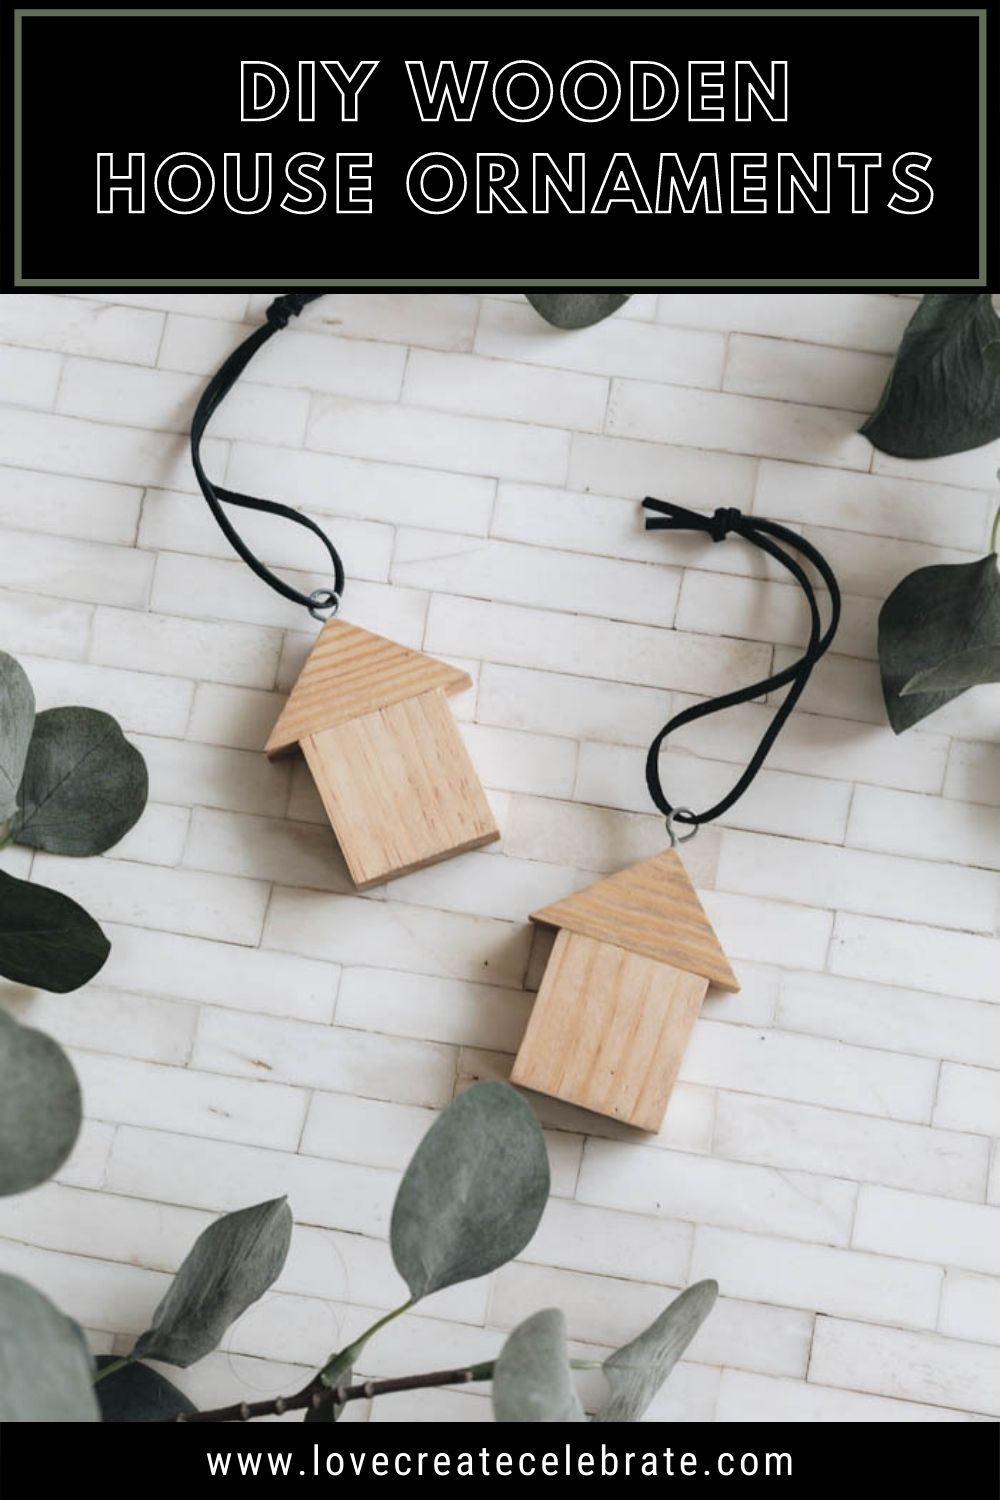
Make your own set of wooden house ornaments with a set of building blocks from the Dollar Store. I love these as ornaments or as individual decor pieces.
I LOVE LOVE LOVE decorating for Christmas! It’s my favorite time of the year and I really love taking cheap-looking Dollar Store items and turning them into beautiful home decor. I’ve been working on Christmas decor that has a Scandinavian vibe and this easy project fits right in. I love these wooden house ornaments and you will want to make your own when you see how easy they are to make! No wood cutting is required.
*This post may contain affiliate links. When you buy a product through one of our links, we get a commission at no cost to you! Thank you for supporting our blog so that we can continue to bring you posts like these. For more information, please see our disclosure page.*
How to Make Wooden House Ornaments
Supplies Needed
- Wooden blocks
- Eye hooks
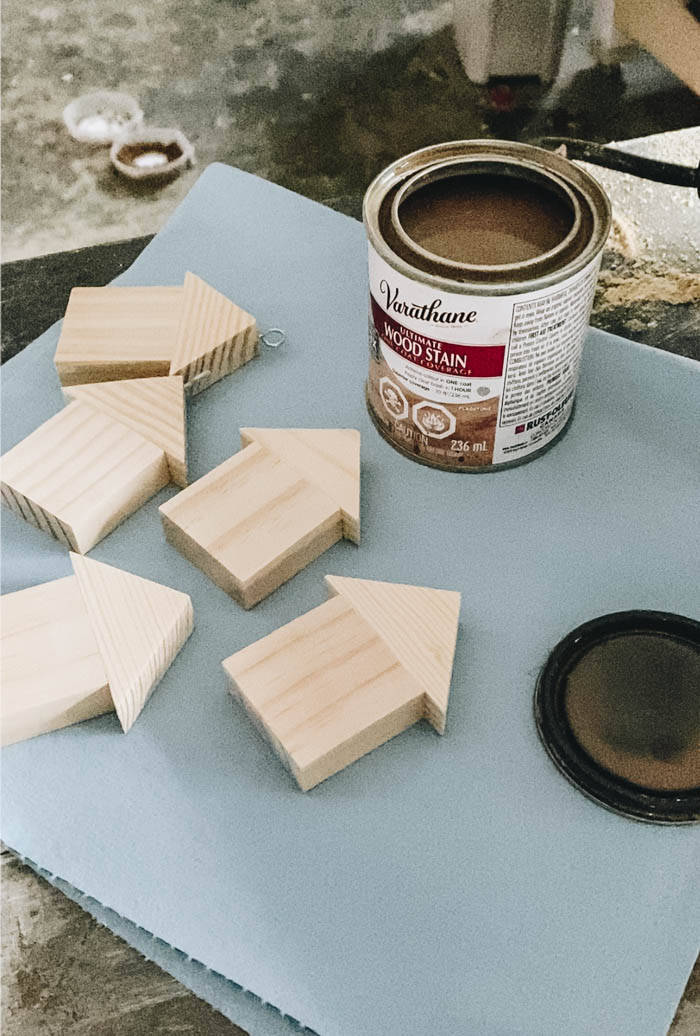
- Stain, I used Briarsmoke brown stain
- Black leather cording
- Wood glue
- Drill
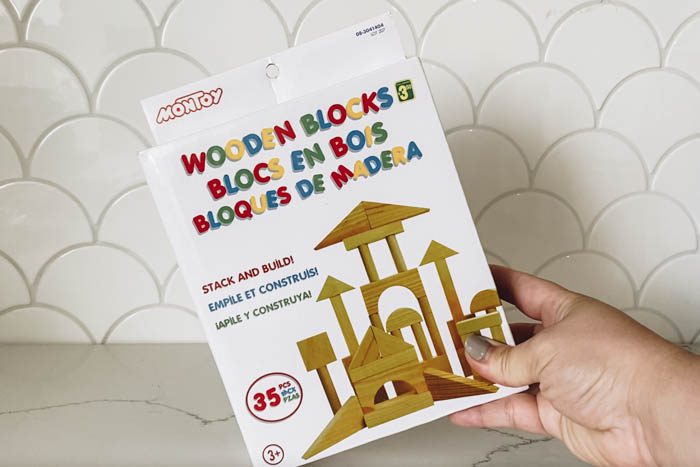
These DIY wood ornaments involve this set of wooden blocks I picked up at Dollarama. I have already them to make a tree ornament, so this $3 is stretching pretty far. Money well spent my friends!
Step-by-step-tutorial
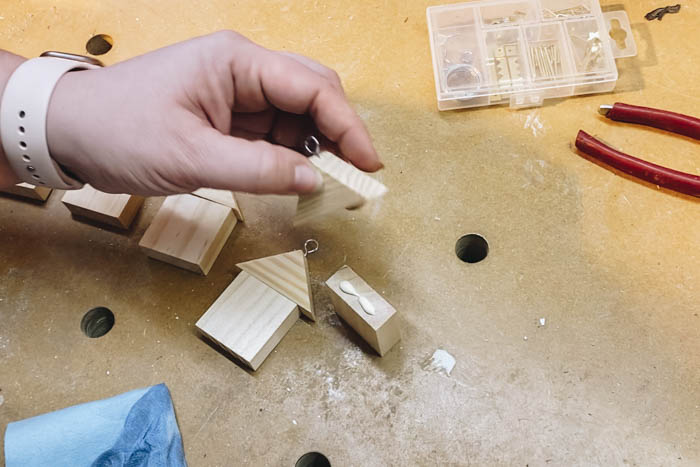
I took some triangles and squares so could make them into little wooden house ornaments or decorations. If you don’t have a block set, you can also easily cut these shapes from scrap wood.
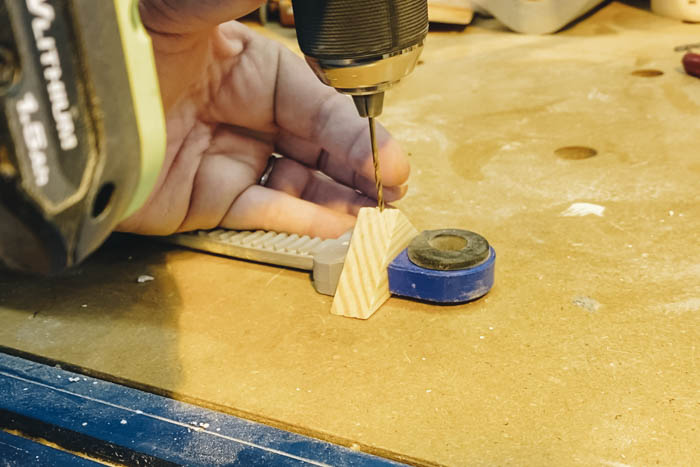
The first thing I did was clamp down my triangle pieces and drilled holes into the top of them with a drill bit that was the same size as my eyelet hooks. The easiest way to do this is to drill at an angle to get it started because of the triangle shape of the block. Once you have it started, move your drill vertically and drill straight down.
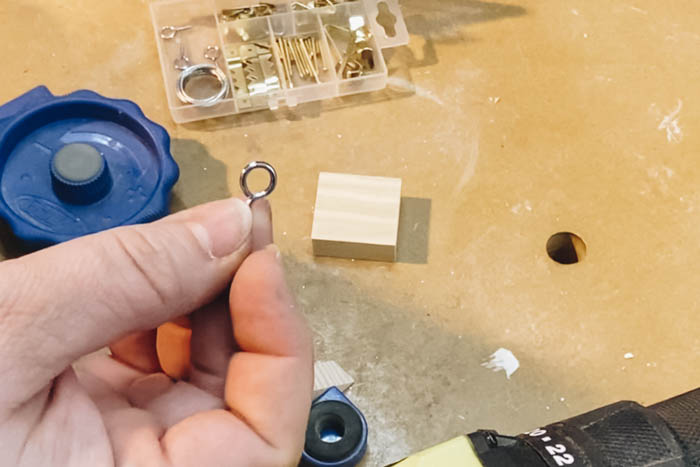
Once the hole was drilled I twisted the eye hook down until it was snug and all the way through.
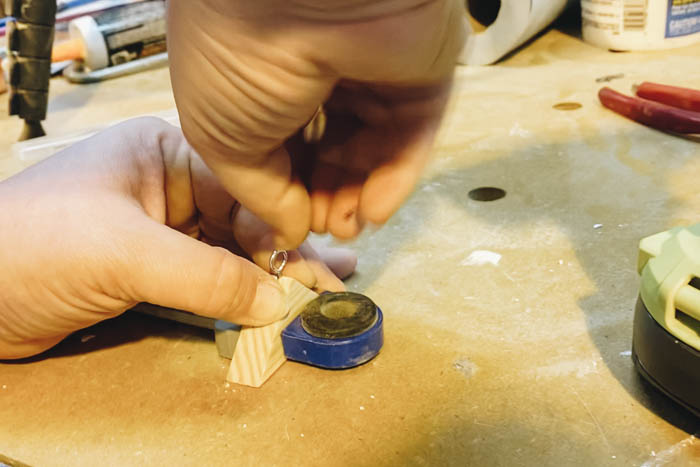
Once I had all the hooks attached, I used some wood glue to glue the top and bottom pieces of the wooden house ornaments together. Make sure you have a wet rag on hand so you can wipe off any excess glue that comes out because if you leave any glue behind, it will not take stain well.
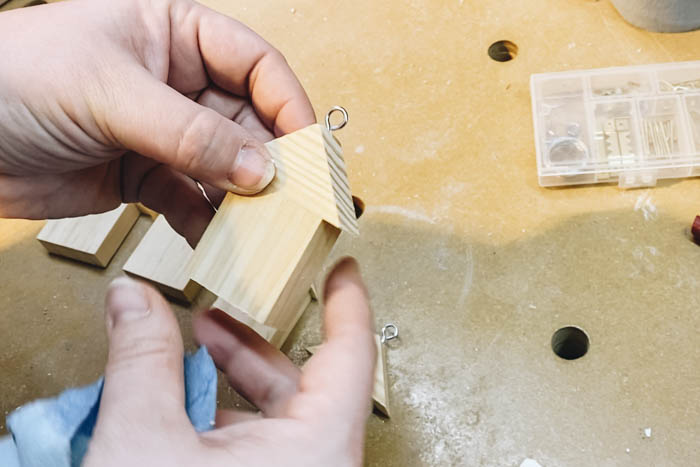
After the glue dries, you can sand the wooden house ornaments if there are any uneven edges and then they will be ready to stain.
I stained mine using Briarsmoke brown stain. The color isn’t too light or too dark and it added a nice colour to the wood.
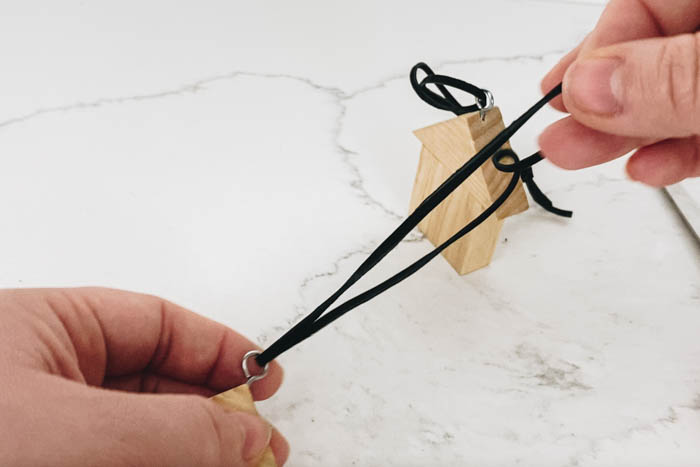
The last thing left to do is to put something through the eye hook to hang your ornaments on the tree. I used some black leather cording because I always love the look of this stuff and it’s super durable.
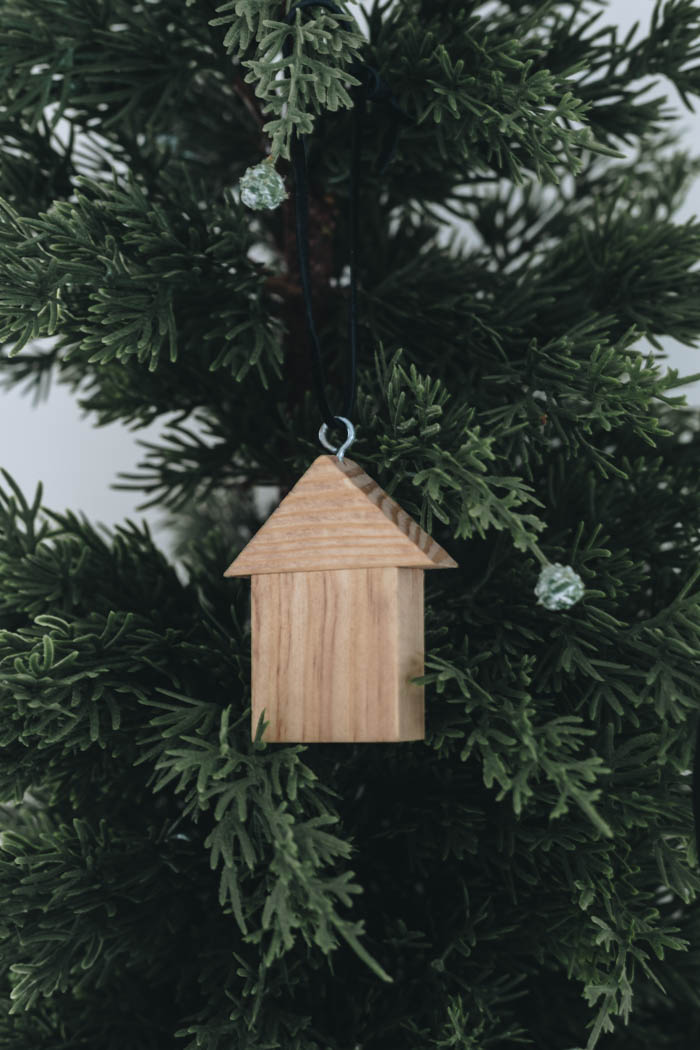
Here is how the wooden house ornaments turned out. I love these little ornaments! It’s definitely going to add some warmth to our tree and some texture.
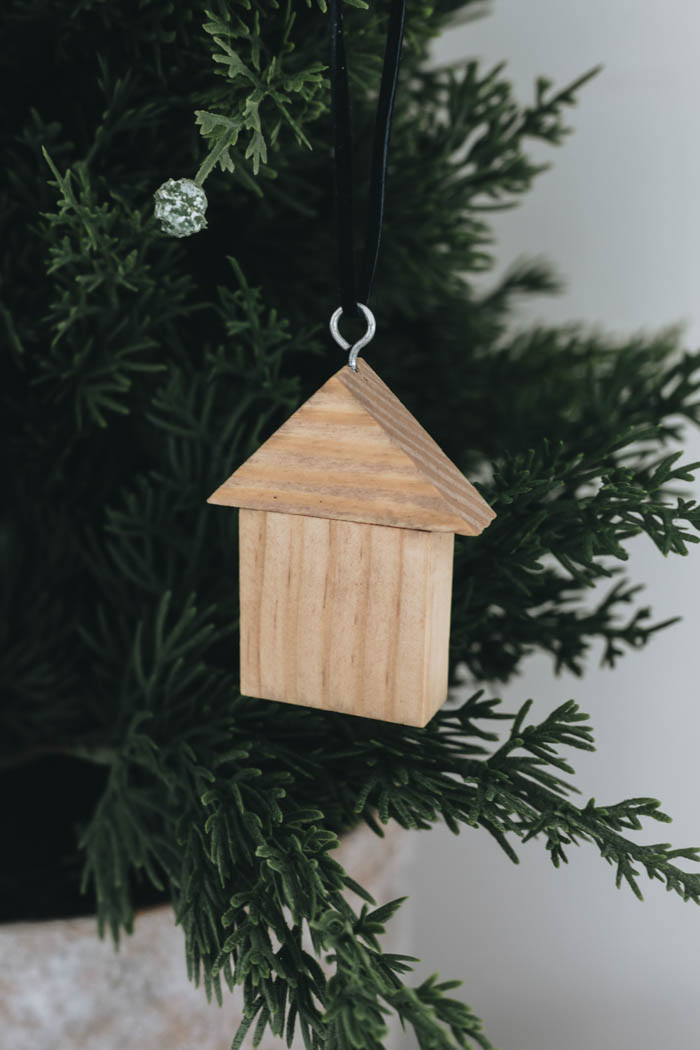
They are super affordable and easy to make. You can also leave out the eye hook and use them in a Christmas vignette on a counter or shelf. I love them as an ornament or an individual piece!

When I do Dollar Store crafts, I usually do a bunch at a time. So while I did these DIY wood ornaments, I did five other holiday projects. Candy Cane Ornaments, Brass Wreath Ornaments, DIY snowglobes, a snowflake garland, and a Modern Advent Calendar. You can watch me make these adorable wooden house ornaments and all of the other Scandinavian-inspired Christmas decorations in the video below!
