
Stunning modern barn doors! Learn how to build these DIY modern barn doors for less than $100! Perfect for sliding single or double doors!
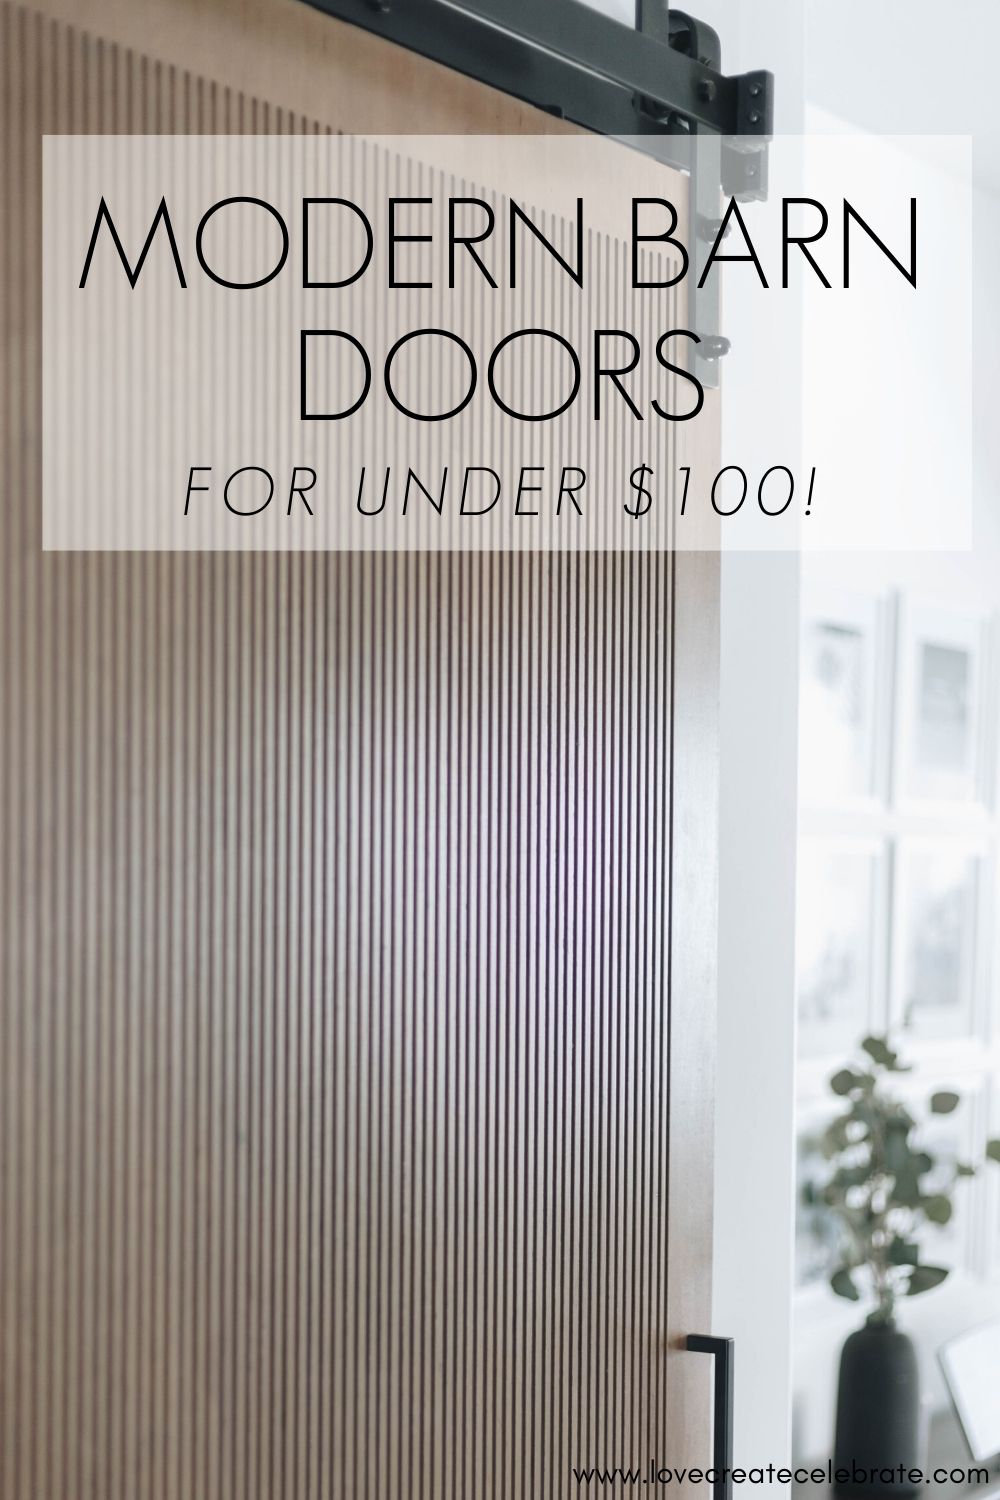
If you consider yourself a DIYer, probably at least part of the reason is because you like to save money. Amiright? I’ve had an idea for beautiful hallway barn doors for a while now, and we were pretty sure it would take more than a few hours to make… but if we were DIYing, we could do it ourselves and save a ton of money! So we finally tackled our DIY Modern Barn Doors and the results are stunning!
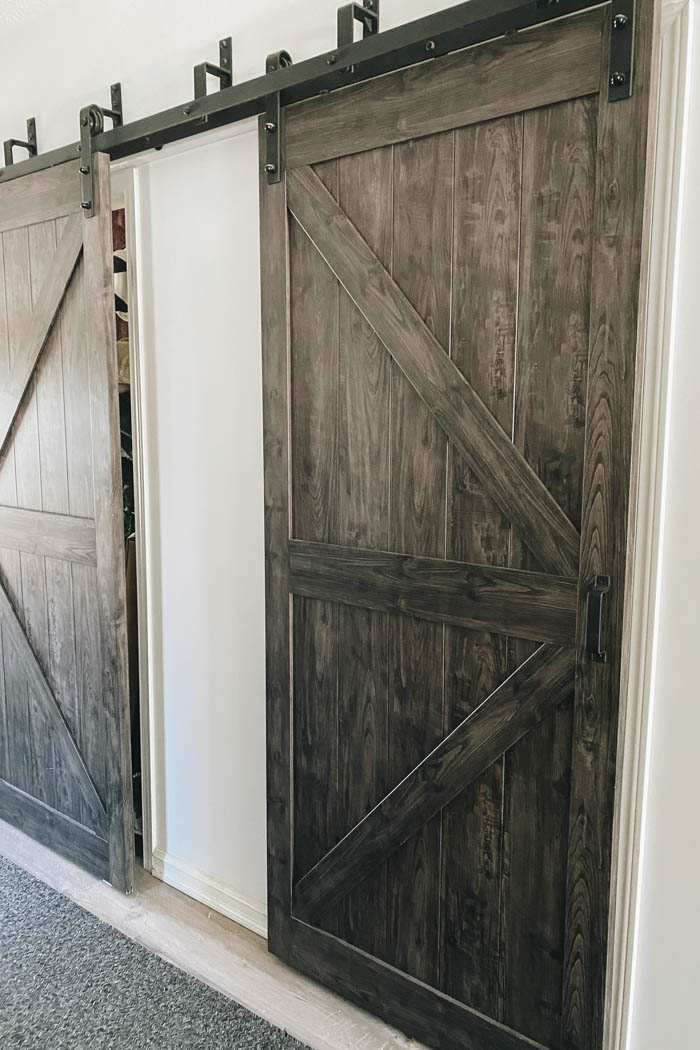
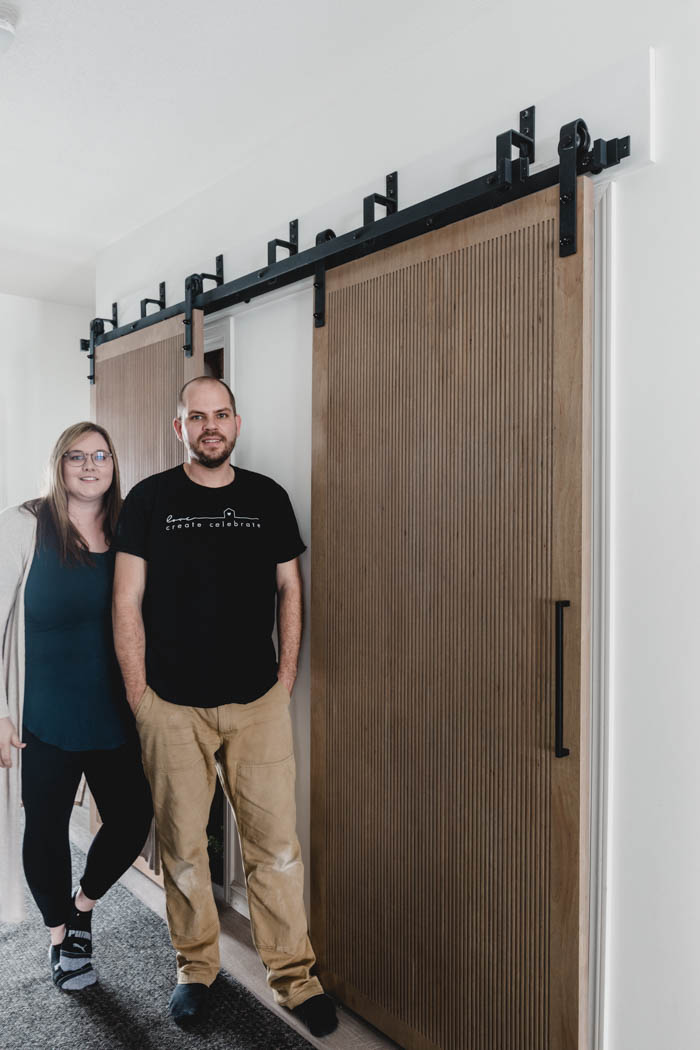
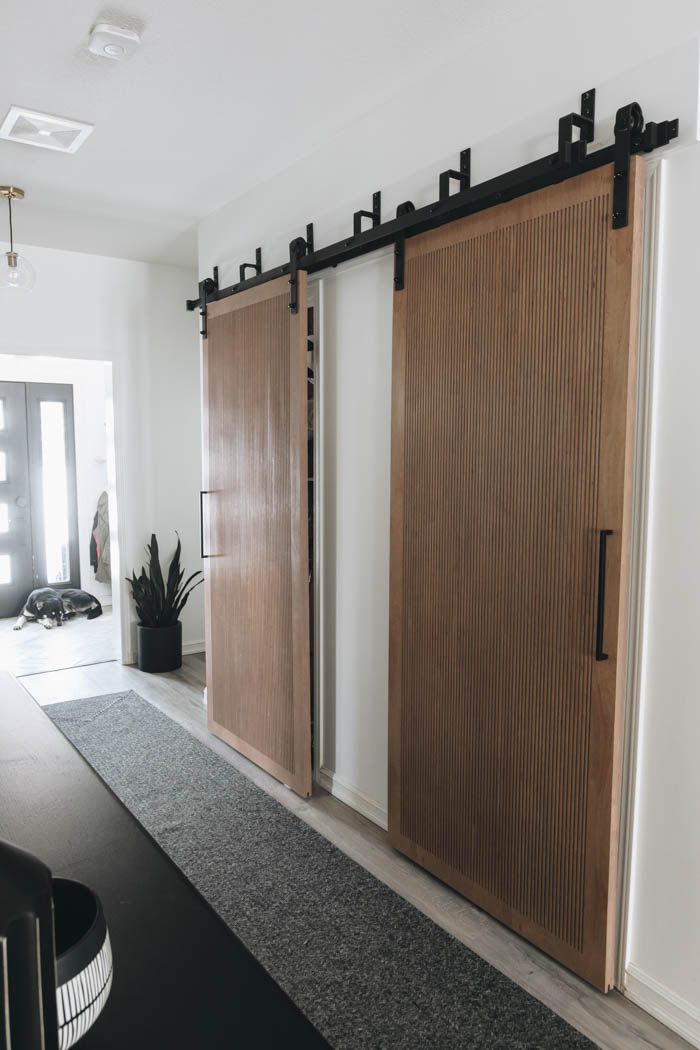
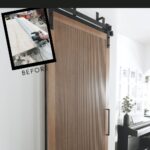
These are the barn doors we previously had in the hallway. We had a double track, so that the doors could slide past one another because their isn’t any room on the right or left for them to slide.
We put these barn doors into to replace the old ugly ones when we moved here as a temporary solution. They are actually very nice doors, but the rest of our home was shaping up to be a beautiful modern casual style home, and these doors and their rustic style just didn’t seem to fit in anymore.

*This post was sponsored by Wagner and may contain affiliate links. As always, opinions are 100% my own. For more information, please see my disclosure page.*
Modern Door Design Ideas
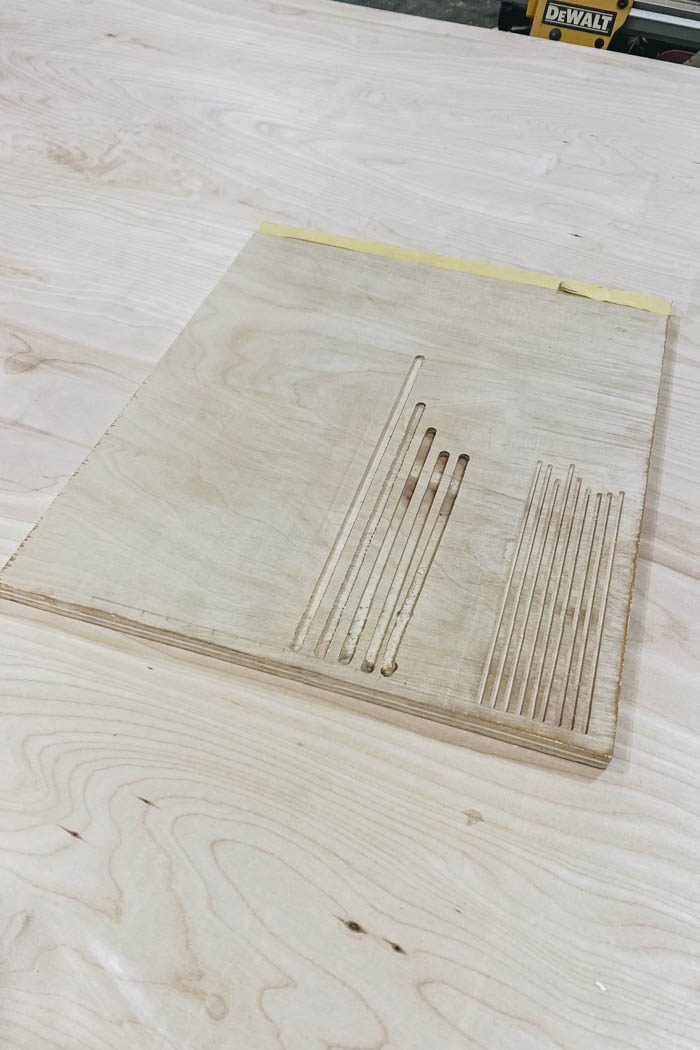
The board above shows some plywood, with various lines routered into in. The lines vary in depth, and spacing, and thickness. I told Russel that the plan was to do long routered lines from top to bottom all the way across the front, but with a boarder around the sides.
Through a bit of trial and error, we decided that plywood would be our best bet to get the design we wanted, with two plywood boards on top of one another.
Materials Needed for DIY Modern Barn Doors
These doors are stunning, and absolutely worth the time it took to make them (in my humble opinion, lol), but if you want to make your own, there are a couple of tools we used that might come in handy too.
Materials (for one)
- Two 4′ x 8′ plywood boards (we used one side good birch)
- Wood Filler
- Wood Glue
- Wood stain
- Polycrylic
- Barn Door Handles
Tools for Barn Doors
- Wagner Flexio 5000 Spray Gun
- Track for your router (ours is a Festool one, but you can use cheaper ones!)
- Bosch adapter
- Router
- Router Bit
- Sander
- Clamps
We were lucky enough to already own all of the tools, etc needed for the project. All we bought was two birch pieces of plywood, and a handle for each door, bringing us to just under $100 per door!
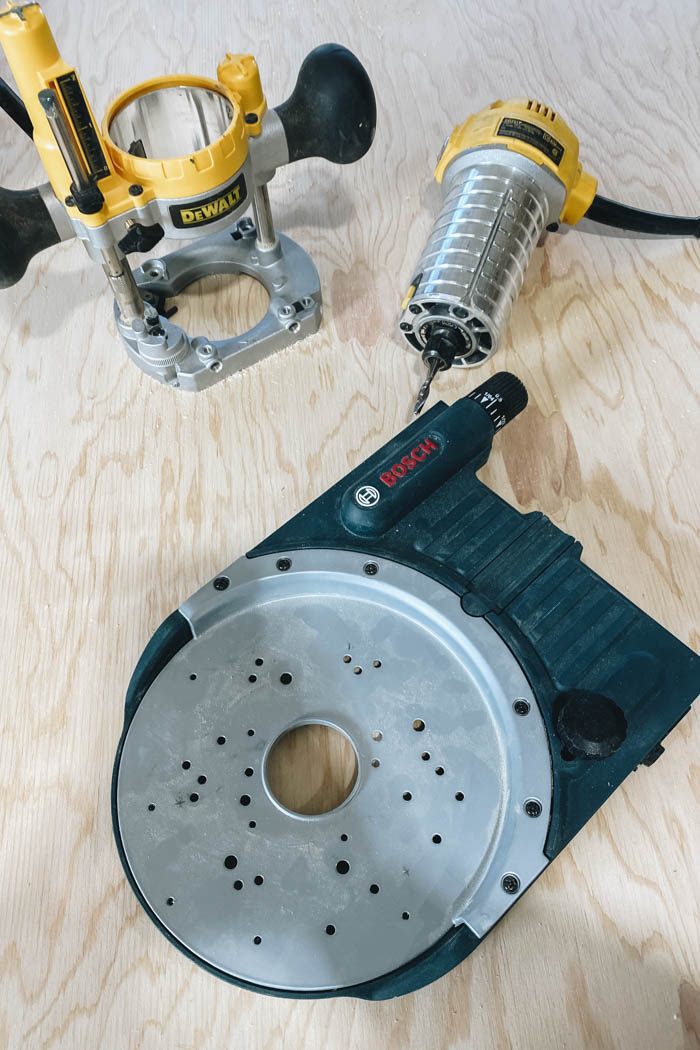
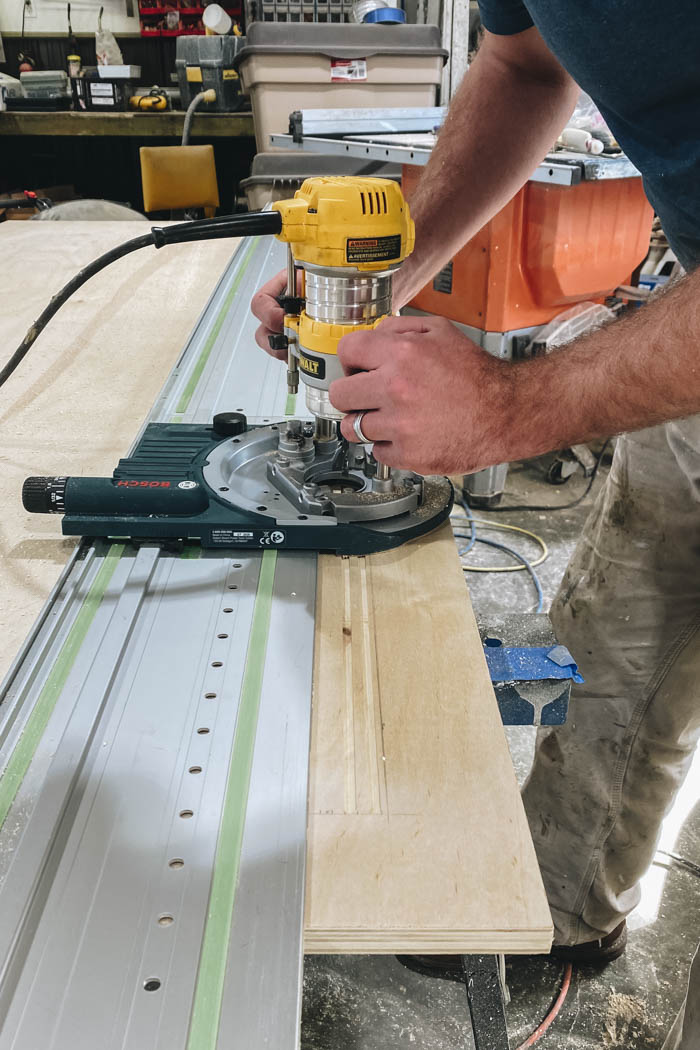
Can you use the Bosch router guide with the Festool Track (Guide Rail)?
Yes, it can! This may seem like an odd question, but we already had a Festool track, and when we searched for information on whether the Bosch Adapter could be used with it, we couldn’t find the answers anywhere!
So if you are one of the people wondering whether you need to spend the money on the Festool adapter because it’s a Festool track, we will save you some money here!
The Bosch FSN OFA Professional (Part Number: 1600Z0000G) is the piece that we attached to our track to make these doors. It allows you to go up and down the track 2-3 times without having to move the track, and yes, they work together perfectly!
Free Plans for Modern Barn Doors
The plans for these barn doors are free to anyone subscribed to our newsletter! Just enter your e-mail below to download your plans!
How to Make Your Own DIY Modern Barn Doors
When you have the right tools, this project is fairly simple, but time consuming. When you put the time in though, the results are unbelievable!
Cut the plywood board that will be on top down to 36″ x 84″ (or whatever height & width you need for your door). Cut the second (back) plywood piece of plywood.
We cut our back piece slightly larger at 35″ by 85″ so that we could use a flush trim router bit to make sure they were the exactly the same size after we glued them together, but you could also make them the same size from the beginning. See more about this in the video below if you’d like more details!
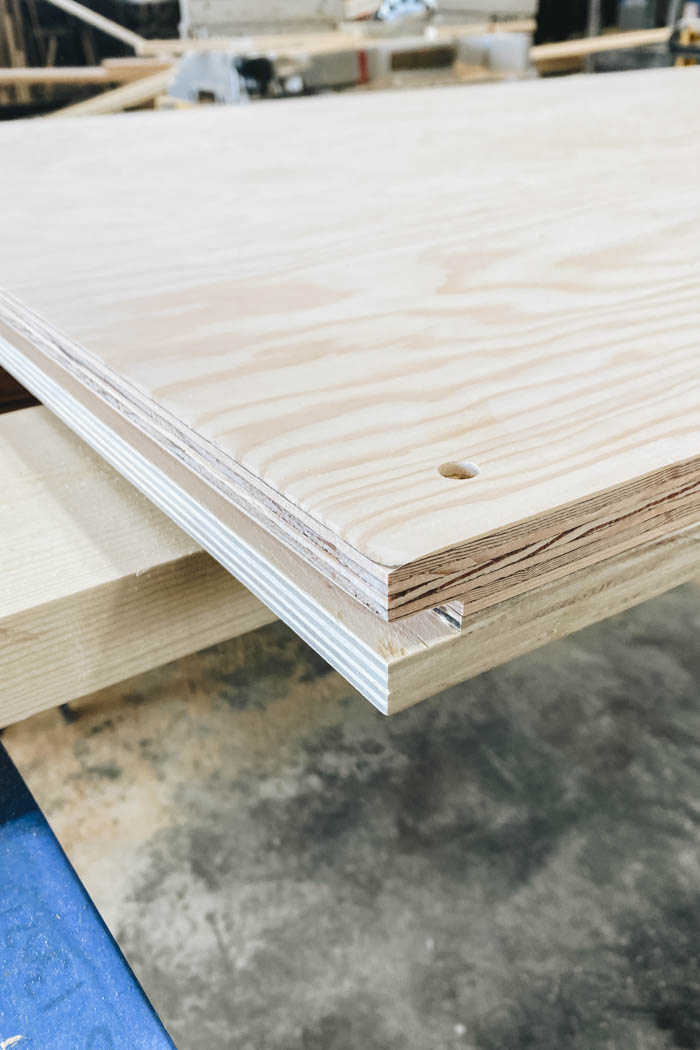
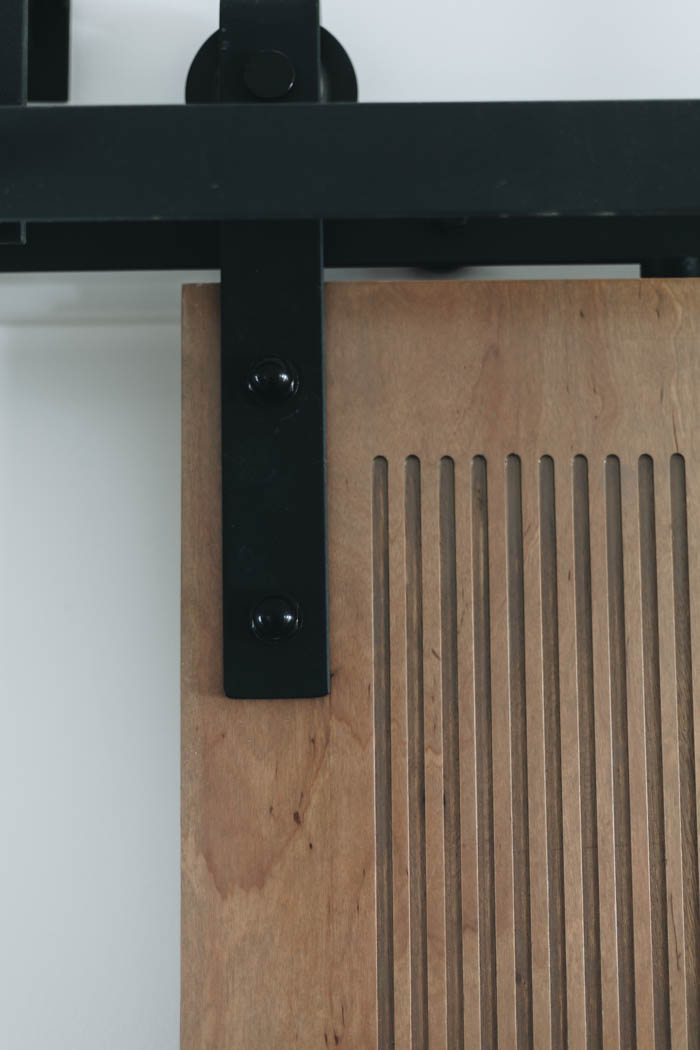
If you are running your barn doors on a track, cut small groves on the inside edges at the bottom of your plywood boards that are 3/4″ high by 1/8″ wide (when the boards are glued together they will make a 3/4″ by 1/4″ space).
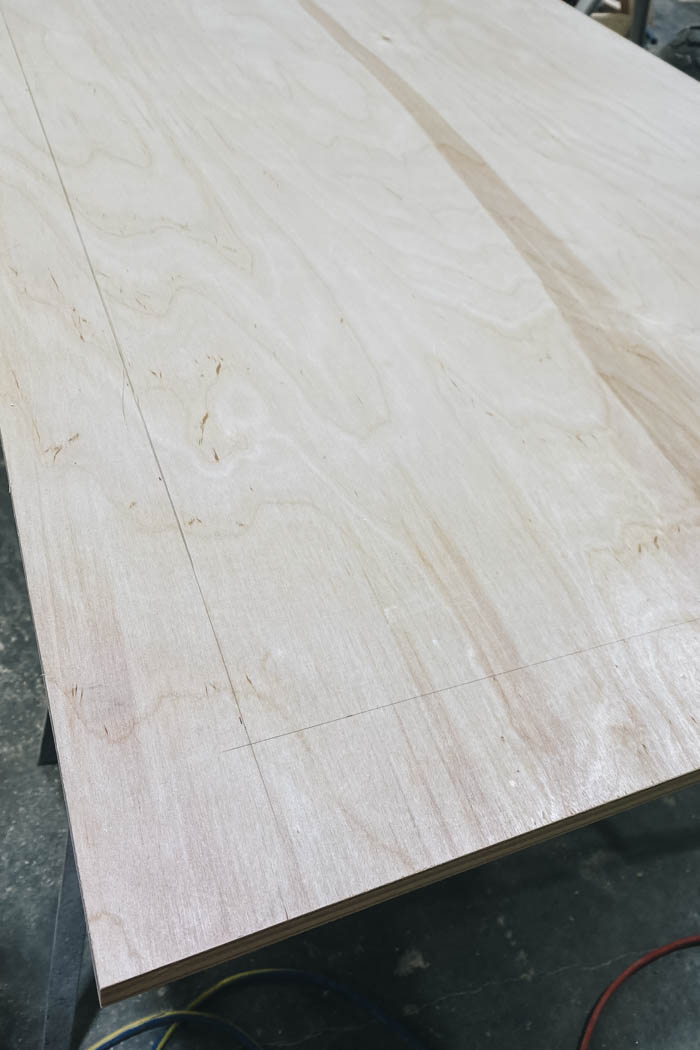
We decided to draw a border around the edges of the door that wouldn’t get any routering. We wanted that border to be consistent all the way around, so we drew it on all sides. On your top plywood piece mark a 2 7/8″ border around the whole board.
Next you need to mark lines on the top and bottom of your door, along your borders. These 1/4″ spaces along the bottom and top of the border will help you know where your track will need to sit for the cuts. See the video for a good visualization of how we did this.
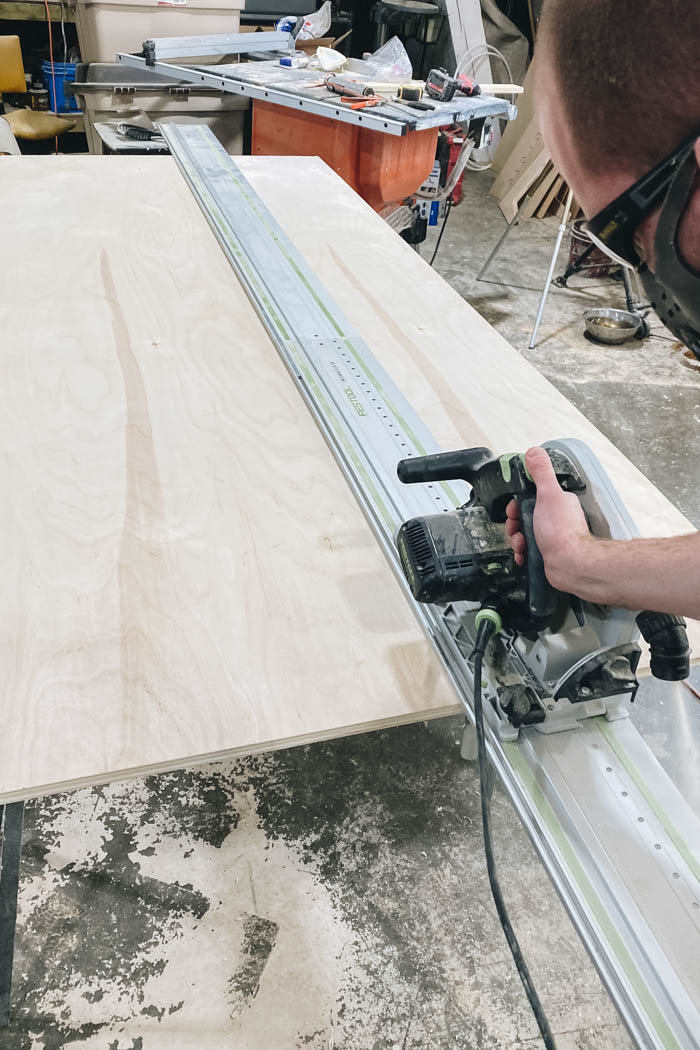
Set up your track for the first cut with the router (if you have the adapter, you can set it to make three long cuts at once). Slowly use the router to make your first grove in the plywood face. Clear any sawdust, to get the best cuts, and get ready for the next one.
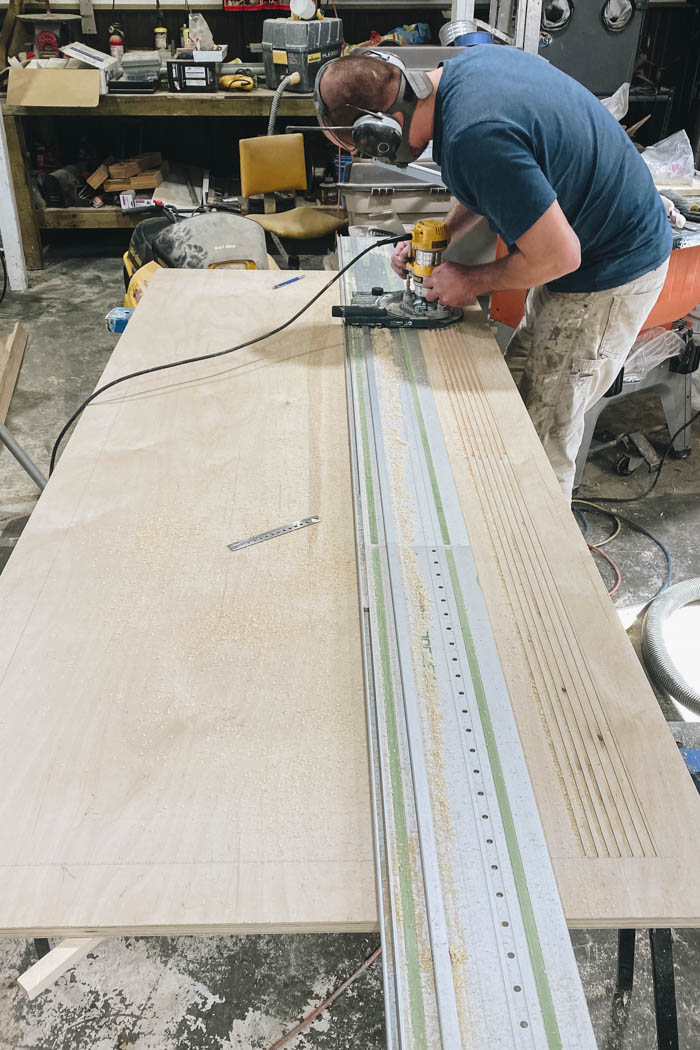
Not going to lie, cutting all of these groves, is a long, patient process. We were definitely concerned that we would go off track and wreck the groves. We kept telling ourselves, “worst case scenario, we’ll wreck one board of plywood” lol.
We were able to do two doors like this. If you’re cautious and patient, and take care to line up the track every time, you can definitely do it!
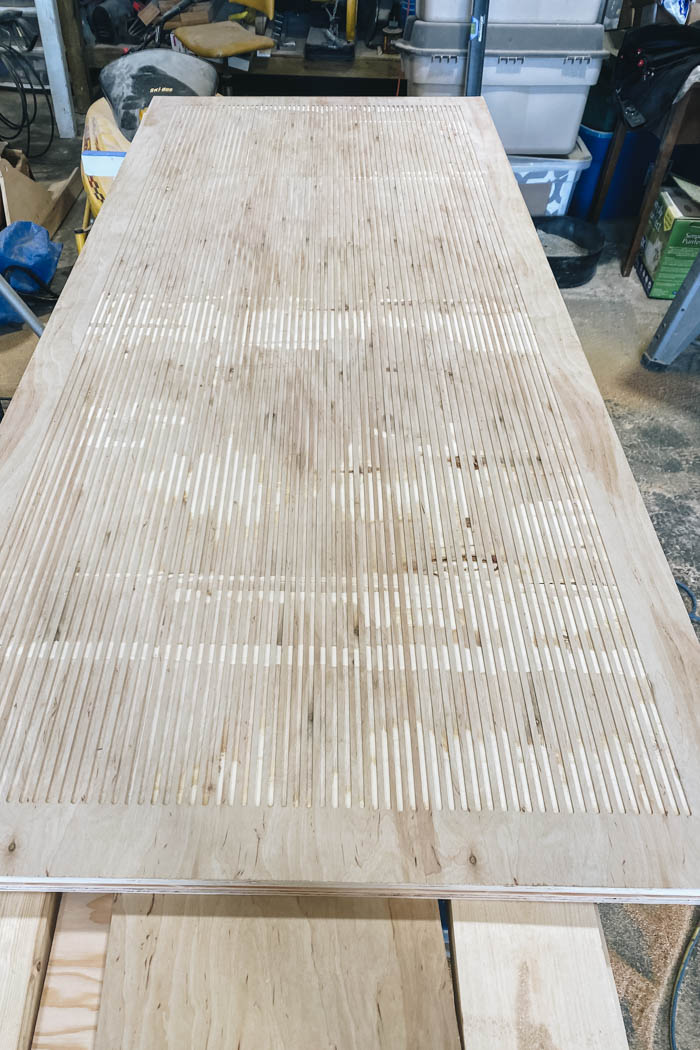
When the whole sheet is done, it may reveal some knots or imperfections on the underneath layers of the plywood. Most of these are just covered up by the stain, and not noticeable after staining, but there were a few gaps we wanted to fill.
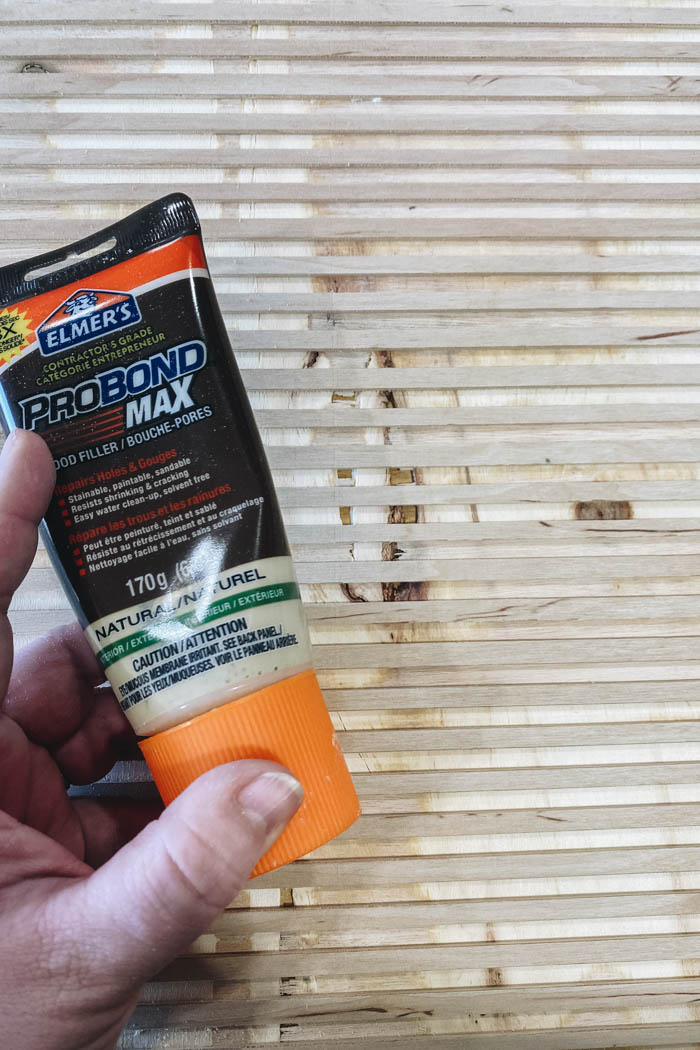
You can see some knots here on the layer underneath. We just filled those with some wood filler, and used a screwdriver to get the putty deep enough into the whole.
When the wood filler is dry, give everything a light sand, and you’re ready for finishing.
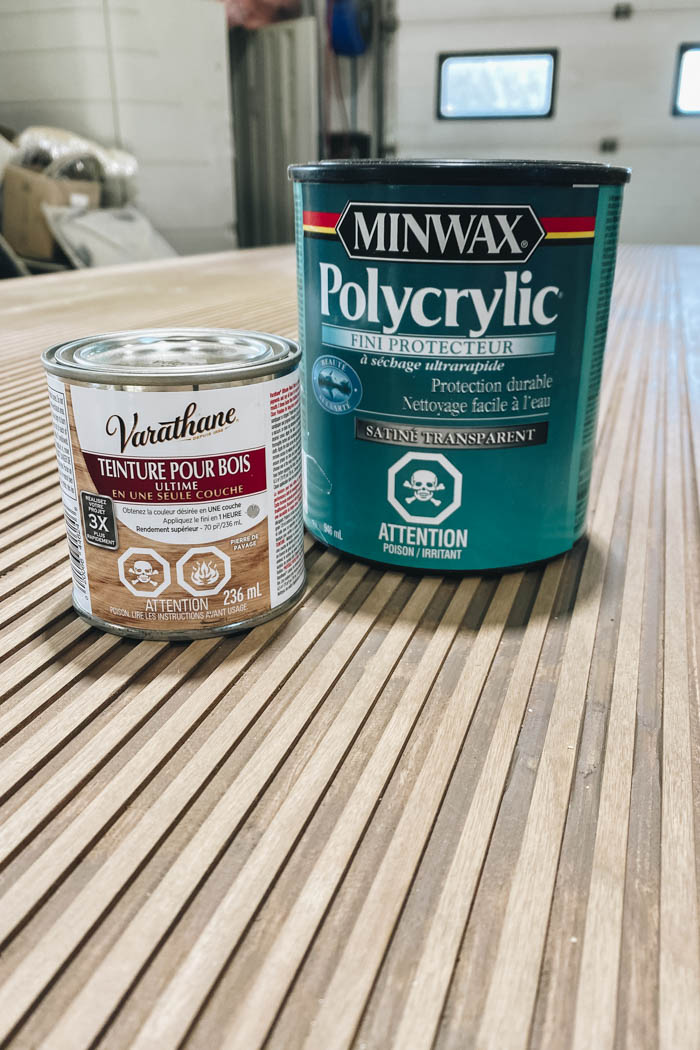
We were worried that we wouldn’t be able to stain the doors because there would be too much tear out, or the lines would need too much wood filler, etc., but in when the doors were ready, they looked great, so we decided to go ahead with staining.
If we couldn’t stain, I probably would’ve painted them black, which I also think would have looked amazing!


We used our Wagner Flexio 5000 to spray the stain on, which worked amazingly well for getting inside all of those small groves! We simply sprayed the whole piece, then let it sit for 2-3 minutes and wiped off all the excess. We did this on the front and the back.
We didn’t wipe inside the groves because the inside was more porous and we knew would soak up the excess, plus we wanted the groves to look a bit deeper and darker in colour.

Then we sprayed the entire piece with polycrylic, again with our Flexio 5000 to make the job go quick and easy. We didn’t thin ours down at all (but we have used some in the past that need thinning, so check with your brand type!).
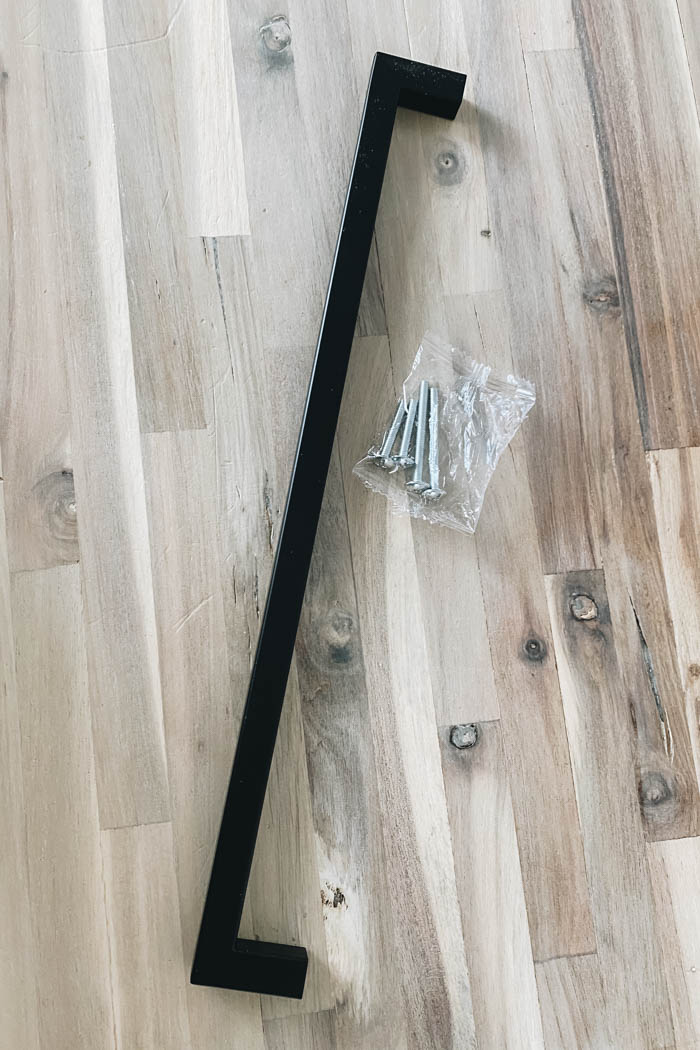
The final step is to add handles and hang your door according to your track directions.
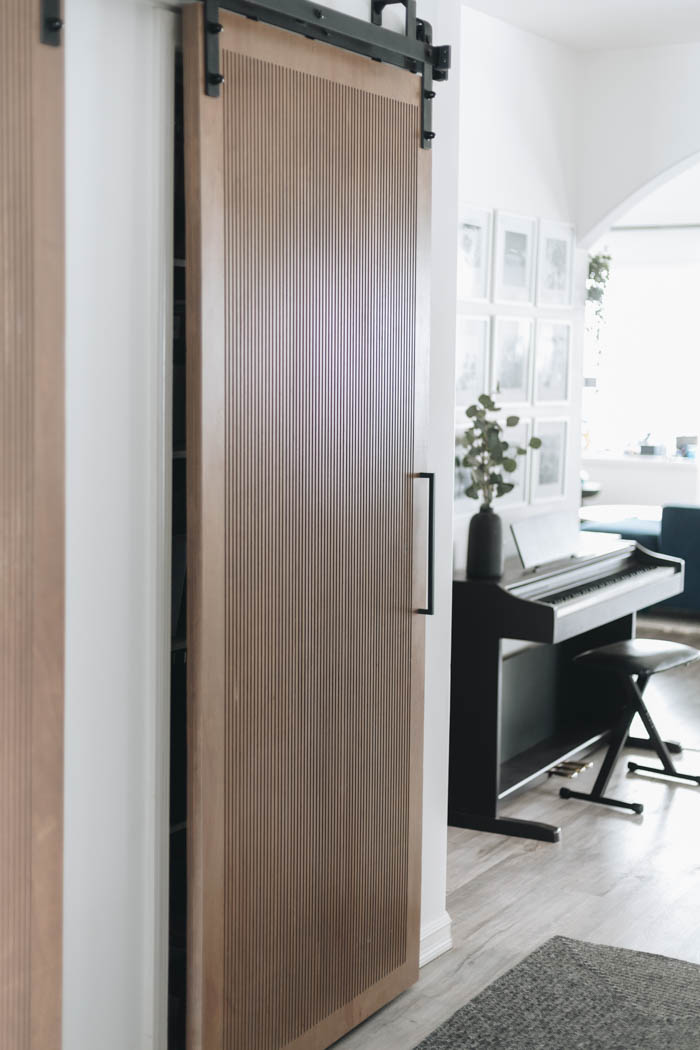
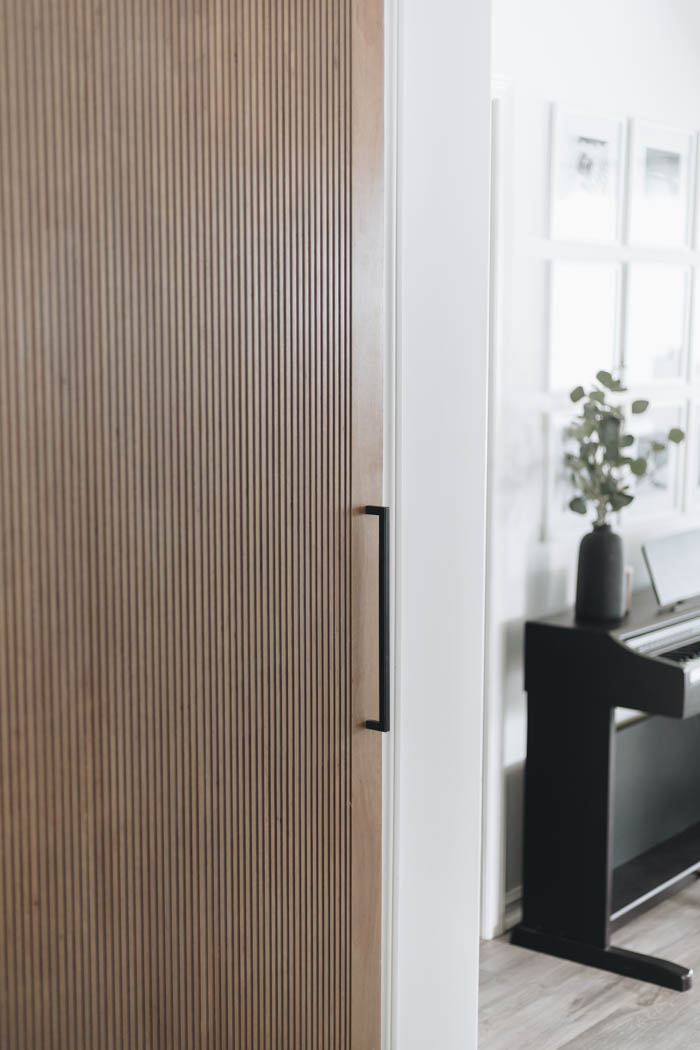
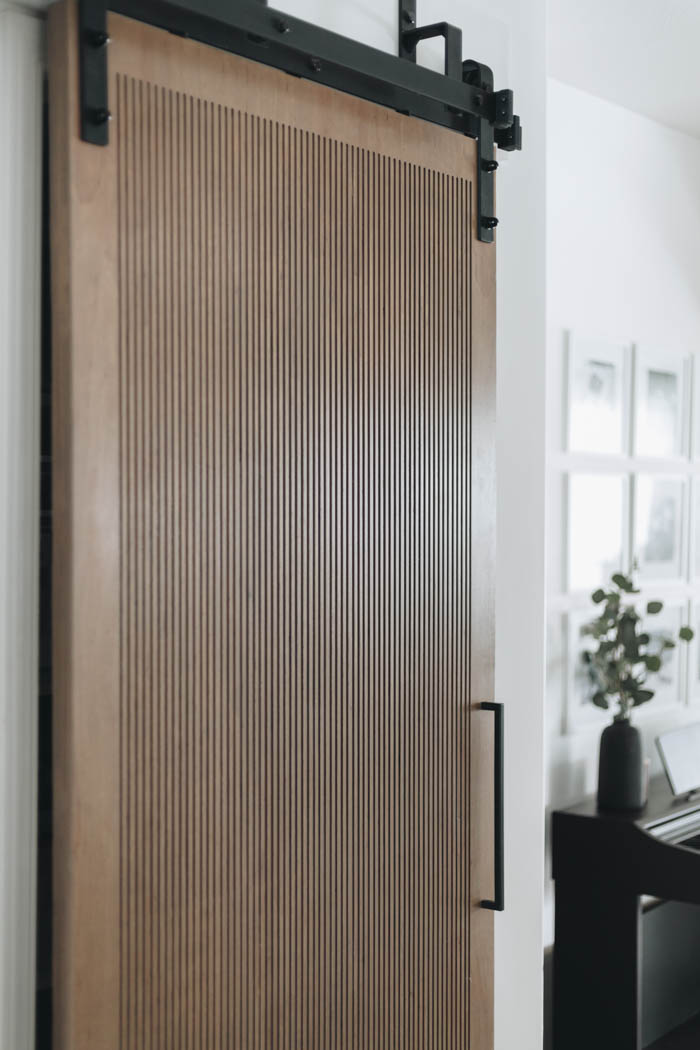
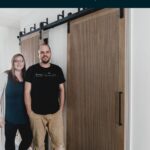
Our Finished DIY Barn Doors
I am SO IN LOVE with these doors! Literally sitting in the hallway and staring at them!
They look amazing on the double track we have, were very affordable to make, and bring so much warmth into our hallway with the warm stain colour.
DIY Modern Barn Door Video Tutorial
We’re so proud of this DIY! We also made a video to go along with it so that you can see any of the details in real time, and so that you can see just how much work went into making these beautiful doors a reality!
Don’t forget to subscribe to our YouTube channel while you’re there!
DIY Modern Barn Doors
Materials
- Two 4' x 8' plywood boards (we used one side good birch)
- Wood Filler
- Wood Glue
- Wood stain
- Polycrylic
- Barn Door Handles
Tools
- Wagner Flexio 5000 Spray Gun
- Track for your router (ours is an expensive Festool one, but you can use cheaper ones!)
- Bosch adapter
- Router
- Router Bit
- Sander
- Clamps
Instructions
- Cut the plywood board that will be on top down to 36" x 84" (or whatever height & width you need for your door)
- Cut the second (back) plywood piece of plywood.
- If you are running your boards on a track, cut small groves on the inside edges at the bottom of your plywood boards that are 3/4" high by 1/8" wide (when the boards are glued together they will make a 3/4" by 1/4" space).
- Take your top plywood piece, and mark a 2 7/8" border around it.
- Mark 1/4" spaces along the bottom and top of the border so that you know where your track will need to sit for the cuts.
- Set up your track for the first cut (if you have the adapter, you can set it to make three long cuts at once).
- Slowly use the router to make your first grove in the plywood face. Clear any sawdust.
- Continue until you have routered lines all across your front face between your borders. As you go, continue to clean your space, clean your router bit, and make sure you are straight. If you go off your marks, your lines will get gradually angled and you do not want that.
- Glue your plywood boards together and clamp them, making sure they are level and straight.
- Use wood filler to fill any gaps in the sides of the doors, or any knots that might have appeared in underneath layers of your plywood.
- Lightly sand everything.
- Use your Wagner Flexio 5000 sprayer to spray stain onto all sides of your barn doors. Wait 2-3 minutes and wipe the excess stain off.
- When the stain is dry, use the Flexio 5000 sprayer to spray polycrylic onto your doors to protect them.
- Add handles and hang according to your track directions.
Recommended Products
As an Amazon Associate and member of other affiliate programs, I earn from qualifying purchases.


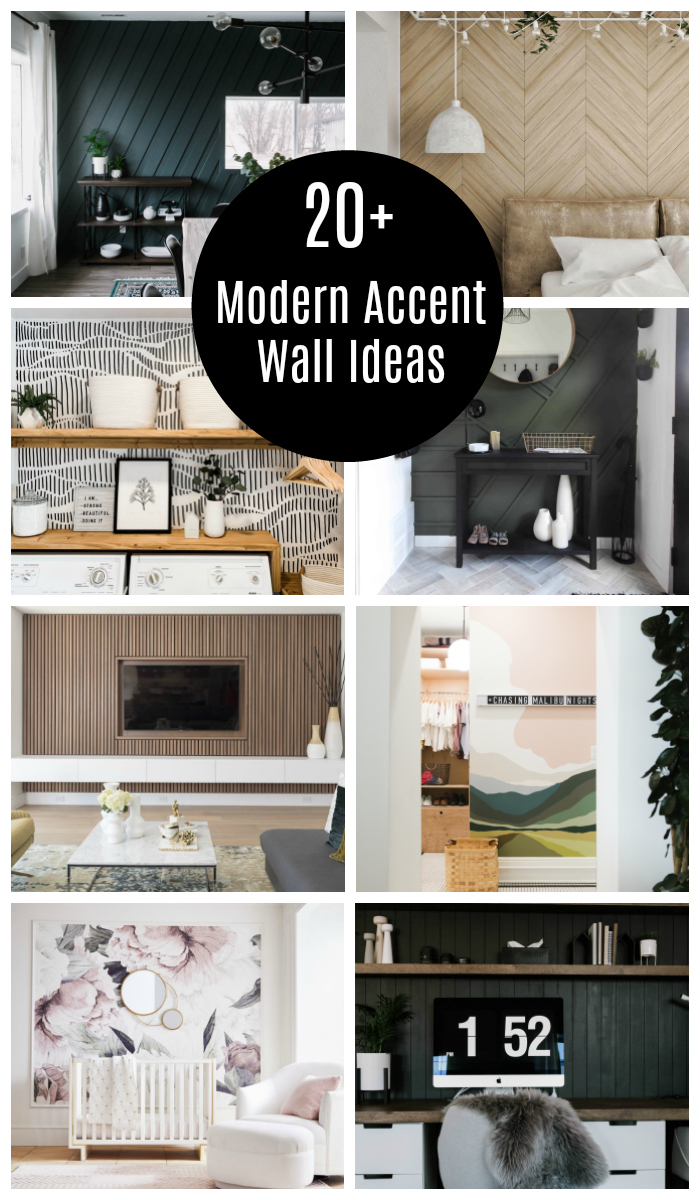
Looking for another affordable DIY, why not try one of these amazing accent wall ideas!
Laura Romero
Saturday 26th of November 2022
How did you finish out the sides? The ends of plywood are rather ugly. Did you putty and sand it to get a smooth look on the edges?
Lindi
Saturday 26th of November 2022
We didn't do anything actually! Because the sides are all end grain, they took the stain darker and it actually looked really good! You definitely could putty everything or put a veneer on the sides, but that's a lot of work.
Lisa
Wednesday 26th of October 2022
Hi there! I'm sorry if I missed it... At what depth did you guys route the lines? Love these so much and thinking about doing this ourselves too!
Russel Vanderschaaf
Thursday 10th of November 2022
Around 1/8" inch deep. If you recreate make sure to send a photo - we love to see people make our projects! Good Luck!
Mary Beth Bisinger
Tuesday 22nd of February 2022
I love the look, but my husband said No Way, for the router work! He came up with a hack….a bit more expensive though. He did a mortise and tenon frame, 1/4 inch backer board. He then glued oak pole wrap in the center to mimic the look. It came out fantastic!
Lindi
Thursday 24th of February 2022
I love that idea! Definitely a good hack to give a similar feel! If you have a photo, feel free to e-mail it over! I'd love to see the final results!
teri
Thursday 30th of September 2021
Do you think it would be possible to do this two-sided? I guess I'd just have to purchase two of the stainable pieces right?
Lindi
Thursday 30th of September 2021
Hey! Yes, I totally think it would be possible - you definitely need two boards with a good, stainable side.
Mikell
Monday 9th of August 2021
Hey! I love this door so much!! So we didn’t have any tools and we acquired most of them, but we can’t find a router that fits into the router adapter. Could you explain how you guys “made it work”? Your dewalt router into the Bosch adapter? Because apparently the adapter is about 10 years old and the routers that are compatible aren’t in production anymore! anyway, thanks for sharing this!
Lindi
Wednesday 11th of August 2021
We were able to align 3 of the 4 holes on the Dewalt 611 Router with the bosch plate. We never had any issues with it moving or loosening. You can also make a custom bottom plate for your router and get it to align with the holes on the Bosch plate. It's a bit more work, but that would work as well! Or, if you're ok with drilling into your Bosch adapter, you can line up as many holes as you have and drill new holes for the other ones. Hopefully that all makes sense!