
DIY Faux Marble Countertops! This easy faux marble countertop design was done with resin! Video tutorial for a beautiful faux marble finish!
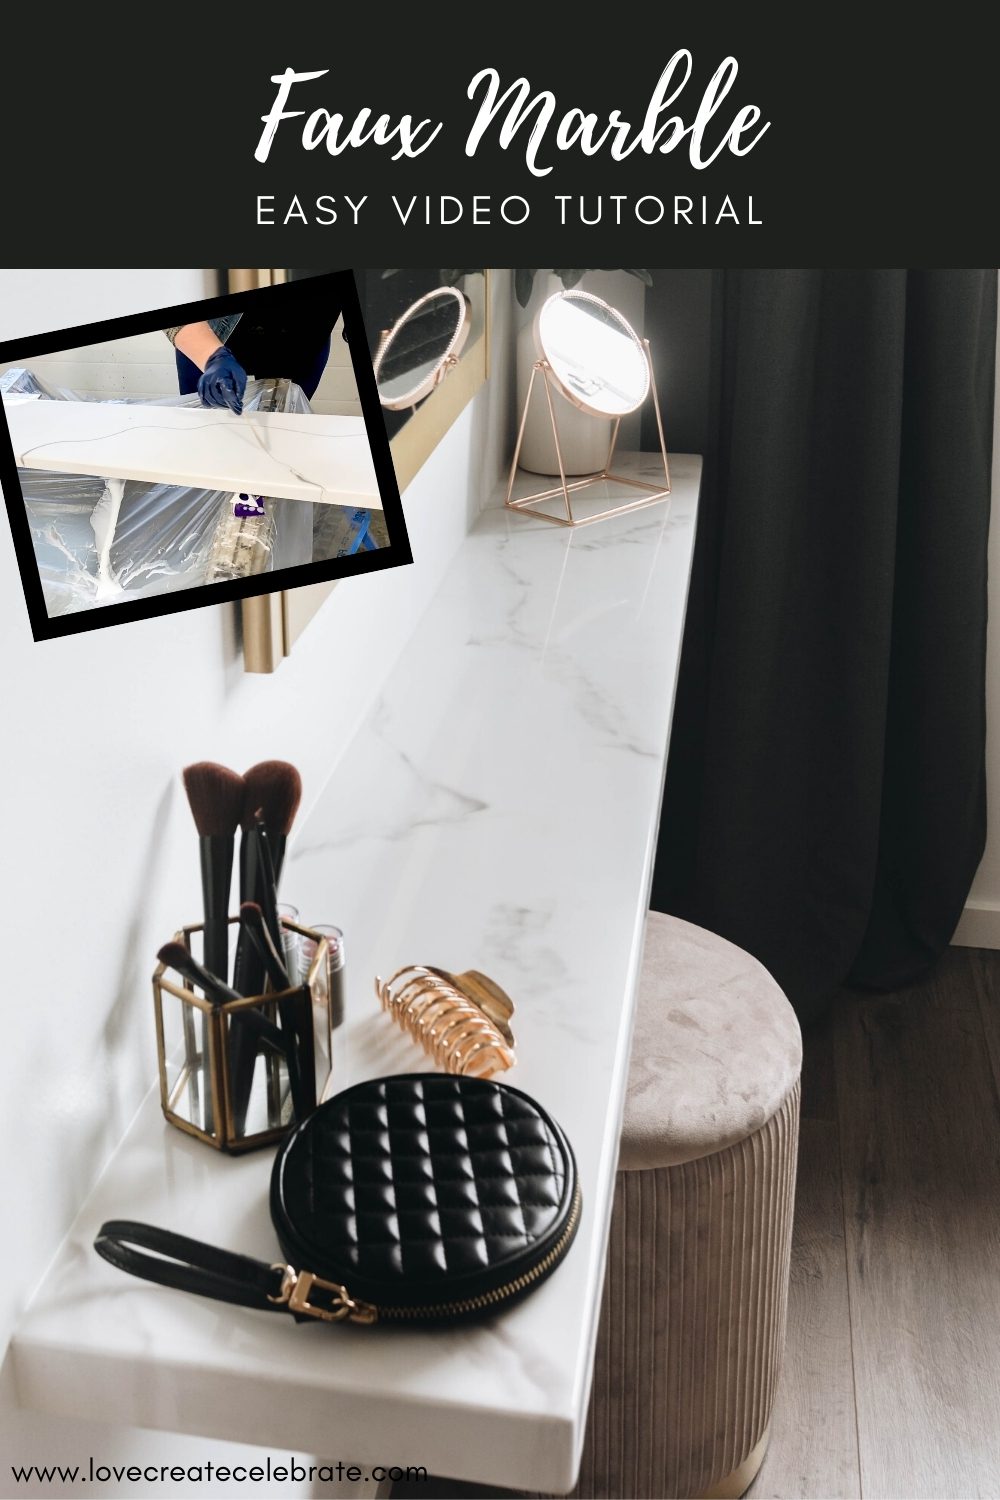
Stone is expensive, and while I use it anytime that I can afford it, I’m also always looking for and trying new DIY tricks to get a high-end look without having to spend as much. When I decided to add a makeup vanity to our bedroom, I loved the idea of a floating vanity to take up less space, and knew I could find a way to do a DIY faux marble countertop and save some money too!
*This post was sponsored by ETI and may contain affiliate links. When you buy a product through one of our links, we get a commission at no cost to you! Thank you for supporting our blog so that we can continue to bring you posts like these. For more information, please see our disclosure page.*
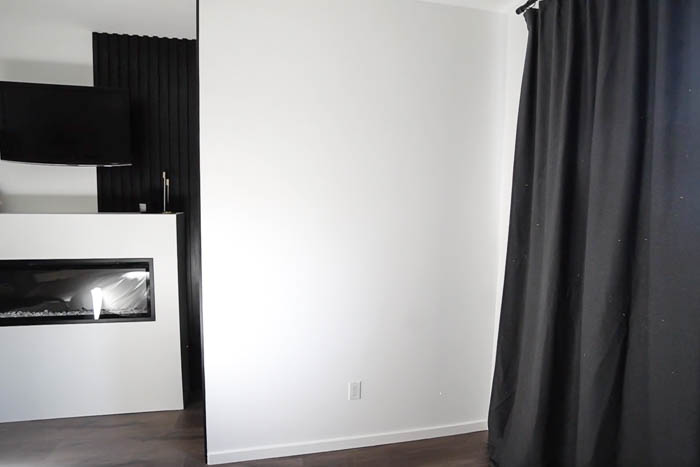
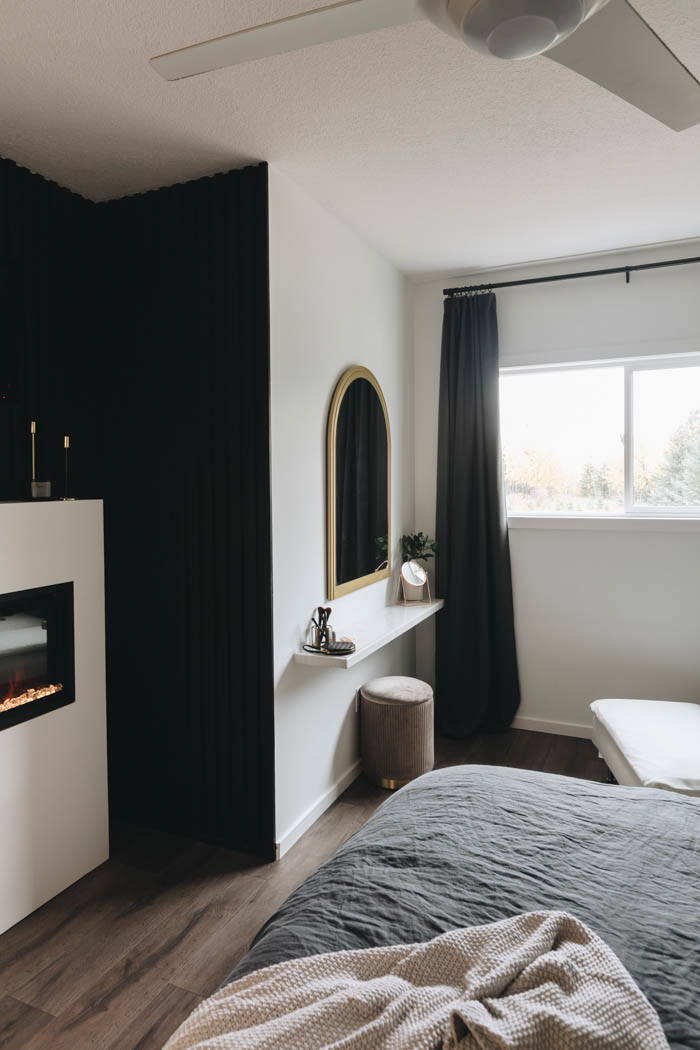
This (above) is a sad, over-expossed photo of our blank wall before adding the makeup vanity and faux marble countertop. If you’ve been following along, then you already know that we just finished our fireplace wall with the TV up top, and a new ensuite on the other side of the room.
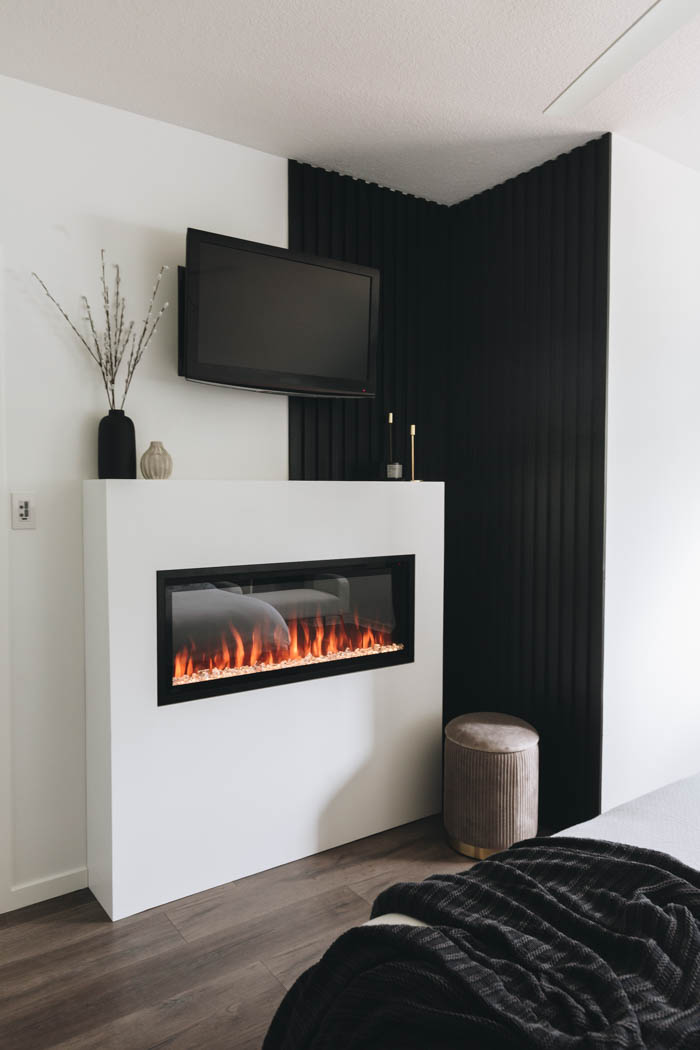
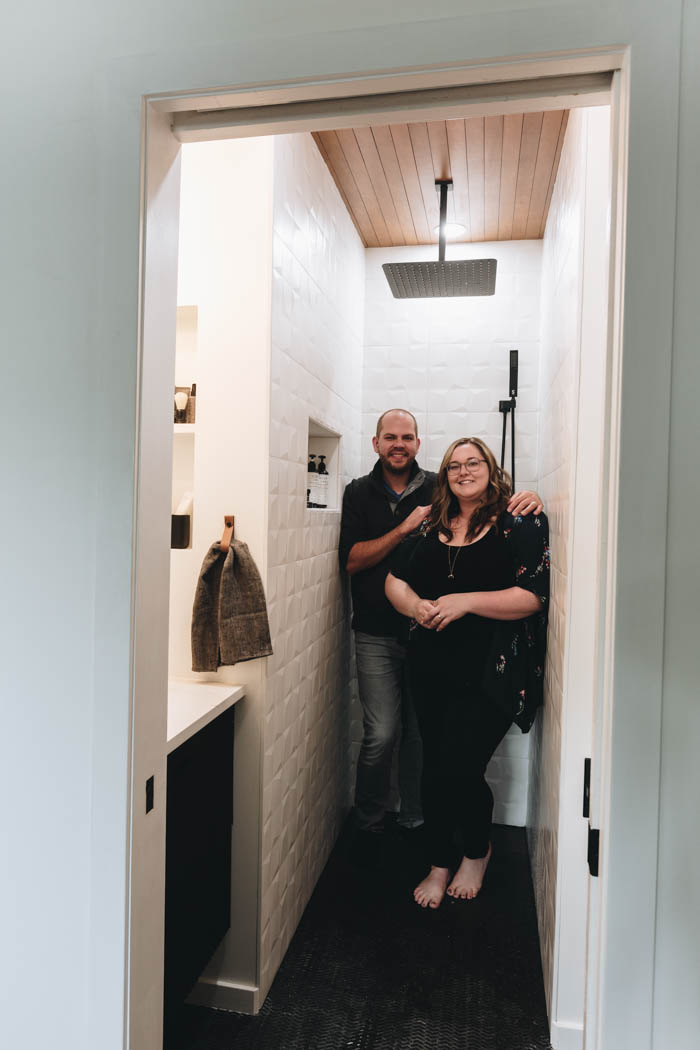
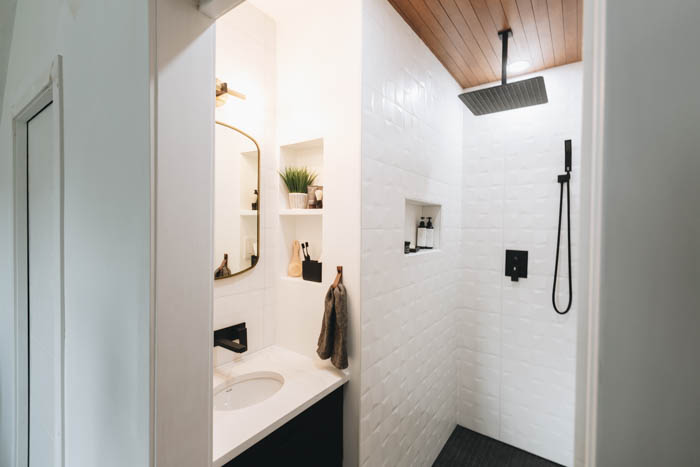
Both DIYs are perfect for the space, and both helped lead to a decision about what to do with that blank wall! Because we already had a TV and fireplace, we didn’t want to do something too big that may compete with that space. And although we love our ensuite (LOVE it!), the counter is small, and the mirror is recessed, so doing makeup and hair in there can be a challenge.
We thought that if we added a small, minimal makeup vanity to that blank wall, it would be functional, but also wouldn’t compete too much with the other elements in the space.
Everything You Need for a DIY Faux Marble Countertop
You can do an easy faux marble countertop finish with epoxy resin because it’s quick, durable, and fairly inexpensive. Here’s a list of everything we used.
Materials
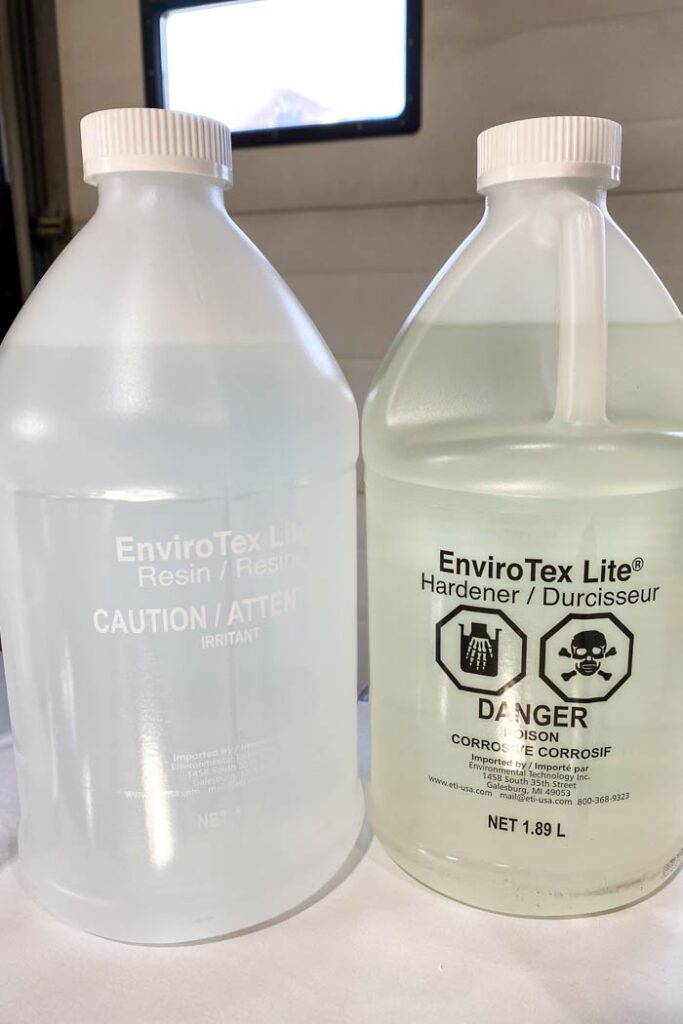
- Envirotex Lite Epoxy
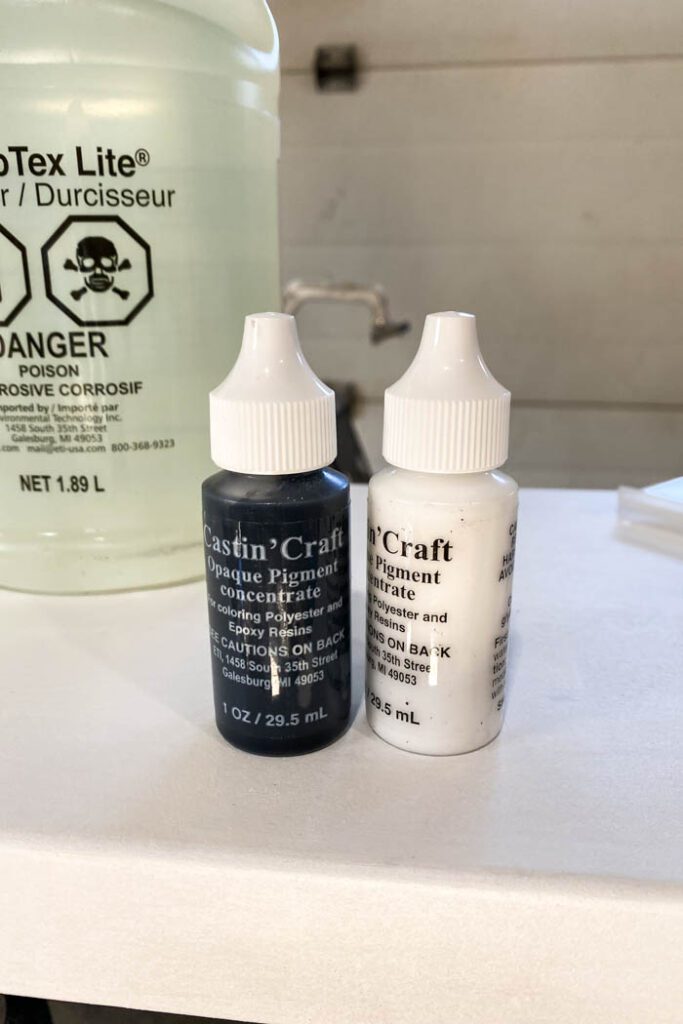
- Opaque Pigment Black
- Opaque Pigment White
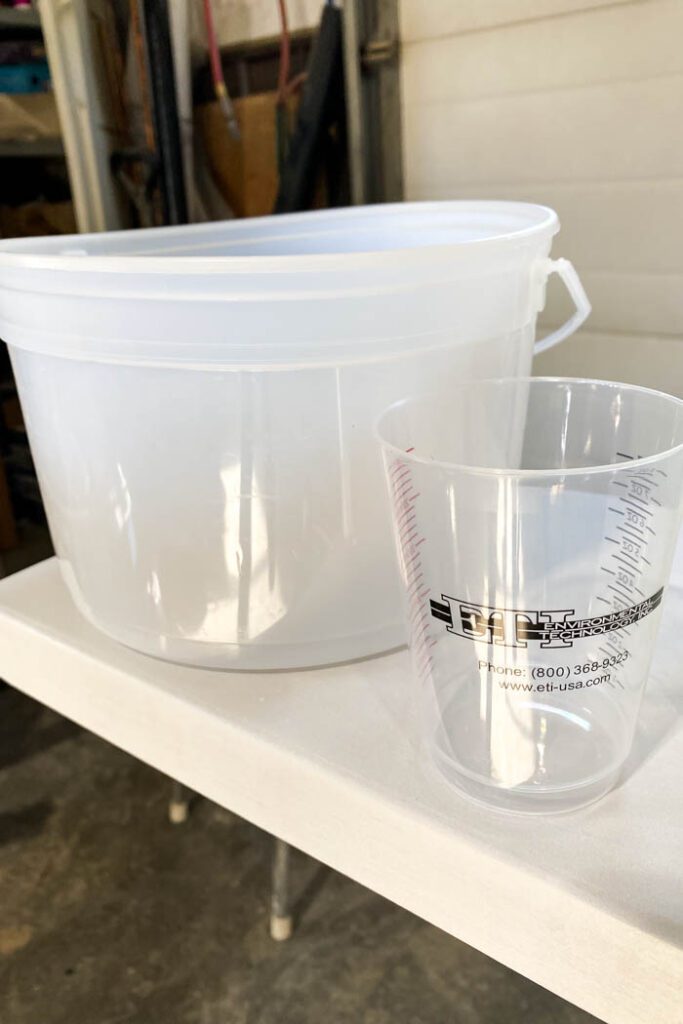
- Mixing Containers
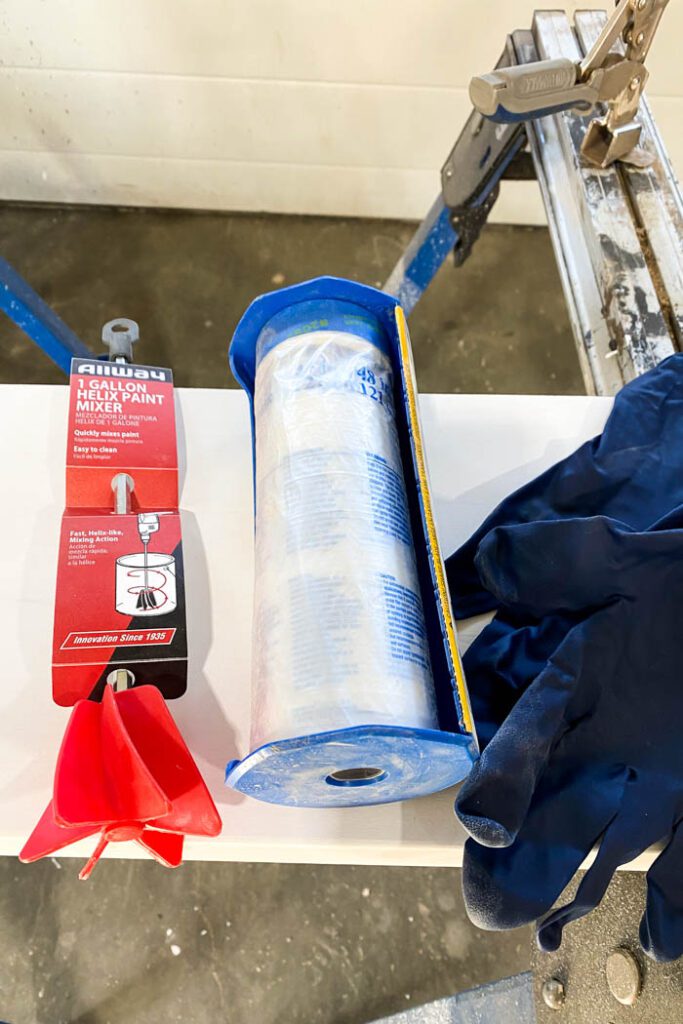
- Gloves
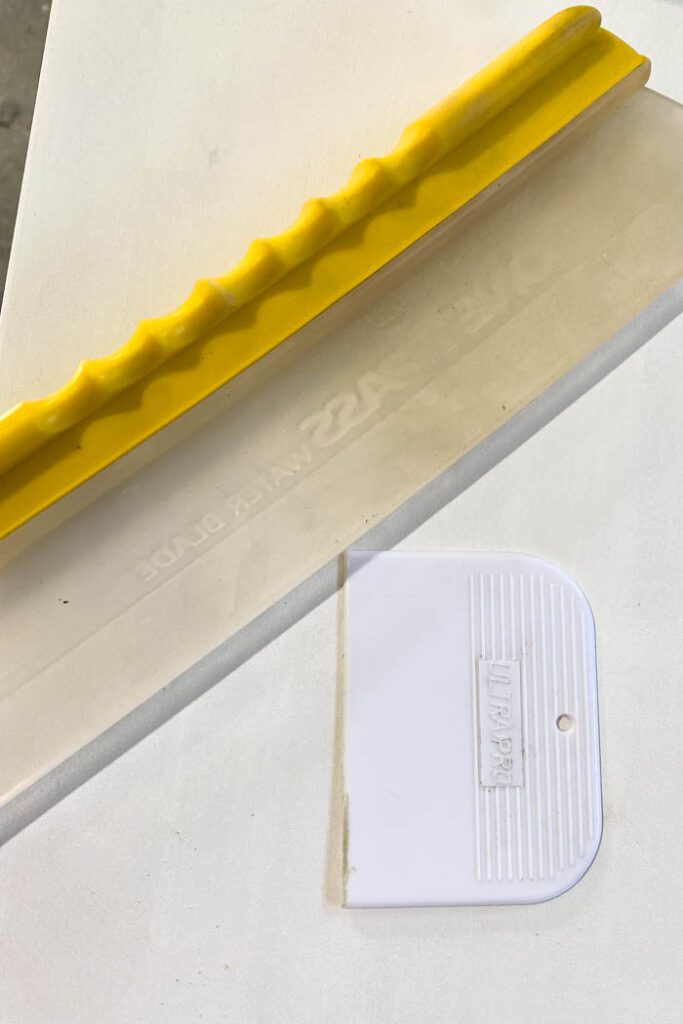
- Small squeegee
- Large squeegee (optional)
- Foam roller (small)
- Plastic film to protect surfaces
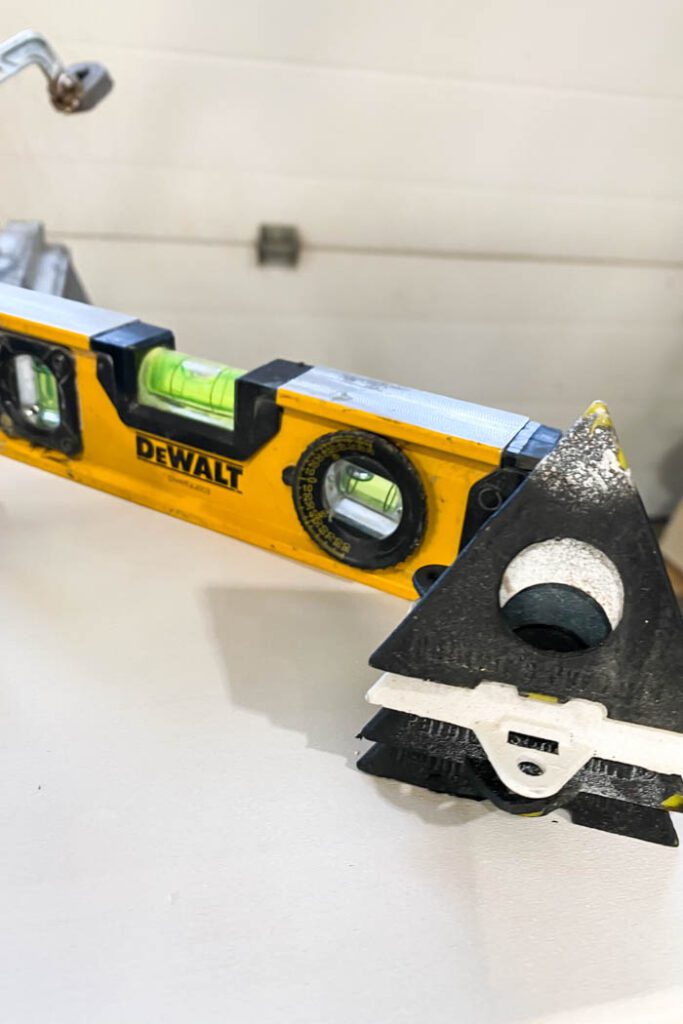
- Painting triangles
- Level
- Mixing bit for drill
- White primer and paint roller
- Butane Torch
You don’t need any tools to do the actual resin pour, unless you want to use a drill and the drill bit linked above to help with mixing. We also used a couple of tools to make our countertop a floating one, which you will see below.
How to Make a DIY Faux Marble Countertop
Here’s a step-by-step tutorial of how we made our vanity countertop look like it had a marble finish.
How to Prep Wood for Your Resin Pour
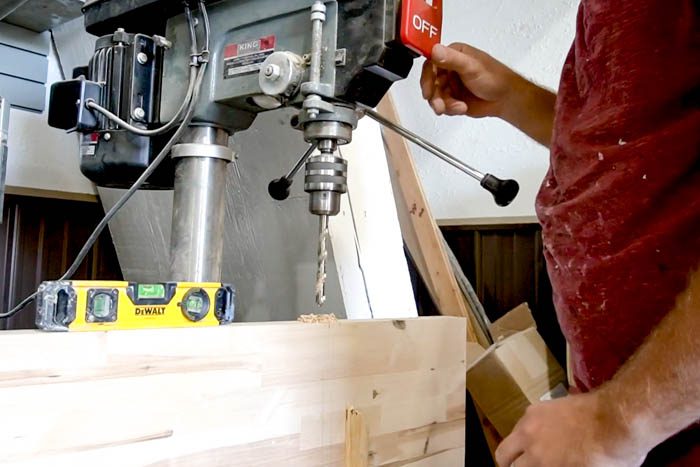
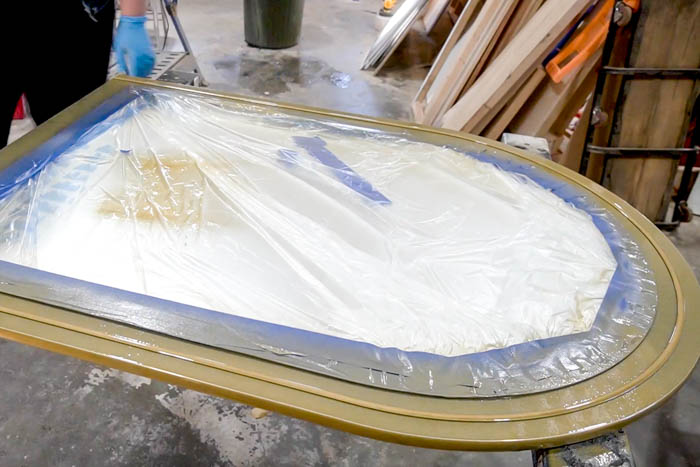
Because we were making our resin countertop a floating one (which would be so difficult to do with real stone by the way!), we pre-drilled all of our holes, and chiseled out the spot for the floating shelf brackets. Once the holes are formed, you can cover them with tape to protect them from filling with resin when you do your pour.
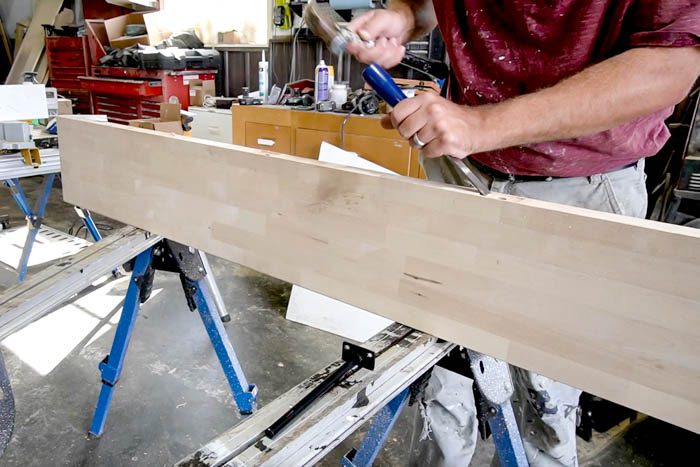
We also added a rounded edge to our board with the router. You can see this process in the video. The rounded edge allows the epoxy to pour over smoothly as it self-levels.
Next, we sanded and primed our board. Sanding is very important (and filling any imperfections with putty if you have them), because you don’t want to see the resin settling into the imperfections or highlighting them as it sets.
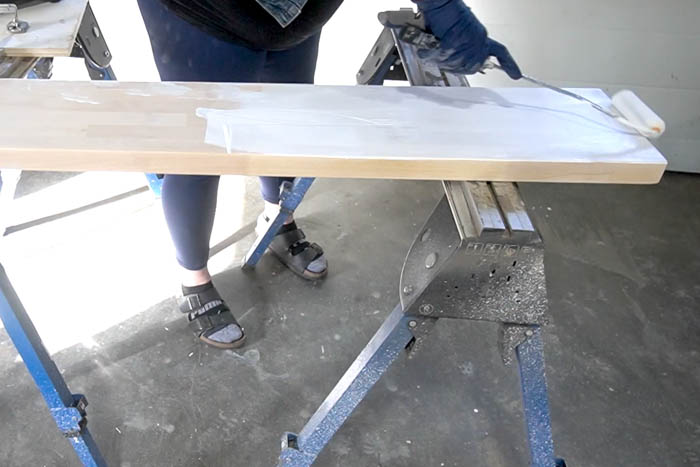
Because we were pouring white resin, we didn’t know how transparent the resin would be and wanted to prime to make sure we didn’t see any wood grain. We also poured one practice one at the side that we didn’t prime, and we could definitely see some wood grain showing through. For this reason, I would recommend priming!
Finally, if your countertop isn’t already adhered, take time to properly level your surface. A level surface will allow the epoxy mixture to pour over all of the edges of the counter evenly.
How to Measure and Mix Resin
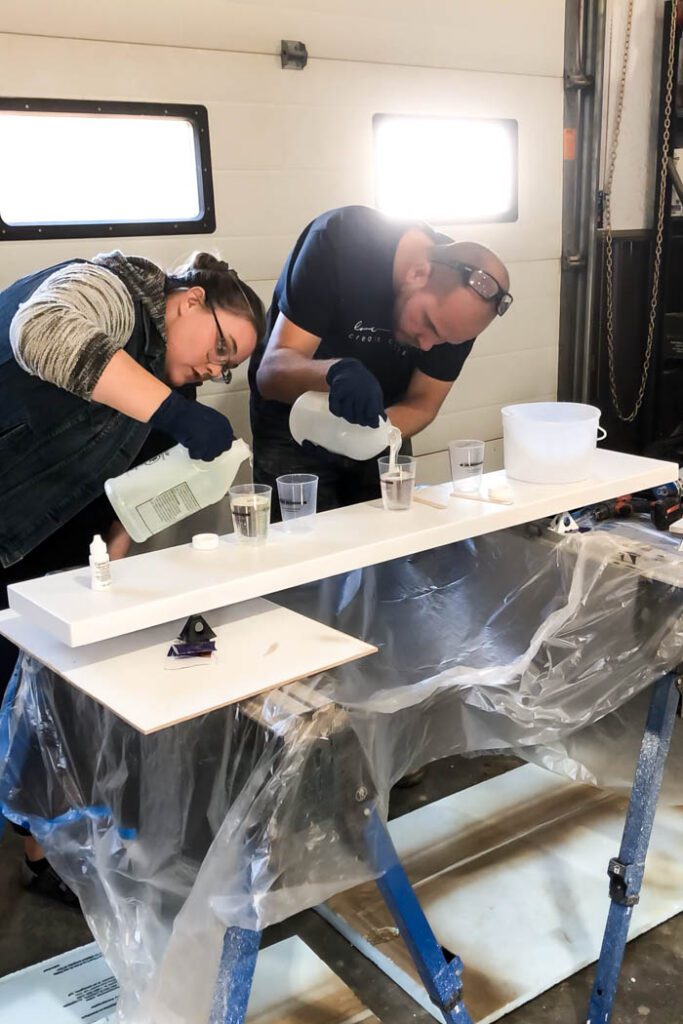
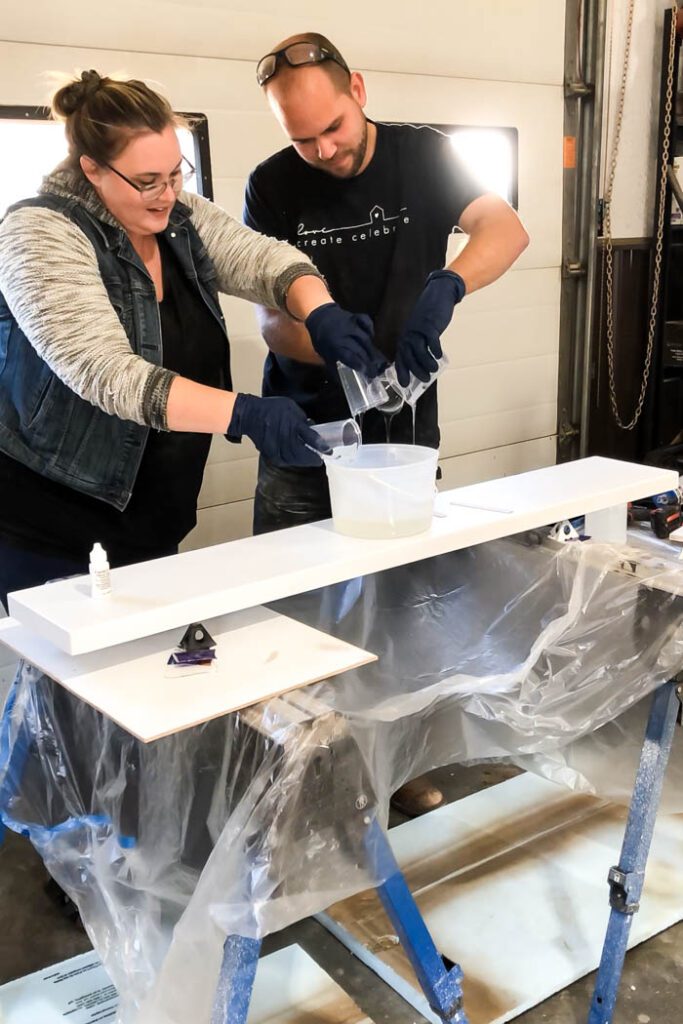
The epoxy resin that we used was called Envirotex Lite. When you buy the epoxy, it’s a two part epoxy that needs to be mixed together to activate and harden correctly. It has a working time of up to 30 minutes, so once you start mixing and pouring, you only have so much time to work with the resin. Although the 30 minutes was much more than enough time for our project!)
All of the mixing and calculating information is on the box (to calculate how much you need), so be sure to read the instructions carefully. It general it’s a very easy to calculate and mix because it’s a 1:1 ratio of each of the two parts.
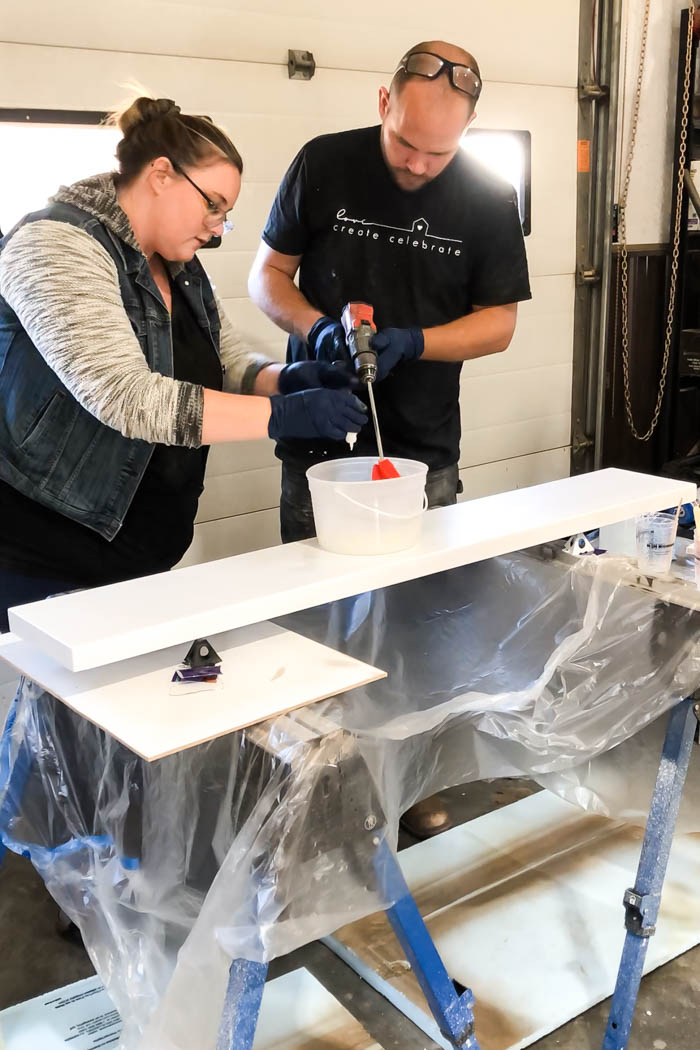
We use a mixing bit for our drill to mix all of the resin and then added some of the white opaque pigment until we had the colour we wanted. For reference, we mixed 1 gallon total of resin (500ml of each part), and used about 40 drops of the white pigment.
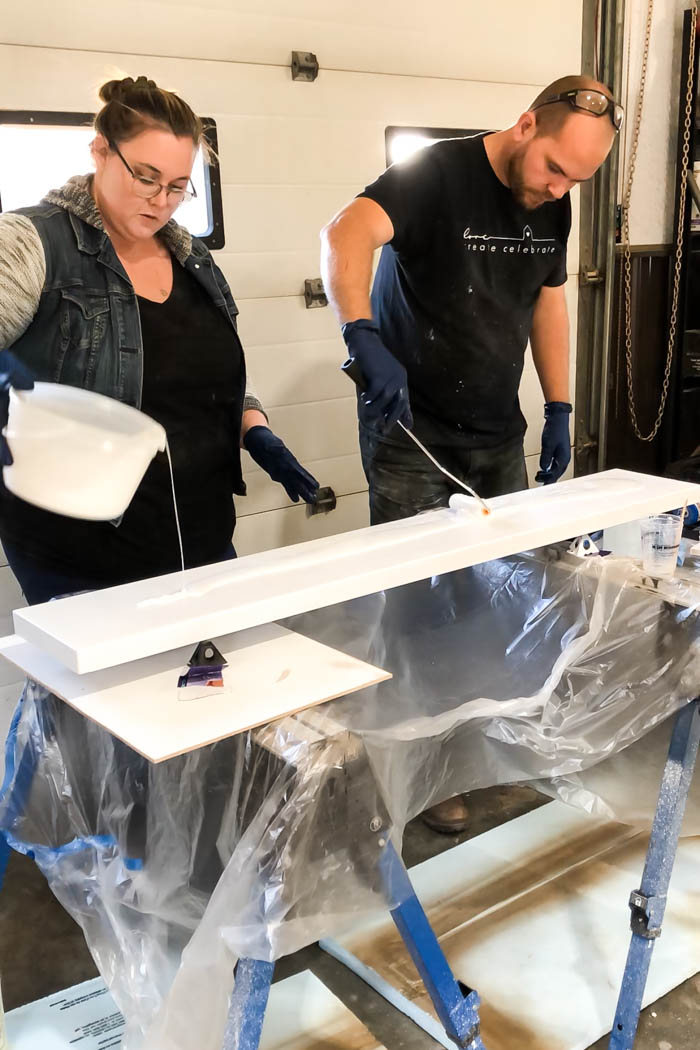
How to Pour First Layer of Resin
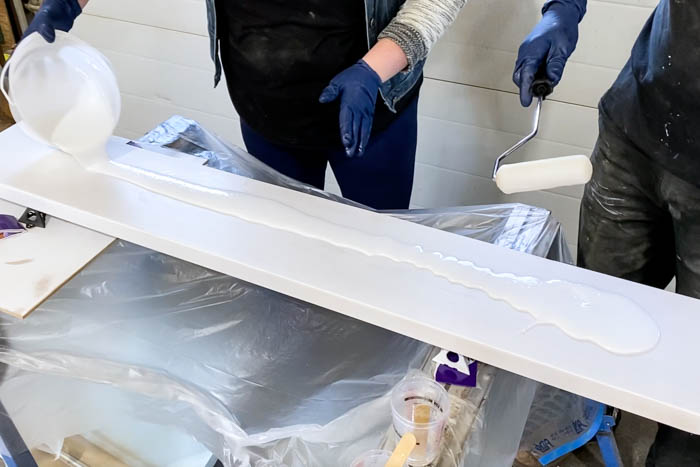
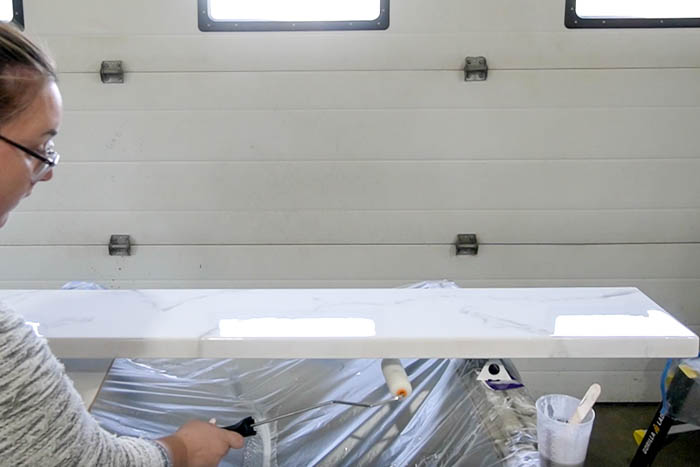
Once everything is mixed, you can pour the base layer of your faux marble countertop, we poured primarily in the center of our piece. We used a foam roller and a squeegee to push the resin to the sides of the of the counter – just enough so that everything is covered, and then we let the resin self-level on it’s own.
We used almost all of the resin we mixed for this, but kept a small amount to do some quick touchups, or fill any spots we had missed.
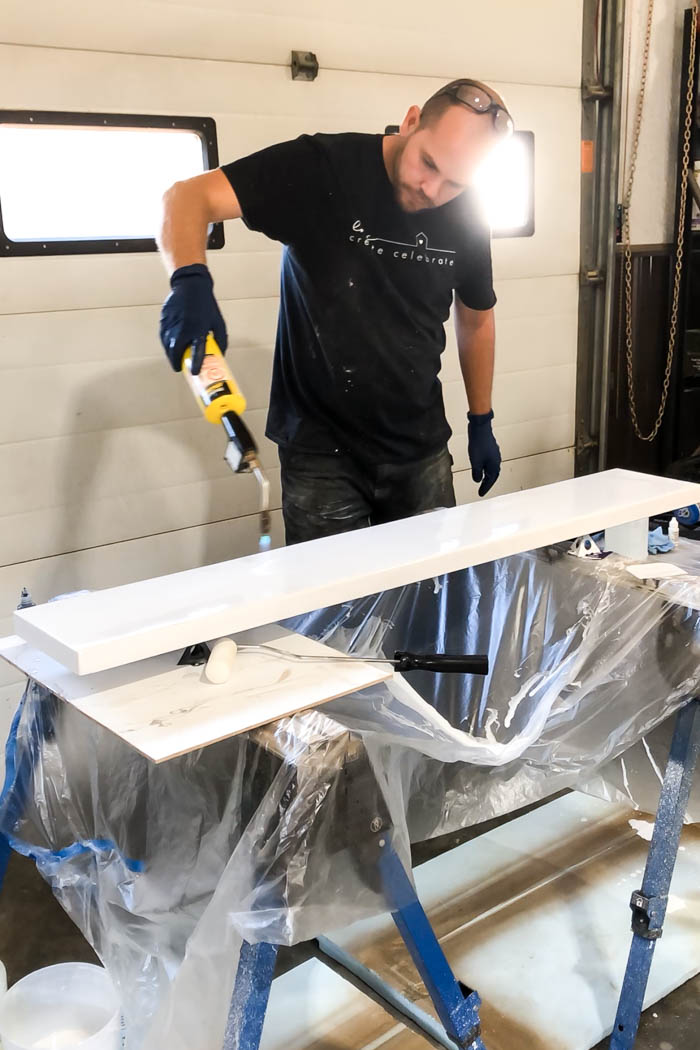
After your first coat is poured, let the resin self-level for a few minutes, and then use a torch to run lightly across the surface and release any trapped air or bubbles. You will be able to see this work as you run the torch across the countertop.
How to Get a Faux Marble Finish with Resin
If you want to do a faux marble finish, the first thing you need to do is mix the grey resin while the white base coat is setting. We mixed the Envirotex Lite epoxy mixture in the same way as before and added white until we were happy with the colour, and then added a few drops of the black opaque pigment too.
Paint the faux marble “veins”
The white and black mixed to create this medium tone grey colour that was perfect for blending into the white.
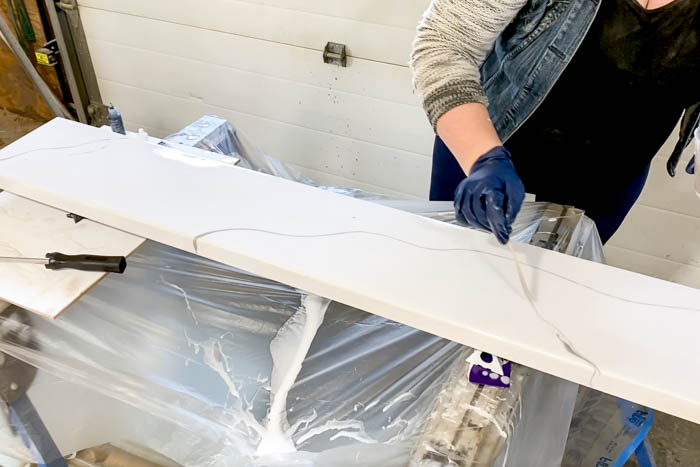
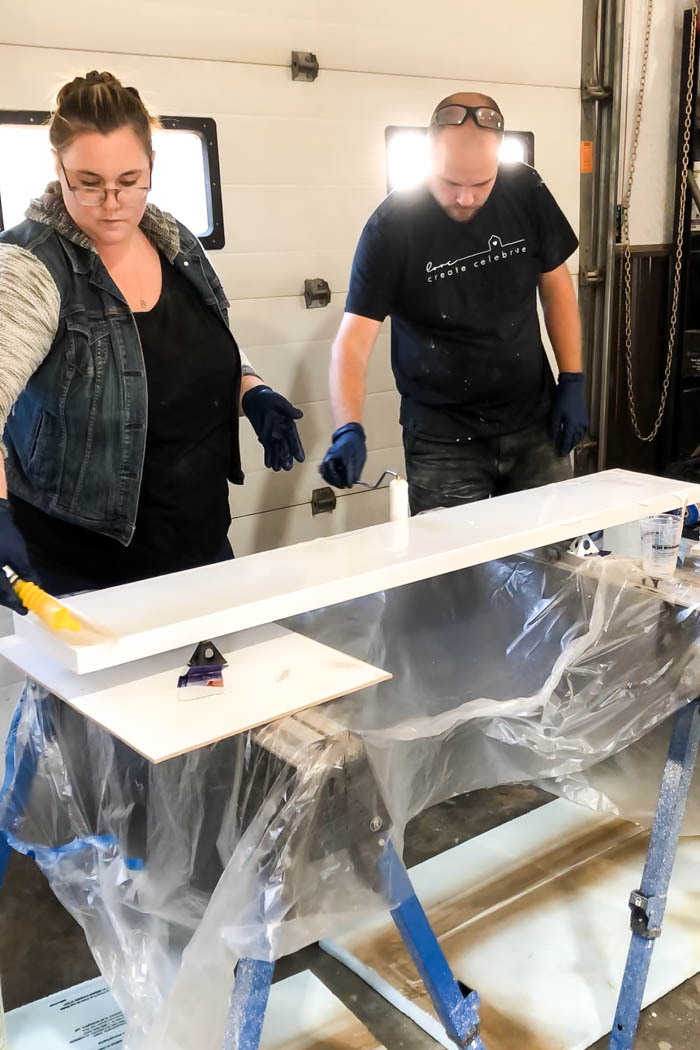
We gave the white base layer 20 minutes to set a bit first because we didn’t want the grey to just completely blend in right away, and then we started adding lines of grey colour.
The trick to this is to just let your colour flow naturally. We used a stir stick with grey on the end to lead the colour from one end of the board or one spot, to another. You don’t have to worry too much about what the lines look like (you can manipulate that a bit with the squeegee after if needed), because you want them to flow in a natural way.
We wanted a more minimal look (maybe more like quartz actually), so we kept our lines to a minimum and tried not to overlap them, but you can look at any marble photo and try to mimic a different, more saturated look if you want to.
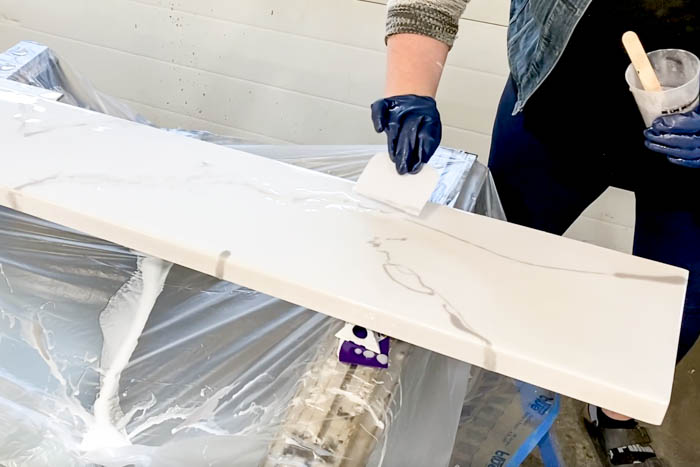
Blend the faux marble “veins”
Once the grey lines are down, use a small squeegee, to spread the colour on either side of the line. We followed the line, going back and forth along the line to pull the grey into the white. Then, as the colour self-levelled, it looked like very natural veining from a marble slab.

As you go, make sure that you add grey lines to the sides of your counter as well, especially in spots where the grey “veins” would naturally continue. Make sure to use a squeegee on these sides as well to help mix the grey in naturally.
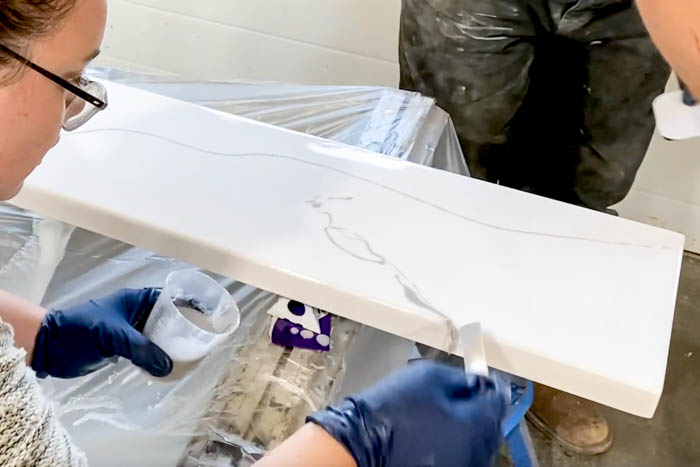
As you continue working on your piece, you may find more areas where there is too much negative space. If this happens, you can go back in and add more lines into the piece, spreading them in the same way as above with the squeegee.
As your piece begins to set, the resin will continue to level out and pour over the sides of your piece. Because of this there are a few touch-ups you may need to watch for.
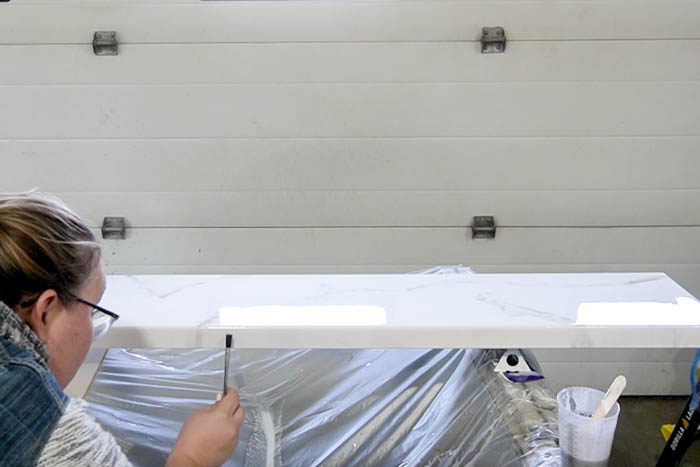
The grey on the sides of the piece may get diluted a bit as more white resin pours over – you can go back and add a small amount of grey again if you’d like to emphasize those spots more. If there are any spots on the sides that appear to not be filled (slight dimples, etc. in the resin), you can use a small brush to gently fill them.
Finally, as the resin pours over, there will be some peaks of resin that form underneath the edge, much the same way that water looks when it drips out of a faucet. We went back and fixed these small peaks every 20 minutes with a small foam roller until they were no longer appearing.
You must let your resin set for 48 hrs at least before you handle or move it. Once it is set, you can use a sander to sand down any bumps or imperfections from the roller underneath the countertop
Putting Together our DIY Makeup Vanity
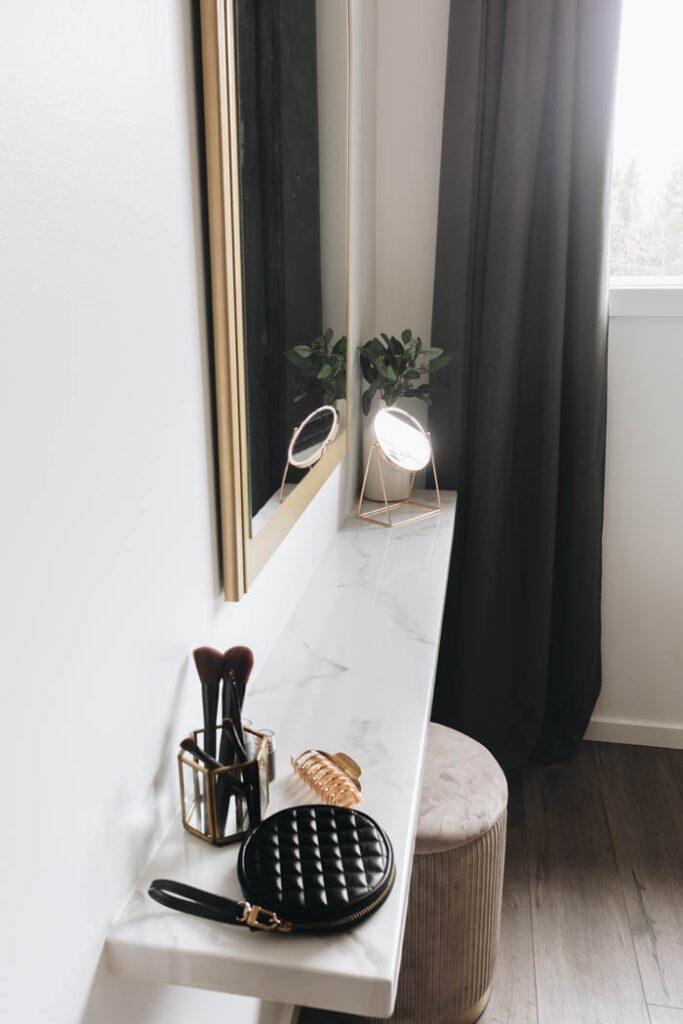
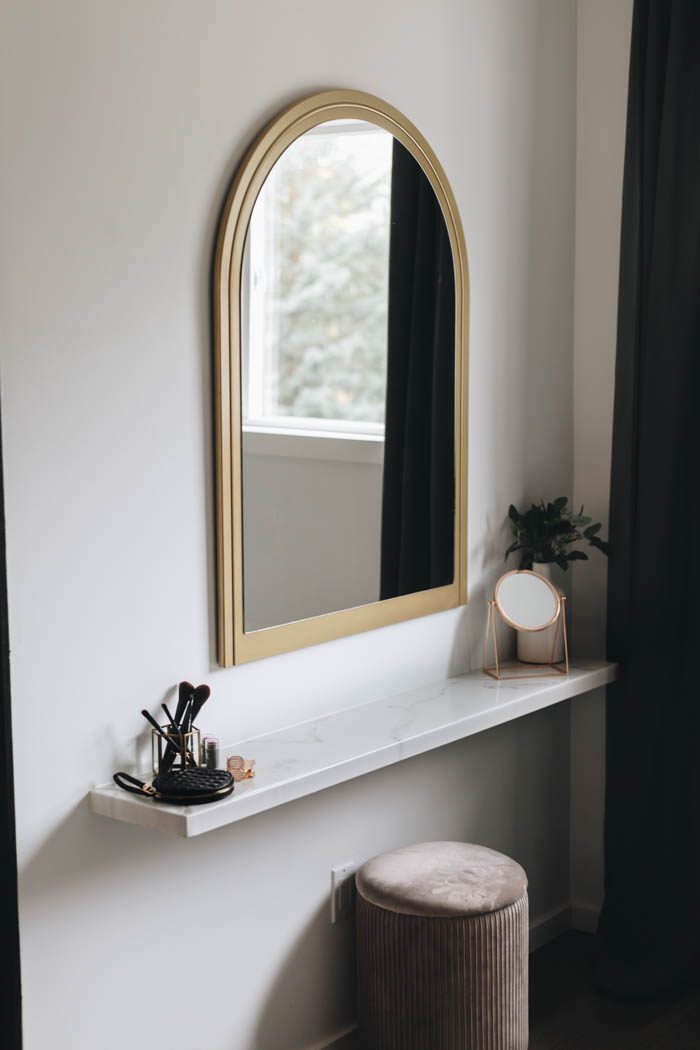
This makeup vanity was a budget friendly project, and we had one last easy project to tackle. We wanted to add a mirror but didn’t have the budget for a new one, so we found a thrifted one and spray painted it gold.
I honestly think I hit the jackpot by finding an arched mirror like this! So nice and big so I can see my whole body in it too!
We already had the floating shelf brackets on the wall so all that was left to do was install the DIY faux marble countertop!
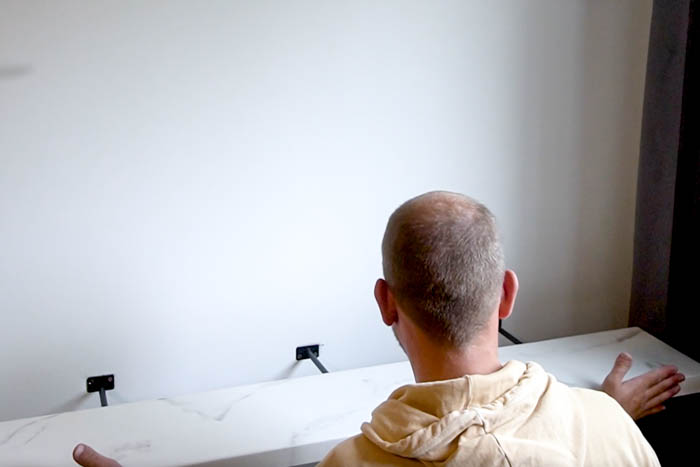
The countertop stuck out a tiny bit from the wall, so we also added a bead of silicone along the wall edge to give it a nice smooth finish.
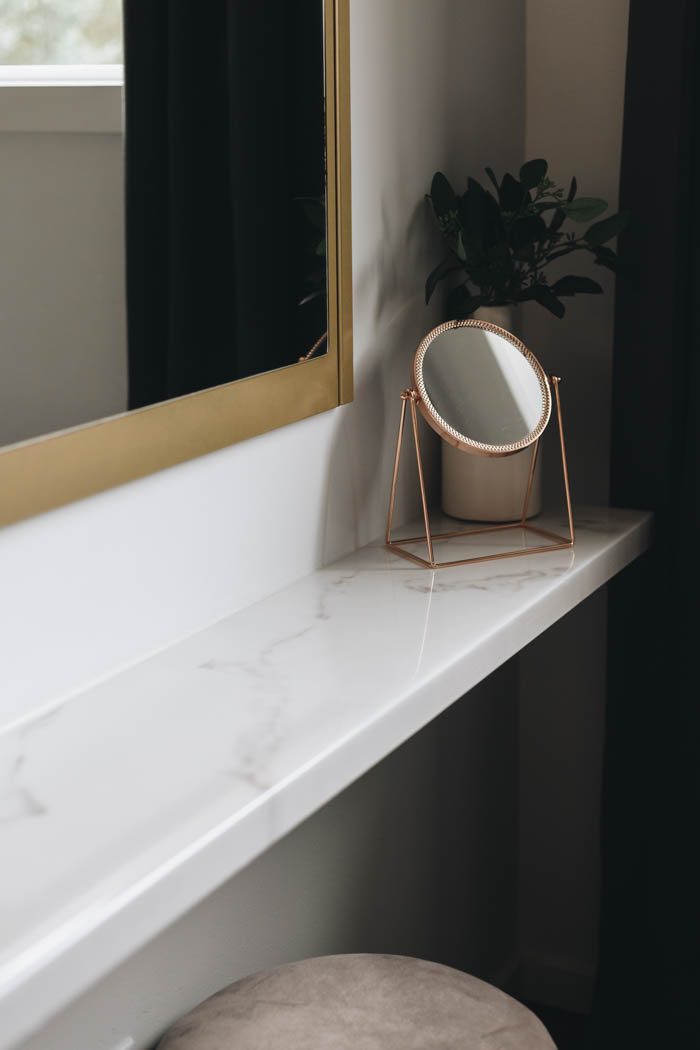
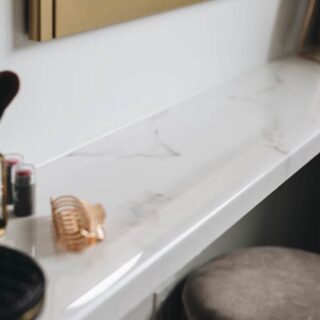
Our Finished Faux Marble Countertop and Vanity
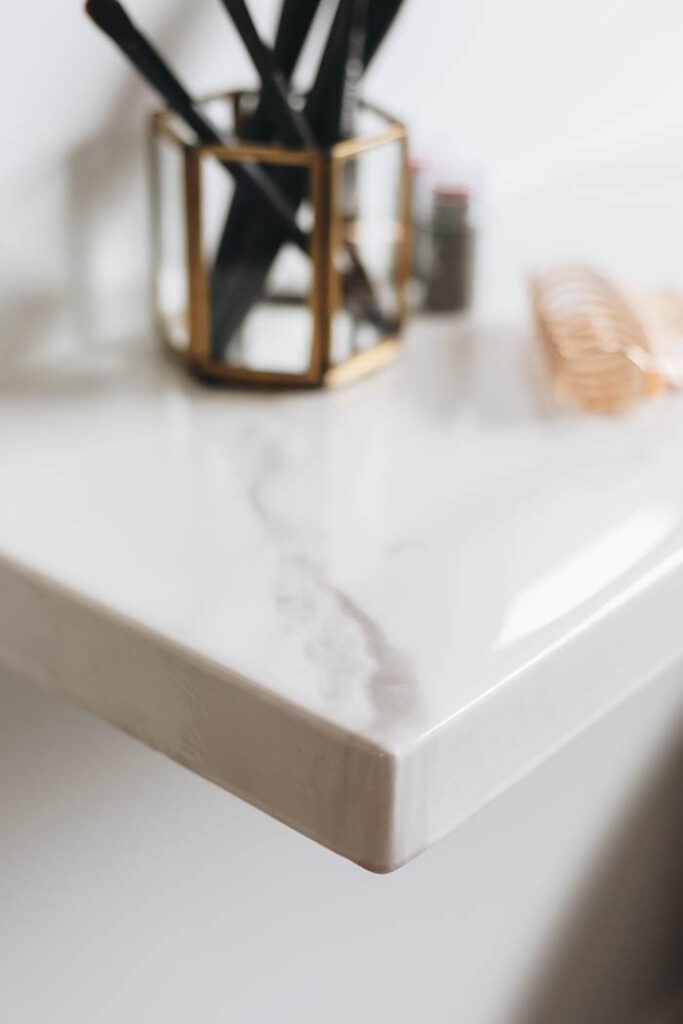
Here’s our completed faux marble countertop and DIY makeup vanity. Honestly, I couldn’t be happier with this space! the countertop came out exactly as I hoped it would. It only took 30 minutes to do the entire piece, plus a few seconds here and there to check on the finish and roll the underside.
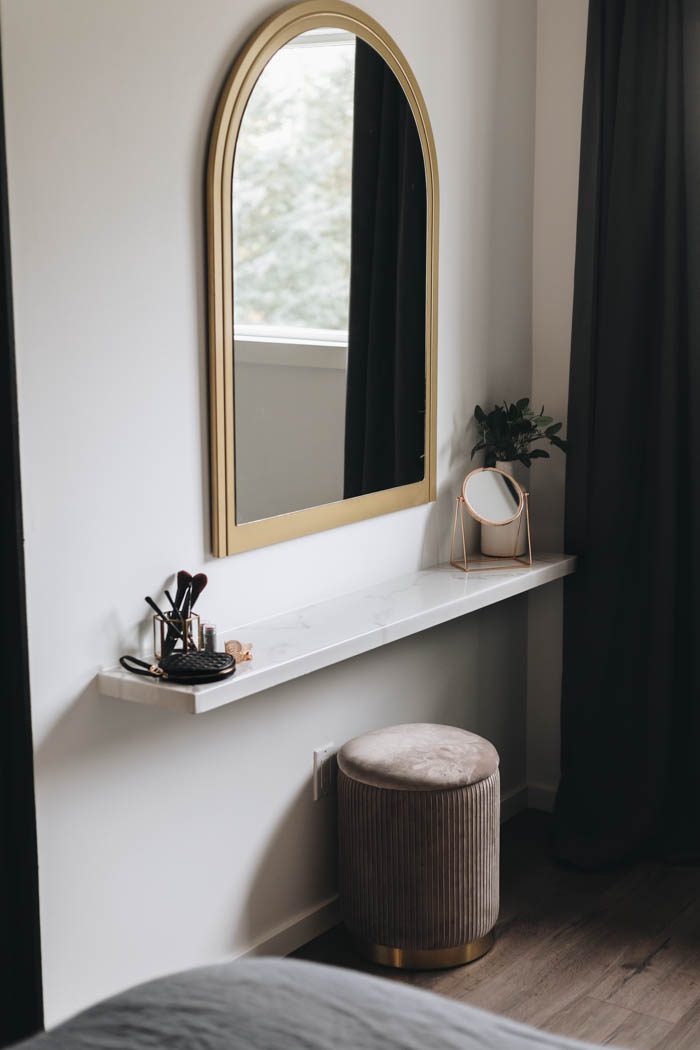
The finish is smooth and glossy, and the grey veins are absolutely perfect! I really could not believe how nice they turned out – it looks so much like the real thing. The grey that pours over the edges as though the vein is continuing organically is my favourite part.
If you want to see more of our affordable bathroom DIYs, check our our Extreme Ensuite Renovation!
DIY Faux Marble Countertop
DIY Faux Marble Countertops! This easy faux marble countertop design was done with resin! Video tutorial for a beautiful faux marble finish!
Materials
- Envirotex Lite Resin
- Opaque Pigment Black
- Opaque Pigment White
- Gloves
- Mixing Containers
- Popsicle sticks or mixing sticks
- Small squeegee
- Large squeegee (optional)
- Foam roller (small)
- Plastic film to protect surfaces
- Painting triangles
- White primer and paint roller
Tools
- Level
- Drill (& mixing bit)
- Butane torch
Instructions
- Prep your countertop surface
- Prime your countertop
- Mix epoxy resin according to package quantities
- Add white opaque pigment
- Pour white base coat
- Mix epoxy for veins and add white and black opaque pigment to get a grey colour
- Make faux marble veins
- Use a squeegee to naturally spread grey "veins" into white
- Check edges, white space, and touch-up spots
- Return every 20 minutes (for 1-2 hours) to roll the bottom and remove any unwanted epoxy that dripped over the edge
- Install new countertop
Recommended Products
As an Amazon Associate and member of other affiliate programs, I earn from qualifying purchases.


Shreya @ The Creatives Hour
Friday 10th of December 2021
Amazing! It looks soooooo beautiful. Thanks for the tutorial;)
Nicole Q-Schmitz
Wednesday 20th of October 2021
Love it! Turned out so well :)
Lindi
Wednesday 20th of October 2021
Thank you so much!