
Every season I incorporate a few more natural elements into my decor.
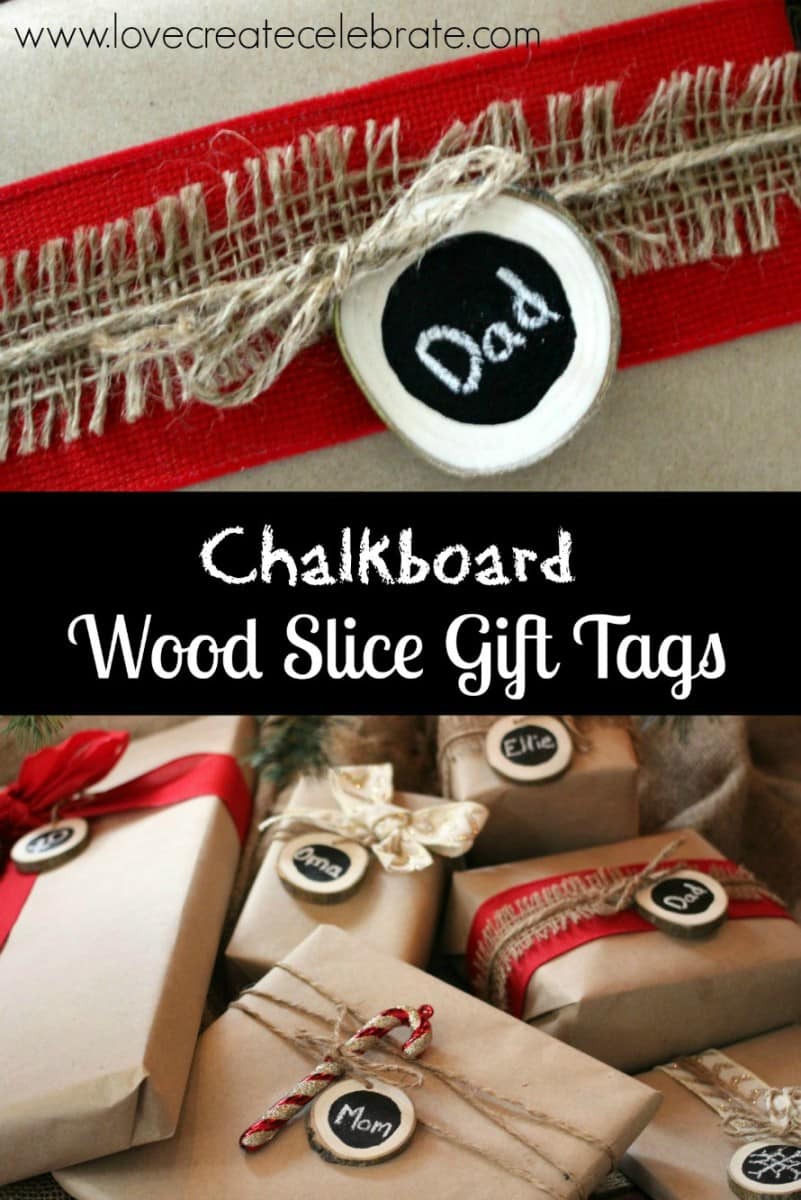
It’s not really a goal I aim for, it just happens because I love the addition of natural, raw elements. That’s why I knew I would be using these wood slices somewhere this Christmas. I added chalkboard to these wood slices to make amazing, rustic gift tags.

Materials:
Wooden branch (mine was a 3″ diameter)
Mitre Saw
Drill (with 1/8 or 1/4 inch bit)
Chalkboard paint
Thin paintbrush
Jute string
Chalk
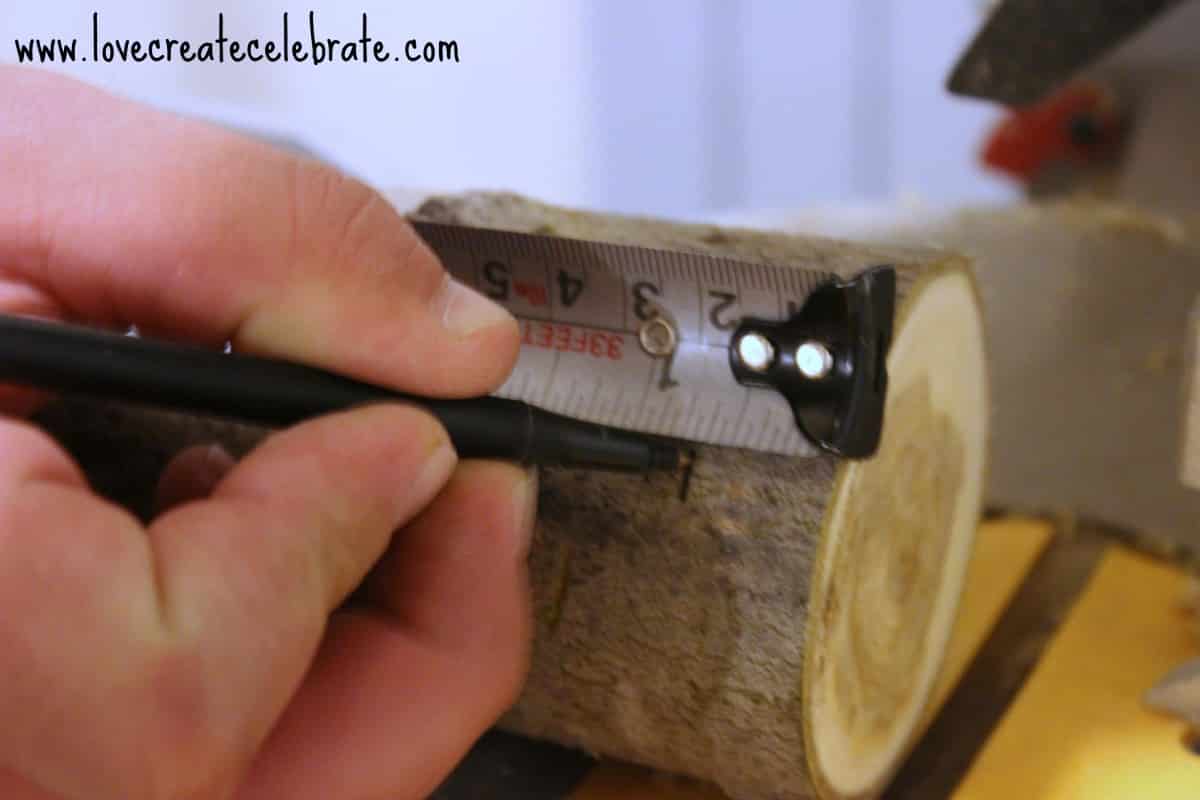
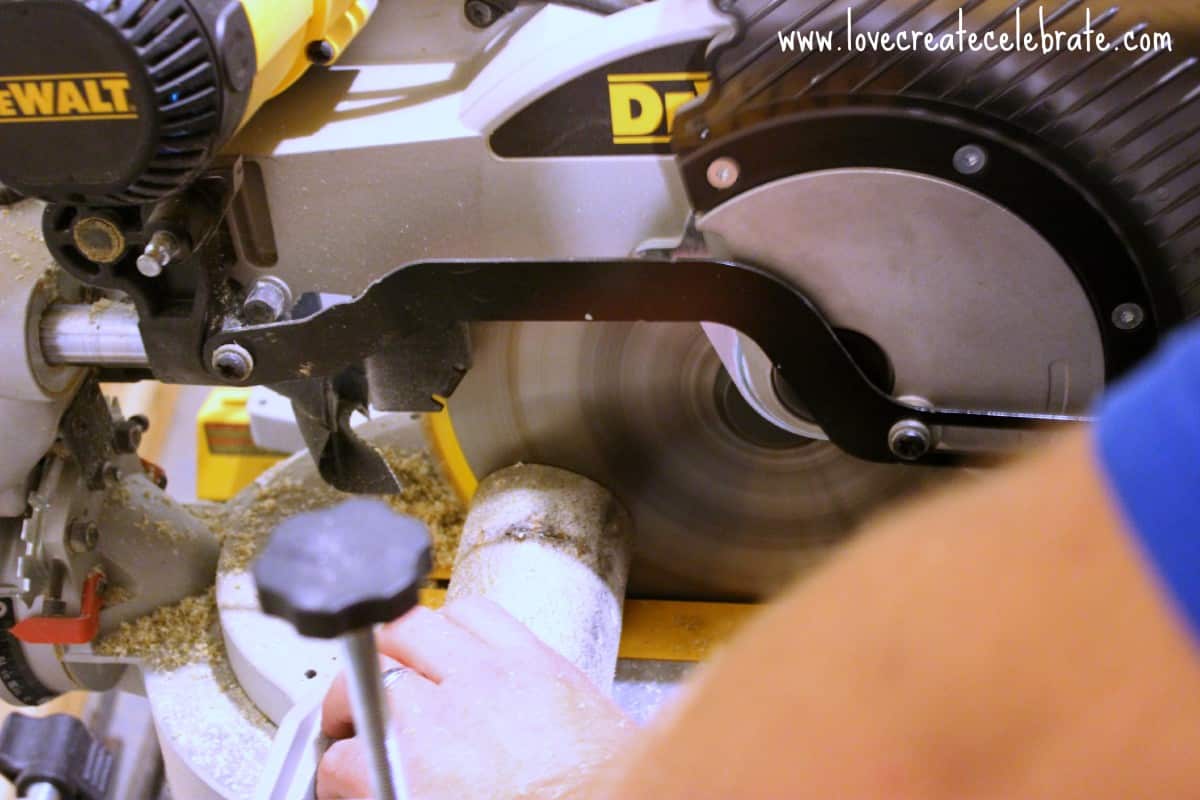
You start by marking off the size of the slices you want. I chose to cut these slices about 1/4″ (the pic above is marked for another project). Cut however many slices you need using your mitre saw.
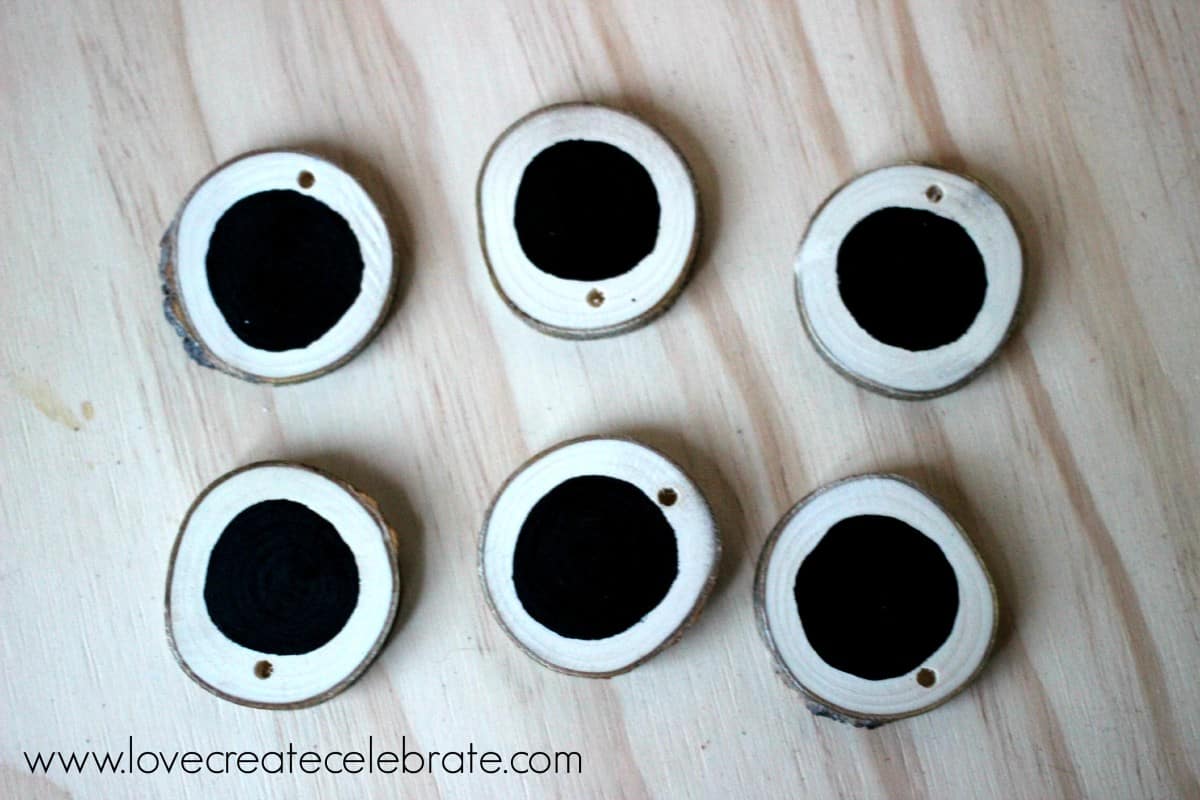
Once you are done cutting you can drill a small hole in the top, using an 1/8″ or a 1/4″ drill bit. The width you want may depend on the width of the string you are using as well (my just string was fairly thick).
Next, use your chalkboard paint and paintbrush to paint the chalkboard front onto your wood slices. You can make the space as large as you like! I just free-handed my painting :)
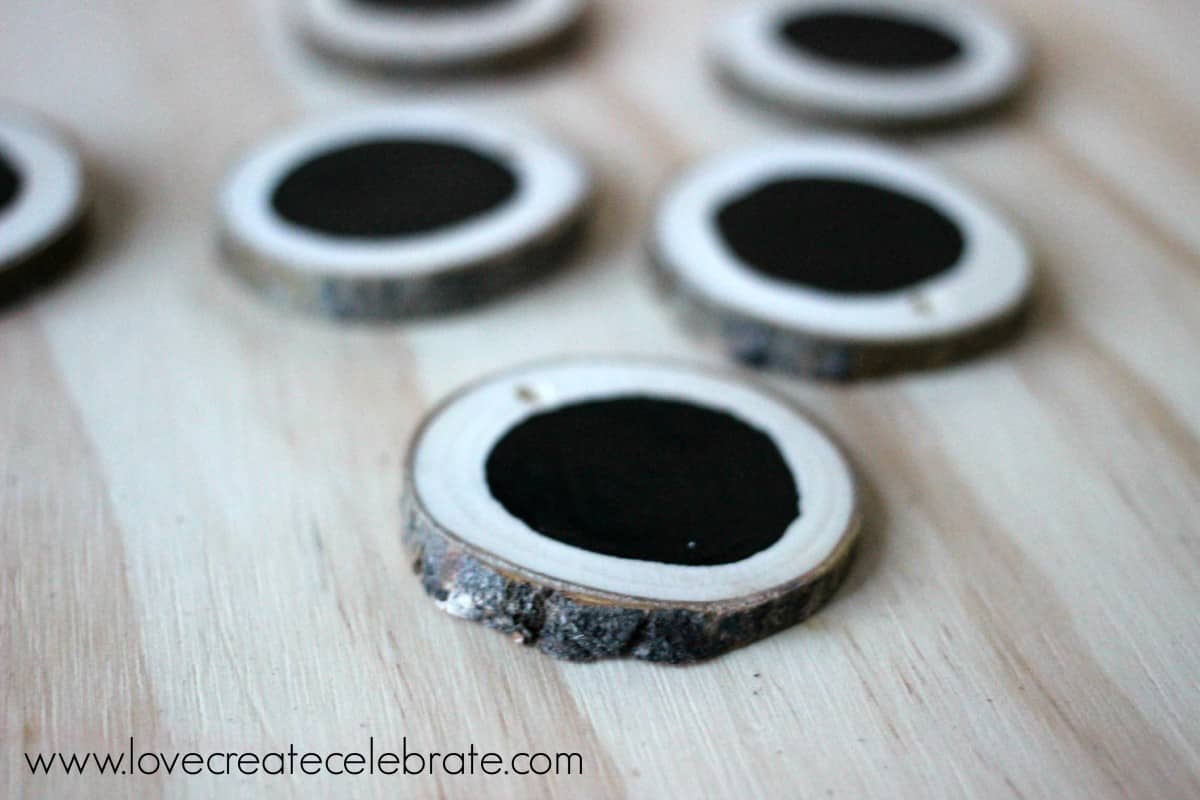
Then you pull your jute string through the drill hole to allow them to hang onto your bows and packaging, and you’re done! Use your chalk to label them any way you like – names, pictures, symbols! I just LOVE seeing the natural knots from the wood on the sides of my gift tags :)
Come back later this week for seeing the rest of my gift-wrapping secrets!

Curious about what else I used my wooden branch for?? Check out these earlier projects!

{xoxo}
Heather @ Viralupcycle
Monday 4th of April 2016
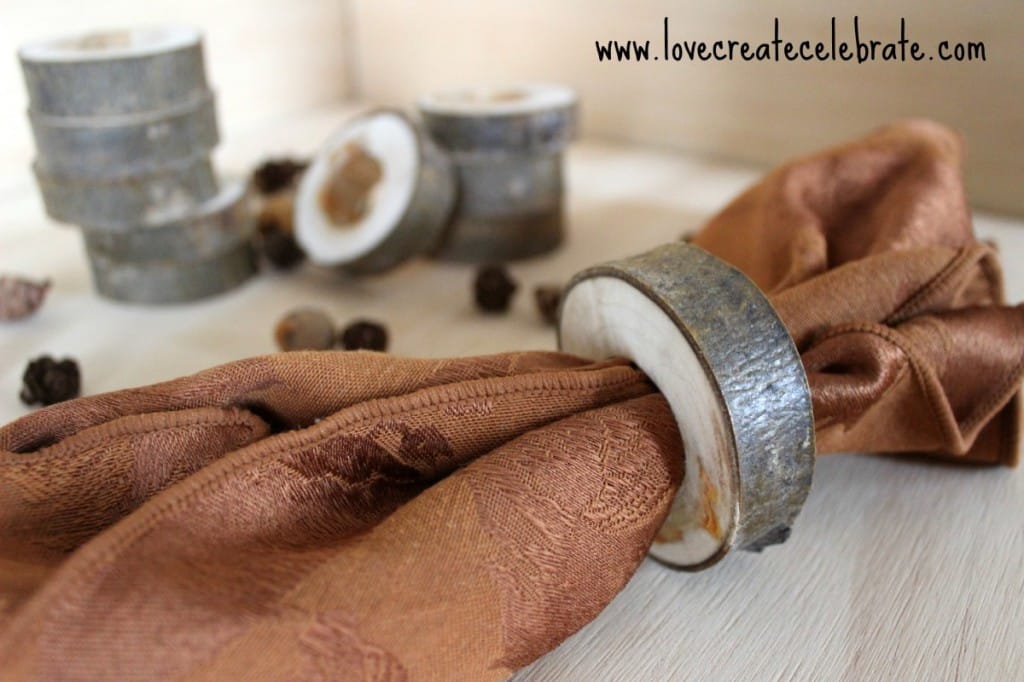
These are so adorable Lindi! As if chalkboard painted wood slices weren't enough, you did the wood slice napkin holders, awesome!
The Liebster Award – Take Two |
Wednesday 14th of January 2015
[…] Lindi blogs at Love, Create, Celebrate and is a complete doll. She’s a mama to the adorable lady pictured above and blogs about life, being a mama, DIY, crafts and creating new things. My favorite post of hers (so far)are these adorable Chalkboard Wood Slice Gift tags! […]
Cathy @ Our Mini Family
Friday 26th of December 2014
Merry Christmas! We’ll be featuring you on Sunday in this week’s Bewitching Projects at OurMiniFamily blog!
Have a wonderful weekend! ~Cathy~ OurMiniFamily.com
agy
Monday 22nd of December 2014
These are so beautiful! Only problem is I don't have that nice saw you have in the picture, but I think a normal hand saw will do the trick (I think!)
Lindivs
Tuesday 23rd of December 2014
That would absolutely work! Let me know if you try it out!!
Tiffany
Wednesday 17th of December 2014
Oh my gosh! LOVE these. We actually live at the base of the mountain now and these would look great with our decor :) Cannot wait to make this craft with my hubby on Sunday! I'm sharing on Facebook tomorrow :)
Lindivs
Wednesday 17th of December 2014
Thanks Tiffany!! They are so rustic and wonderful, and easy to make! Thanks for stopping by!