
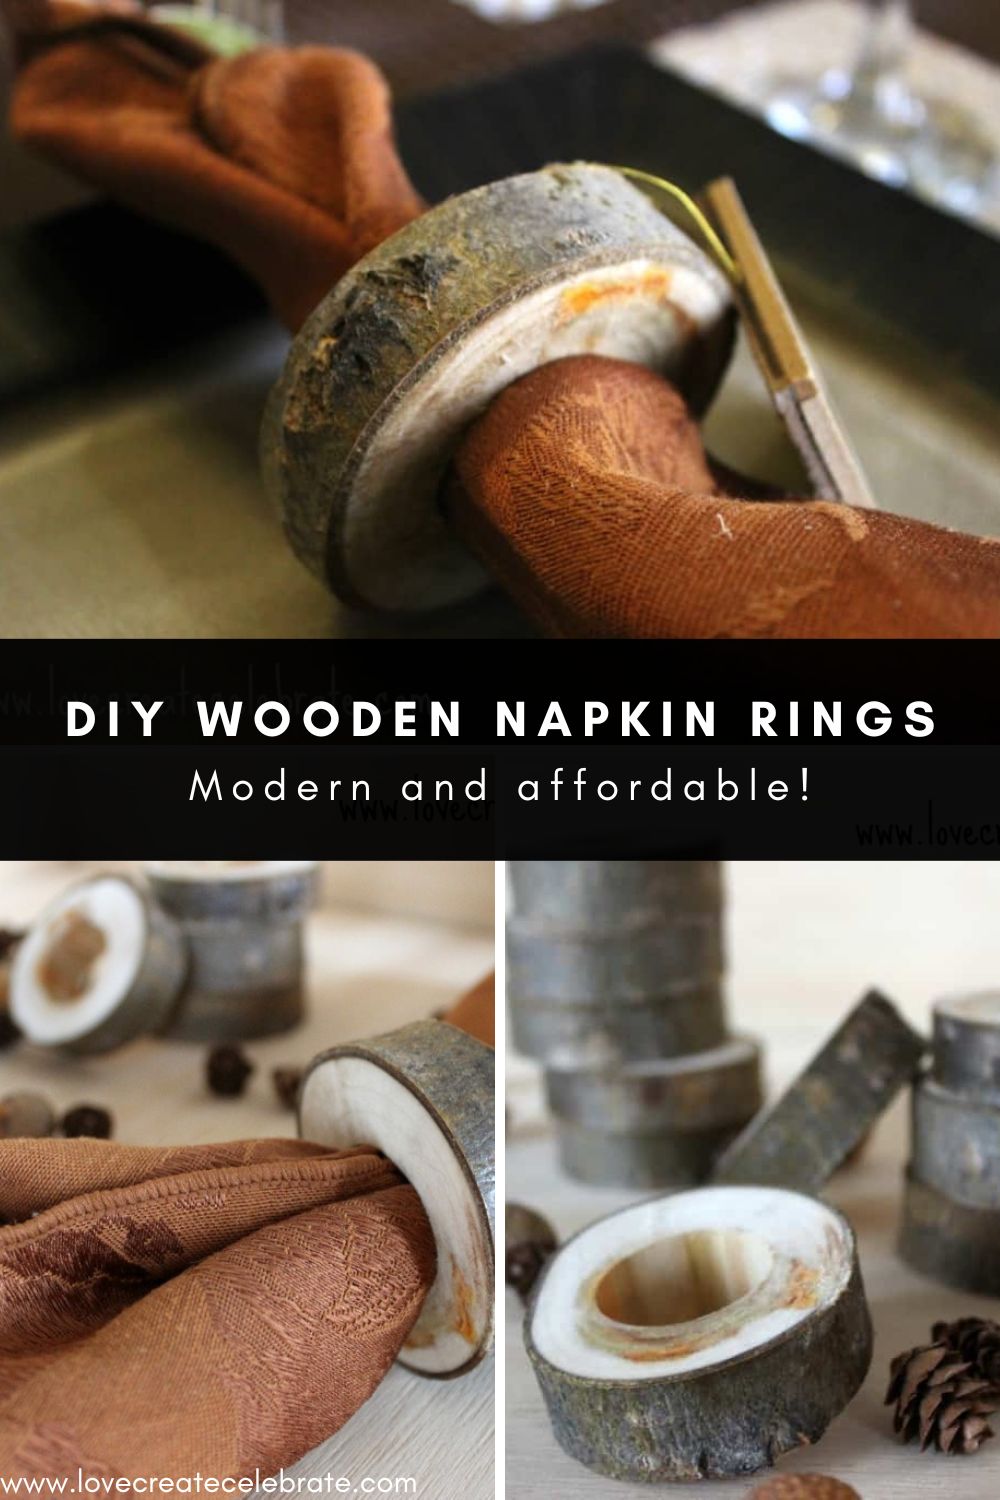
Beautiful DIY Wooden Napkin Rings! Modern and affordable, these napkin rings are the perfect craft idea for your rustic Thanksgiving decor!
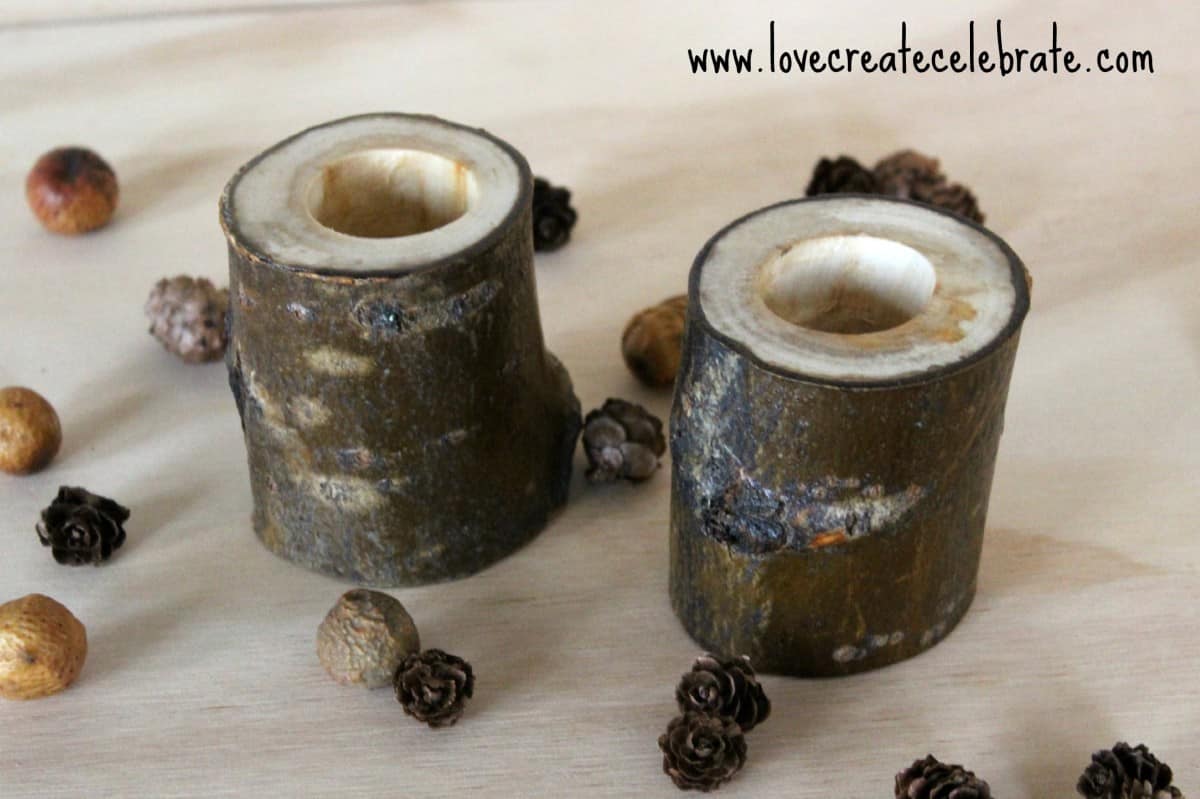
Just before Thanksgiving (in Canada!) my husband got his hands on a log from my brother-in-laws property. Immediately my head was swimming with great ideas for how to use the wood! Well… I’m happy to report that with these Wooden Napkin Rings, we have officially re-used every last piece of that tree (*hint hint* more projects to come!!). If you missed it check out the first wood log project, wooden candle holders.
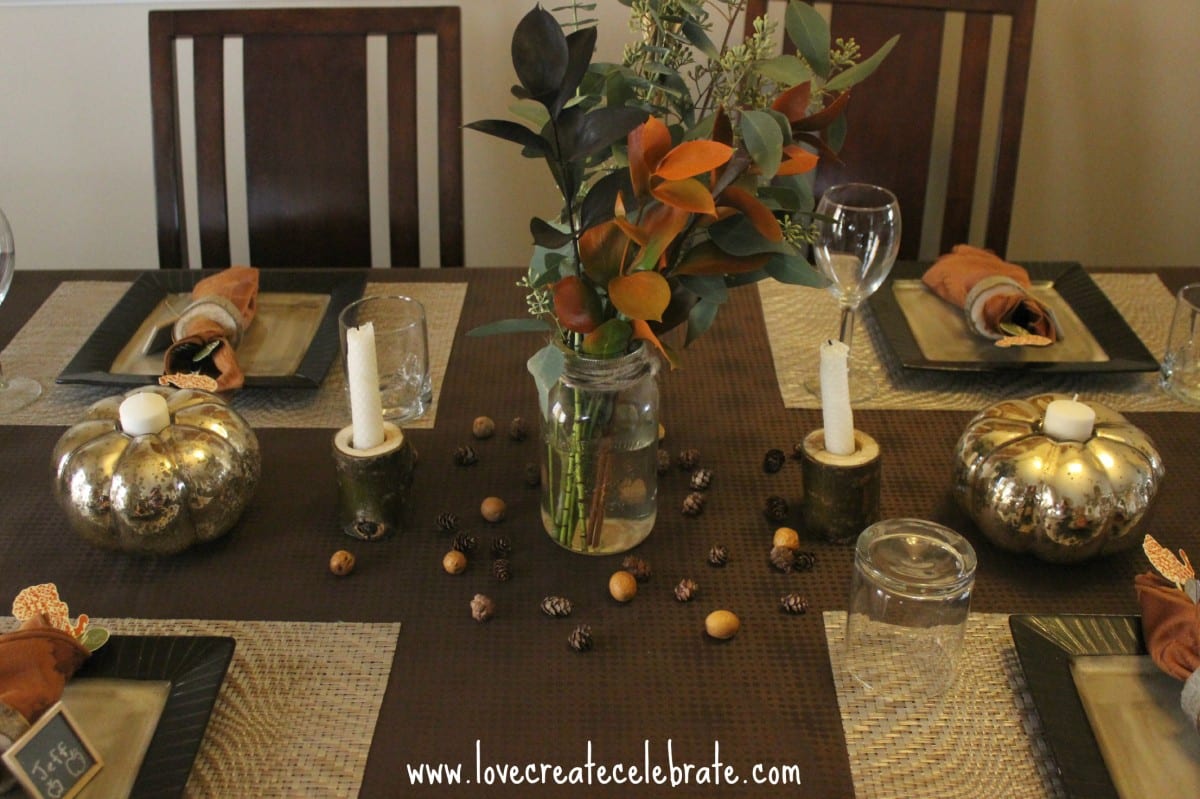
My second wave of inspiration was right in line with those beautiful wooden candle sticks. I had my thanksgiving table scape on the brain and took advantage of the wood to add to my rustic thanksgiving, making a set of wooden napkin rings :) If you have access to some tools (or a handy family member!), this is just the project for you!
How to Make Your DIY Wooden Napkin Rings
Materials Needed
- Wood Log (mine was about a 3 inch diameter)
- Measuring tape or ruler
- Mitre saw
- Drill Press
- Sander (or 150 grit sandpaper)
- Acrylic Sealer
Step-By-Step Tutorial for Your Wooden Napkin Rings
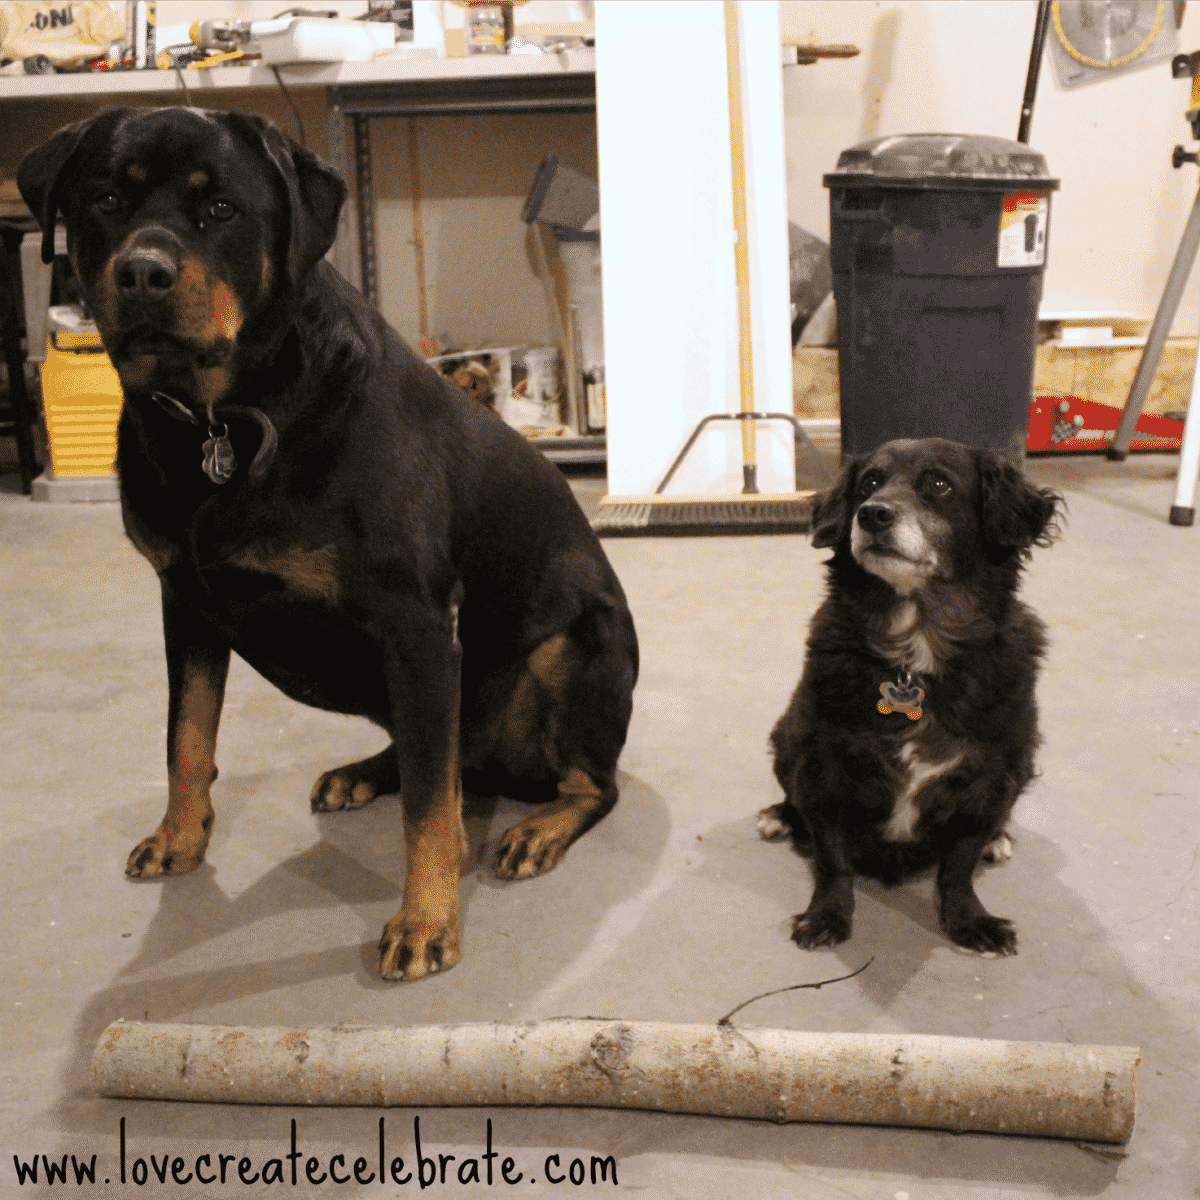
I used our puppies to model with the log we collected for the project :)
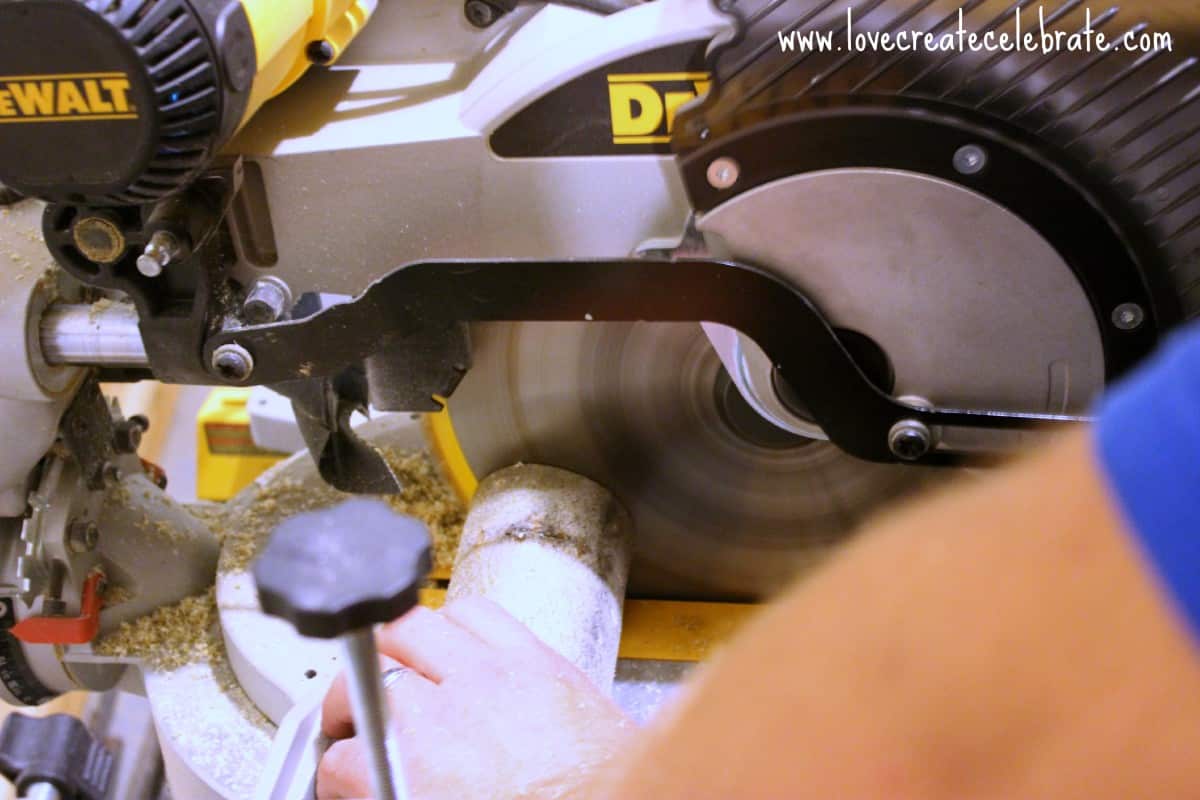
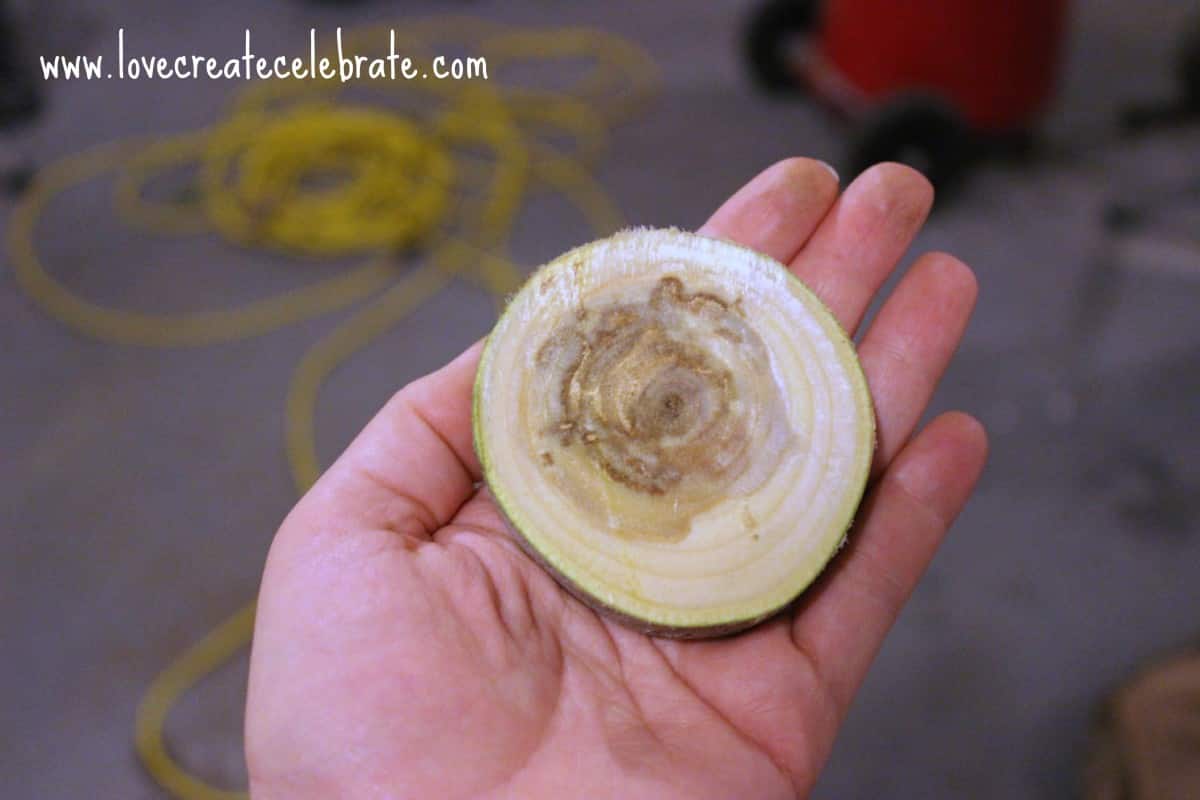
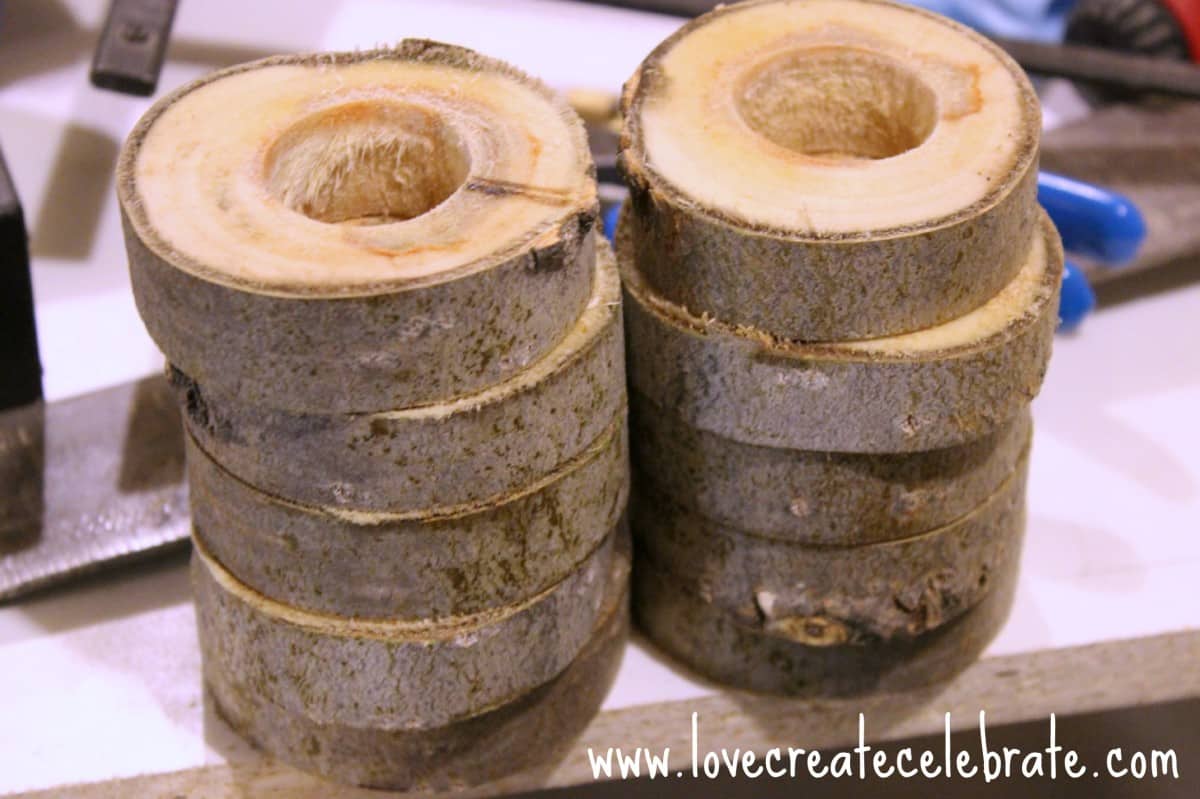
The first step is to measure out the width of the napkin rings. I chose to make ours about 3/4″.
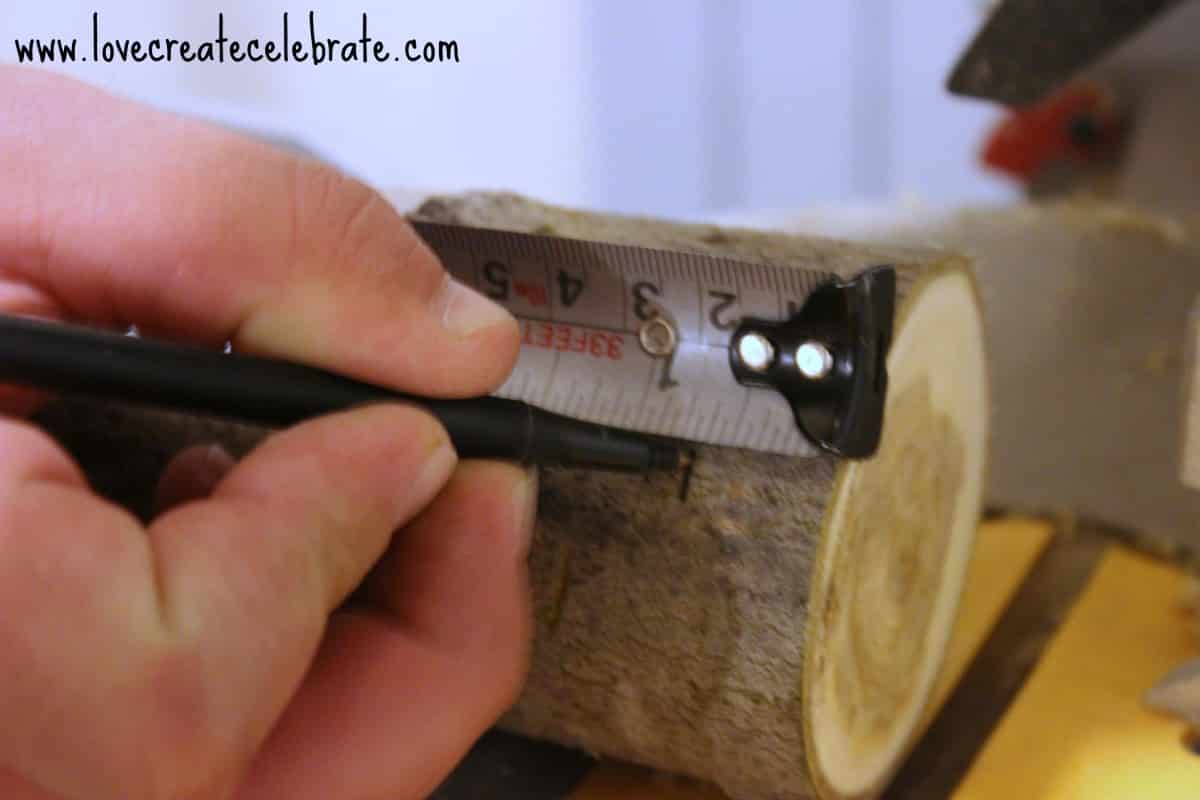
Then you cut out the wood slices using the mitre saw. I cut out 12 of them so that I would have a full set for future dinners (Bonus: they are 100% reusable!!!)
I don’t have a picture of this next step, but at this stage you may want to throw those wooden slices in the oven for a bit. I put them at 100F for about 20 minutes. Helps them dry right out, and kills anything that may be leftover…. ugh.
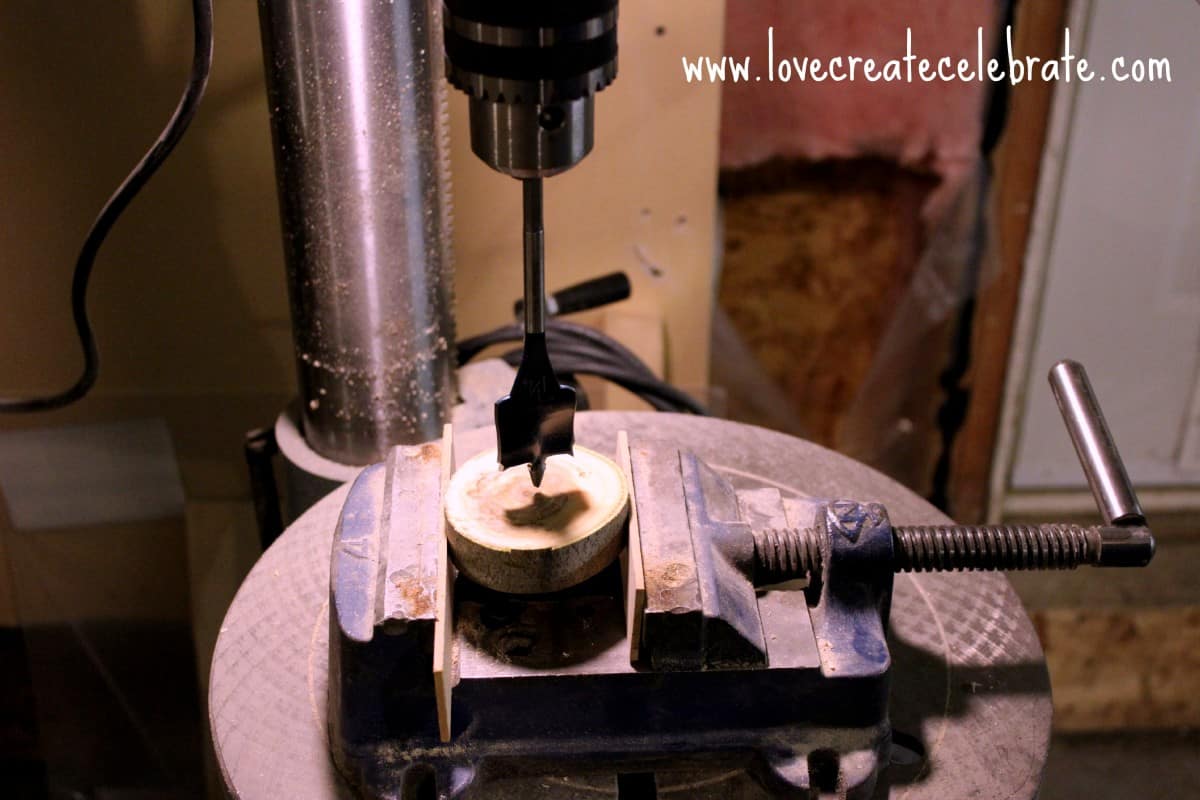
Then, using the drill press, drill a hole into the wood. My husband used a 1 1/4″ bit to drill the hole here.

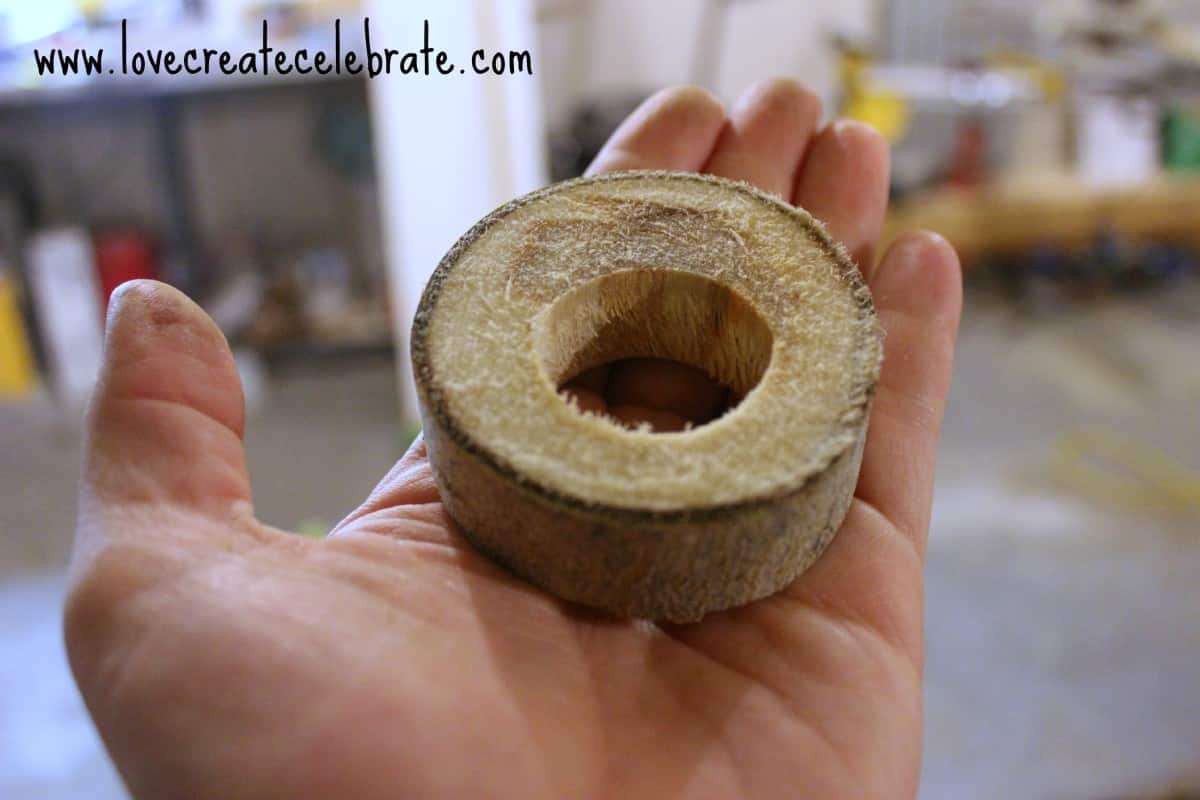
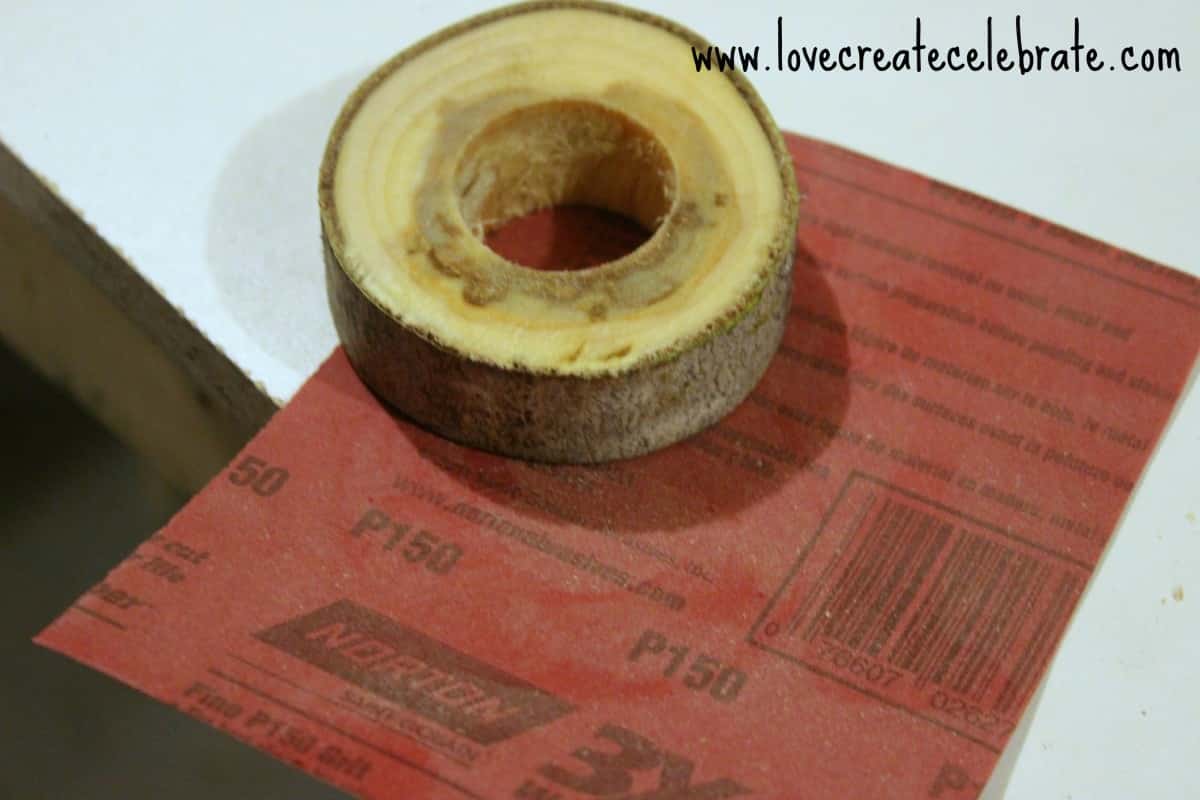
This is where the oh-so-tedious part starts: sanding. So much work, but SUCH beautiful results! Sand the wooden napkin rings using tools if you have them (including an oscillating sander for the middle!) or using elbow grease and 150 grit sandpaper.
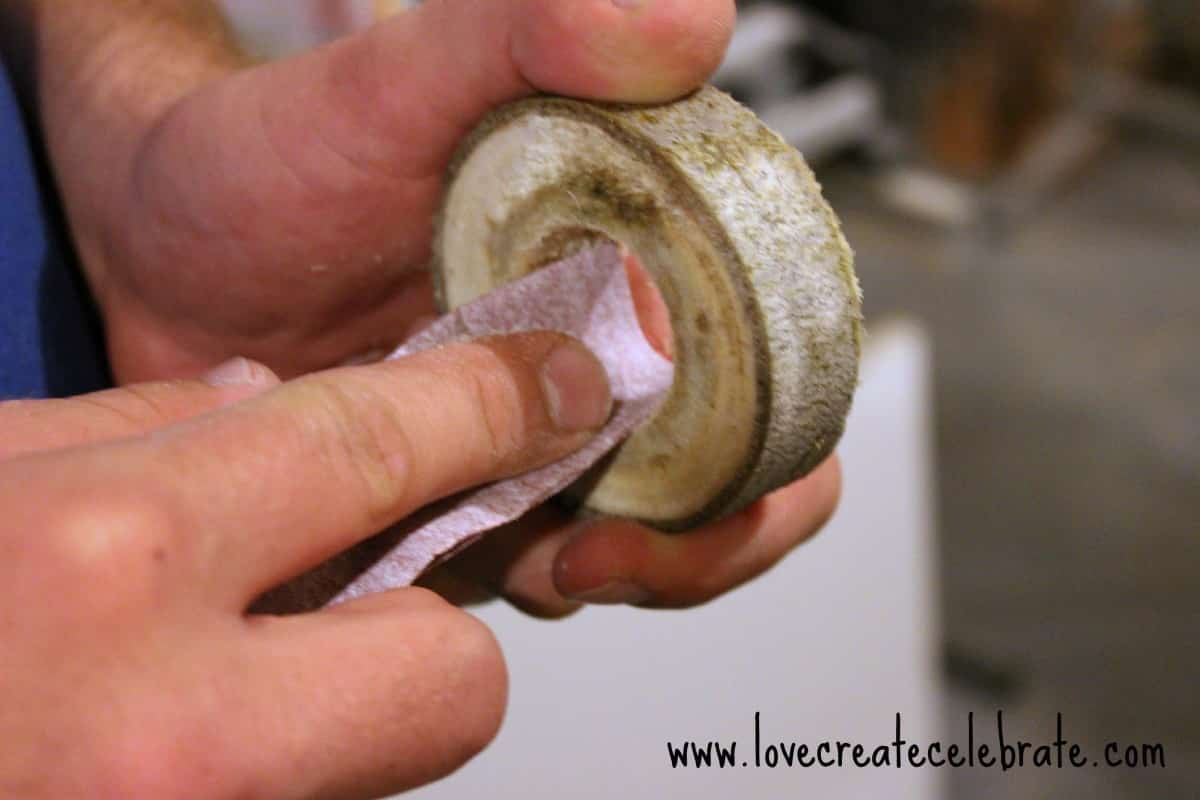
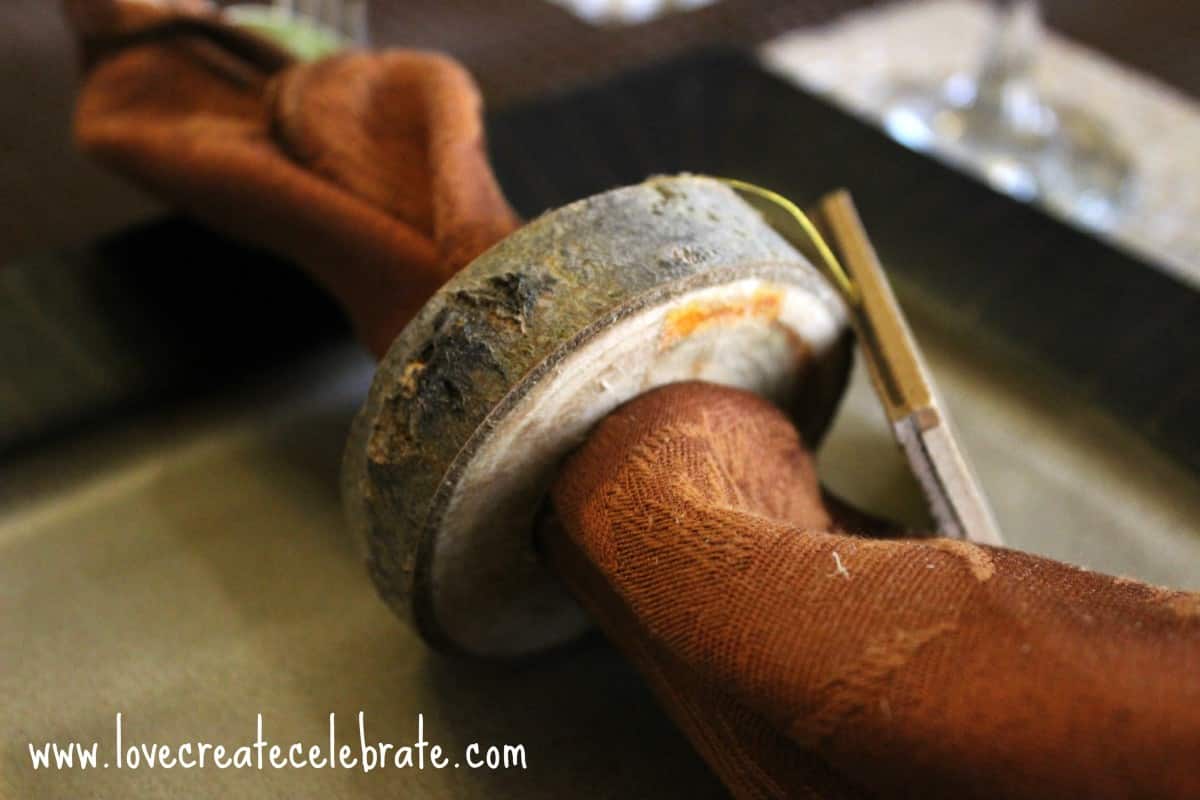
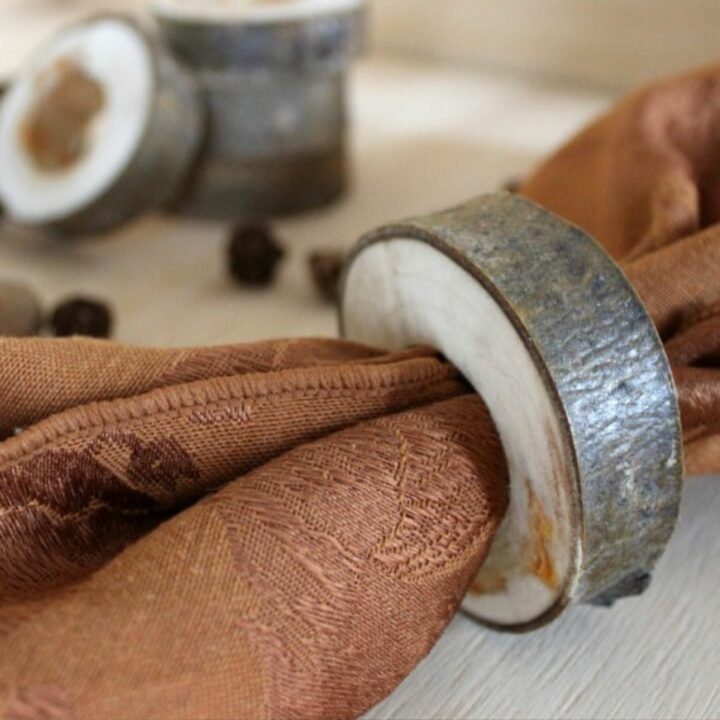
When the wooden napkin rings are all cut out and sanded, you can spray them with an acrylic sealer (we just used the Mod Podge one) to keep them protected, beautiful, and to prevent wood pieces from getting on your napkins :)
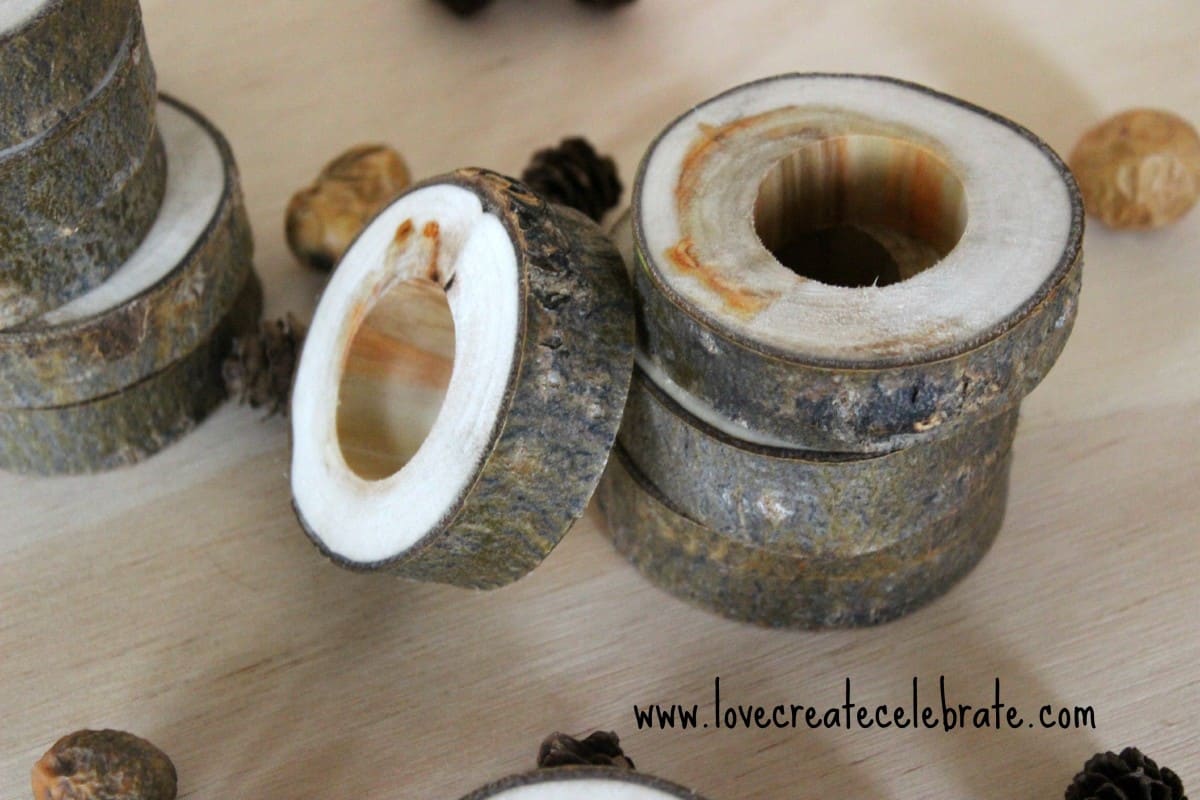
Finished product!! I purposely chose to use pieces with beautiful knots for the napkin rings because I think it adds to the rustic, natural feel of the design.
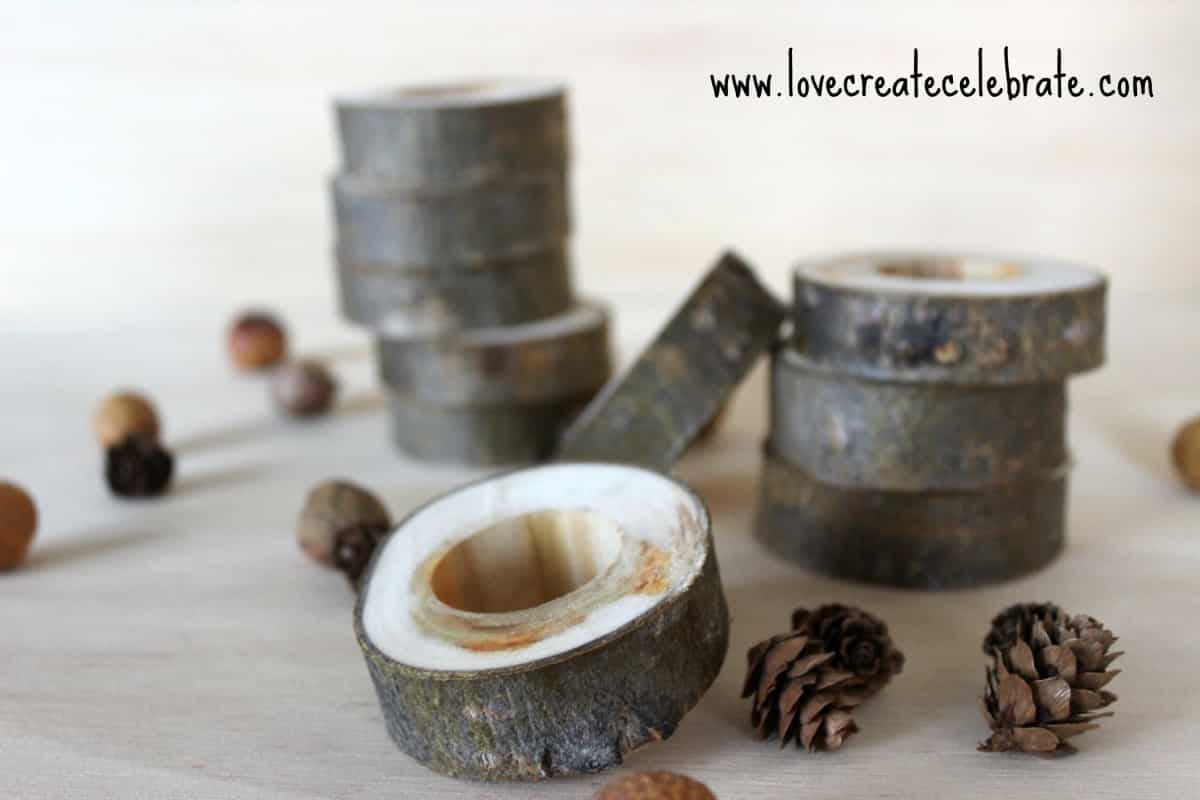
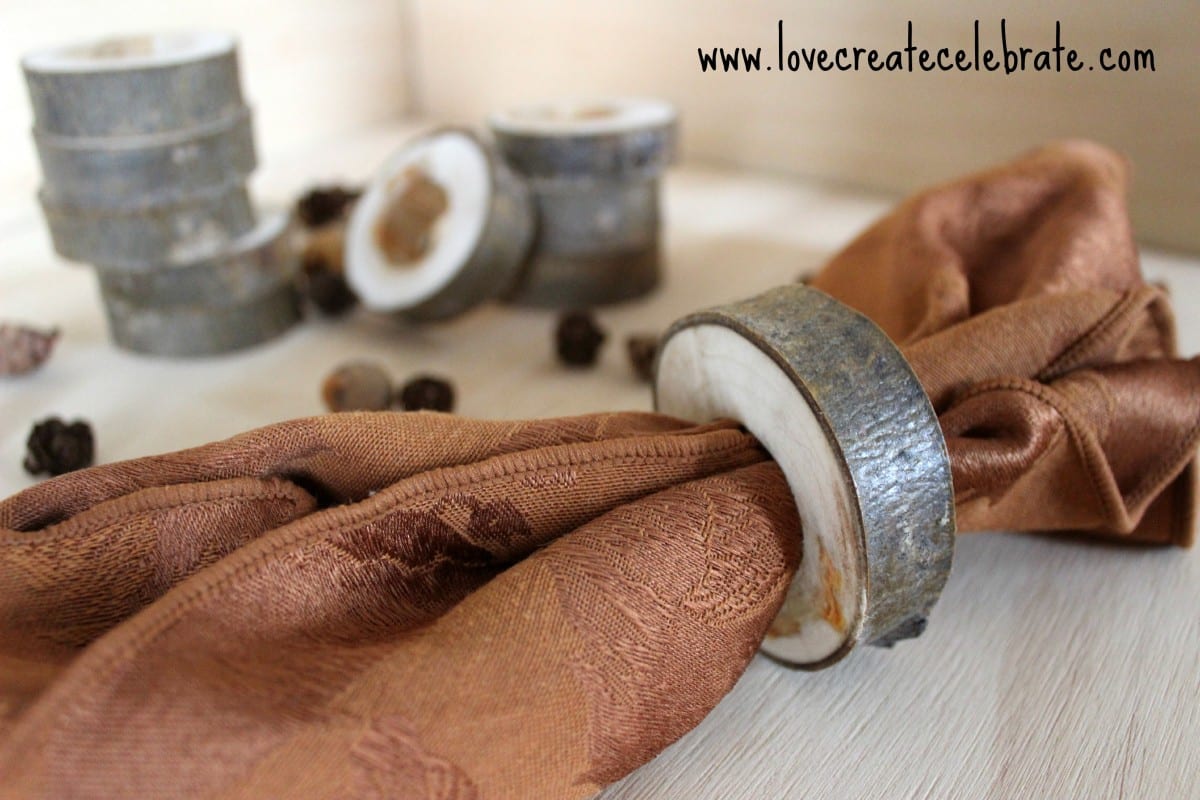
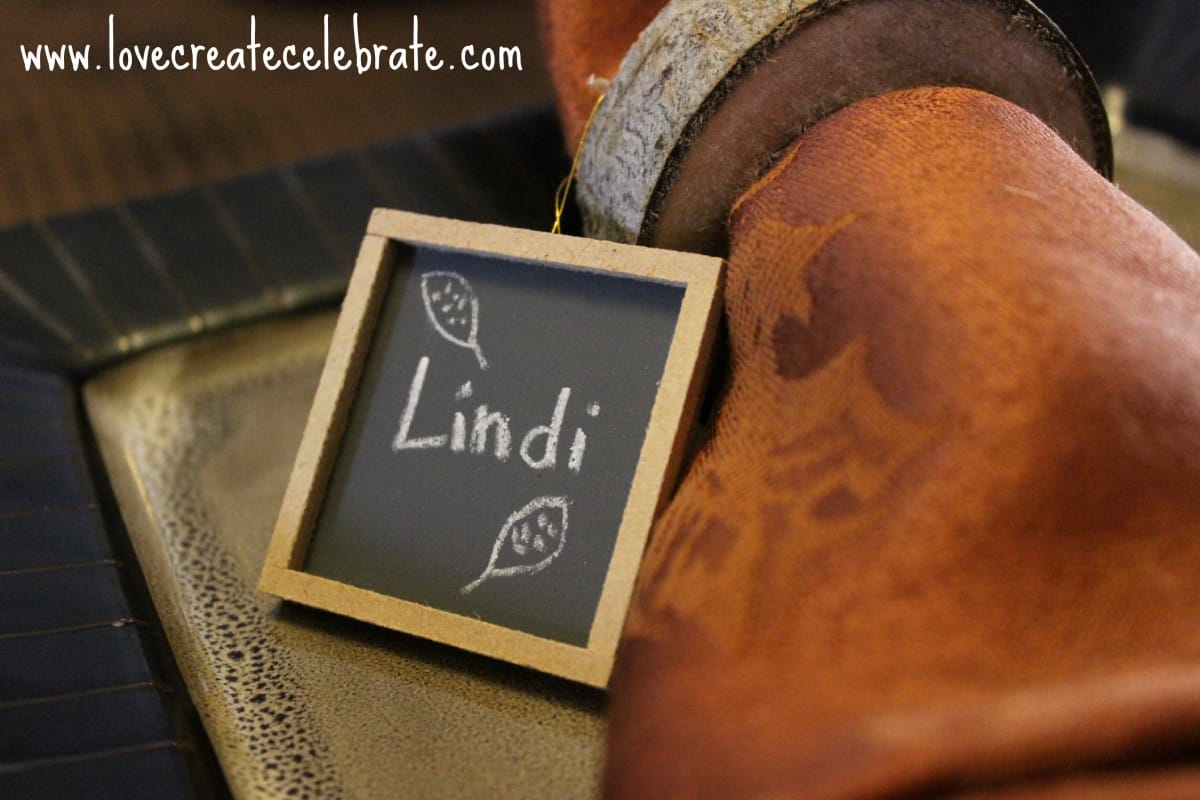
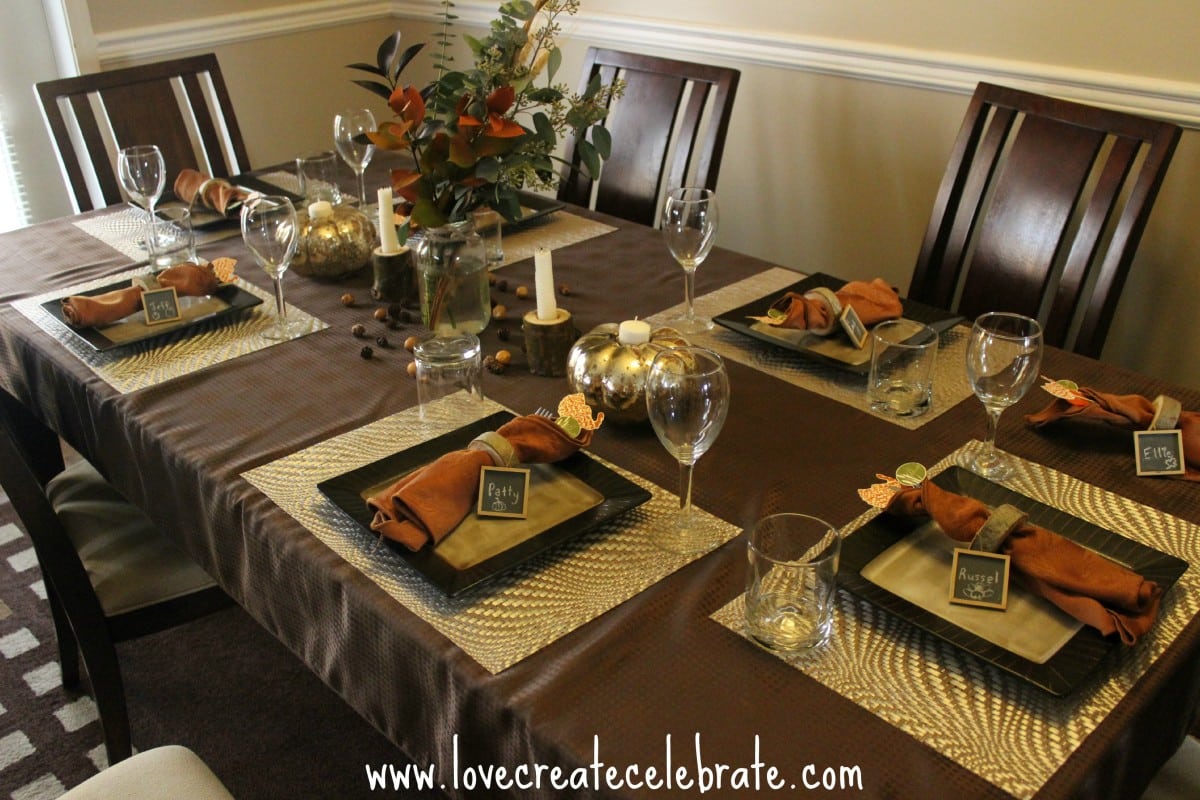
I used these wooden napkin rings right away in my thanksgiving table scape! I loved the rustic appeal they added!
More Rustic Thanksgiving DIY Projects!
Don’t forget to subscribe to our YouTube channel for more great thanksgiving DIYs!
Check out these beautiful Wooden Candle Holders I made from the same log :)
And don’t forget to check out how the rustic Thanksgiving tablescape came together!
DIY Wooden Napkin Rings
Beautiful DIY Wooden Napkin Rings! Modern and affordable, these napkin rings are the perfect craft idea for your rustic Thanksgiving decor!
Materials
- Wood Log (mine was about a 3 inch diameter)
- Measuring tape or ruler
- Mitre saw
- Drill Press
- Sander (or 150 grit sandpaper)
Instructions
- Measure the width of the napkin rings you want on the log. We used 3/4”
- Then cut out the wood slices using the mitre saw
- Put the wooden slices in the oven at 100F for about 20 minutes to dry out.
- Drill a hole into the wood using the drill press and a 1-1/4” drill bit
- Sand the wooden napkin rings
- Spray the rings with an acrylic sealer


Fifteen Fall Decor Favorites - Refashionably Late
Wednesday 7th of October 2015
[…] 12. DIY Wooden Napkin Rings – Love Create Celebrate […]
DIY Homemade Holiday Gift Ideas - My Pinterventures
Thursday 18th of December 2014
[…] Wooden Napkin Rings @Love Create Celebrate – This is such a cool and simple idea. […]
Erlene
Thursday 18th of December 2014
Really great idea. I'll be including this in a DIY round-up this week.
Lindivs
Thursday 18th of December 2014
Thanks Erlene :)
Leia
Wednesday 3rd of December 2014
Those look so beautiful! I love the rustic look tied in with the fancy table. Lovely. Thanks for sharing with us at On Display Thursday, come again tonight!! :)
Lindivs
Wednesday 3rd of December 2014
Thanks Leia :)
Meaghan
Saturday 29th of November 2014
These are so adorable! I love how they fit seamlessly into your tablescape and I'm also madly in love with those chalkboard placecards! Thanks so much for sharing on Talented Tuesdays! :)
~Meaghan