
It’s week three of the One Room Challenge already! If you’ve been following along, then you know that we are trying to give a much-needed update to our entry! The One Room Challenge is a challenge that has us updating a space in our homes in just six weeks, and this time around we are feeling the pressure. Two of the biggest projects on our to-do list were tile projects, so it feels amazing to be able to cross one of those big projects off the list this week with our new tiled entry bench!
*This post was sponsored by Jeffrey Court. The post may contain affiliate links. As always opinions are 100% our own! For more information, see read the disclosure page.*
Catch up on previous weeks:

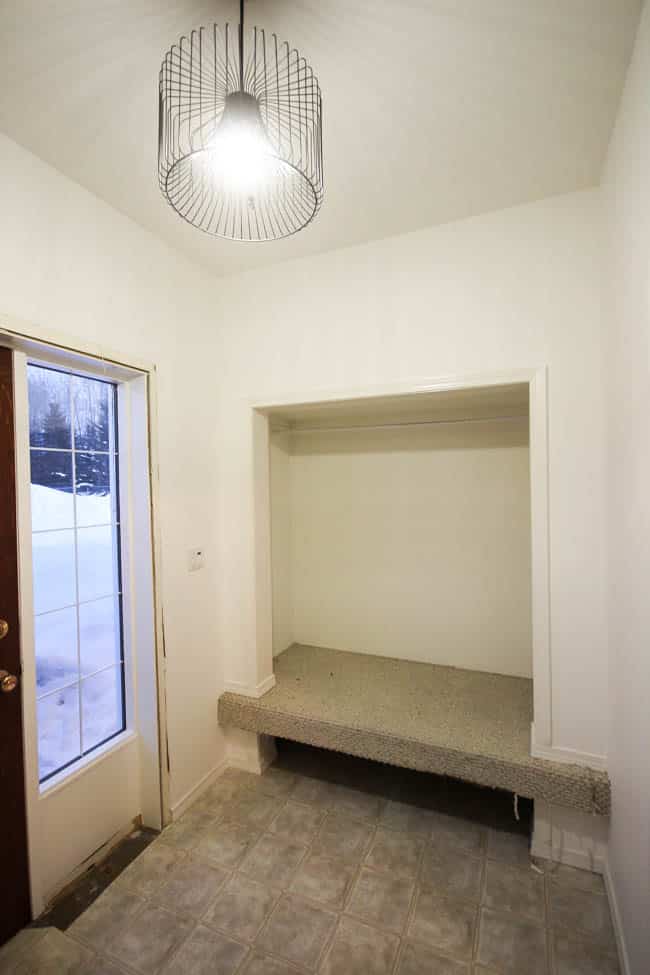
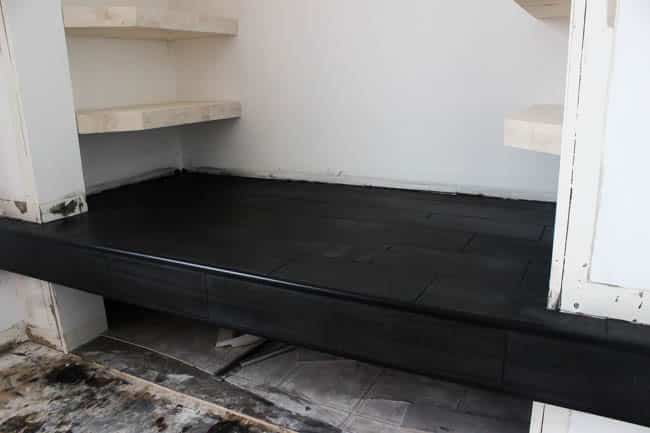
This is the bench we started with. It was already built into the space, but was covered in an old carpet. We knew that if we added some shelving and modernized the bench that we could keep it in place and make it a lot more functional for our family.
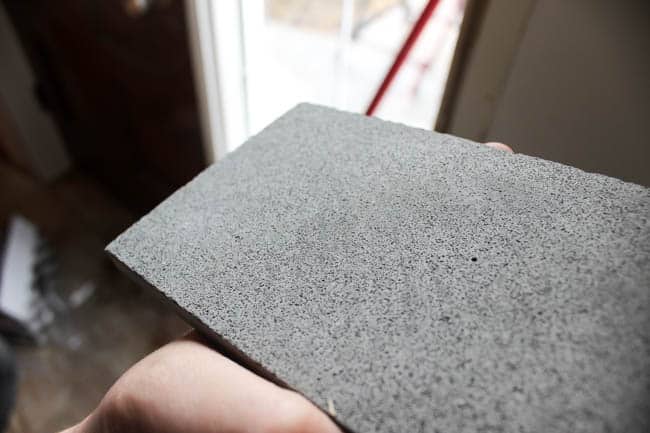
We ordered samples of this Basalt tile to see if it would work in our Entry. We were considering it for the floor (because it also comes in a 4″x16″ tile!), or our new tiled bench. When we actually held the tile, we realized just how porous it is. You can really see it in the picture above. The tile itself is stunning, but we knew right away that it would likely stain easily under heavy use from boots and shoes, so we decided against it as a floor tile. The basalt was perfect for our modern bench though!
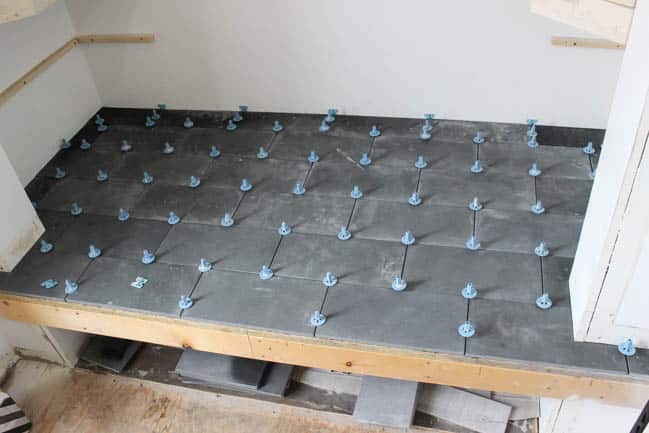
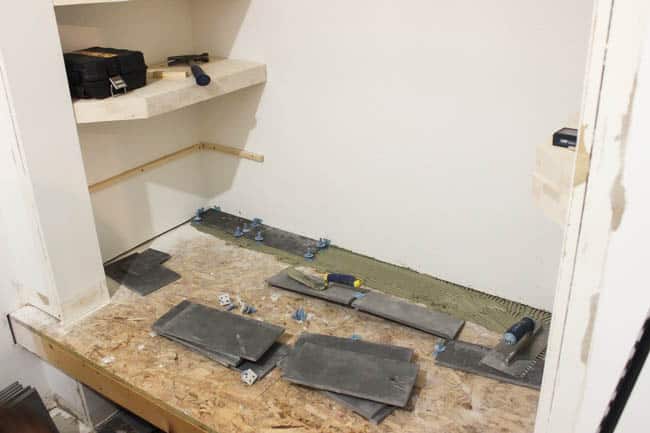
Even though it’s tedious and frustrating, we started out by laying and fitting all of the tile before we stuck it in place. We did this because 1) We wanted the tiles at the front of the bench to be full tiles (unlike the back!), and 2) we knew we had to start tiling from the back, meaning that we needed the correct size of that back row of tiles. If we started at the front, we wouldn’t have been able to reach the back and wouldn’t have wanted to put pressure on our brand new laid tiles.
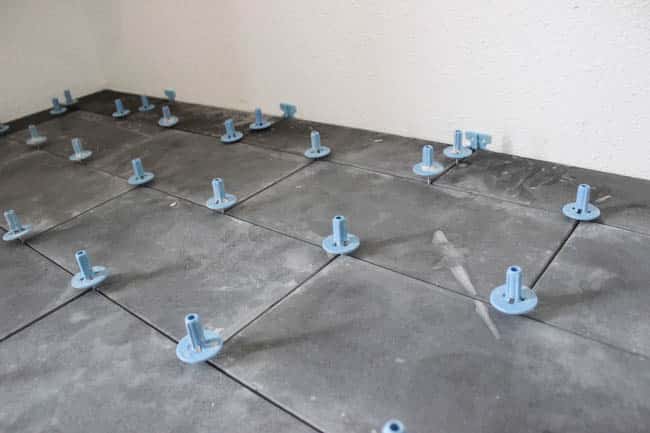
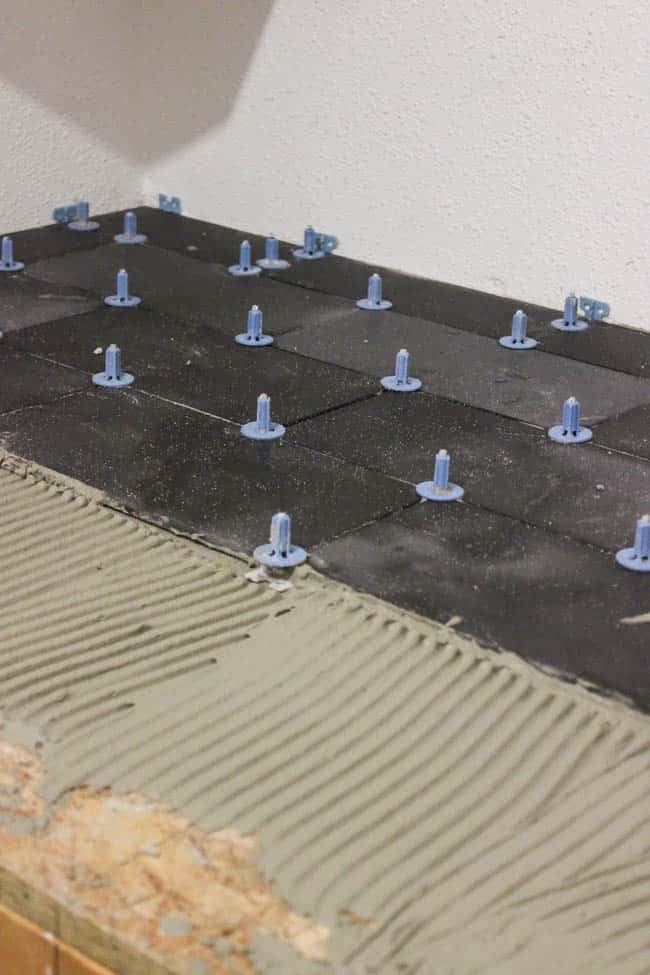
You can see that we put all of our tile spacers in place as we went, to make sure that the width was correct, but didn’t actually tighten any of them.
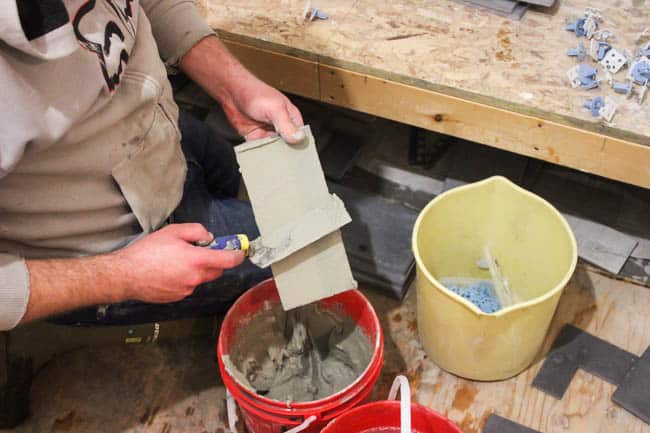
Then came the fun part! Because everything was cut already, we just had to mix our thinset and we could layout the entire entry bench in one go!
There are two main things that you have to consider with a bench:
1. Bum Comfort
2. Knee Comfort
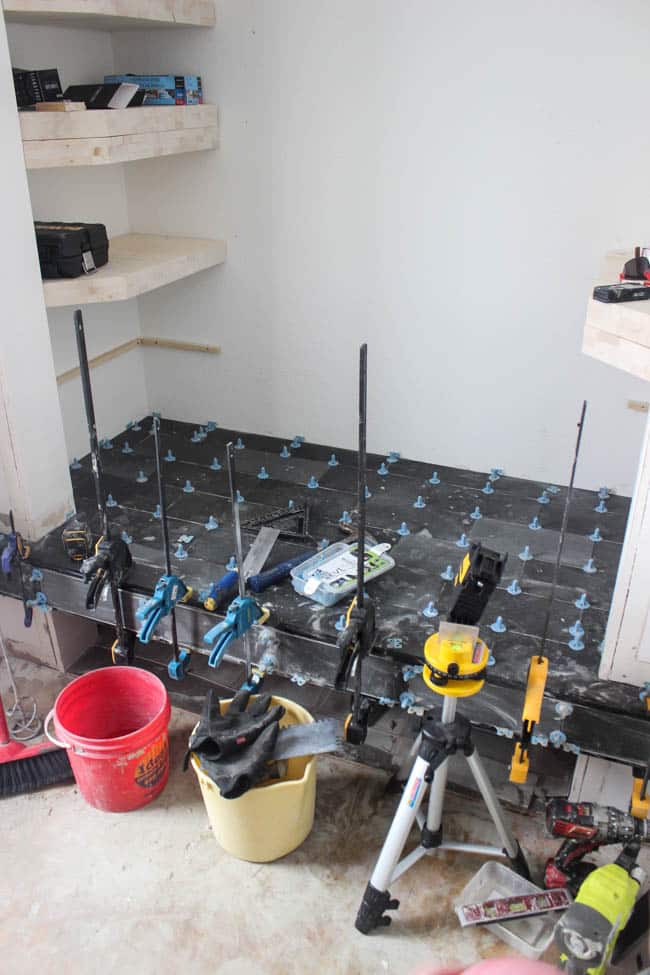
To tackle the bum comfort issue, we needed to make sure that our tiles were VERY level. No one wants a tile corner poking them in the butt!
We used the ATR leveling system for this, which we love using. You can read all about these spacers here.
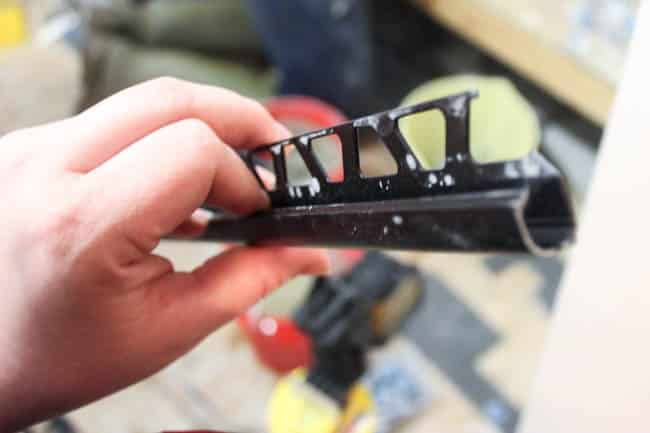
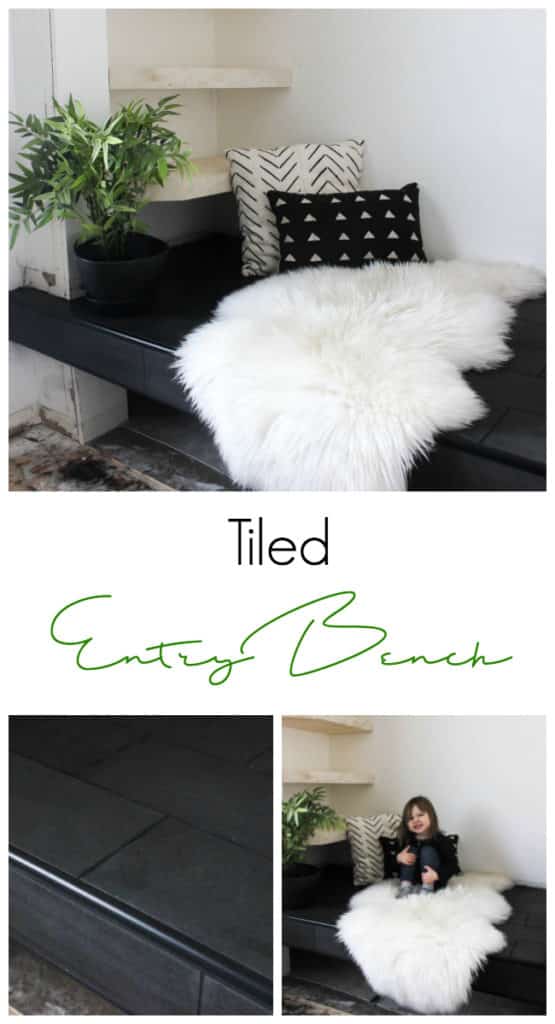
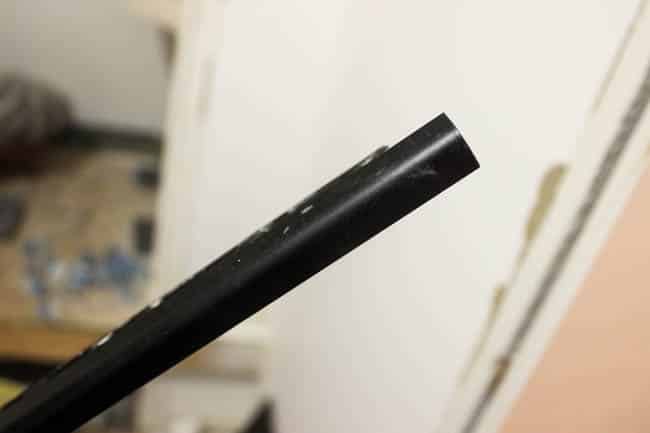
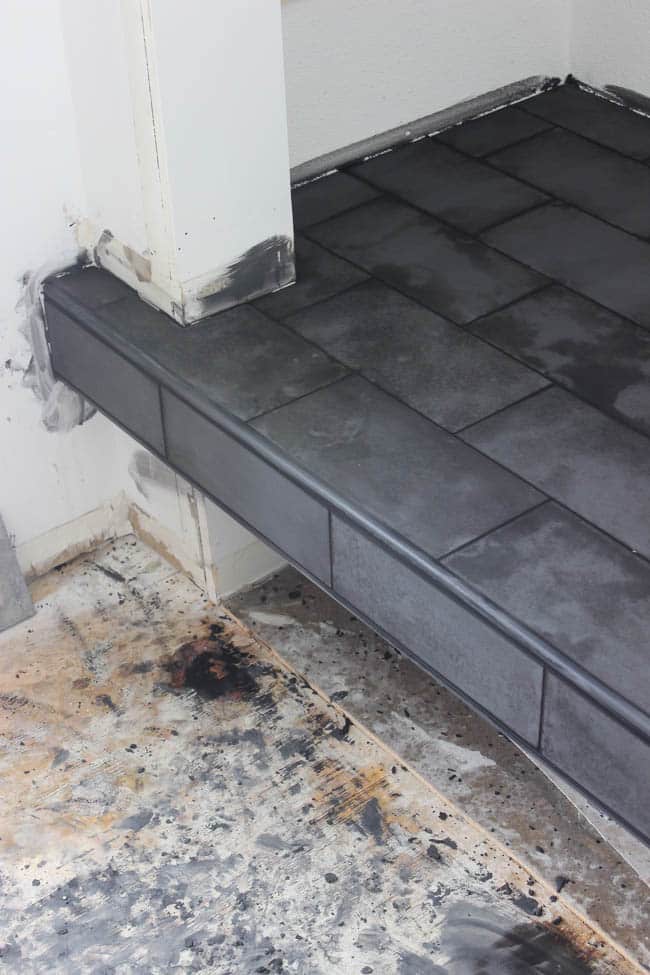
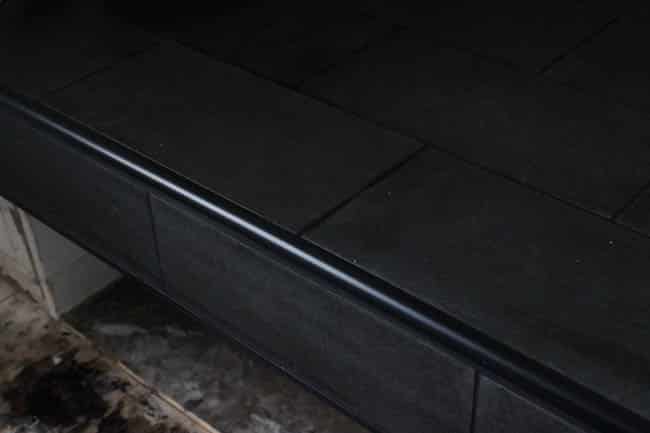
Then, we really wanted to make sure that we used bullnose, rounded edging. We didn’t want any sharp edges digging into knees as we were putting on shoes.
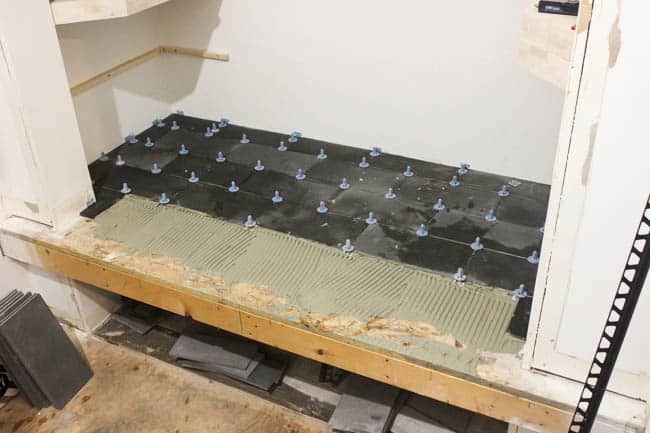
Once we were done laying the tile, we clamped it all in place to make sure that the edging stayed on tight, and let it set.
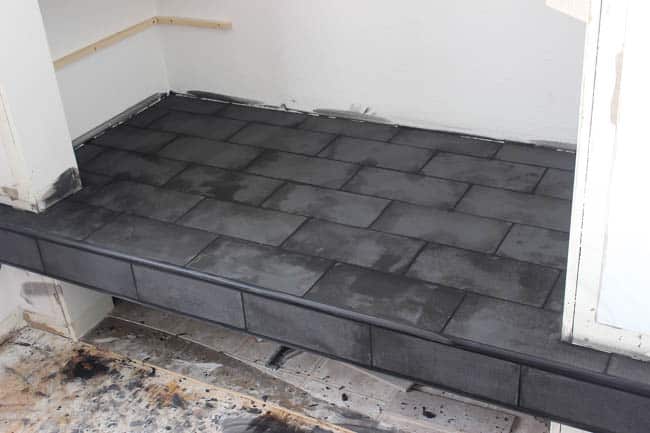
Here’s what it looked like after we removed the spacers…

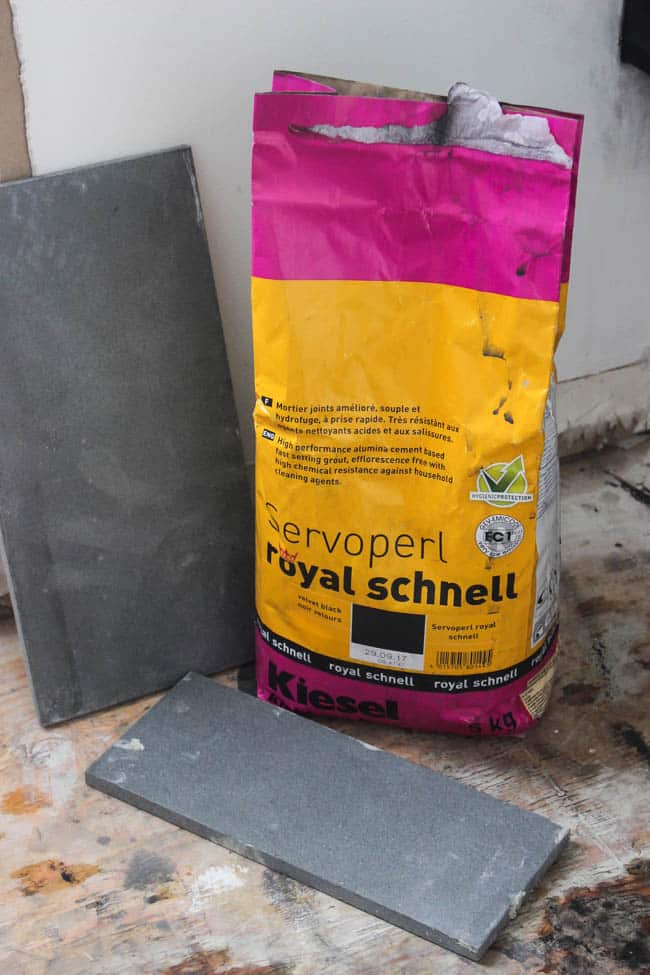
After 24 hours, we grouted between all of the tiles with a beautiful black grout.
Getting the grout on always makes such a huge difference!
The dark grout was perfect because we had been planning on using an Enhancing Sealer on the basalt tile. Not only would the sealer protect the porous tile, but it would also enhance the tile giving is a deeper, almost black appearance, which we loved!
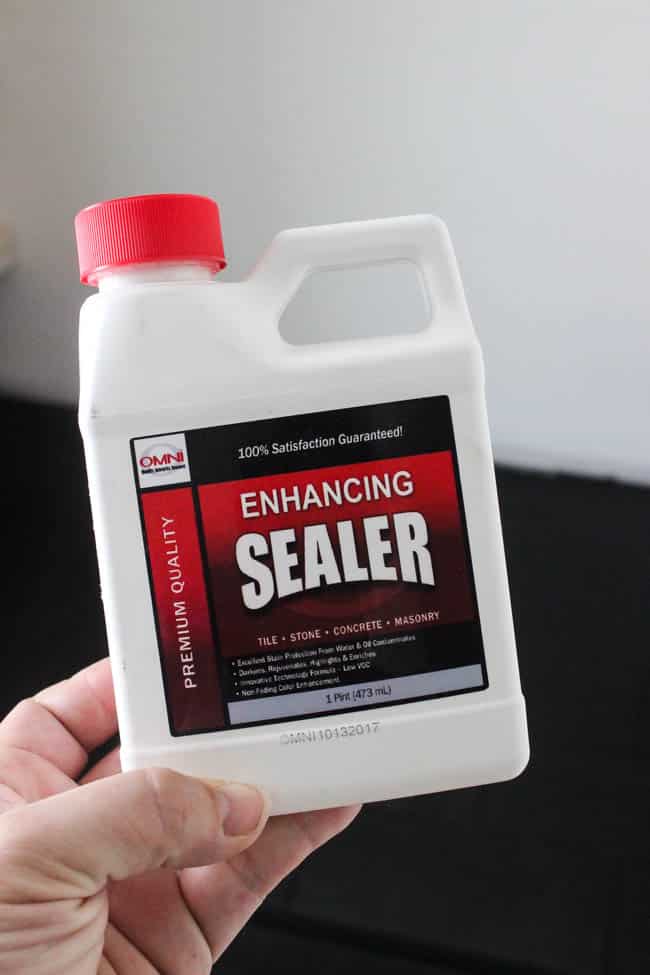
After the grout sets for 48 hours, we were able to apply the enhancing sealer. Ours will still require a second coat of the tile enhancing sealer, but it looks amazing so far! The basalt tile was highlighted beautifully!
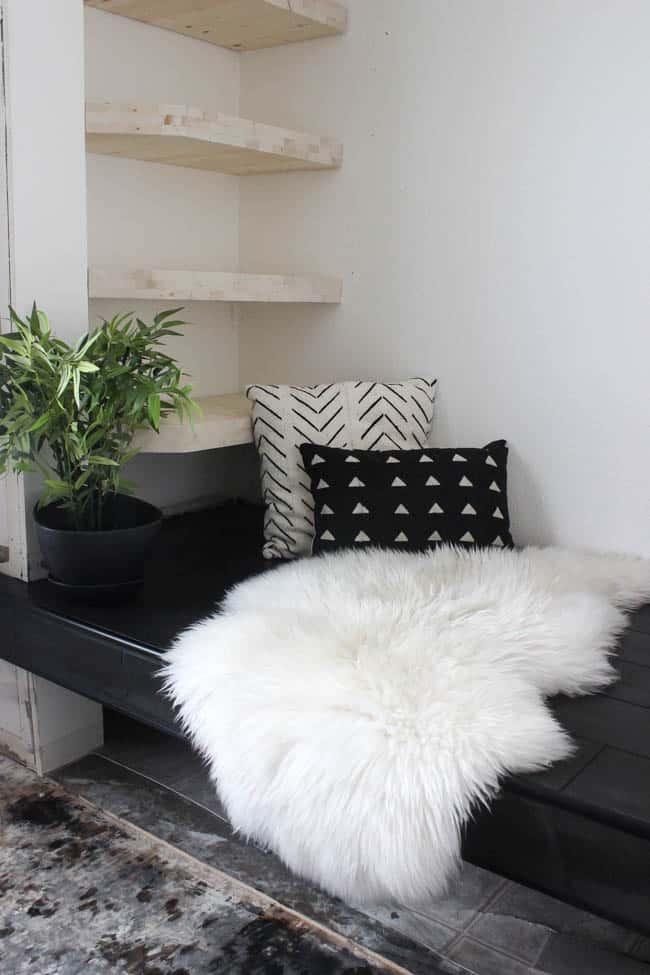
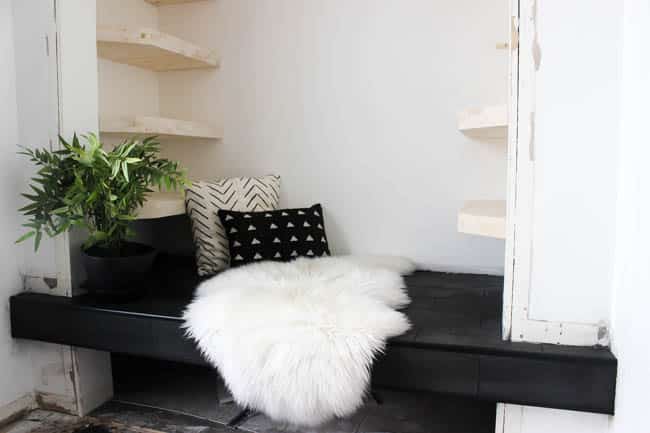
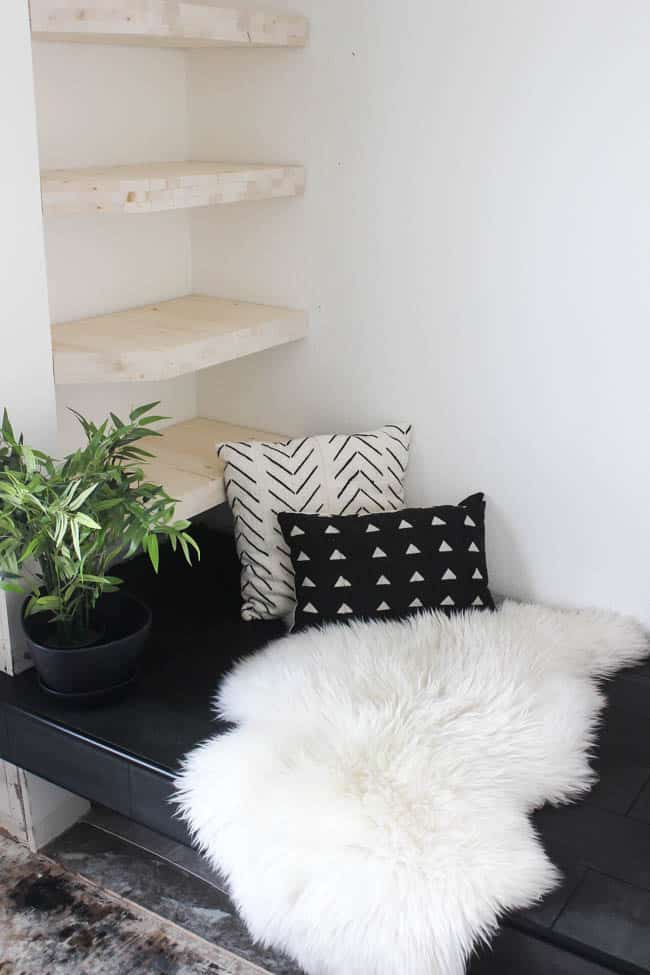
I put a couple of accessories on the bench, just to give a slightly better vision of what this tiled entry bench is going to look like when the entire entryway is complete.
Since I’m an obsessive list maker, here’s how we’re doing on our entry renovation to-do list:
Demo the space- Tile the floor
Tile the benchBuild new shelving for storage- Build new drawers for storage
- Design feature wall
- Build wood feature wall
- Paint
- Remove old door
- Install new door
- Buy a smart lock set
- Buy some decor (i.e. baskets, rug, etc).
- Order planters and faux or real plants
- Install new modern moulding
It doesn’t look like much, but we’ve got some of the biggest projects out of the way already! Just three more weeks to go!
Find more great One Room Challenge design plans on the One Room Challenge site, or at Calling it Home!

Sherece Brown
Thursday 10th of October 2019
Hi How did you build the new draws for storage? Where did you get the draws ?
Lindi
Monday 14th of October 2019
Hey! We actually custom built the drawers to go in, but never shared a tutorial on that. Would that be something you're interested in? We could definitely draw up some plans!
lakbir
Sunday 29th of April 2018
I absolutely adore your black tile bench .....looking forward to your finished product
Dannyelle
Wednesday 25th of April 2018
LIndi it's already looking so good. The tile looks great. You guys are doing such a nice job, can't wait to see the finished room.
Lindivs
Wednesday 25th of April 2018
Thank you! It's slowly coming along now! lol.
Casey
Wednesday 25th of April 2018
Your bench looks amazing and I love those little wood shelves on either side! Great job :)
danielle
Wednesday 25th of April 2018
I am obsessing over how this changed this space. I cannot wait to see what you do this week!
Danielle clarkandaldine.com