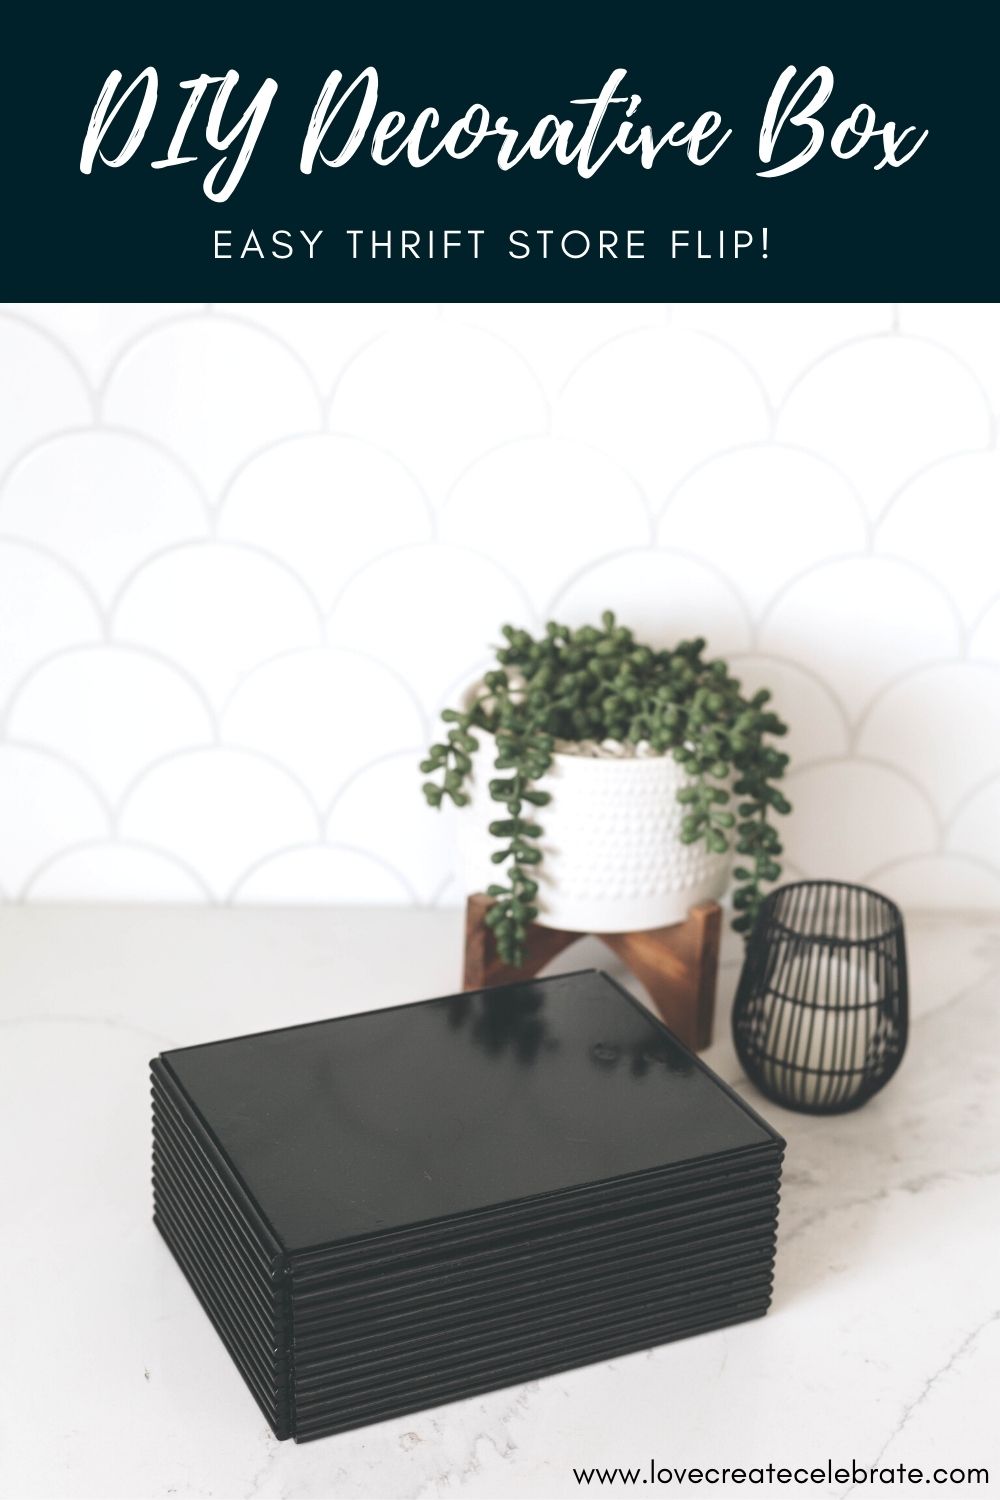
DIY thrifted tea box upcycle! Try this simple thrift store flip to make a gorgeous modern decorative box on a budget!
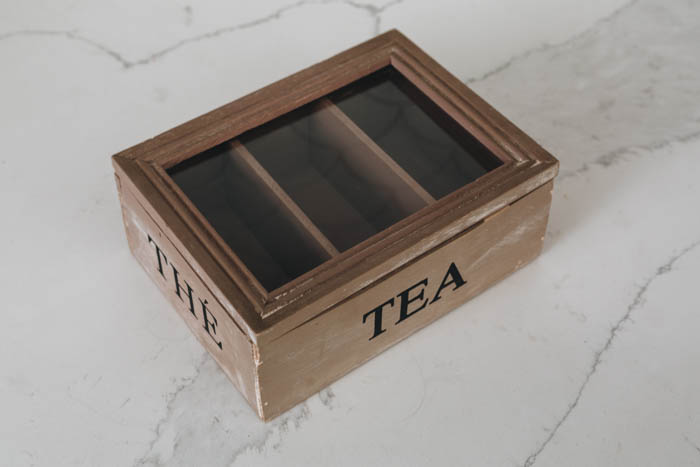
The tea box was on its last legs. The door was falling off, and it was in need of some TLC. I had an idea immediately to make a beautiful, fluted decorative box, and I’m so glad I went for it!
*This post may contain affiliate links. When you buy a product through one of our links, we get a commission at no cost to you! Thank you for supporting our blog so that we can continue to bring you posts like these. For more information, please see our disclosure page.*
How to do a Simple Fluted Box Upcycle
Materials Needed
- Thrifted box
- Sanding pad
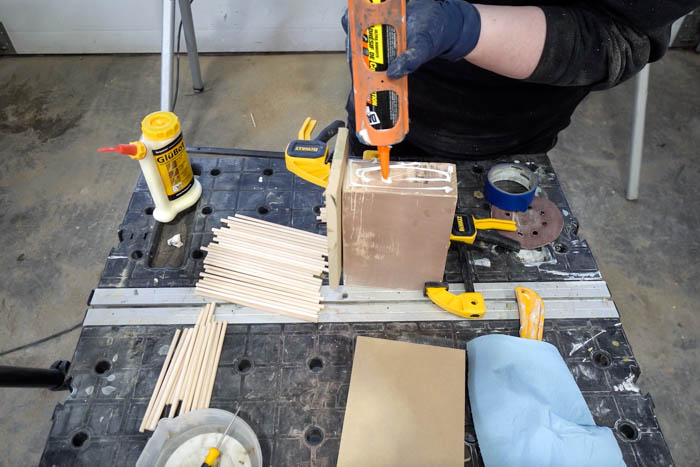
- Wood Glue
- Dollar store dowels
- MDF
- Construction adhesive
- Painter’s tape
- Glossy black spray paint
Tools Needed
- Mitre saw
- Measuring Tape
- Clamps (optional)
Step-by-step Tutorial for my Decorative Box Upcycle
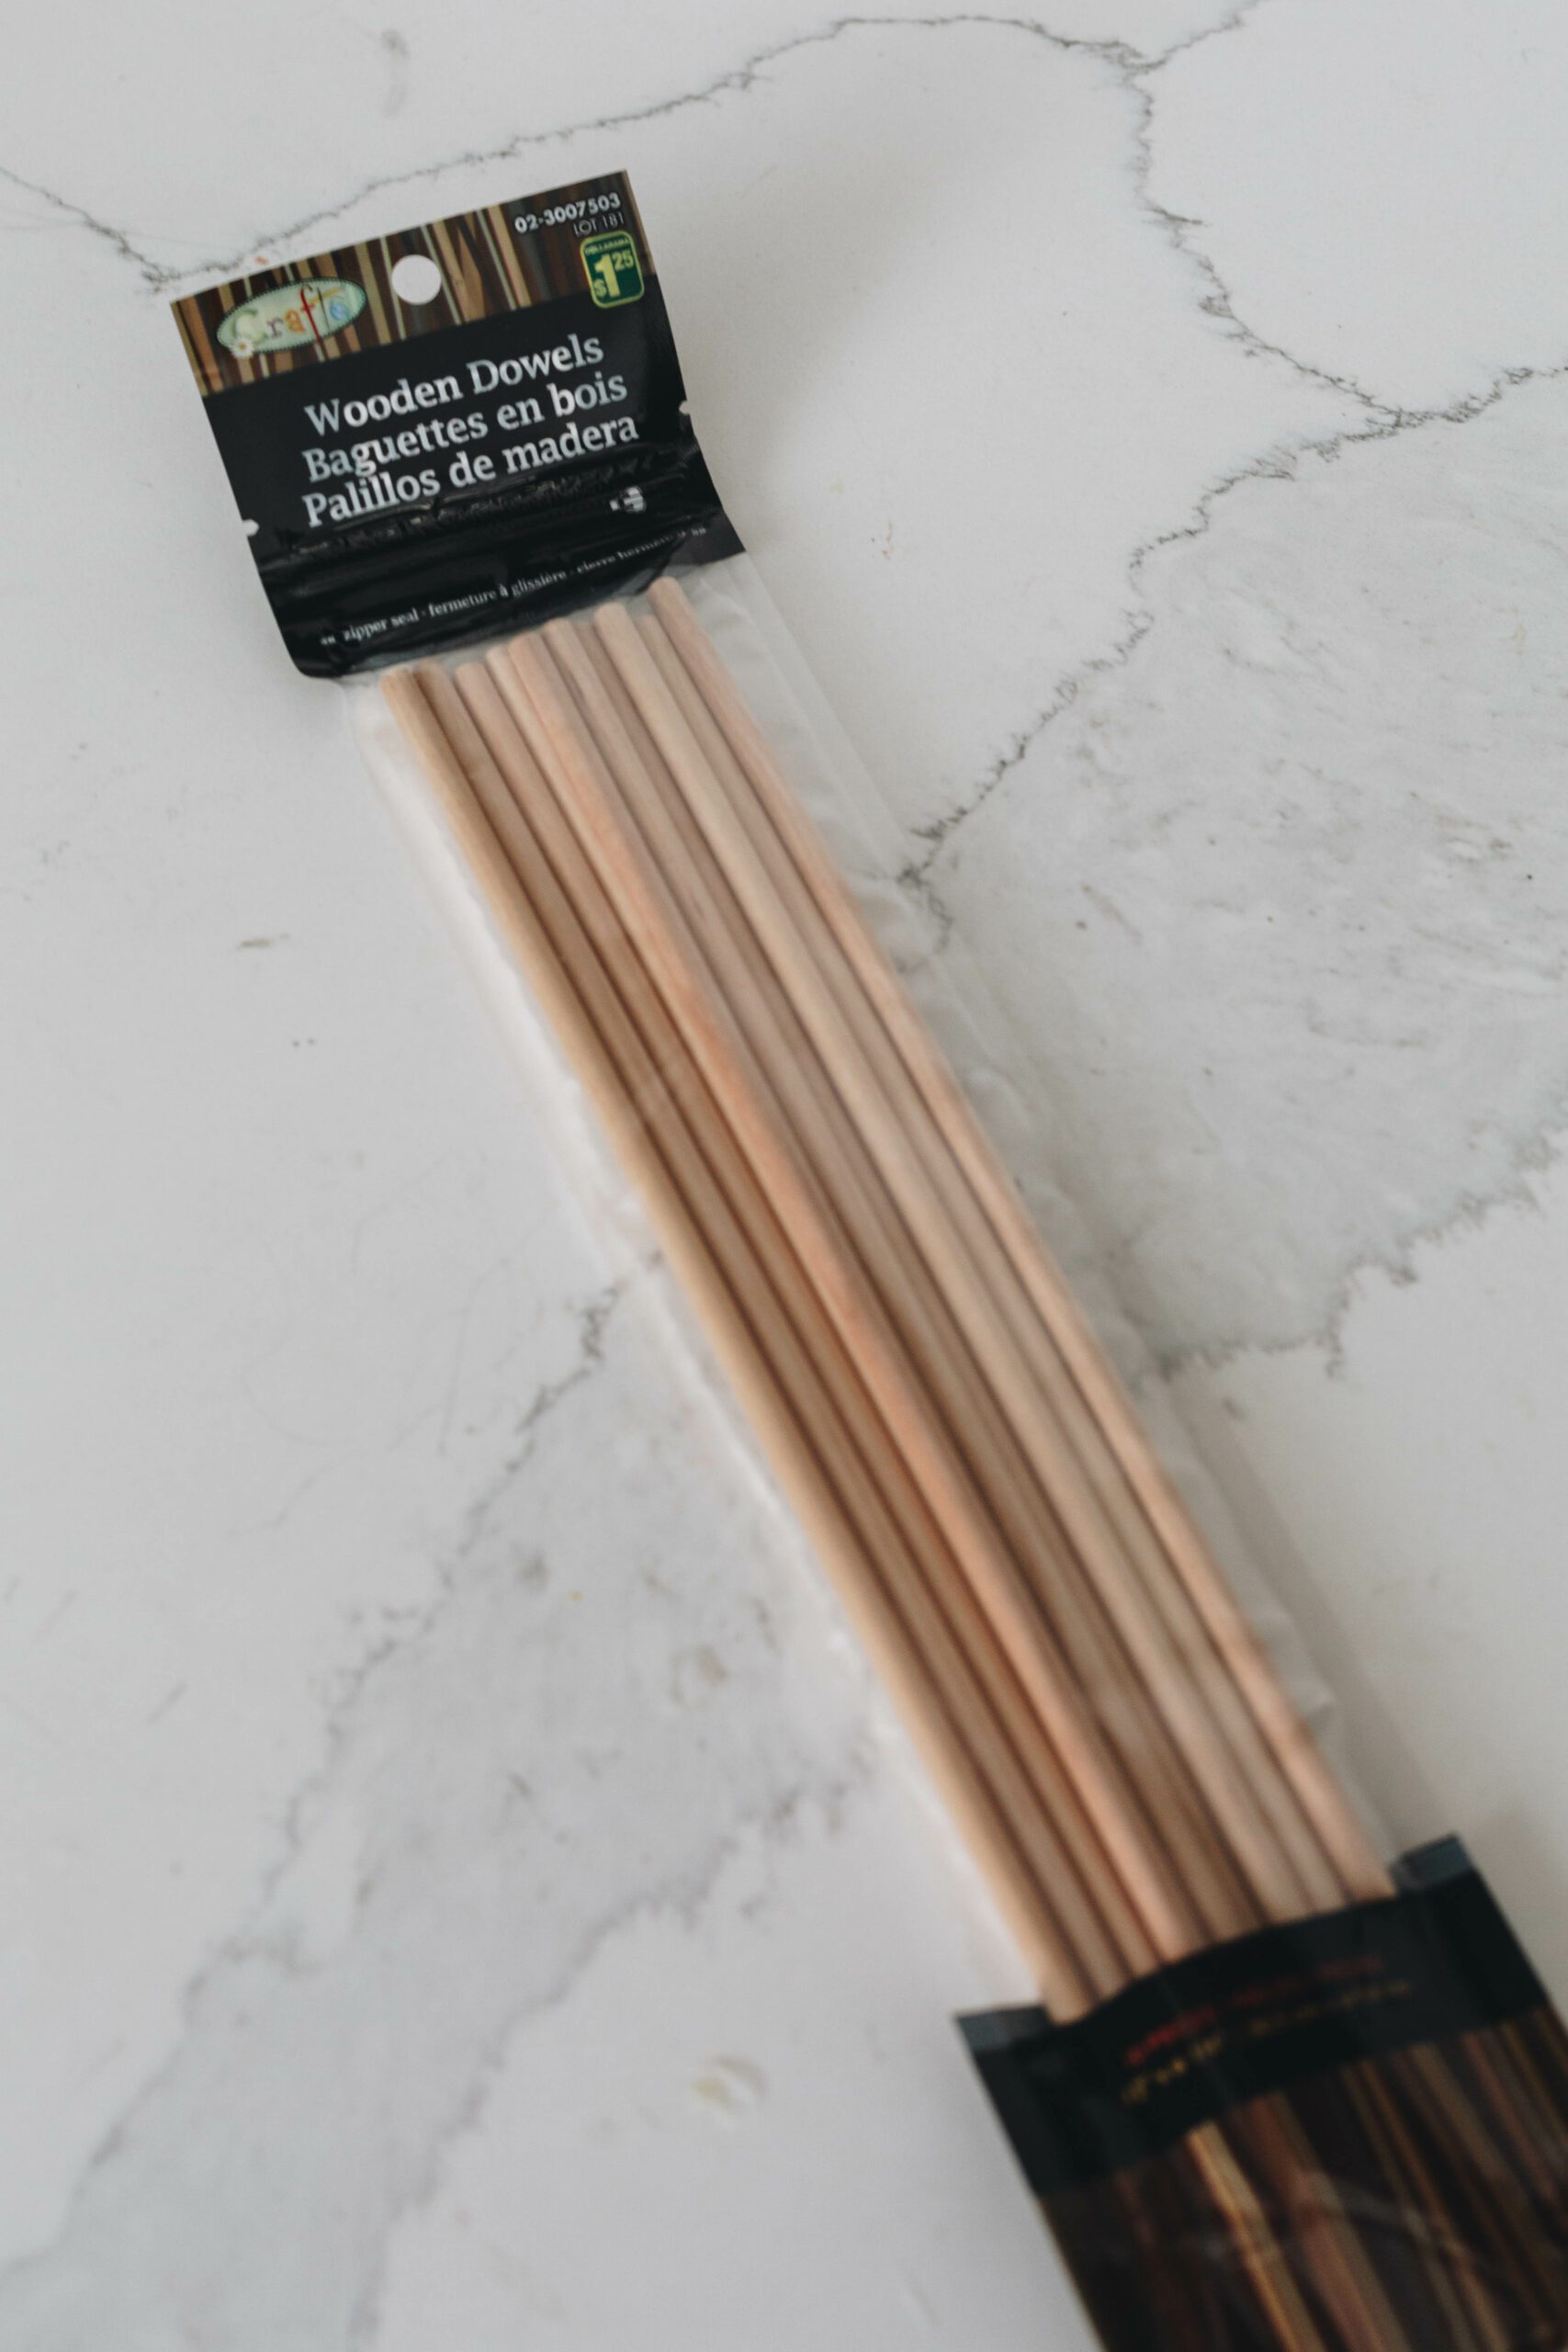
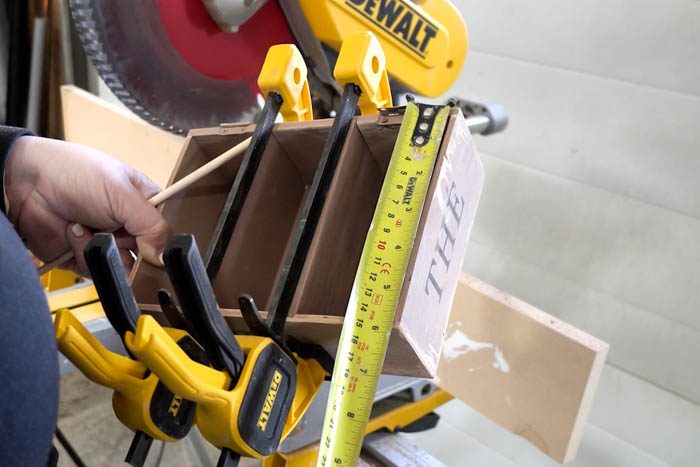
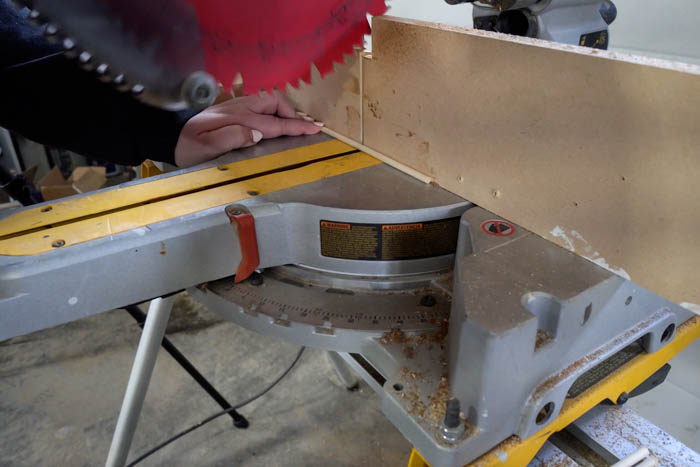
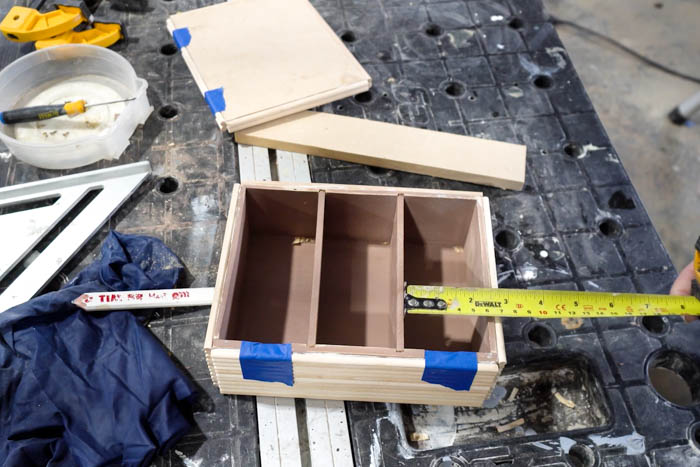
While that was getting squared up I measured the side of the box and started cutting my dollar store dowels to size. I just put a block on the miter saw so that i didn’t have to measure every dowel, and I could cut them all quickly. Then I measured and cut the dowels for the long and short sides of the box.
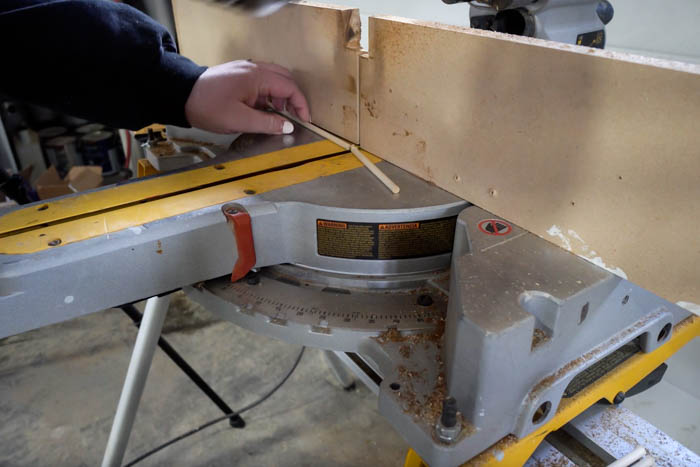
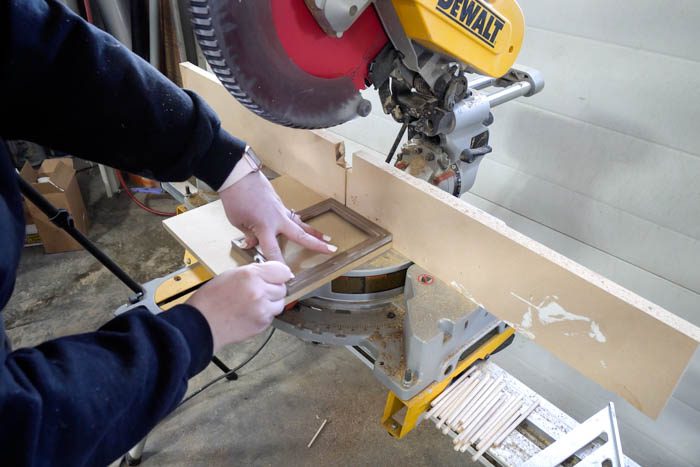
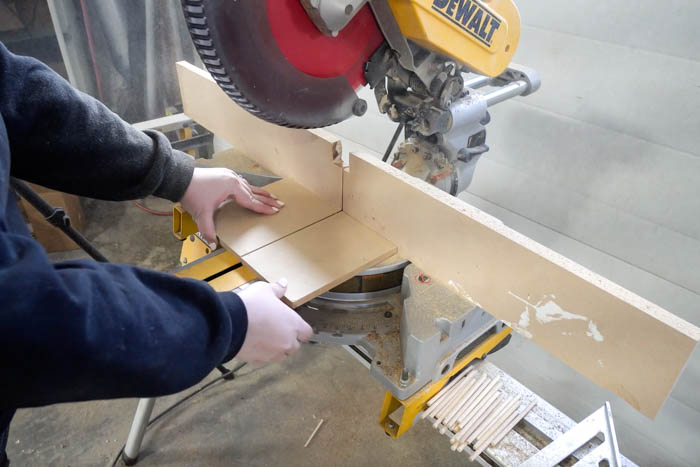
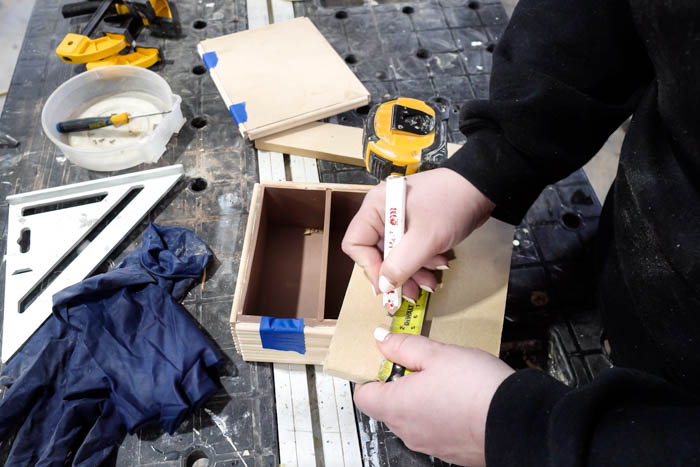
Next, I used a sanding pad to sand all of my cut edges to get them nice and smooth before moving on to the lid. All I did for the lid was trace the old lid onto some 1/2 inch MDF and cut it out with the miter saw.
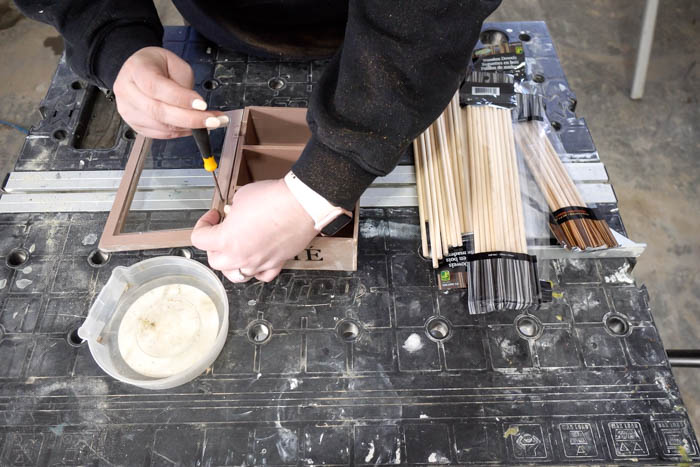
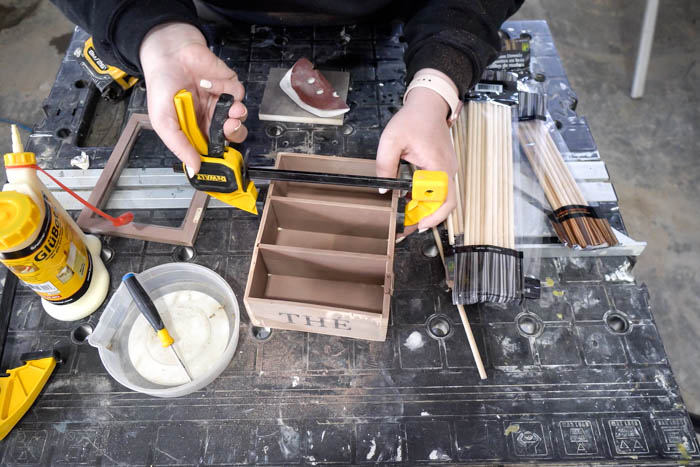
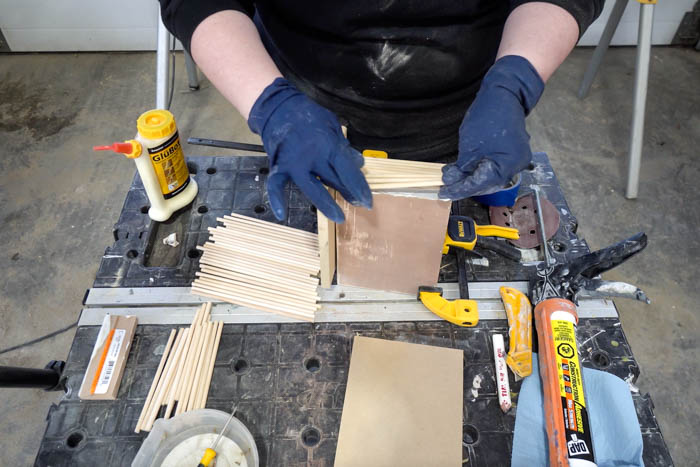
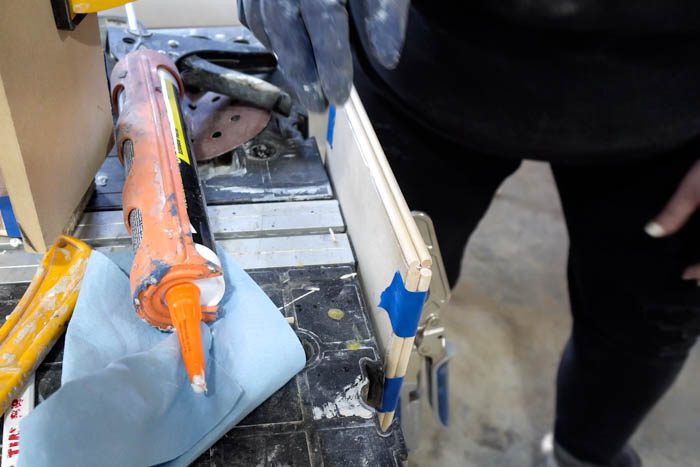
When it came time to attach all the dowels I used construction adhesive because we had it on hand. I smoothed everything out and then it carefully added the dowels in place.
The most important part of this was making sure that the dowels were lined up correctly. If not, then the whole box may look “off” when it was done.
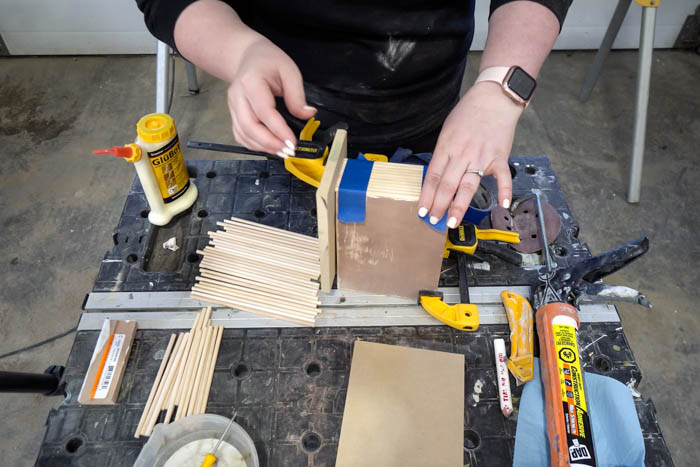
I also added dowels to the sides of the lid so everything would look smooth and continuous. The lines for the lid will essentially disappear when the lid is in place.
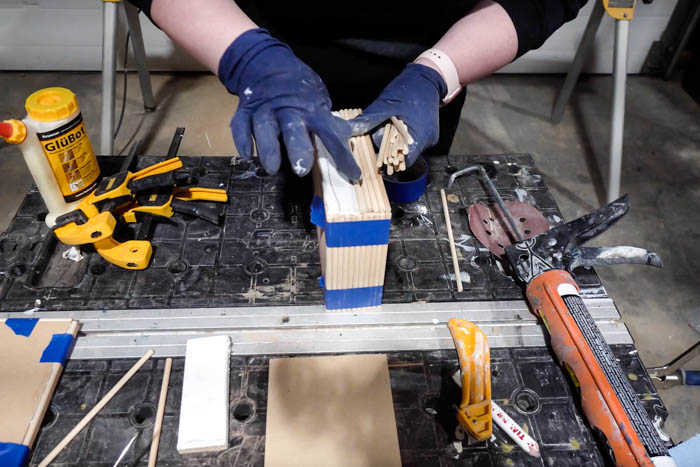
When took the tape off, I was really happy with the progress so far. Everything was stuck on beautifully, and lined up perfectly.
I was originally going to use the same hinges for the lid that it came with but I realized with the dowels in place that the hinges would no longer work. So instead I cut a few little tabs of MDF and I attached those to the inside of the lid so that the lid would sit on nice and snug.


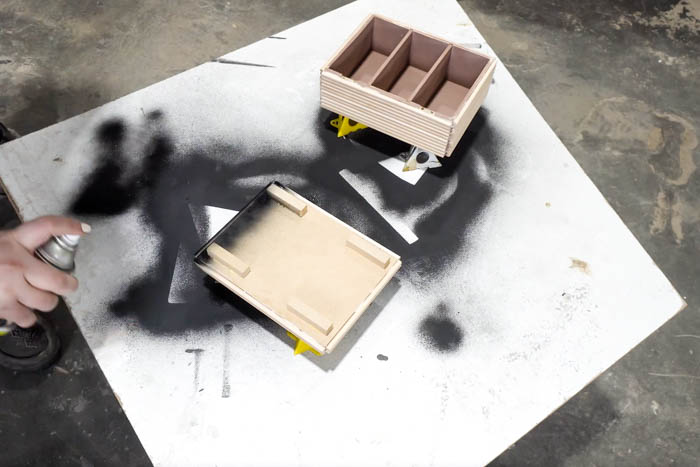
Once the glue was dry the final step was to paint it all with a glossy black spray paint.
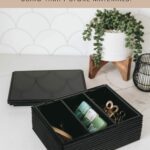
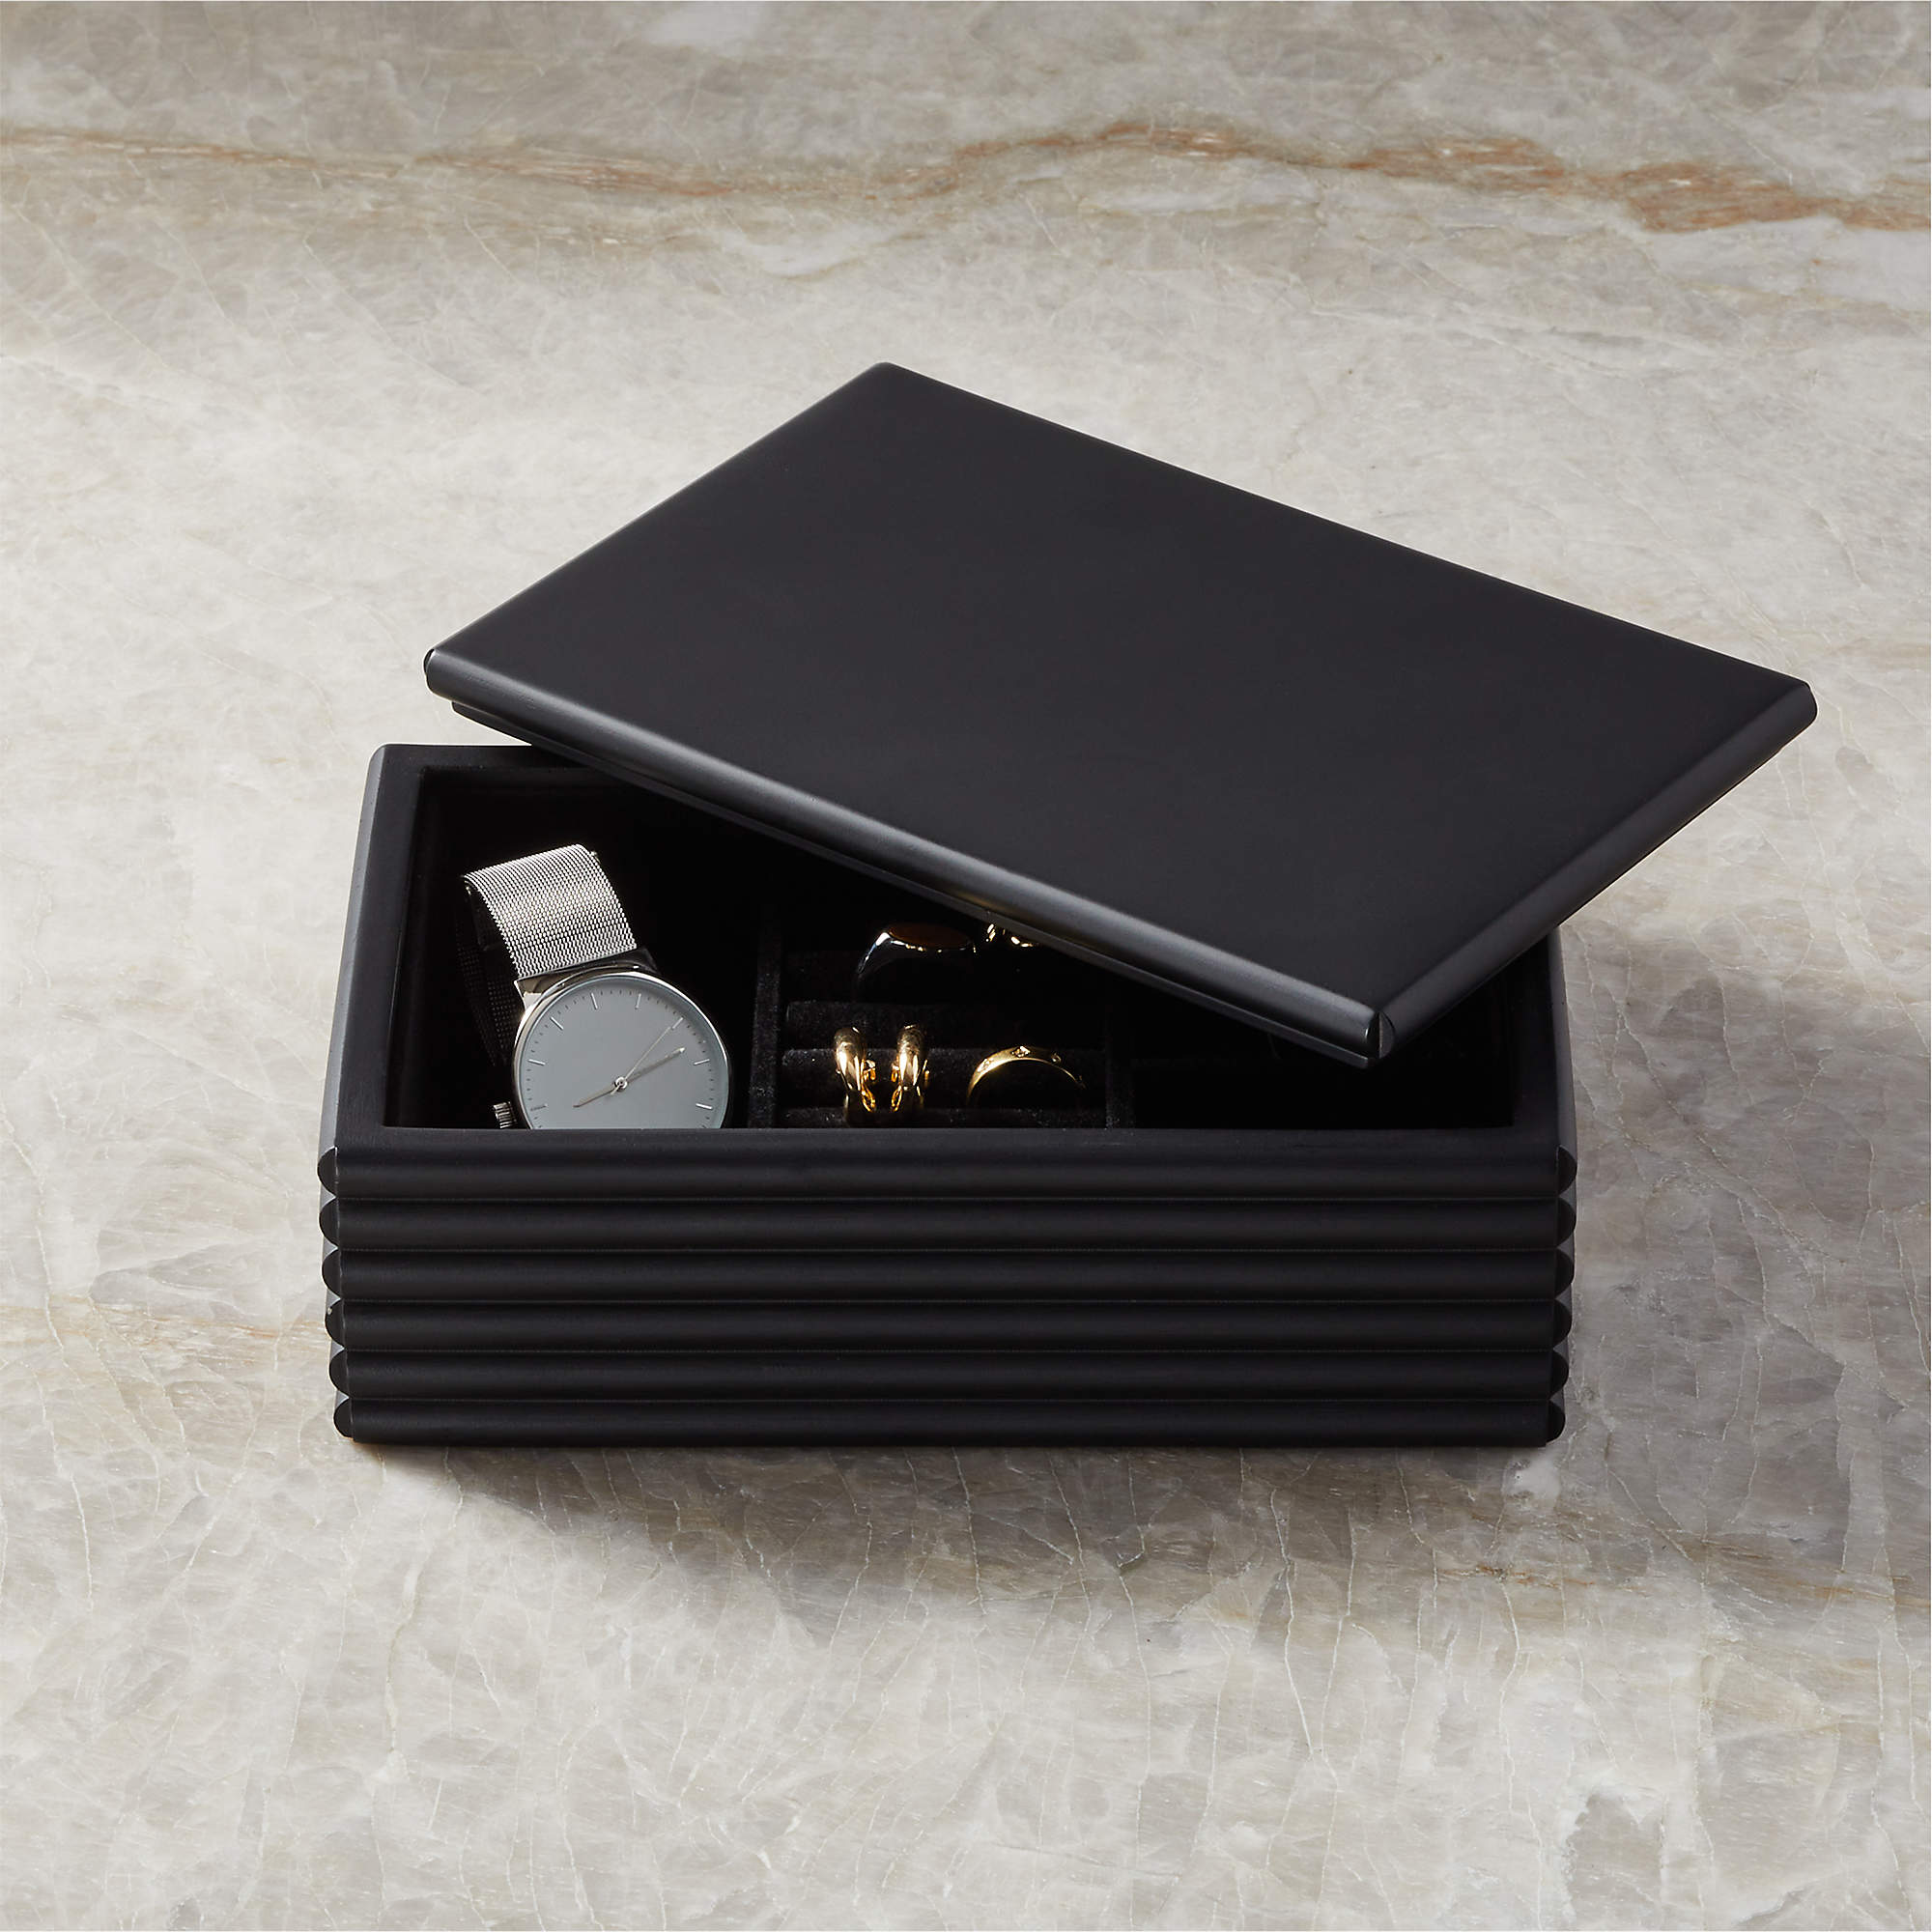
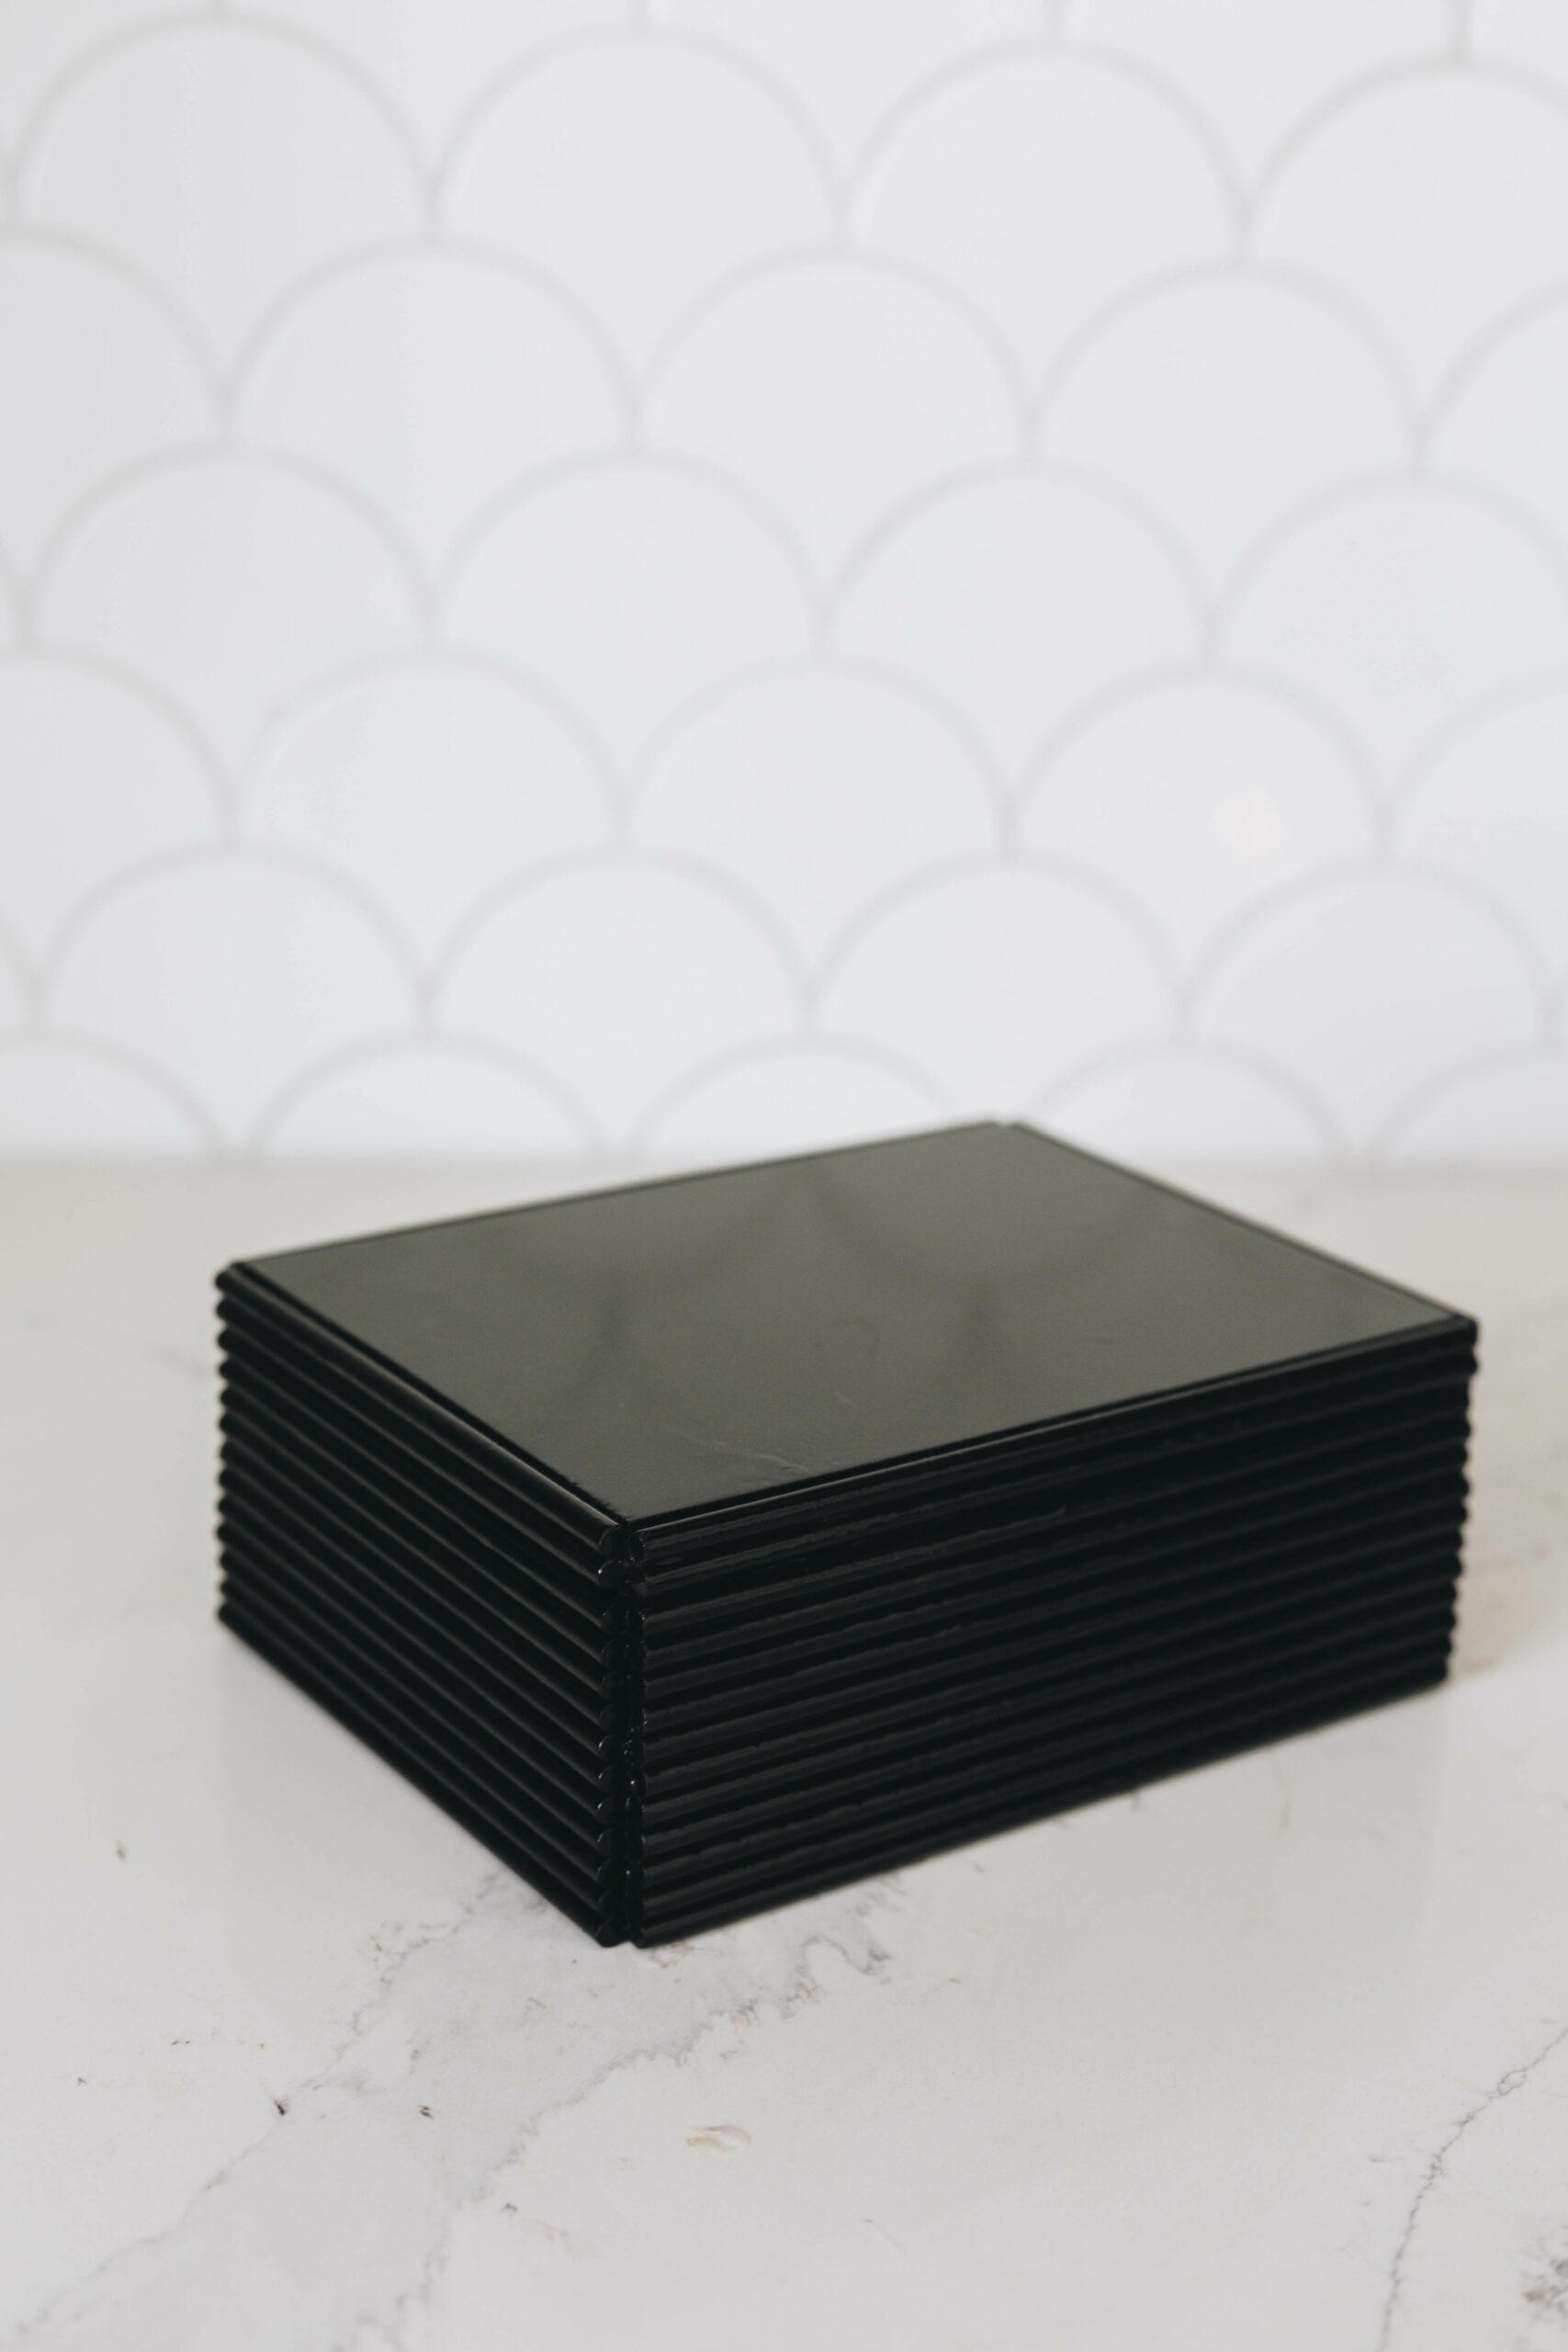
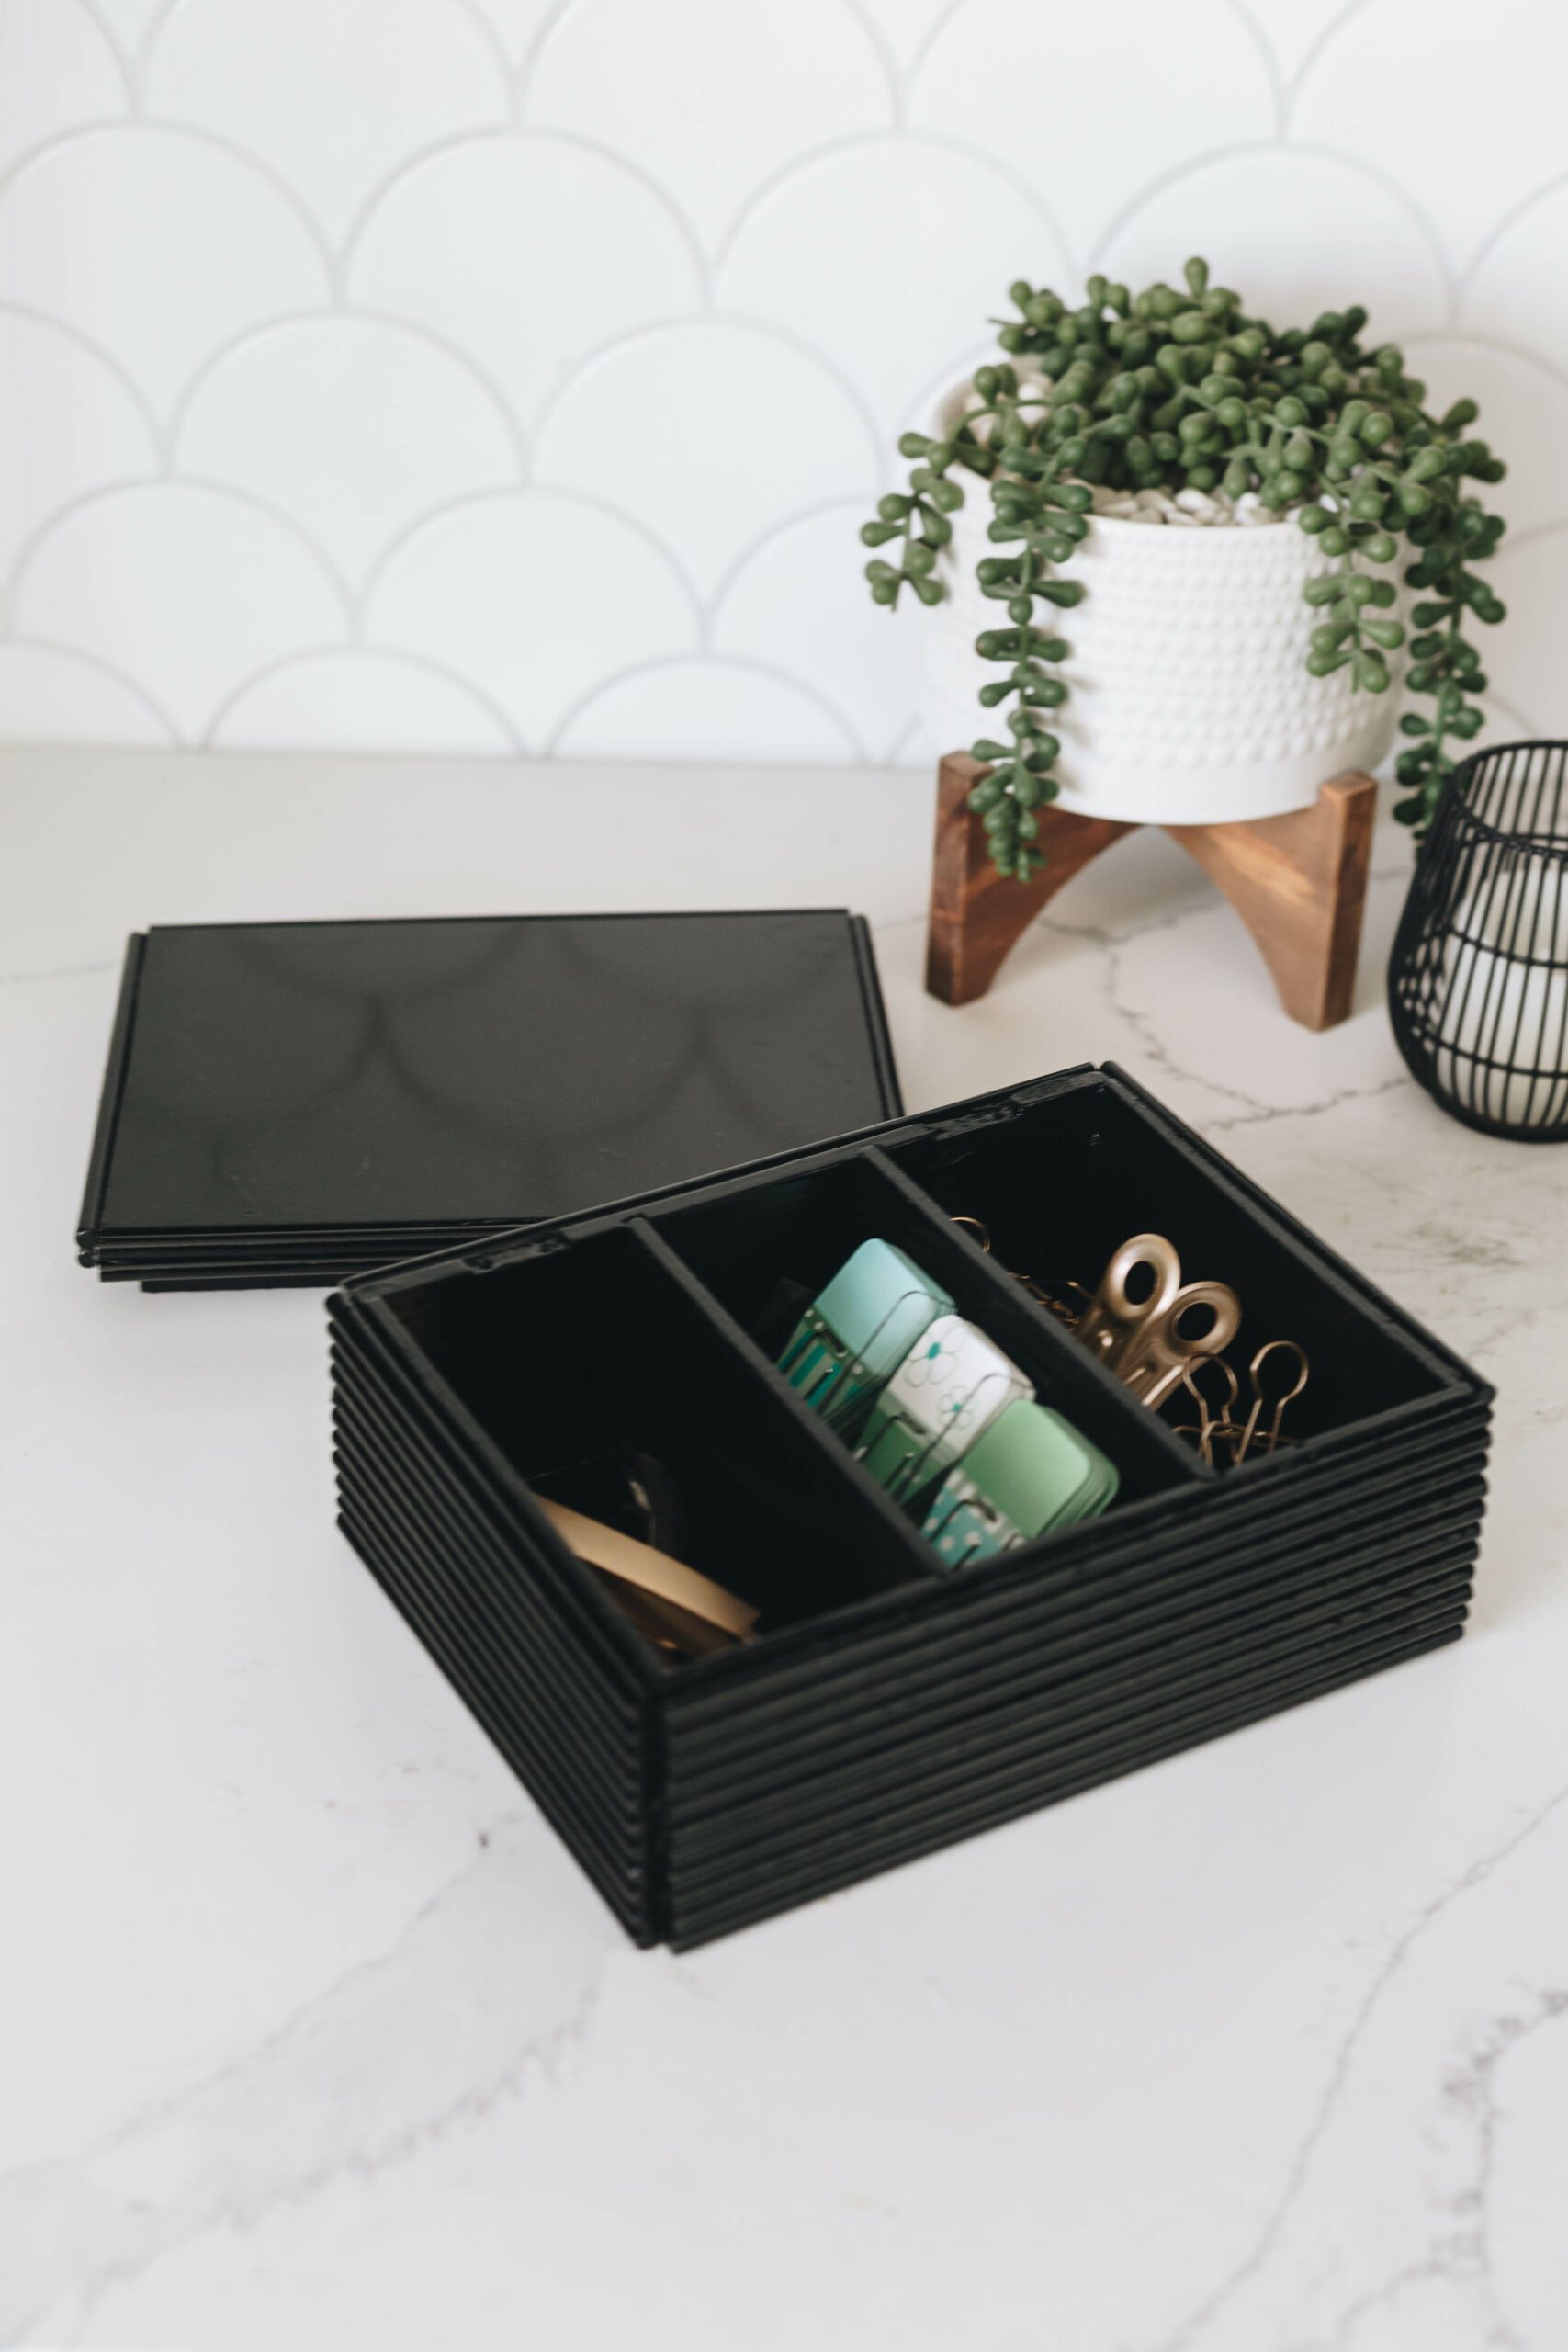
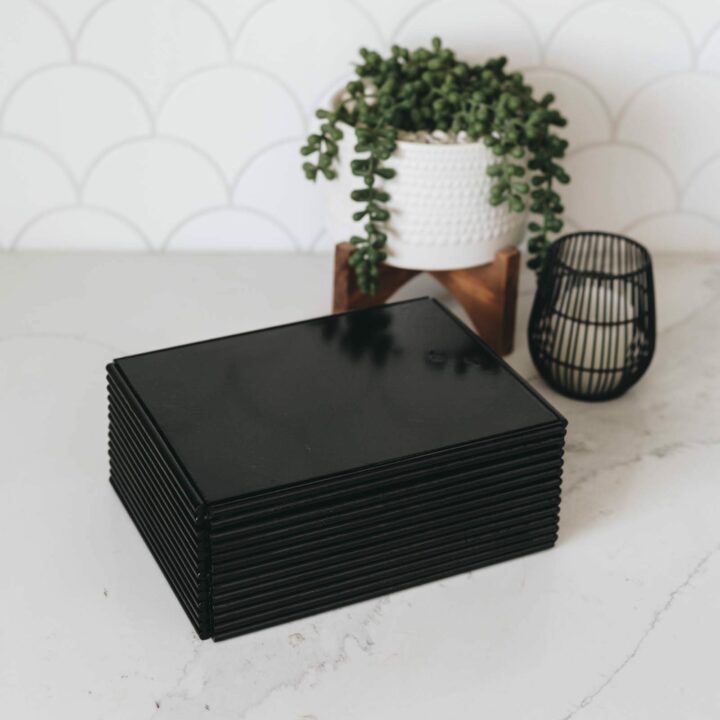
The Finished Box Upcycle
Here’s how my DIY decorative box turned out!
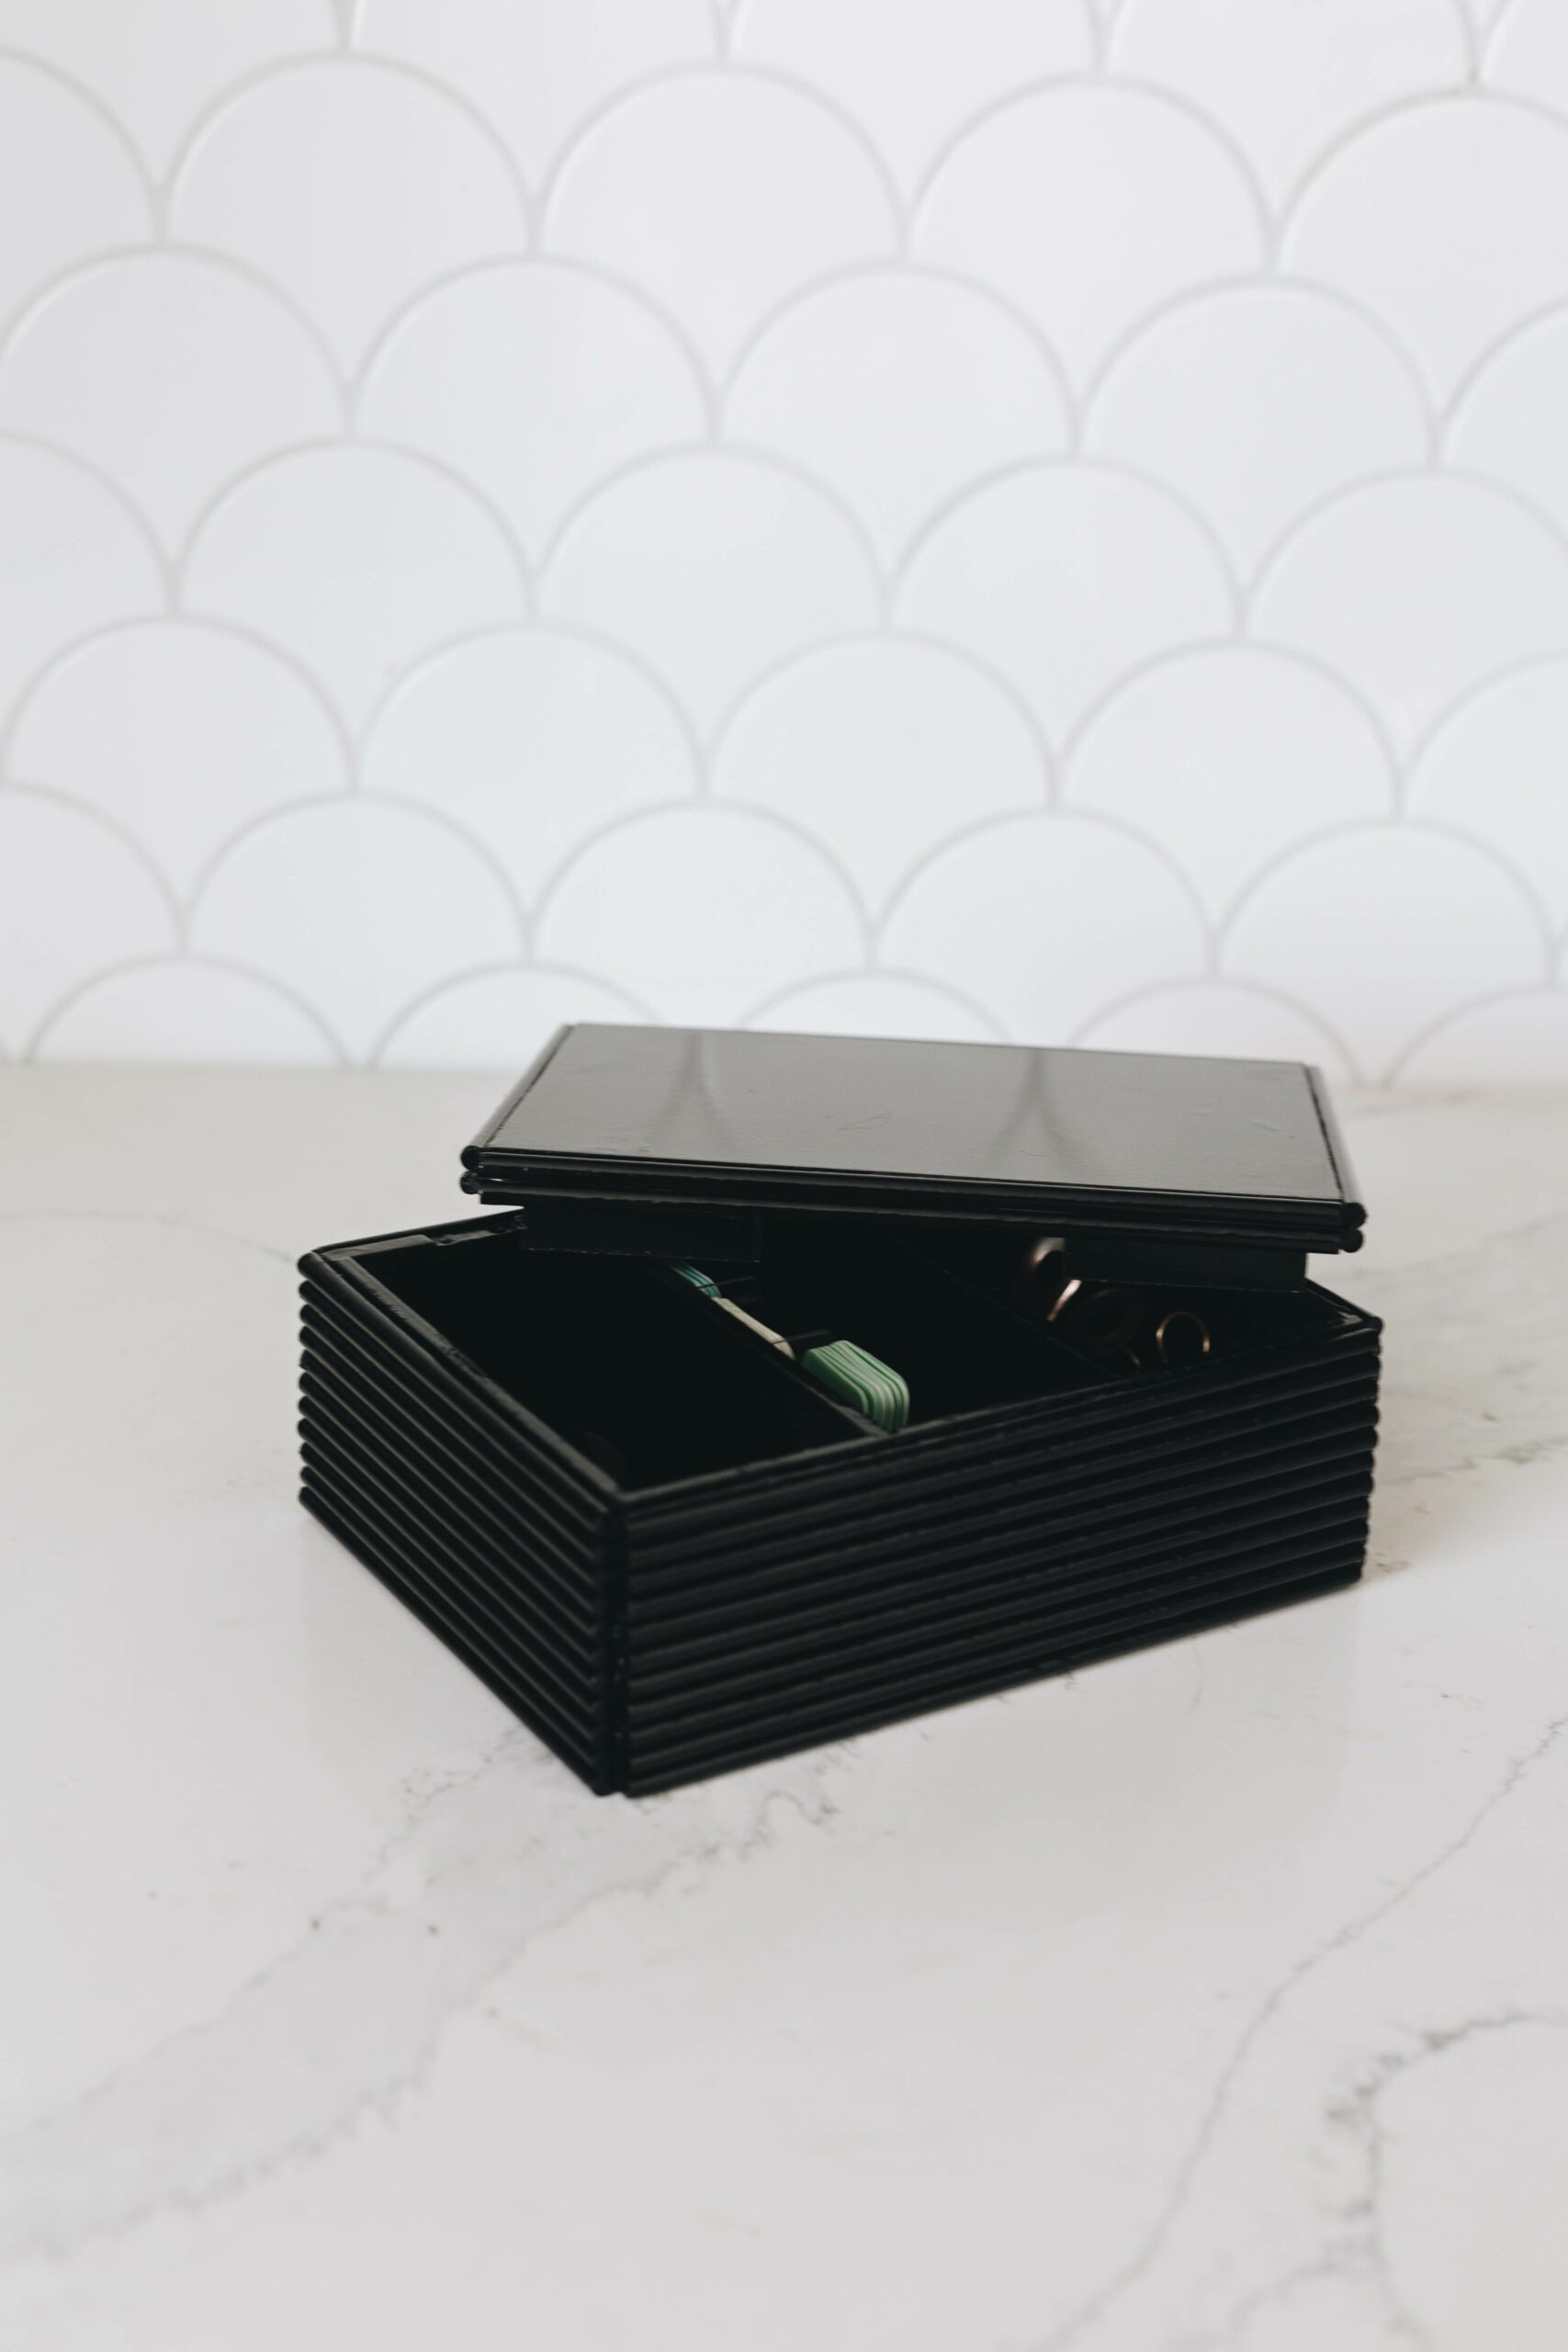
I love this piece. I think it would be beautiful for like holding jewelry, storing anything on a vanity or on a desk, or just added as a prop on a shelf. It’s just a really nicely designed piece!
More Thrift Store Flips on a Budget!
This DIY Decorative Box was one of 4 modern thrift flips I did for under $2! Check out the video below to see how I made the other modern, budget-friendly thrift flips!
Don’t forget to subscribe to our YouTube channel for more great home decor thrift flips on a budget!!
For more great thrift store DIY ideas, check out these High End Thrift Flip Gifts!
DIY Decorative Box
DIY Decorative Box thrift flip! Try this simple thrift store flip to make a gorgeous modern decorative box on a budget!
Materials
- Thrifted box
- Wood glue
- Dollar store dowels
- MDF
- Construction adhesive
- Painter’s tape
- Glossy black spray paint
Tools
- Sanding pad
- Measuring tape
- Mitre saw
Instructions
- Remove top from thrifted box
- Sand the box
- Glue inner pieces in place and clamp them to the sides to keep the sides in place and the box rectangular
- Measure sides of box and cut dowels to size
- Sand the cut dowels
- Measure lid and cut piece of MDF to match the size of the lid
- Glue dowels to sides of box and sides of lid
- Tape sides of box to hold dowels in place to help the glue set
- Remove tape when glue is set
- Cut small pieces of MDF and glue to lid so the lid sits snug on the box
- Once glue dried, paint everything with black spray paint