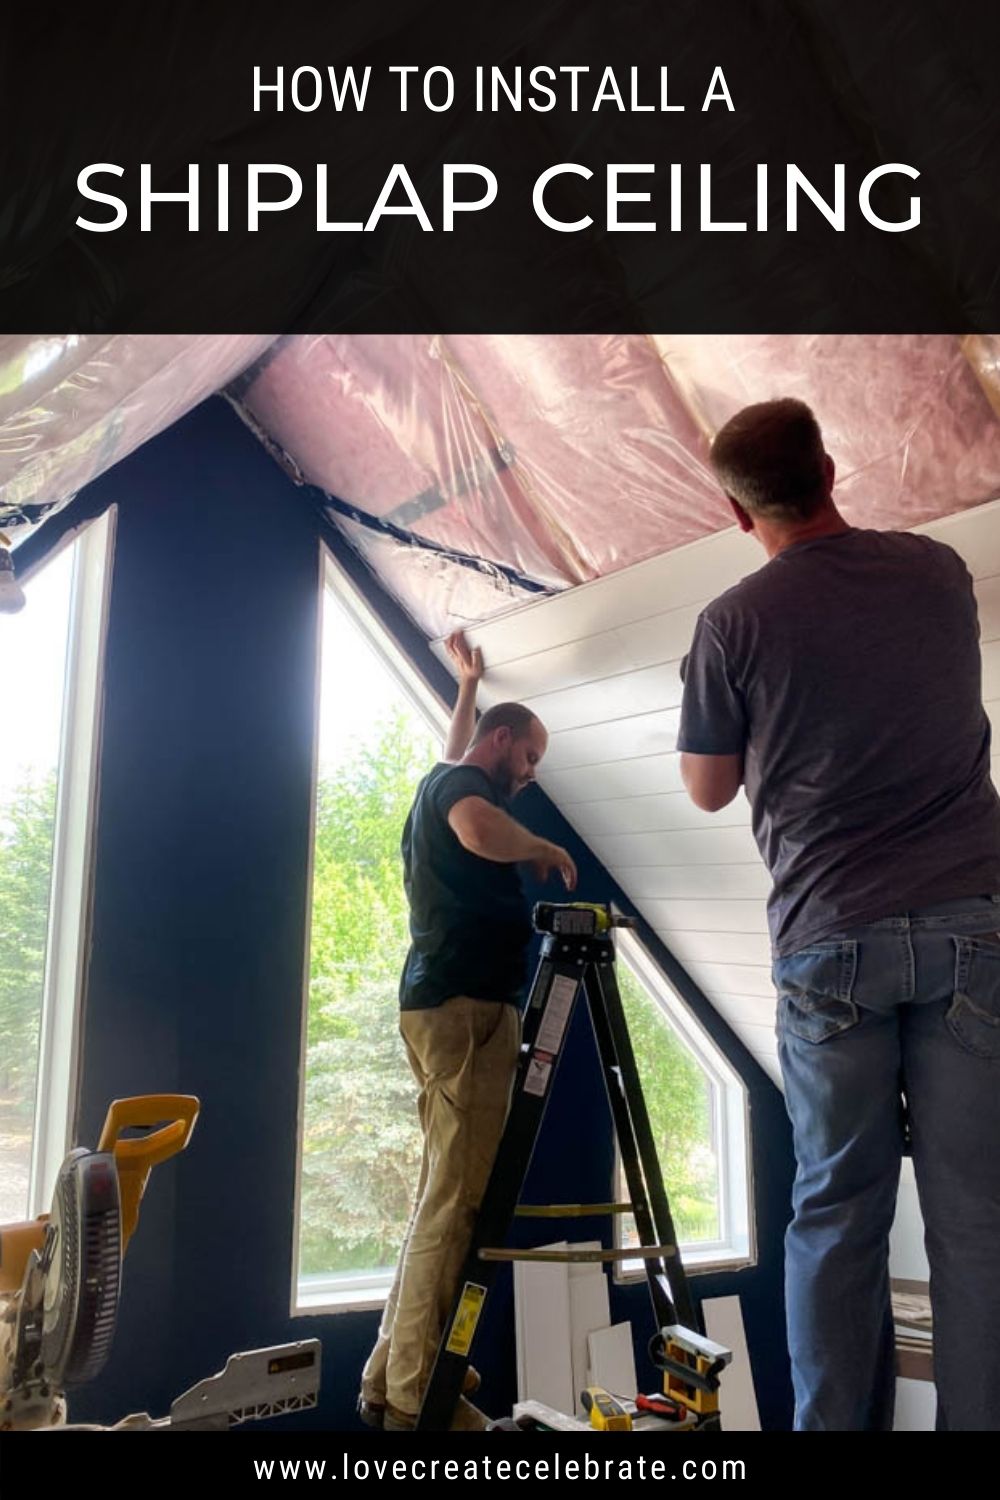
An easy tutorial for a DIY Shiplap Ceiling! Whether you are doing a sloped a-frame ceiling, or a flat ceiling, or shiplap walls, this tutorial will show you step-by-step how to plank a ceiling.
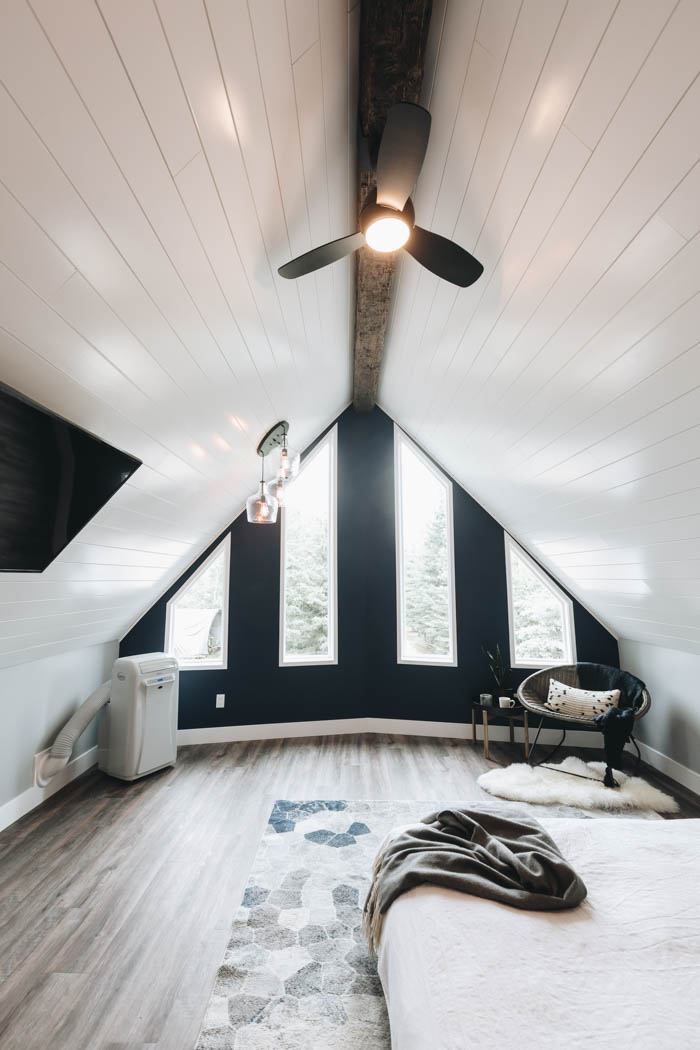
Do you pay attention to your 5th wall when you design a room? The ceiling is an often overlooked in room design. Sure, you can stick to drywall and paint, but there’s so much more you can do to add character, and an a-frame loft is the perfect space to take advantage of the ceilings!
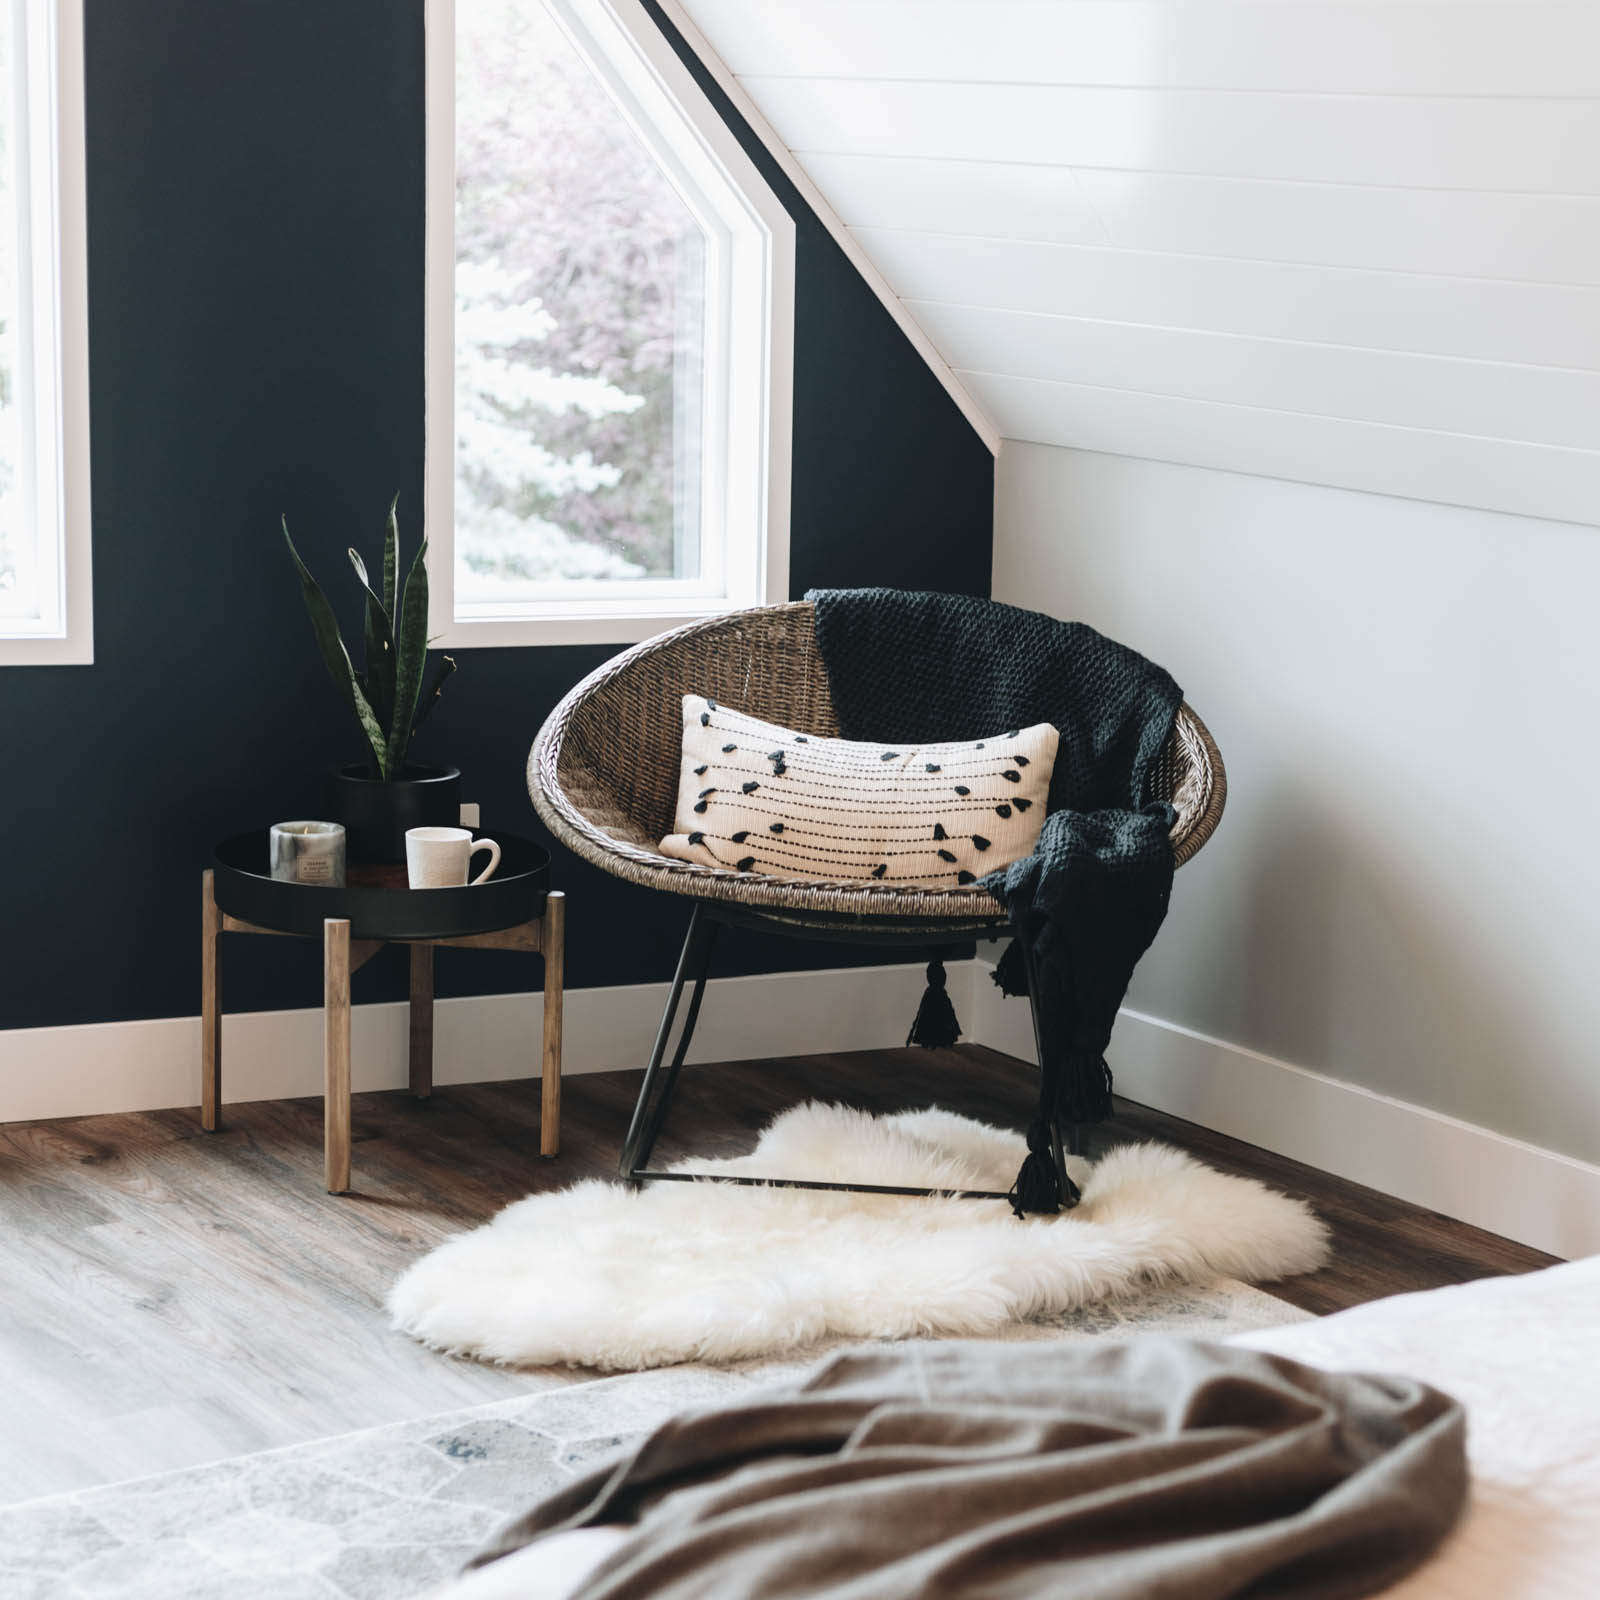
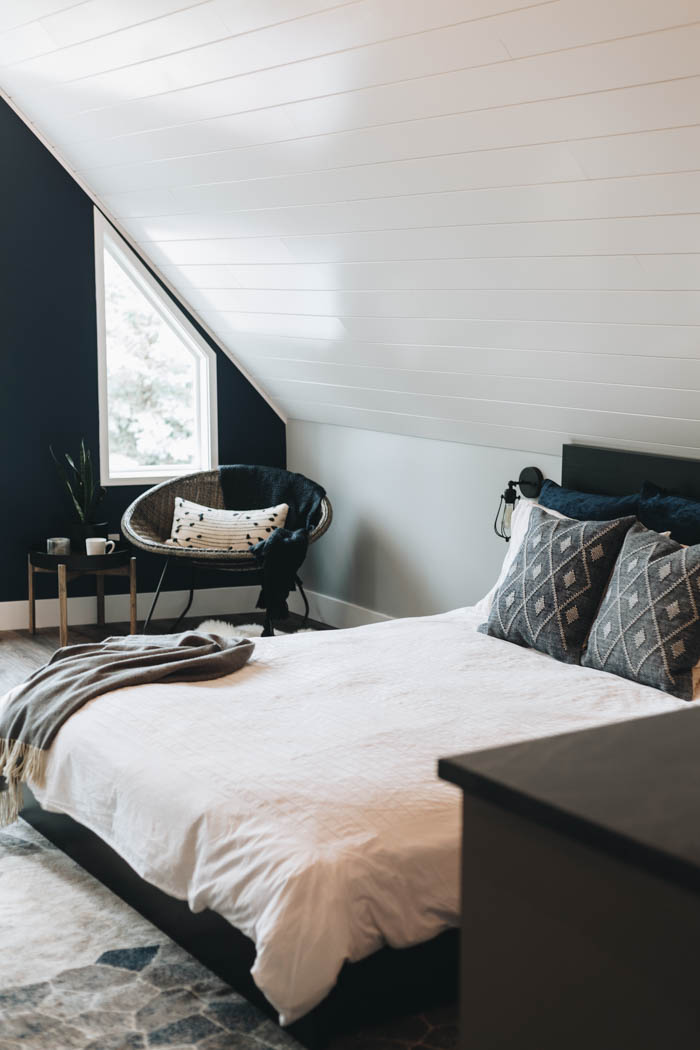
My brother and sister-in-law had an a-frame loft and wanted to take advantage of those sloped ceilings by adding shiplap. It’s the perfect addition to their modern-farmhouse style space, to add character and texture.
A year ago we helped them finish their modern farmhouse bathroom in the loft, and this summer we’re helping them transform the rest of the space into a beautiful guest space (& possible rental space!), by adding a little kitchenette, and completing the bedroom.
*This post may contain affiliate links. When you buy a product through one of our links, we get a commission at no cost to you! Thank you for supporting our blog so that we can continue to bring you posts like these. For more information, please see our disclosure page.*
How to Install a Shiplap Ceiling
To help everything go quickly and smoothing, we used the Metrie complete system. It comes pre-painted and finished so all you have to do is cut and install the shiplap on your walls or ceiling. The shiplap comes with a tongue and groove finish so you can stack it top of each other and get a consistent gap across the whole ceiling quickly and easily.
We also used their a custom finishing kit, that includes wax and caulking that are already colour matched to give you the nicest finish.
Materials needed
- Metrie Shiplap:
- Laser Level:
- Nail Gun:
- Miter Saw
- Metrie finishing kit
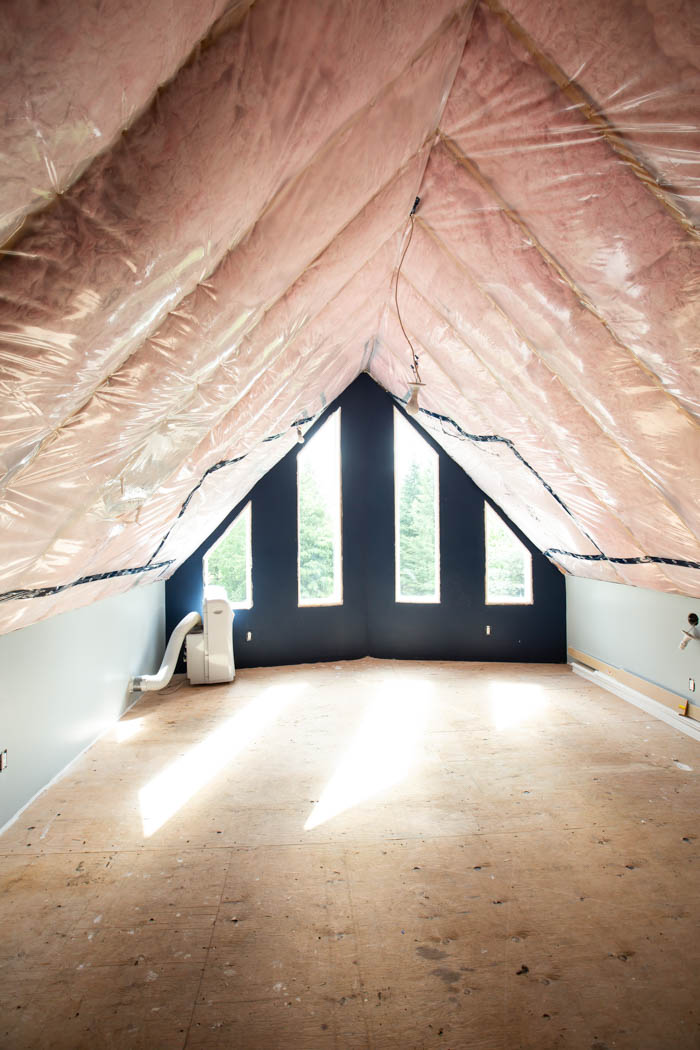
The Before
This loft space was already partially finished. Electrical was roughed in, and the walls were drywalled and painted. All that was left was to finish the ceiling, build out the kitchenette, and decorate. The space was open and bright with large windows adding in natural light. Adding the white shiplap ceiling was the perfect way to take advantage of that.
How to Plan Your Shiplap Pattern
It’s important to plan out your pattern prior to installing the shiplap. It helps reduce waste and you can plan for the start and end of a plank to be on a joist and then you can just repeat it all the way up.
If your joists (or wall studs) aren’t visible, then you need to use a stud finder to local, and mark all of the studs on the wall. When planning your cuts, you want the boards to stagger from row to row. We planned this ceiling so that the boards would always start and end on studs, but also so that we didn’t end up with a small piece at one end, which we would have if we hadn’t planned and cut our first board before installing.
Step-by-Step Instructions for Installing Shiplap
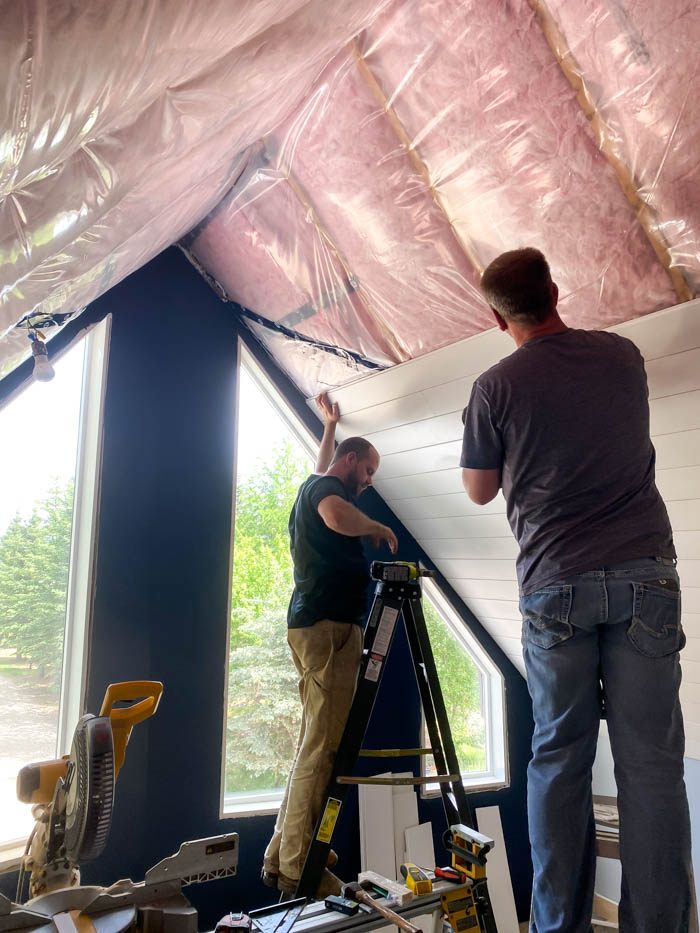
The most important step to your shiplap ceiling is installing the first row. If you are doing a flat ceiling, the biggest thing is checking that your ceiling is square, and if not, making sure that your first board is level. You may have to cut your first board with a slight taper to get a straight pattern going forward.
If the first board, or row is slightly out of square, it will be magnified over time and noticeable when you finish the entire ceiling. Set a laser level on the ceiling to help keep things square as you install that first row.
If you are installing onto an a-frame or sloped ceiling, start by putting the board against the wall to determine where the bottom of it will meet the drywall and mark it on the wall. Then use a laser level to put a line along the entire wall to use as a reference point for a level bottom row. If your walls or ceilings aren’t straight or you don’t have enough structure behind your drywall for the first row installation, you can add some little shims behind the shiplap to secure to joists in order to hold the boards in place.
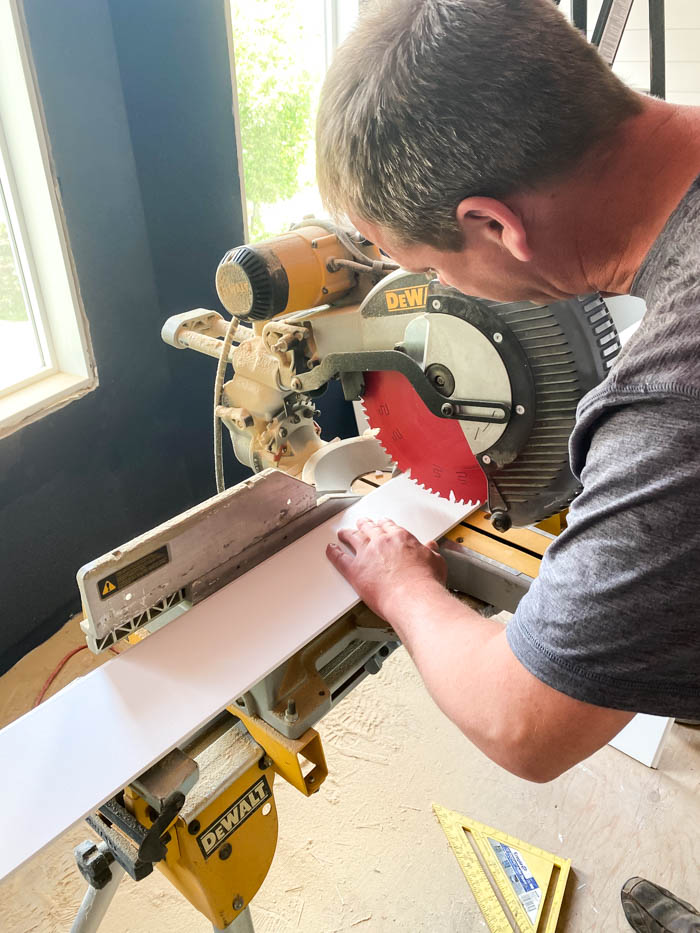
When you are ready to install a board measure the distance from the edge of the room to the wall or the center of the joist you’re attaching to, and transfer that measurement to a shiplap board making sure you have it in the right orientation.
Cut the board using a compound sliding miter saw. Give the ends of the board a light sanding to remove any fuzz or tear out from the miter saw.
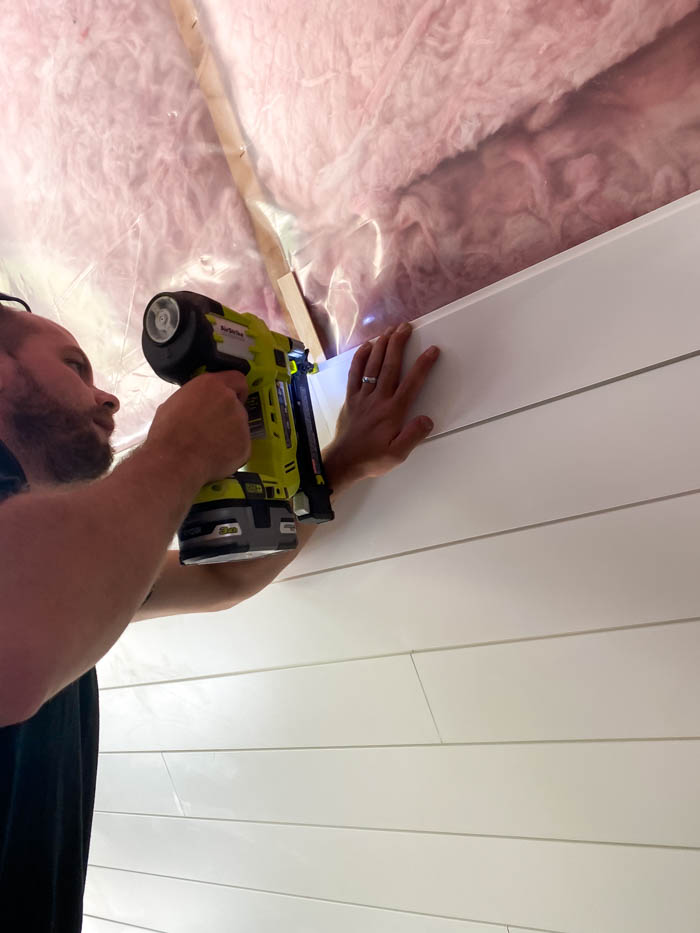
Install the boards using 2″ long, 18 gauge brad nails at every joist or stud. We used our cordless nail gun to do this job quickly and easily.
Once you get the first row done, the following rows are fairly quick and easy to install, using the same process and following the pattern you planned out initially.
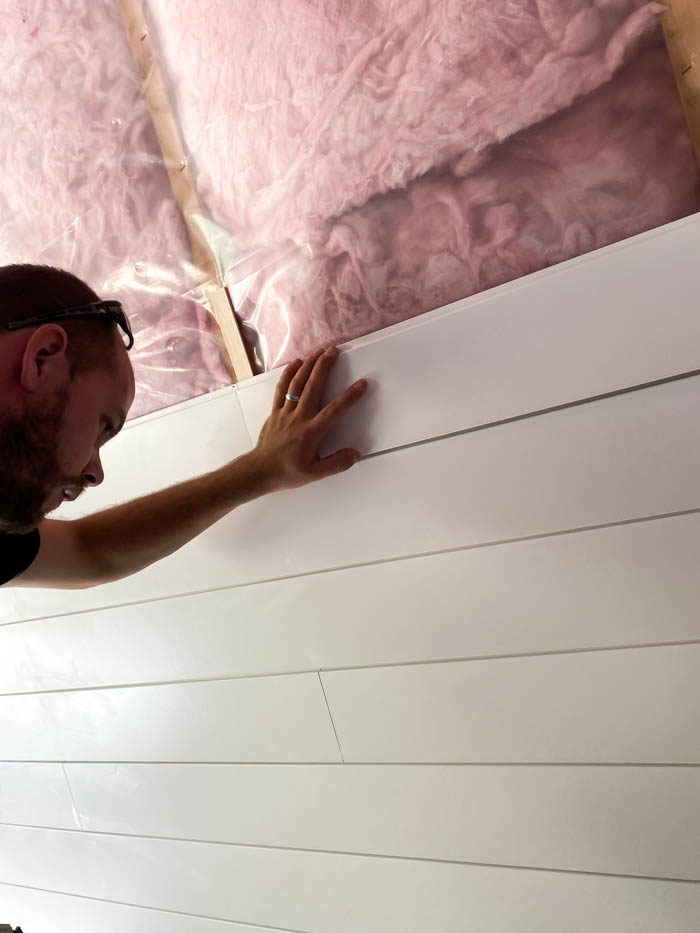
When you put the board in place, you can see the design of the tongue and groove already creates a perfect gap.
Dealing with a wall that isn’t square
More times than not, you are going to have a wall that isn’t perfectly square. To make sure your shiplap fits snugly against the wall, use a scrap piece of wood, lay it against the wall, then draw the angle onto your shiplap board. Adjust your miter saw to the angle and cut off the excess piece. This will give you a nice tight fit against the wall. You can see an exact demonstration of this in the video below.
Installing around outlets
When installing shiplap on walls and ceilings, you may run into either switches, outlets, or lightboxes. Use a jigsaw or a multi-tool to cut out those holes, and install the boards as above.
Finishing the shiplap ceiling
Finish by using the wax crayon from the finishing kit to fill the nail holes and the caulk to fill any gaps along the edges.. Remove excess wax using the scrubber pad and scraper. Use these lightly to avoid scuff marks.
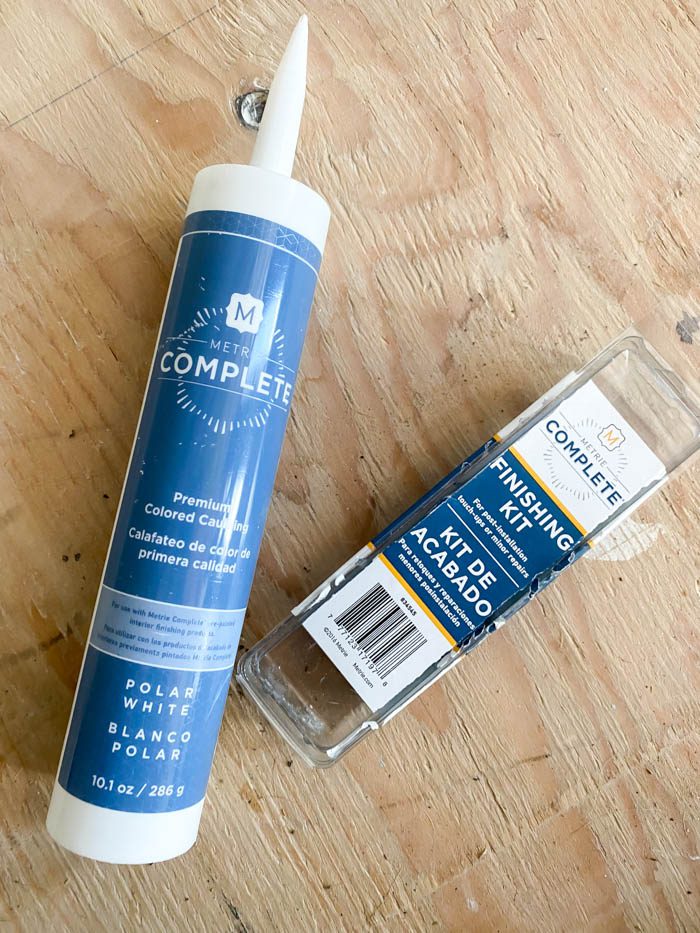
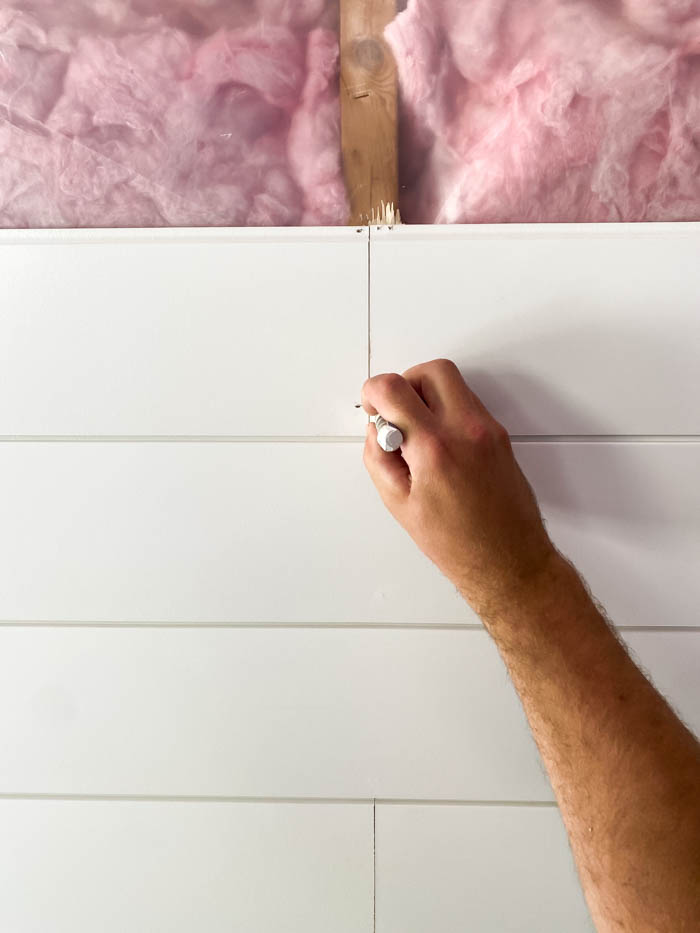
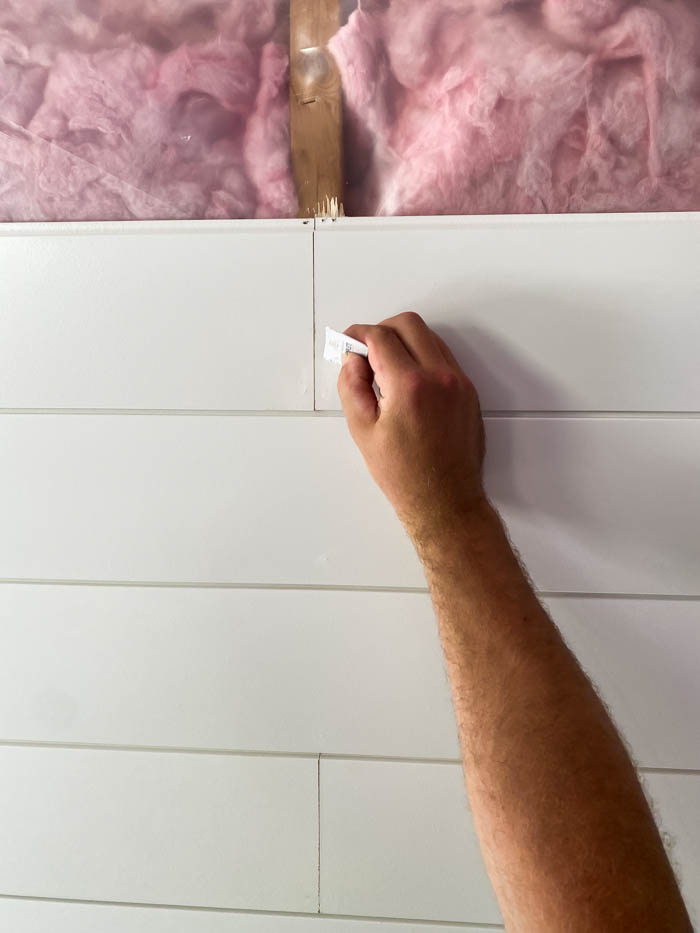
The wax crayon and caulk are custom colored to the color of shiplap so that it blends seamlessly. No need for a paint touch up with this finishing kit.
That’s it! This is one of the easiest ways to install a shiplap ceiling or wall and it looks beautiful! This was the perfect way to add modern farmhouse design to this space.

There were lots more finishing touches added to this space and to see the whole process in action as well as the final reveal of this loft space, be sure to watch the video below.
In case you missed it, check out the bathroom we did for this space too!