DIY wooden shelves for any wall using scrap wood! Try this simple and modern design to help organize your space!

If my thrifty husband has taught me anything over the years, it’s that scrap wood can go a loooong way! So we save almost all of those scrap pieces, and I come up with ways to use them to build new projects. These DIY Scrap Wood Shelves are one of the many creations to come out of the scrap pile, and we’re loving them!
*This post may contain affiliate links. When you buy a product through one of our links, we get a commission at no cost to you! Thank you for supporting our blog so that we can continue to bring you posts like these. For more information, please see our disclosure page.*
How to Make Scrap Wood Wall Shelves
This project was part of the special under the stairs playroom that we made for our kids. The space under the stairs wasn’t being used for any practical storage, so we thought we would make something fun out of it, and these scrap wood shelves were born to help organize the room.
Materials Needed
- scrap wood 1x4s
- wooden dowels
- saw
- sander
- drill
- wood glue
- nail gun
- flagstone wood stain
- varnish
Step-by-step Tutorial for Scrap Wood Shelves DIY
I had a bunch of 1″x4″ boards of scrap wood left over from a previous project that I decided to make the shelves out of. The wall that I was planning to hang them on only has about 16″ of width, so the shelves had to be small, which is why I decided to make two of them.
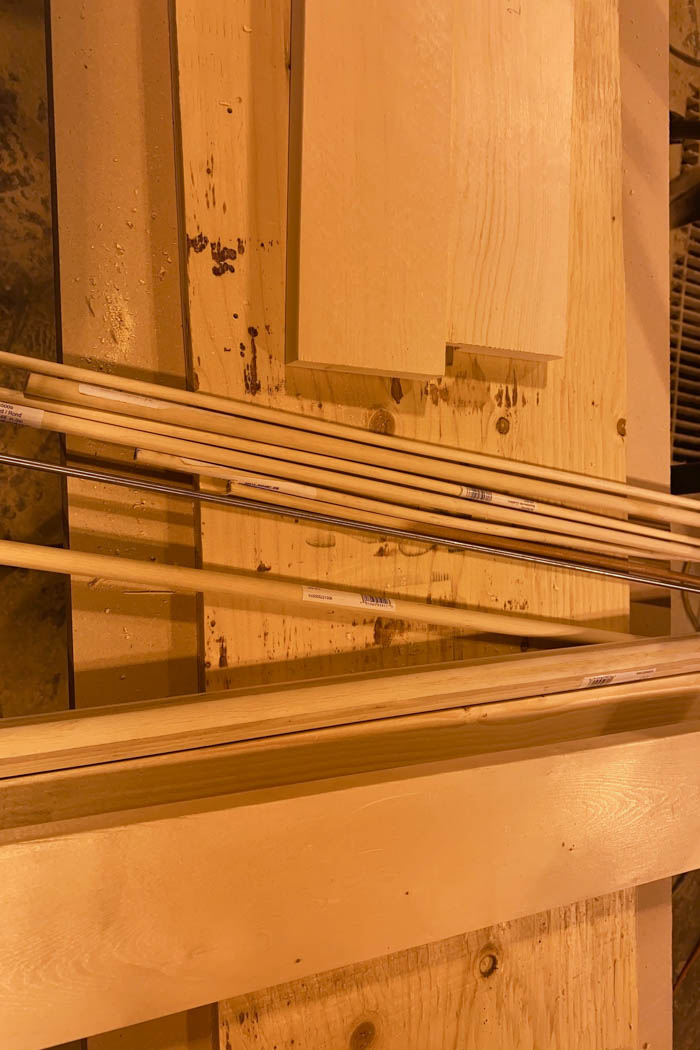
As a decorative feature, and because I had some dowels in my scrap wood pile, I wanted to add dowels to hold the books in place. I have one that’s just under half an inch that I figured I could make work.
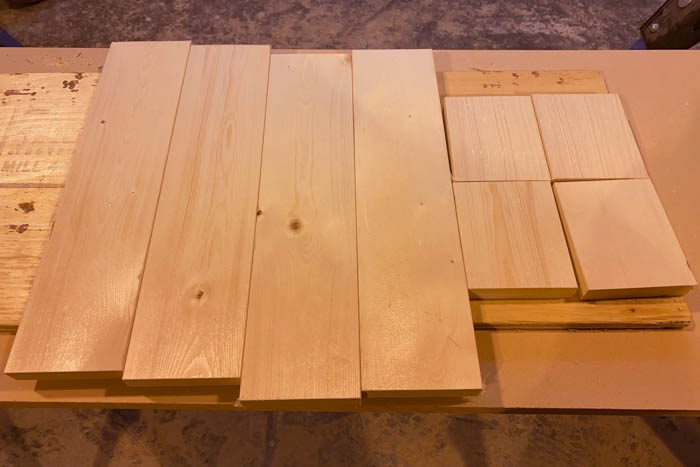
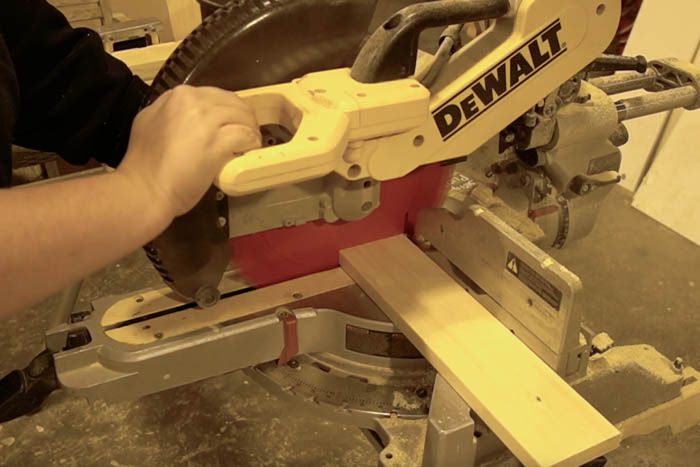
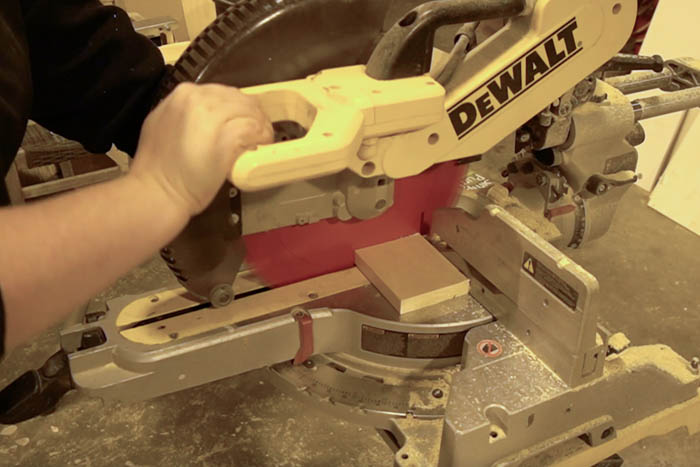
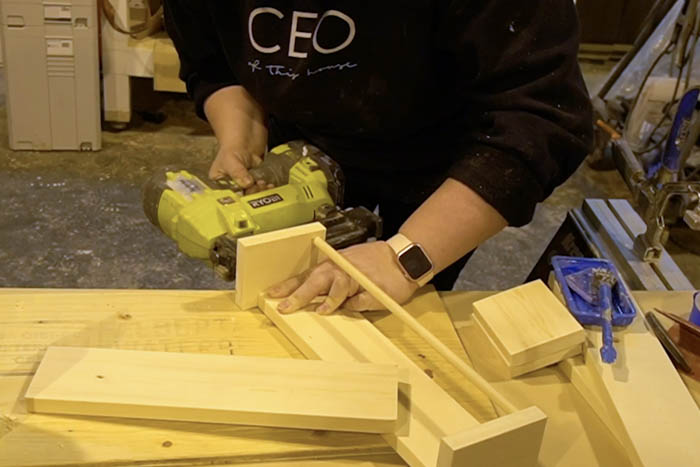
I started by squaring off my boards, so that I knew they were nice and straight on the end. Then I cut four, 14 and a half inch boards because I only had 16 inches to work with and I needed two for the bottom and two for the back.
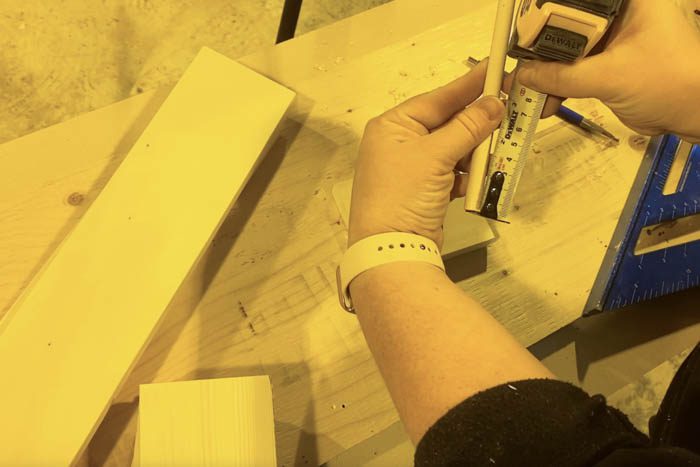
Next, I lined up those boards and measured the width and height I needed for the side pieces so that the sides would all be flush. Then I cut two pieces for the ends of each shelf (four total).
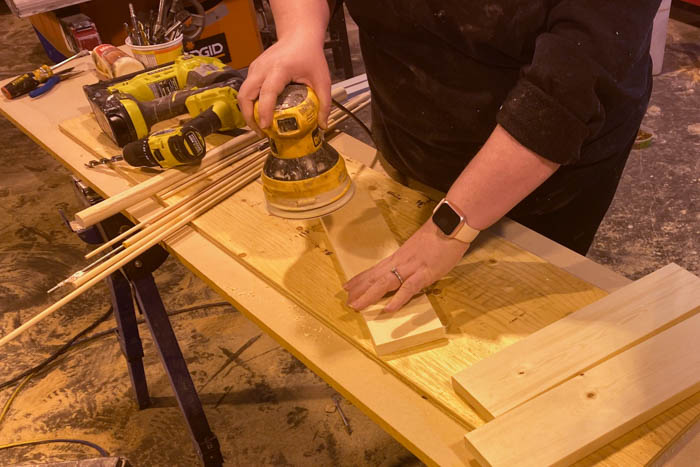
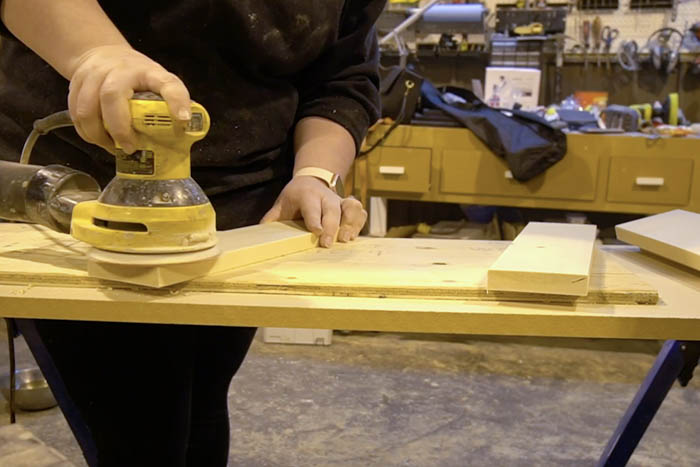
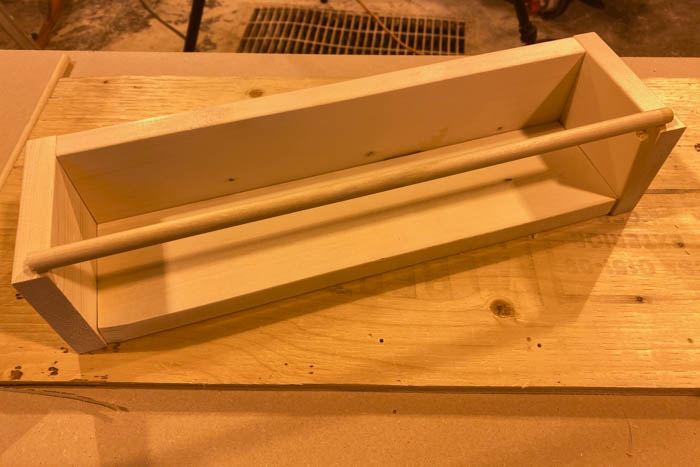
I sanded everything down and made sure it was all pretty smooth before moving to the next step. Before attaching anything, I lined everything up so I could see everything come together.
Finally, I wanted put a dowel across that top corner, so that the books could sit vertically and be held in place. To put the dowels in, I measured a half an inch away from each corner and then half an inch from that side.
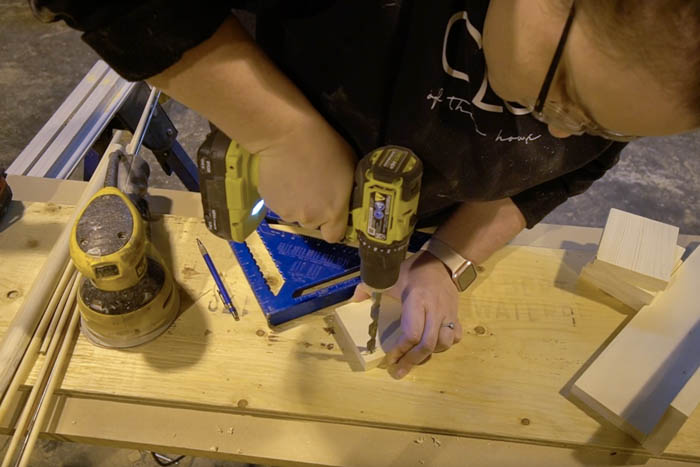
I drilled a pilot hole with a small drill bit, and then drilled a hole with a drill bit that was the same size as the dowel I was using. If you go through, you can always patch it, but I was careful not to drill all the way through my 1x4s.
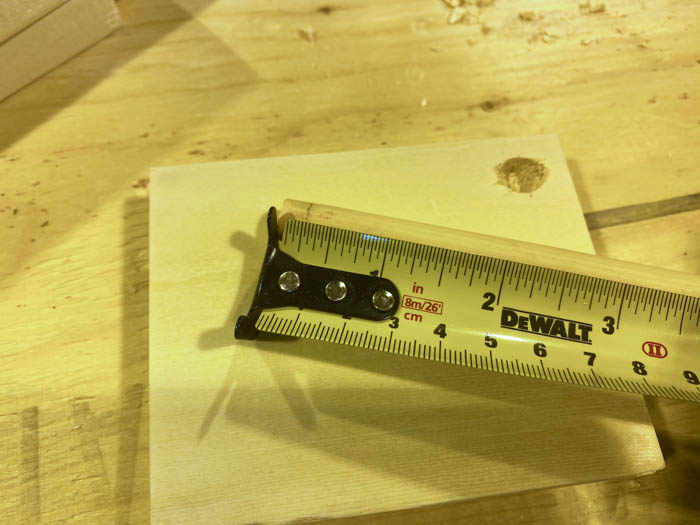
I marked how deep that dowel went in, which was about a quarter of an inch. And I added a quarter of an inch on each side, so a half an inch to the total size of my dowel and cut it down to size on the miter saw. Since my boards were 14 and a half inches long, I ended up cutting the dowel at 15 inches, 14 and a half plus a quarter plus a quarter.
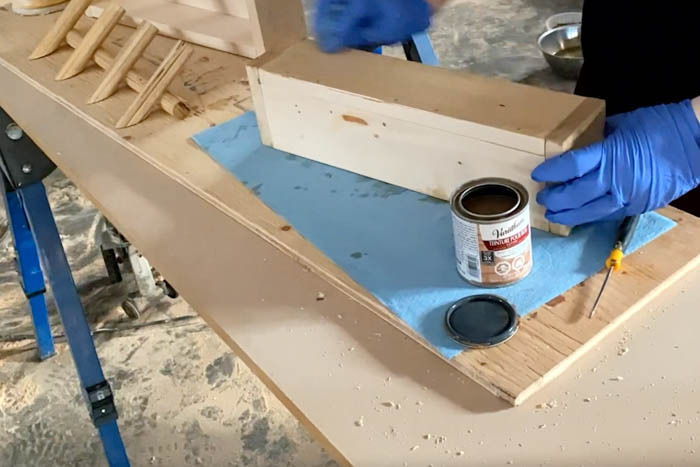
Then I assembled everything with wood glue and a nail gun and let everything sit overnight to dry.
The next day I stained everything the same color, flagstone. After the stain is set, you can give them a couple of coats of varnish.
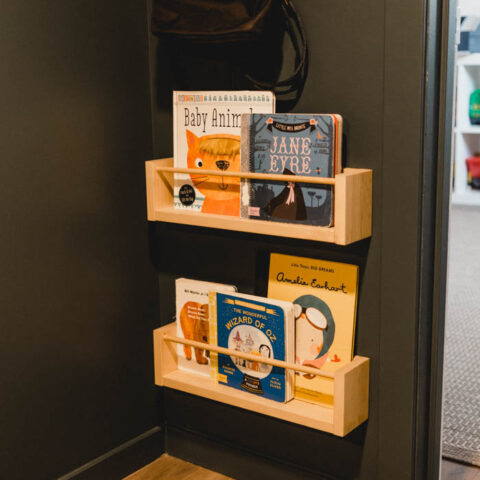
Our finished scrap wood shelves
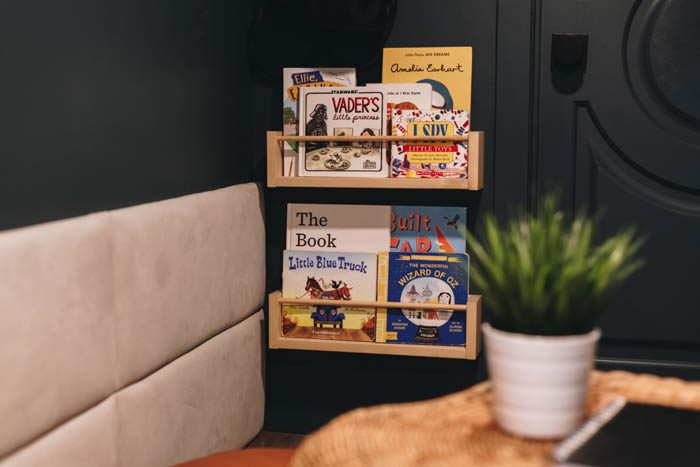
I am in love with how these DIY scrap wood shelves turned out. I think they fit so perfectly into our kids room. They have used these shelves a ton since I first made them, and they still love them!
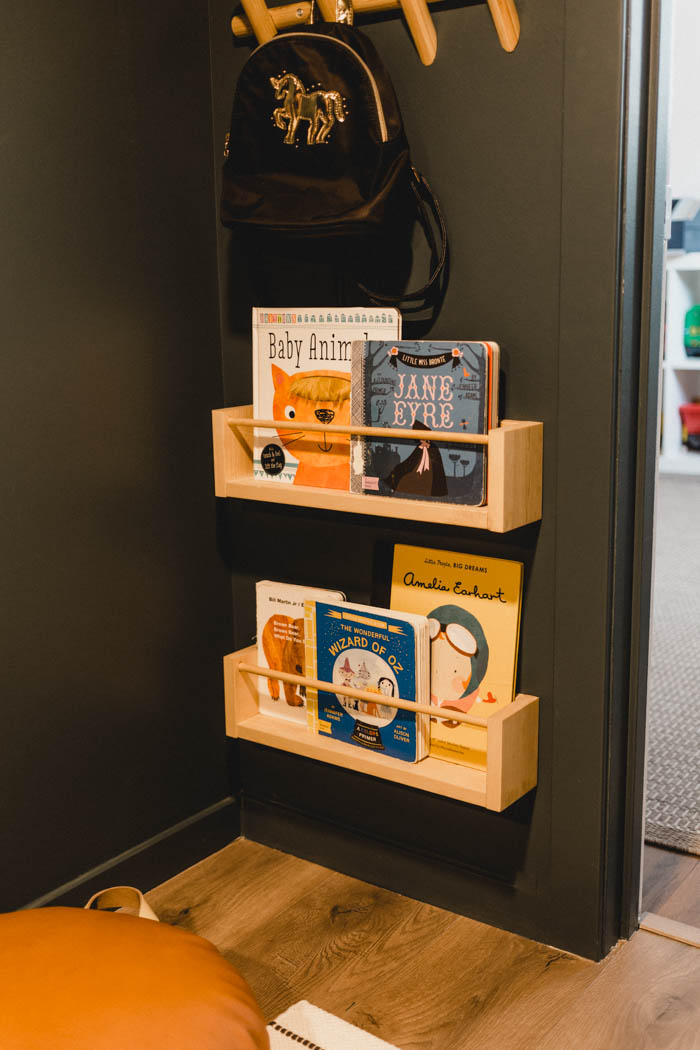
To attach them, we just put plugs in the wall and then screwed right through the back of the shelves. You could put key holes in the back and that would kind of conceal all of the attachment as well, if you wanted to, but we figured books would hide the screws this time.
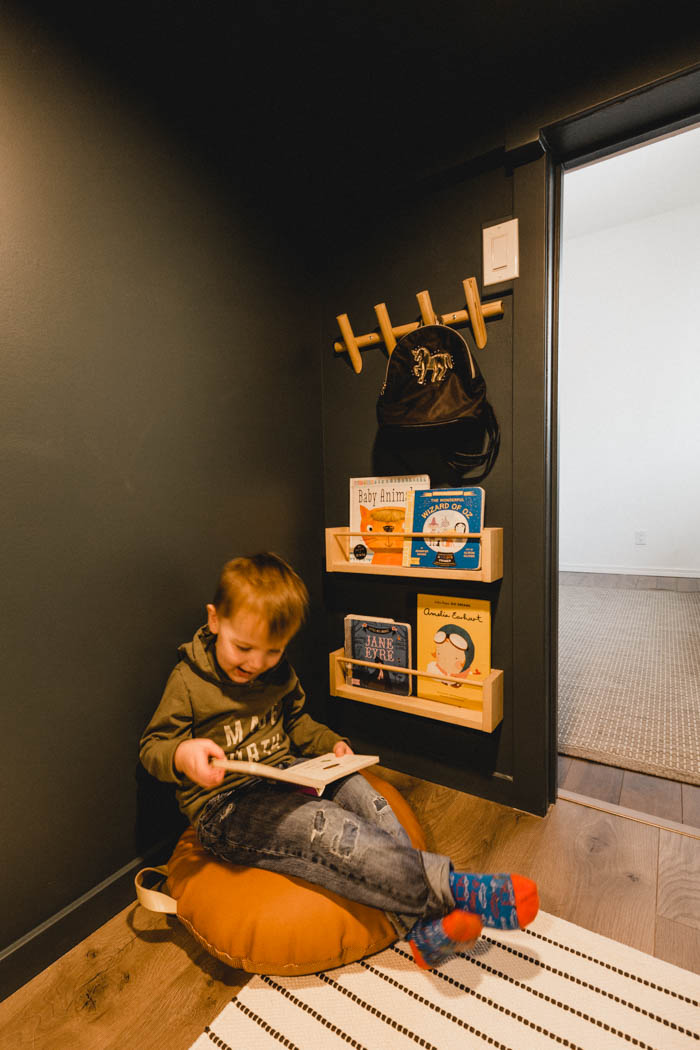
I’m really happy with how these scrap wood shelves turned out. I think the kids really liked them too. They’re super cute and practical. Here’s our son using them before we finished the space under the stairs…
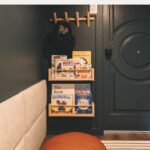
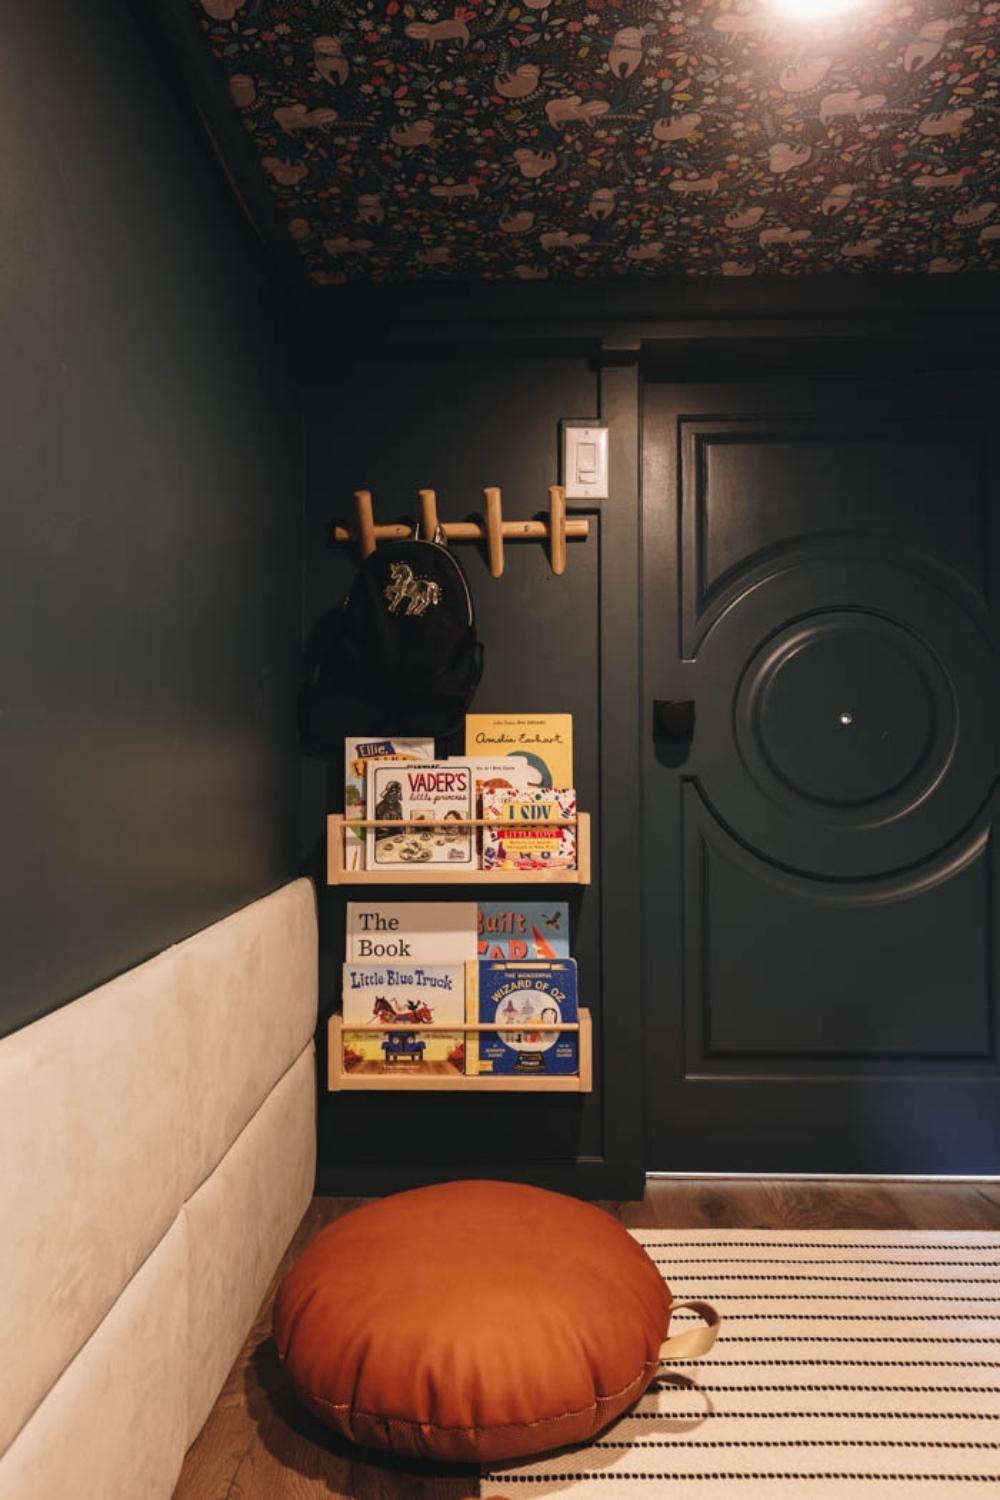
…and here are the shelves in the fully finished space!
More Scrap Wood DIYs
This project was one that I did along with another scrap wood DIY. Click on the video below to see how I built wooden hooks to go along with the scrap wood shelves DIY!
Don’t forget to subscribe to our YouTube channel for more great scrap wood DIYs!
If you’re looking for more inspiration, here are some amazing DIY Shelving Ideas!

Scrap Wood Bookshelves
DIY wooden shelves for any wall using scrap wood! Try this simple and modern design to help organize your space!
Materials
- scrap wood 1x4s
- wooden dowels
- wood glue
- flagstone wood stain
- varnish
Tools
- saw
- drill
- sander
- nail gun
Instructions
- Cut 1x4s to size for bottom and back of shelf
- Cut 1x4s to size for sides
- Sand wood pieces
- Meausre 1/2" from top front corner on both sides to find location for dowel
- Drill 1/4" into both bookshelf sides for dowel to sit in
- Cut dowel to size with saw
- Glue and nail everything together
- Stain in colour of your choice
- Varnish piece with multiple coats
- Hang on wall (either into studs or using plugs), by drill straight through the bookshelf into the wall.
Recommended Products
As an Amazon Associate and member of other affiliate programs, I earn from qualifying purchases.