How to plan your RV update! We will go over all our RV Makeover Ideas to show you how we go from old and outdated to new and modern!
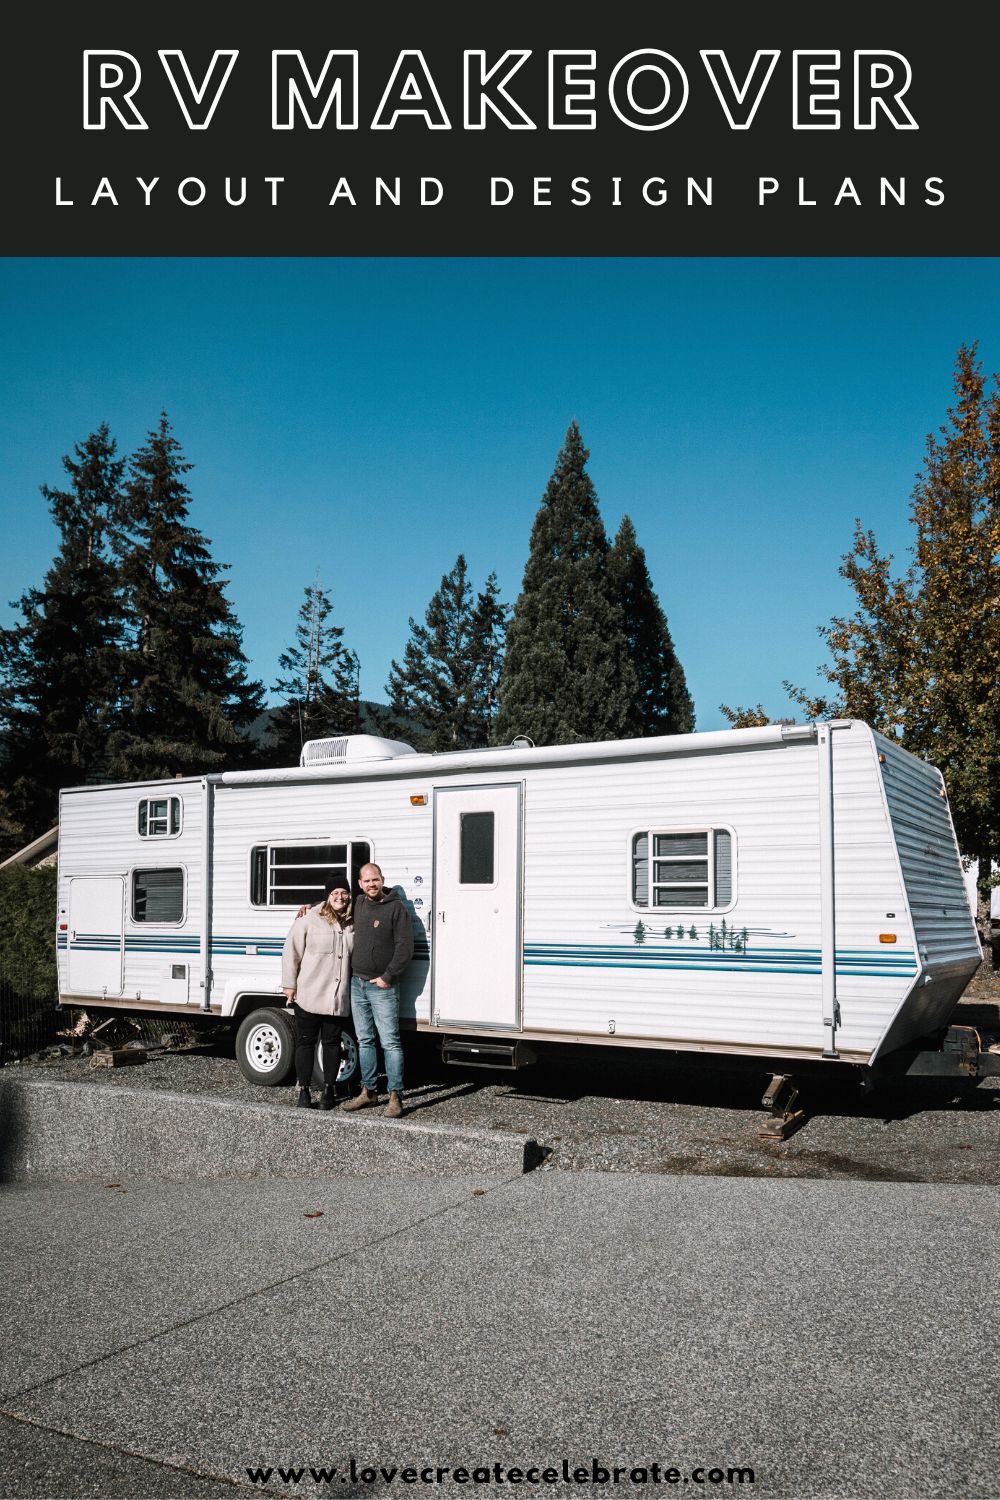
Finally here is the RV makeover we’ve all been waiting for. I honestly can’t believe it! We had bought this RV 3 years ago, fully intending to renovate it, but the timing just never worked to start working on it until now. Today I’m sharing some before pics of the RV and all of our RV makeover ideas!
*This post was sponsored by Wagner and may contain affiliate links. When you buy a product through one of our links, we get a commission at no cost to you! Thank you for supporting our blog so that we can continue to bring you posts like these. For more information, please see our disclosure page.*
Our RV Makeover
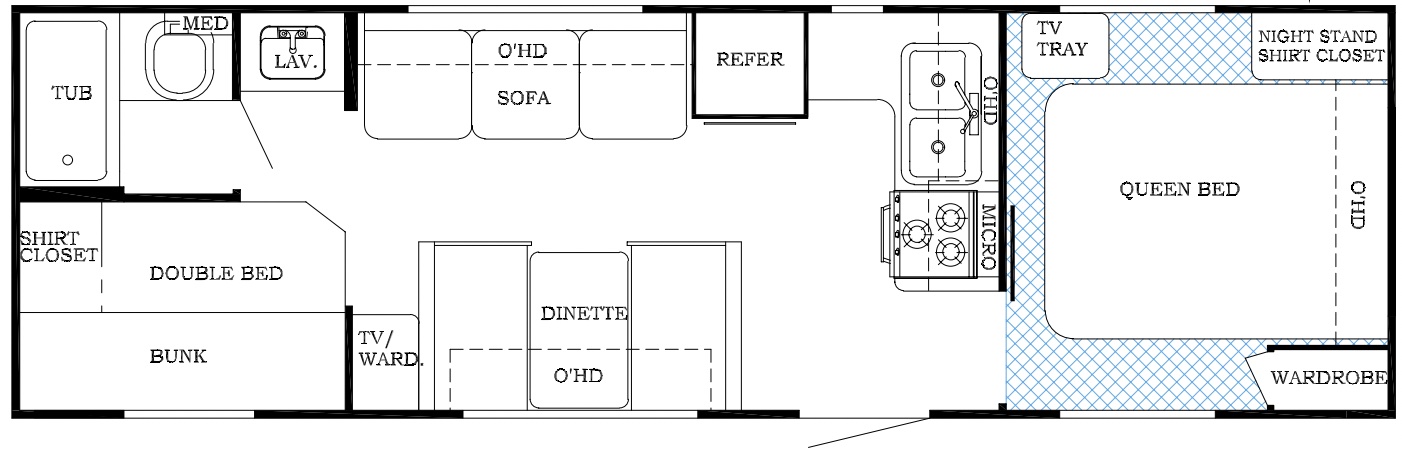
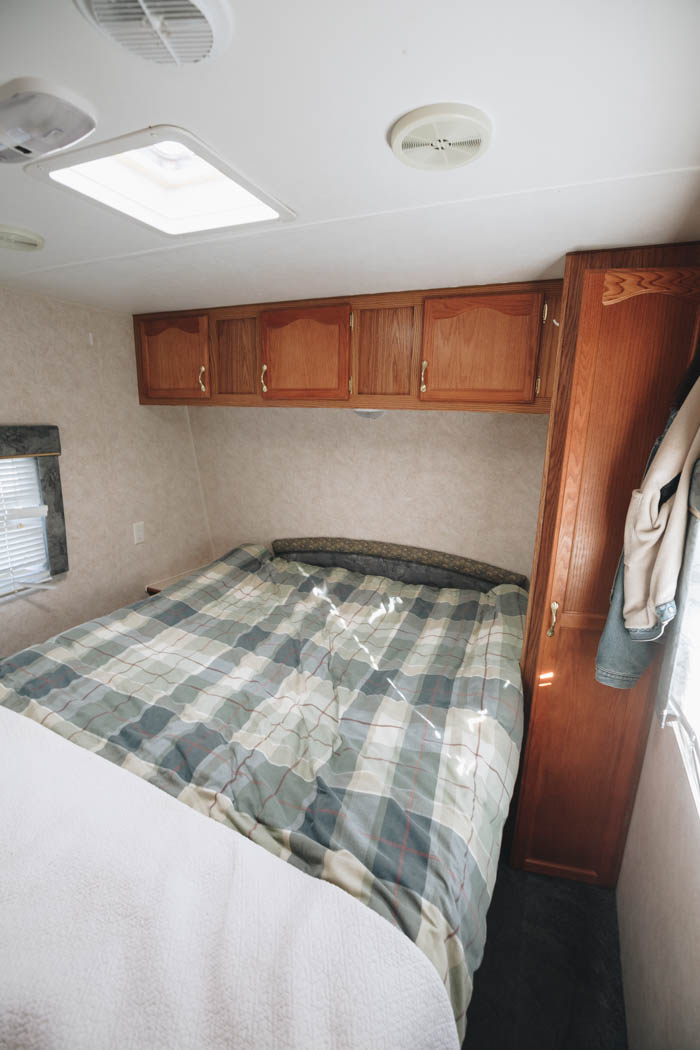
We bought out RV trailer in 2019 after upgrading from our old tent trailer. We were looking for something with a bit more room for our kids and pets. The trailer had the general layout we wanted, it had the queen bed in the front, kitchen/living room in the middle and jack and jill bunks in that back of the trailer for our kids.
Before Photos
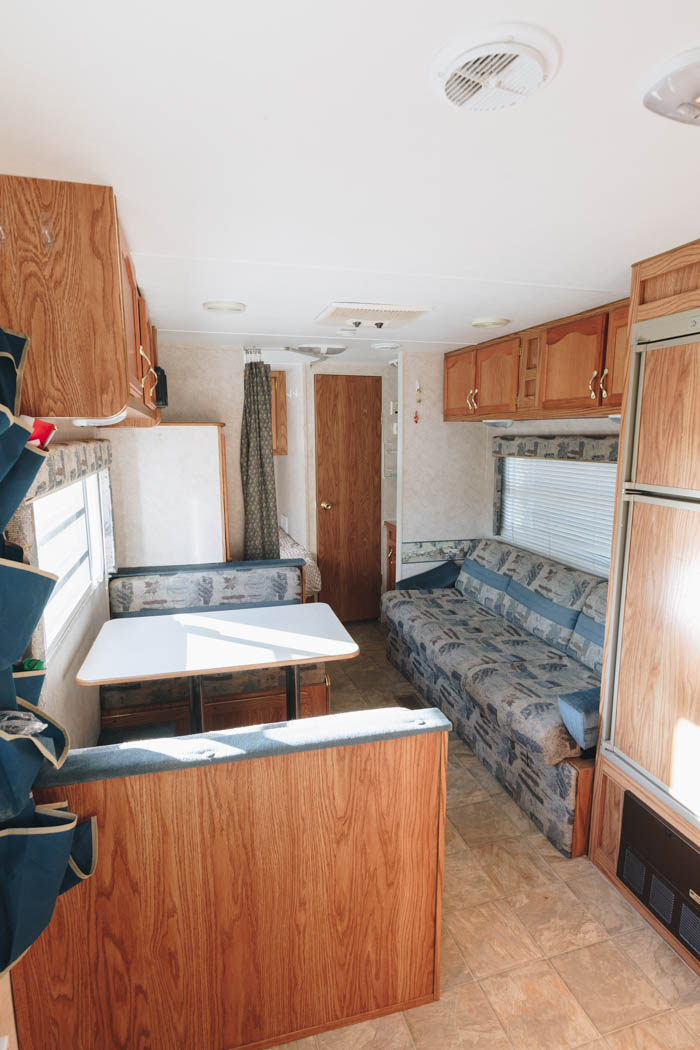
Here are some photos of our RV before we started any demo or painting. If you want to see a full before tour, you can watch us walk through the space here!
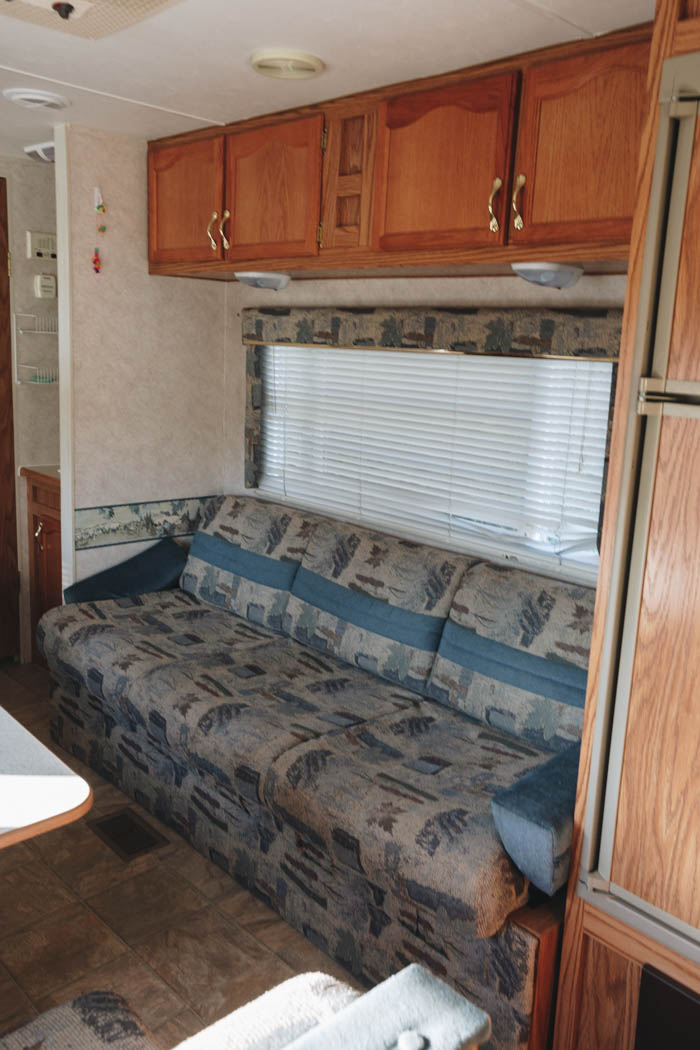
Here’s the main living space in the middle, with a dining table and pull-out sofa.
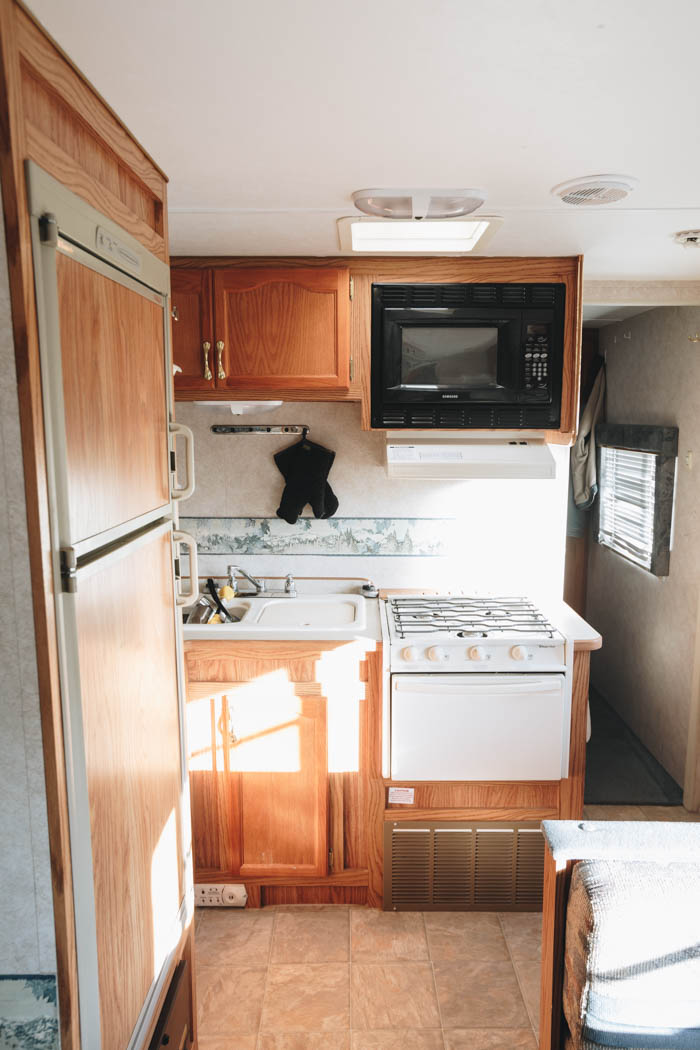
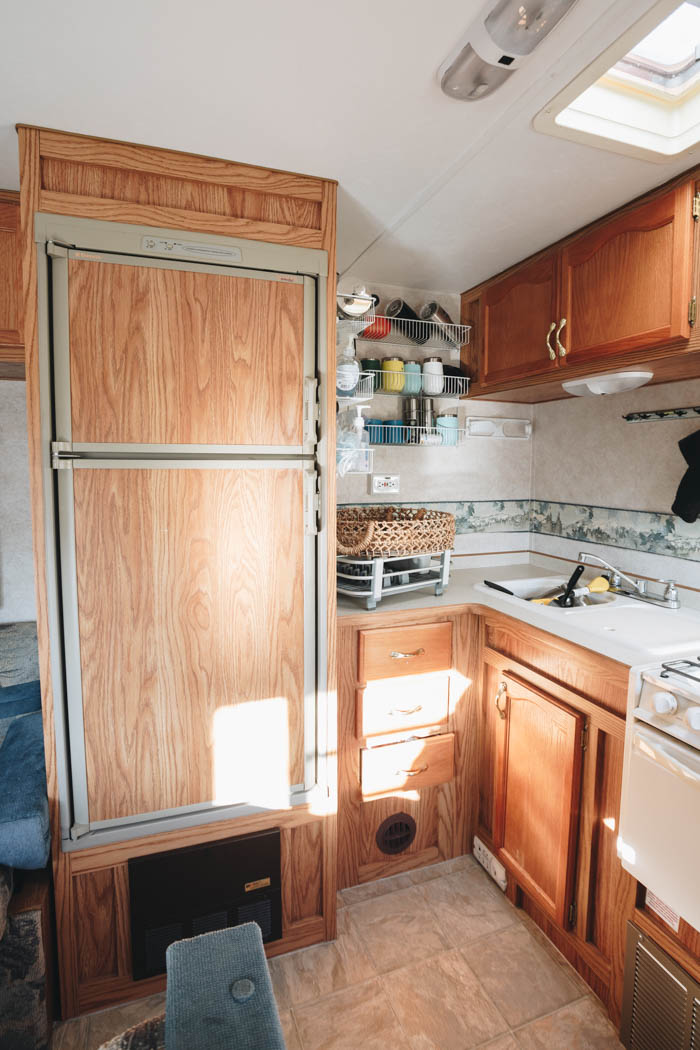
The front of the RV houses the primary bedroom and a tiny kitchen.
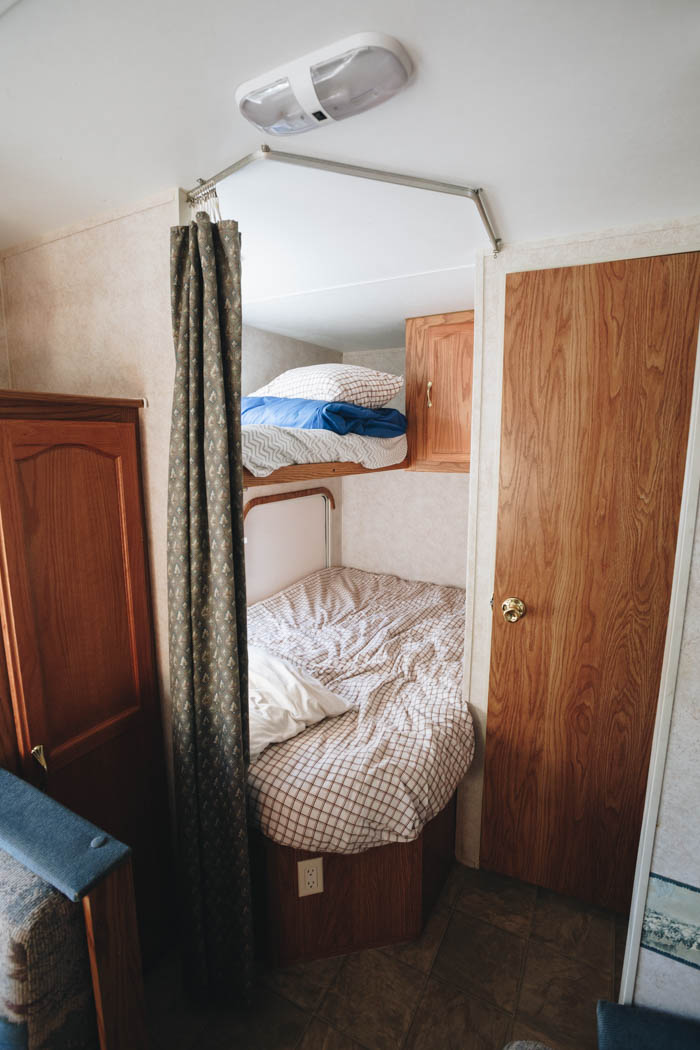
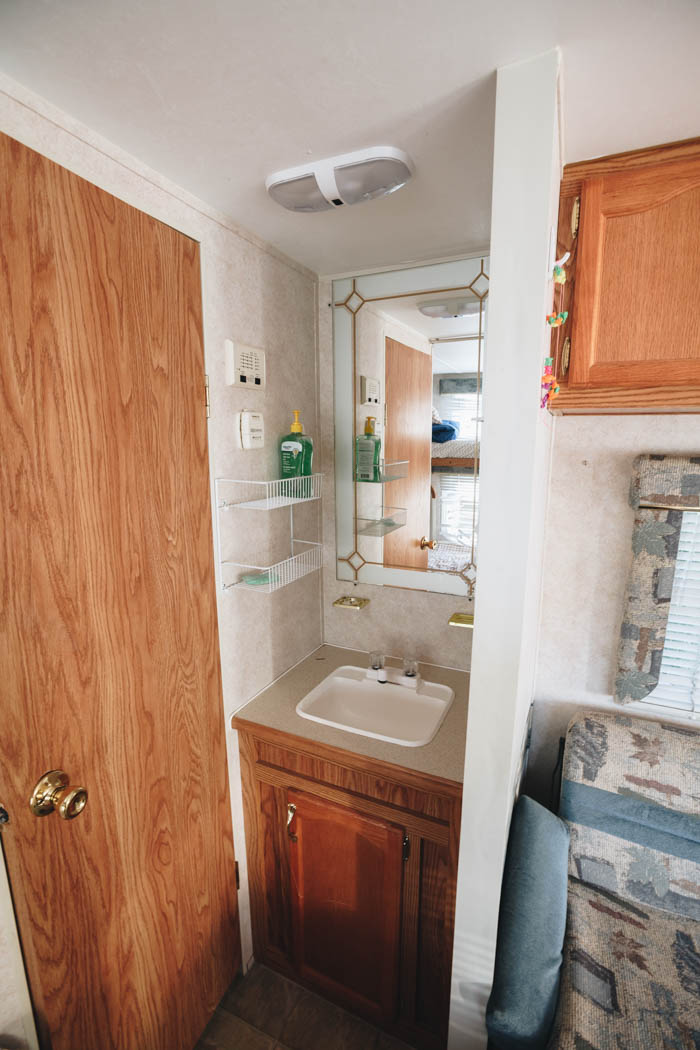
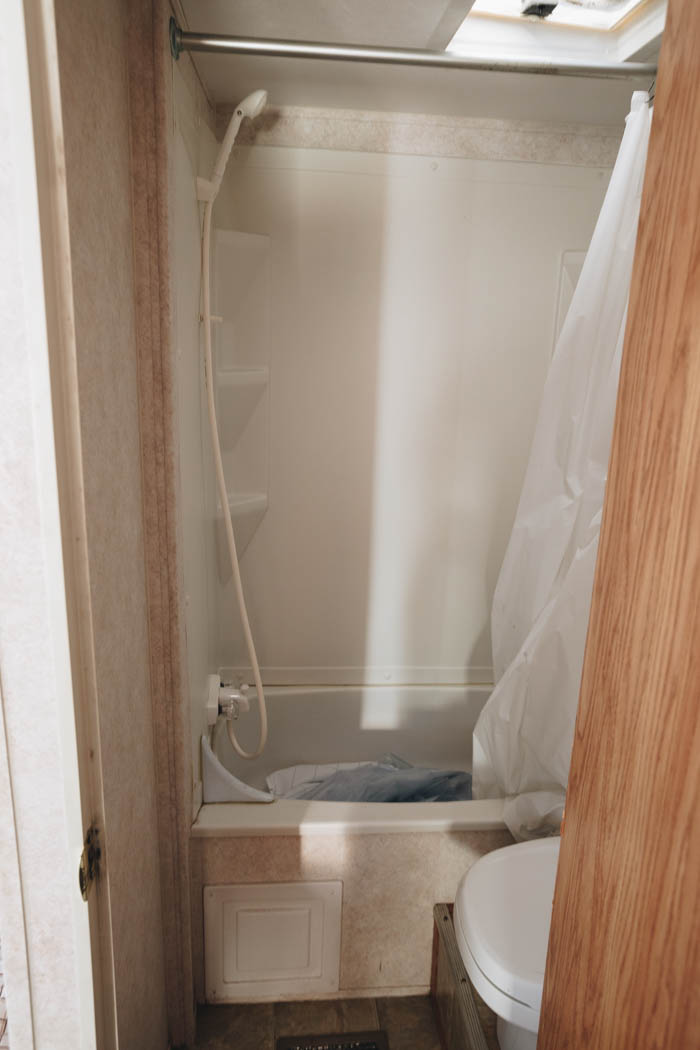
The back of the RV has our jack and kill beds, a sink, and a little bathroom behind the closed door.
Where it started
Fast forward to now (2022) we have used the tailer several times and it has worked great. After spending some time in the trailer we did come up with a list of things we wanted to do to make it ours and work for our family:
- Refresh wall colours and cabinet colours to make it feel more modern
- Make the living space more open and better suited for a family of 5
- Customize the storage to better suit how we camp (moving cabinets, removing cabinets, and adding shelving into existing cabinets)
- Add some feature walls and custom finishes to give the trailer a better feel
- Update lightning to LEDs, and add some USB chargers.
RV Makeover Plan
We decided to make a punch list and plan out our RV makeover ideas as it will need to happen in stages. Here is our tentative plan for our RV Makeover:
- Stage 1 – Demo and Paint
- Demo of trailer (removing cabinets, flooring, etc).
- Prime and paint interior of trailer
- Stage 2 – Kitchen
- New flooring (which will go across the entire RV)
- Modify and paint cabinets
- Update counters
- Custom backsplash
- Stage 3 – Primary bedroom
- Modify storage
- Feature wall
- Custom lighting and phone storage/charing solution
- Stage 4 – Kids Sleeping Space
- Custom ladder
- Fun feature wall
- Stage 5 – Bathroom area
- Update bathroom sink area
- New sink and tap
- Look into shower surround options
- Stage 5 – Dinning & living room
- Modify sitting/dinning area
- Custom lightning
- Couch for living room area
- Update stereo (something with bluetooth)
- Look into TV options
- Stage 6 – Miscellaneous (may be tied into above stages)
- Electrical (new lights, update wall plugs for USB charging, etc)
- Paint interior doors
- Install blinds
RV Makeover Ideas
With a list of what we wanted to complete, we came up with an inspiration board to help guide design our choices. If you need starting check out our “How to make mood board” post to start yours.
Here is what our design ideas for the RV look like.
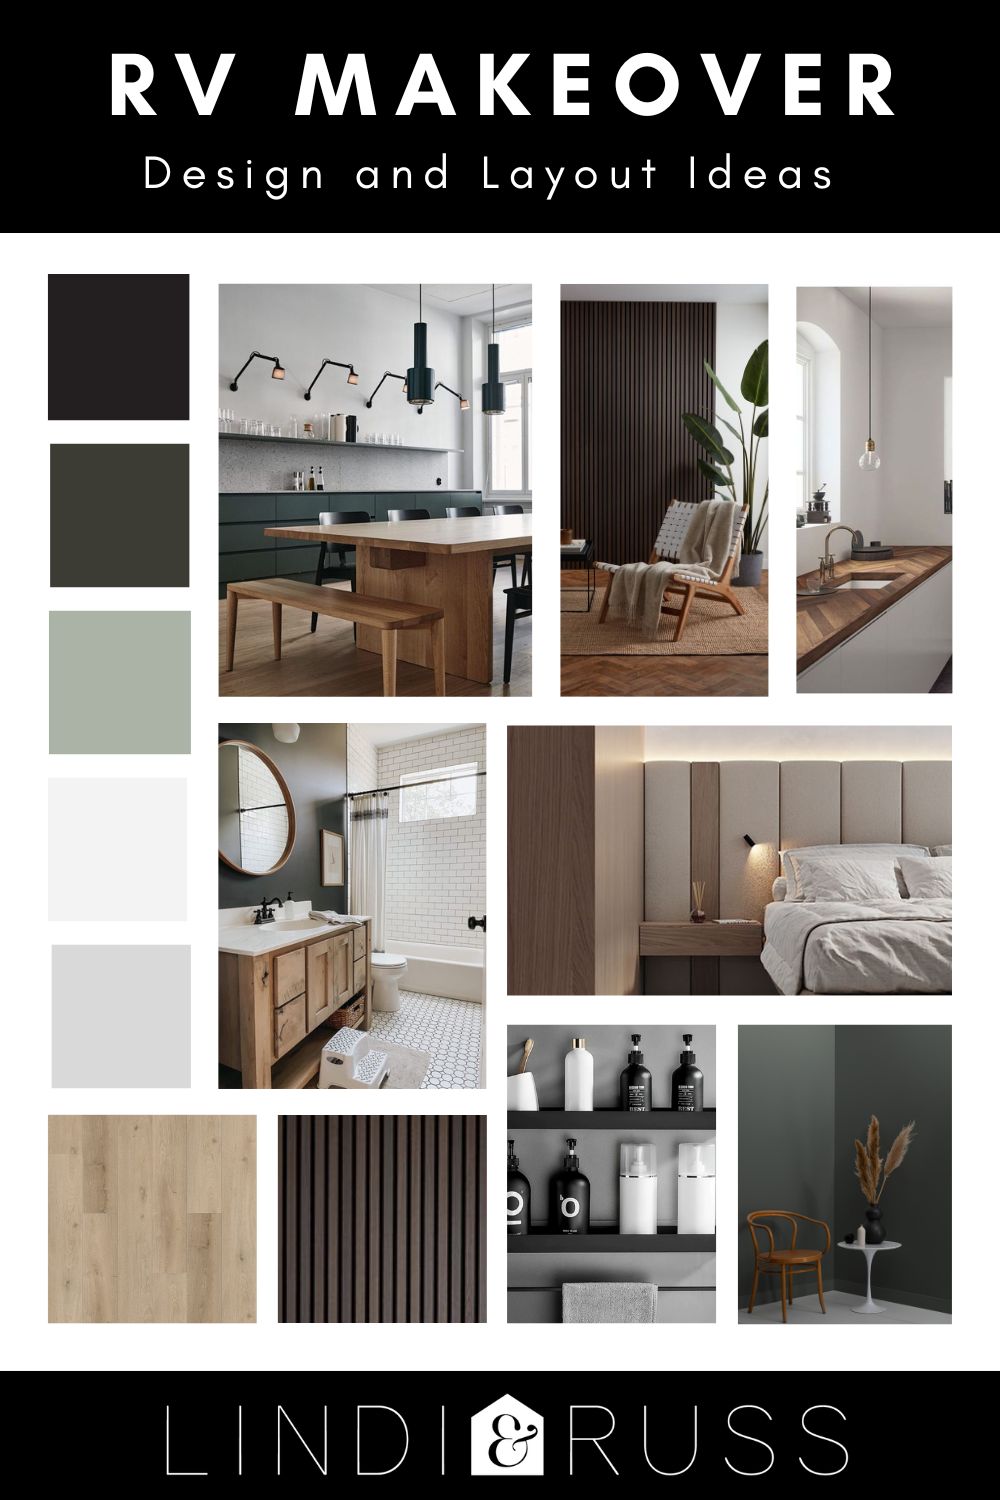
We love this earthy colour palette. We want to stay with whites, greens, browns, greys and blacks. Some of the plans include:
- Painting the interior a warm white colour
- Painting the kitchen cabinets green
- Vinyl plank flooring throughout
- Incorporate wall panelling of some kind (soft panels or wood panels or both)
- Add functional storage that looks good
- Remove old RV light fixtures and add potlights, or other newer options
- Create a fun space for the kids
Making Over our RV – Stage 1
We will go into a more detailed post on how to paint an RV step-by-step later on but here’s an overview of what we’ve accomplished so far!
Emptied the entire camper
This included dishes, lines, mattress, curtains, etc. Any cabinets that had plans of being modified or removed were removed from the camper. The old lightning was also removed as it will all be upgraded to LEDs in the future.
We removed anything on the walls and removed all the old carpet and any loose pieces of linoleum flooring were disposed of. After, the doors were also removed and taken out of the camper.
Prepped Walls and cabinets
All unused holes in the walls were patched using DAP spackling and a putty knife. After the putty dried we gave it a light sand. Because silicone can’t be painted over, any silicone that we found was removed. The silicone can be replaced with a paintable chalk like DAP Alex Plus was used to fill any gaps along seams and corners. We used painters tape and plastic to cover up all the areas we didn’t want paint and got ready to prime.
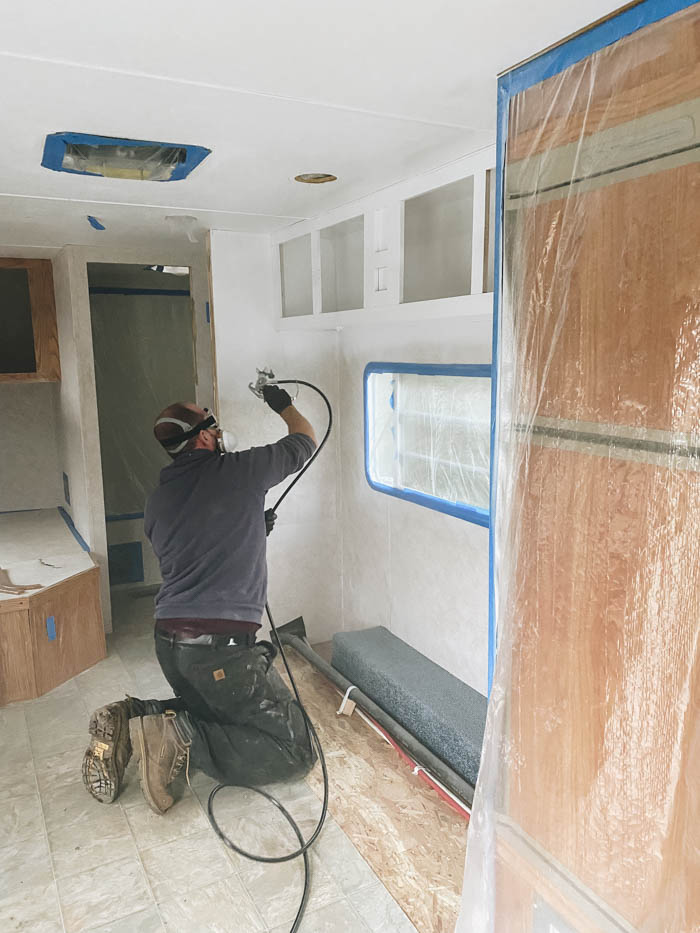
Painting
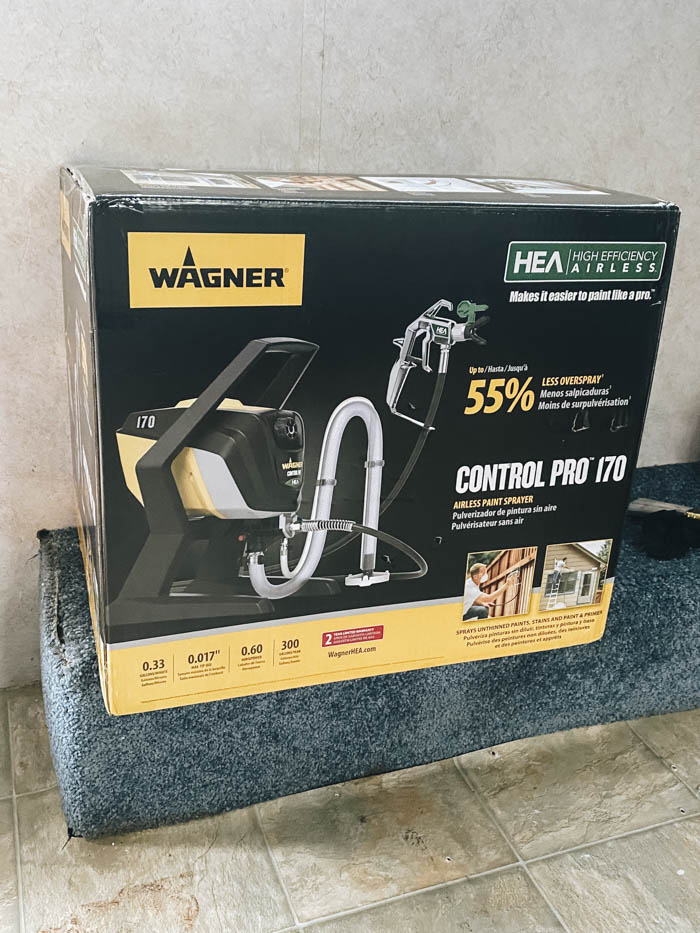
To start painting we grabbed our Wagner Control Pro 170 Sprayer and applied a coat of Bulls Eye 123 Primer to all the walls and ceiling surfaces. The Wagner Control Pro 170 Sprayer worked great to quickly spray all the walls, in the cabinets, and ceilings quickly.
Once the primer was 100% dry, a coat of White Dove (OC-17) from Benjamin Moore was sprayed onto the walls. The Control Pro 170 Sprayer made easy work of getting all the paint applied, and it looked great! The sprayer was very efficient getting the paint evenly in all the corners.

We removed the carpet in the primary bedroom and found some minor rot in the floor in the corner of the camper. As that will need to be addressed first we decided the above work would conclude stage 1 of our RV makeover.
Stayed tuned for the next stage of our RV makeover where we will be settling on some cabinet colours and renovating the RV kitchen!

Video of RV Demo and Painting
If you want to see how we did all of the demo in the RV as well as how we made some of our design choices, watch the video below!