
How to Remodel your RV kitchen! This post will give you the best ideas to refresh your outdated camper kitchen into an amazing updated space.
*This post was sponsored by Wagner and may contain affiliate links. When you buy a product through one of our links, we get a commission at no cost to you! Thank you for supporting our blog so that we can continue to bring you posts like these. For more information, please see our disclosure page.*
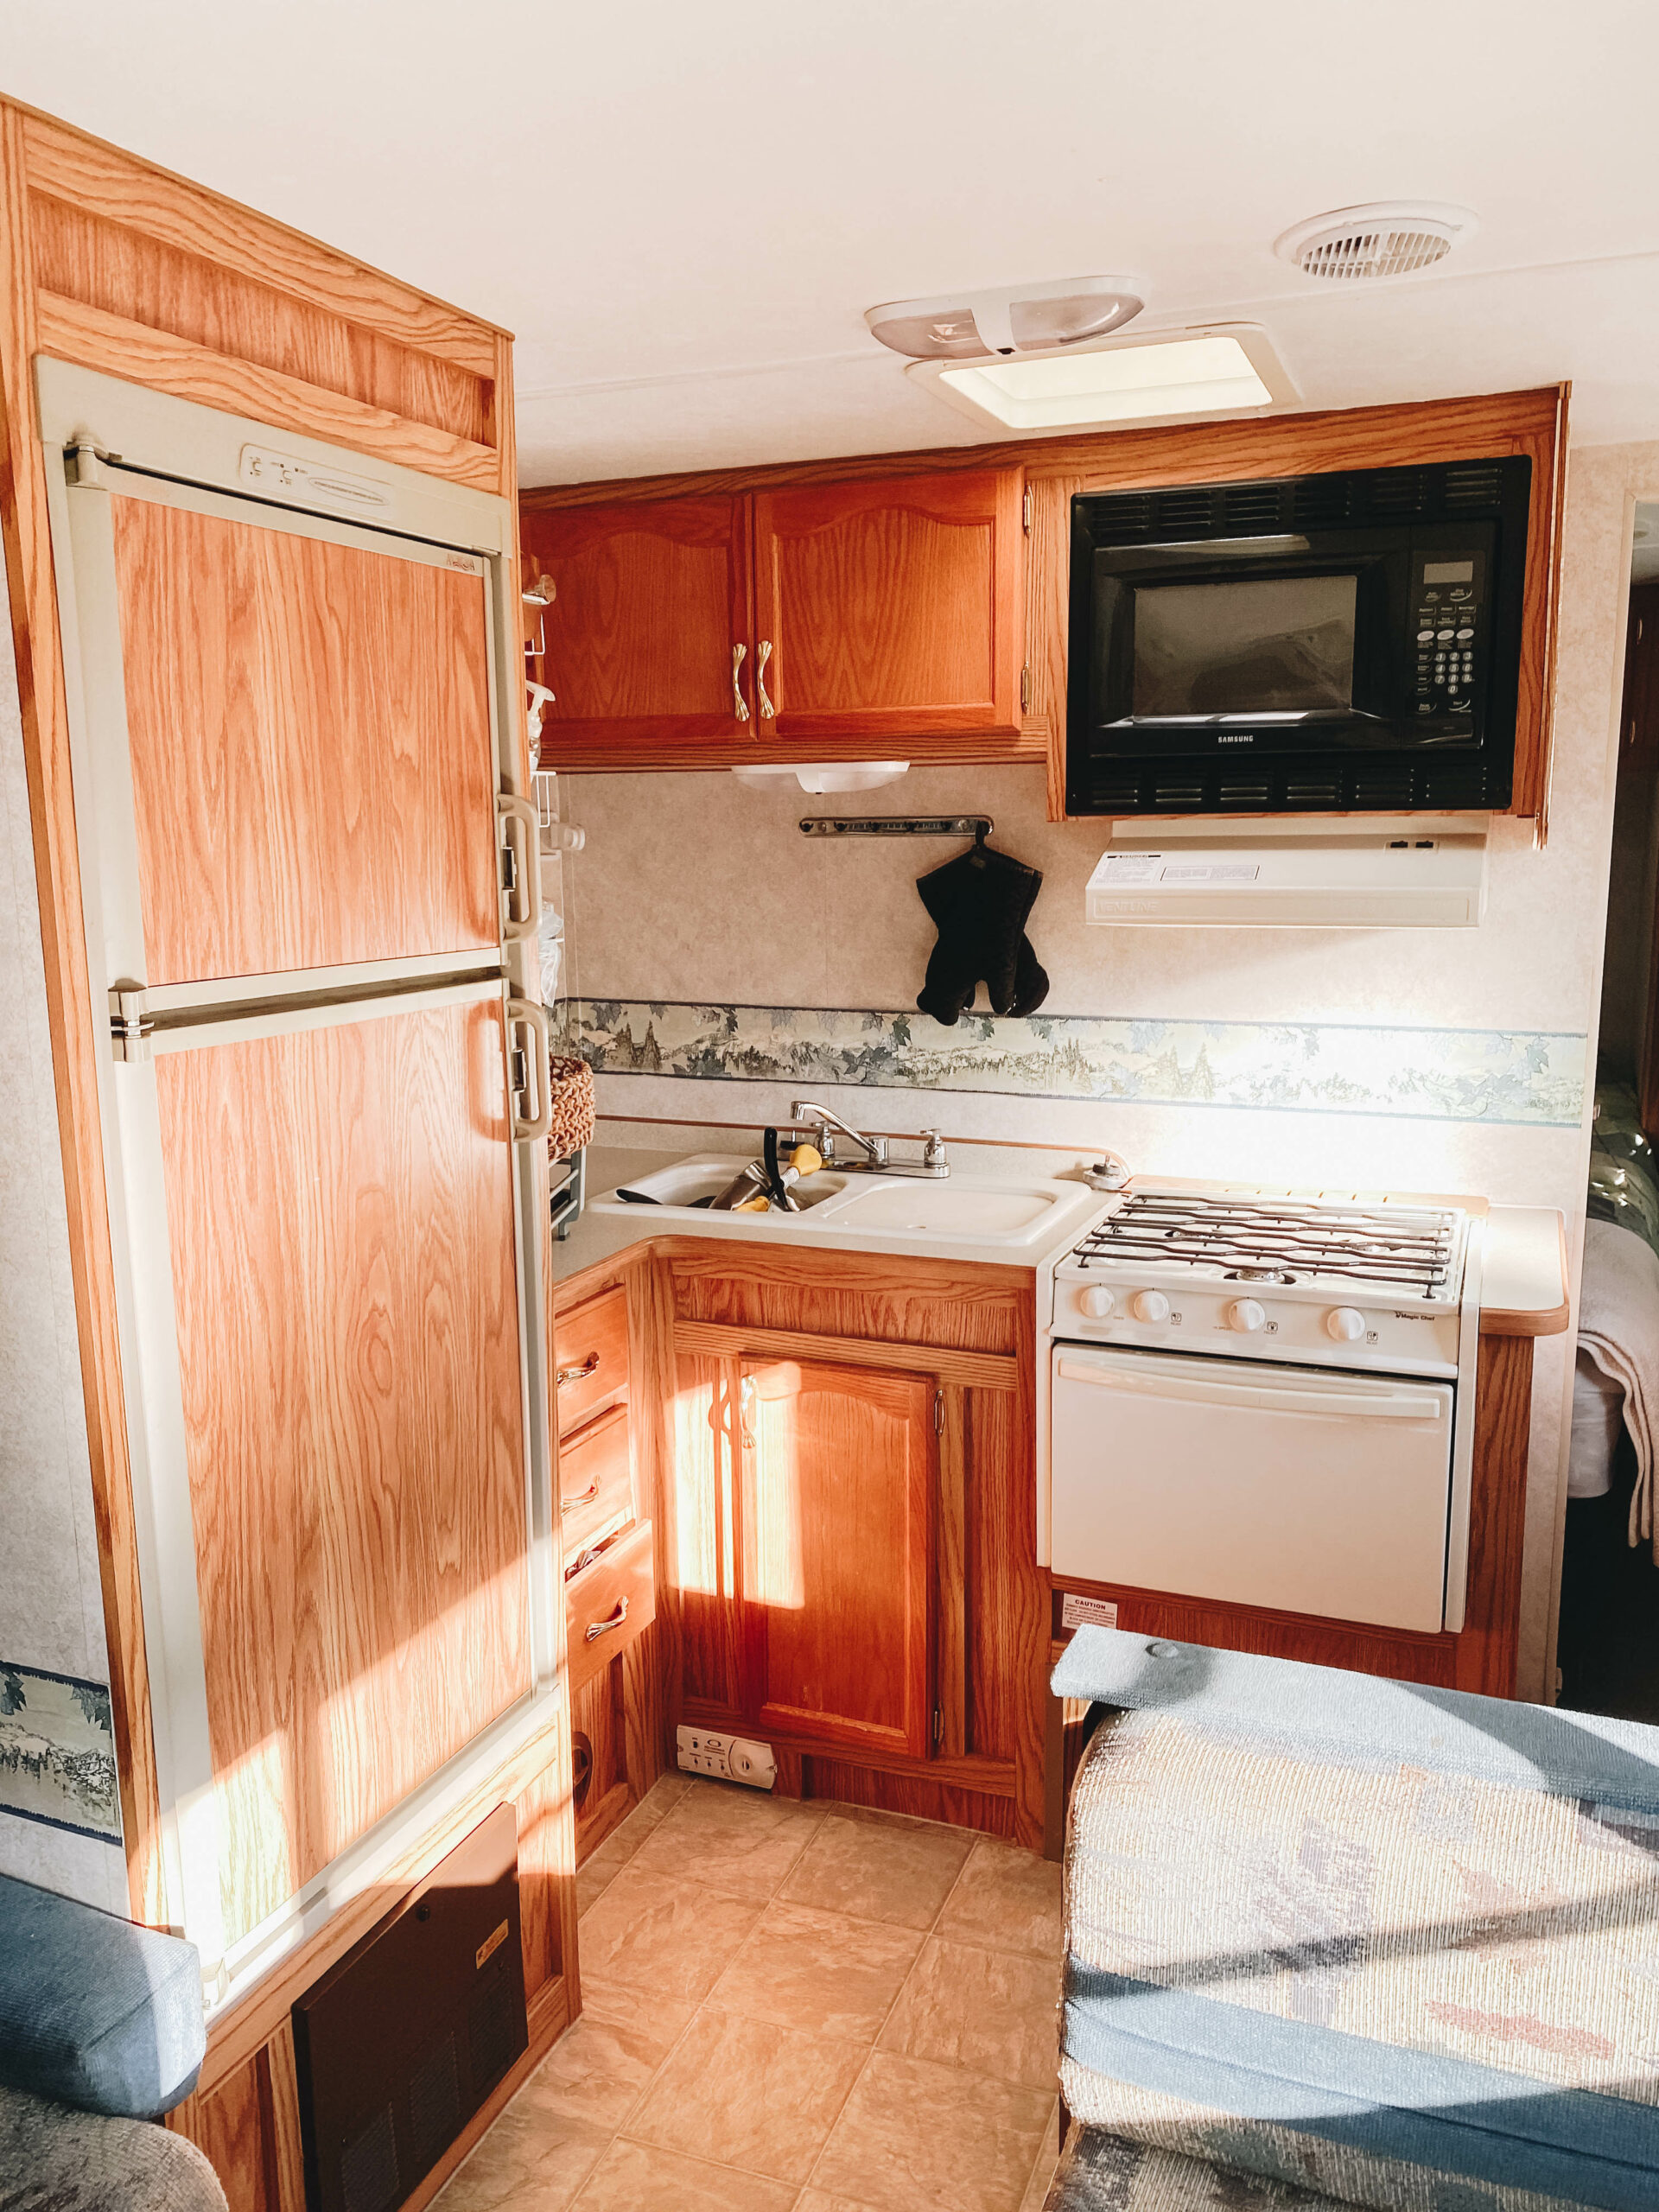
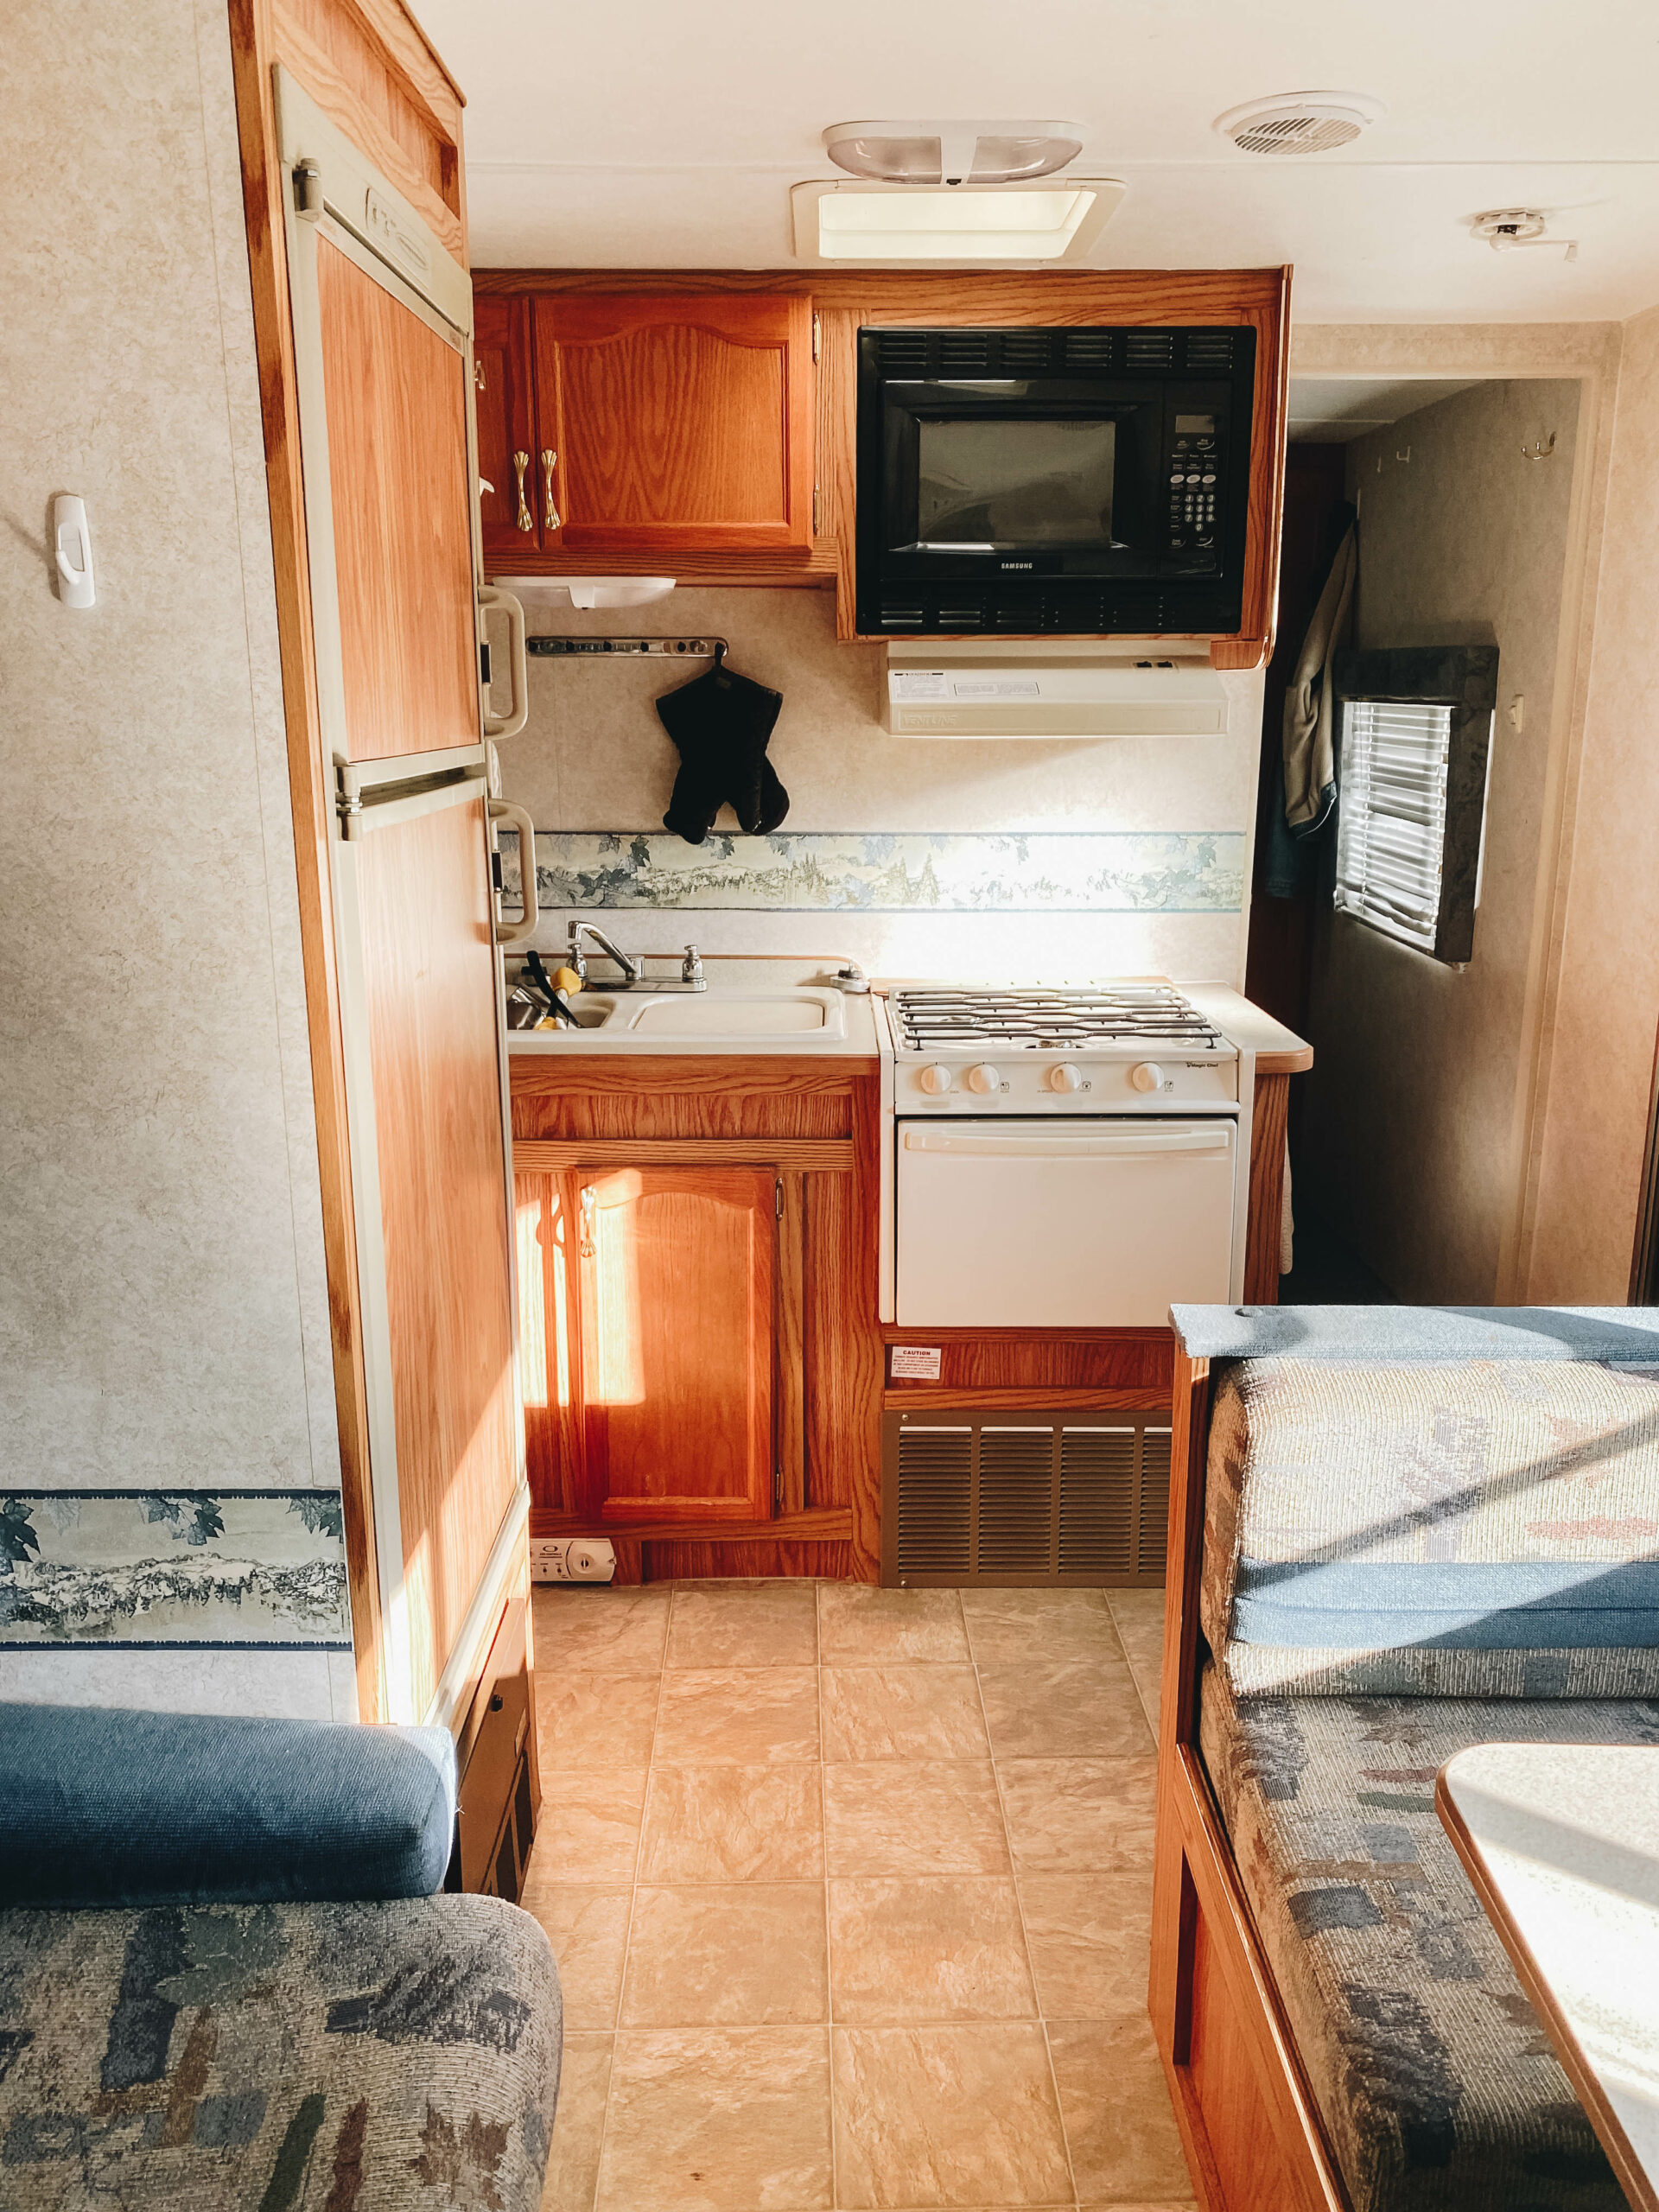
After finishing our the RV Bedroom Makeover we wanted to to tackle the kitchen space. We had the general colour scheme and ideas figured out from our RV Makeover Ideas post and Modern RV Makeover | Before Tour + Design Plans video. The demo and paint were completed previously in the entire trailer in our DEMO Day! Modern RV Makeover video and blog post.
Overall the cabinet layout worked but we just wanted to update colours and flow of the space. The original trailer board, blue mountain boarder, and oak wood look just didn’t fit the vibe we were going for for our RV kitchen remodel.
Step 1 – Colours
To fit the vibe primary bedroom we wanted to stay with the green tones and add black and grey through out the kitchen. We decided to use a black appliance spray paint to paint all the appliances (fridge, stove, vent hood, and vents. All the hardware would also be black.
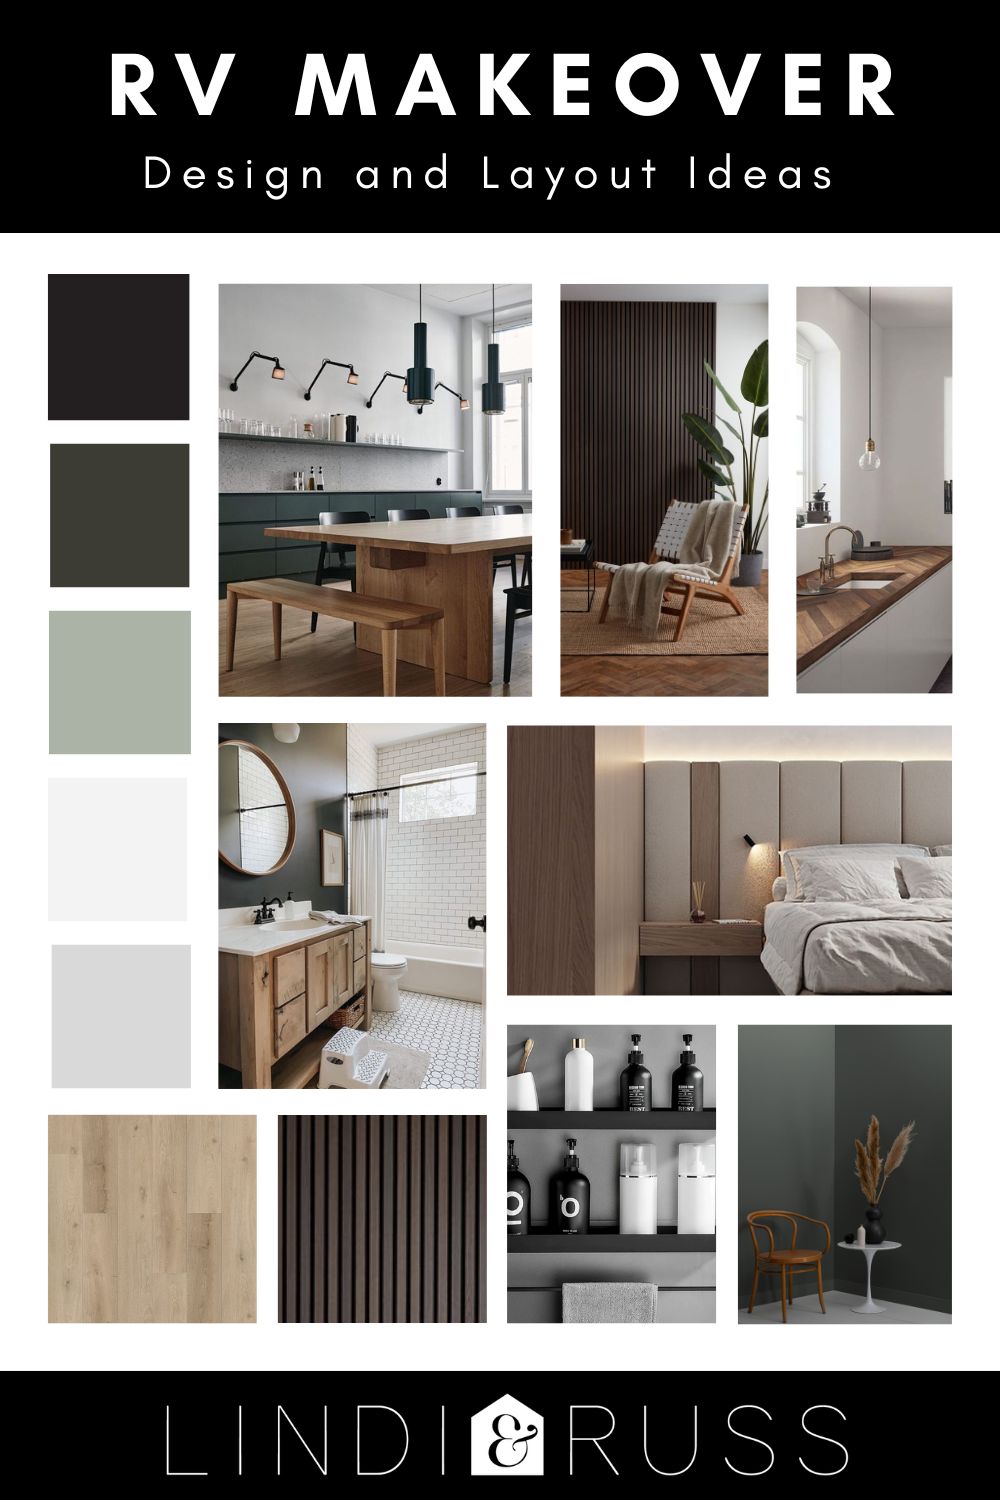
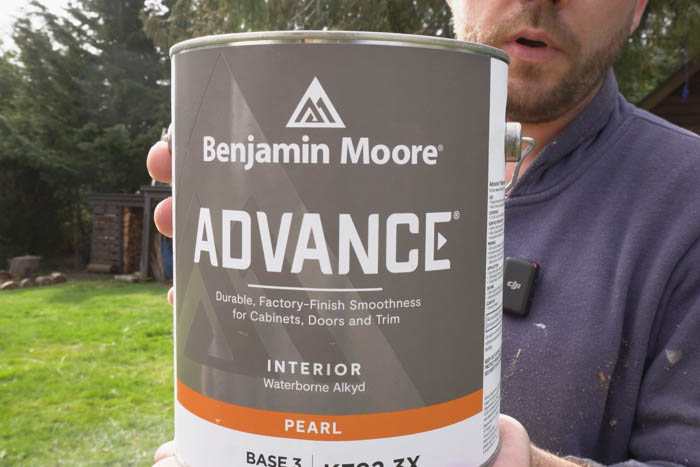
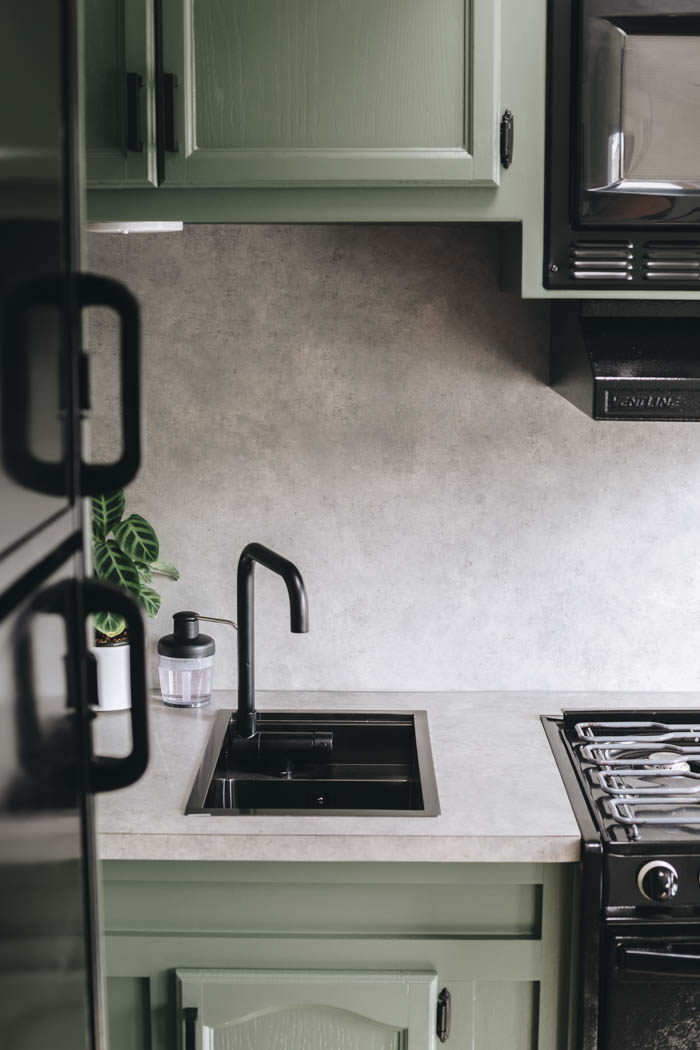
We choose the Advanced Backwoods Green colour for all the cabinets in Pearl finish. This tied in nicely with the green and tan colours in our primary bedroom.
For the counter tops we chose a grey faux concrete look called xxxx. We decided to use the laminate on the countertops and backsplash area to give the kitchen a modern look. When choosing backsplash and countertop material you want to be conciseness of weight for a RV camper remodel. This made the laminate a great choice.
Step 2 – Cabinets
To paint the cabinets we used out Wagner Flexio 3500 Sprayer. This sprayer works great because it comes with a detail finish nozzle that is perfect for spraying cabinets. It is significantly faster than hand rolling or brushing everything and leaves a nice smooth surface.
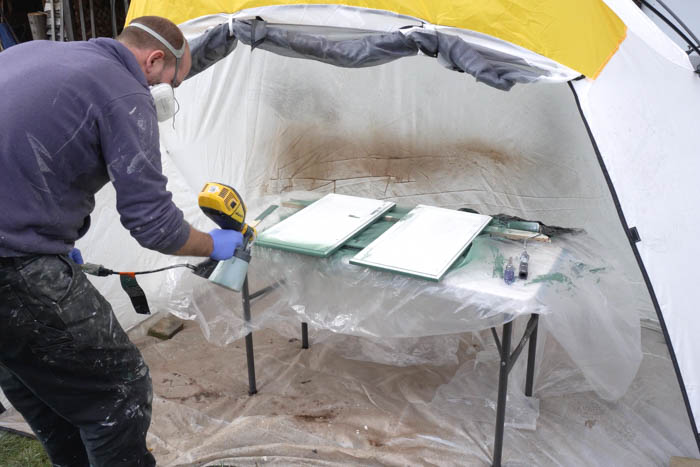
All the cabinets and doors got a light sand first and then degreased everything. We primed them all first with the Flexio 3500 Sprayer and its detail sprayer nozzle. We sprayed one side, let it dry and then sprayed the opposite side.
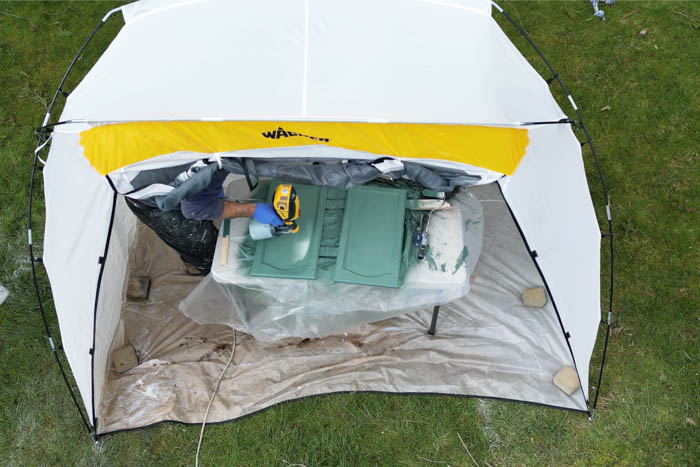
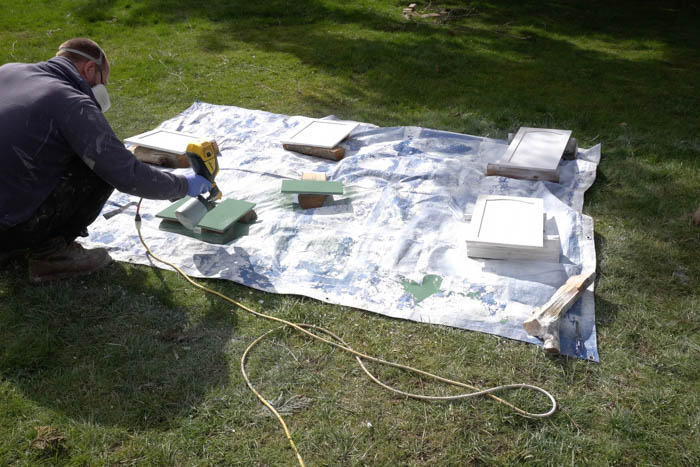
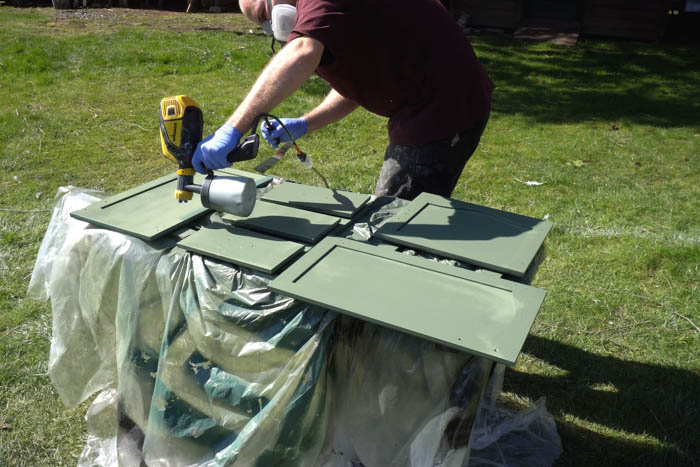
With everything spayed we quickly cleaned the paint sprayer, added the Backwoods Green paint and sprayed on the top coat. The weather changed to rain part way through but luckily we had out Wagner Spray Shelter handy. We setup the spray shelter and finished off spraying all the cabinet doors.
We couldn’t be happier with the finish. The sprayer and paint combo gave a high end smooth finish and really transformed the look and feel of the kitchen. Best of all it really beats having to brush and roll all those corners and doors by hand!
Step 3 – Countertops and Backsplash
New countertops were added to the RV kitchen Remodel because the old counter tops looked really cheap and didn’t fit the space as nice. The new countertops were made of 5/8 thick Melamine Particle Board to build the top and used a strip of 5/8″ x 1/2″ lumber to make an edge/overhang around the perimeter of the countertop.
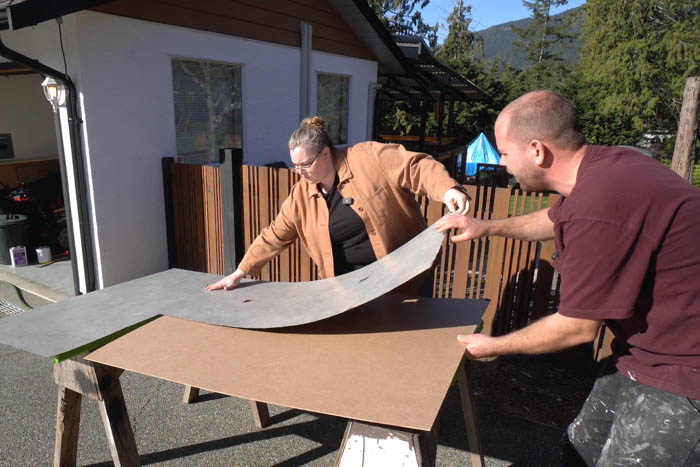
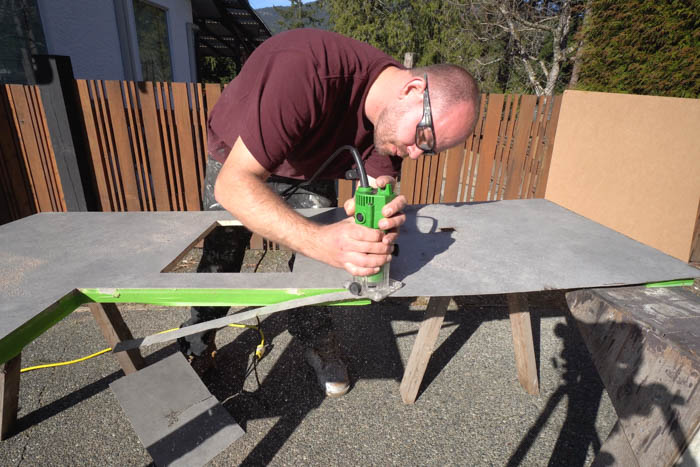
We cut a hole for the new sink and got ready to apply the laminate. We added all the laminate to the edges first and then applied the large sheet to the top using contact cement. You can use a laminate trim router with a laminate trim bit to cut the excess material away, as well as a file, and orbital sander (carefully) to remove material from the edges/corners where the router can’t reach.
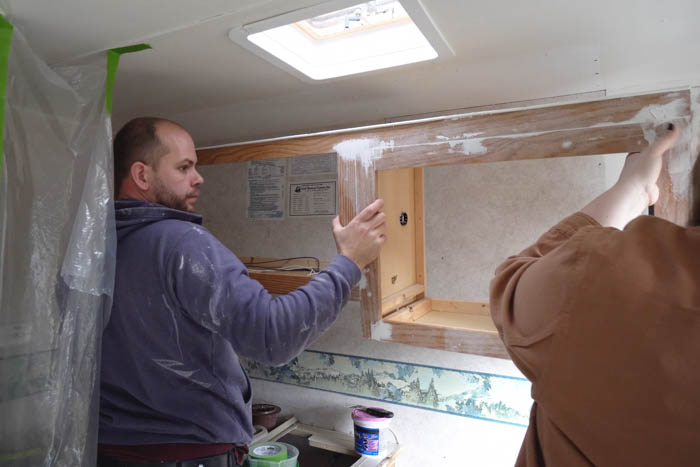
The old wall paper boarders had to be removed before we could place the backsplash on the wall (it was beginning to peel off the wall). Wagner’s Furno 300 heat gun worked perfectly to soften the old wallpaper’s adhesive so we could pull it off of the wall.
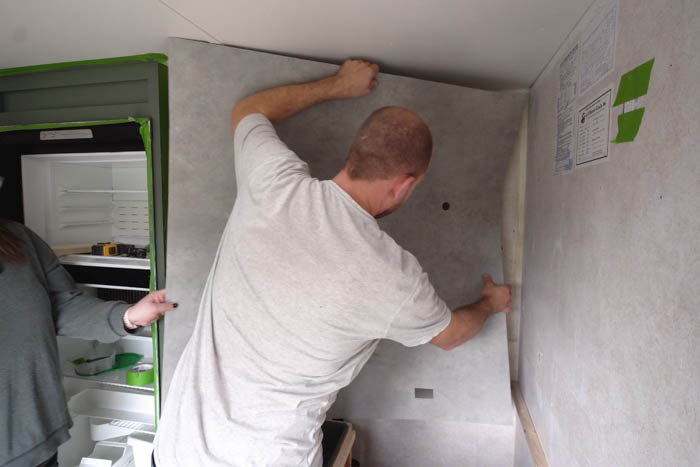
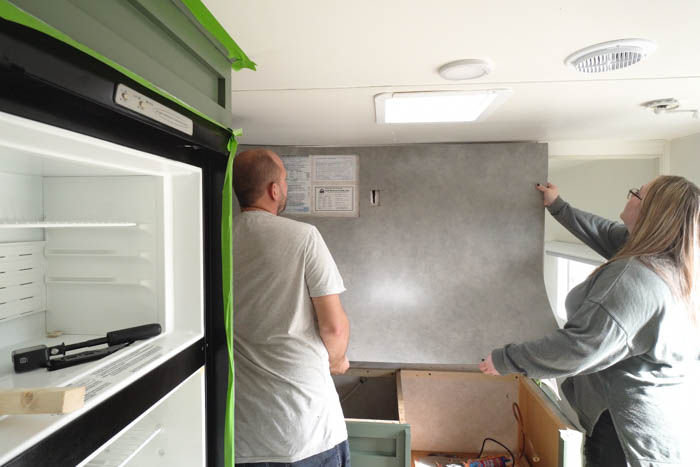
Then we cut sheets of laminate and test fit them for the three walls that would make our backsplash. We used a panel adhesive to glue the sheets to the wall. This gave us time to fit and place the piece of laminate before the glue set (with contact cement you only have one chance to line up the panel and place it – which we found out the hard way first).
Step 4 – Hardware & Accessories
We upgraded all the old brass hardware to new matt black handles and hinges. We also updated the old 12v lighting to new LED lighting. For the kitchen sink we splurged and bought a new sink with a foldable spout. This would help maximize the counter space and be a better fit for our camping needs.
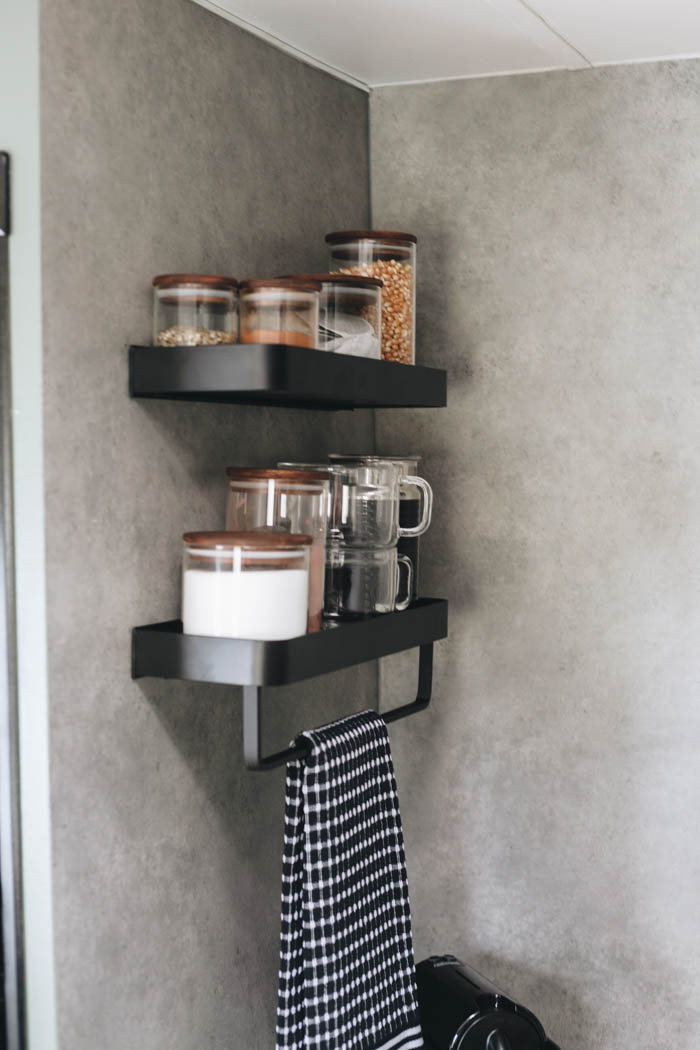
We added new black wall shelves and installed our Nespresso pod holder under the cabinet for coffee pods. We also added a 12v wall USB charger to allow us to charge our devices.
Shop this Project:
Tools used
- Wagner Flexio 3500 Sprayer
- Wagner Spray Shelter
- Wagner Heat Gun
- Trim Router Bit
- Trim Router
- Laminate File
- Orbital Sander
Hardware/Misc. Supplies
- Handles
- Hinges
- Lights
- Black Appliance Spray Paint
- RV Sink
- Shelves (simliar)
- 12v wall charger (similar)
- Nespresso Pod Holder
Finished RV Kitchen Remodel
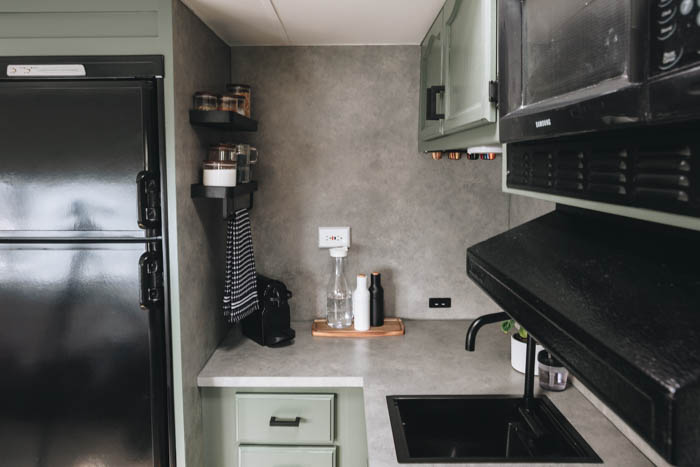
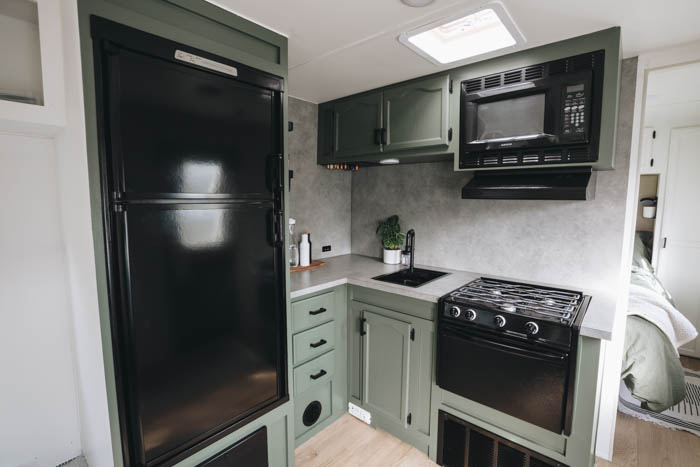
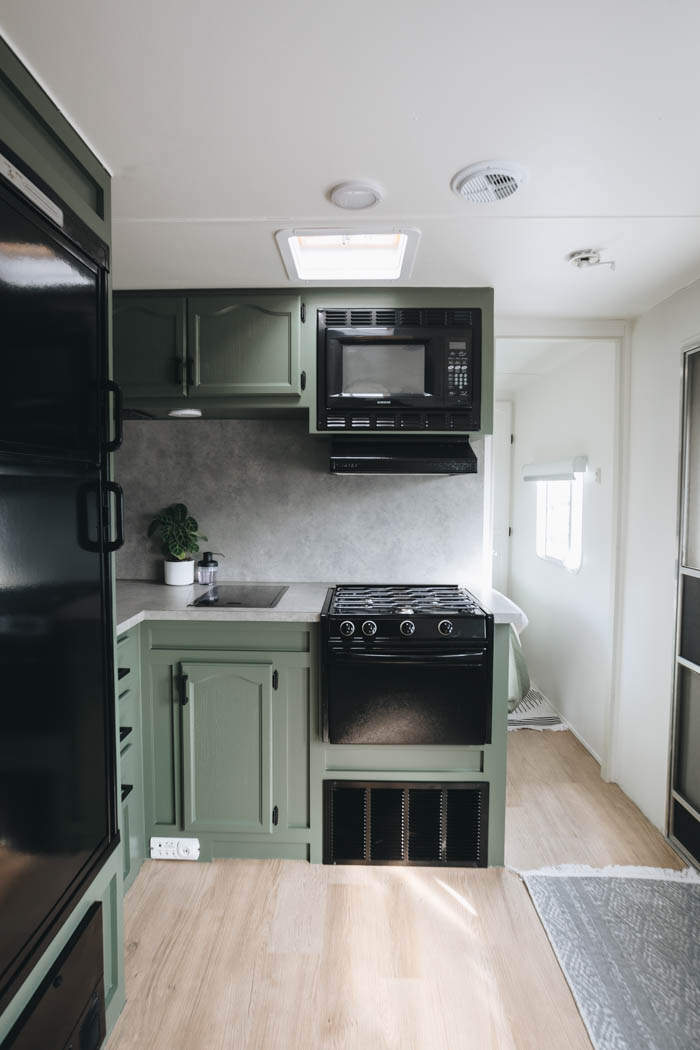
We couldn’t be happier with how the space turned out. The new cabinet colour, refreshed appliances and new hardware totally changed the feel of the space. Wagner’s paint sprayer gave the cabinets a really professional finish and look. We can’t wait to get this trailer done so we can take it camping!
RV Episode 4 – RV kitchen Remodel Video
If you missed the other videos be sure to check them out: