
Stunning RV Bedroom Remodel. Before and after of a beautiful RV bedroom renovation for any camper or RV! Including a DIY headboard idea!
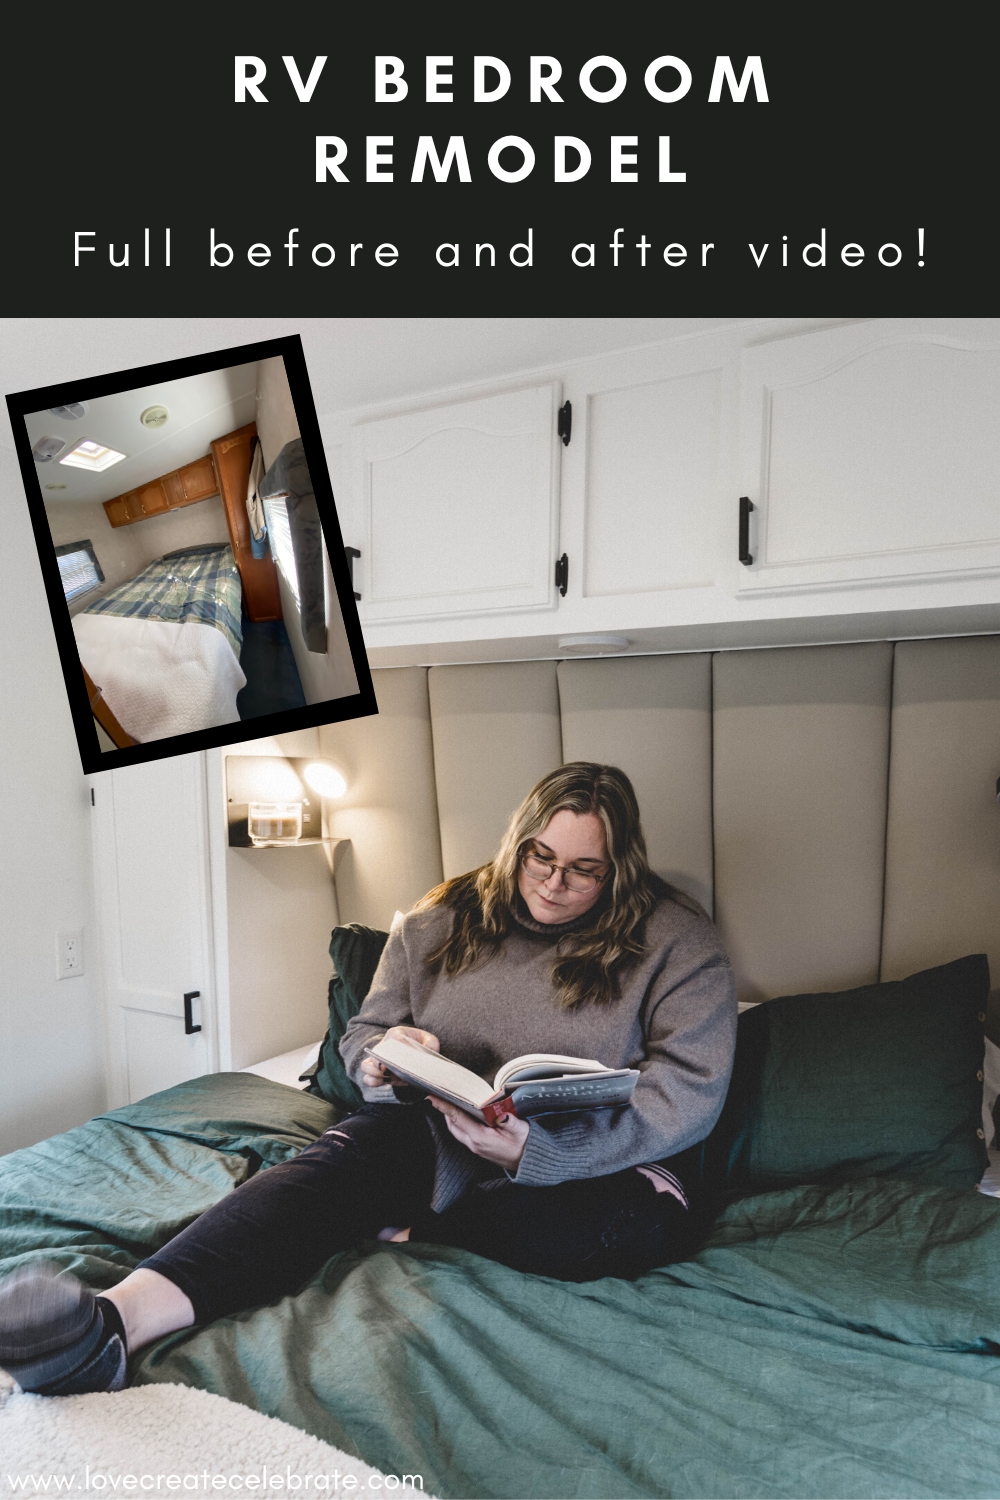
We bought our 2004 Gulf Stream – 27ft. Bumper Pull – a few years ago, always with the intention of giving it a full makeover. A few years when by full of house renovations and camping trips, but there was never enough time, or sunny days to tackle the RV. Well friends… our time has finally come! We are giving our outdated RV a full modern upgrade, starting with our RV bedroom remodel!
*This post may contain affiliate links. When you buy a product through one of our links, we get a commission at no cost to you! Thank you for supporting our blog so that we can continue to bring you posts like these. For more information, please see our disclosure page.*
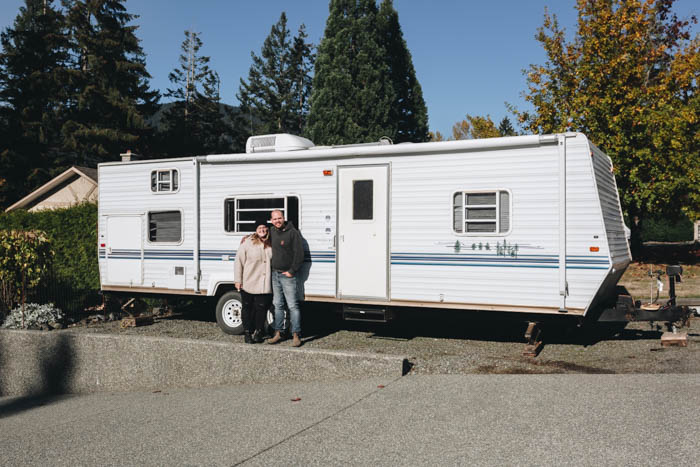
This is our camper. We’ve been working on the RV for a few weeks now. We already did all of the RV demo and painting of the walls and some cabinets. Once we had the base done, we wanted to tackle the spaces one at a time.
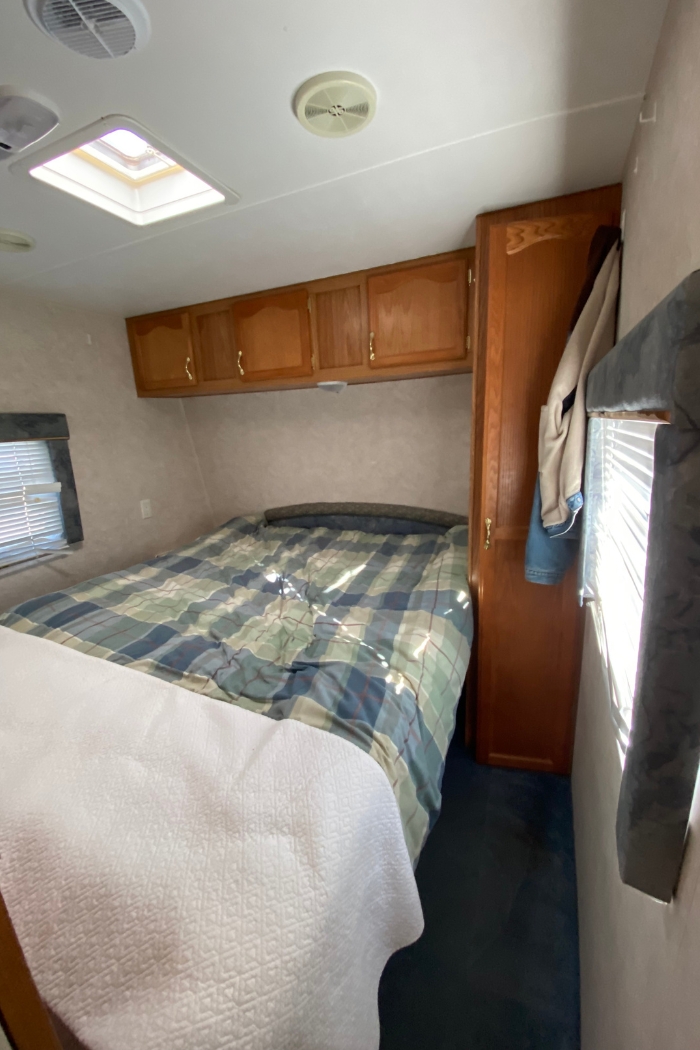
Here’s a closer view of the bedroom we started with. One thing that drove me crazy in here was the lack of symmetry in the cabinetry, so I knew I wanted to change that. A few other things we wanted to update or tackle for the RV bedroom remodel included:
- New window coverings
- New flooring
- Painting walls and cabinets
- New hardware
- Adding a DIY headboard
- Shelving beside the bed
- New upgraded speakers
Video of our entire RV Bedroom Remodel
The best way to see how we did each of the projects, is by watching the RV Makeover video. I’ll explain some of the process and share the products we used below as well.
Don’t forget to subscribe to our channel so you don’t miss out on our next budget-friendly reno!
RV Bedroom Remodel: Sources and Tips
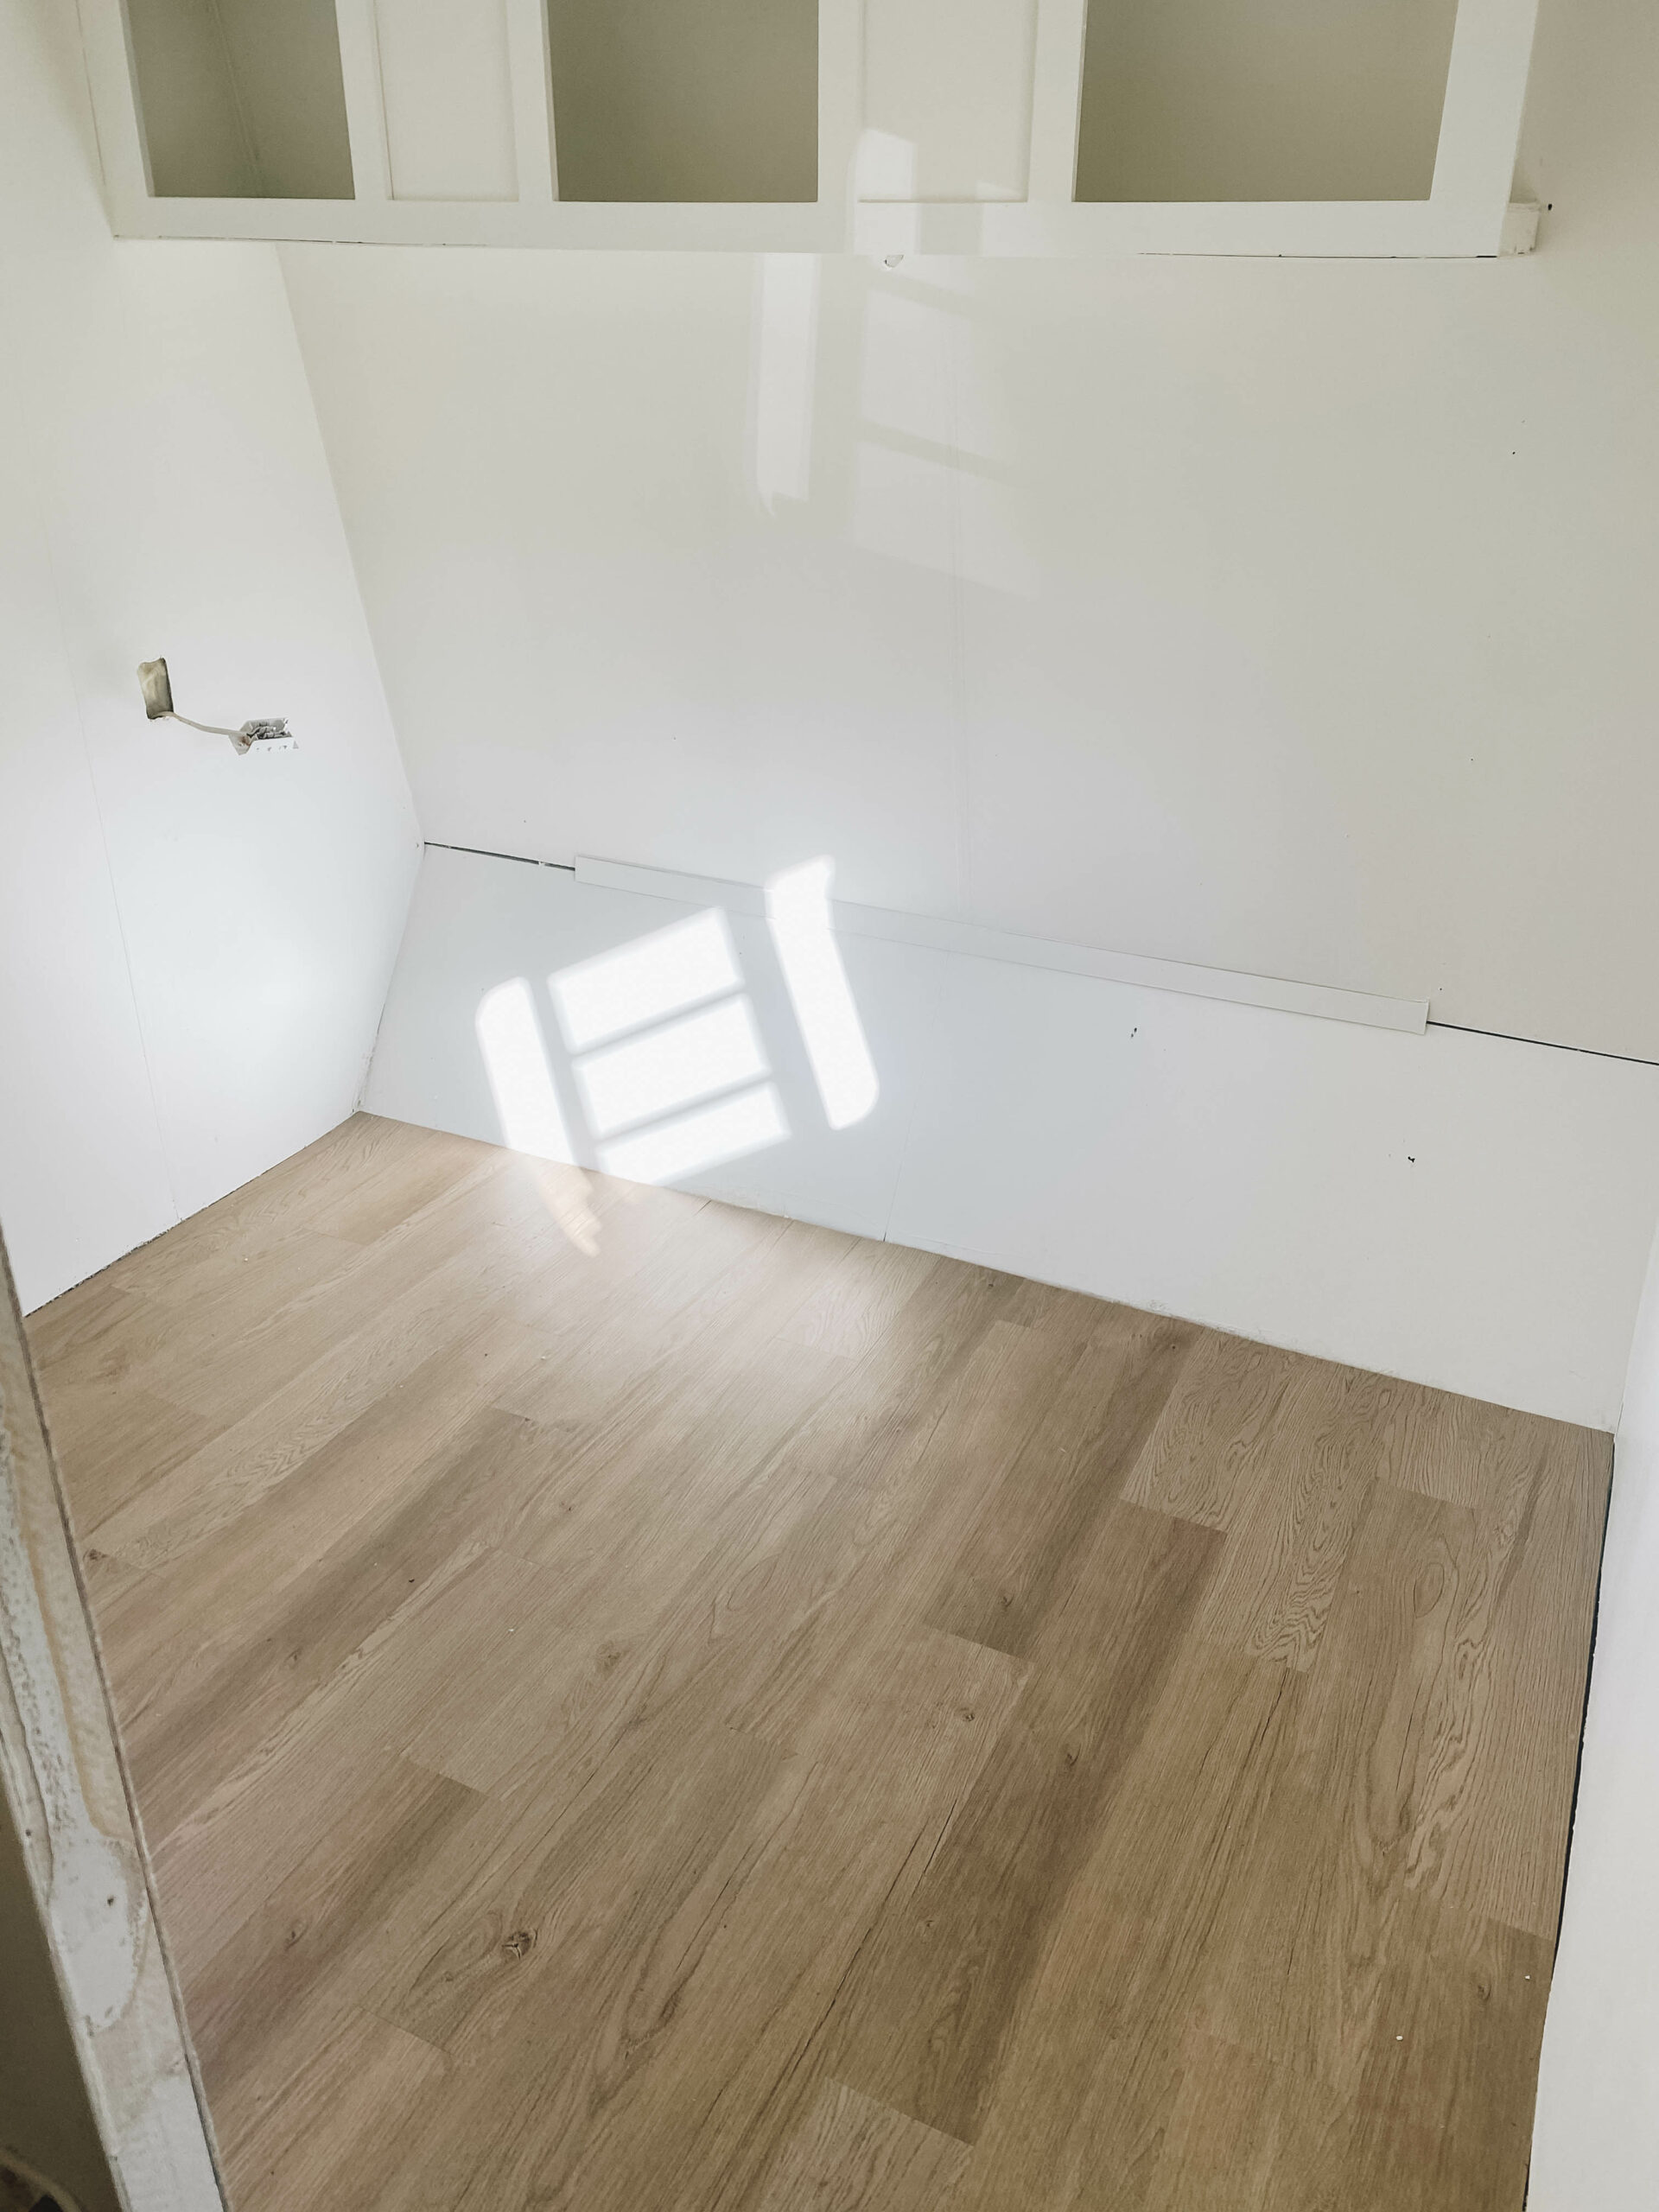
New Paint and Flooring
Once the demo was complete, we painted all of the walls and some of the cabinetry. We choose a warm white and used White Dove from Benjamin Moore. Next, we tackled the flooring, laying vinyl plank flooring down across the entire RV. The brand and colour we chose was Allure Avalon Sanded Vinyl Plank Flooring.
RV Cabinetry Update
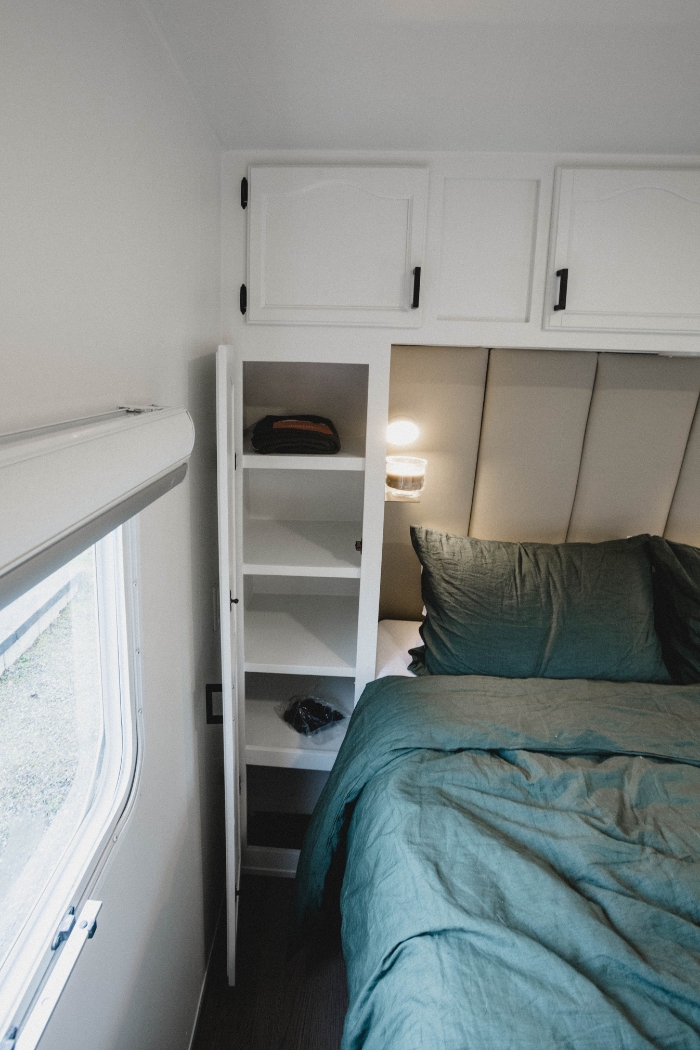
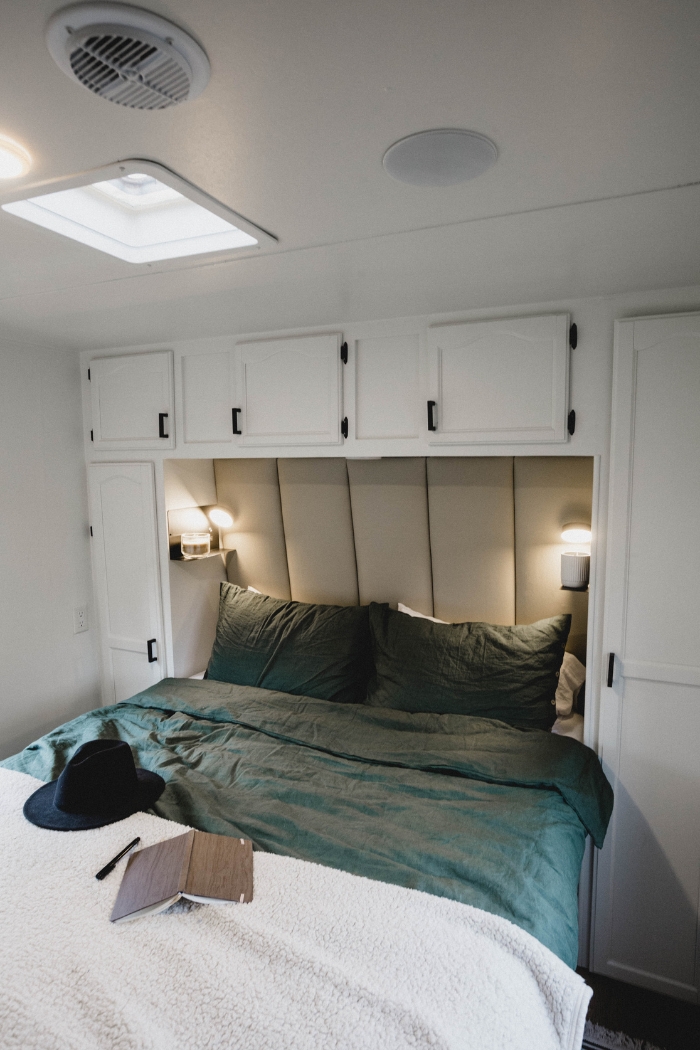
I really wanted to create a more symmetrical look with the cabinetry. To do this, we removed the small side table, and added another tall cabinet. We actually took the small cabinet out from the “living room” of the RV and installed it here instead.
We then cut the backs of both cabinets to follow the line of the RV wall (it angled inward towards the top). The reason for cutting the second cabinet, was so that it would be flush and in line with the rest of the cabinetry. If you look back at the original photo, it sticks out a lot before the modification.
Finally, we added some simple MDF shelves inside of the cabinets. There was previously a bar for hanging clothes that we literally never once used, so that was a much better use of space.
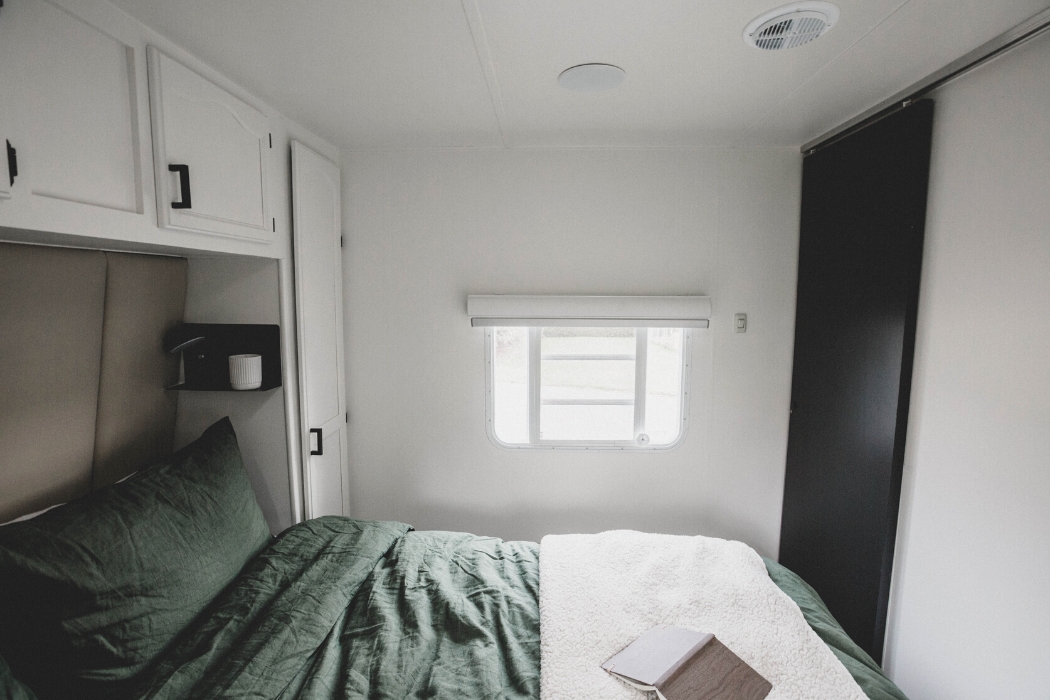
RV Window Coverings
There is nothing worse than RV window coverings! They look awful, they don’t block sunlight, and the little plastic pieces get caught on everything!
We upgraded to some remote control blinds from Smart Wings. The blinds only take a few minutes to install and they look amazing! They are controlled on a remote, and you can set the remote to control multiple blinds on the same channel. We added both bedroom blinds to one remote, so they open and close together. They are also blackout, and do an amazing job of blocking out the sunlight!
Follow this link to SmartWings if you want to order some, and use the code Lindi&Russ8 for a discount!
RV Door Hardware
Updating the hardware was an easy decision, but we didn’t want to spend much on this upgrade because throughout the camper we had quite a few hinges and pulls!
We bought some simple black hinges to replace the old gold ones, and some square black pulls to modernize the hardware.
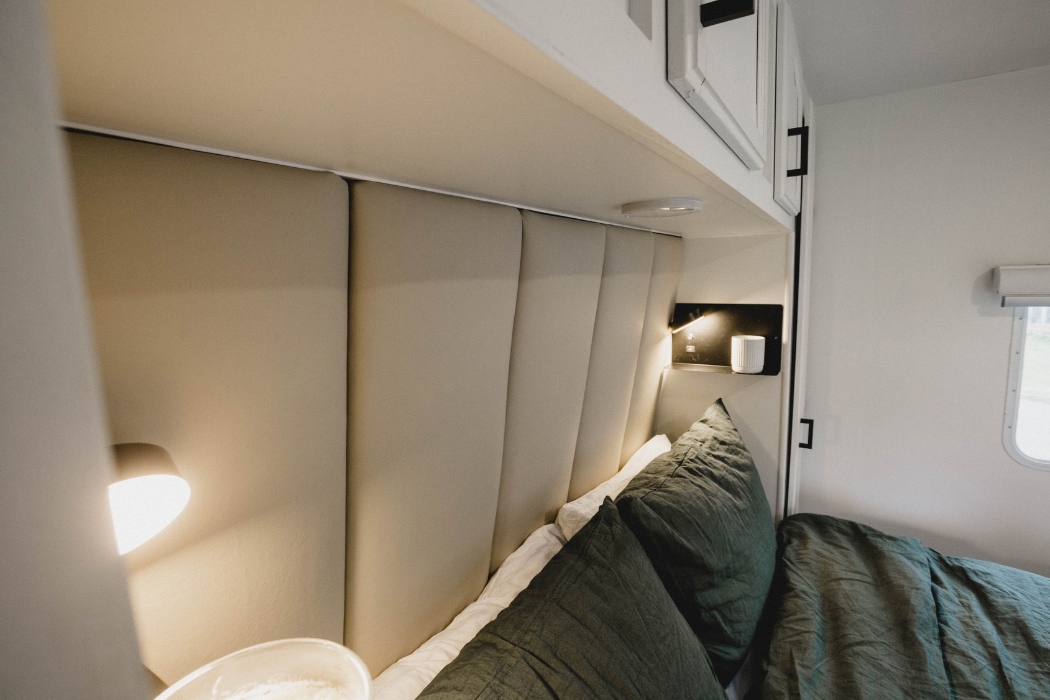
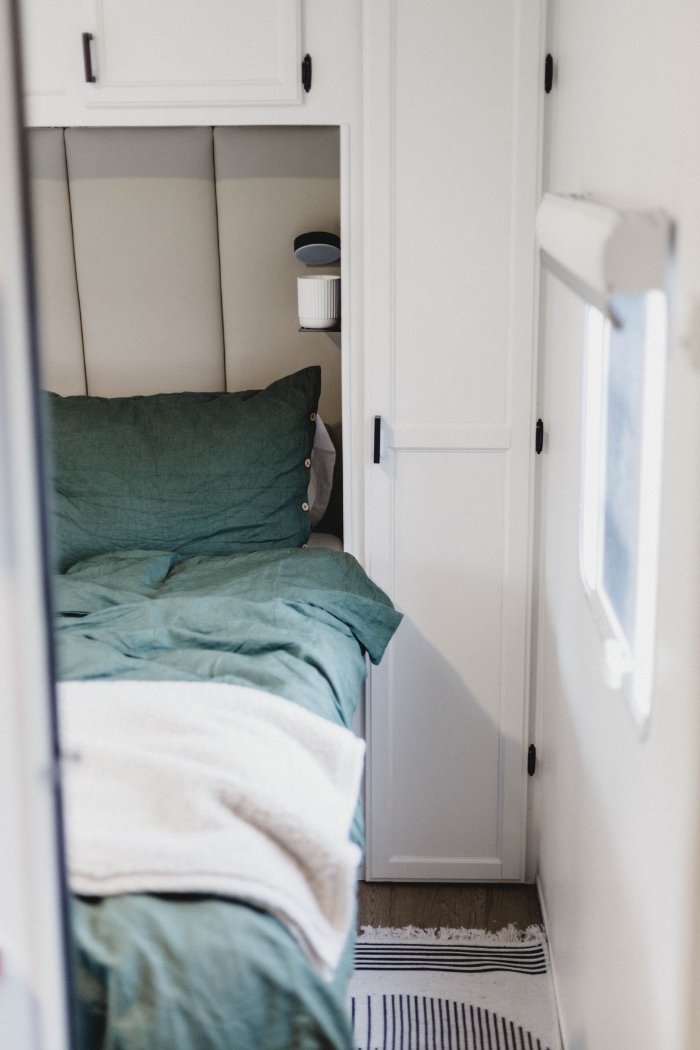
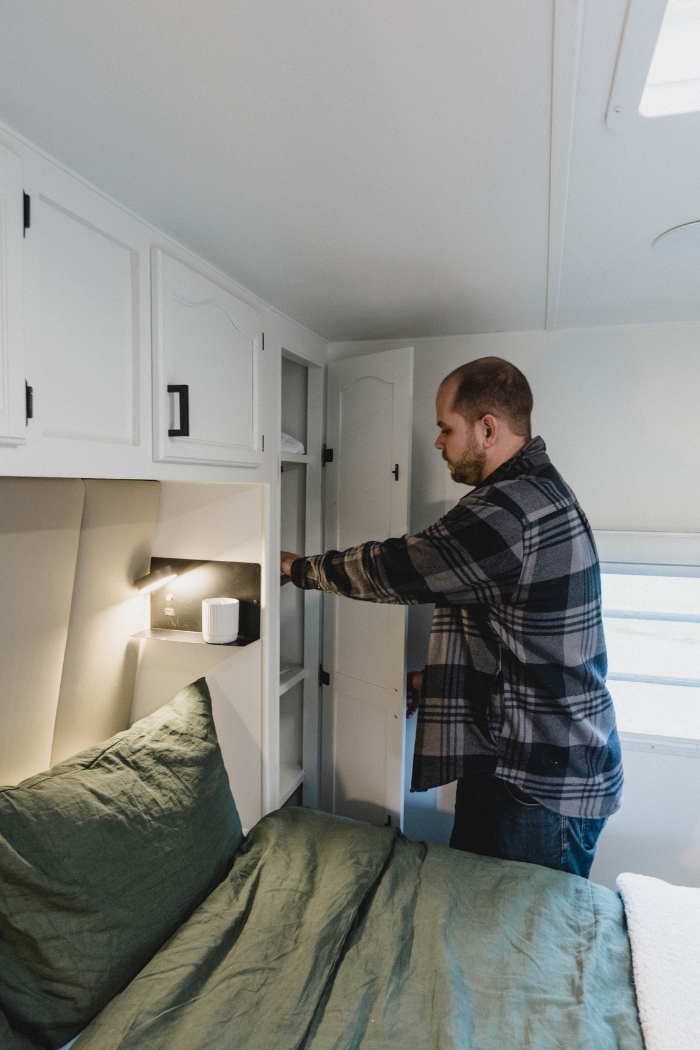
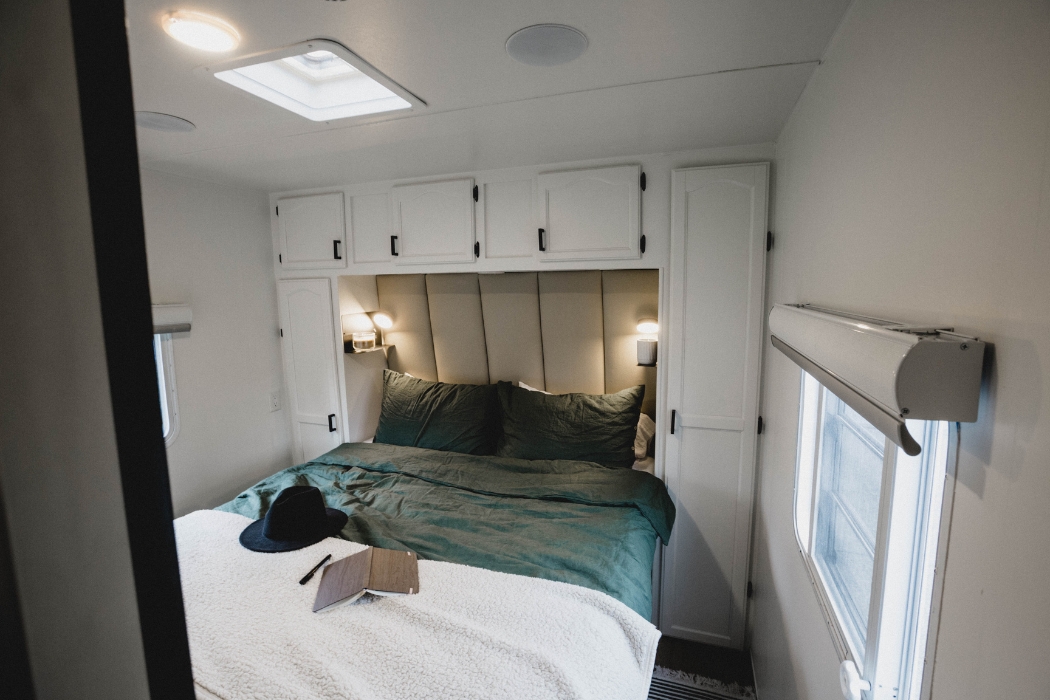
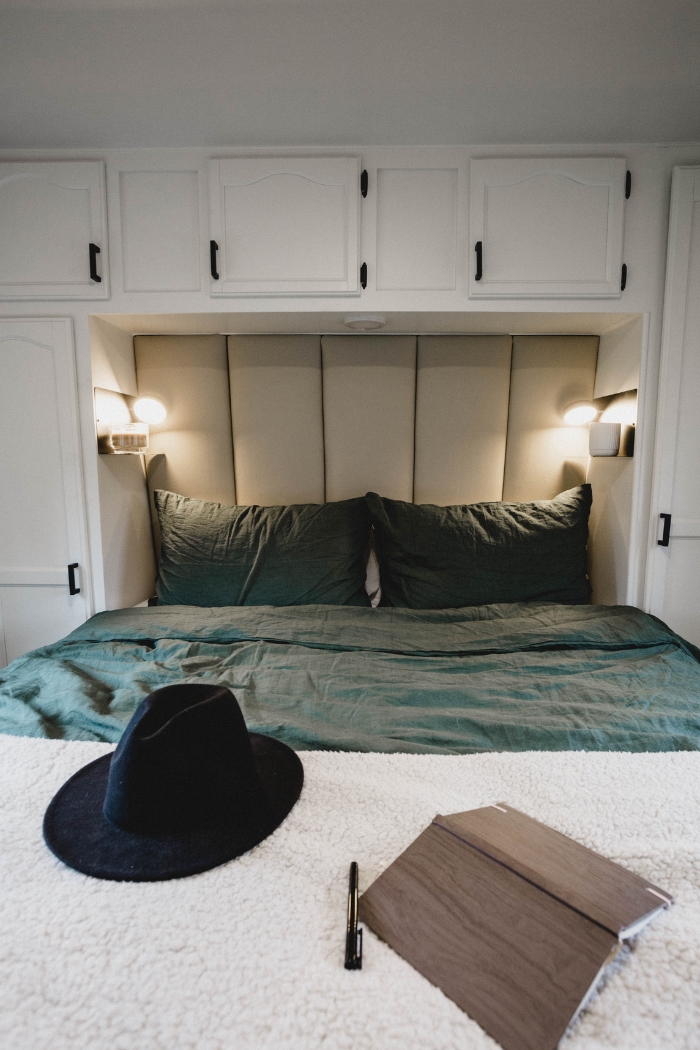
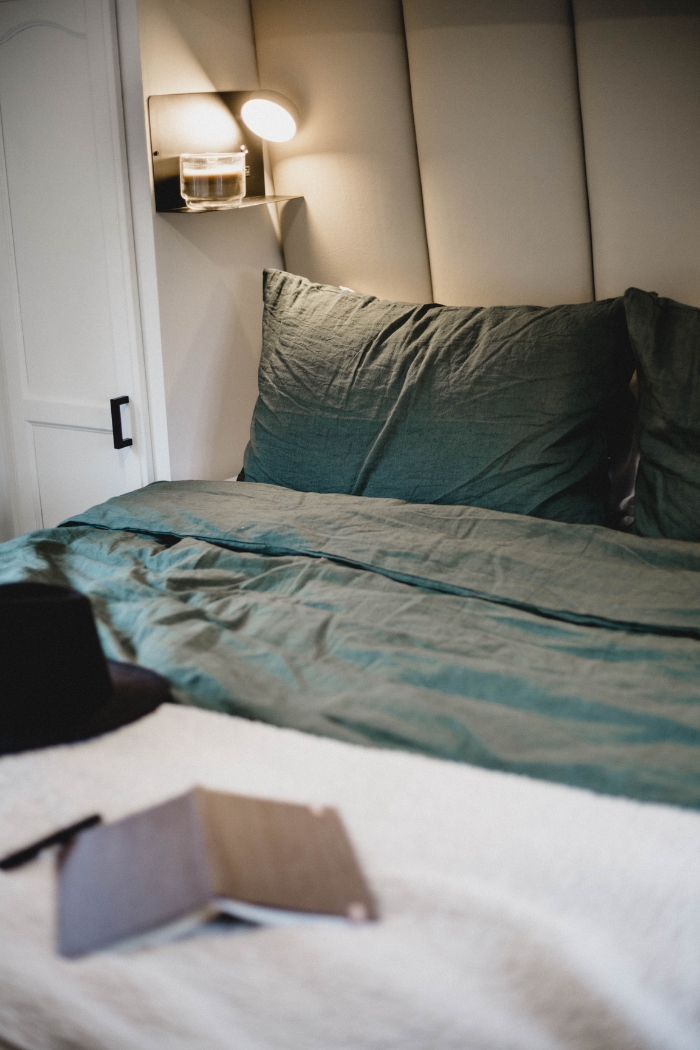
Panelled Headboard for the RV
This panelled headboard totally transformed the RV bedroom! We will be sharing a full post on how we did these easy DIY panels, but for those interested, we used vinyl as the main beige material, layered over batting, foam, and plywood.
The real game changer here were the fast clips we found that attached to the wall, and the panels, and allowed us to quickly and easily attach our new panels to the RV wall.
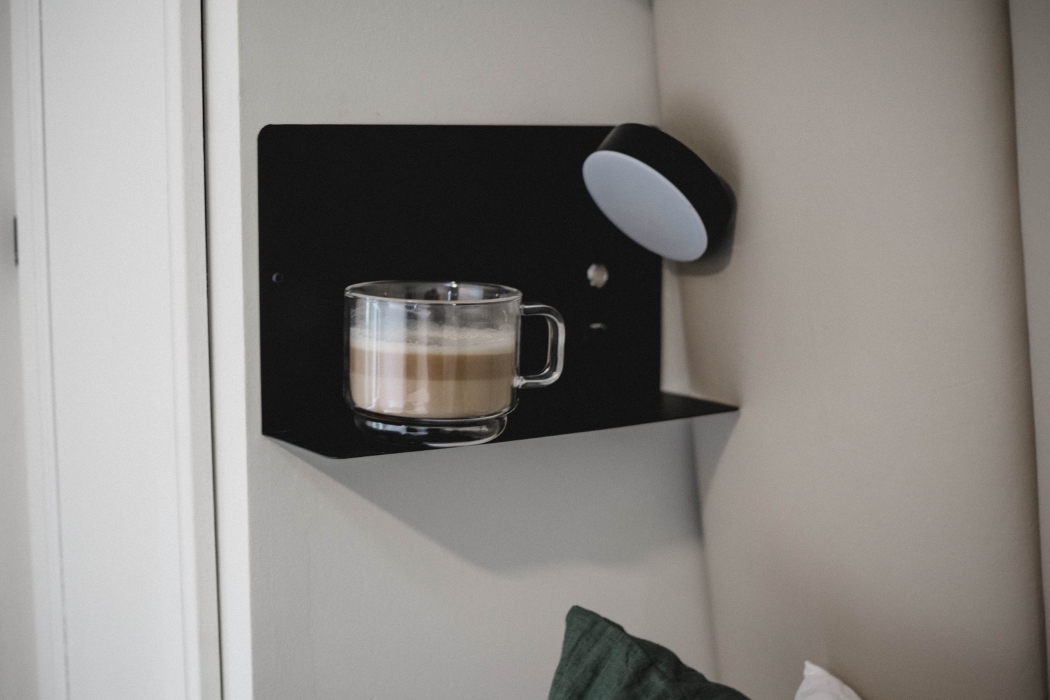
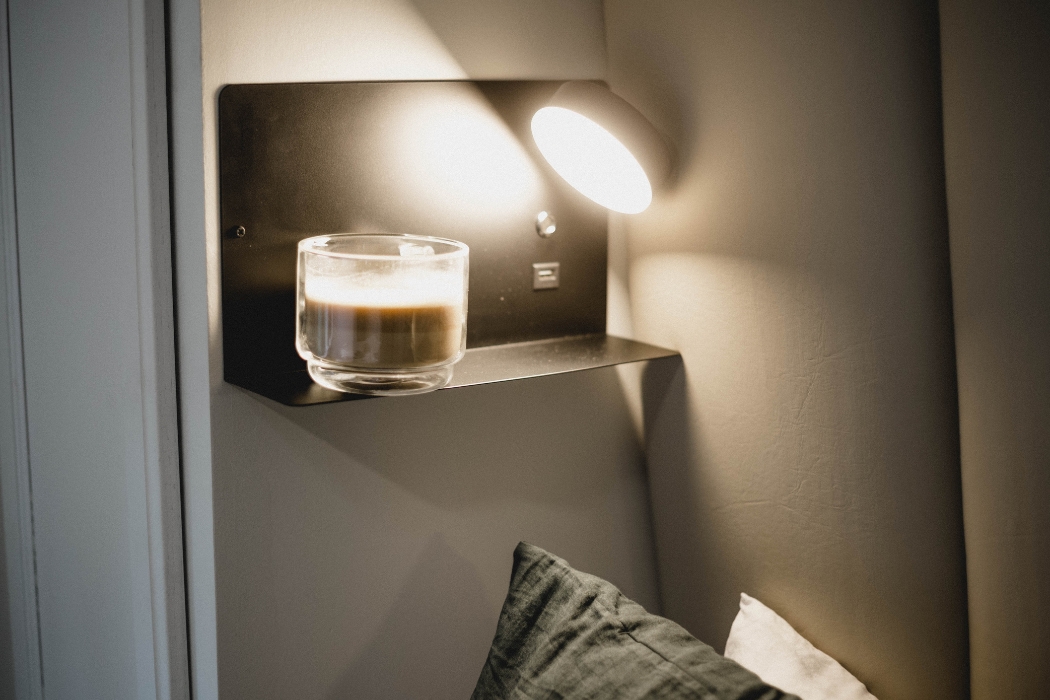
Minimal Bedside Shelf
After we decided to ditch the side table for a whole cabinet, I knew that we had to come up with a solution for our coffee cups and our phones at night.
When I found these minimal black shelves, I knew they would be perfect! They had a small shelf sturdy enough for a drink, a built in charging port, and a built-in reading light!
We had to cut into the cabinets to make these flush against the wall, and we had to draw power from the outlet to make these guys work, but if you have the skills to make those changes, it is definitely worth it!
RV Bluetooth Speakers
Does your RV come with a giant radio system that takes up an entire cupboard? Cause ours did! And I couldn’t wait to get rid of it, lol. We upgraded our speakers to a bluetooth system that plays music off our phones.
We got two sets of these bluetooth speakers, that are 12V. We were able to do a simple swap from the old ones to the new ones, although we did have to cut the whole for the new speakers slightly larger.
We bought two systems because we wanted to control one to play music in our bedroom, and one to play music in our “living room” separately.
If you want to try the bluetooth speakers we used, use the code “lindiandruss” for your discount!
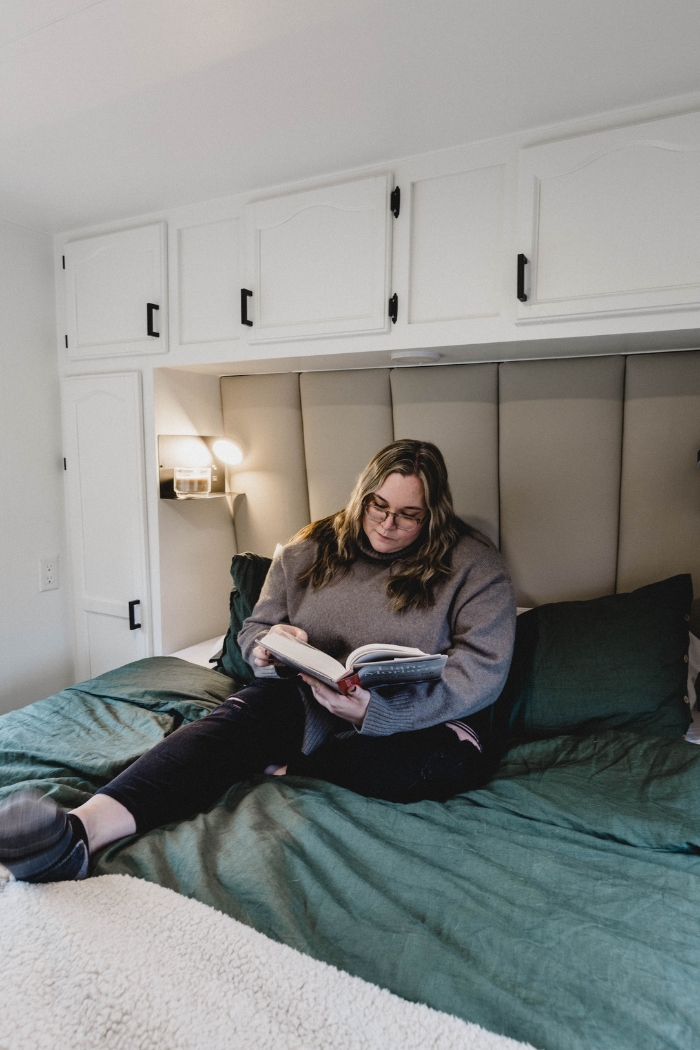
Finished Modern RV Bedroom Remodel
We are beyond happy with how this space turned out! I love every single detail. It was the first space in the RV that we tackled, and it made me so excited to tackle the rest of the camper remodel!
If you watch the video linked above, you can see our entire budget breakdown too! The largest portion of the budget was spent on the headboard, but as the showstopper in the space, I think it was 100% worth the extra cost.
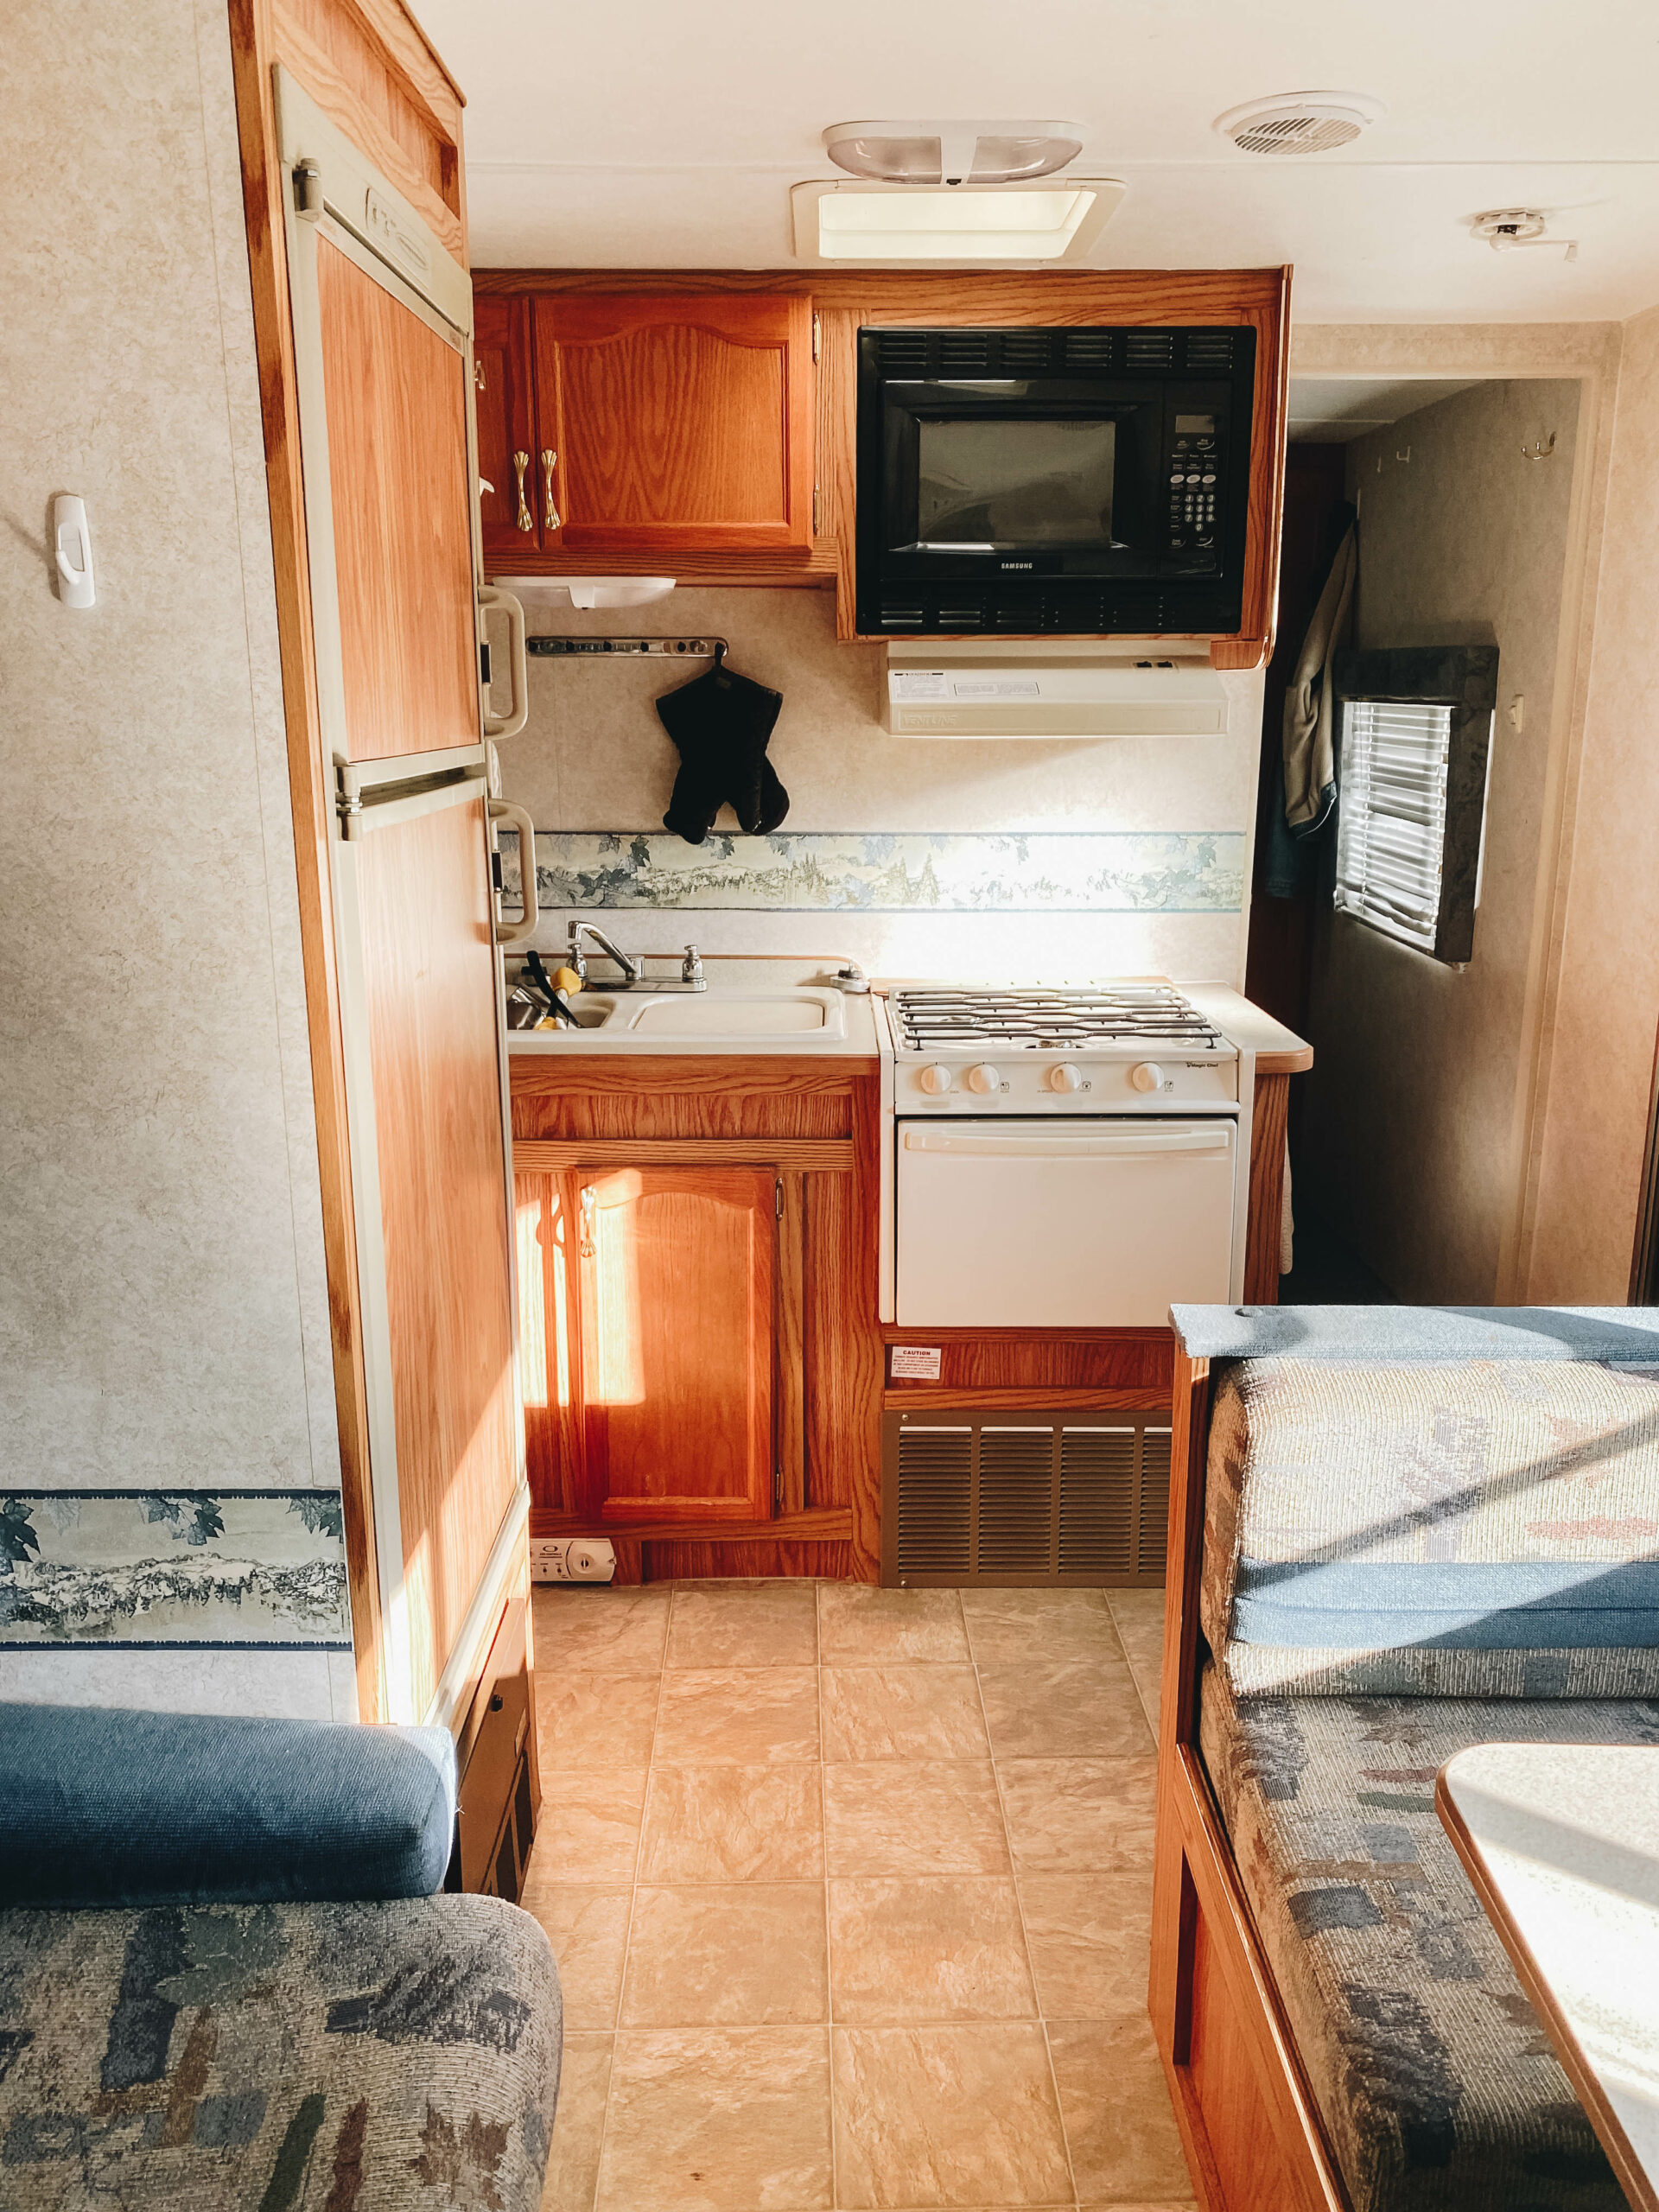
Want to see more of our RV makeover? Come see our RV Kitchen Transformation!

Emma Johnson
Tuesday 9th of May 2023
WOW!!! that's a huge transition from old dusty to new modern RV. Loved the look.
Adrienne
Friday 5th of May 2023
You guys are amazing and so talented! I love reading your posts!