
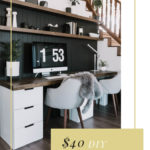
A great tutorial sharing how to make your own easy & affordable DIY Wood Desktop and matching floating shelves! Finish your desk off with this sleek design!

This is one of my favourite DIY projects that we’ve ever done! I told you all months ago that I would share how we made it and I TOTALLY dropped the ball! But I’m sharing it now, so you all forgive me, right?! We put this DIY Wood Desktop on when we made our computer desk nook, and we didn’t spend a dime! We had spare wood, and already had all of the tools we needed. But if you don’t have the wood, it’s only going to cost you $40 for a sheet of plywood! Talk about affordable!
*This post may contain affiliate links. When you buy a product through one of our links, we get a commission at no cost to you! Thank you for supporting our blog so that we can continue to bring you posts like these. For more information, please see our disclosure page.*
This is one of those DIY ideas that made me realize my husband was a genius. We did a project for someone else, and had a bunch of spare strips of plywood leftover, and he said, “what if we glued all of this together and used this for our desktop?”. Genius.
Once we started the desktop, we decided to make the floating shelves out of the same material.
How to Make a DIY Wood Desktop [& Matching Floating Shelves]
The process for making the DIY desktop and floating shelves is almost exactly the same. The only difference between the two, is the overall width, and the way you attach them to the wall (the shelves require a special invisible bracket). There is a full video tutorial below to help make all of the steps clear as well!
Materials Needed for DIY Desktop and Floating Shelves
- Plywood (4×8′ sheet) – 5/8″ thick
- Wood Stain
- Wood Glue
- Wood putty
- Screws
Tools Needed for DIY Desktop and Floating Shelves
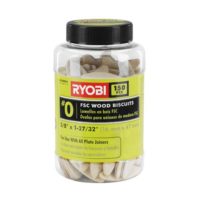
- Biscuit Joiner & Wood Biscuits
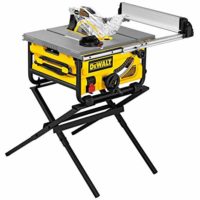
- Table Saw
- Planer
- Clamps
- Sander
- Router (for floating shelves)
- Drill
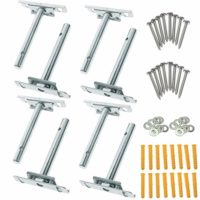
- Shelf Brackets (for floating shelves)
Step-by-Step Instructions for Building a DIY Desktop
Desktops can be crazy expensive! When we came up with this affordable DIY version, I was so happy! If you are making the desk and floating shelves the wood plus some $20 hardware brackets is only going to set you back $100!
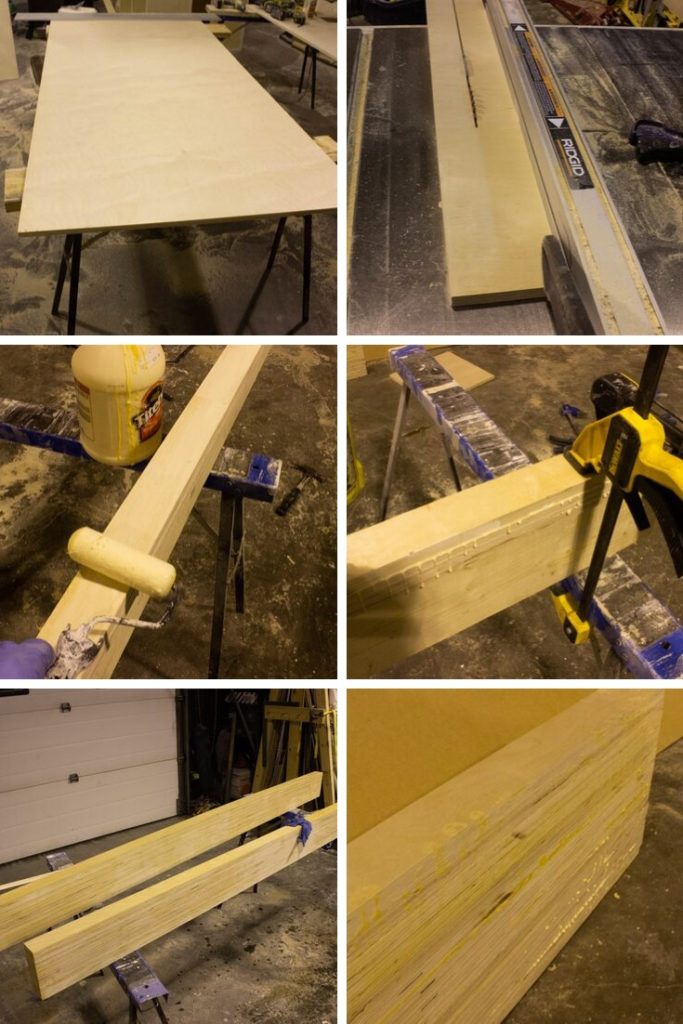
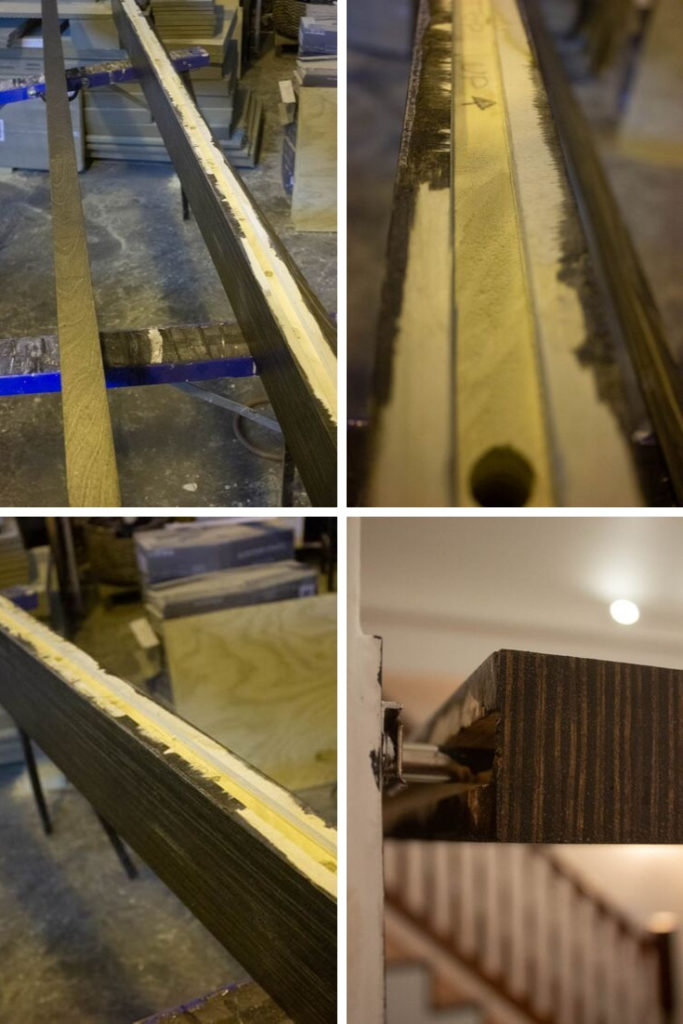
We started by using the table saw to cut down the boards to length and width. We wanted a 2″ thick desktop that was 88″ long, and 2″ thick floating shelves that were 88″ long.
Even though we wanted 88″ long for our space, we actually cut our boards to 90″ and used a track saw to cut off the excess ends once the desktop and shelves were glued together (I’ll share at the end). That way we had room to play if the boards weren’t 100% straight when glued together (which they NEVER are!).
Once the boards were cut into 2″ strips, we glued them together and clamps them tight, keeping them flat. We glued pieces together until they made two 10″ pieces (for our 20″ side desktop), and two 6.5″ pieces (one for each floating shelf).
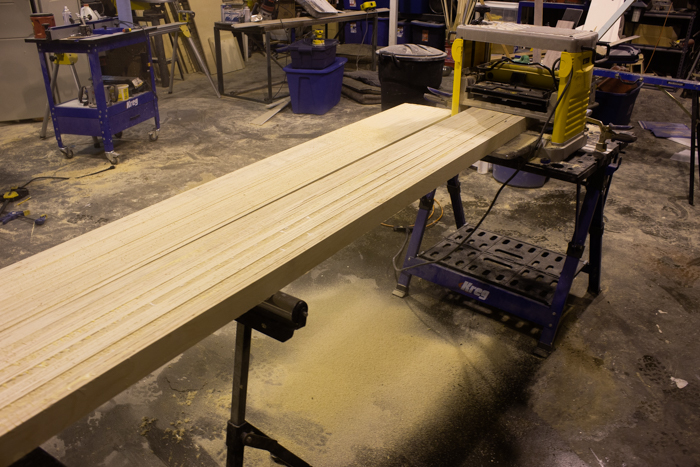
Once the glue is dry, sand down the glue spots and run your boards through the planer. This is the reason we had to glue the 10″ wide boards together instead of making one big 20″ desktop glued together from the beginning – because a 20″ desktop wouldn’t fit inside the planer.
We used the planer instead of just sanding everything because it’s the best way to make sure that the finish is smooth, flat, and the exact same all of the way across the desktop or shelves.
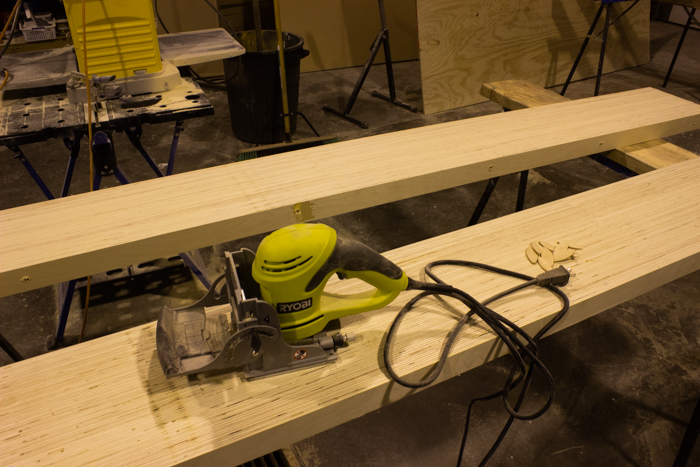
The next step in making the DIY desktop is attaching the two 10″ pieces together. The easiest way to do this is with a biscuit joiner and glue.
If you’ve never used a biscuit joiner, it adds little wooden discs, called biscuits, into the wood so that the biscuits are half-way inside each half of the desktop. It adds much more structural integrity than just glue alone.
Use the biscuit joiner to add biscuits every 5-10 inches, and then glue the biscuits in place, as well as gluing the both inside edges.
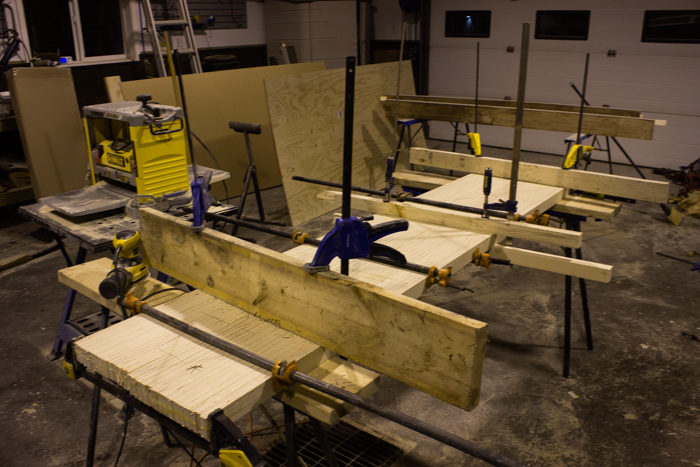
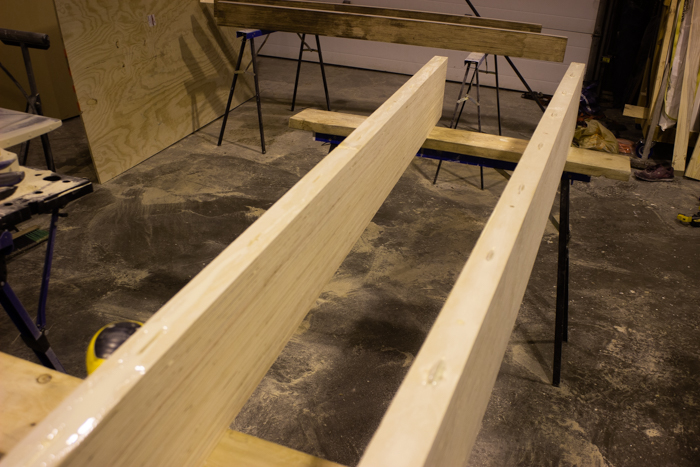
Bring the two sides together and clamp them in place. Make sure that you are clamping is flat and level. If your desktop bows, there will not be an easy way to straighten it after the glue dries.
You can see in the photo above that the edges of the desktop are not straight. Once the glue is dry, you can use a track saw, or circular saw, to straighten out these edges and make your desktop the desired length.

Your desktop and shelves will likely also have some holes and empty gaps, so you will also need to fill them before you move onto staining your pieces.
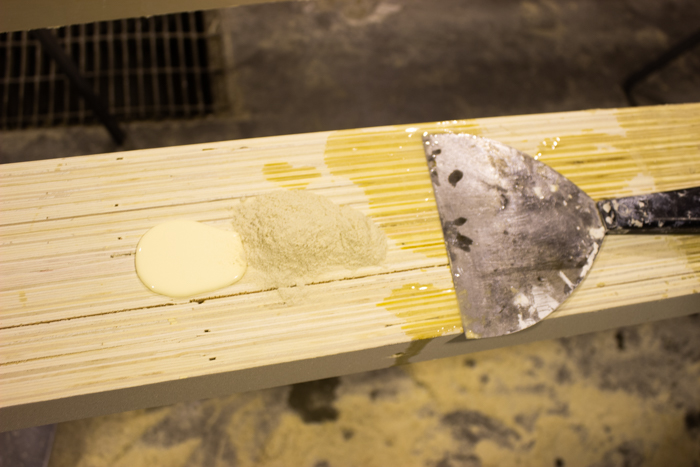
The best way to get a nice finish with wood putty is to use grains of the same wood.
The easiest way to do this, is to sand down your piece, and then empty the wood grain from your sander, and then mix it will some water and wood glue. When you are using the same wood, it will take the stain in the same way and you won’t be able to see the puttied spots on your finished product in the same way.
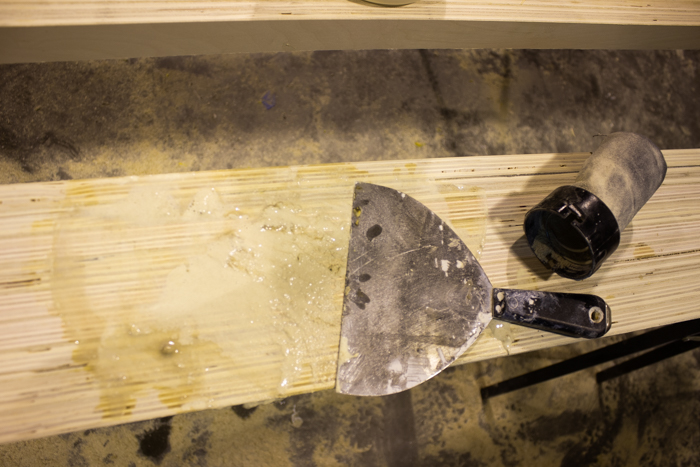
Once everything is puttied and dried, you can use your sander to sand down the puttied spots and then move onto staining and varnishing the desktop and floating shelves.
If you are making floating shelves with invisible brackets, like we did, you will first need to use a router to add groves in the back of the shelves for the floating Shelf Brackets.
You will need to first attach your brackets to the wall, and then measure where the arms of the brackets come out, and transfer those measurements to your shelf so that you can drill holes through the back for the arms to slide into.
The Shelf Brackets you purchase will also come with detailed instructions on how to install them.
Video Tutorial on How to Make A DIY Desktop
We made a full video on the process while we built a small table for our kids! The process is exactly the same whether you are making shelves, a desktop, or a tabletop.
We also shared how to attach the desktop to the IKEA cabinets and the wall because we’ve had so many questions about the process!
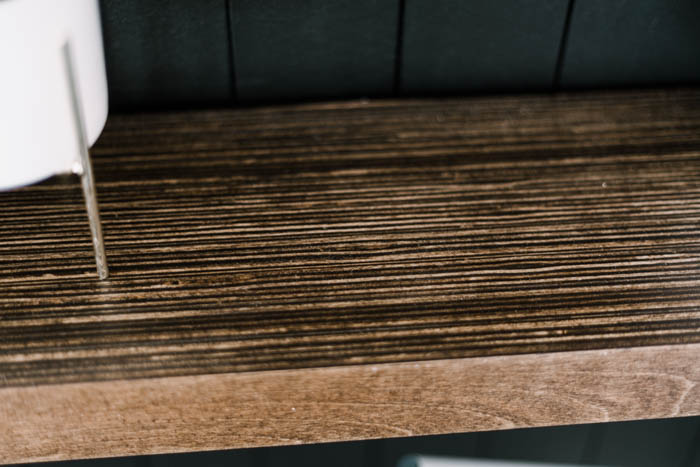
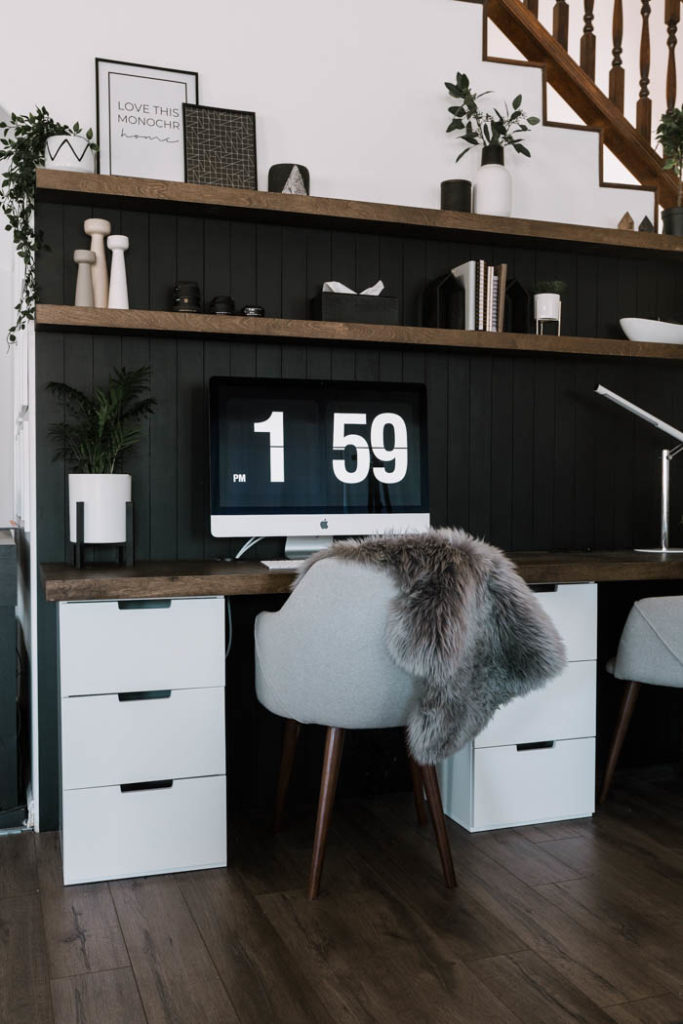
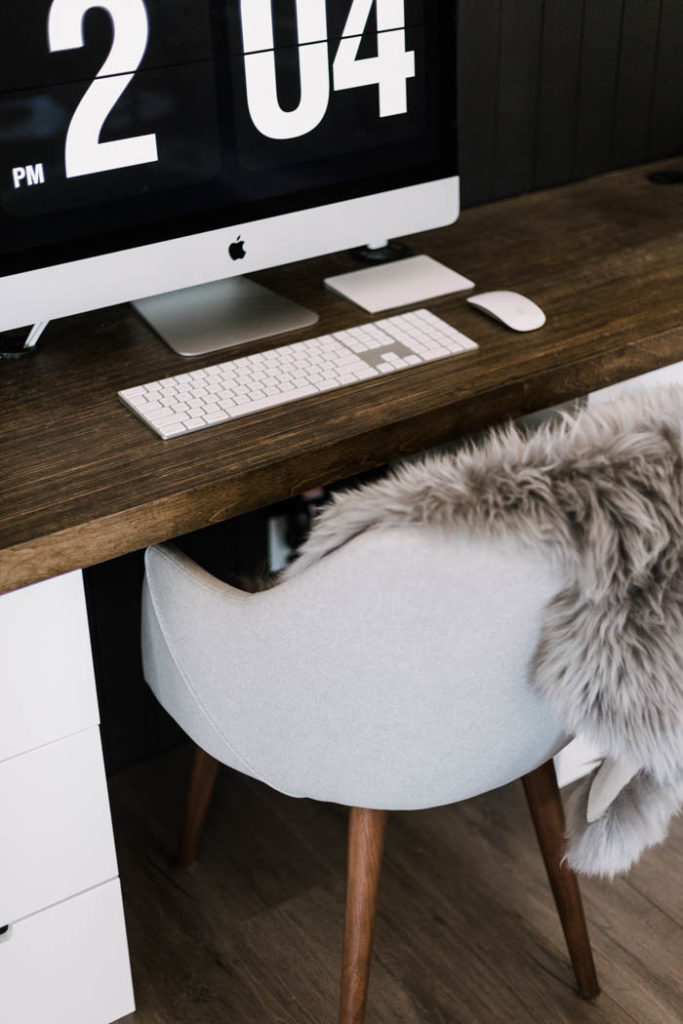
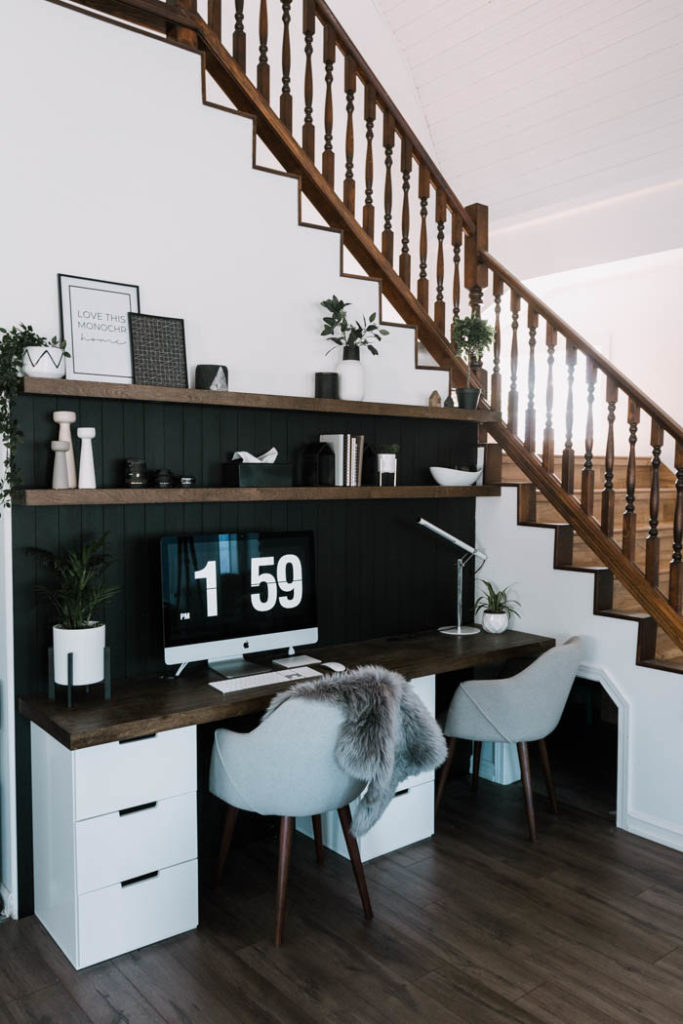
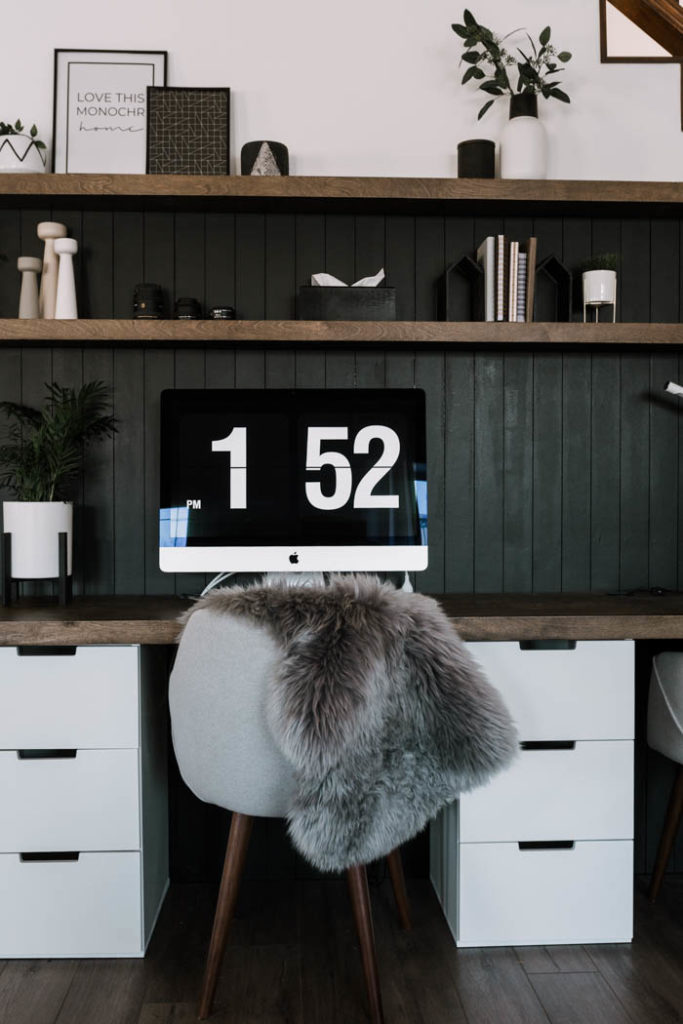
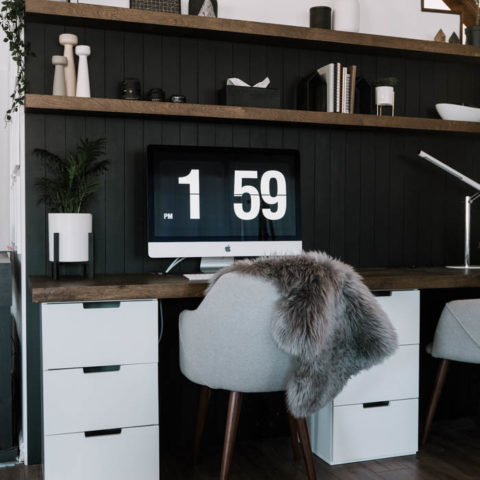
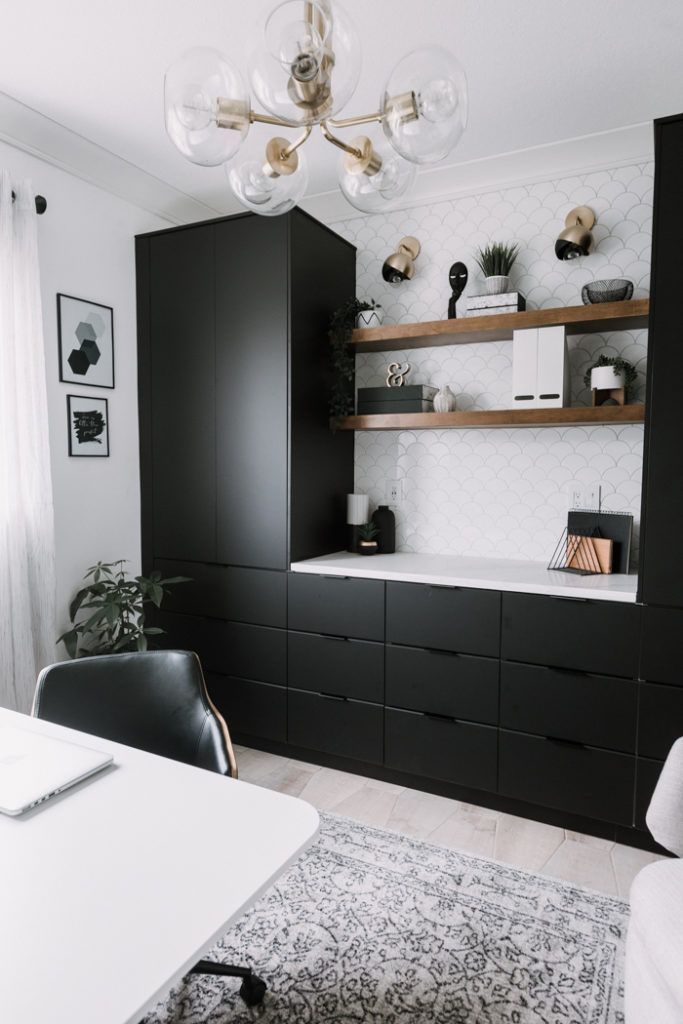
Our Finished DIY Wood Desktop and Matching Floating Shelves

I’m so happy with how this computer Desk Area Turned out! The entire project was super affordable and easy! (we even shared the entire Budget Breakdown!)
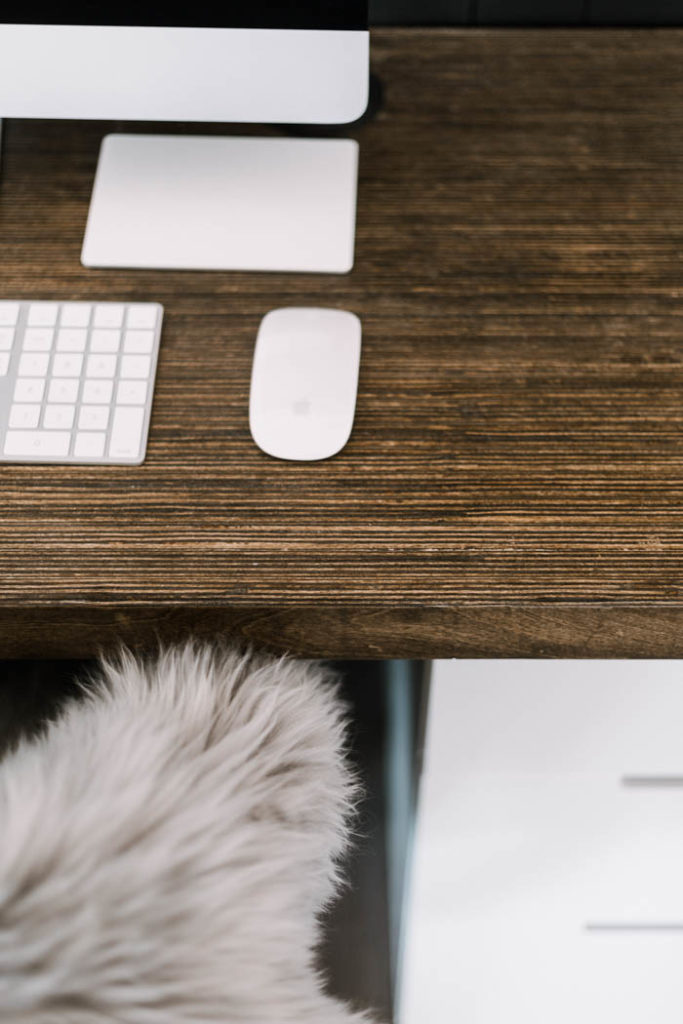
The shelves make such a huge statement and the finish on the top is so unique. We always get questions about where we bought them, and I love telling people that they were a DIY!
If you have any questions about the desk project, please ask! I’d love to see if you recreate the desktops too!
DIY Wood Desktop
A great tutorial sharing how to make your own easy & affordable DIY Wood Desktop and matching floating shelves! Finish your desk off with this sleek design!
Materials
- Plywood - 5/8" thick (4x8 sheet)
- Dark Walnut Stain
- Wood Glue
- Wood putty
- Screws
Tools
- Biscuit Joiner & Wood Biscuits
- Table Saw
- Planer
- Clamps
- Sander
- Router (for floating shelves)
- Drill
- Shelf Brackets (for floating shelves)
Instructions
- Use table saw to cut the plywood board to length for your desktop. Our desk was 88" long, as that was what fit into our nook, but we cut the board to about 90" so that we had a bit extra to work with.
- Next cut board into 2" strips using table saw.
- Using wood glue, spread glue between boards to glue them together. Our floating shelves were approx. 6.5" wide. The desktop was made into 2 10" wide glued pieces (we will attach the two 10" pieces to make a 20" desktop). Make sue that these pieces can dry flat and level.
- When the wood glue is dry and the pieces are set. Run them through the planer to straighten our any variations in the board widths after gluing (this is why we did two 10" sections - the 20" side desktop would not fit in a planer at this stage).
- When your pieces are straight, and the same width, use a biscuit joiner and wood biscuits to attach the two pieces at the center. Biscuits should be every 5-10 inches. Glue biscuits in place, and glue pieces together.
- Use a track saw (or similar) to cut down the length of your desktop. The edges are likely uneven at this point, which is why we left a couple of extra inches on at the beginning.
- Use wood putty to fill in any gaps or holes on the desktop. before staining (see tips in post for the best wood putty).
- Sand desktop after putty dries. Stain desktop and/or floating shelves your desired colour.
- If you are making floating shelves, you'll need to make a grove in the back for the brackets that allow them to hang on the wall. Use a router for this and make a grove long enough for the brackets to sit in. You will also need a drill to drill holes wide enough for the brackets at the correct locations so that you can slide the shelf onto the brackets.
- Varnish the shelves and desktop before attaching them to your desk and wall.
- Attach your desktop and floating shelves. The floating shelves will slide onto the hardware linked in the post. Our Desktop was placed on top of IKEA cabinets and attached with screws from underneath.
Recommended Products
As an Amazon Associate and member of other affiliate programs, I earn from qualifying purchases.


If you’re looking for more great office ideas, check out our Home Office Renovation!


Allyson
Tuesday 9th of February 2021
Hi! I love the kids' workspace! So stylish! Question. Could you tell me what the name of the color is that you used to paint the wall behind the shelves (dark gray/black)? Thank you so much!
Lindi
Tuesday 9th of February 2021
Hey! Thank you so much! It was called Forge Black from Para Paints.
Lana Sitler
Wednesday 27th of January 2021
Hello! I am looking to do something similar to this in my new house as an office space. Do you have a tutorial anywhere for attaching the shelves over the shiplap? What does that process look like vs securing to the wall directly? Thanks!
Lindi
Friday 29th of January 2021
Hey! We used the same process and the same hardware for both the shelf on the shiplap and the shelf on the wall :)
Fran
Tuesday 29th of December 2020
Hello, I discovered your site when I've started browsing Pinterest for remodeling ideas. We just bought a house and we're trying to DIY our way to the remodeling phase. I have a question about the desk. I may misunderstand the instructions but from what I see, you cut two 2" pieces of wood and glue it back together to create the desk. Can you just keep a 4" piece of wood from the original board to create the desk? Love the monochrome look of your place!
Lindi
Friday 1st of January 2021
Hey! Yes, we cut them into 2" strips because we wanted out desktop to be only 2" thick. When we glued them, we glued the first section behind the second section, so we still would've needed to cut it in half. If you want your desktop to be 4" thick, you can leave it, but that's quite thick for a desktop!
Jessica
Monday 21st of September 2020
Where did you get your chairs?
Lindi
Tuesday 22nd of September 2020
From here: https://rstyle.me/+BZV9ybF3s996iOJ1MzHFtQ
Nicole
Thursday 6th of August 2020
BEAUTIFUL SPACE! I know you said the drawers were form Ikea but I'm having a hard time finding something similar. Do you know what it is called?
Lindi
Wednesday 12th of August 2020
They were kitchen cabinets!