
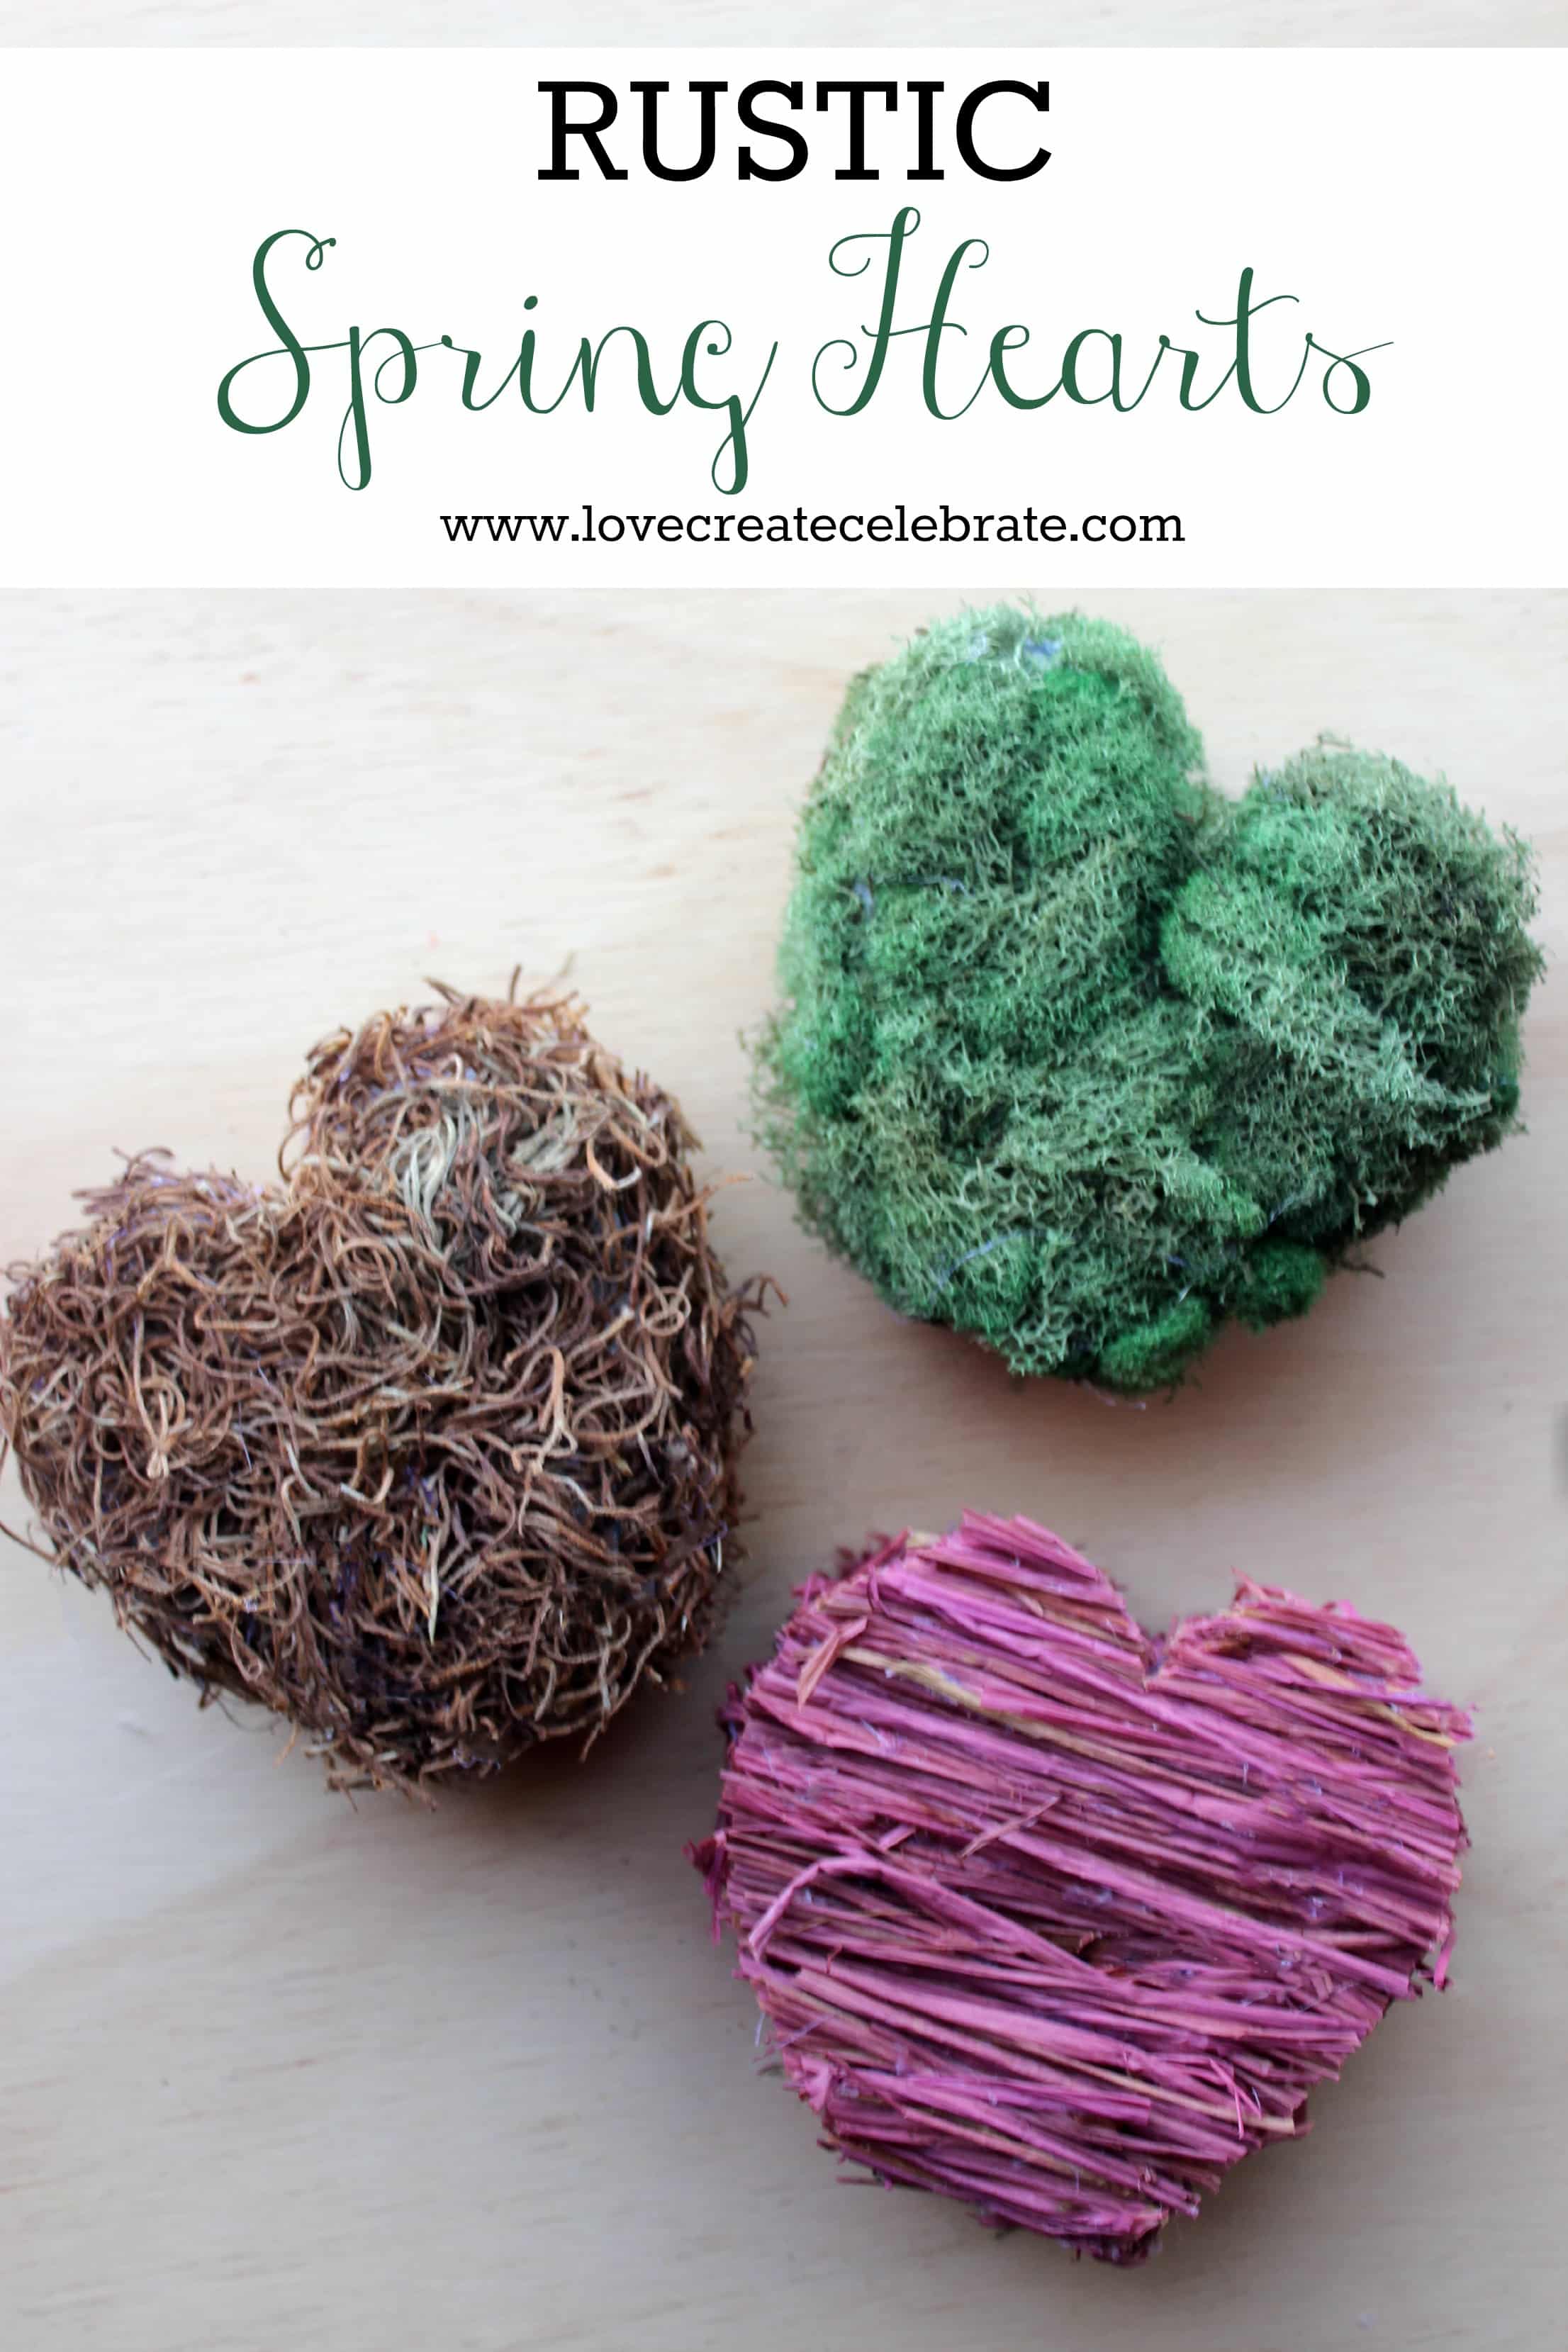
I’m always looking for versatile home decor. Pieces that will span different seasons, and colour palettes. That’s why I’m thrilled to be sharing these rustic spring hearts today!
I had the idea to create these simple rustic decor pieces for a while now, and just needed to figure out how to do it!
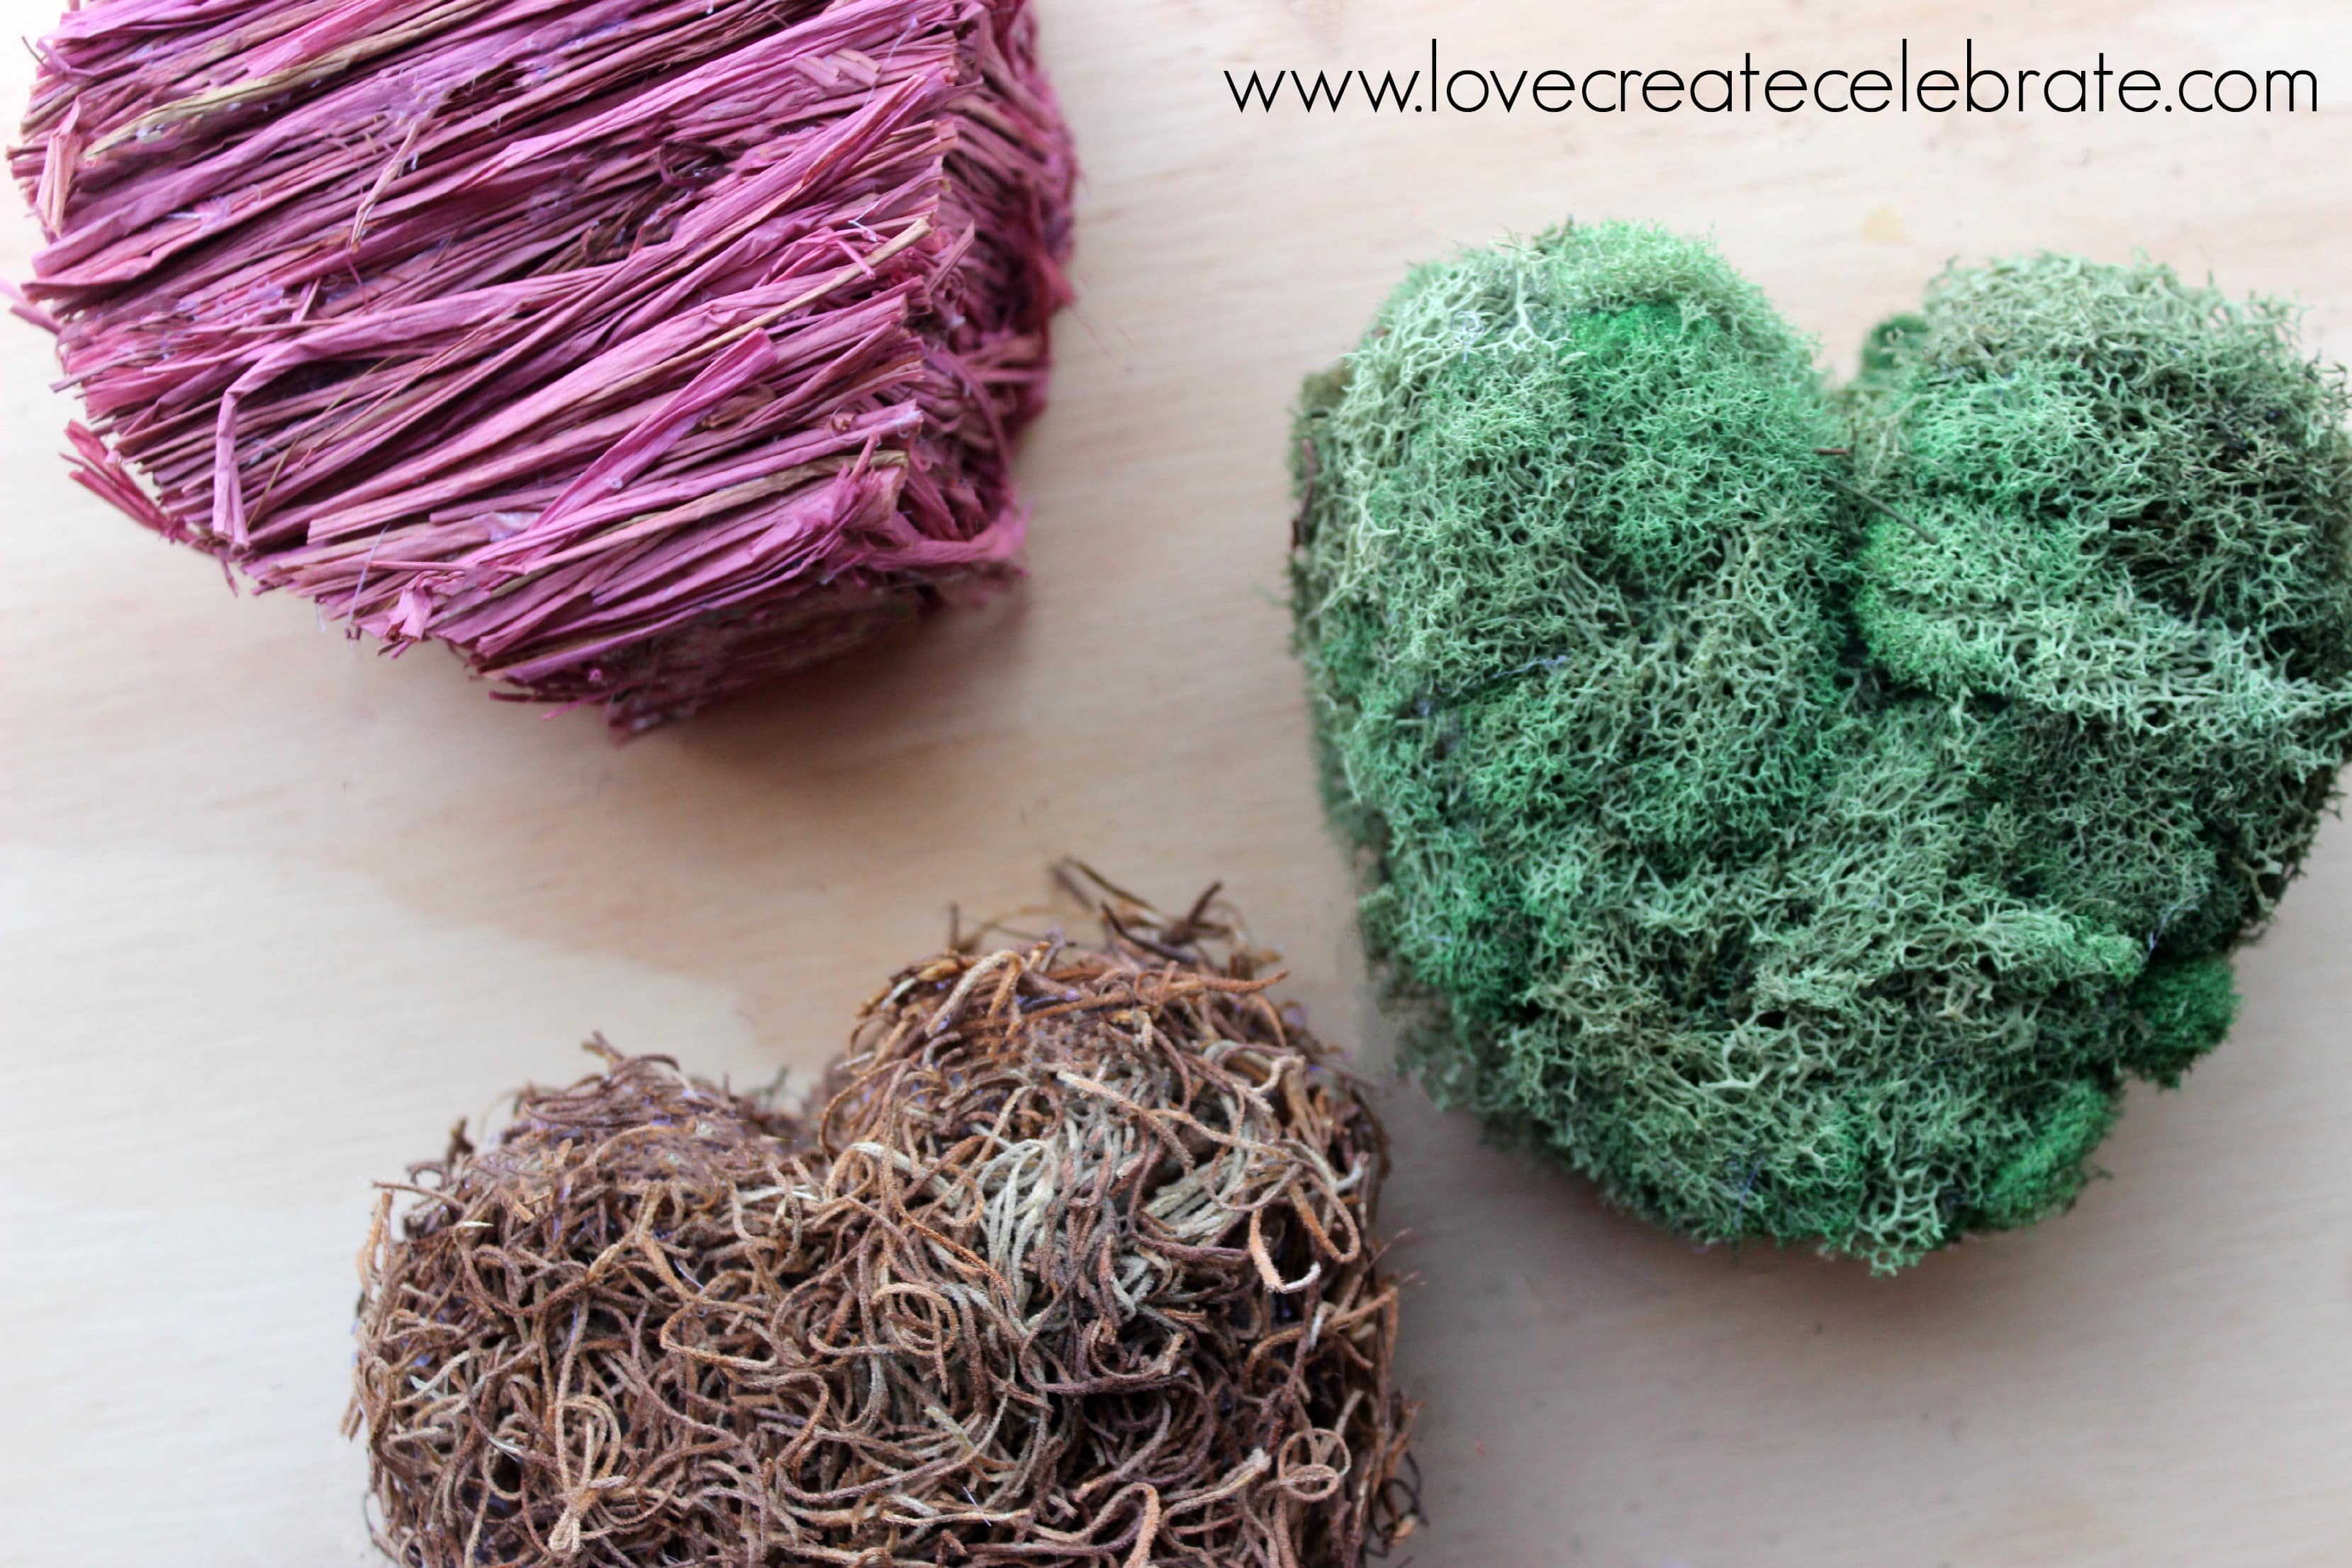
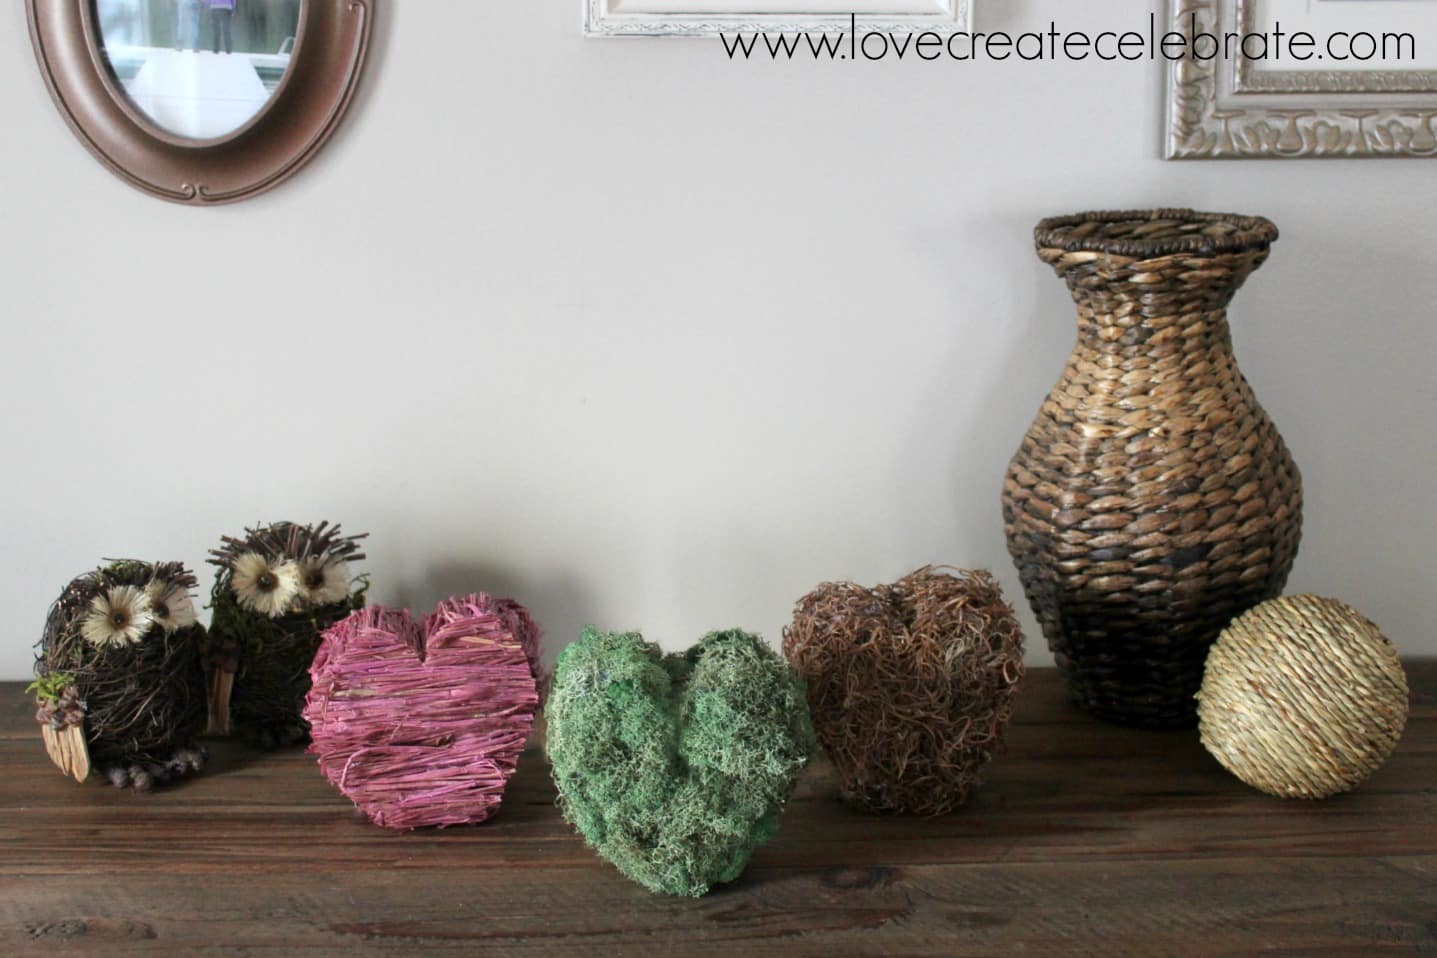
My favourite thing about them? The rustic decor fits with all seasons! The hearts were the perfect addition to my Valentine’s decor, and the hint of new growth and greenery will fit in seamlessly as my decor turns to fresh Spring pieces :)
What you need to make them:
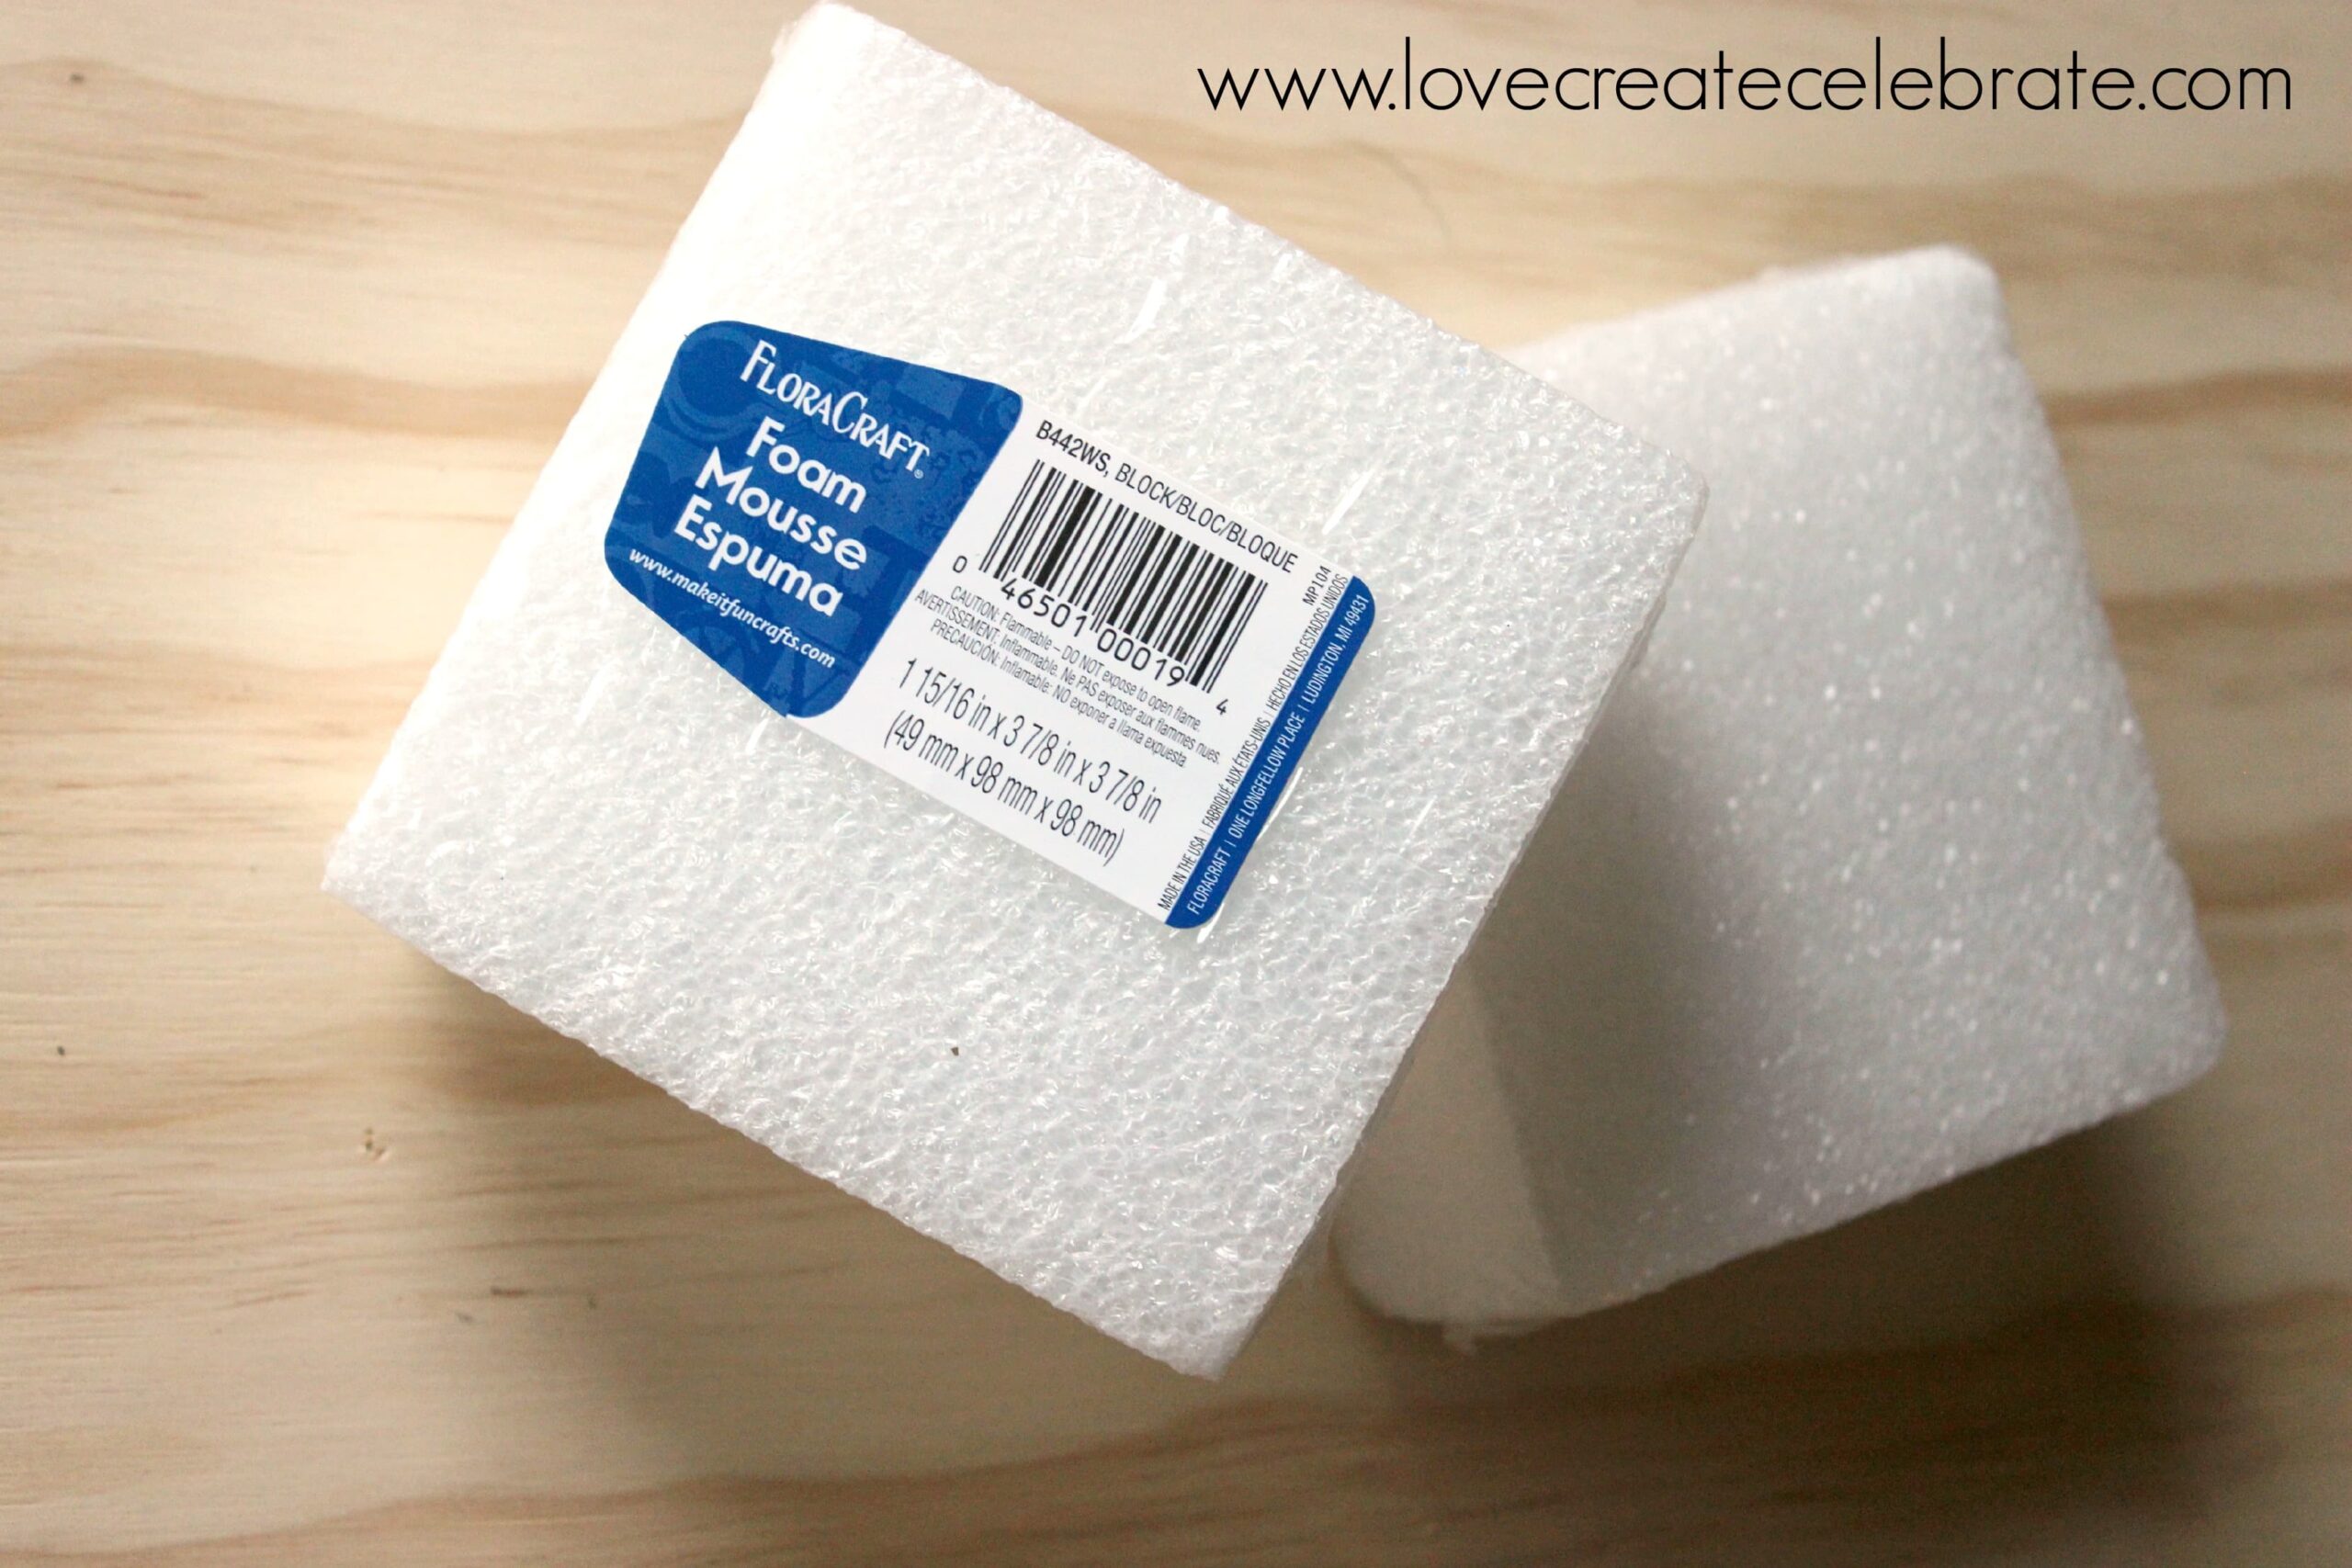
Styrofoam Blocks
[mine were 1 15/16″ x 3 7/8″ x 3 7/8″]
Sharpie
Bandsaw
Sander (or sandpaper)
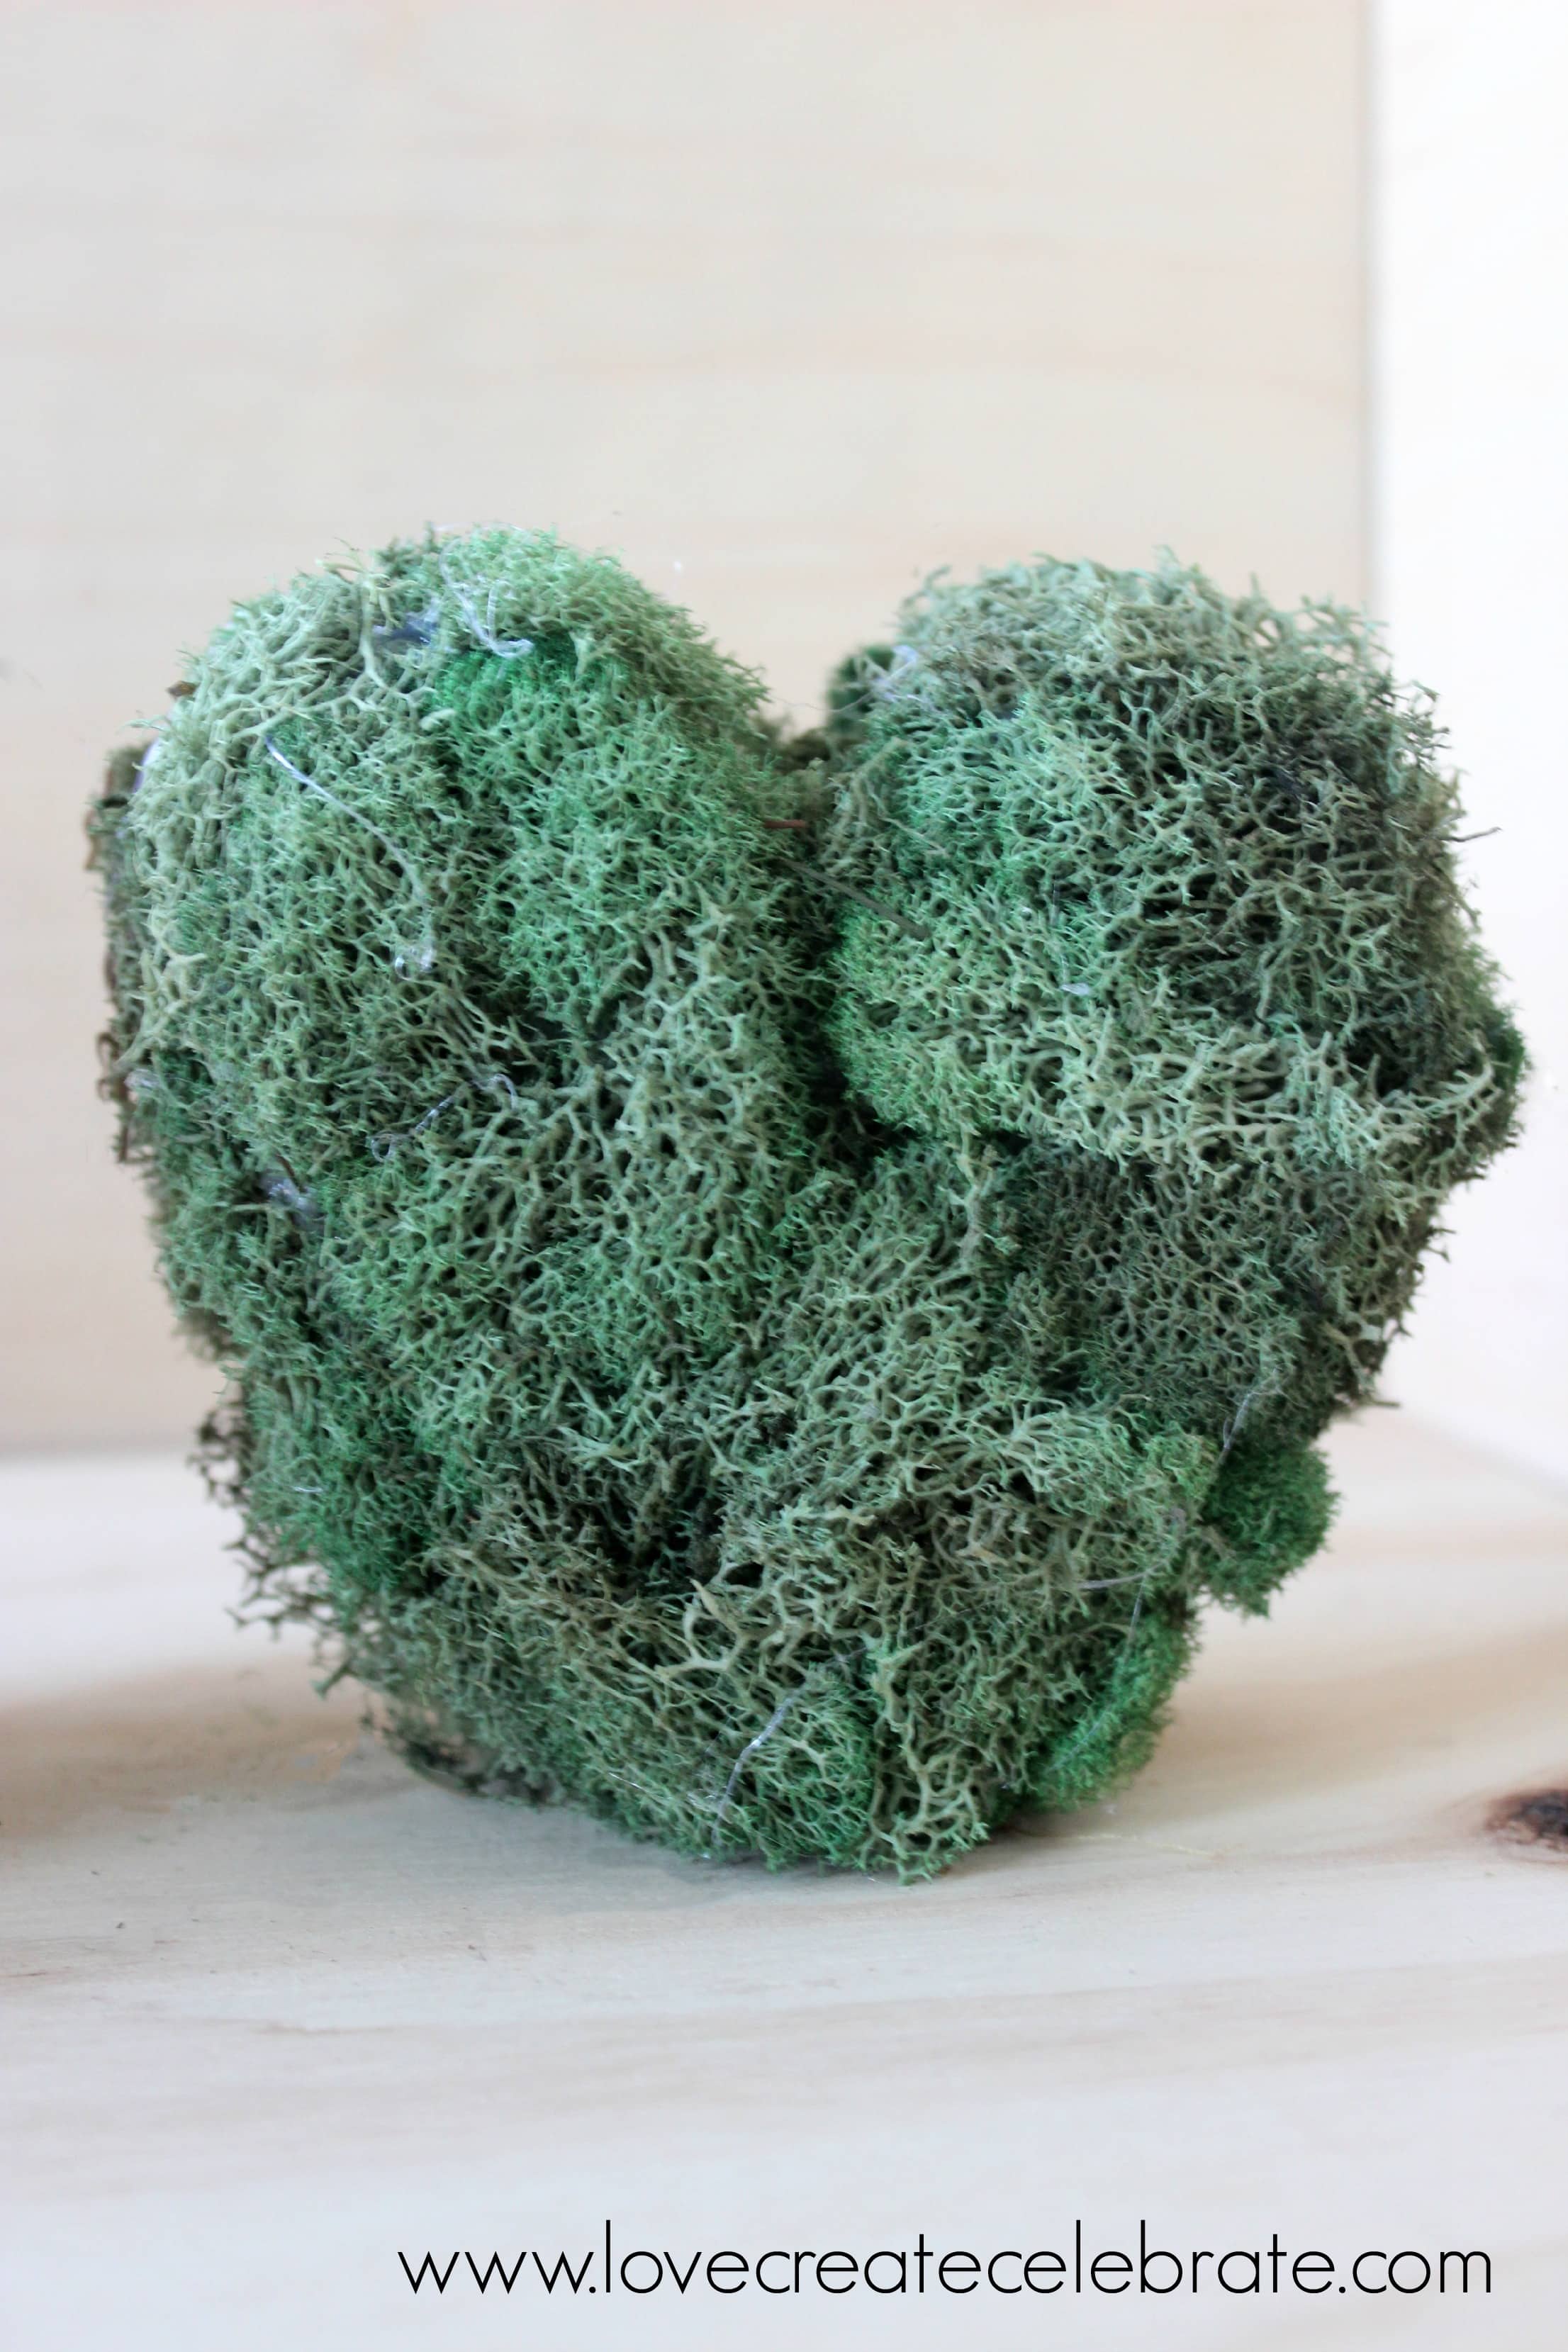
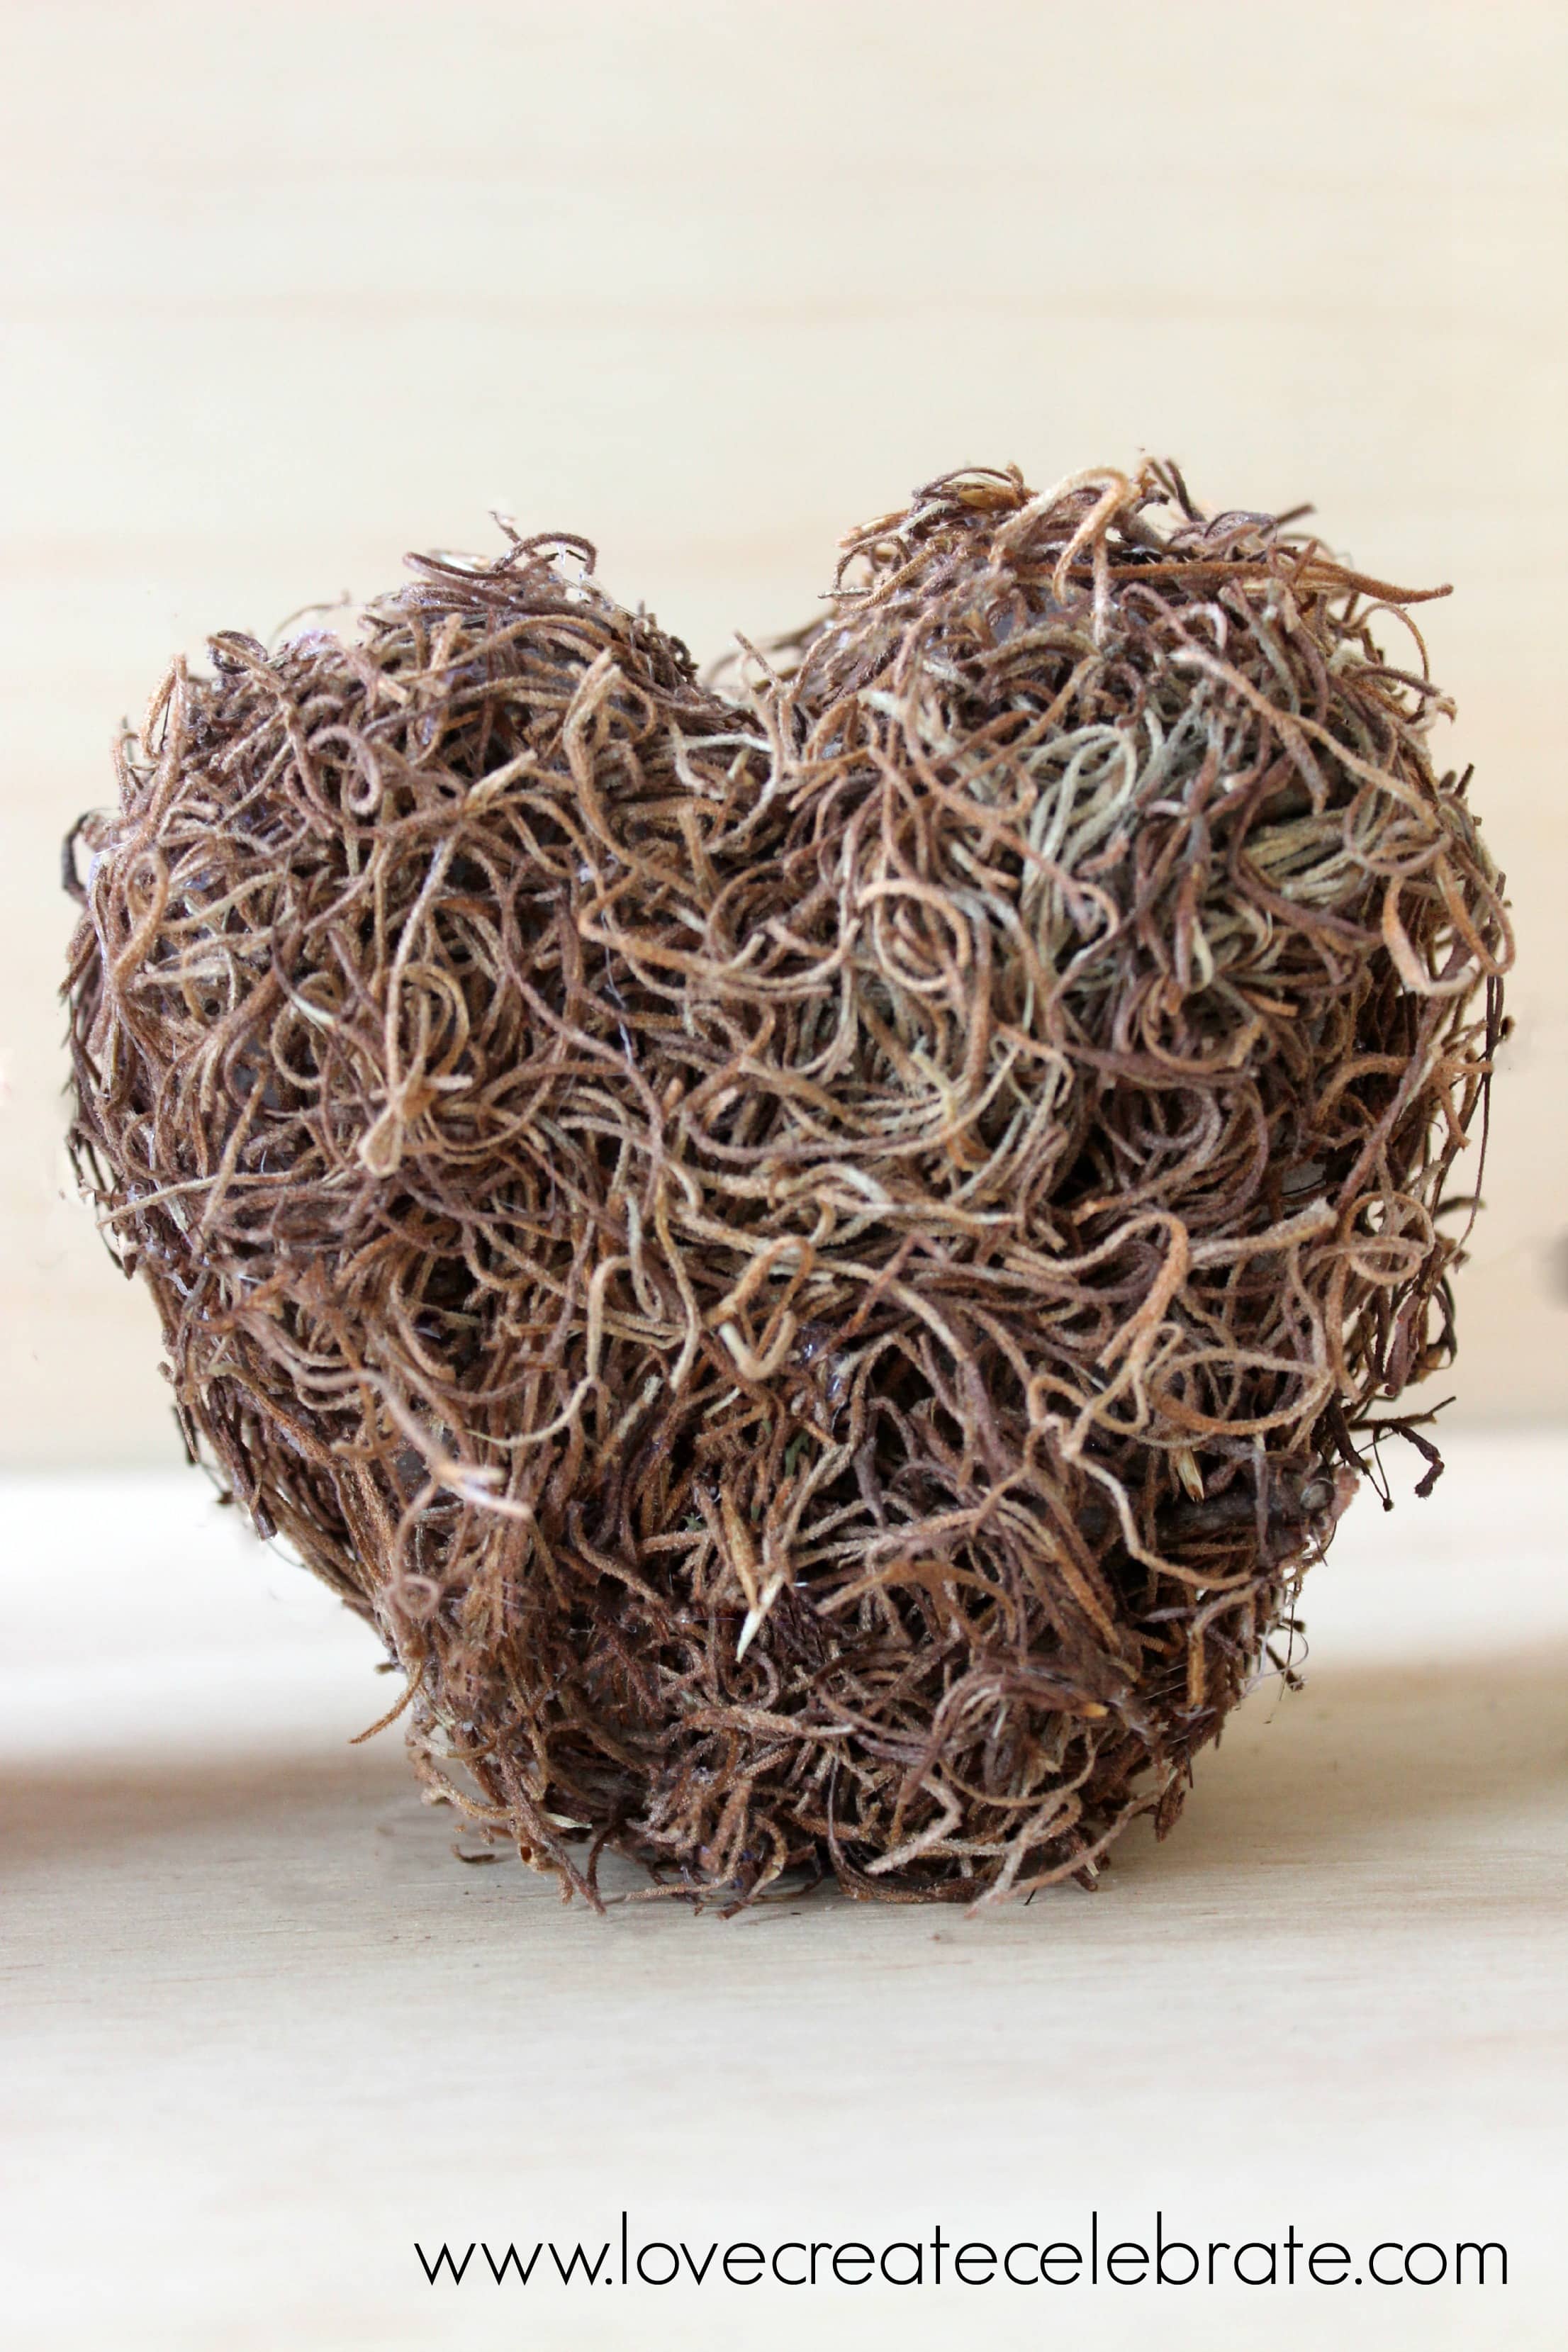
Green Moss, Spanish Moss
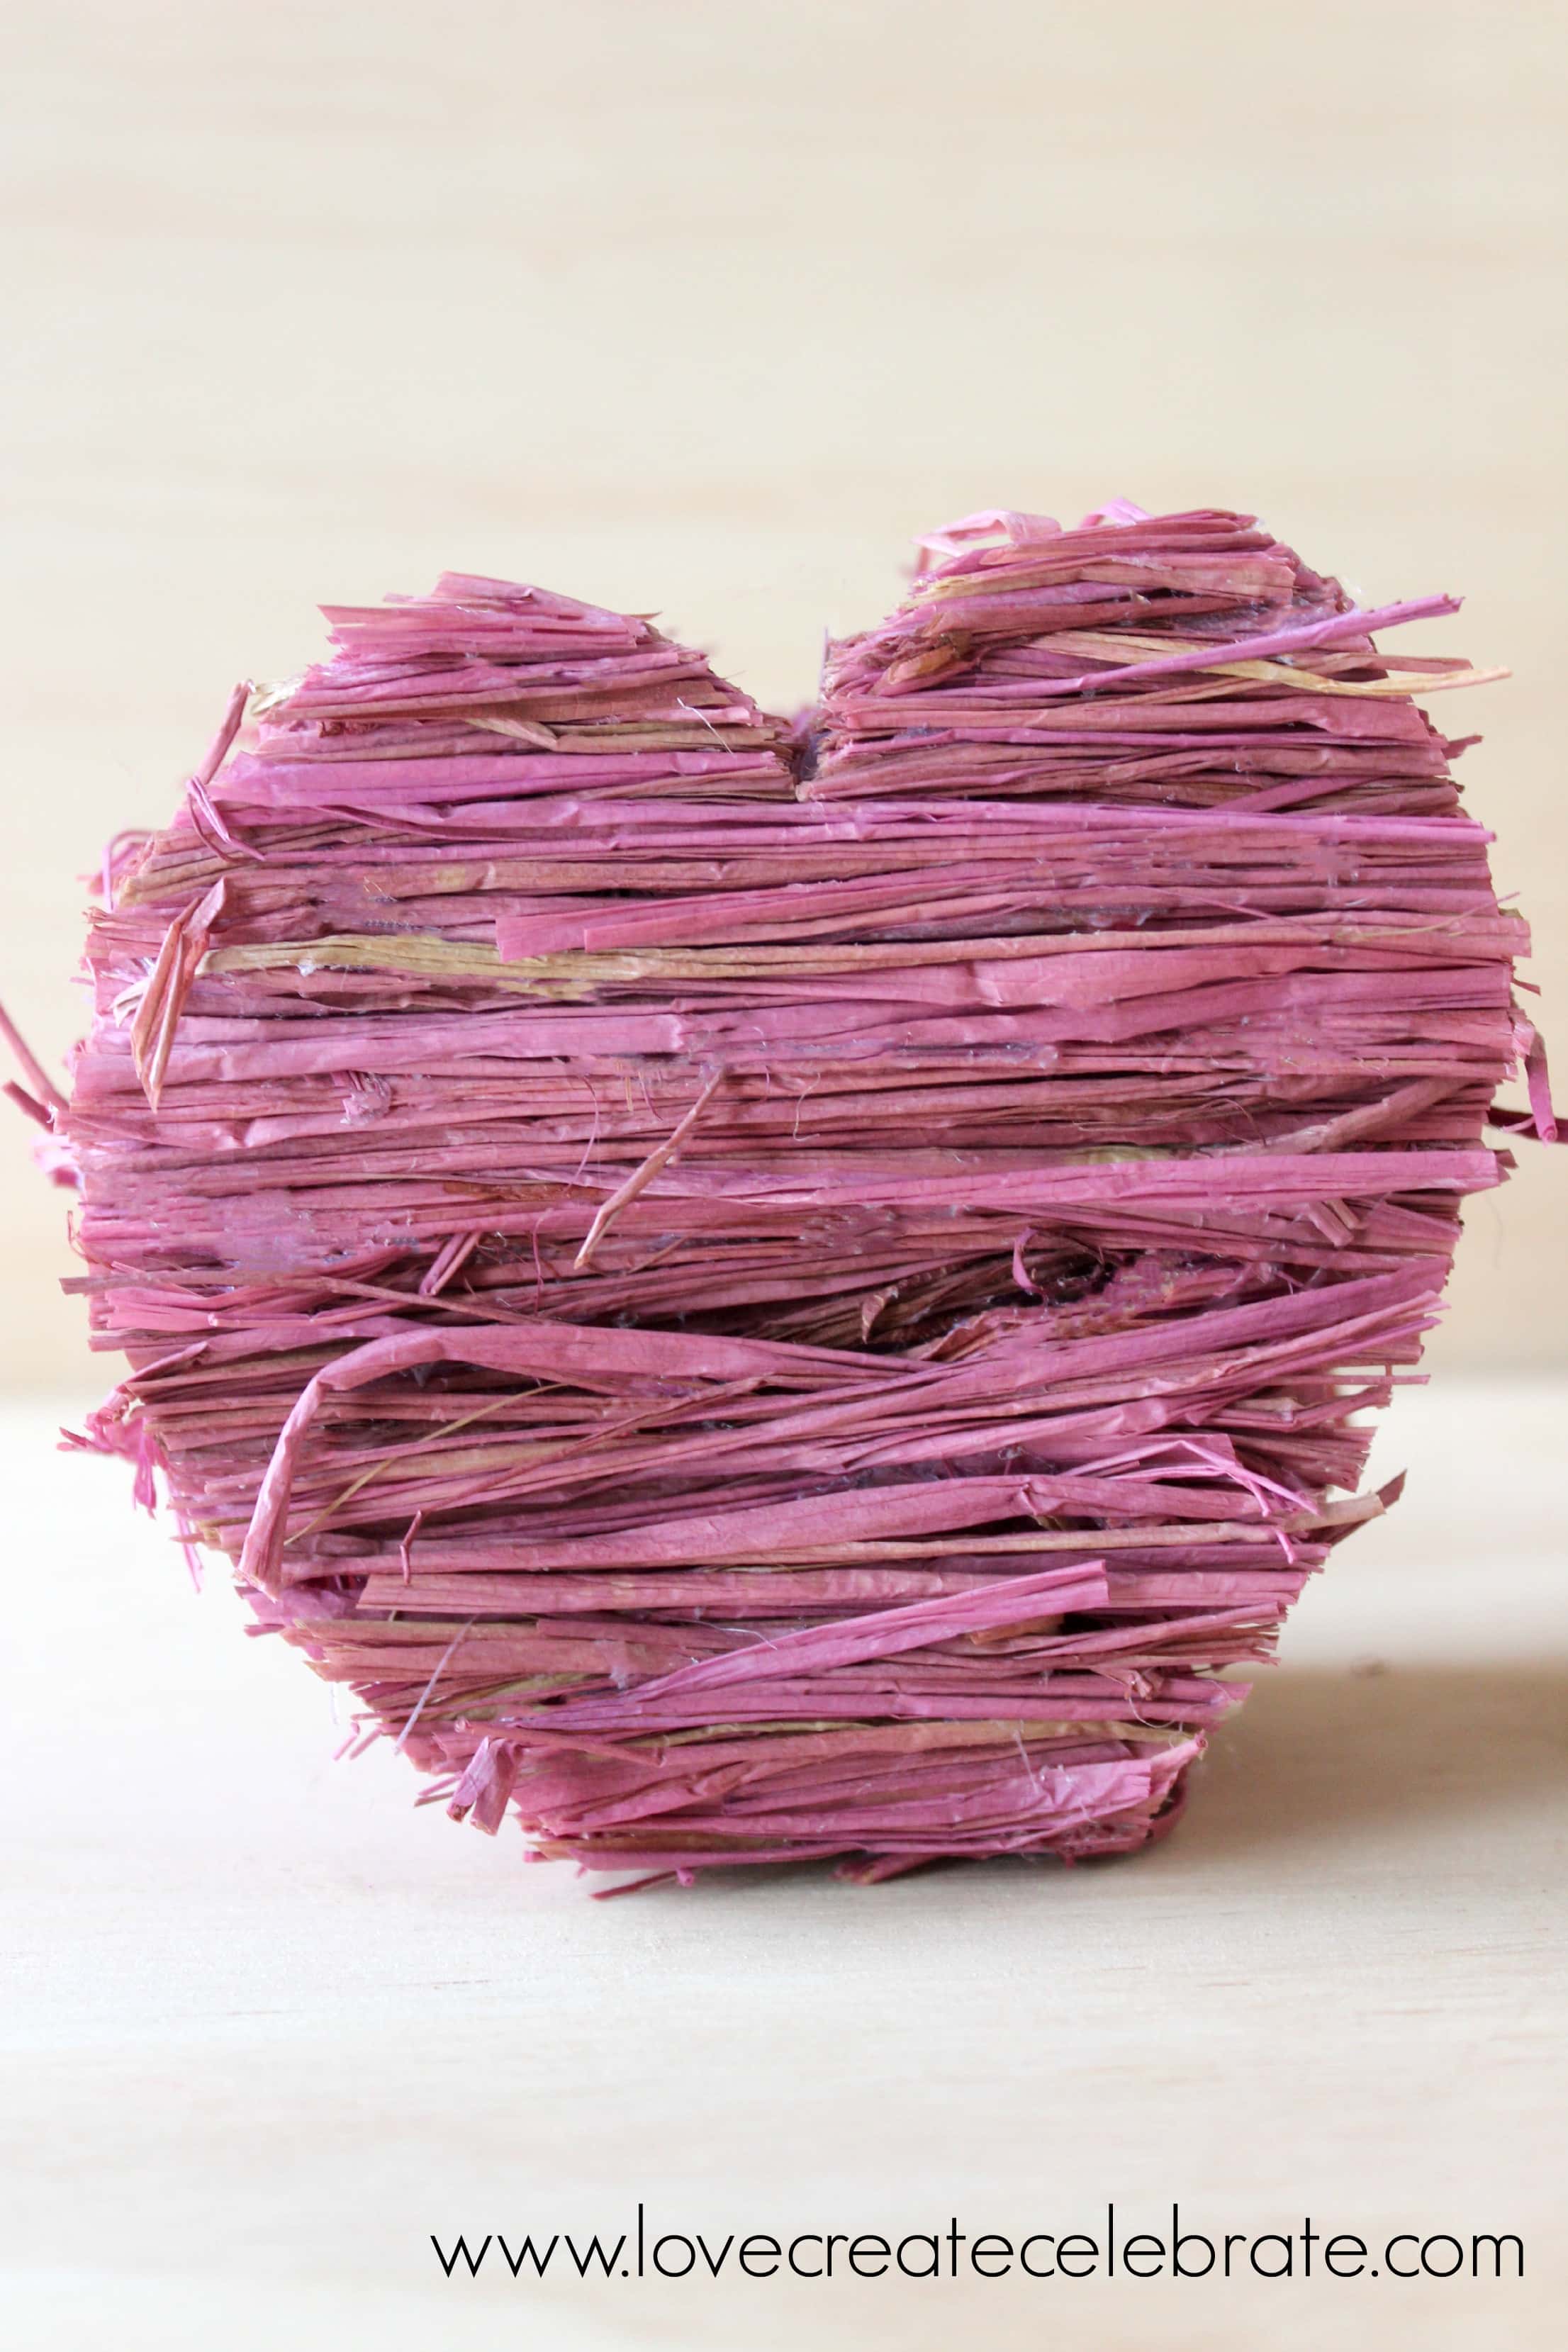
, and/or Raffia
Glue Gun and Sticks
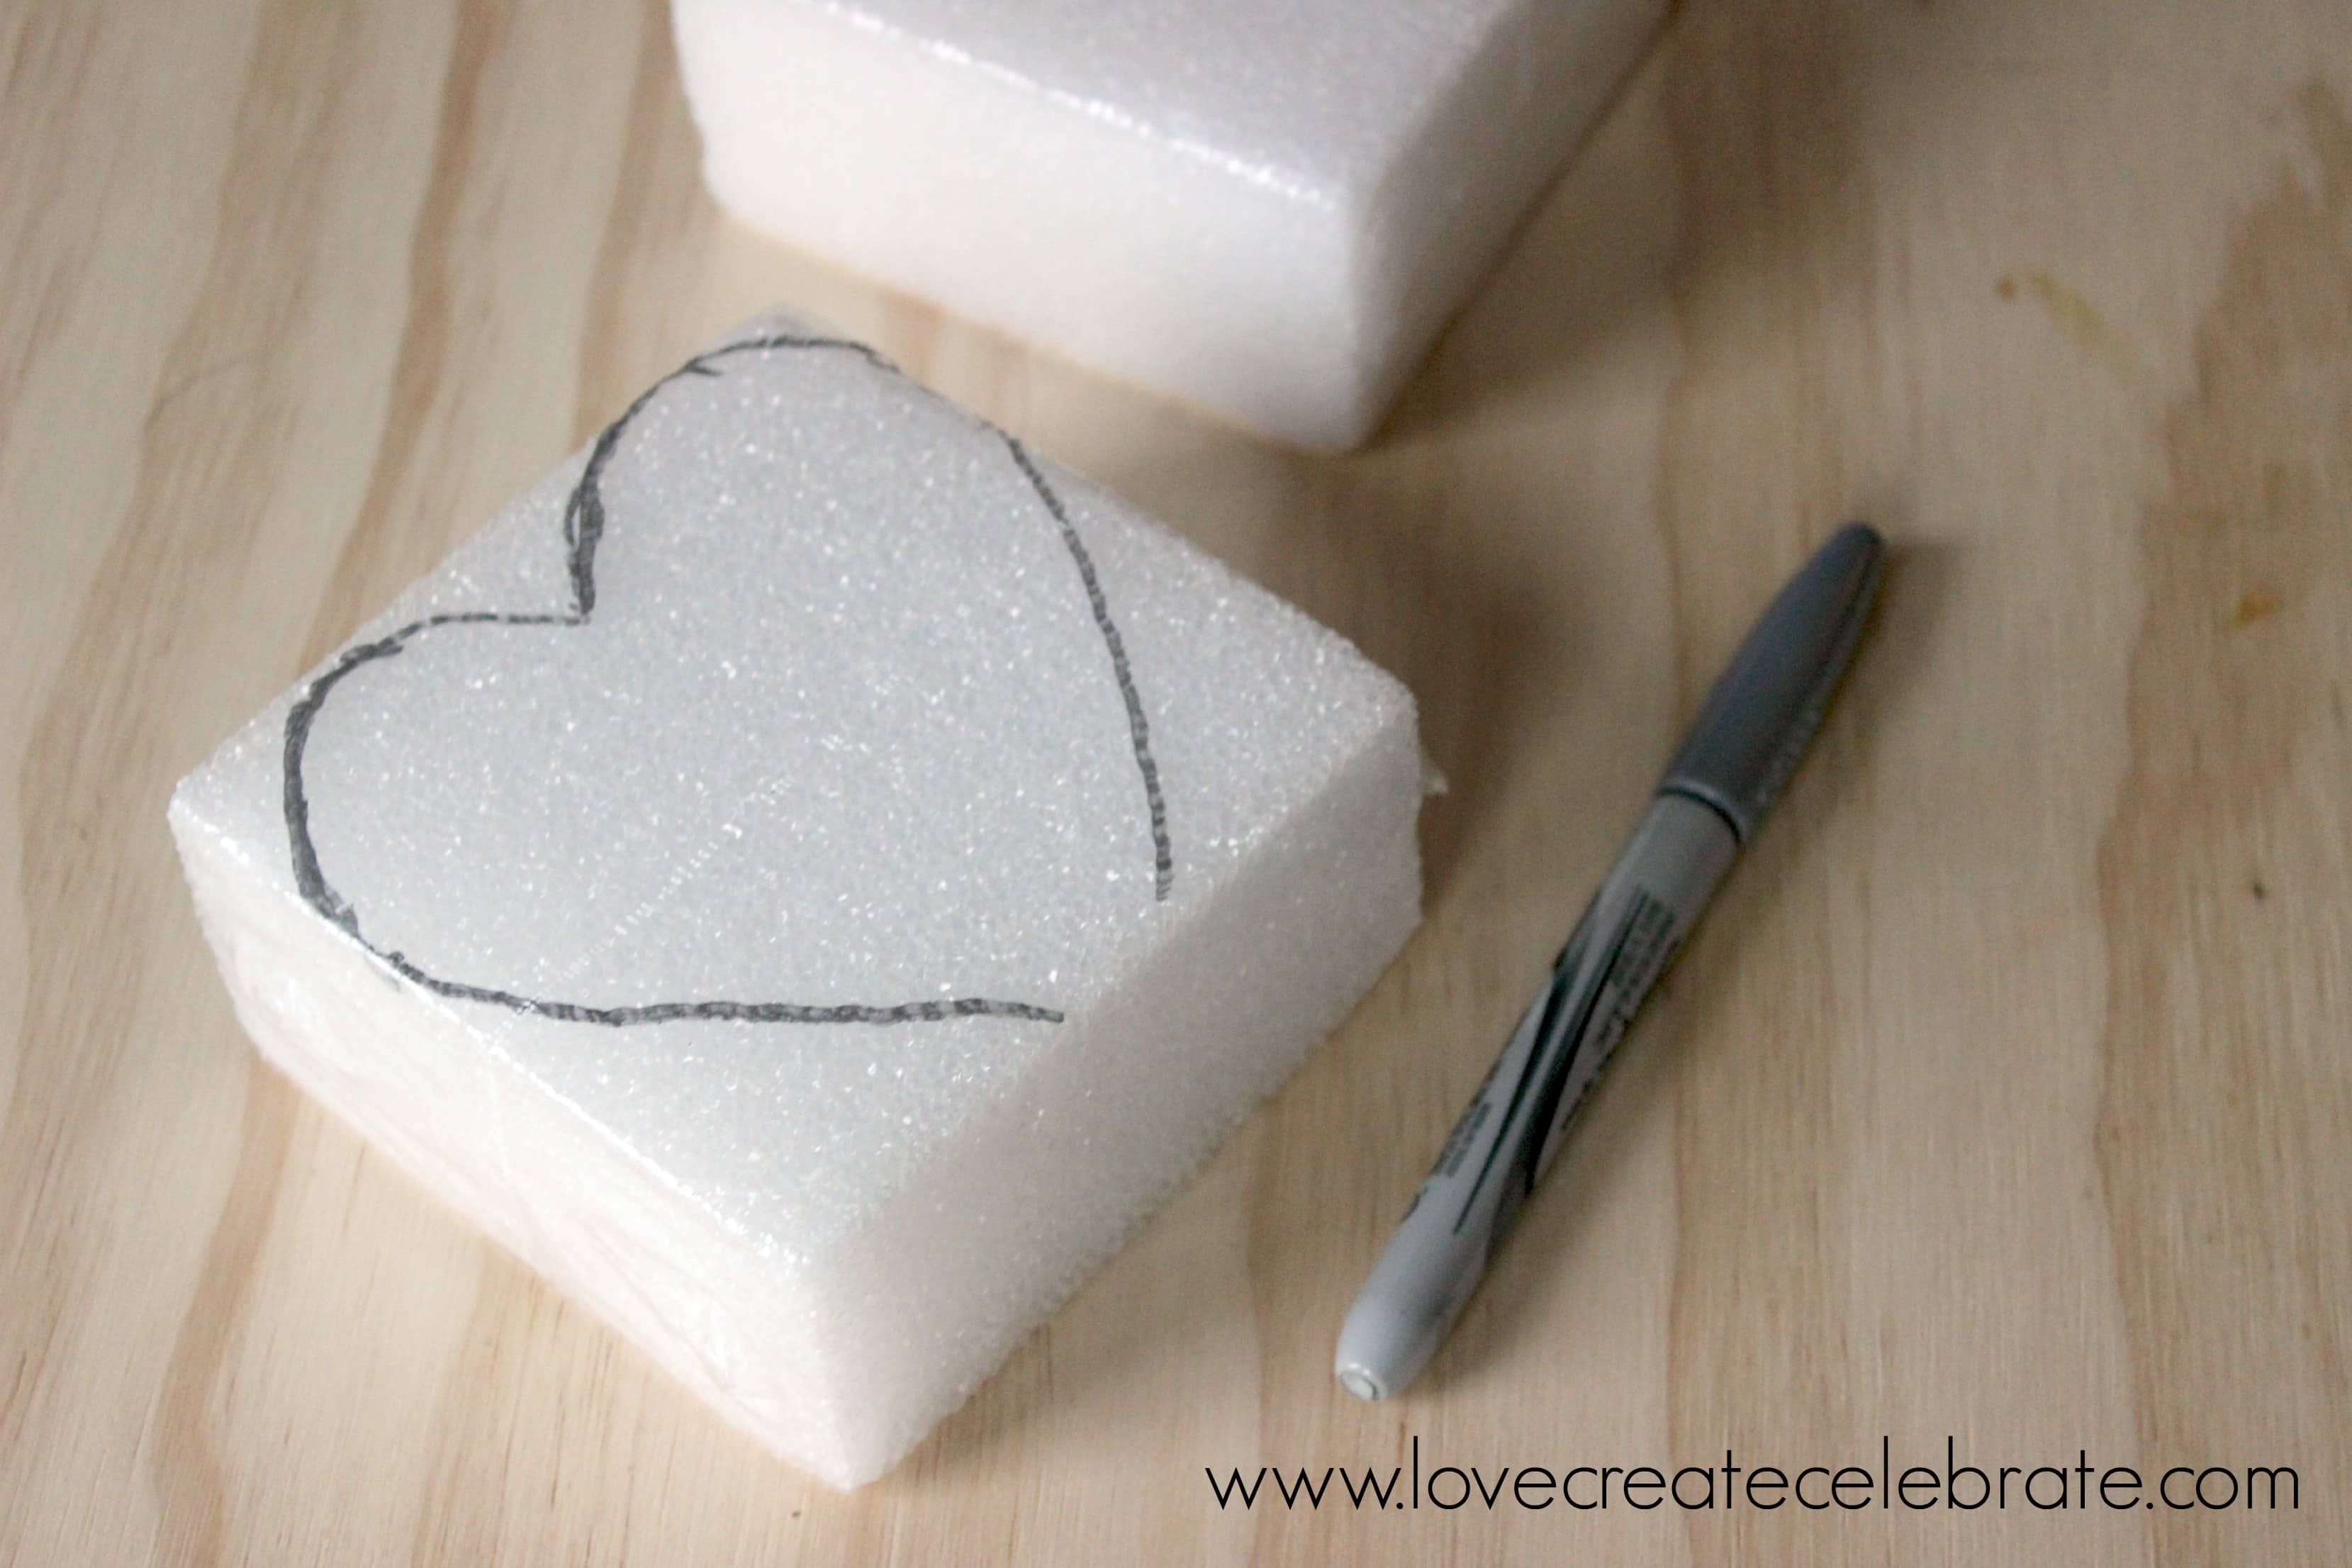
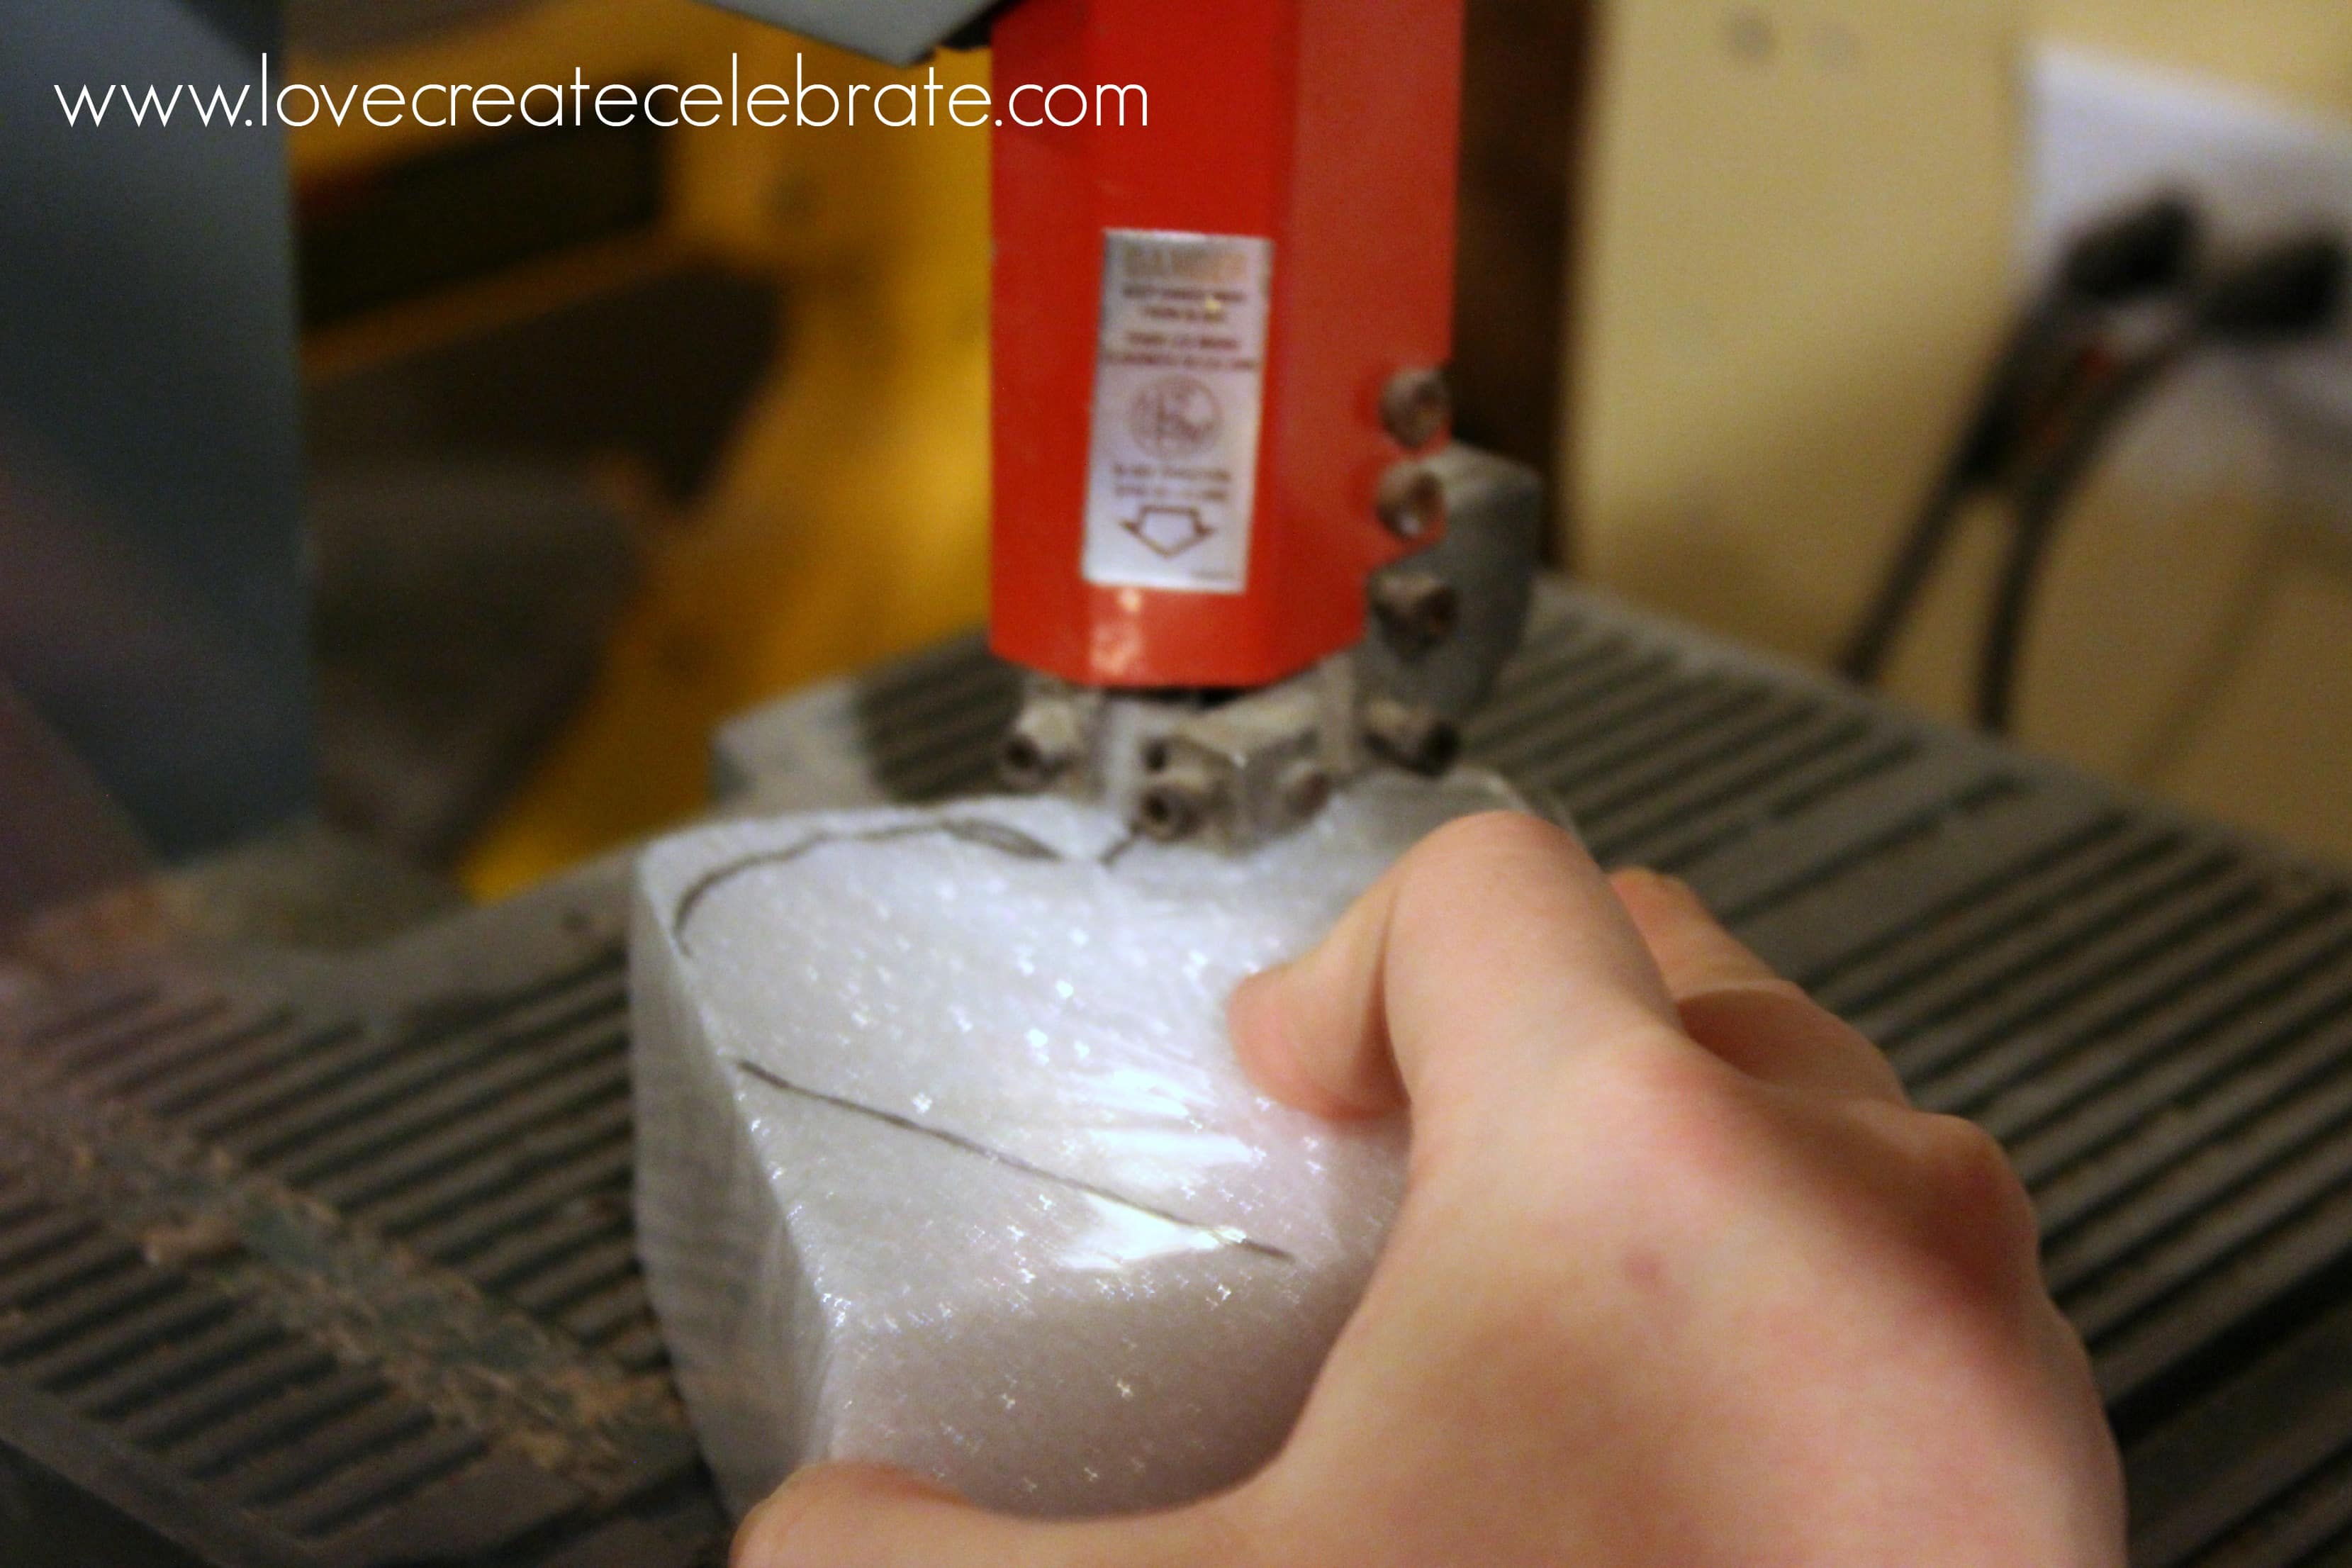
You begin by drawing a heart shape on your foam block using a Sharpie. I drew directly on the plastic packaging. If you prefer, you could print a heart picture and trace it, but I say the imperfections add character ;)
Make sure you draw a flat edge at the bottom. The heart will need to sit on that flat edge after.
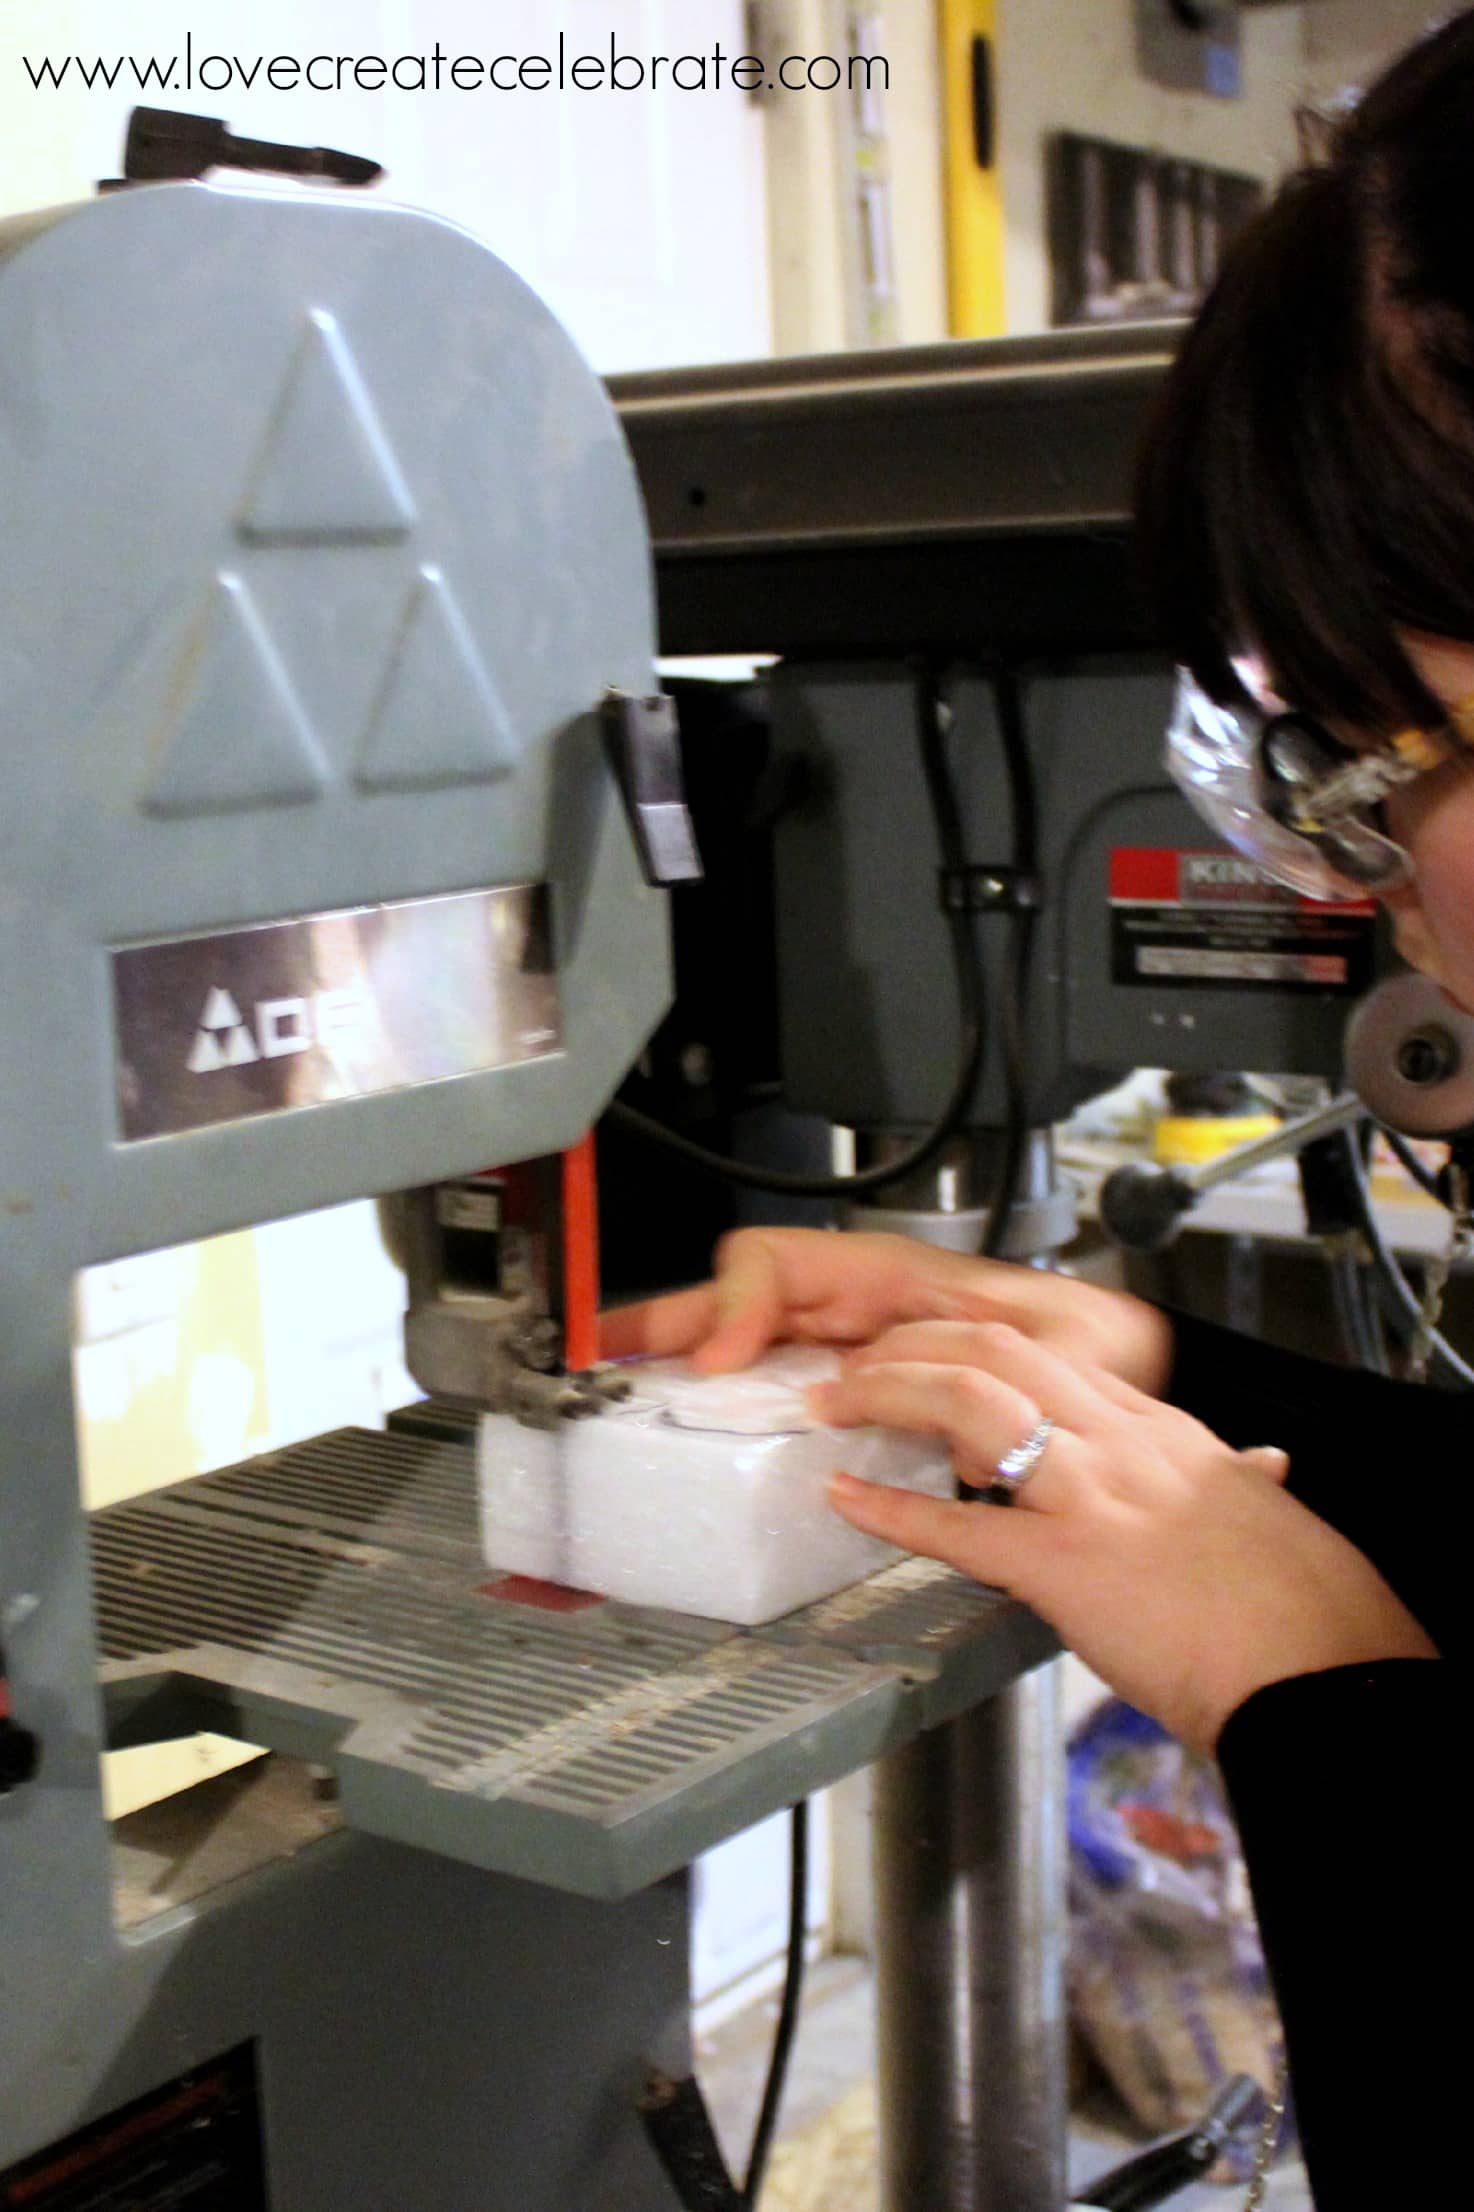
Then, using the bandsaw, cut around the outline of the heart that you drew. This should give you a nice, smooth, clean cut.
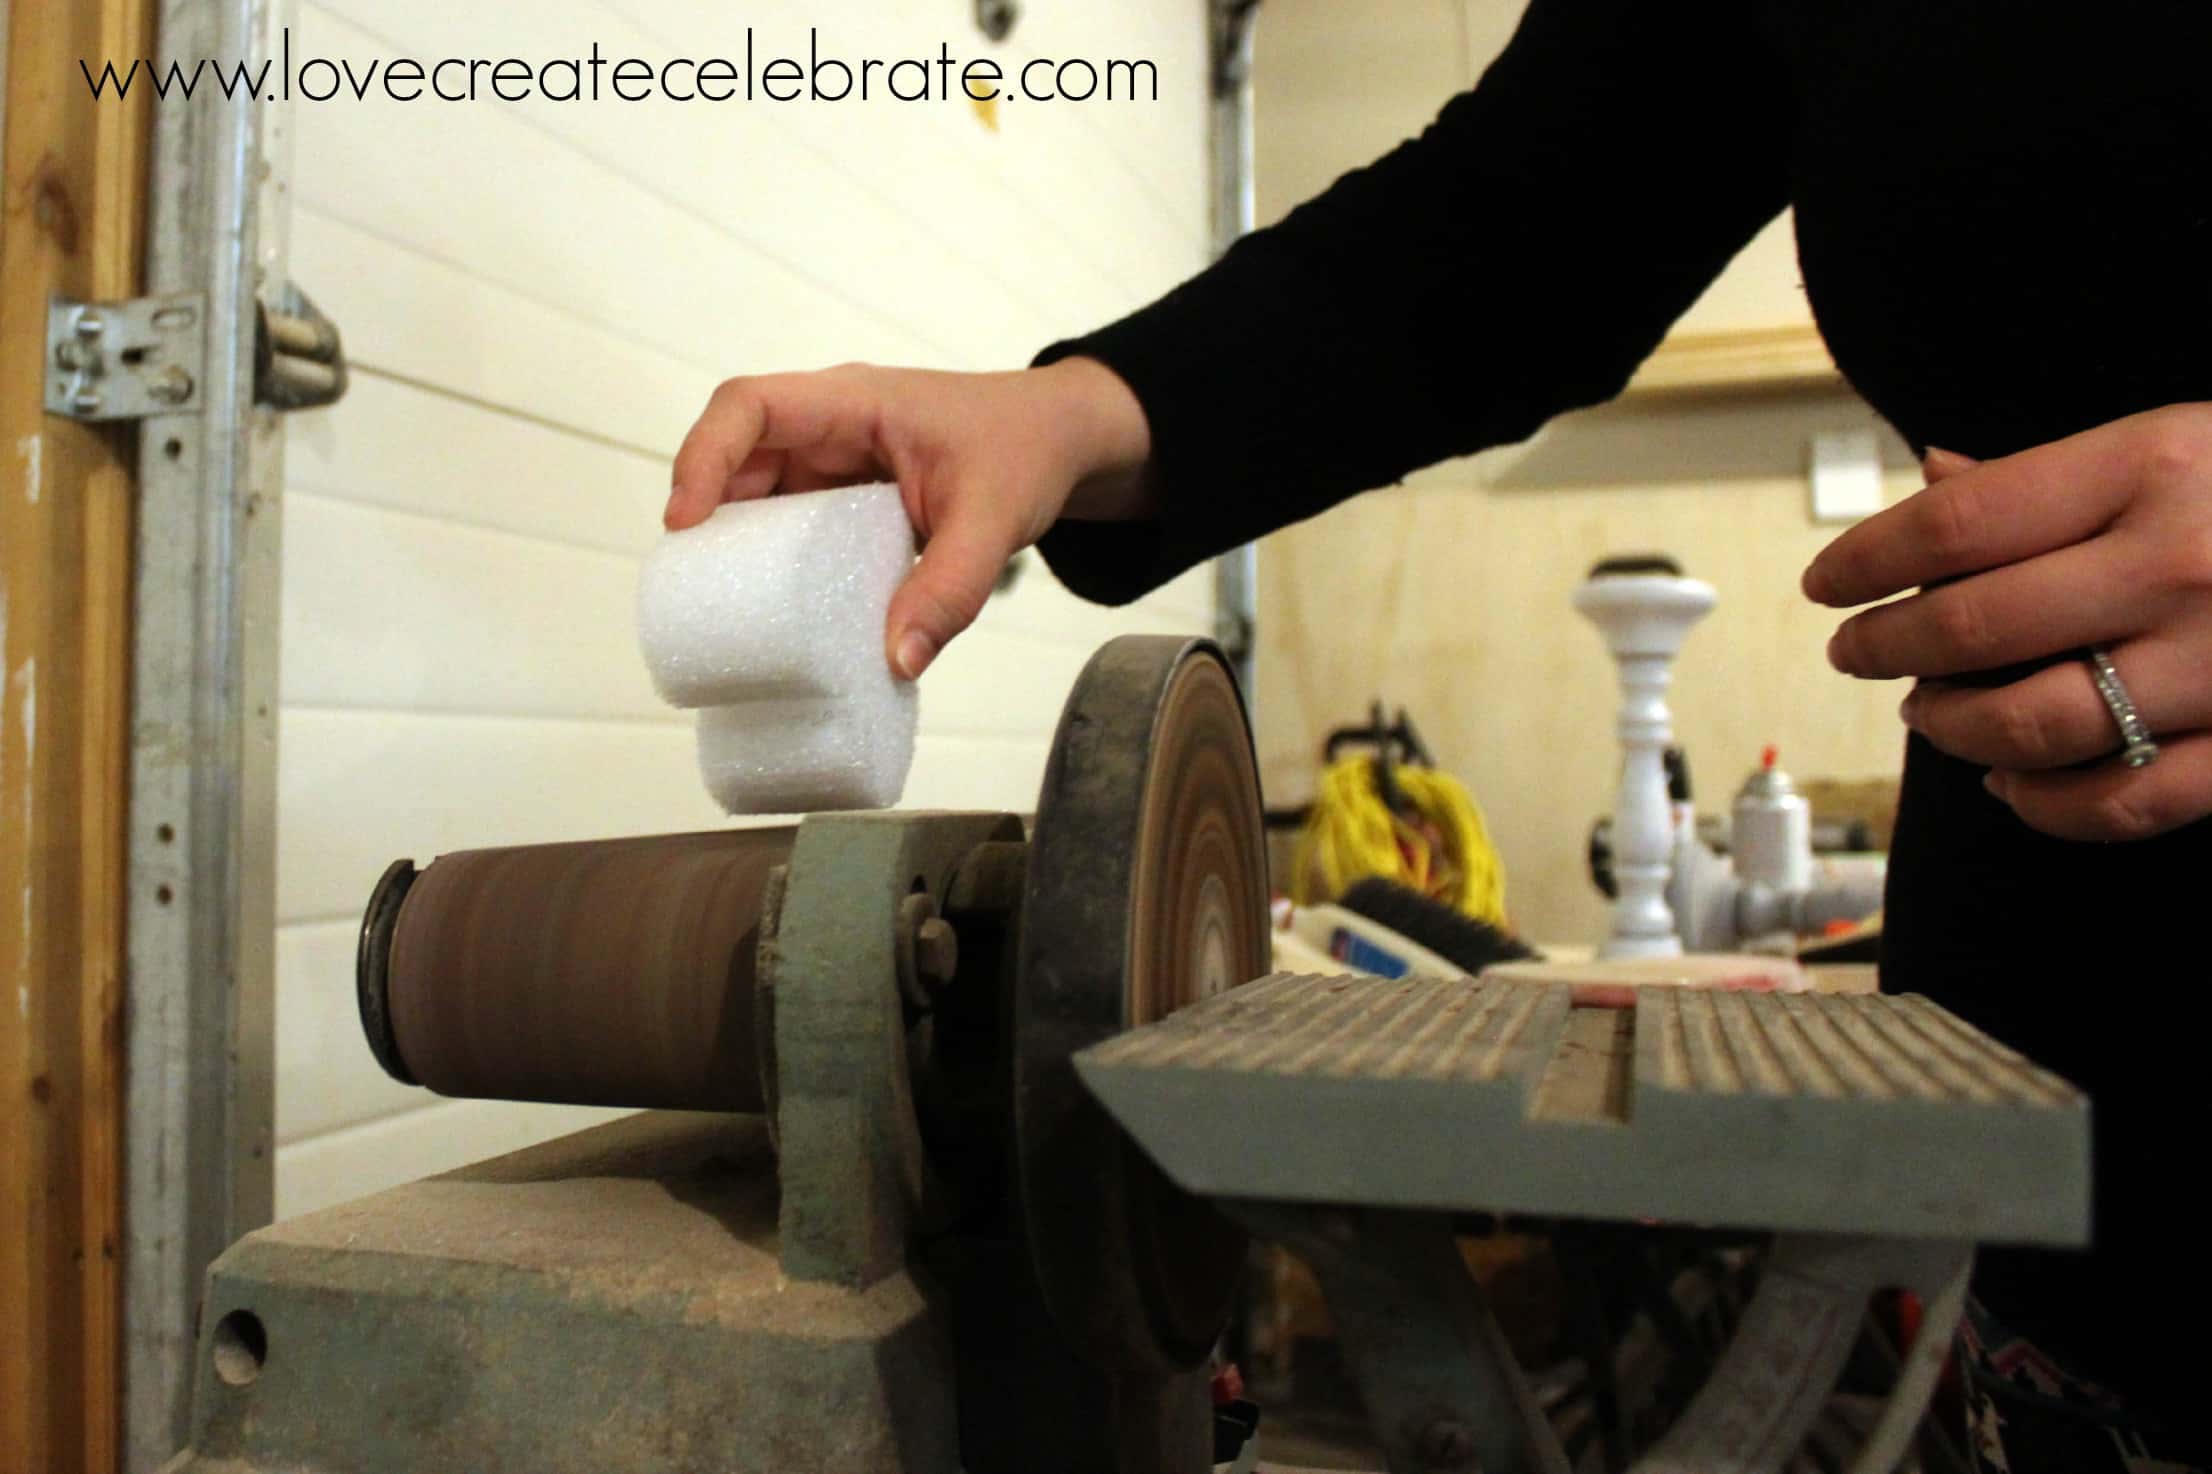
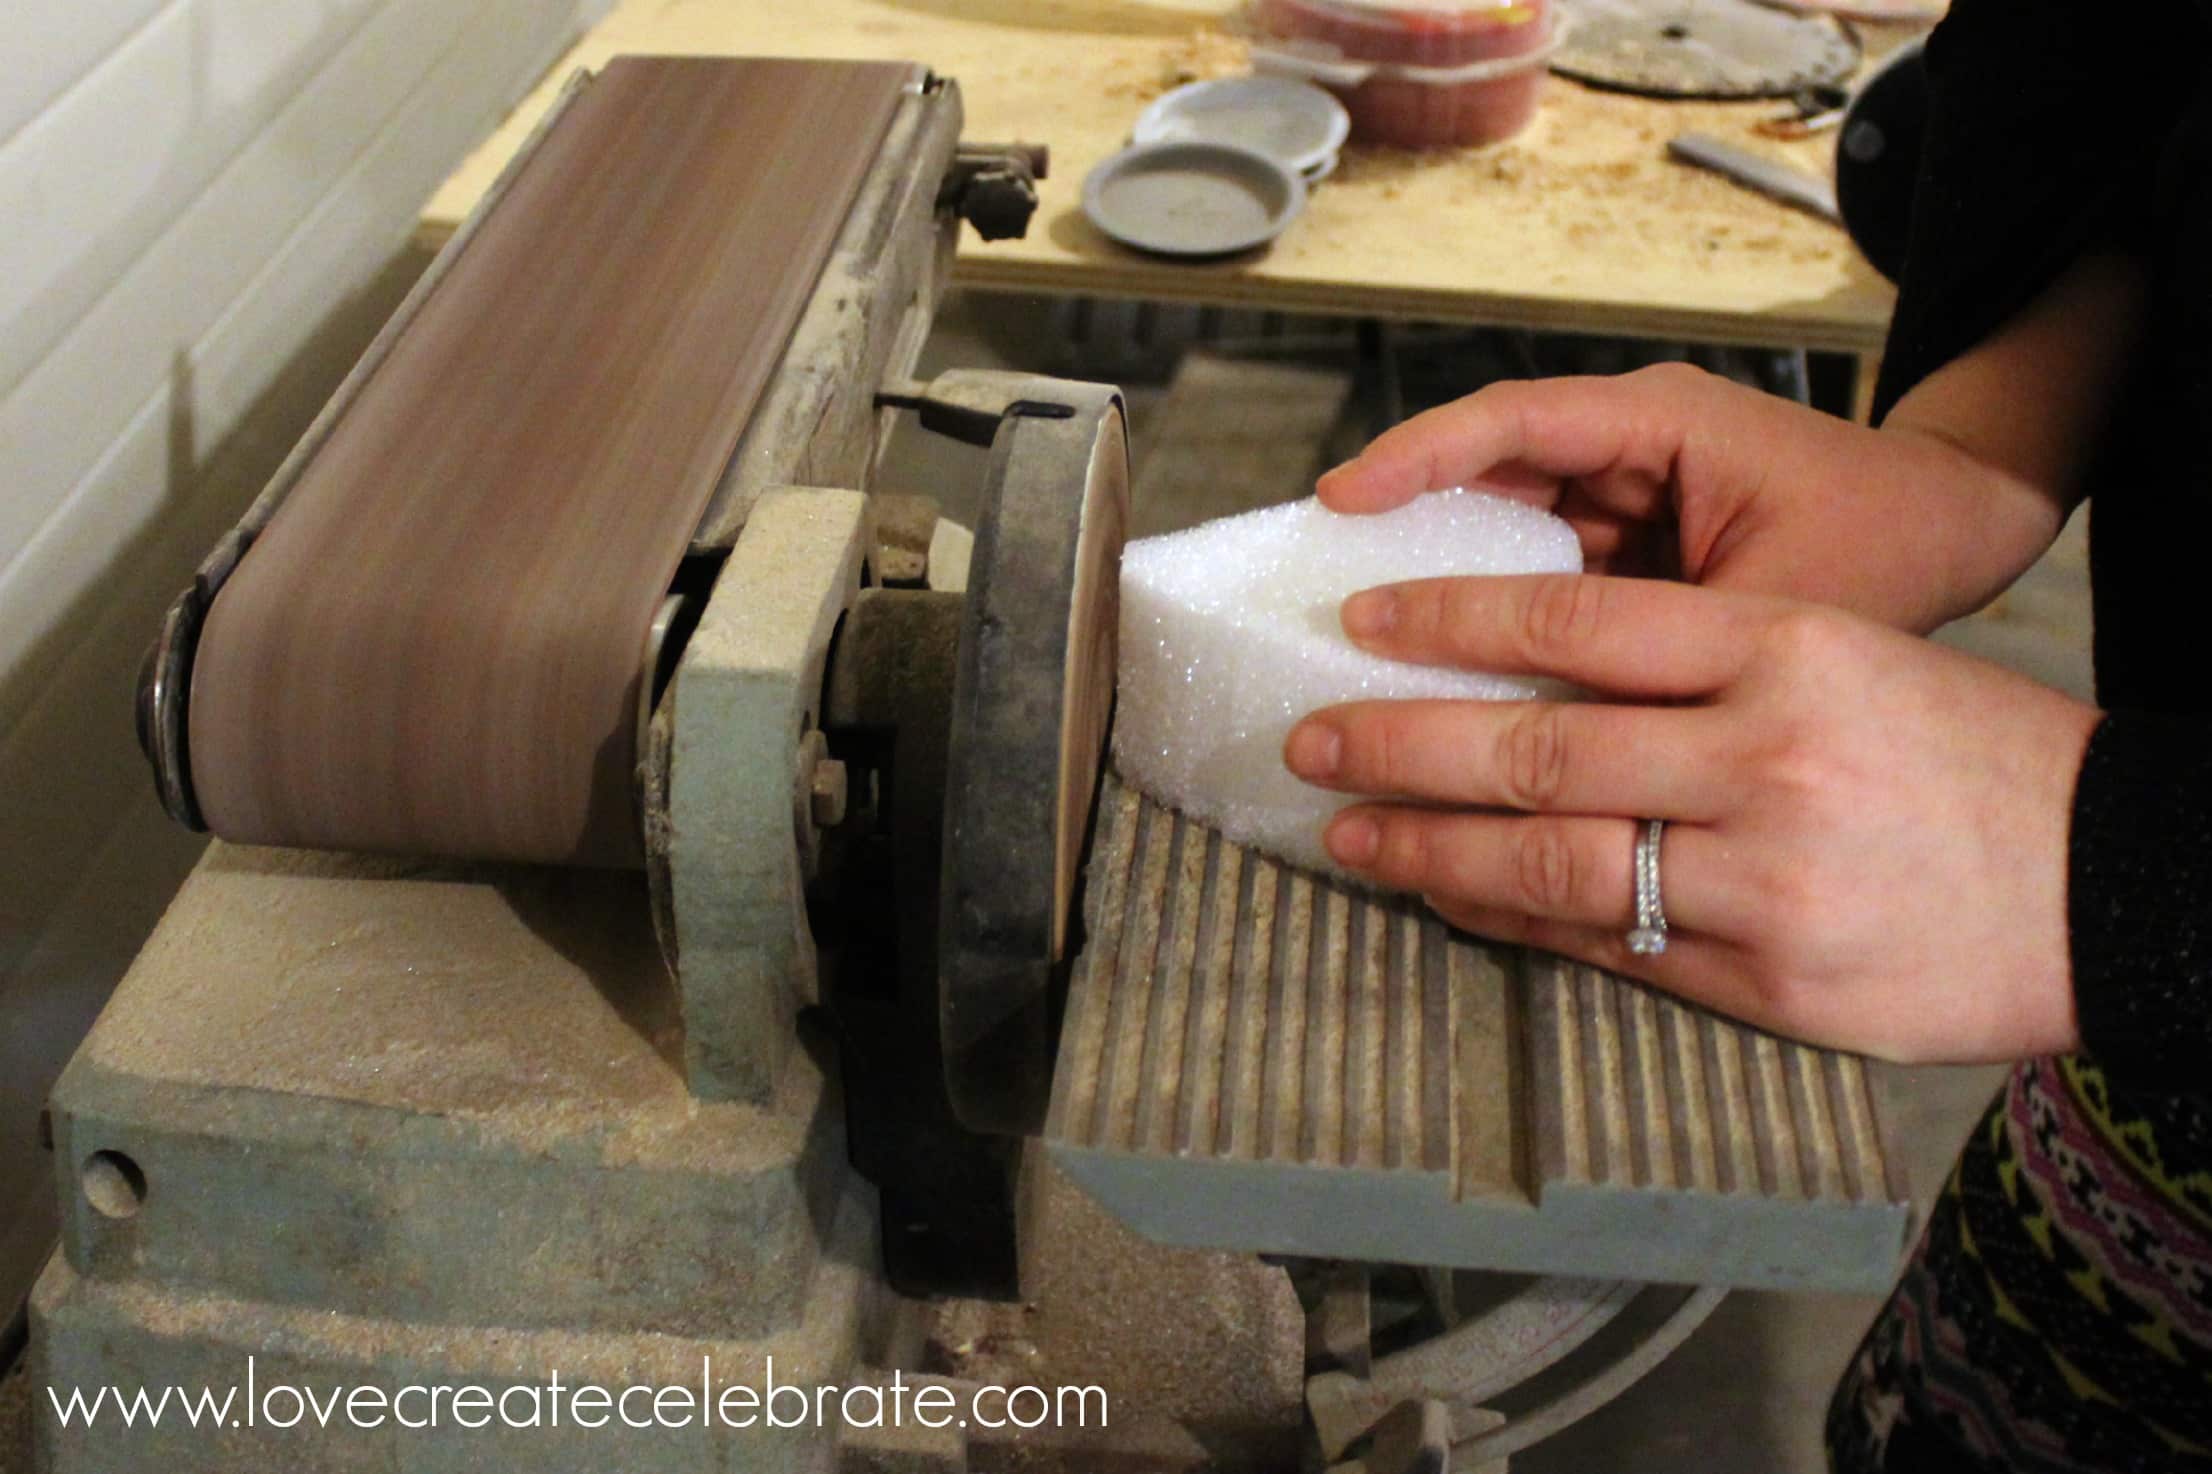
Finally, run the edges of the heart on the sander, to make sure that there aren’t any rough bumps on the outer edges from the bandsaw. You also want to sand the bottom of the heart to ensure that it will sit flat after it is decorated.
If you don’t have a sander like my husband’s fancy version – you can use 50 grit sandpaper to do the same job – just a bit more elbow grease!

Then the tedious part… lol.
Adding character always takes more time doesn’t it?!
Warm up that glue gun! This part gets a bit messy, because all of the materials we are using are prone to shedding.
For the green moss, I layed out where I was putting the moss, then I removed the moss, added hot glue to the foam surface, and immediately replaced the moss. Try to add thick pieces wherever possible to avoid the piece looking disjointed, and to avoid access glue dripping out!
I did the same process with the spanish moss. This moss was more difficult, because it was so transparent. I had to add a mot more to fill in the same space. Again, try to add pieces that are already stuck together, and squish the moss on tight as the glue is setting.
Last but not least, the raffia! I found this adorable pink/purple raffia and knew it would be perfect for this! I started by gluing strands to the sides first, from one side to the other. I left extra on each side to cover up the edges when I glued the front and back pieces on. Once the sides were done, I glues from top to bottom of the front and back. When I was done, I cut all of the excess edges, and notched out the dip in the top of the heart.
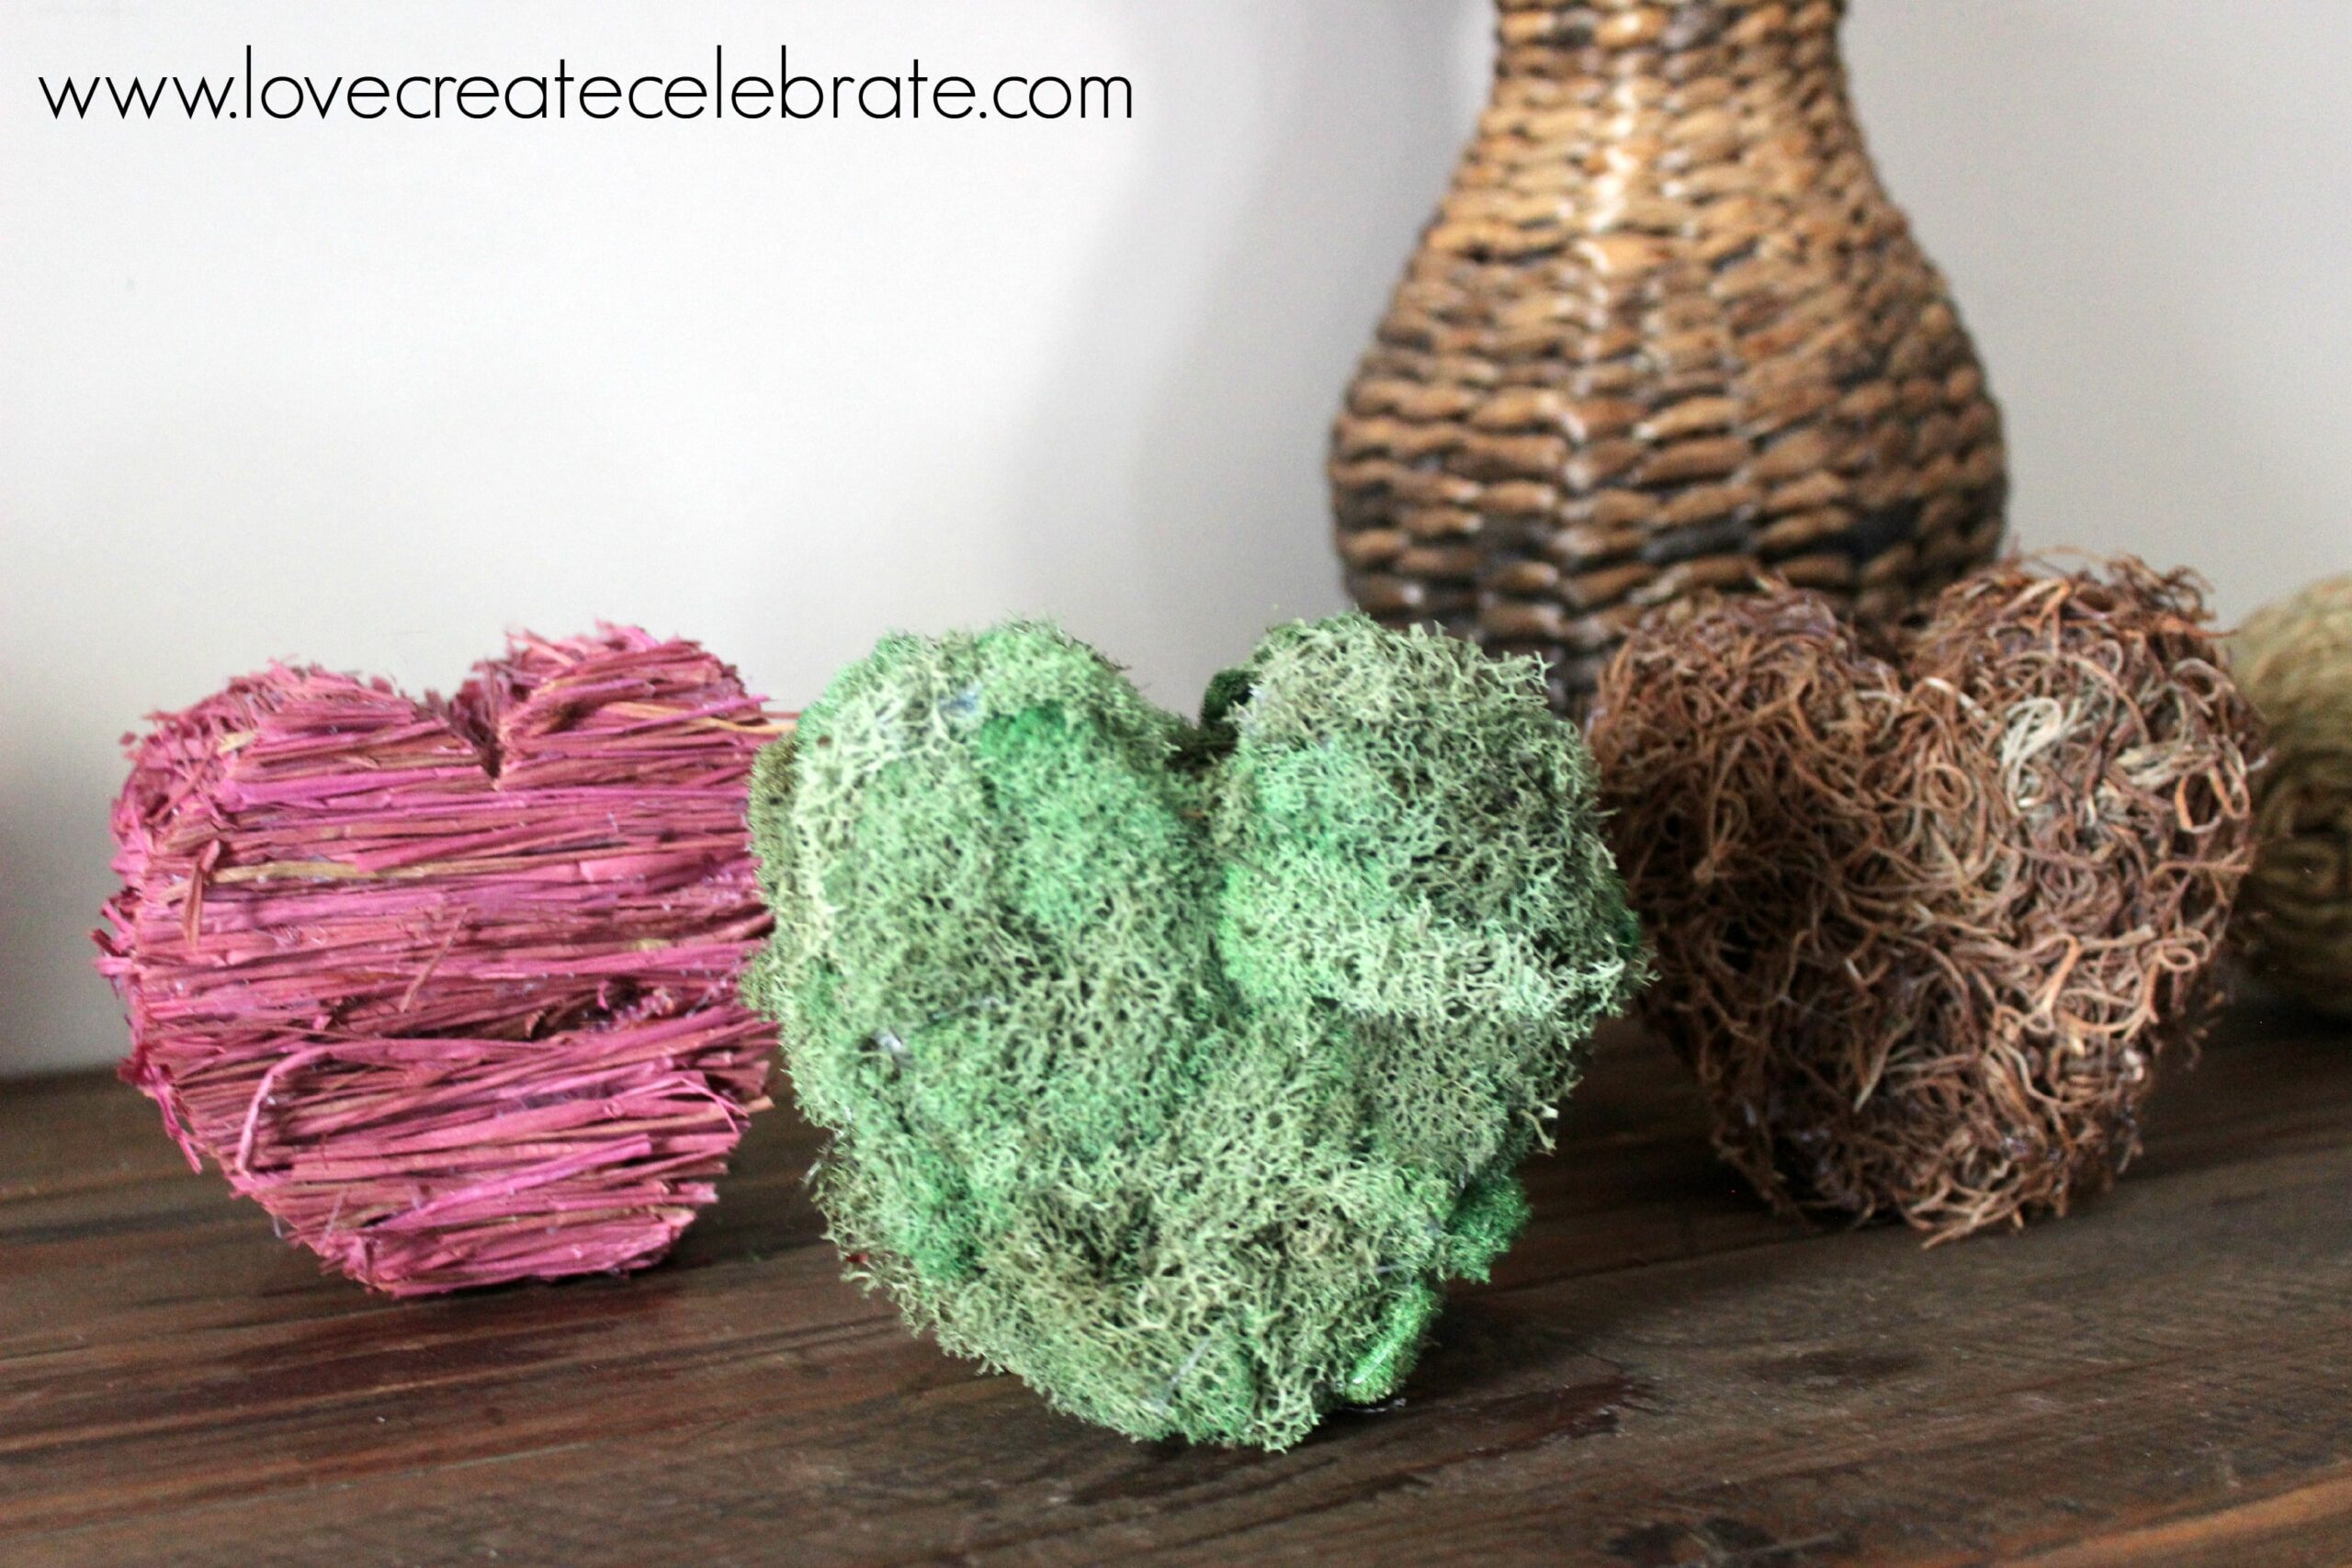
After all that work, you end up with some stylish and beautiful rustic decor pieces for any season!
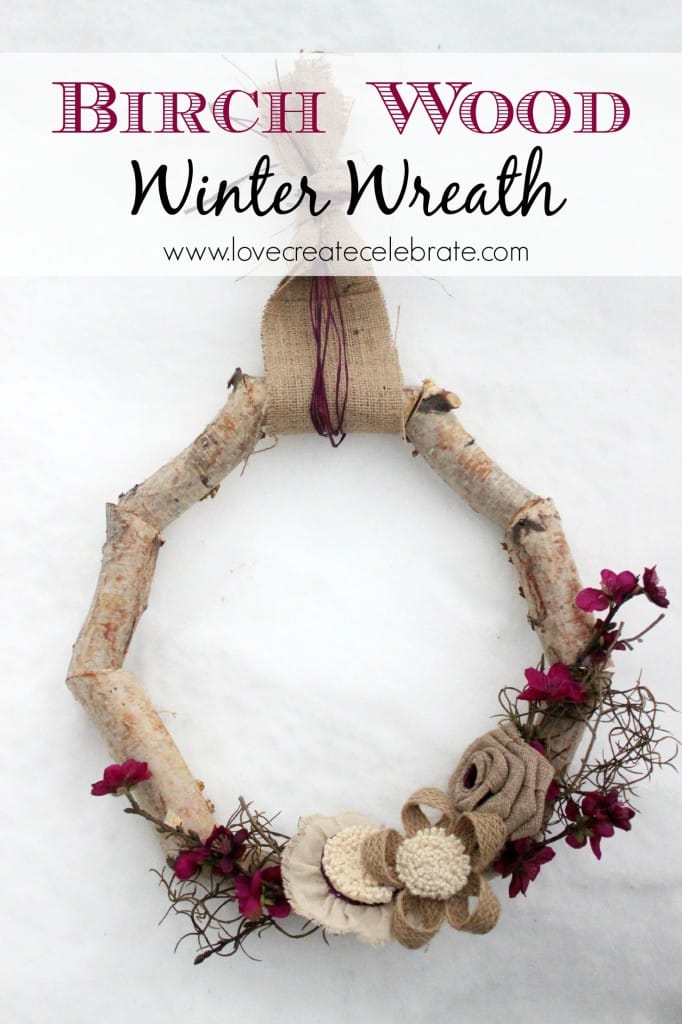
For more rustic decor, check out this Birch Wood Wreath:
{xoxo}
*This post contains affiliate links. For more information, please read my disclosure policy*
Creative Spark Link Party #42 - Dandelion Patina
Sunday 1st of March 2015
[…] Rustic Spring Hearts by LoveCreateCelebrate […]
Erlene
Tuesday 24th of February 2015
I love how you created these rustic spring hearts. They look great grouped together and so unique.
Lindivs
Tuesday 24th of February 2015
Thank you! I really loved how they turned out too :) Even displayed individually they could be super cute!
Emily @ Two Purple Couches
Wednesday 18th of February 2015
Adorable and clever! Love the variety of colors and textures you chose! Thanks for linking up at Creative Spark. Hope you'll join us again this week :)
Lindivs
Wednesday 18th of February 2015
Thank you Emily! I love the different textures too :)
Christie
Wednesday 18th of February 2015
These are simply beautiful! I never would have guessed you made them with Styrofoam. Great job!
Lindivs
Wednesday 18th of February 2015
Thanks! I know, the styrofoam was my genius secret!
jessica
Tuesday 17th of February 2015
I love LOVE LOVE these!! Your work area looks like mine lol. So much fun! I would love for you to stop by and link these up if you havent already!! Have a wonderful week! Jess
Lindivs
Wednesday 18th of February 2015
Thank you Jessica :)