
I’m back with another wood project!
If you’ve been following my instagram account, you may have seen a few pictures of me testing out the power tools (like this one, or this one). My husband has been patiently teaching me the art of woodworking, and I’m eagerly taking in everything I can! I’ve had project after project jump into my head. This Rustic Birch Wood Frame was actually my husband’s idea, and I’m SO glad he took the time to teach me how to make it :)
Materials needed to make the frame:
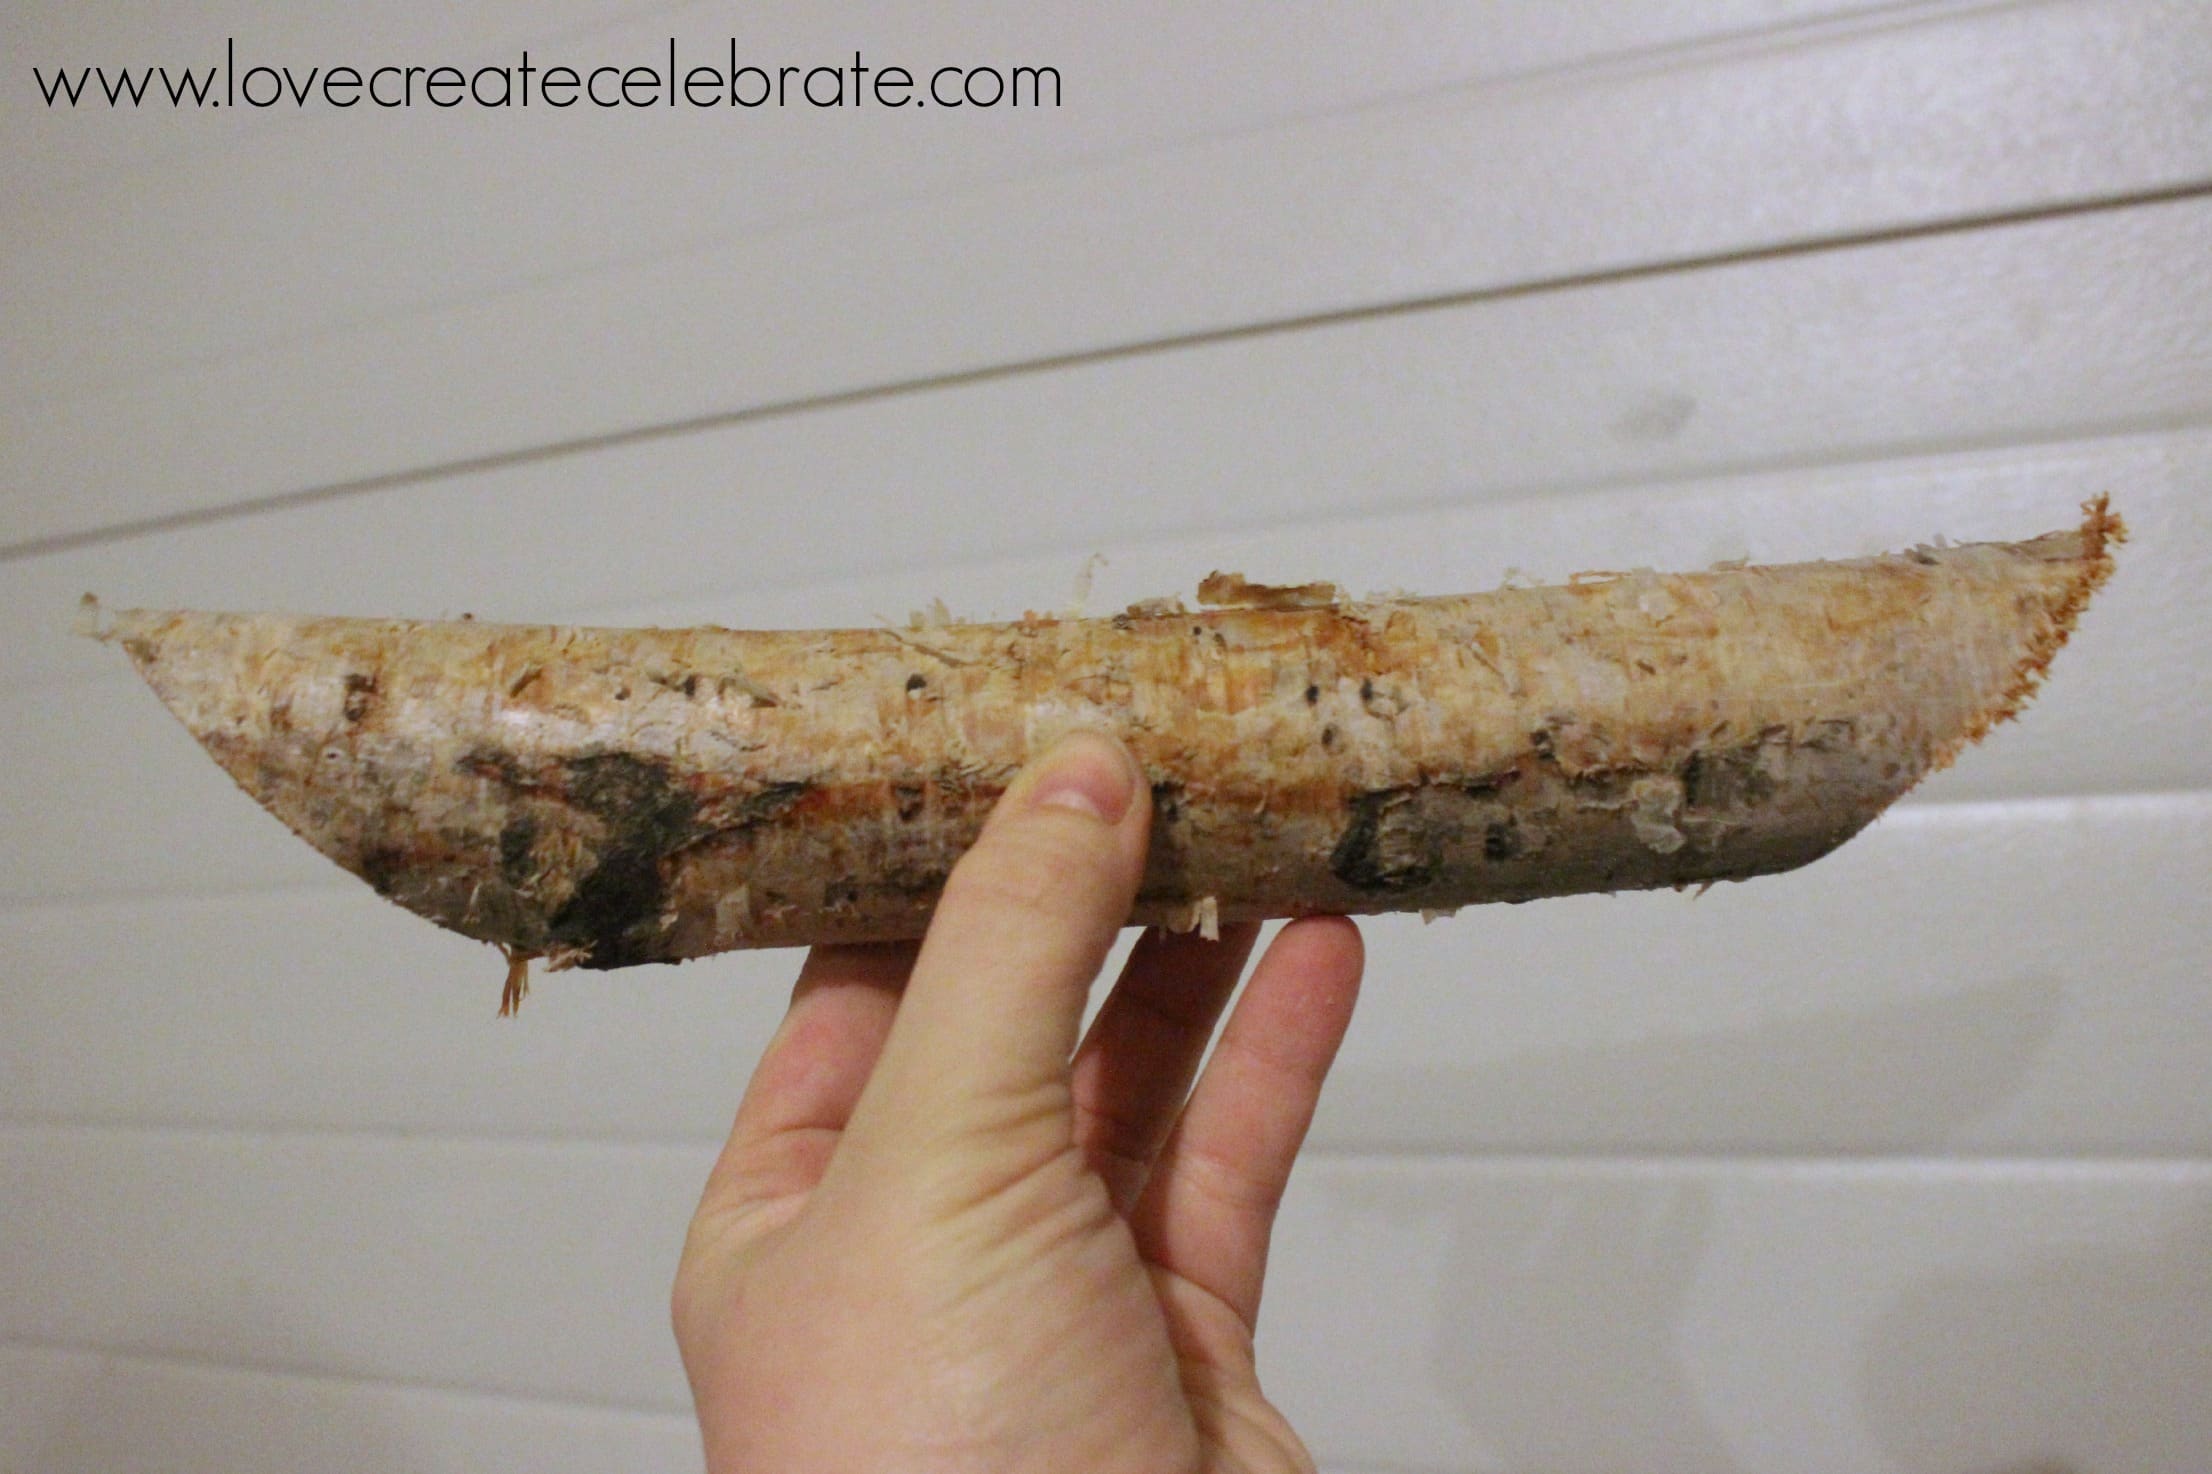
Birch wood branch
Mitre Saw
Table Saw
Chisel
Hammer
Sandpaper
Wood Glue
Staple Gun
Plexiglass
Hardboard
Hanging Hardware
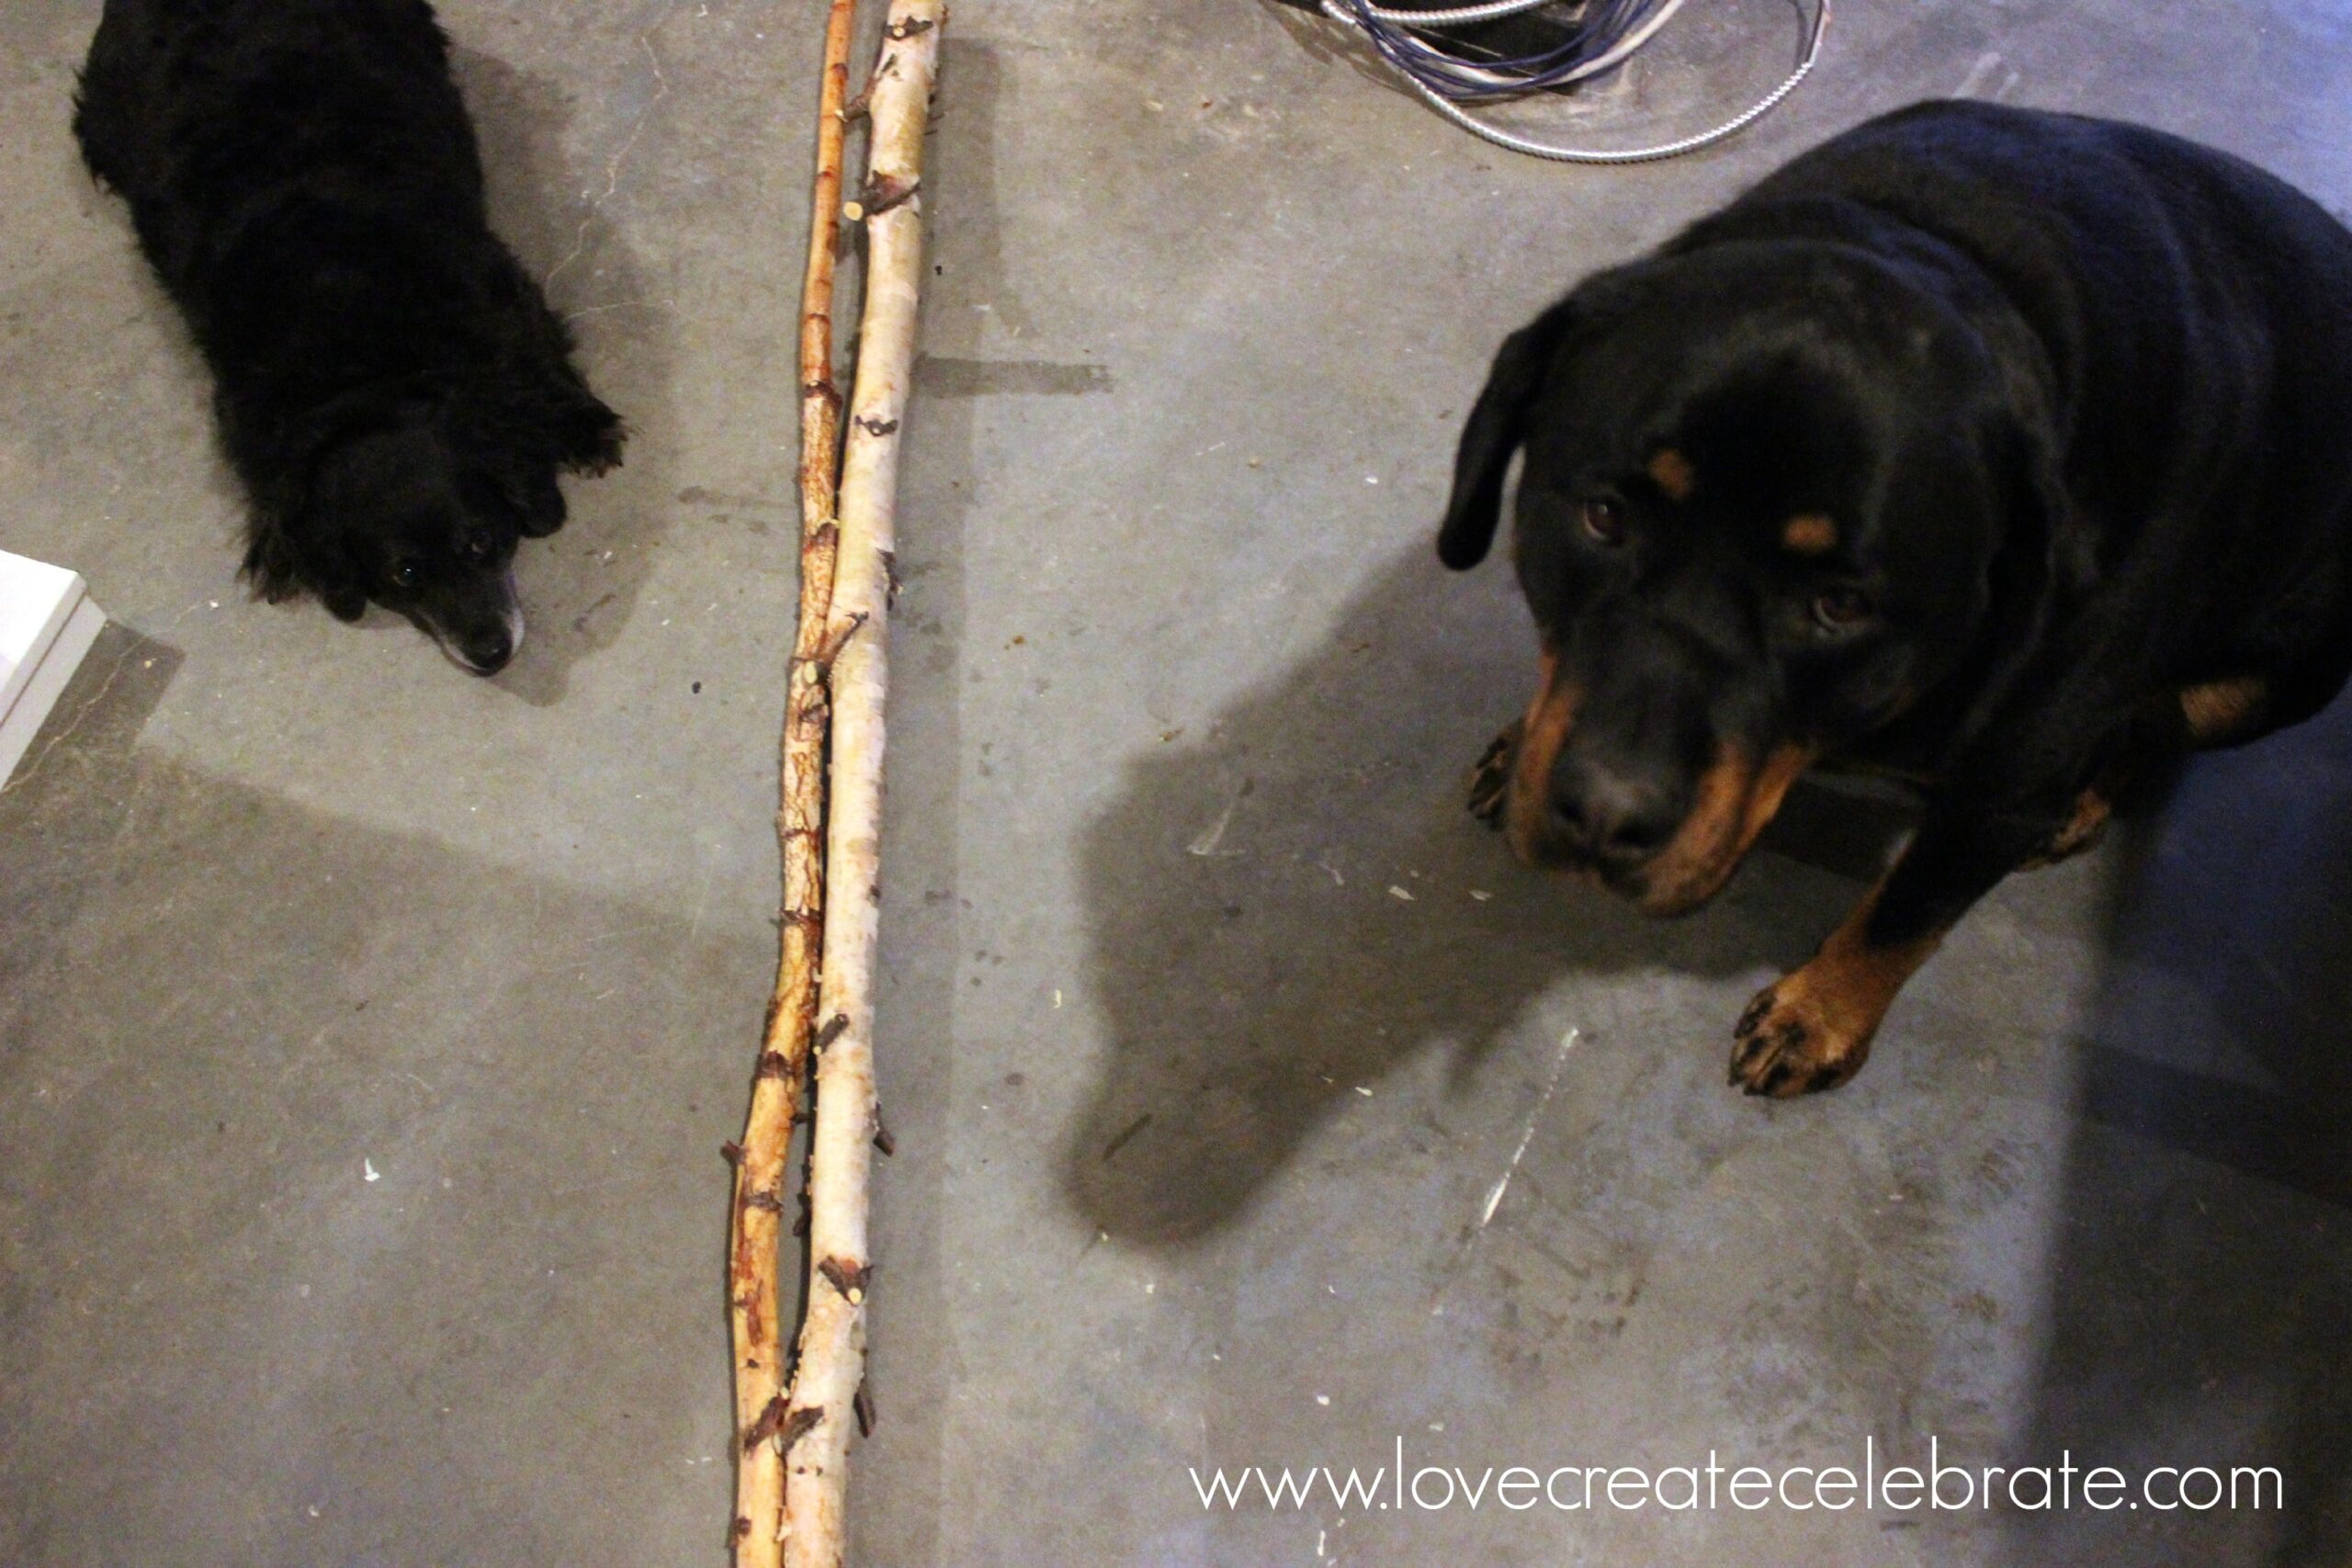
Once again, my dogs are relaxing beside our birch branches :) You may see them pop into a garage picture here or there!
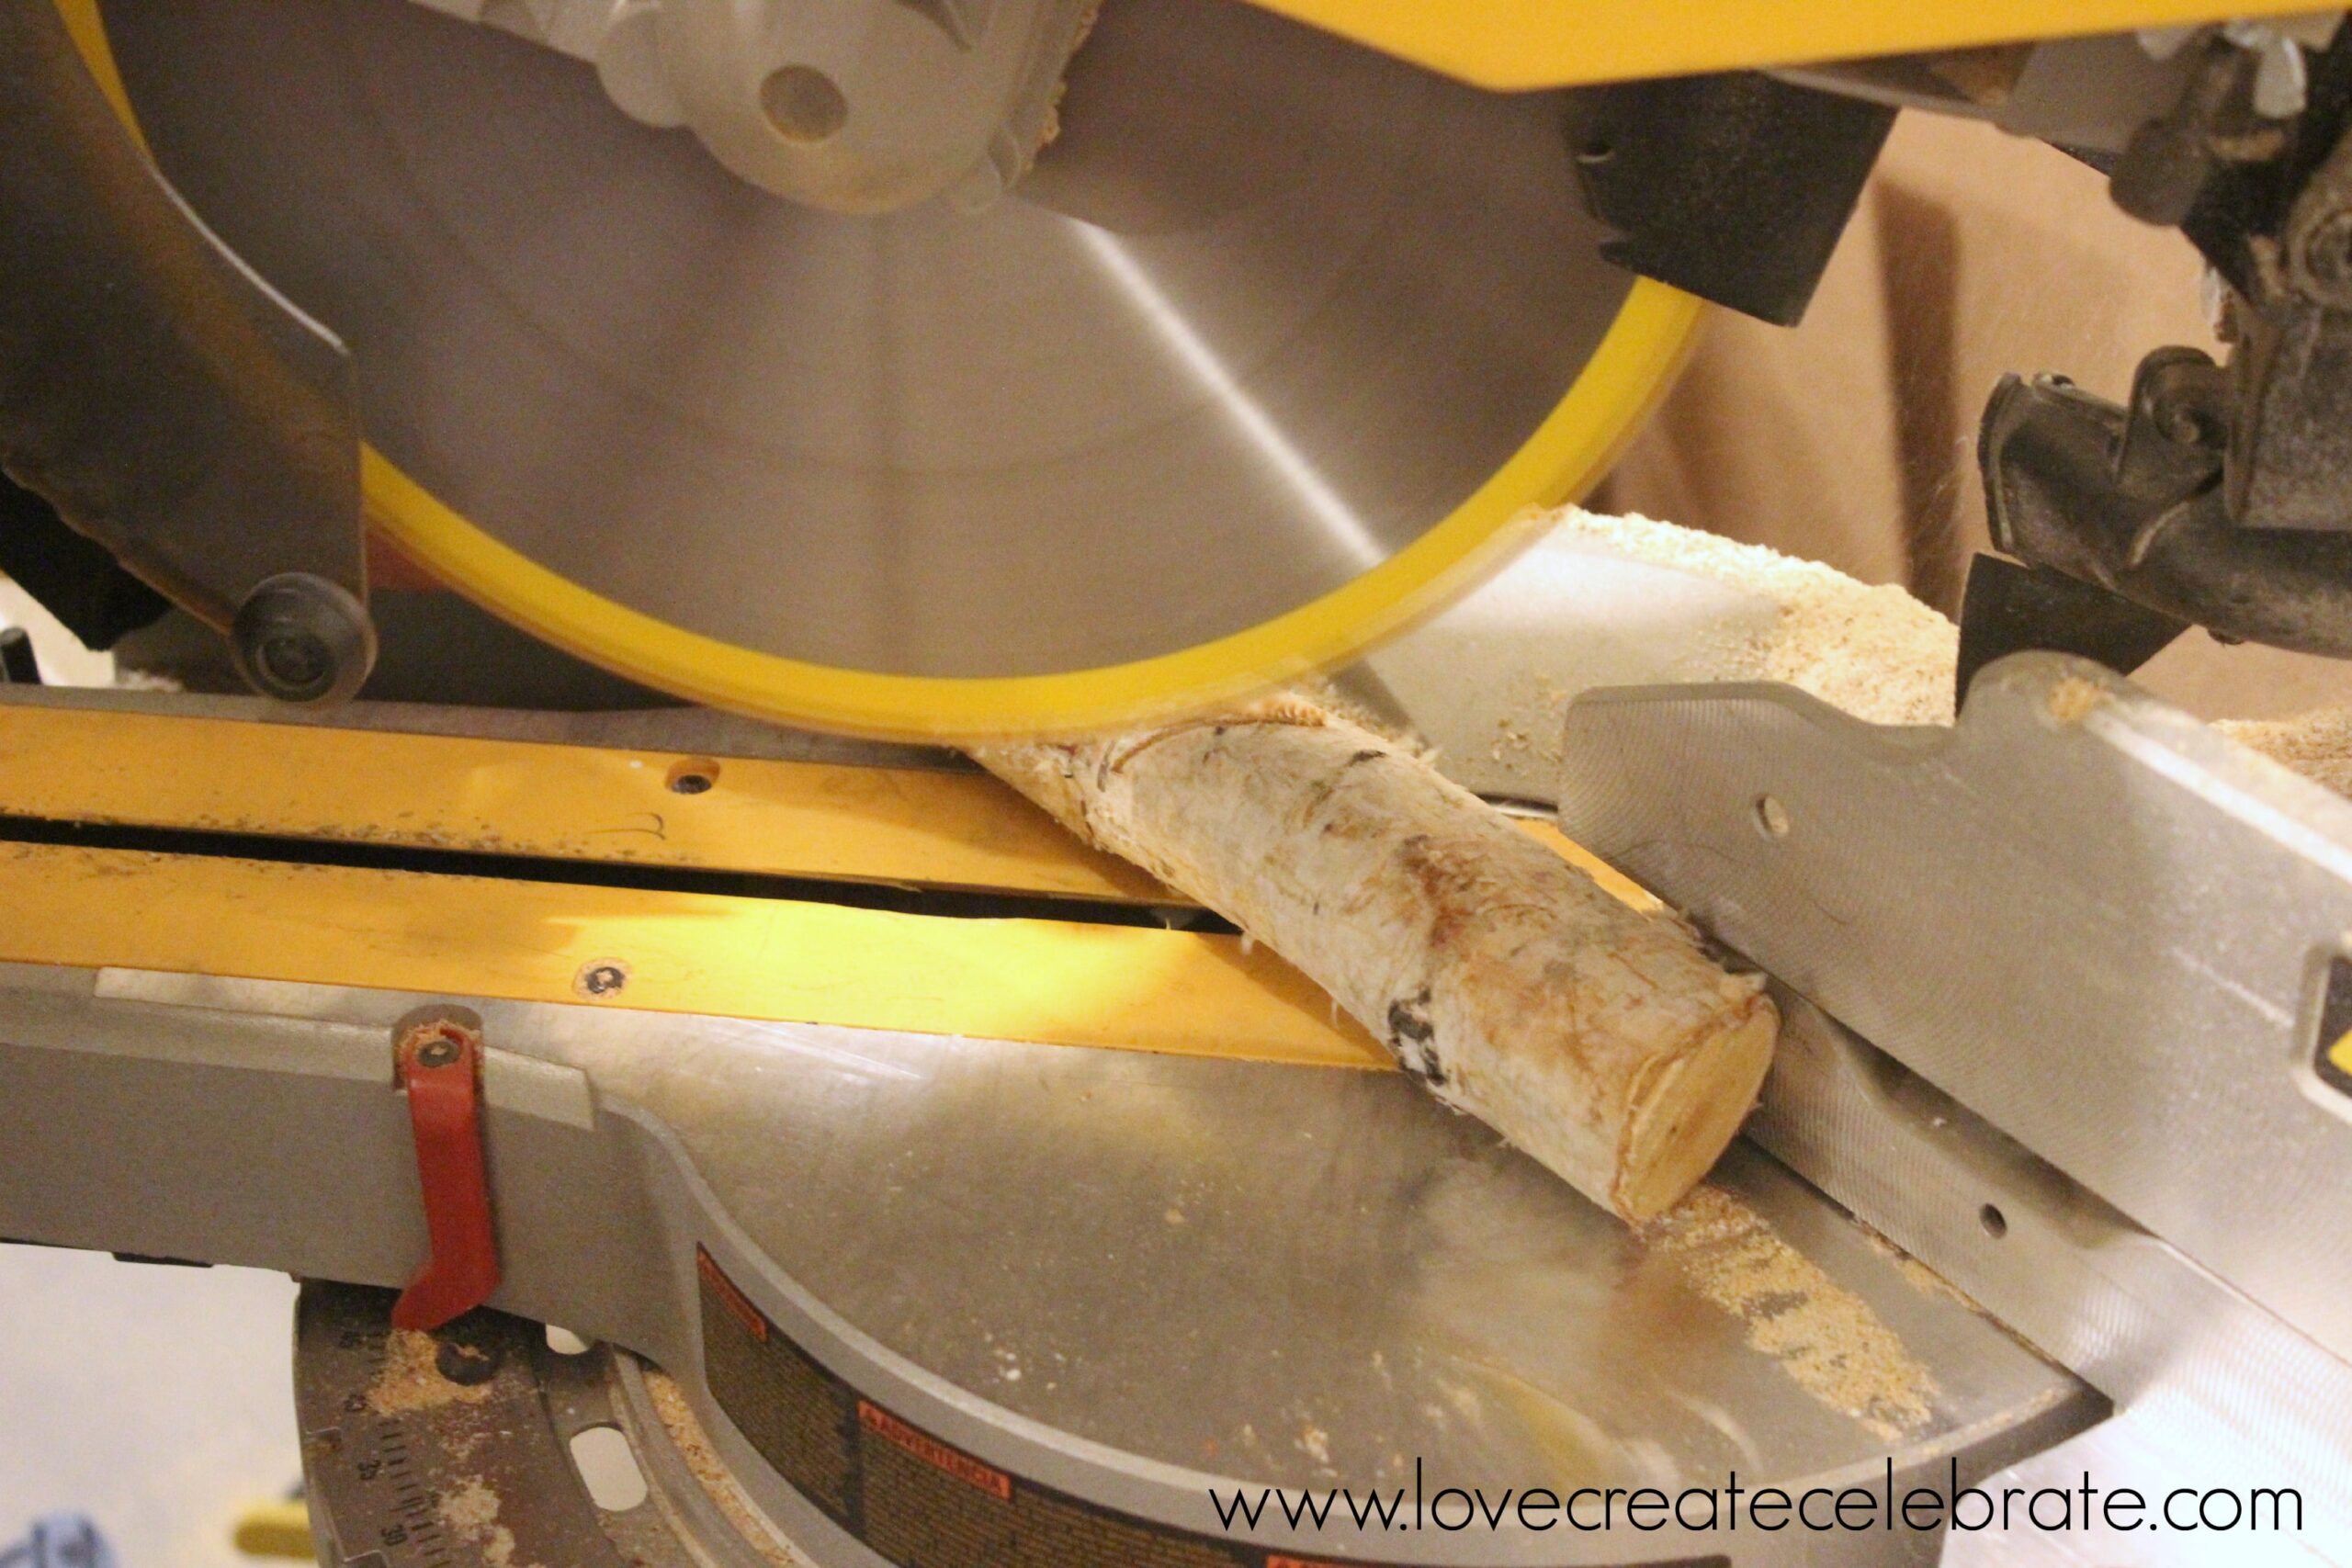
Start by cutting 4 pieces of birch wood at 45 degree angles on your mitre saw. We cut them so that two pieces had inside edges of 5 7/8″ and two pieces had inside edges of 7 7/8″, just under 6″x8″, so that a 6″x8″ photo can sit inside. Make sure that your 45 degree angles both go inward, as shown in the diagram below.
Next, we lined up the birch pieces to make sure that the angles would sit together nicely (not pictured – but an important step in case adjustments need to be made!). Then we decided to cut a 1/2″ x 1/2″ notch into the inside edge of each birch pieces (scroll down for pictures of what this will look like!).
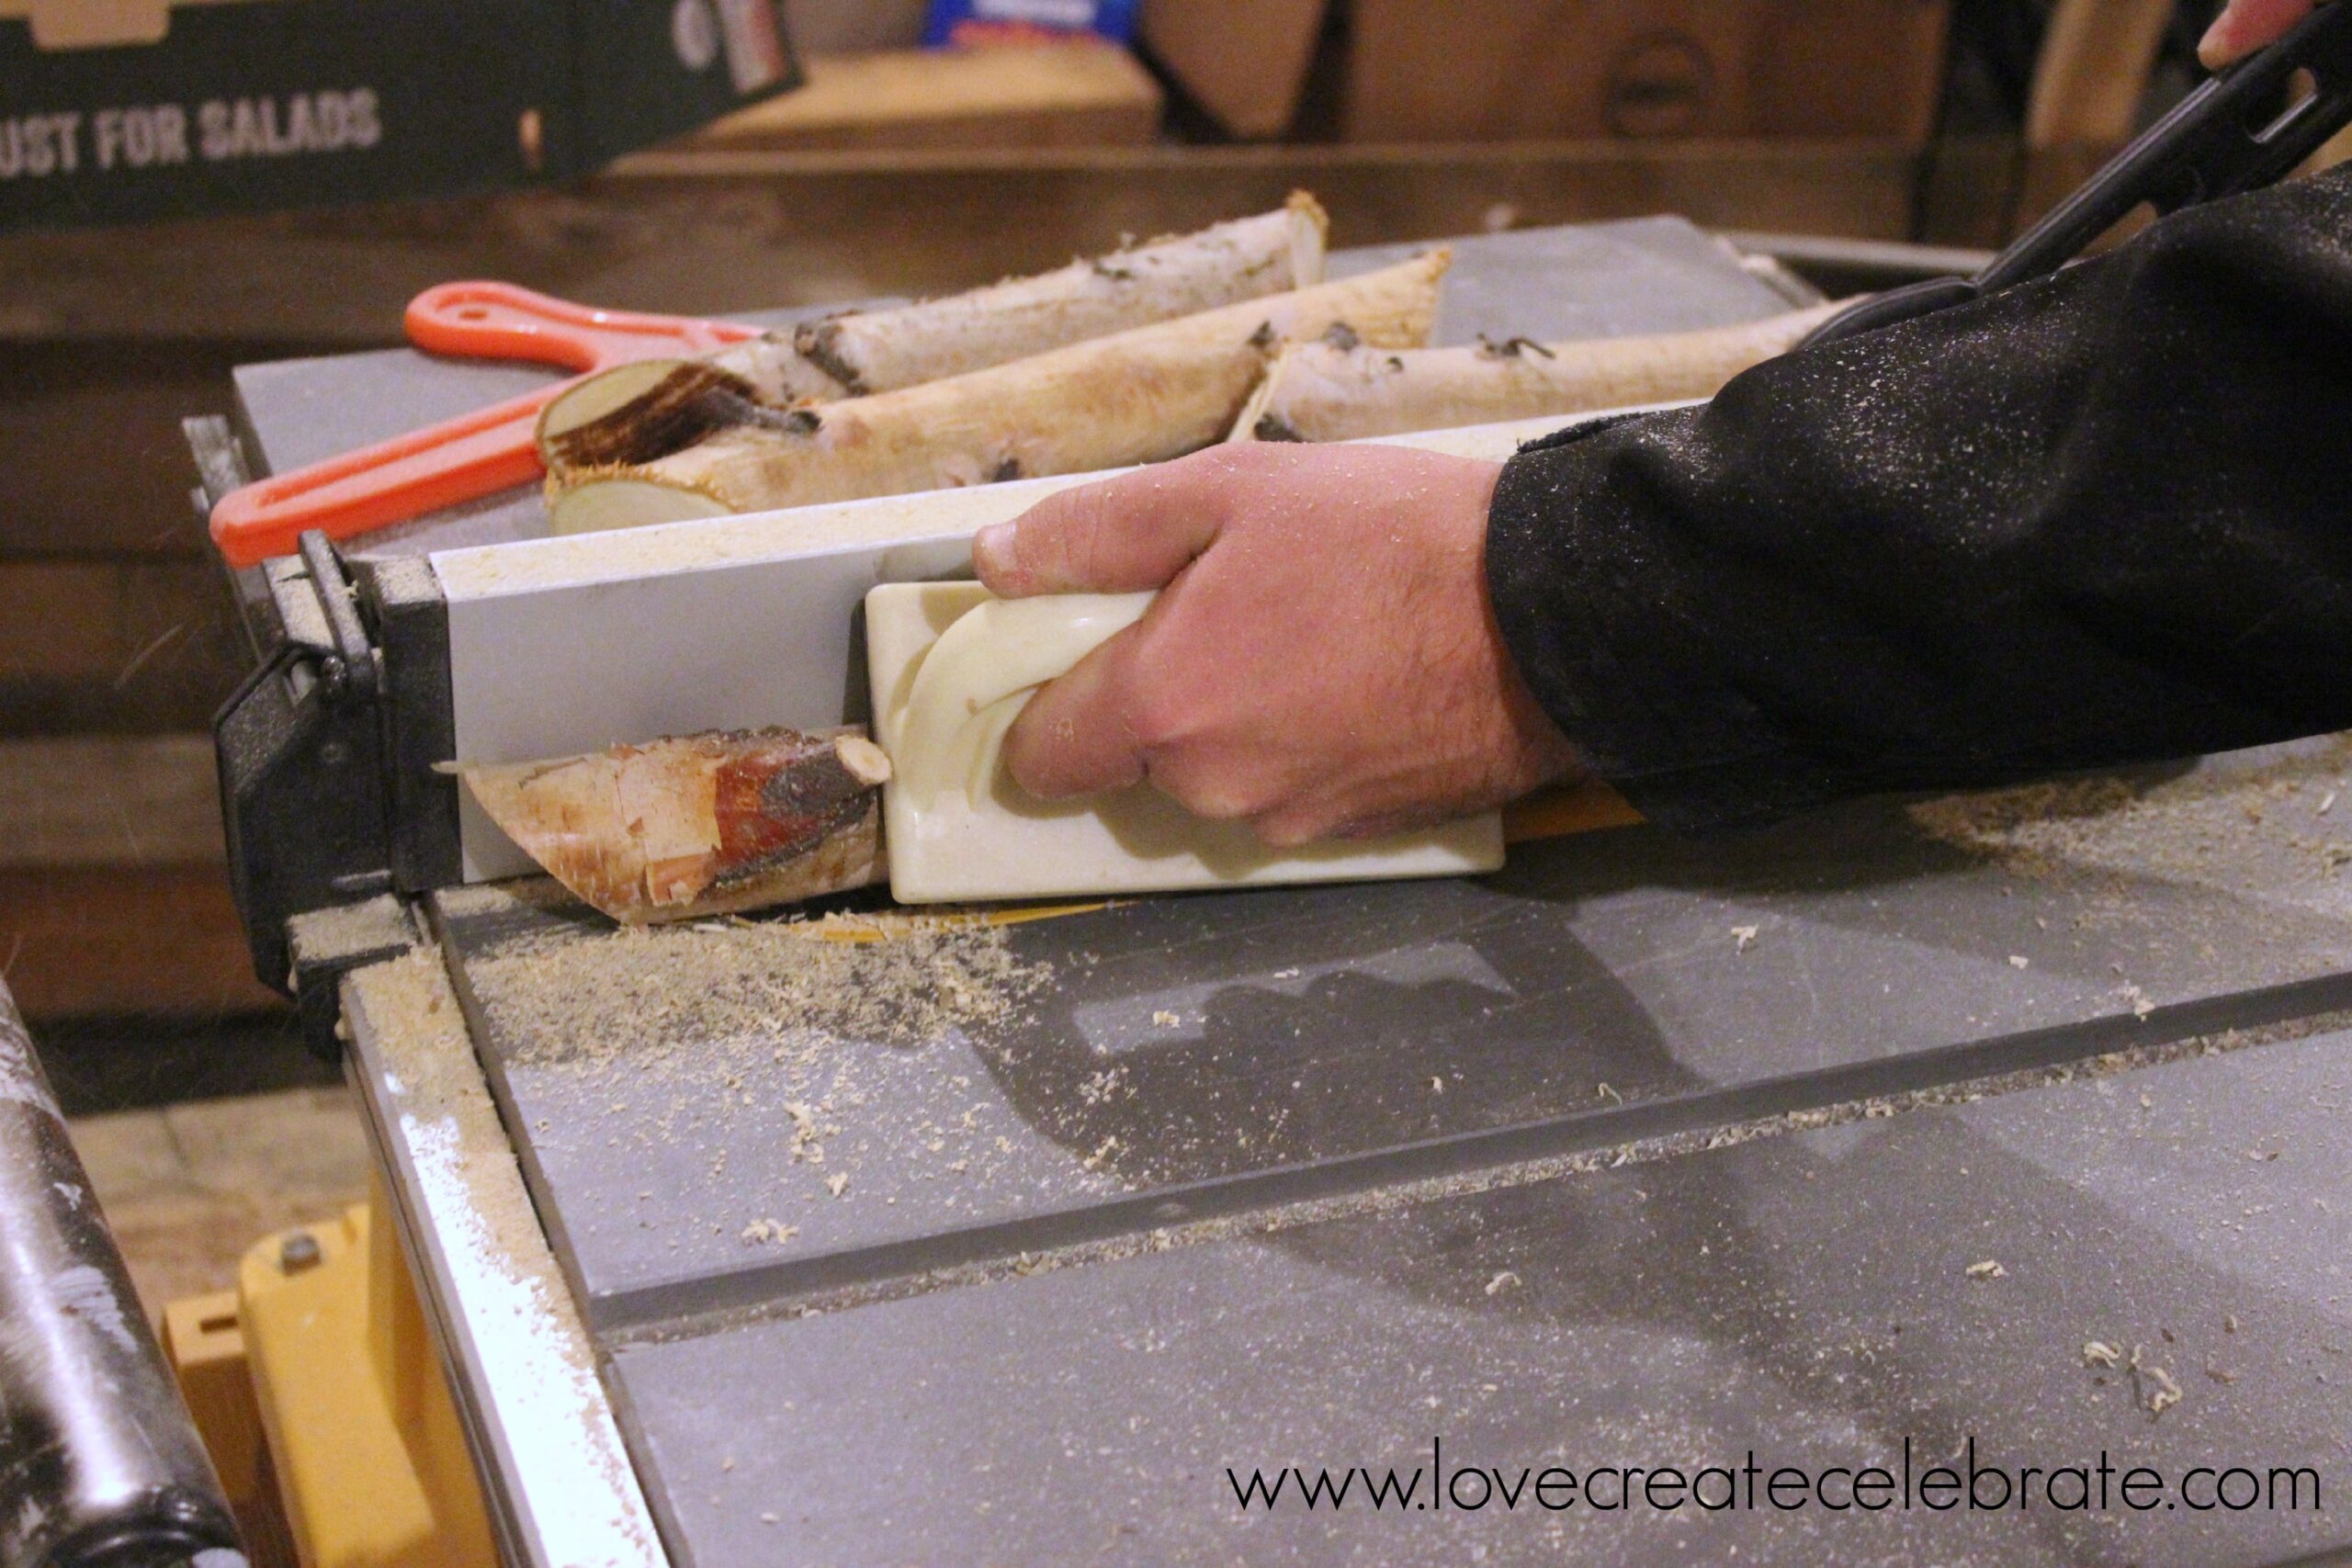
My husband started these cuts with the table saw (he doesn’t trust me with all tools yet! lol). He cut a slice into the back edge, and into the bottom edge.
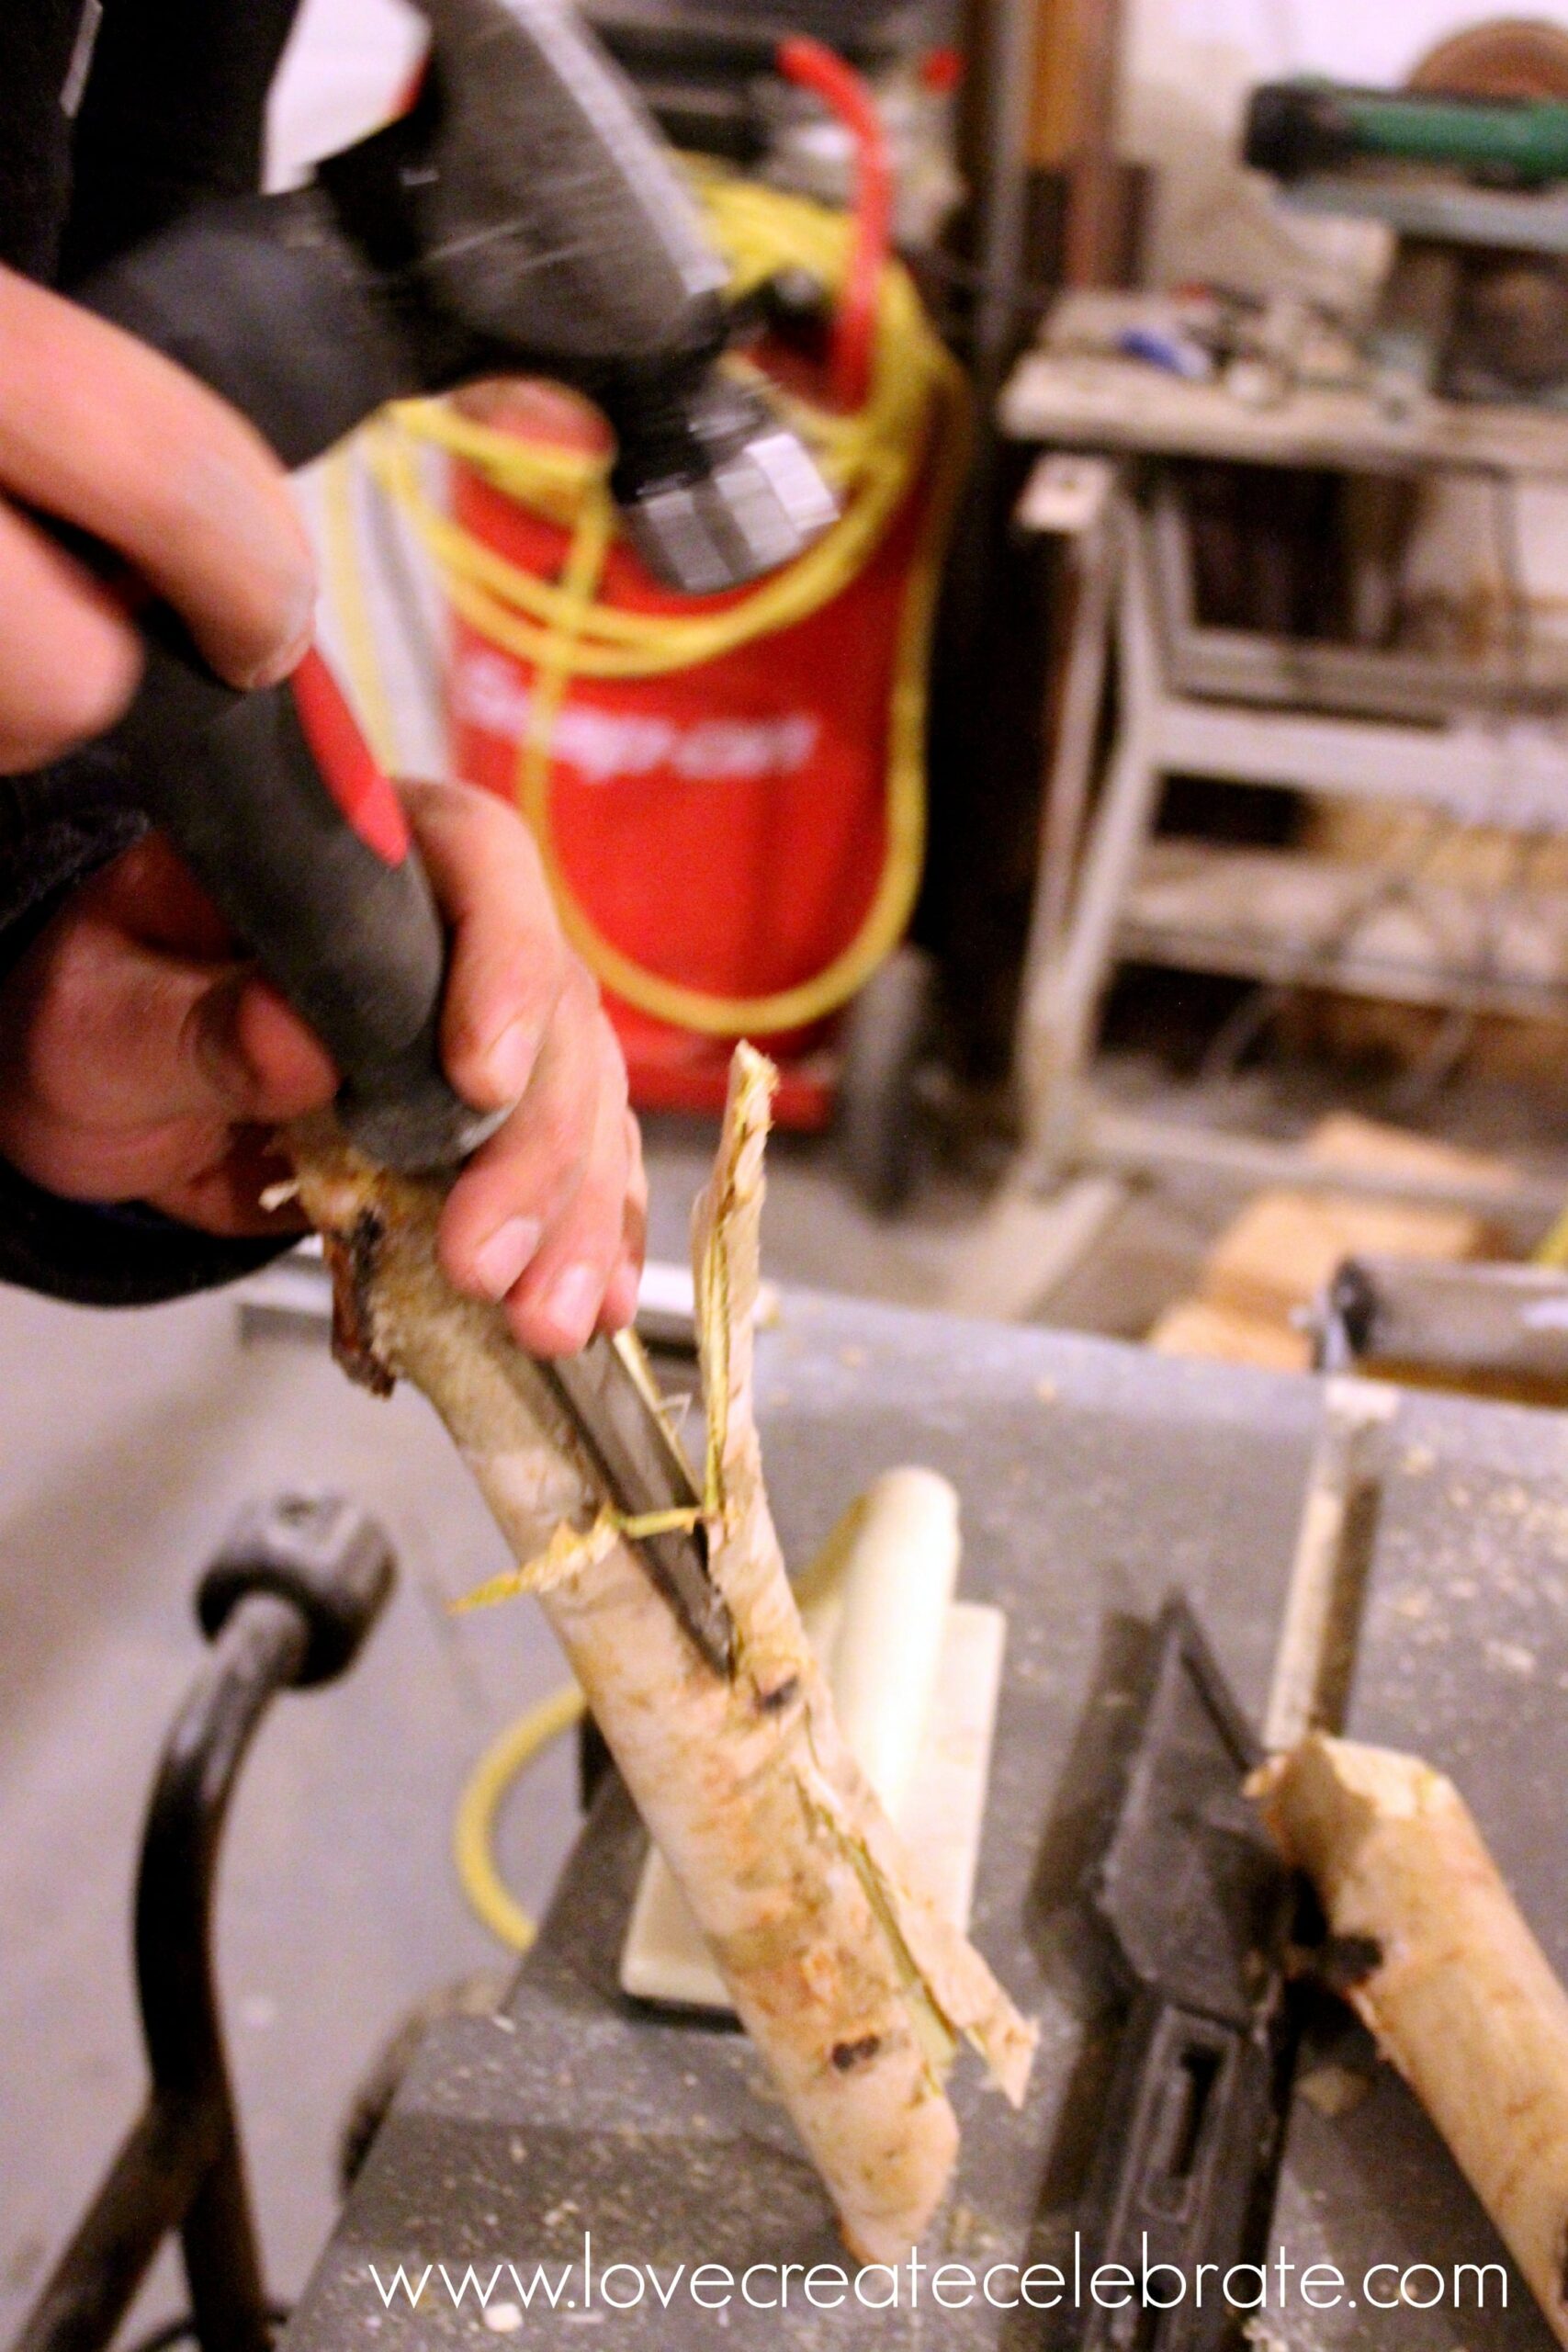
Then, using a chisel he scraped the remaining wood between the cuts out, from the top to the bottom of each frame edge.
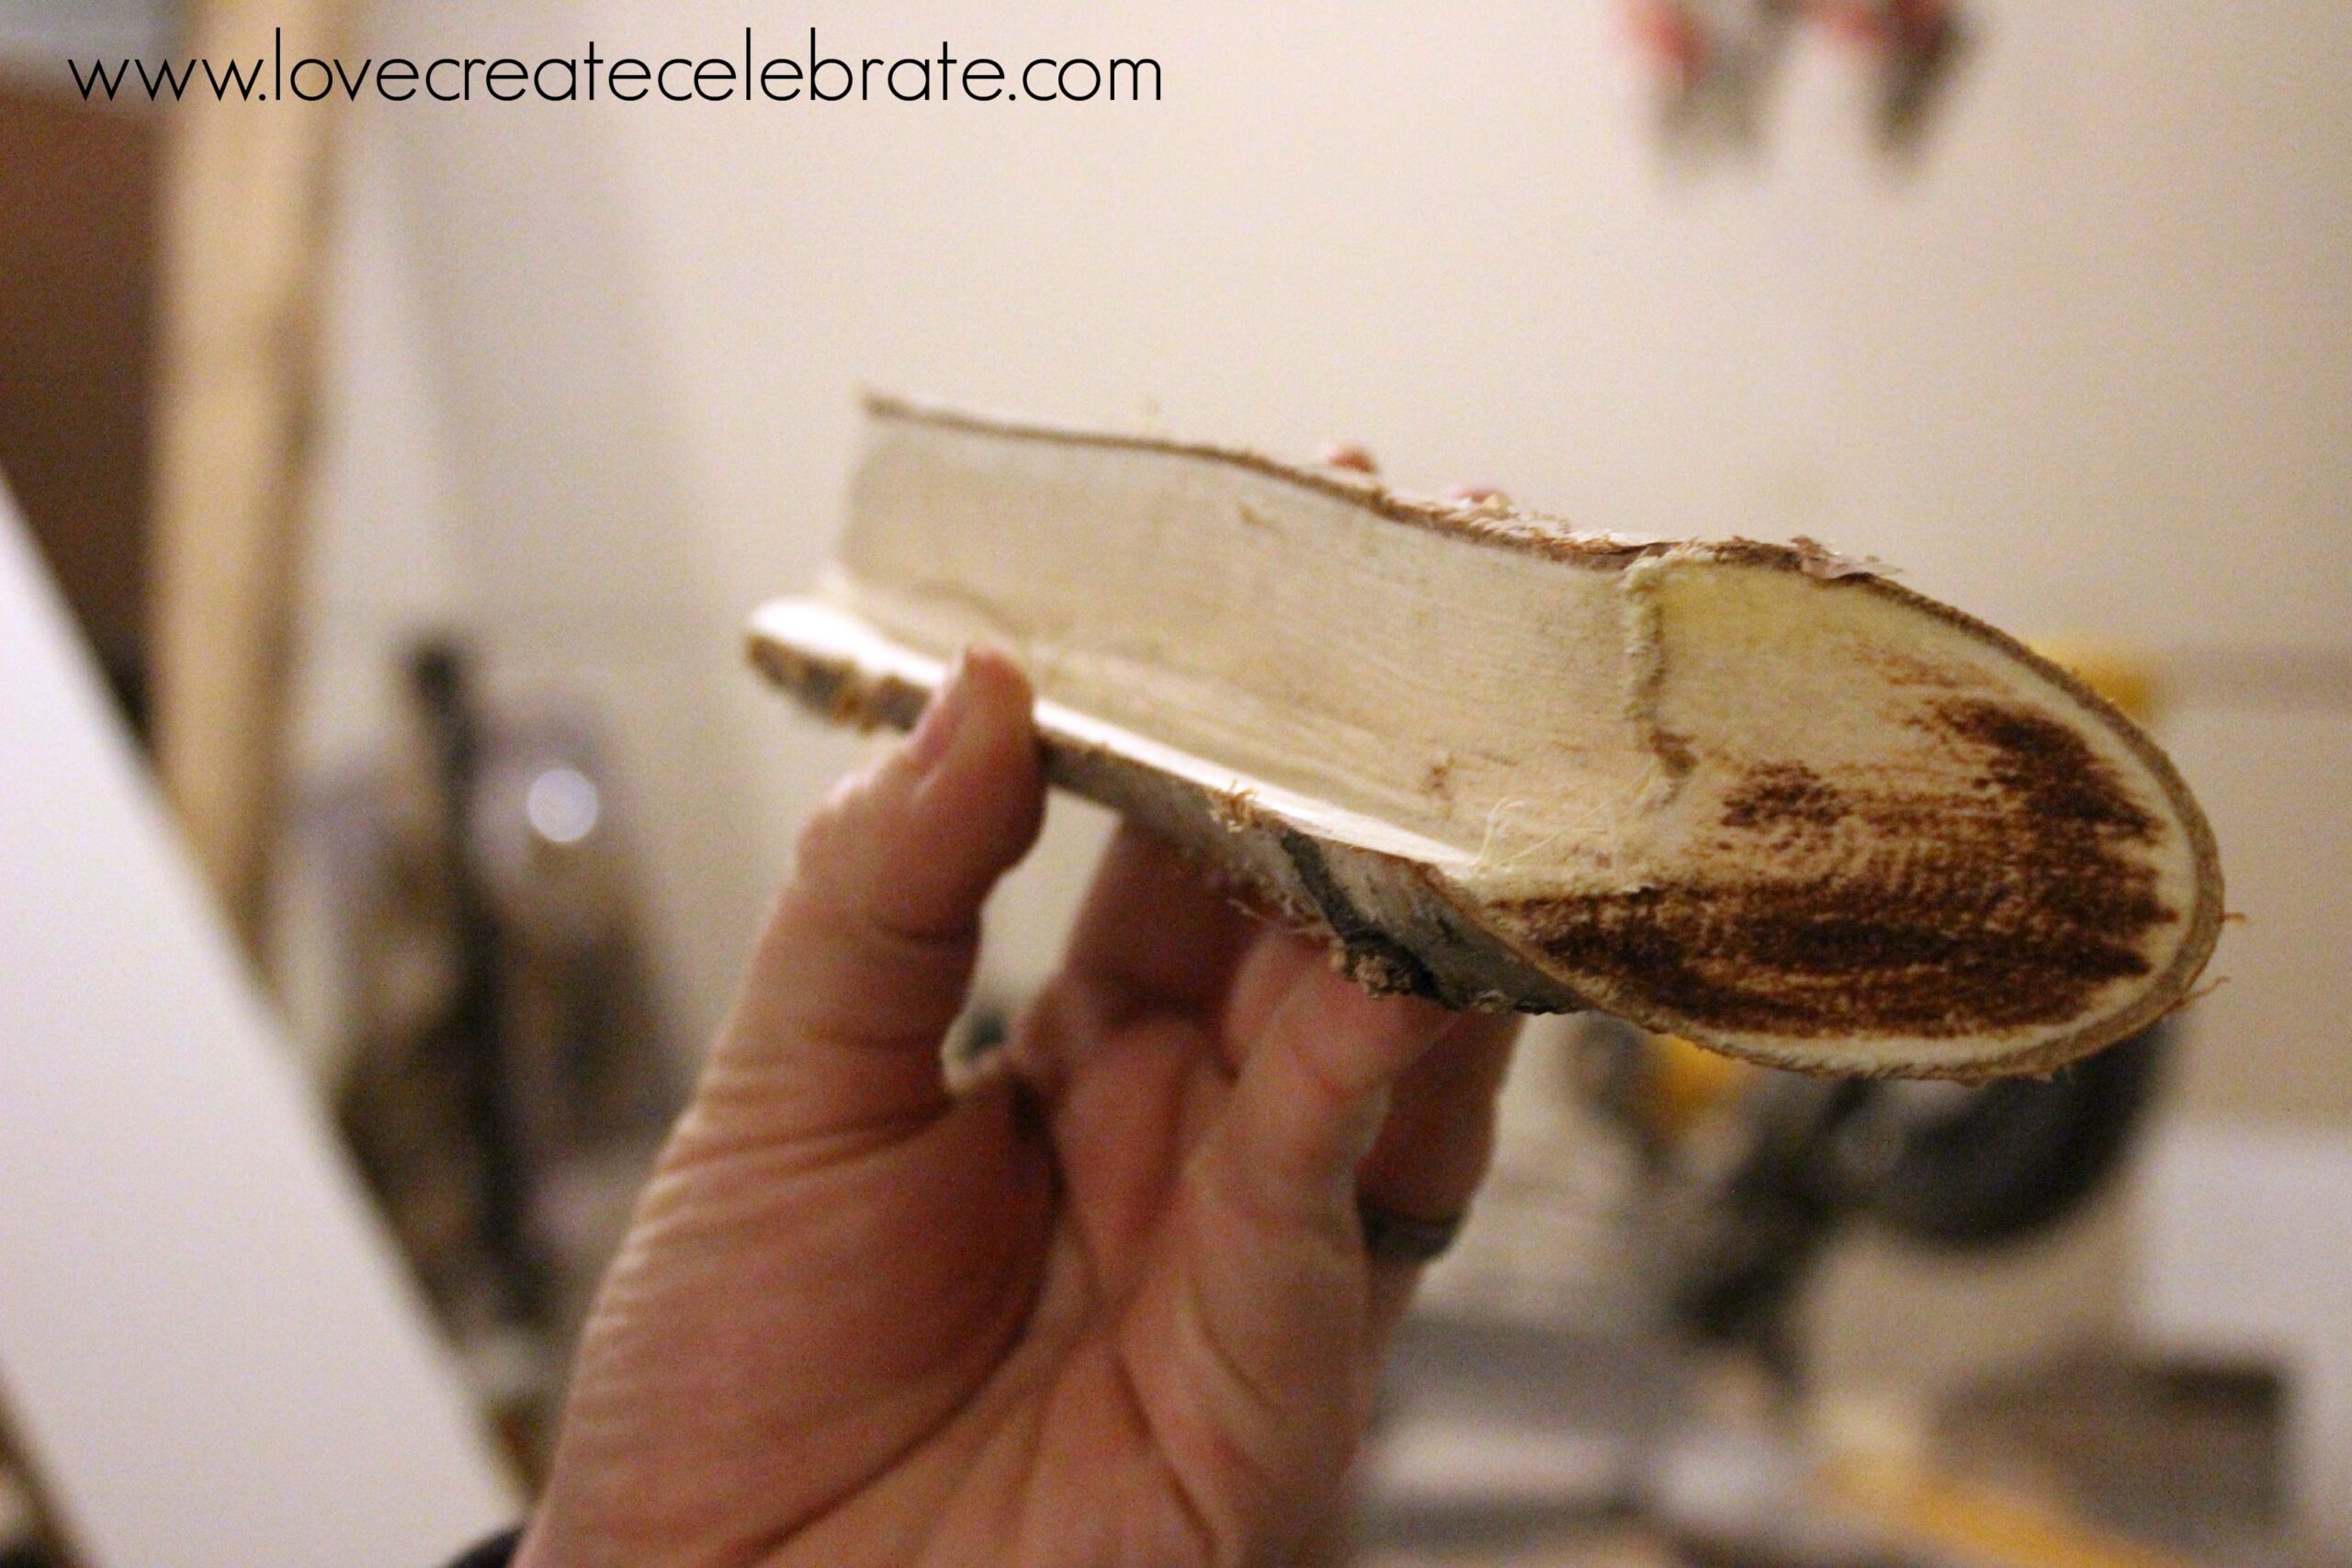
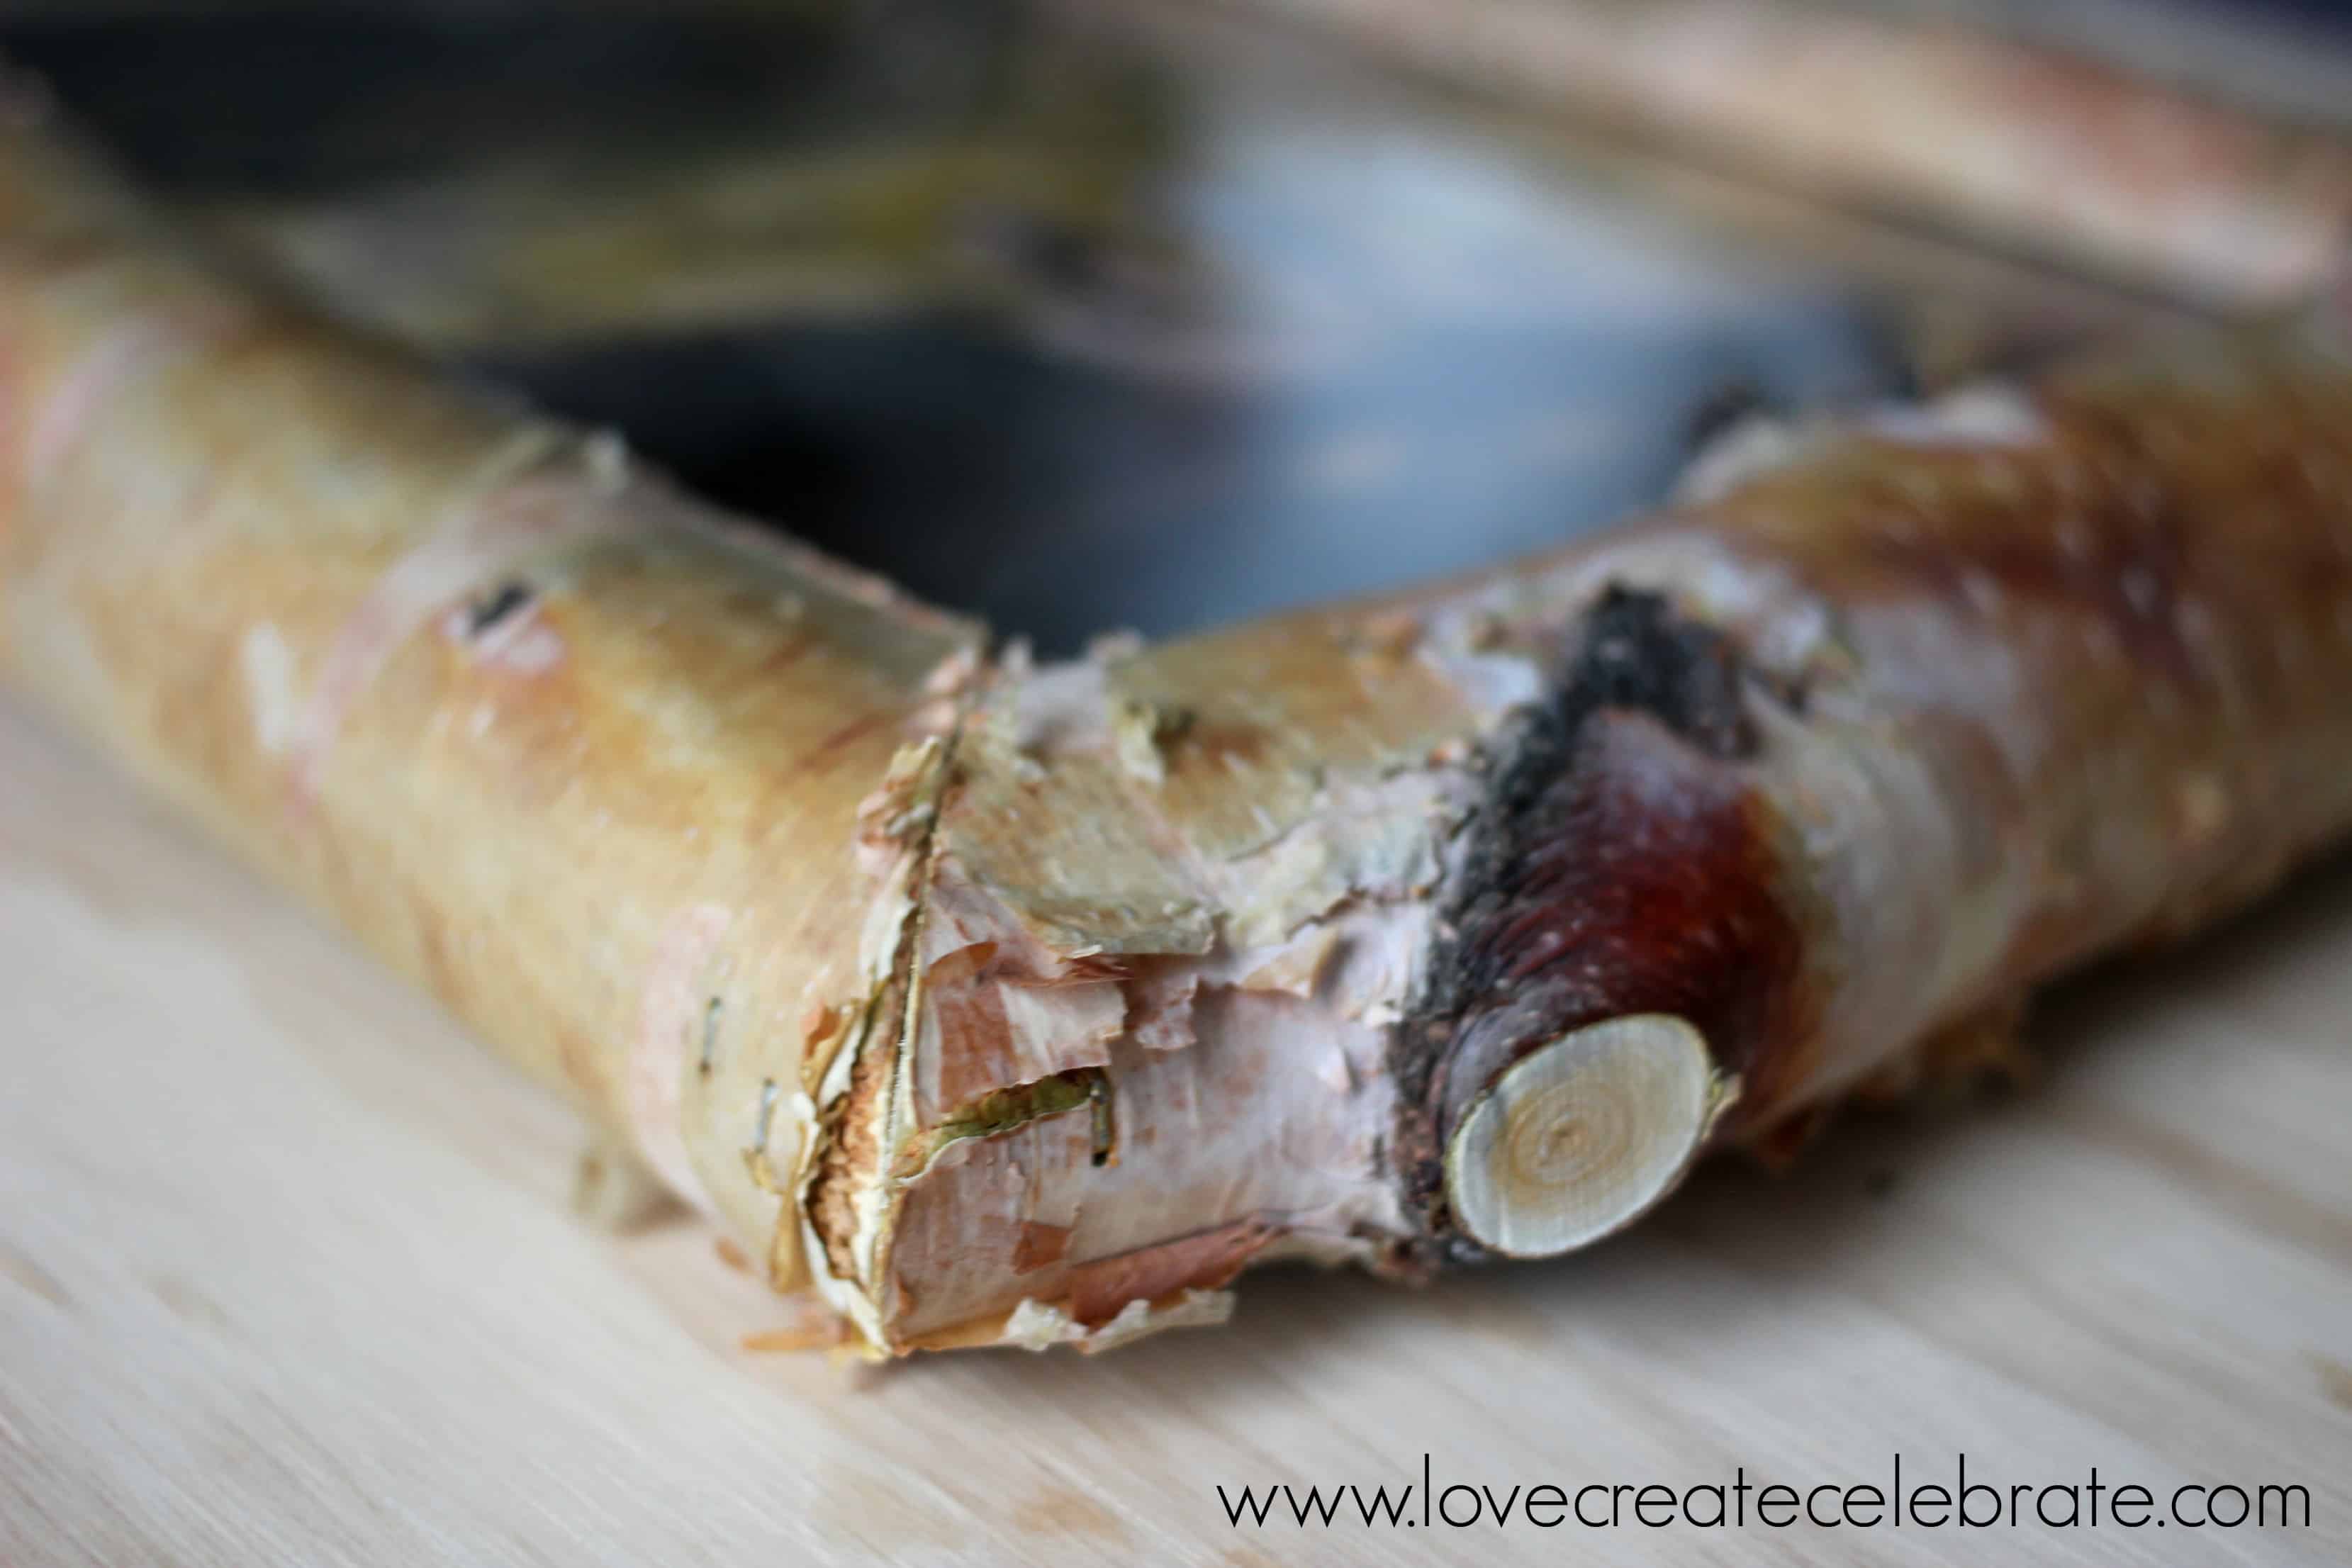
Once cut, this is your end product. You can see how he cut 1/2″ from the inside edges and then scraped out the centre portion. Once the cuts are done you can sand the inside edges so that the picture will rest smoothly against the frame.
Line up all four of your edges to ensure that the cuts will line up with one another. Each branch will have a slightly different shape and thickness, so it’s important to make sure they fit together, make any last minute cuts, or do any last minute sanding.
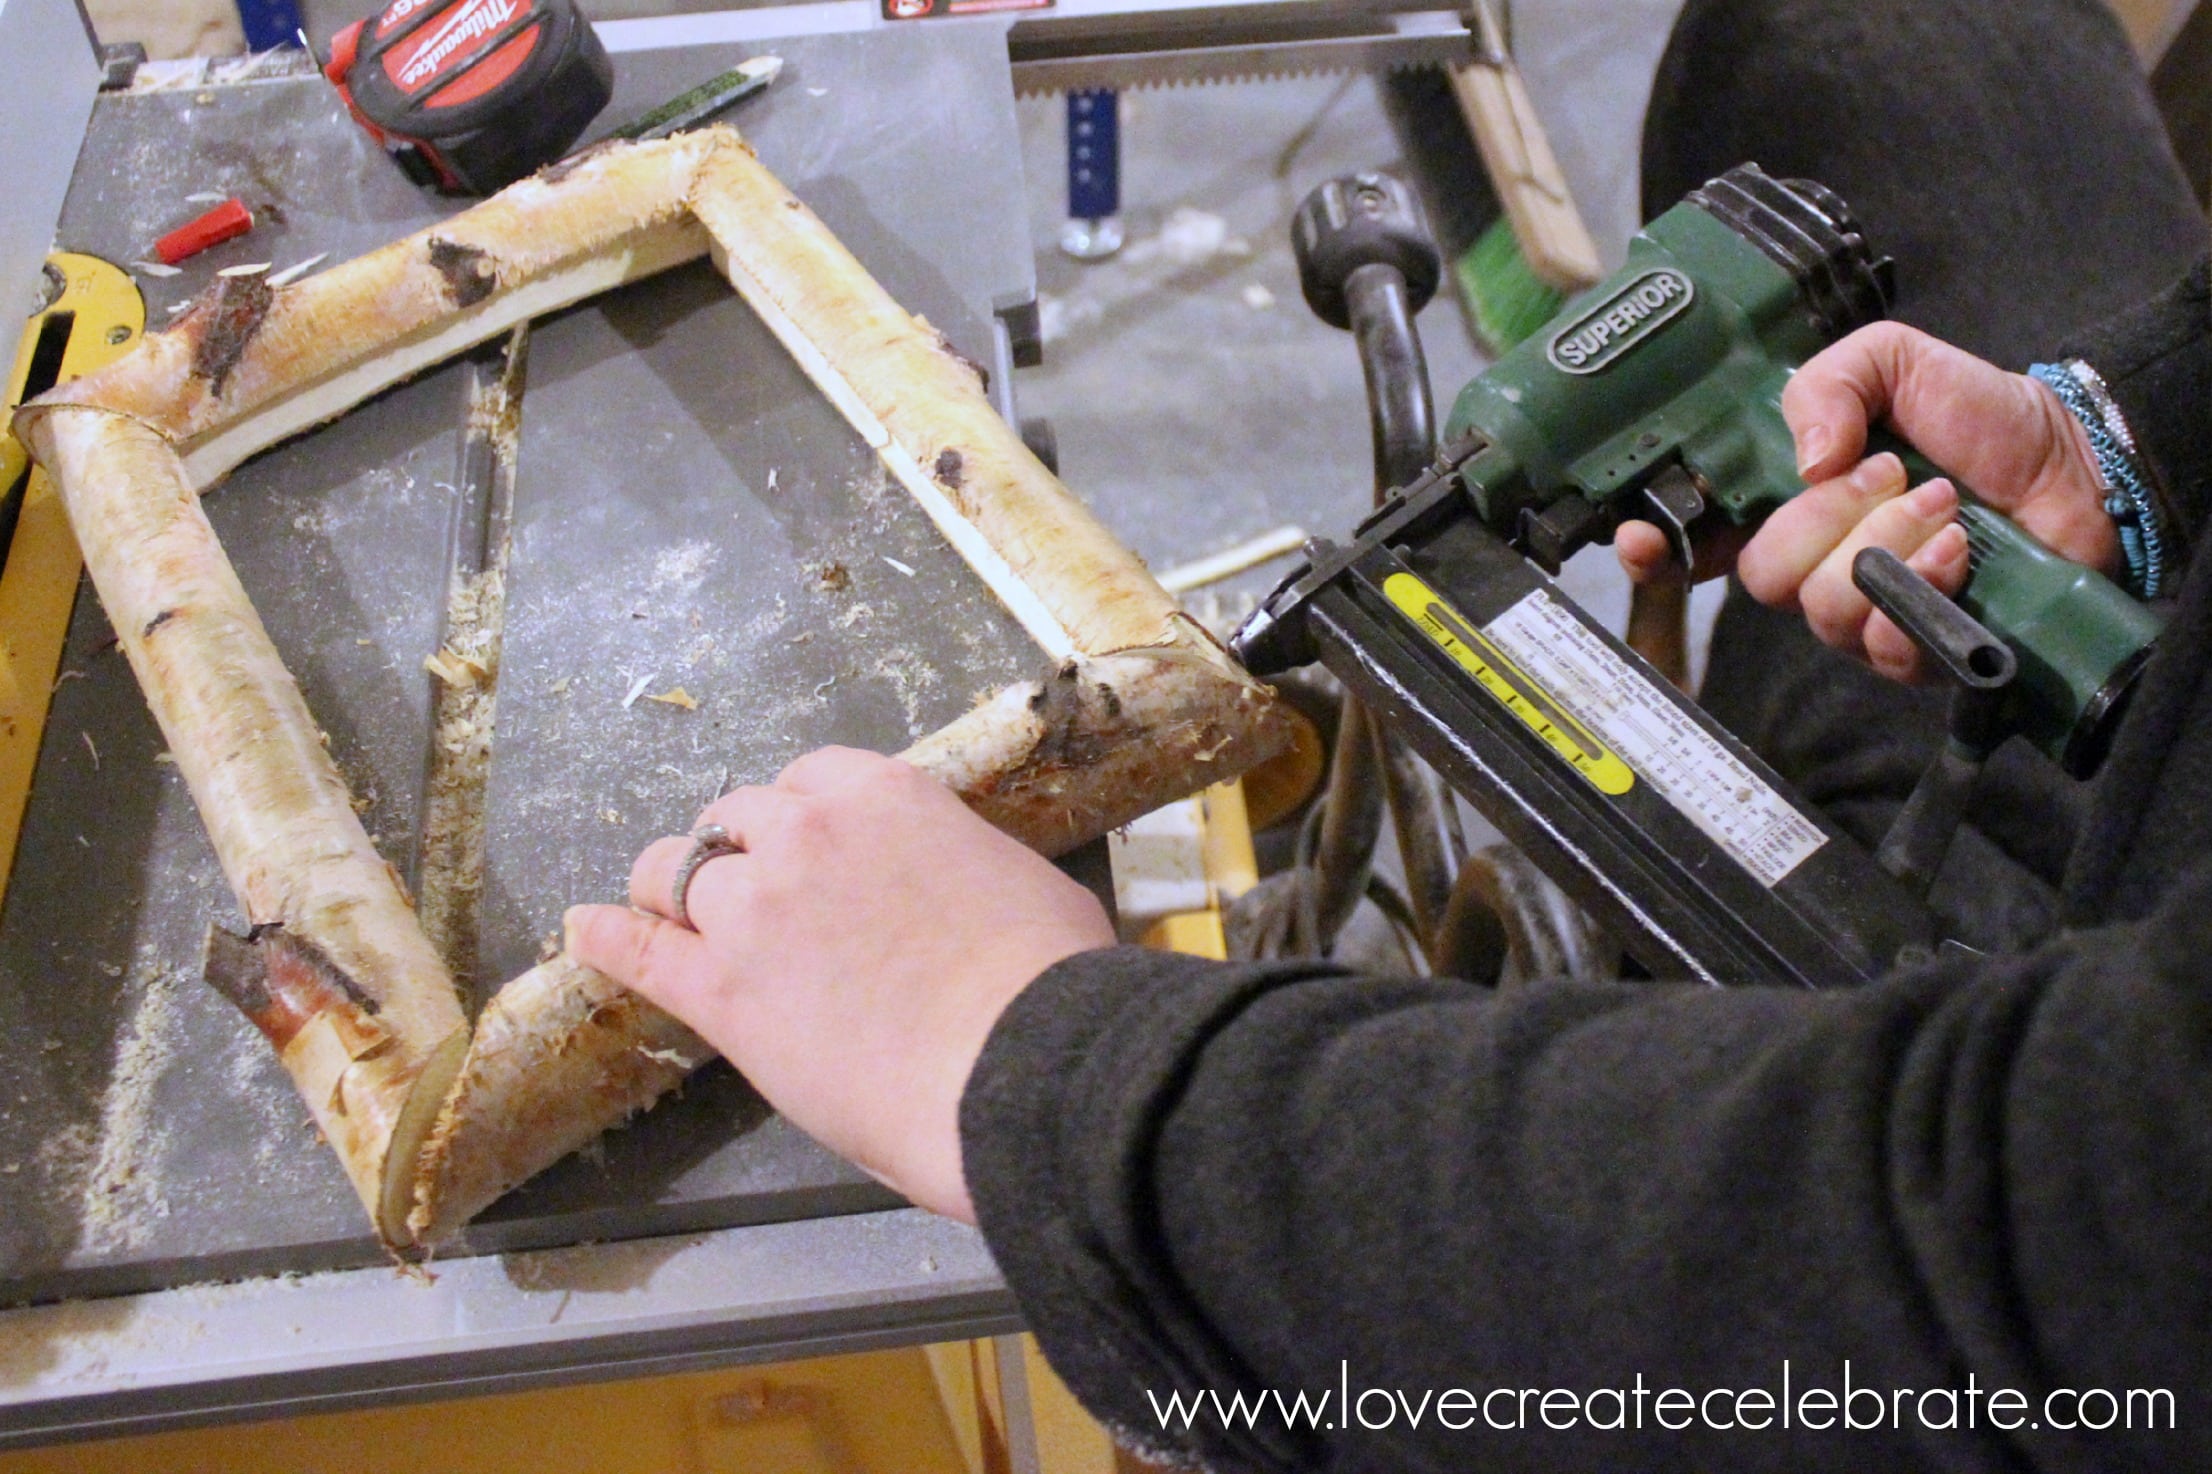
Once lined up nicely, add glue to the ends of the frame pieces, and staple them together using the staple gun. We stapled both sides of every joint.

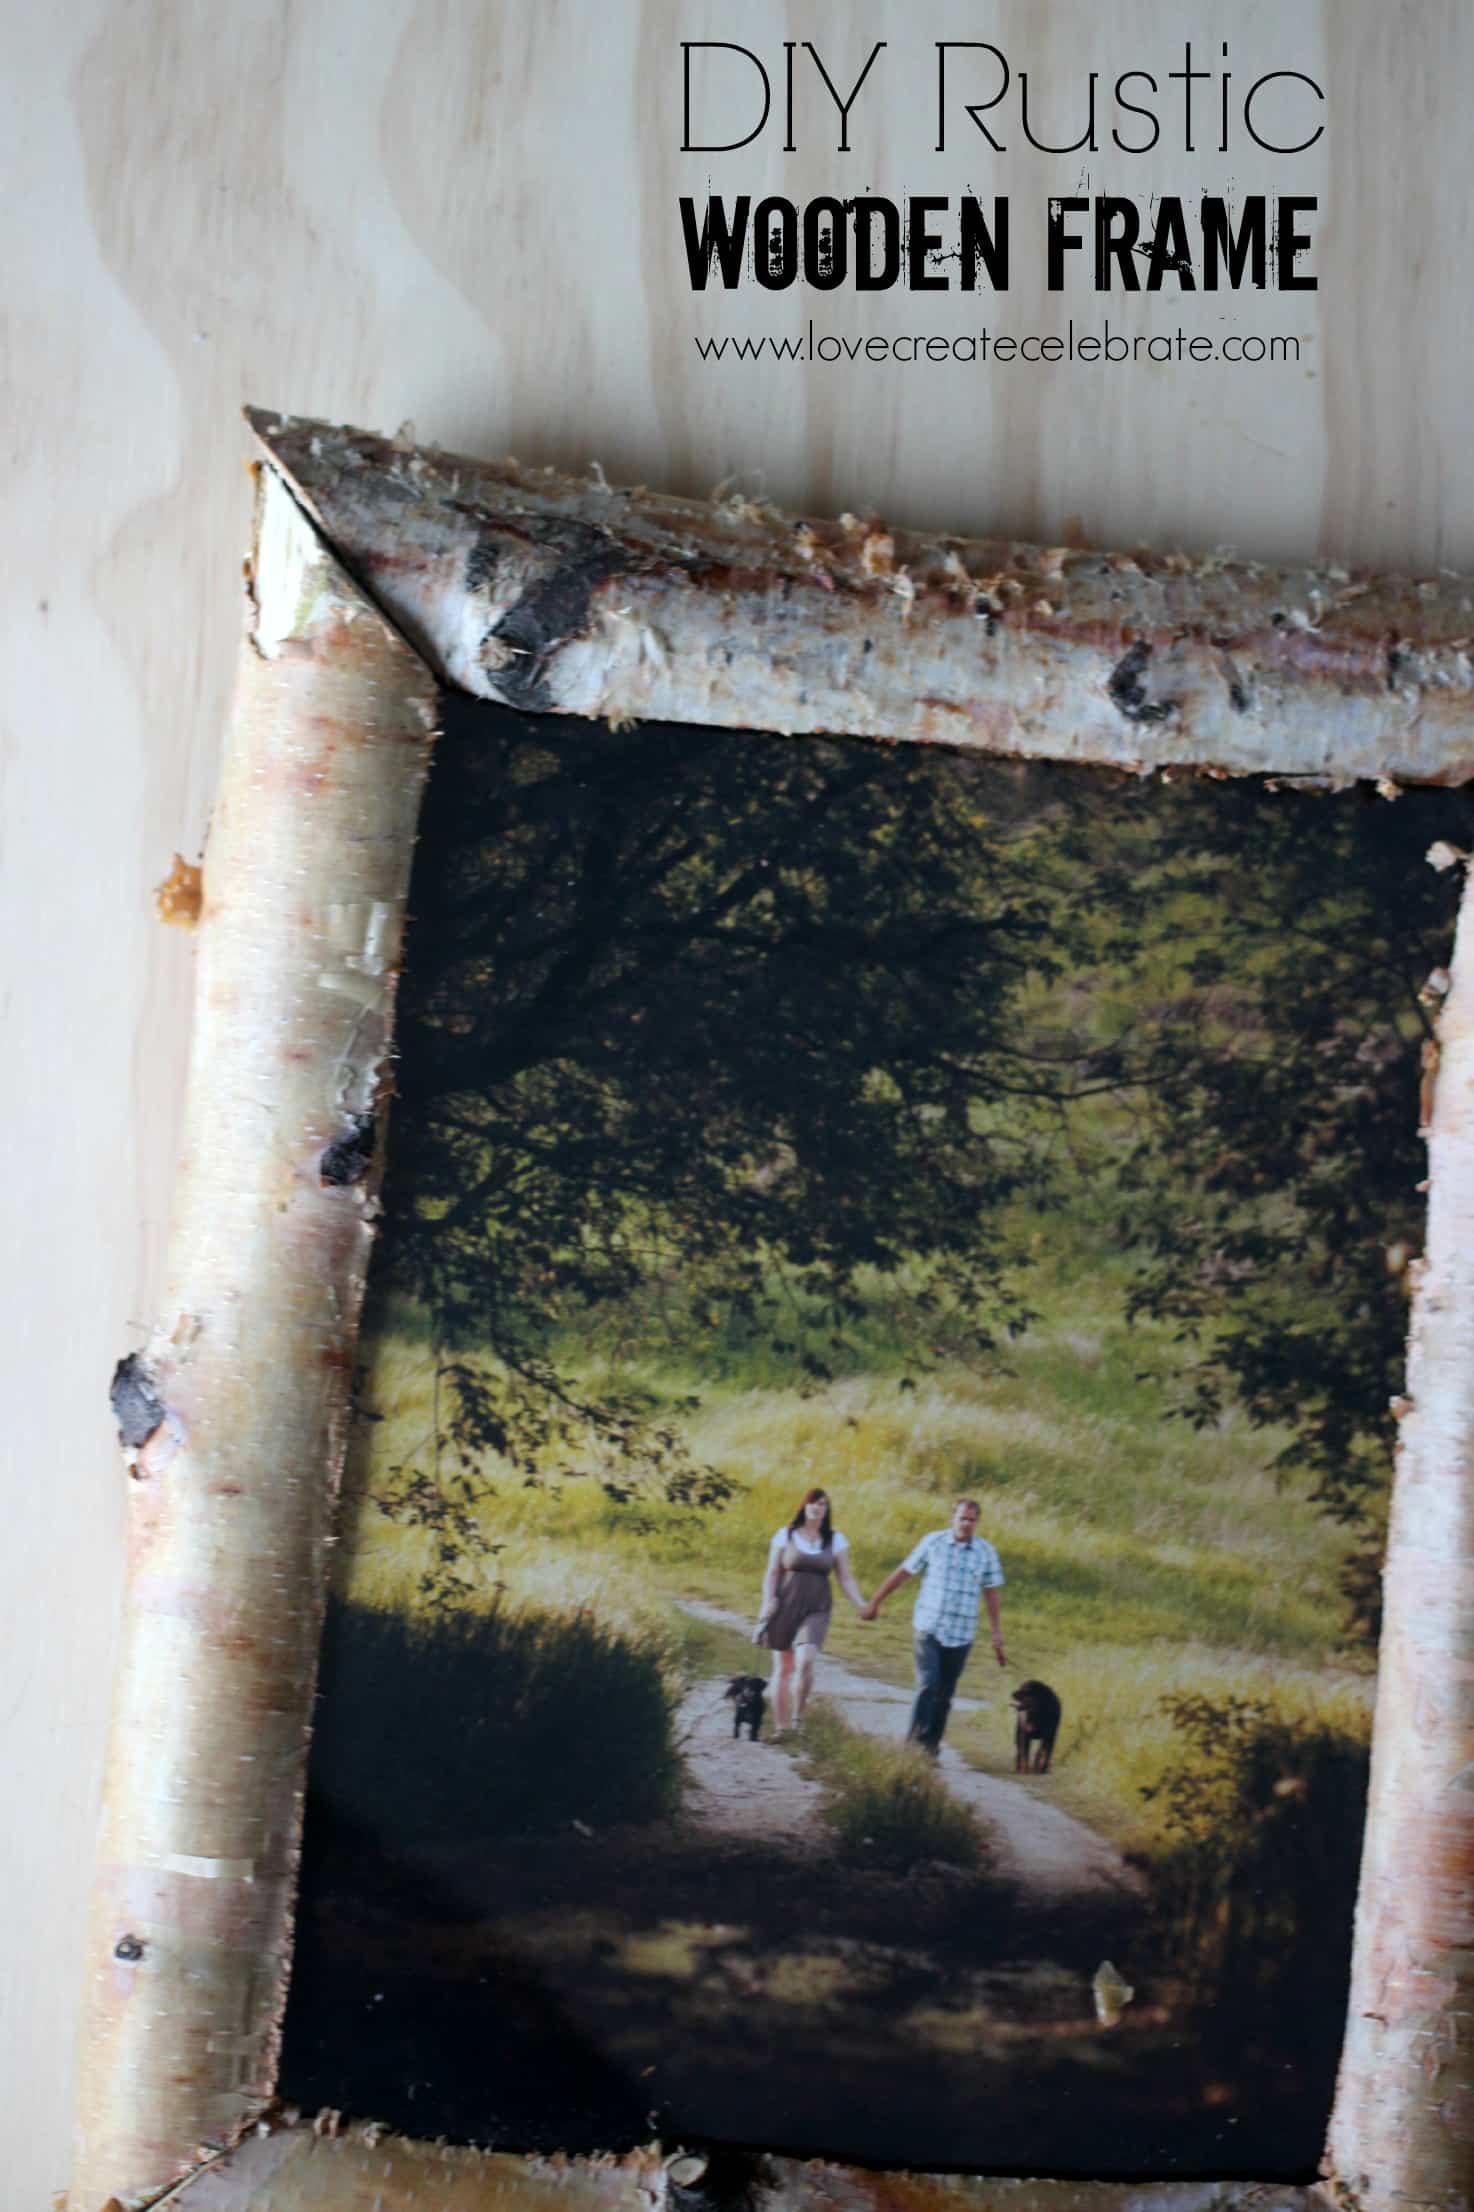
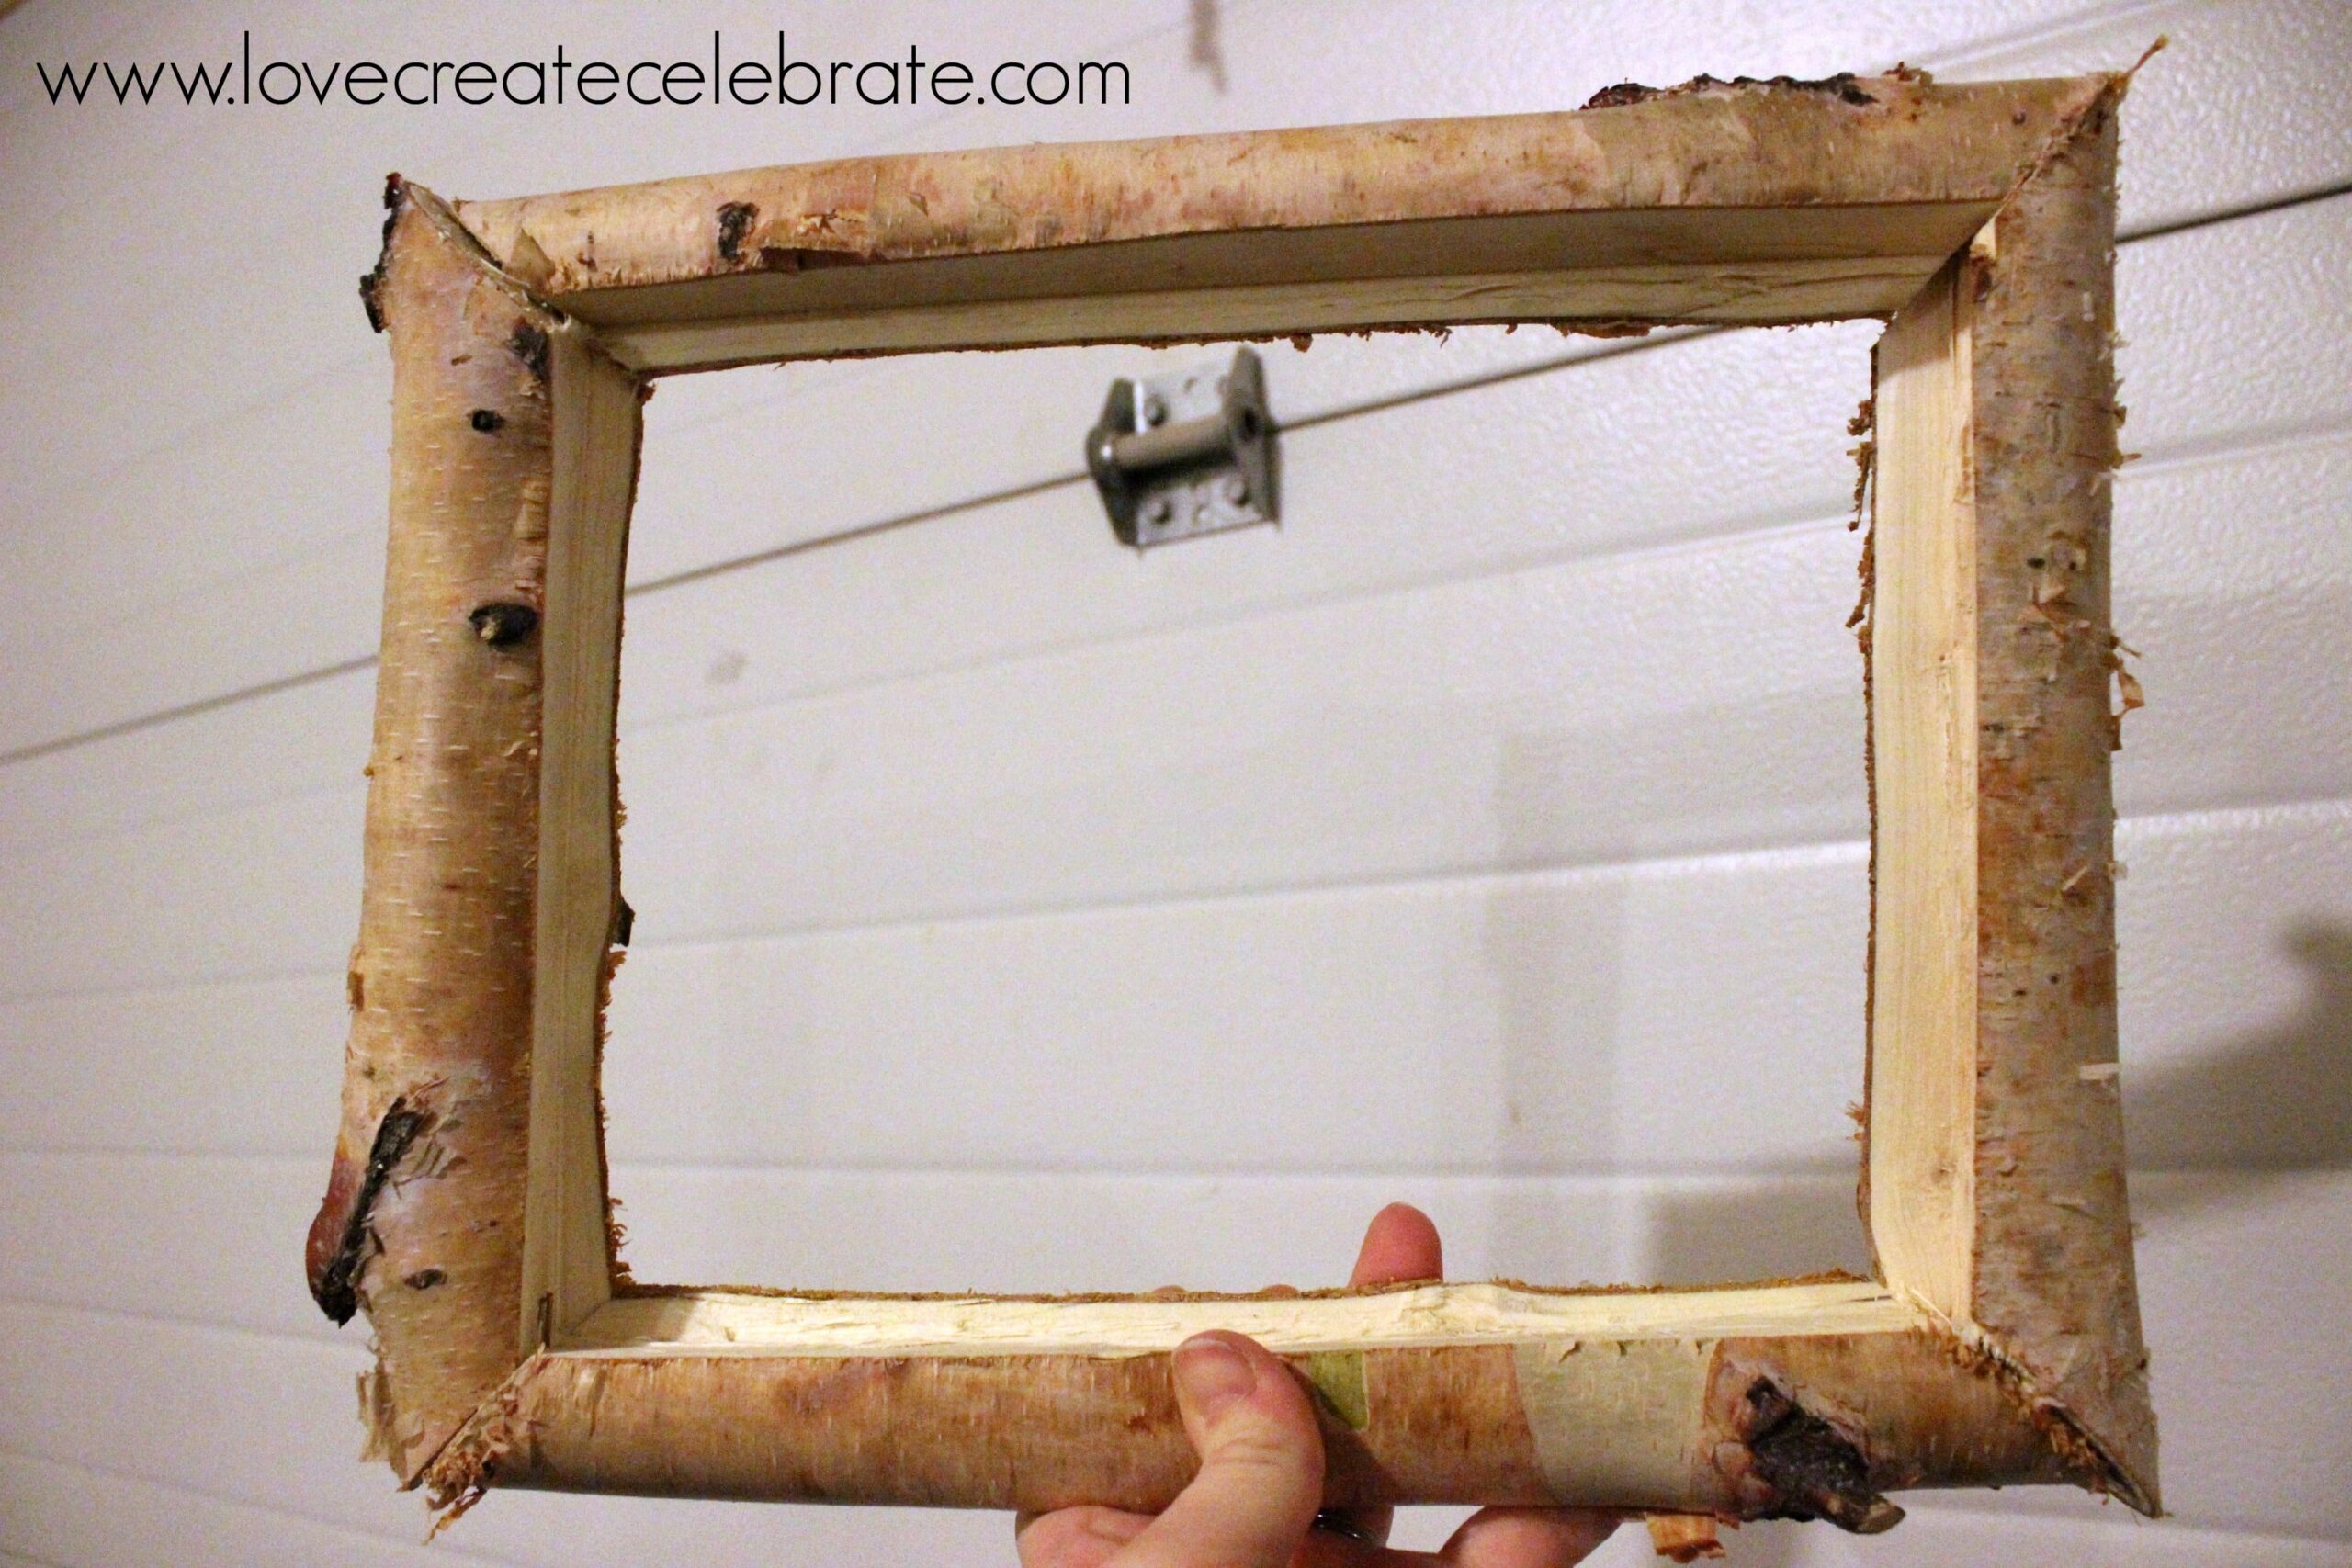
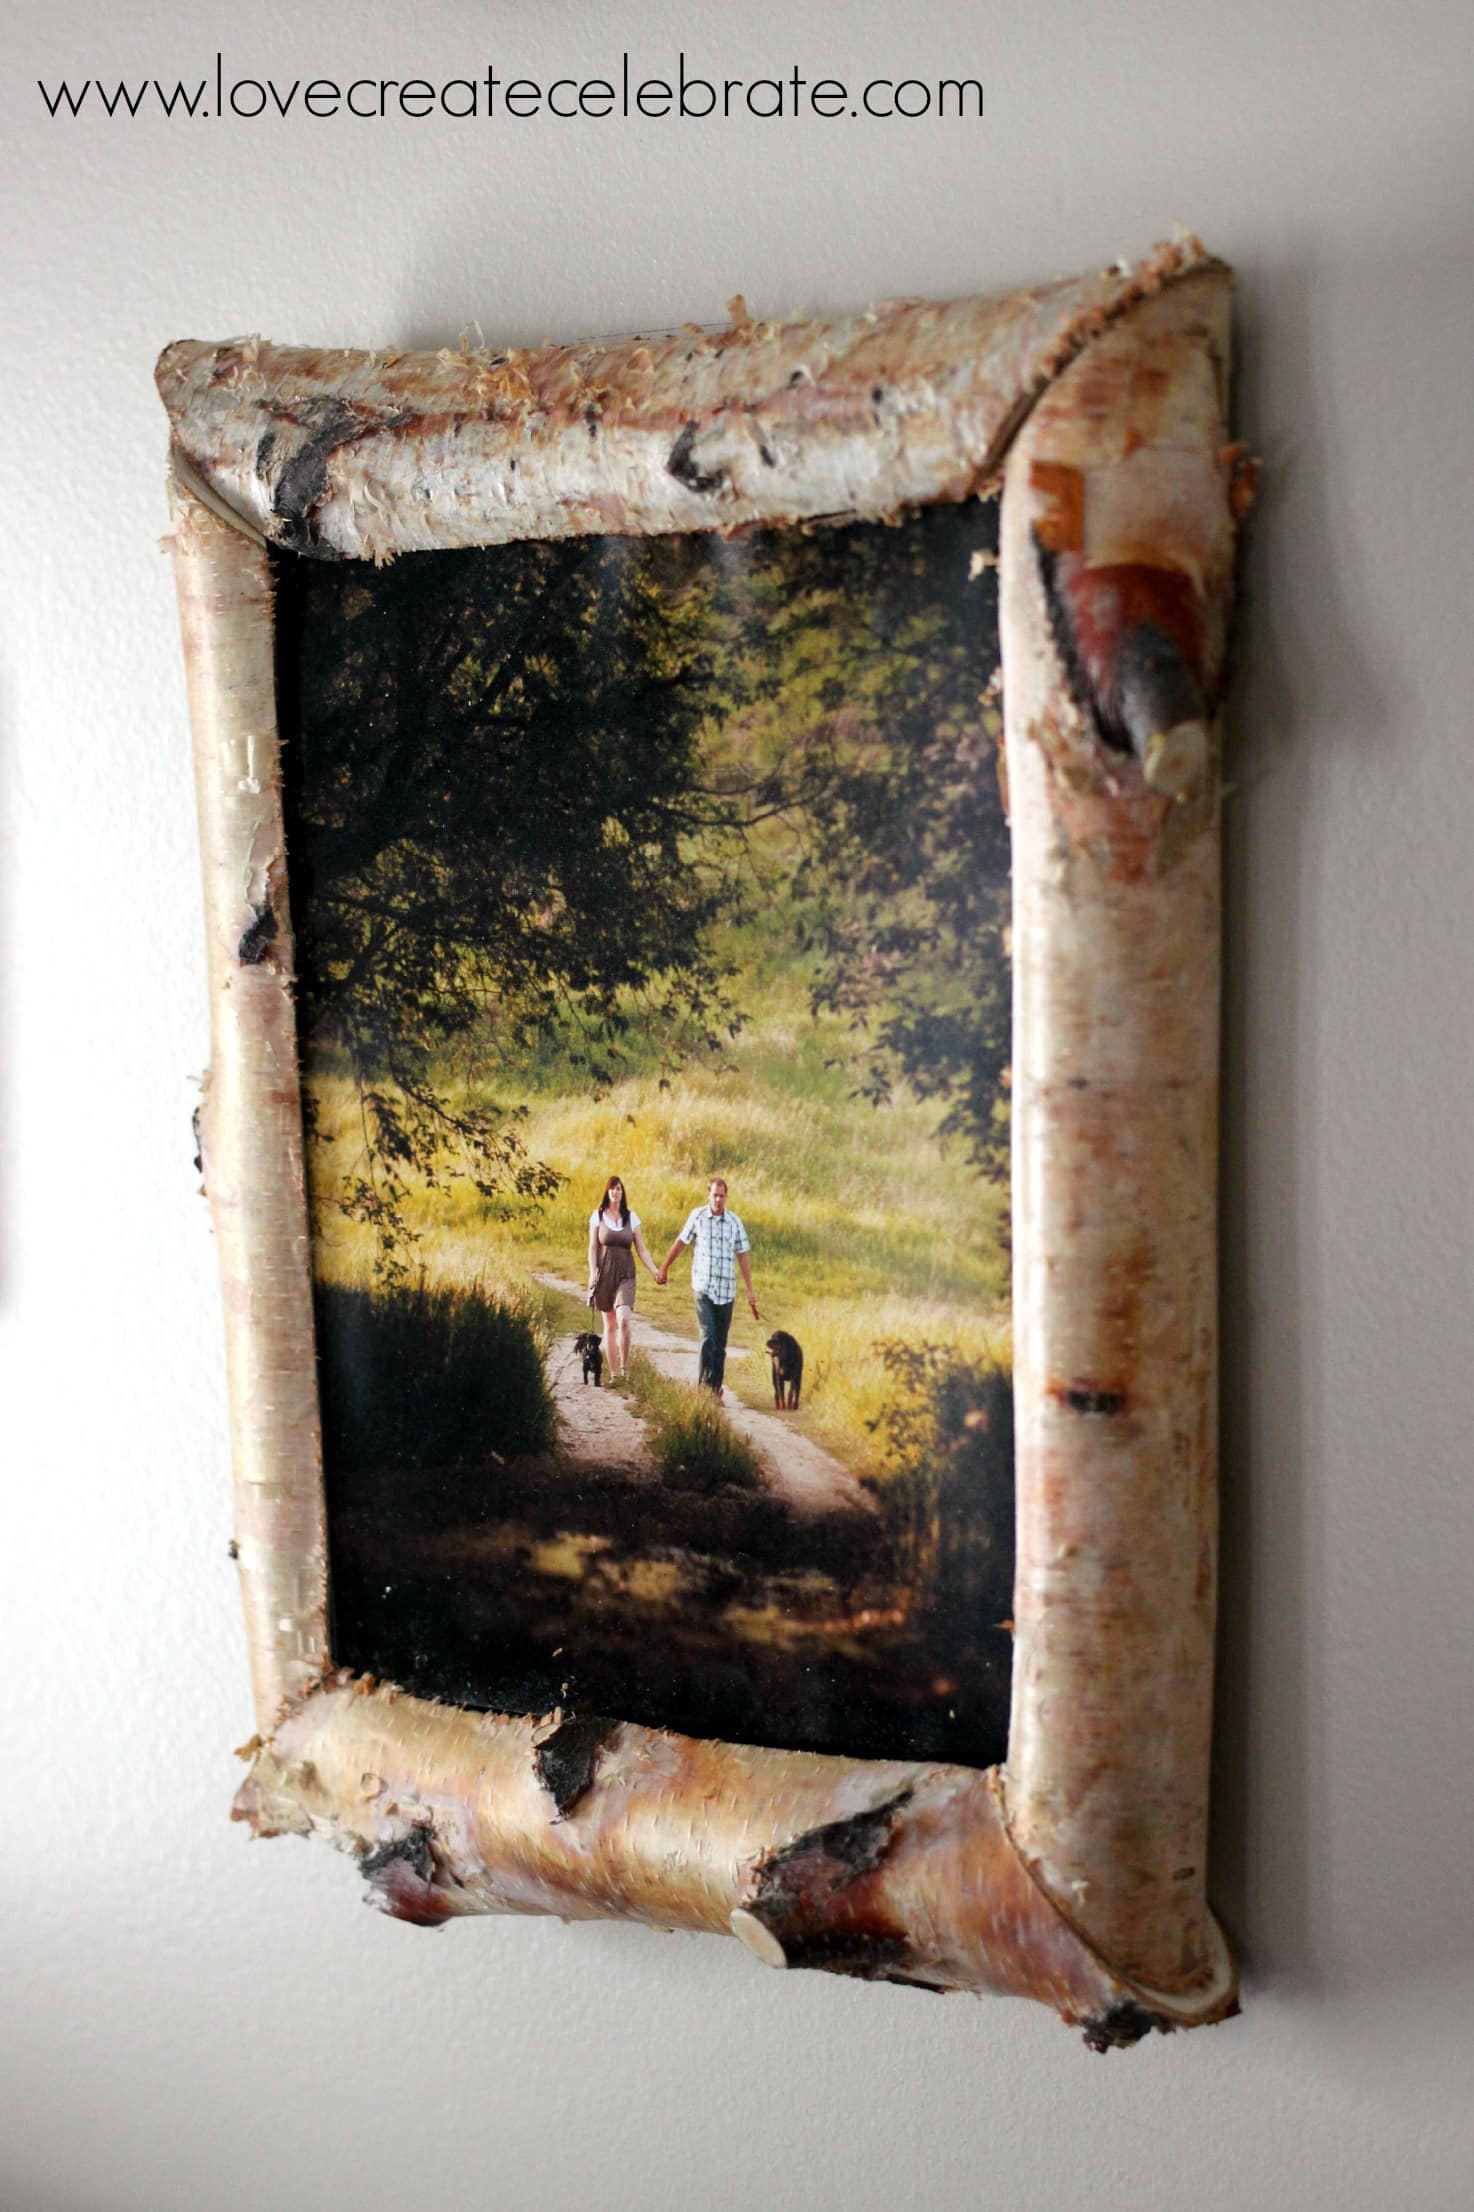
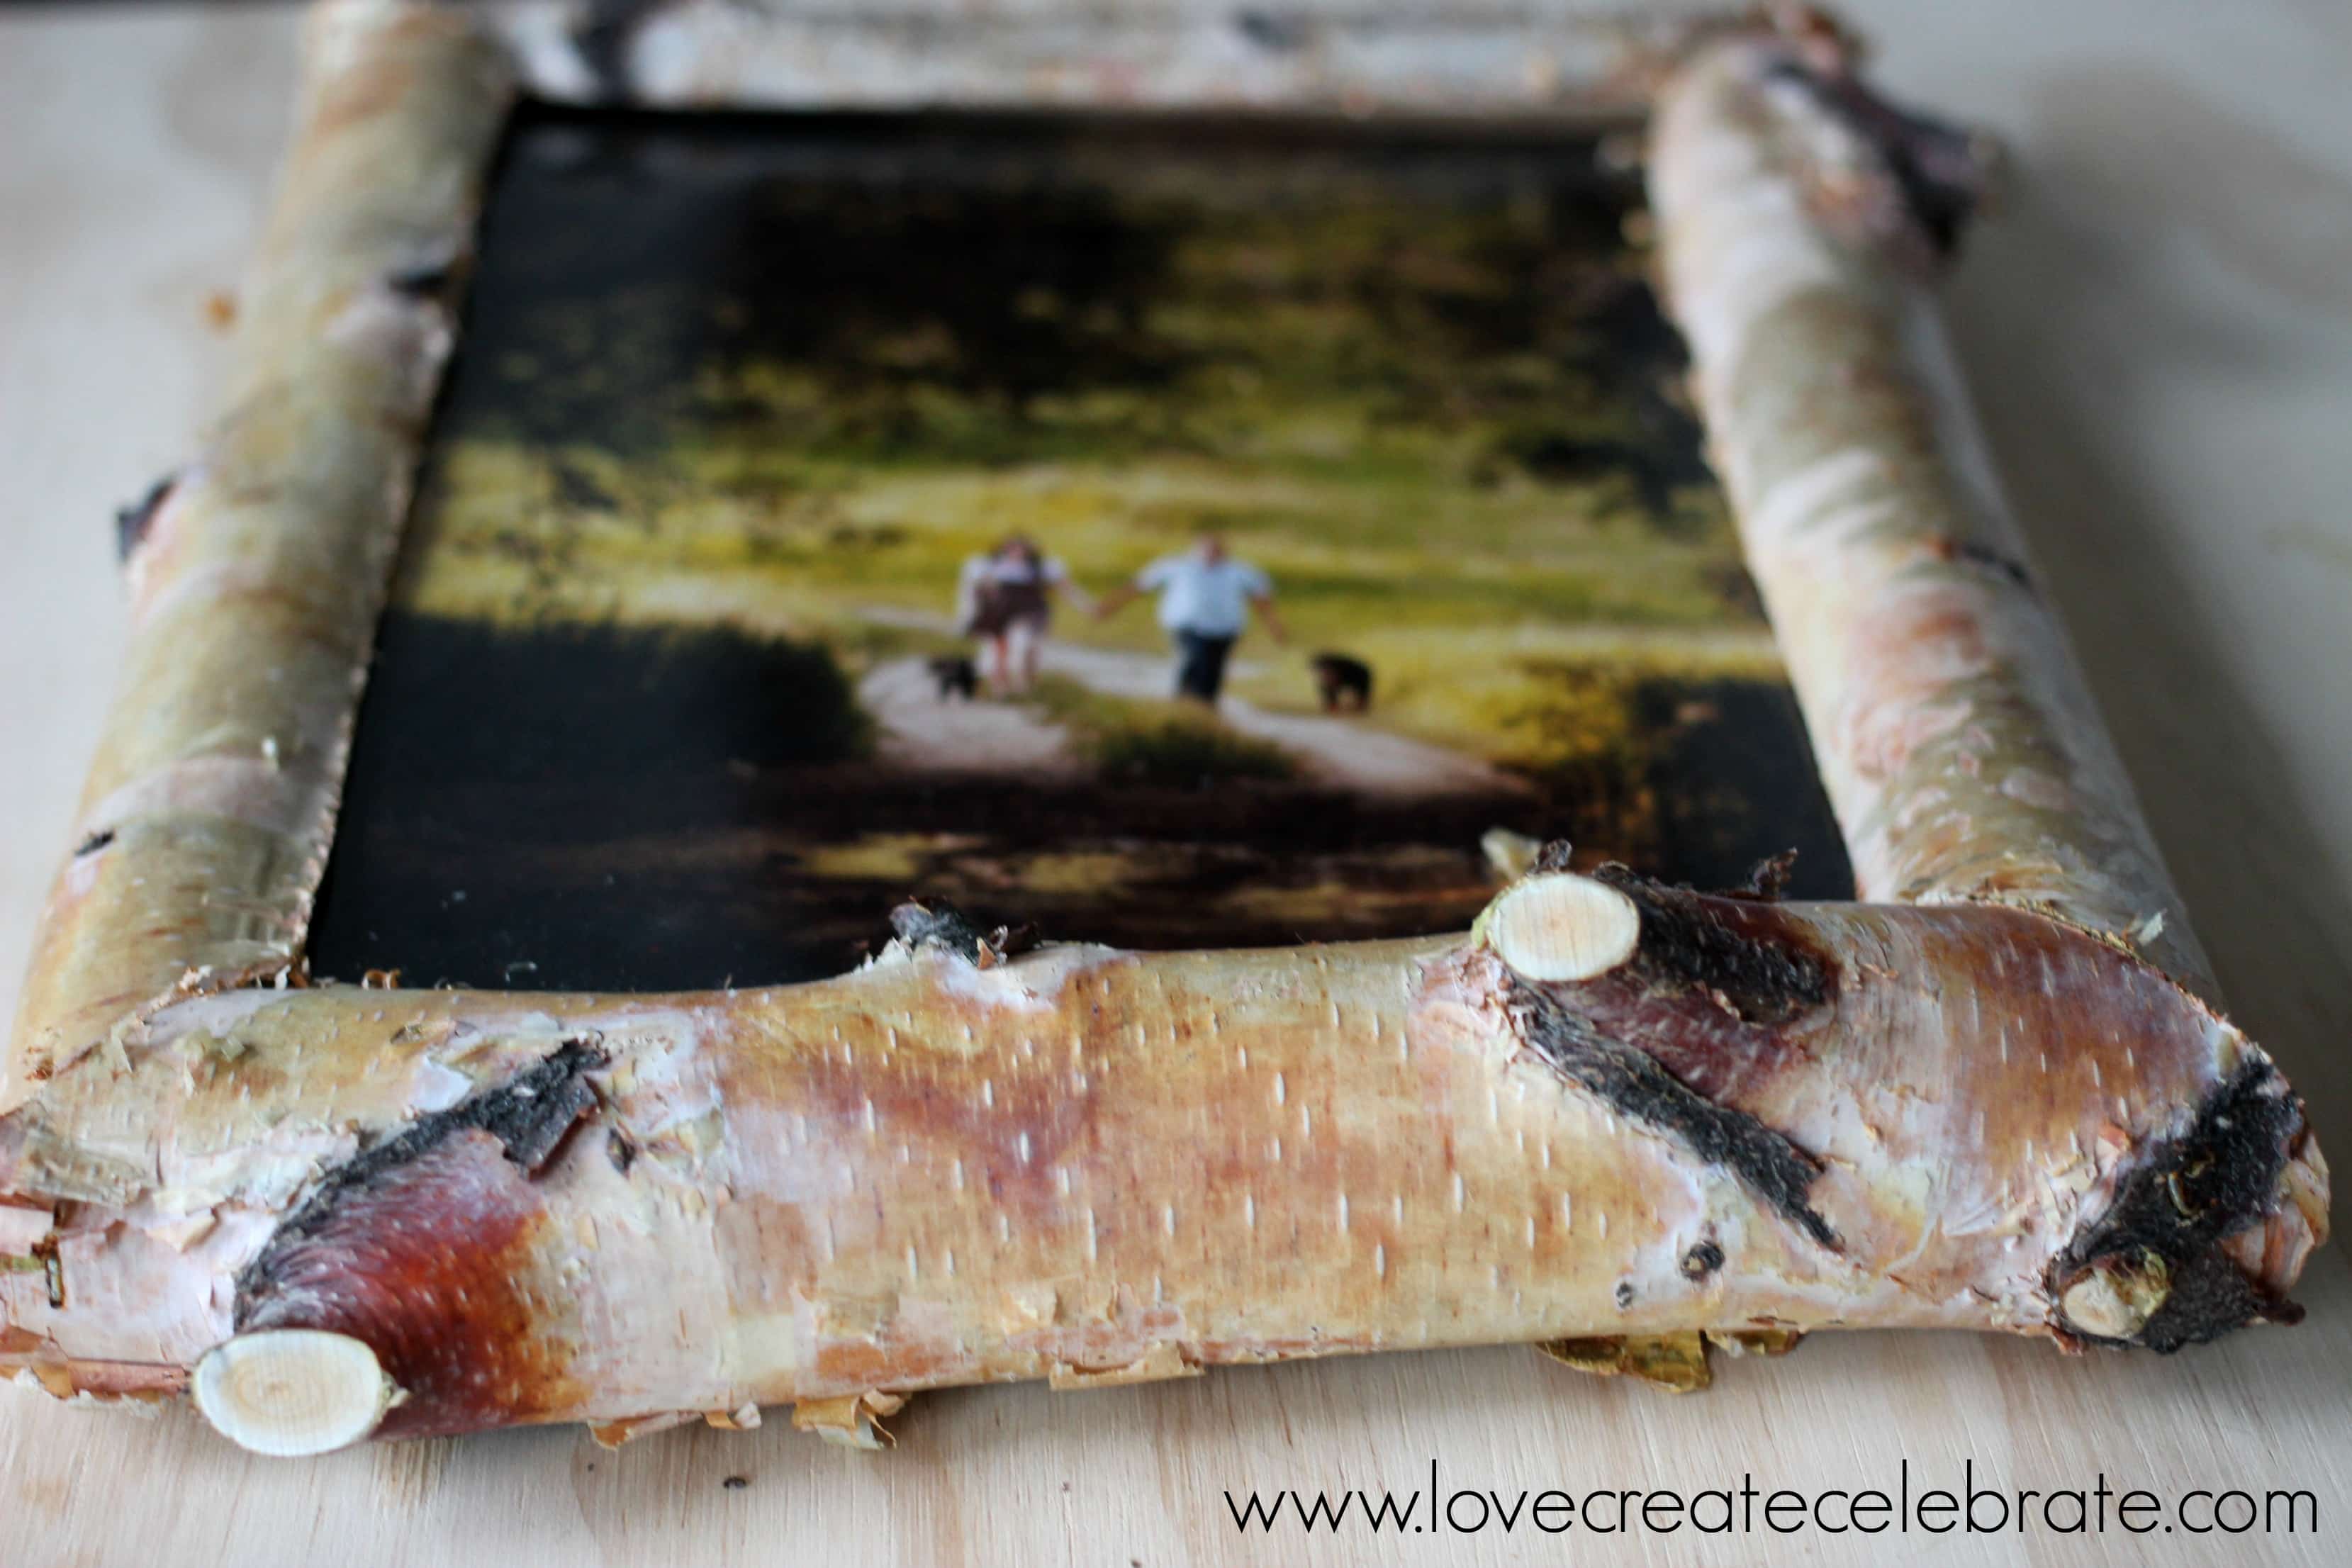
Here is the completed rustic birch wood frame! Beautifully crafted to fit a 6×8″ picture!
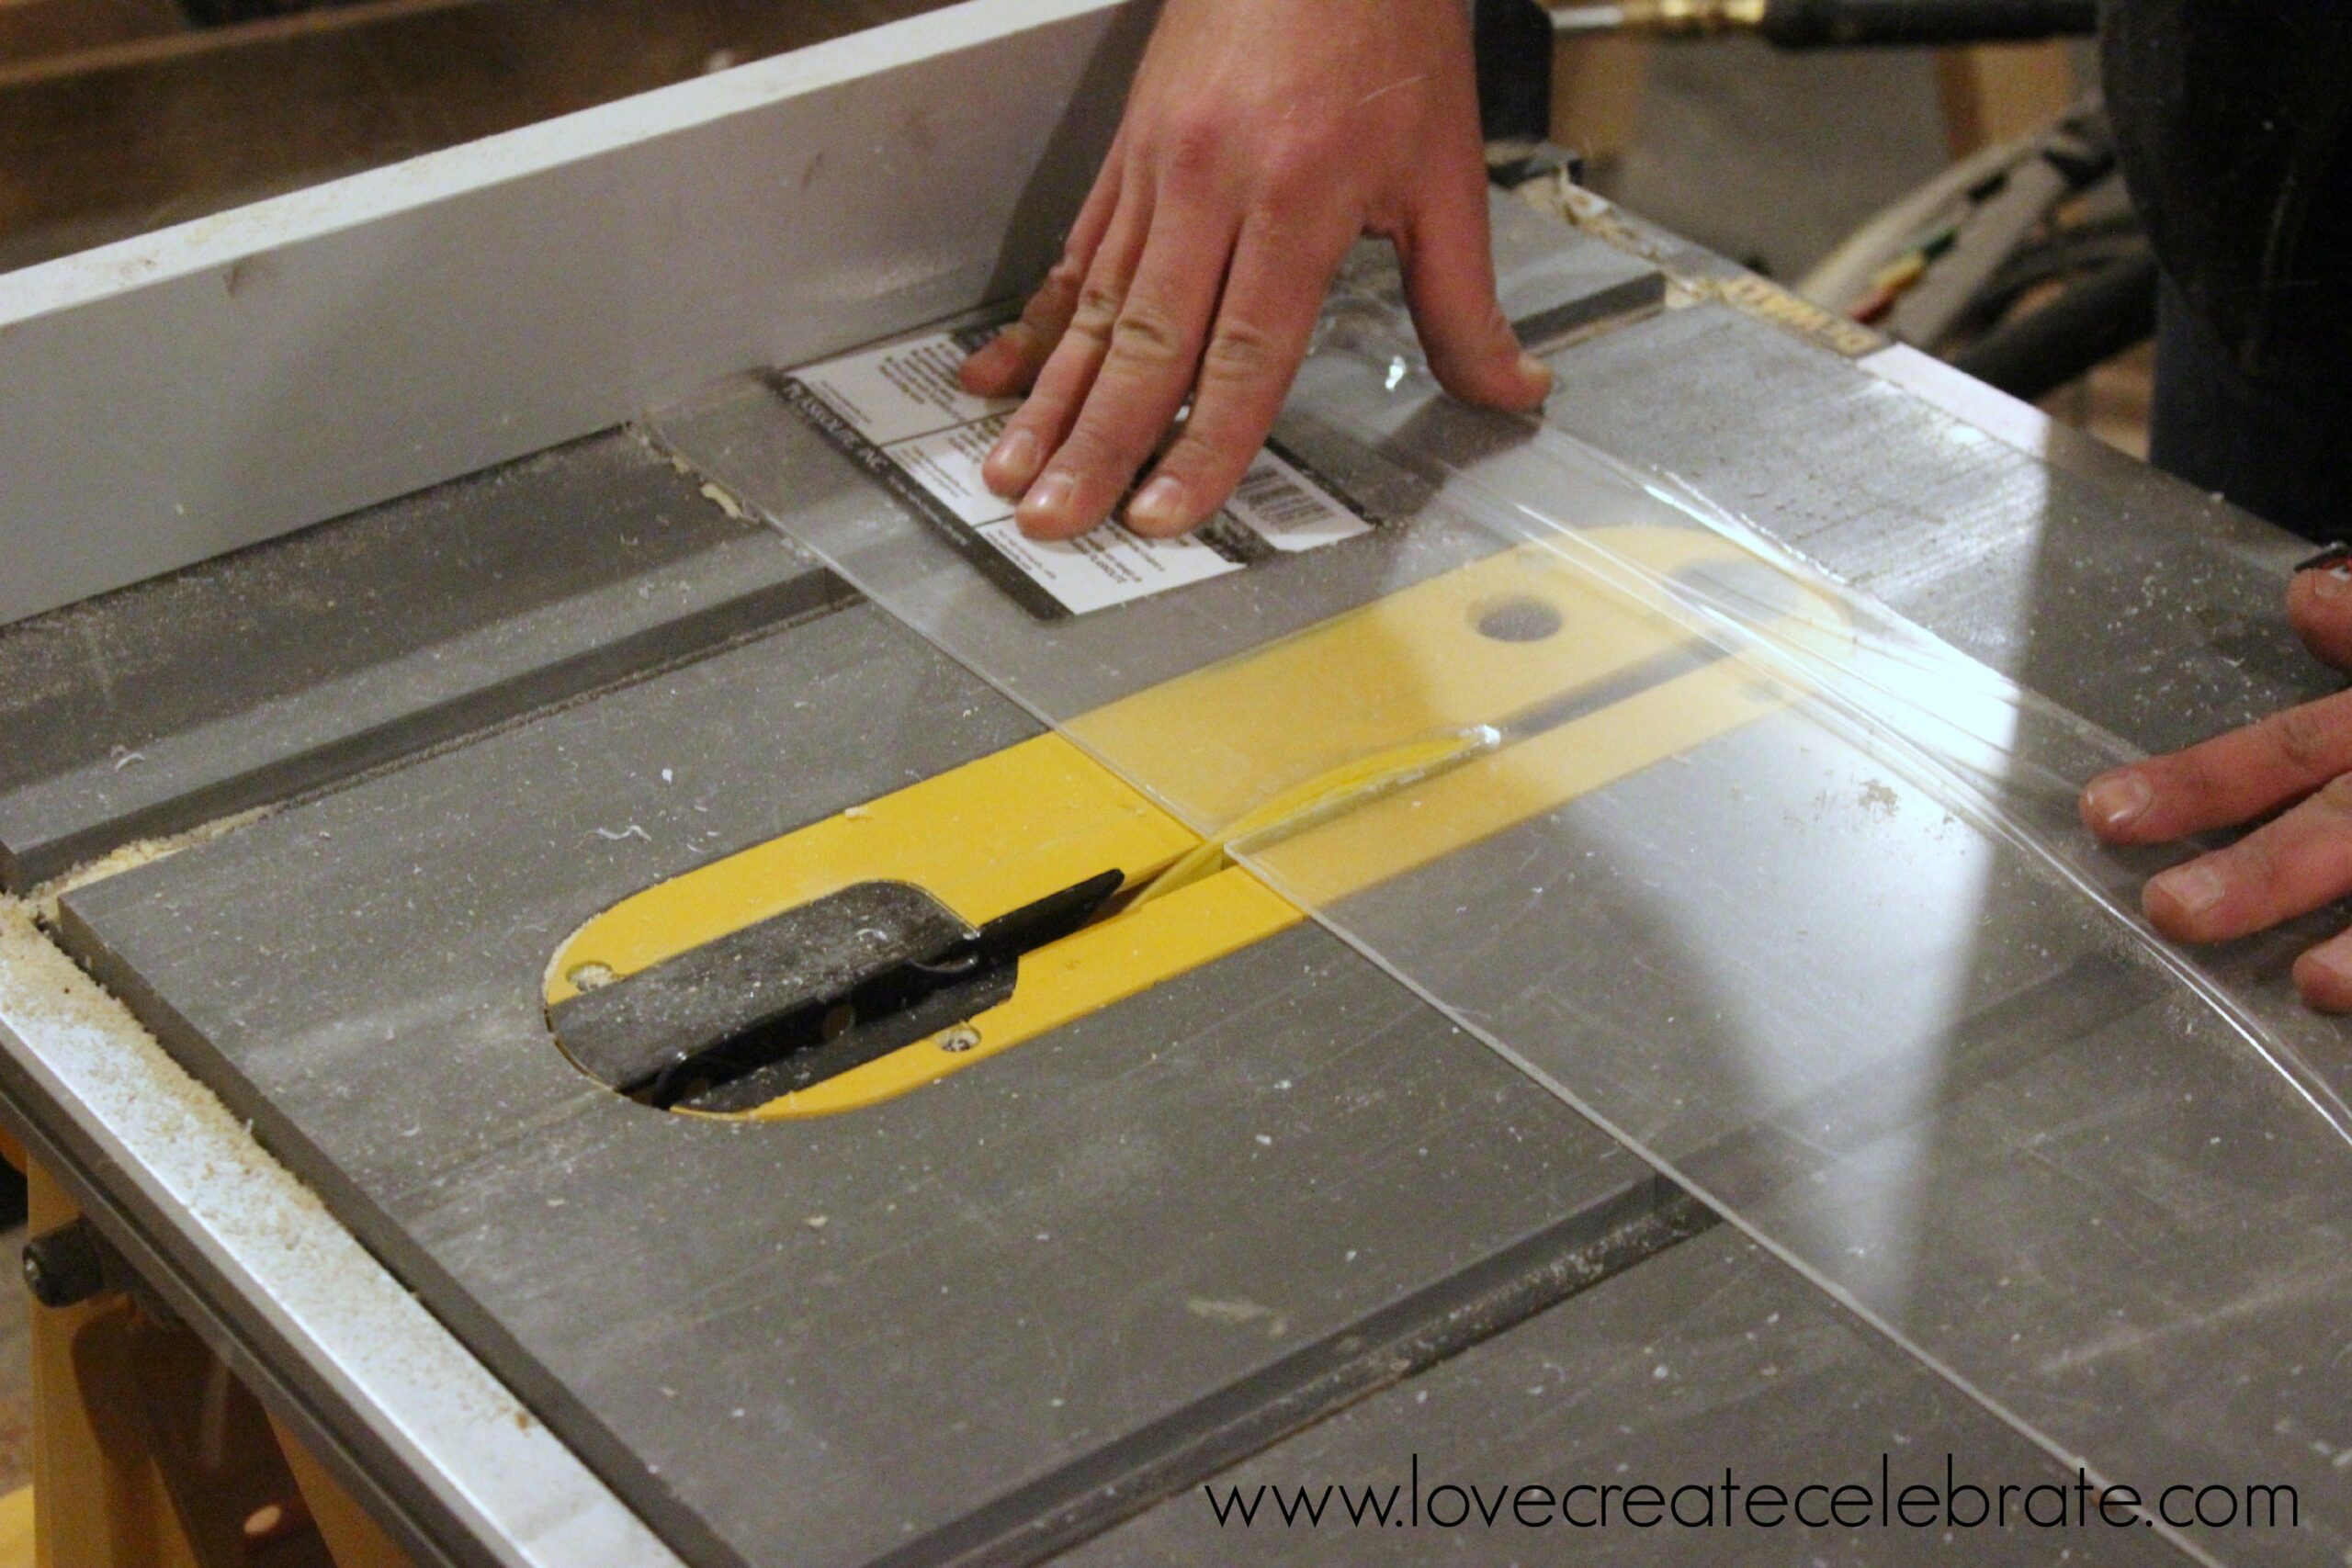
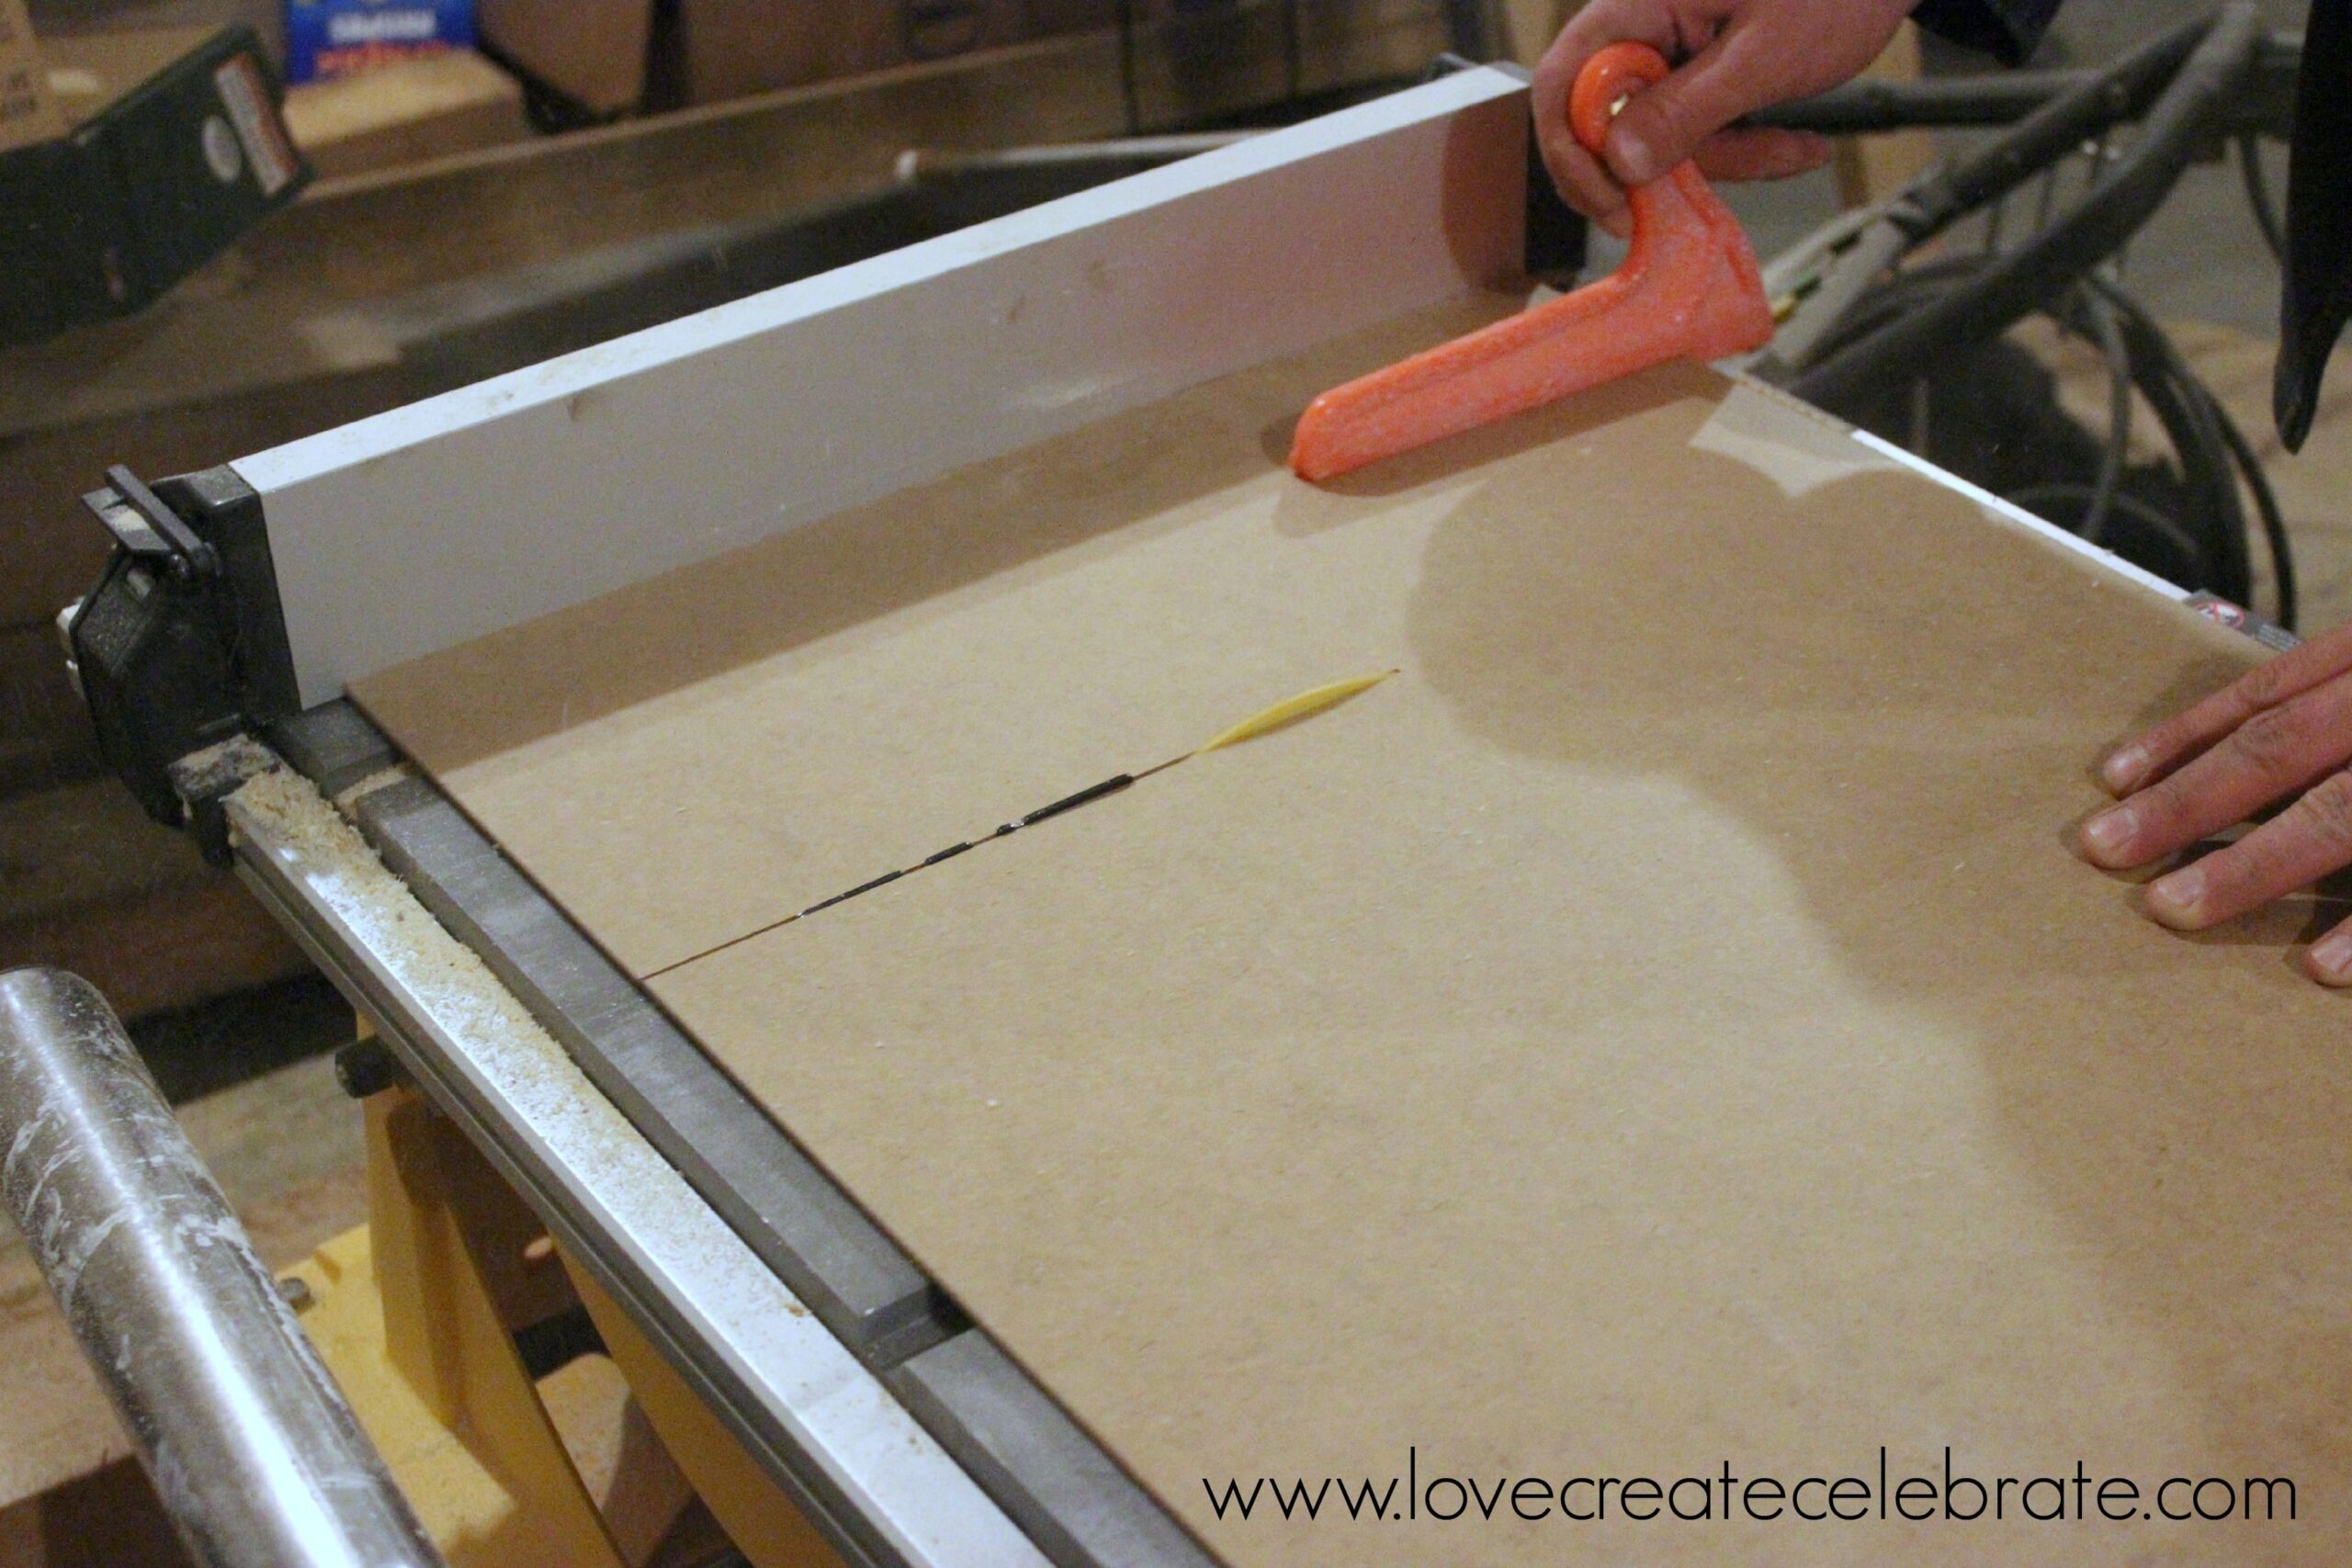
But we needed a cover for our photos too! So we cut a piece of plexiglass and a piece of hardboard to sit in front of and behind the photo.
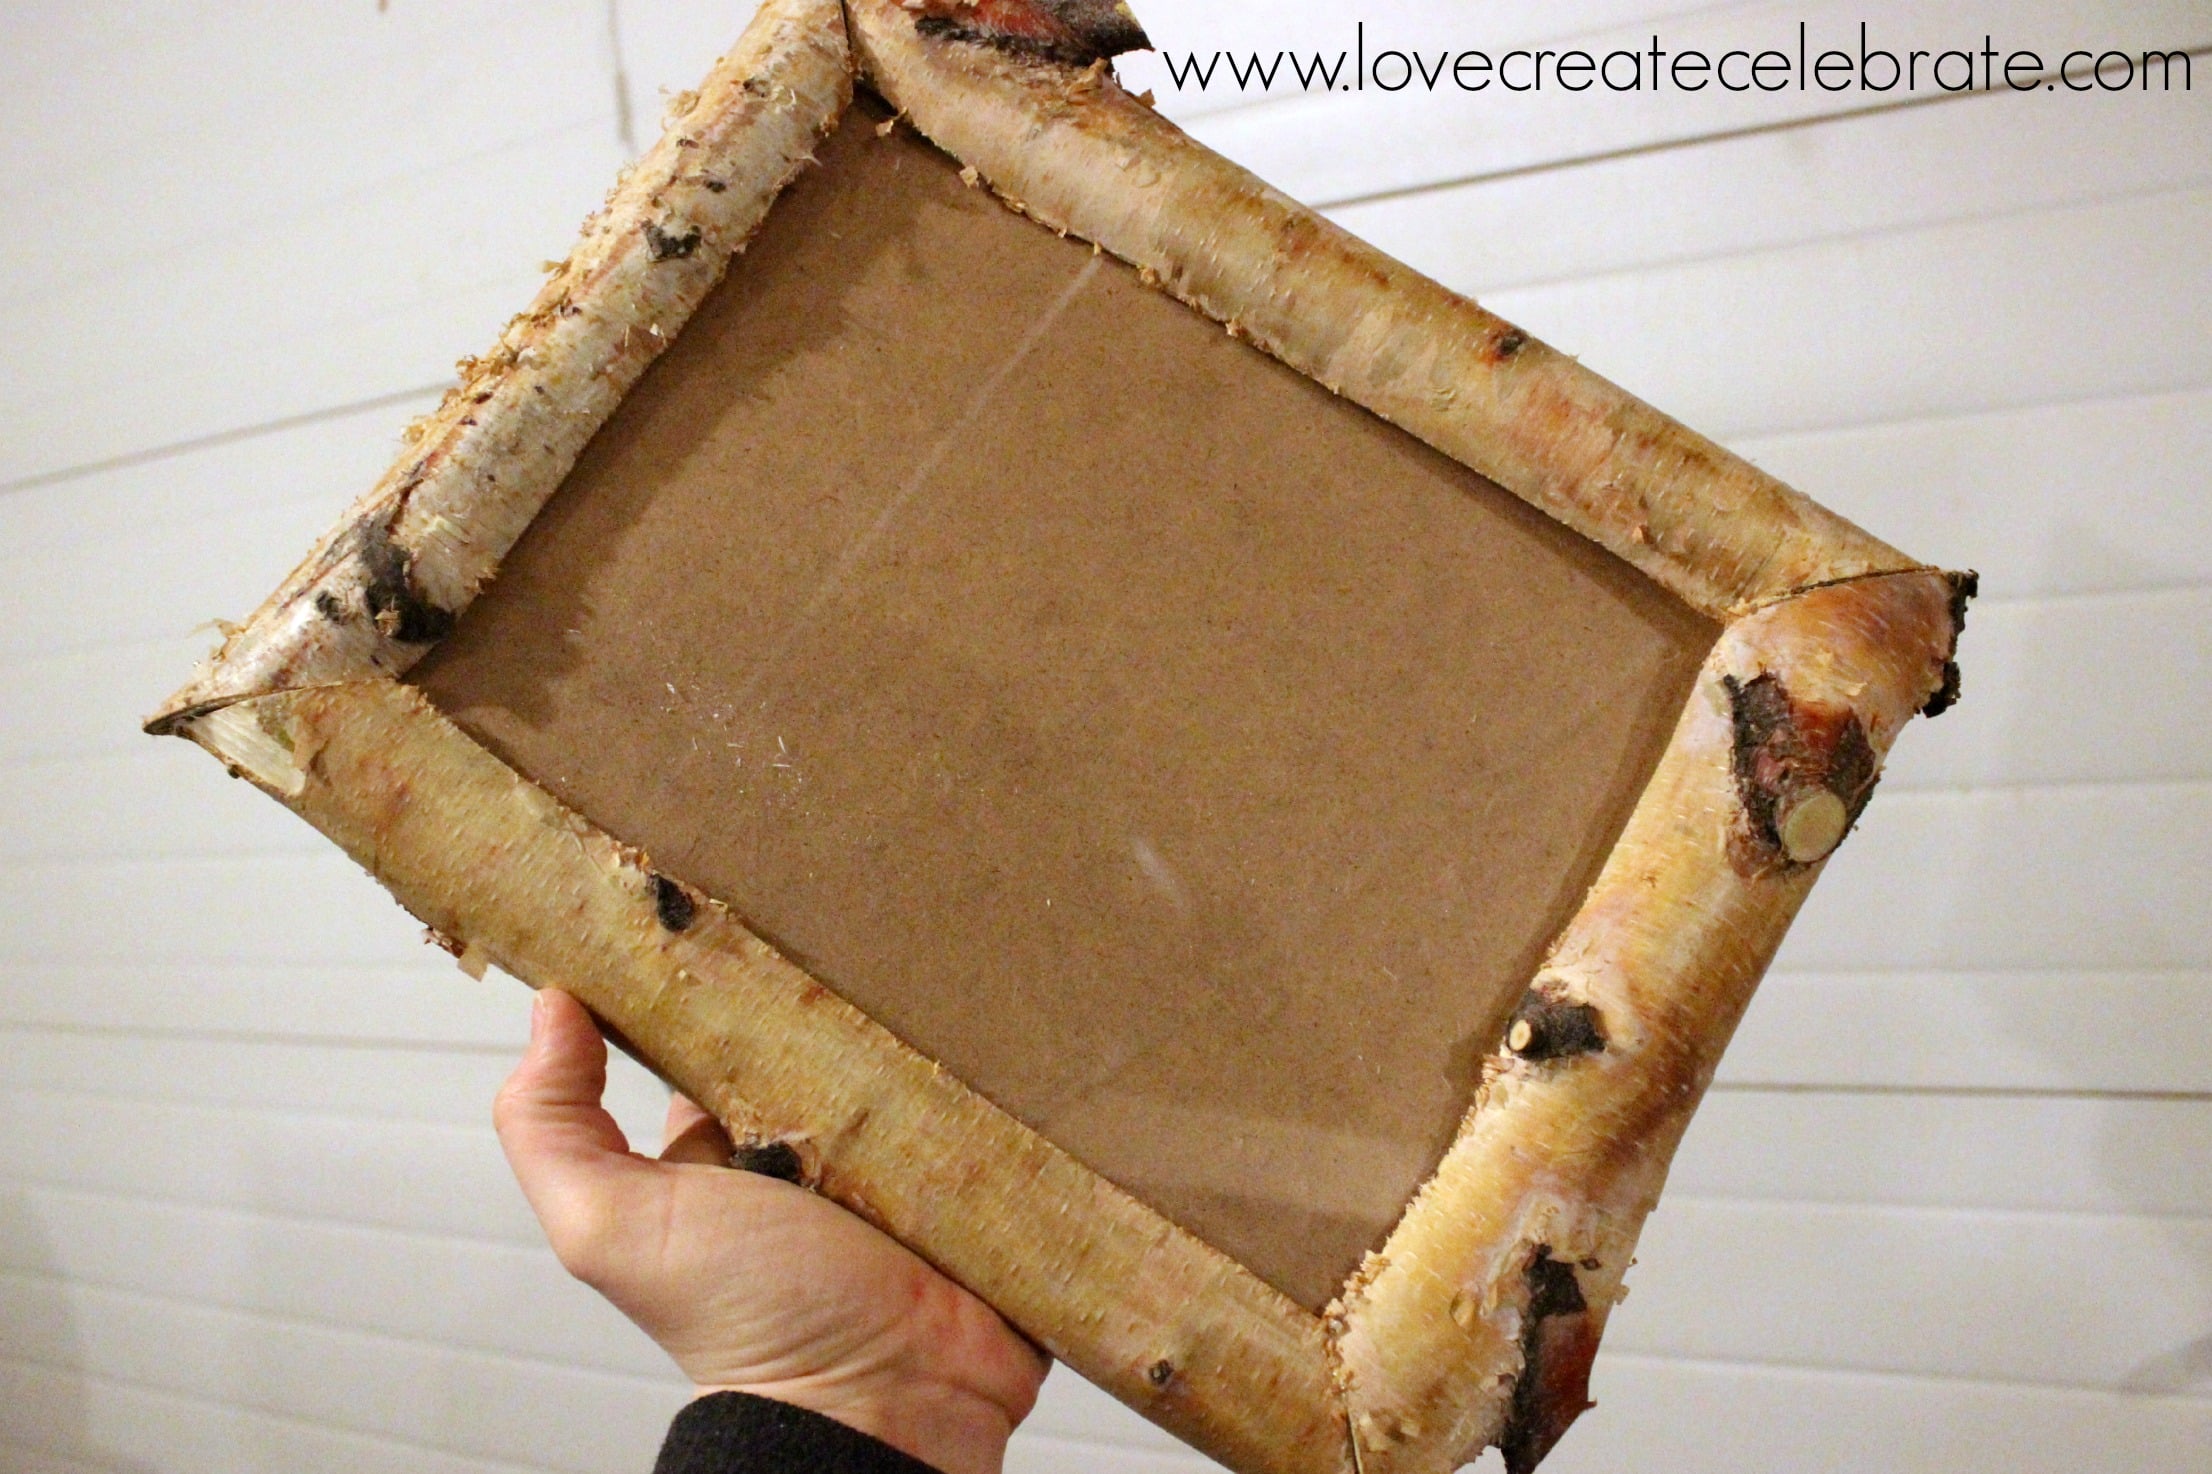
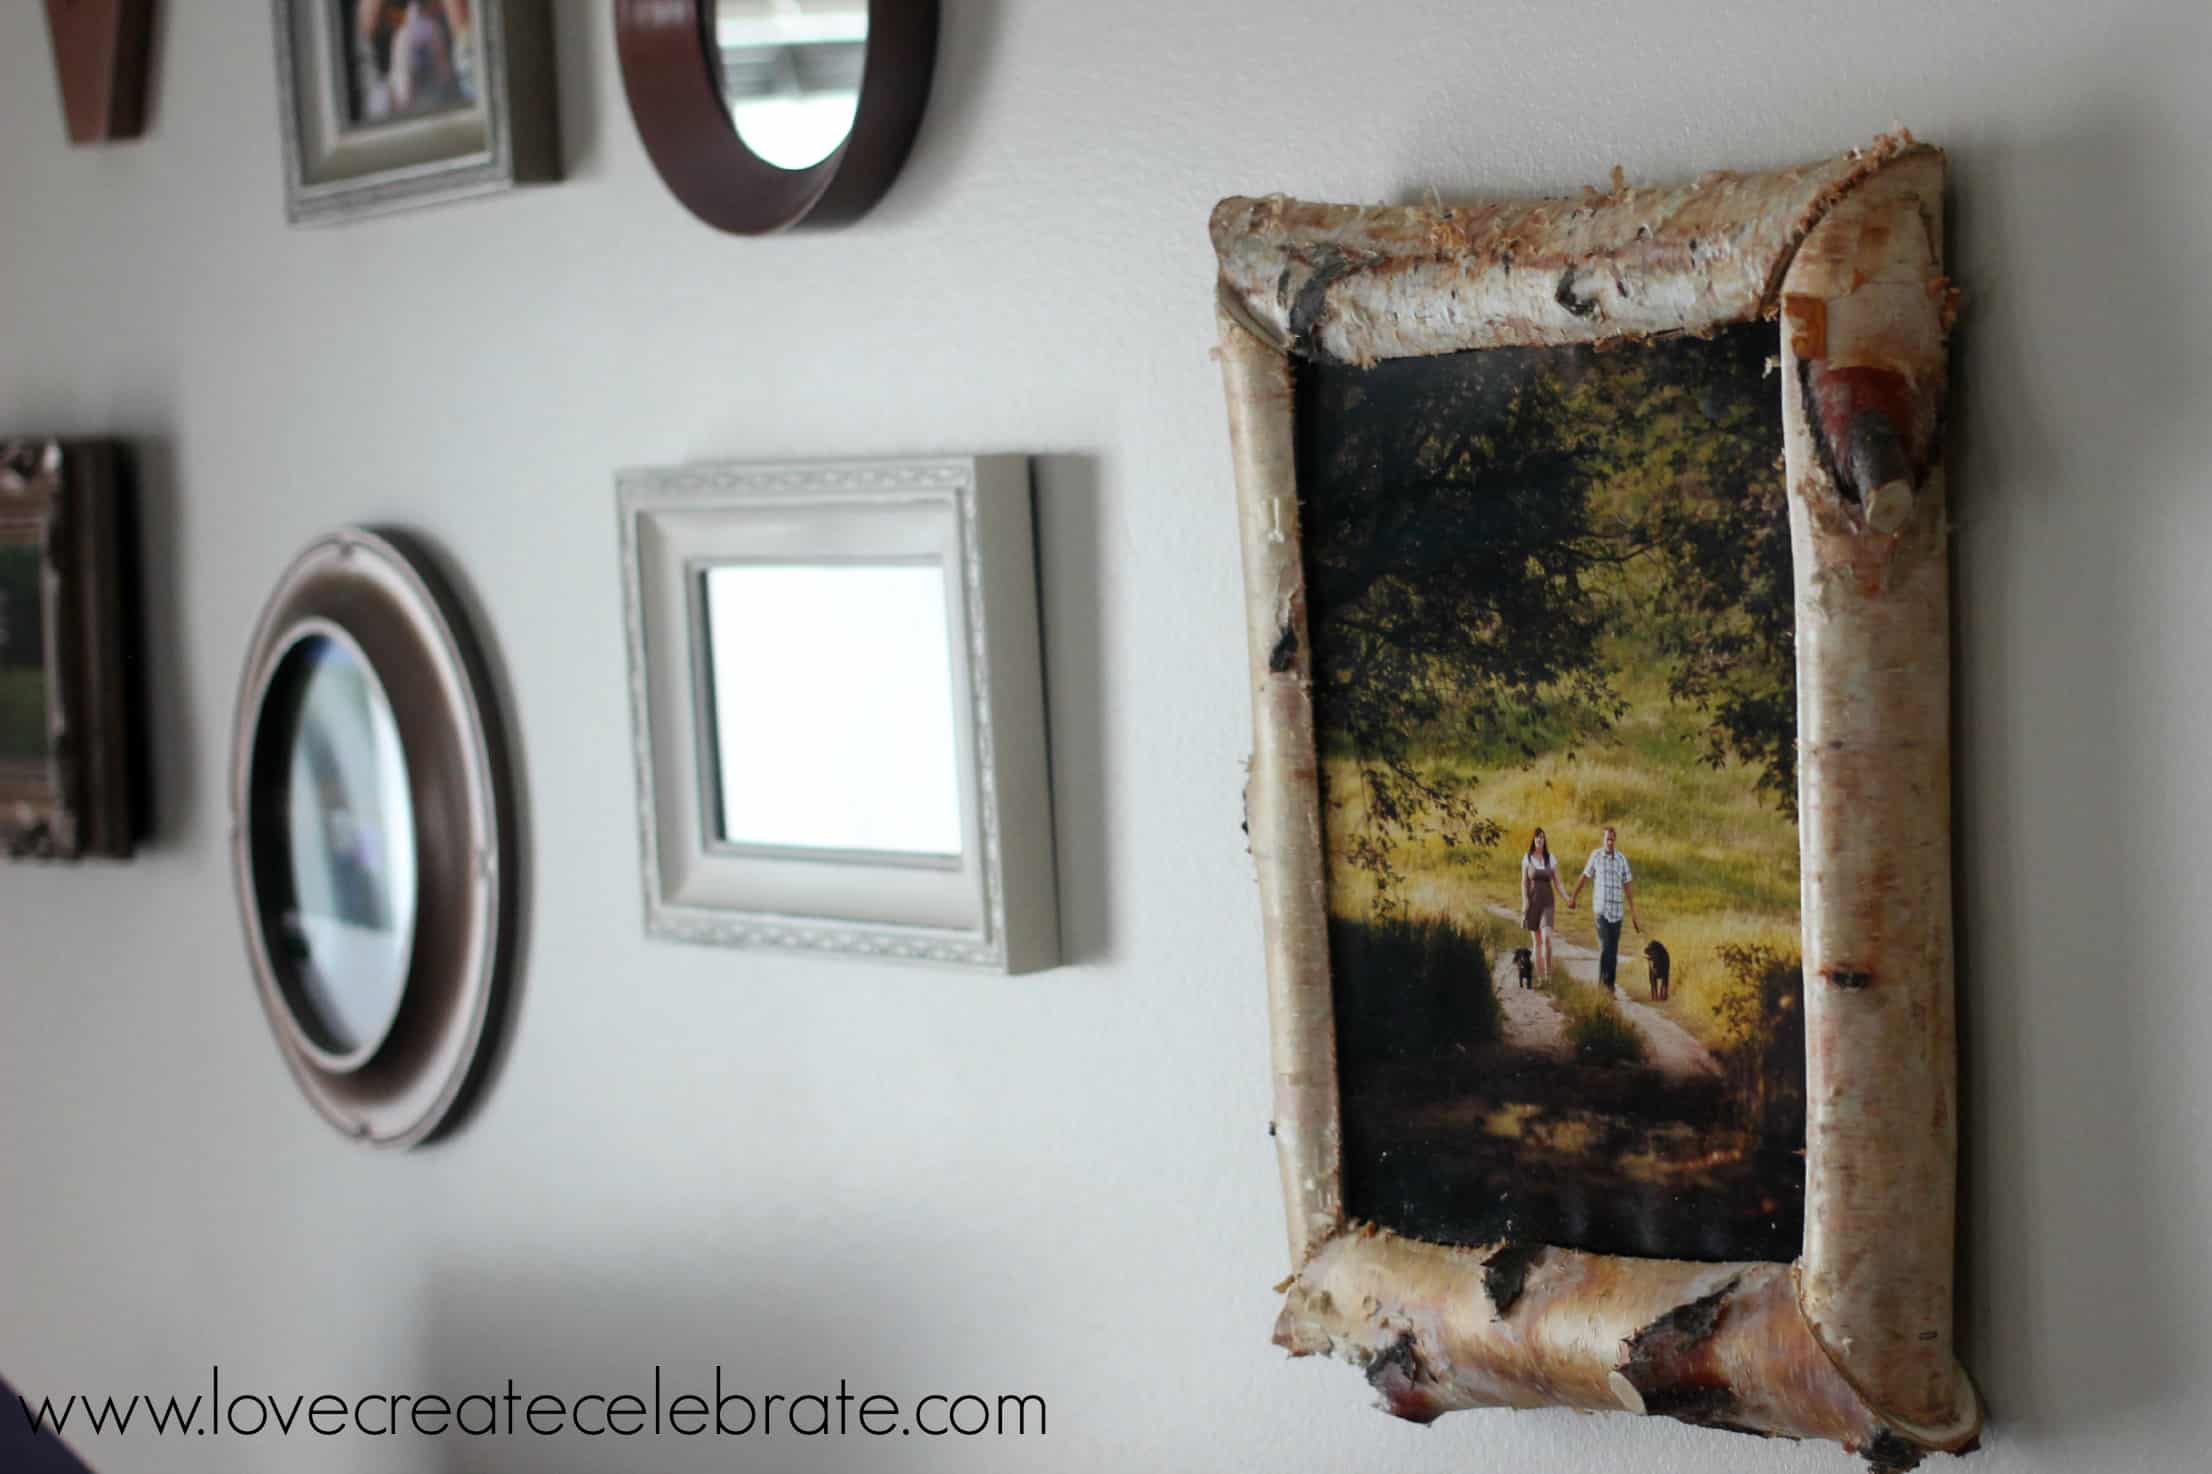
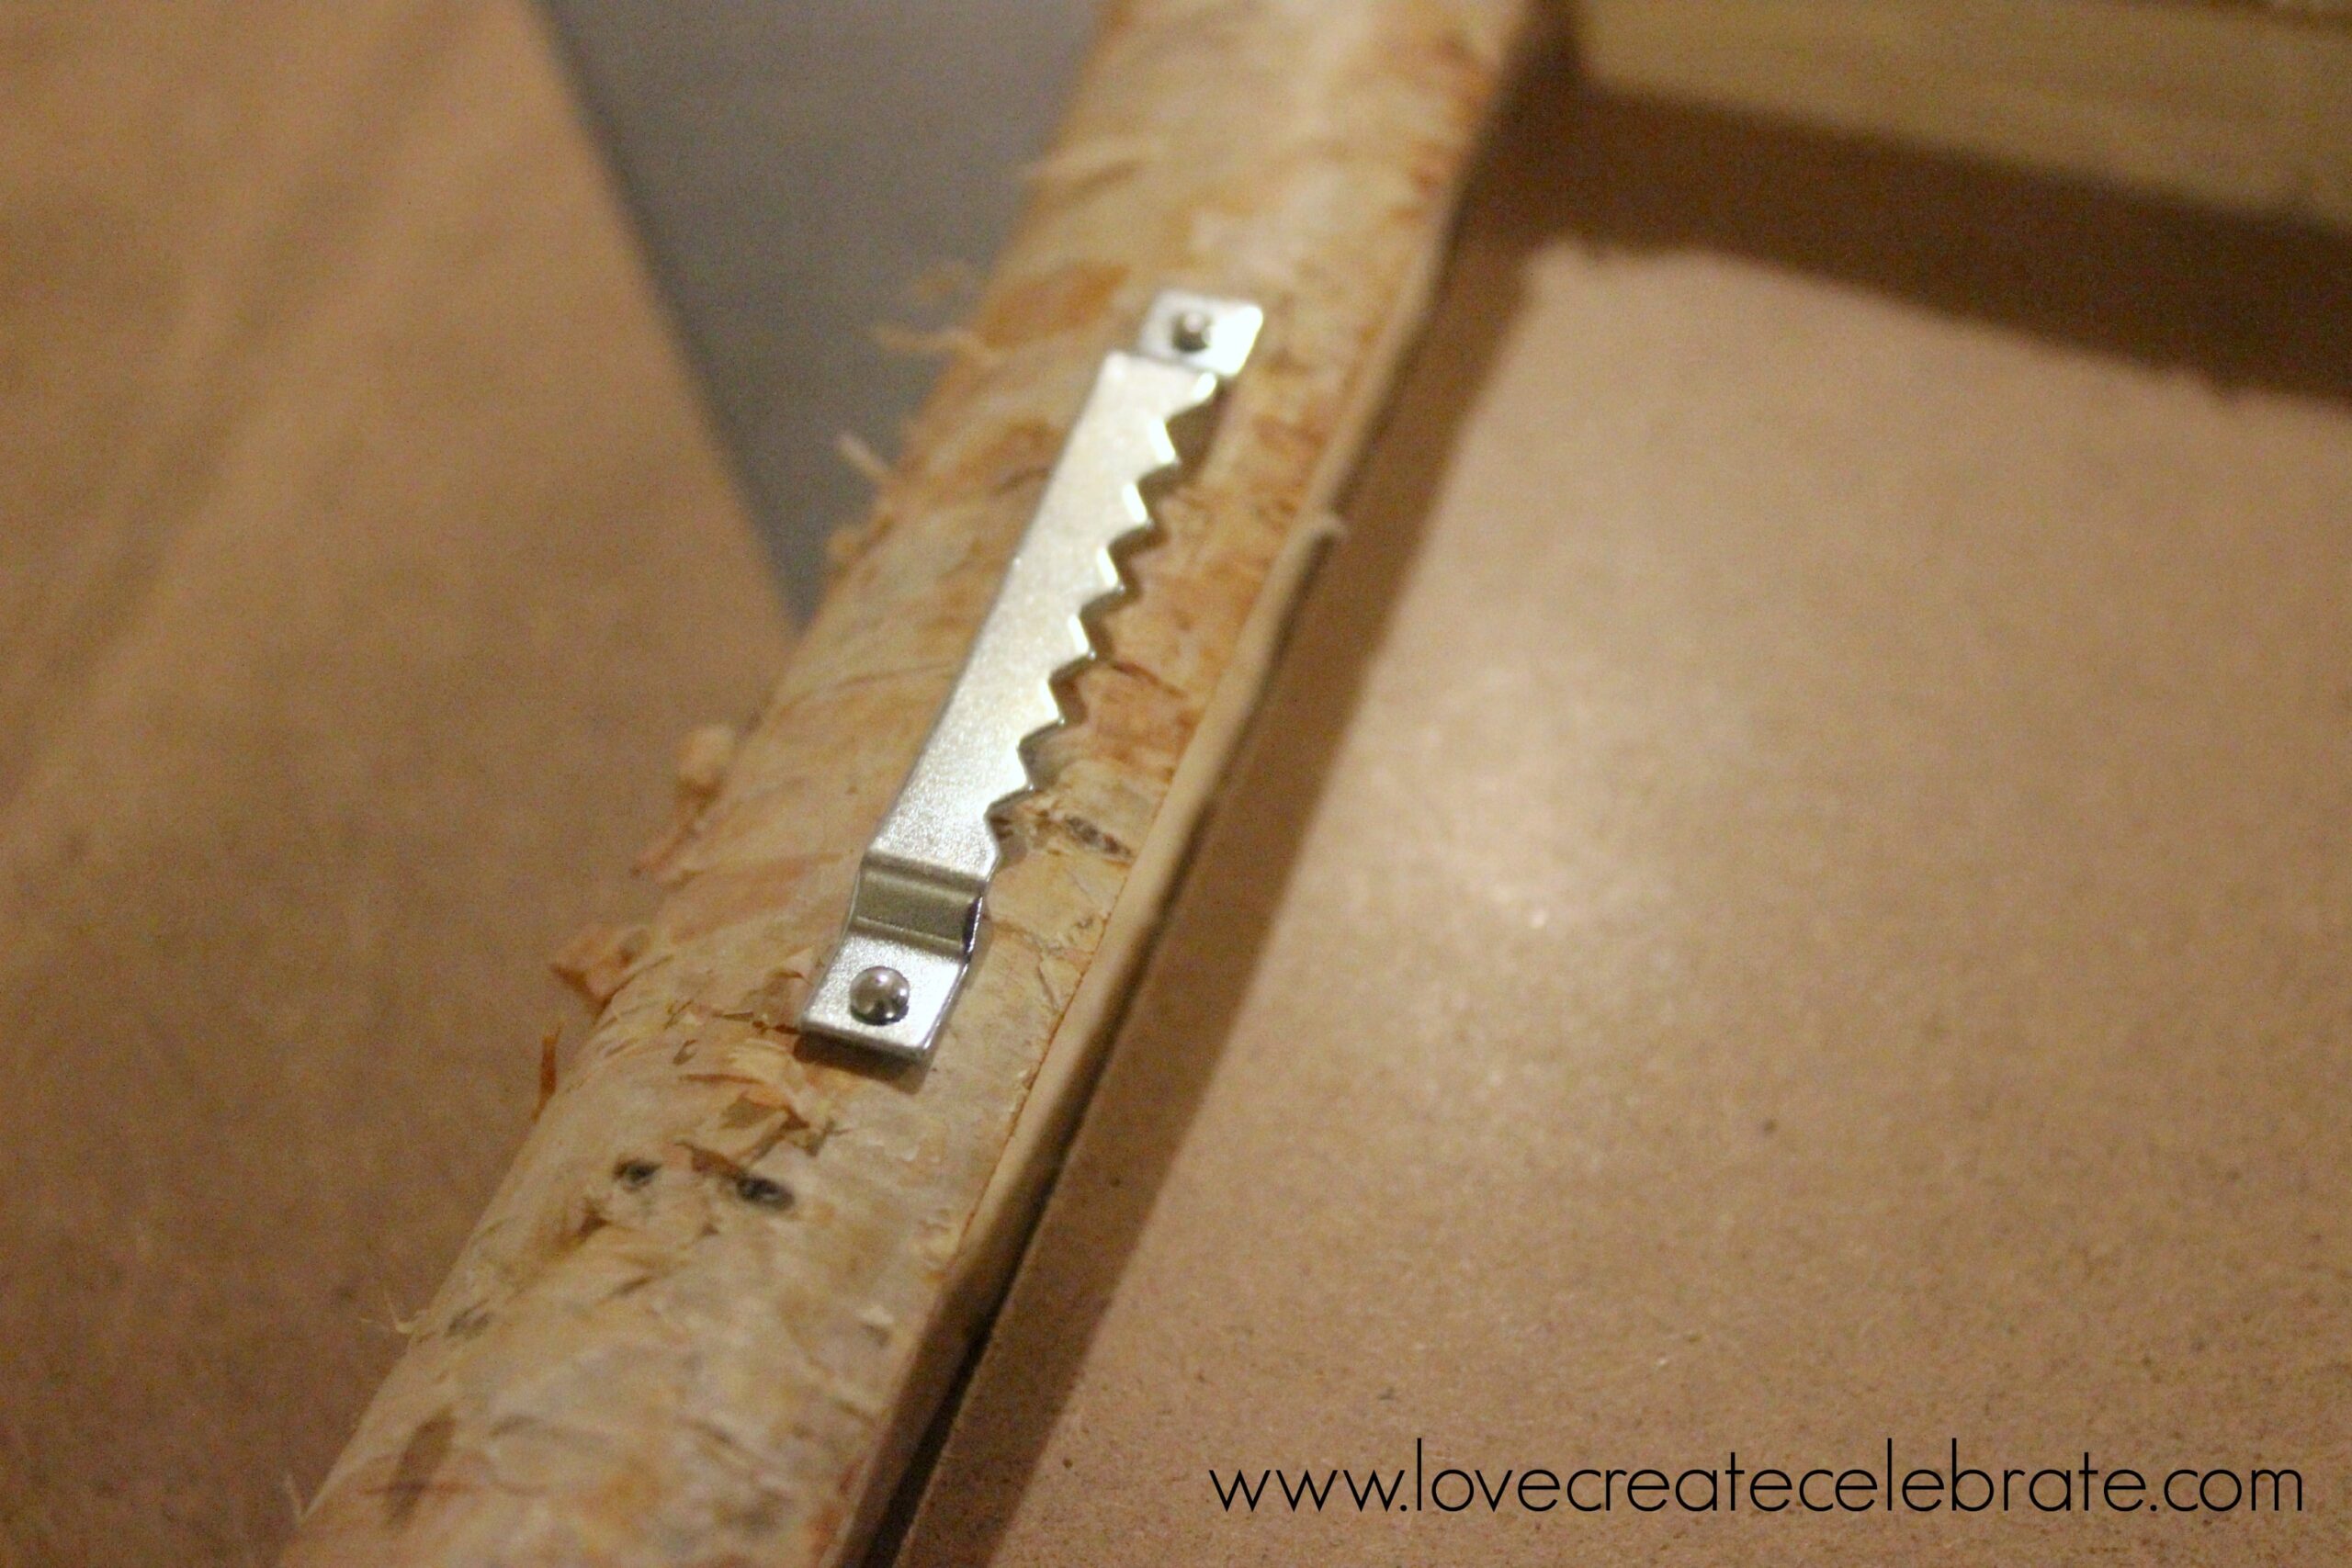
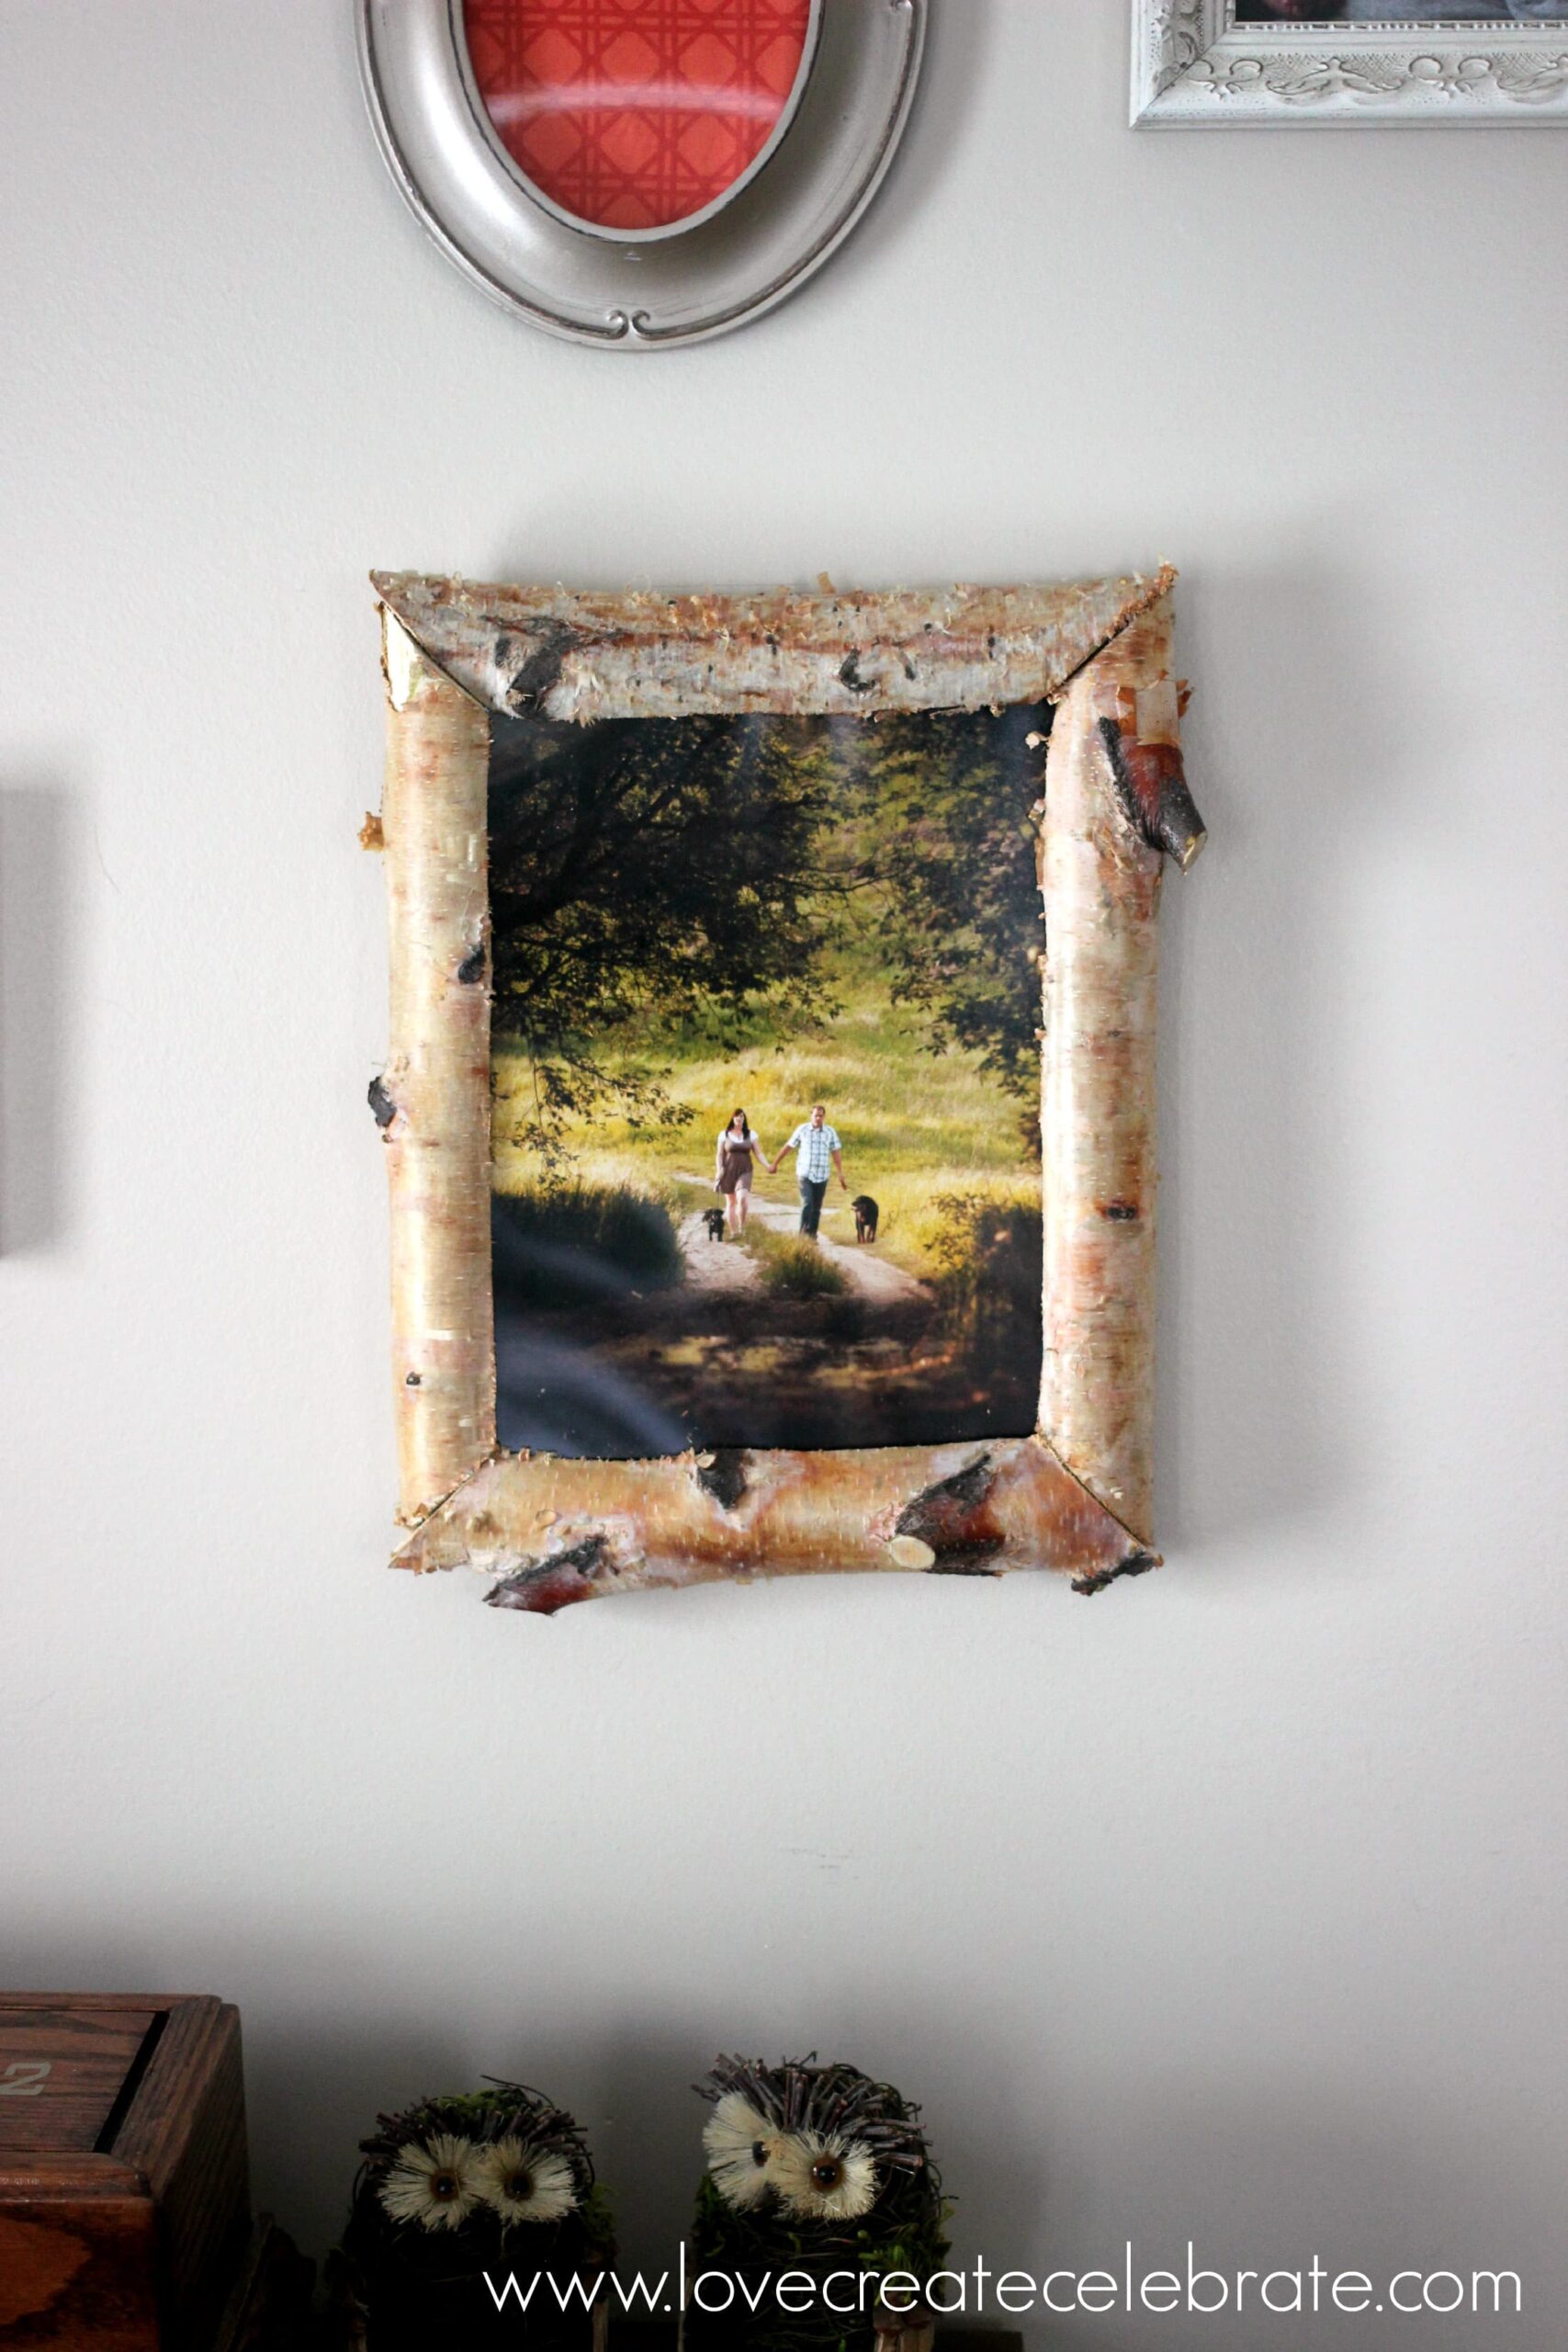
And finally… since we do want this photo frame to hang on the wall, we attached some hardware to hang the frame, and some screws on the inside edge of the frame to keep the photo, and the hardboard backing in place on the wall :)
I LOVE the rustic feel of this piece. I love that you can see the bark, I love that the knots are accented, and I love the natural appeal of the frame :)
Hope you found some inspiration from this rustic frame :)
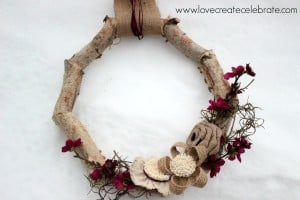
For more wood inspiration, check out these great branch projects:

{xoxo}
Angela, blue i style
Thursday 19th of March 2015
Thank you for this tutorial! My parents have a cabin in the mountains and this would be a perfect gift! Thanks for linking up at The Creative Circle! Join us again this week! :)
Lindivs
Sunday 22nd of March 2015
Oh good! Let me know if you ever make one! Or something that was inspired by this one :)
Carrie @ Curly Crafty Mom
Sunday 15th of March 2015
I just adore this rustic frame, you could totally make these for gifts!
Lindivs
Sunday 15th of March 2015
Thank you!!! I am planning on giving it away actually :) It will fit perfectly in a friends' home!
sinziana
Friday 13th of March 2015
Nice looking this frame! Thank you for sharing at Bloggers Brags Pinterest Party!
Lindivs
Friday 13th of March 2015
Thank you!! I'm loving the birch wood myself :)
Laura @ A Nurse and A Nerd
Friday 13th of March 2015
I love this!! I need something like this for our nursery! But I don't have any access to birchwood. Although I guess I could use any kind of wood. But birch is so pretty! ;-)
Lindivs
Friday 13th of March 2015
I agree! You could use any wood, but birch has a certain character to it! I'm glad you like it!
Amanda
Thursday 12th of March 2015
Oh my gosh this turned out great! I am so in love. Thank you for sharing at Merry Monday!
Lindivs
Thursday 12th of March 2015
Thanks Amanda!! Glad you stopped by :)