
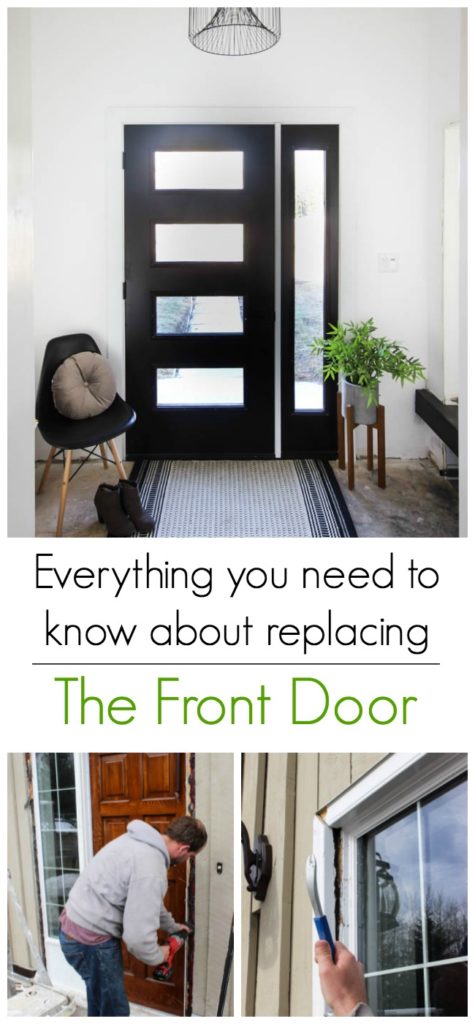
It’s week 5 of our six-week challenge! We’re participating in the One Room Challenge, where we are completely renovating one space in our home in just six weeks. This Spring, we decided to tackle our entry, which has been a lot more work than we anticipated! Replacing our outdated front door was one of the musts of updating this space. I thought the task was going to be a bit daunting, but it turned out to be a fairly simple process. Replacing the old wooden front door with a new black front door was well-worth it!

*This post was sponsored by The Home Depot Canada. As always, opinions are 100% my own. For more information, please see my disclosure page.*
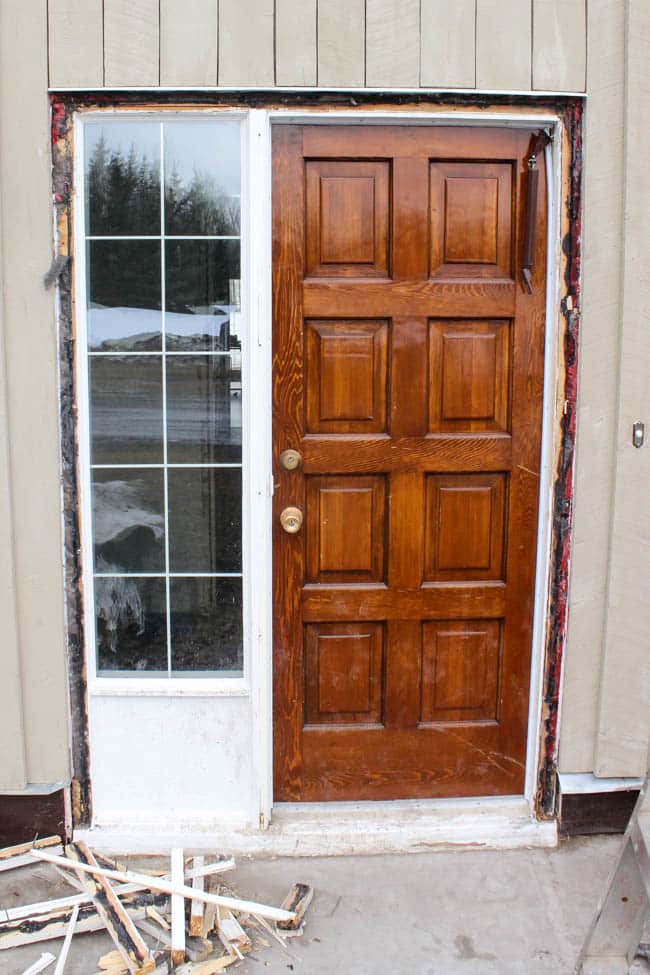
This is the door we decided to replace. Actually, it wasn’t much of a decision at all. As soon as we decided to tackle the entry, my husband and I knew that this door had to go. We knew we were going to go to The Home Depot to get a door because we loved the selection there – it’s one of those areas of The Home Depot that we would just walk through to look around every time we were buying lumber or paint or anything really, lol.
There is a very helpful department associate to help you figure out everything you need to know, but it helps to have a head start. Here’s what we needed to know before we were able to get our sleek new black front door.
Things to consider when you are replacing the front door:
Size of your door casing
- Obviously, this is the first thing you need to know when replacing the front door. To figure this out, take off a piece of your interior moldings and your exterior brick moldings, so you can determine your wall thickness (i.e. if your house is a 2×6 or 2×8, etc. frame).
- The way we figured out our width was by sticking a steel rod in between our existing door and existing framing. Once it was all of the way through, we marked that on the rod and measured that distance (which for us was 2×8″ framing).
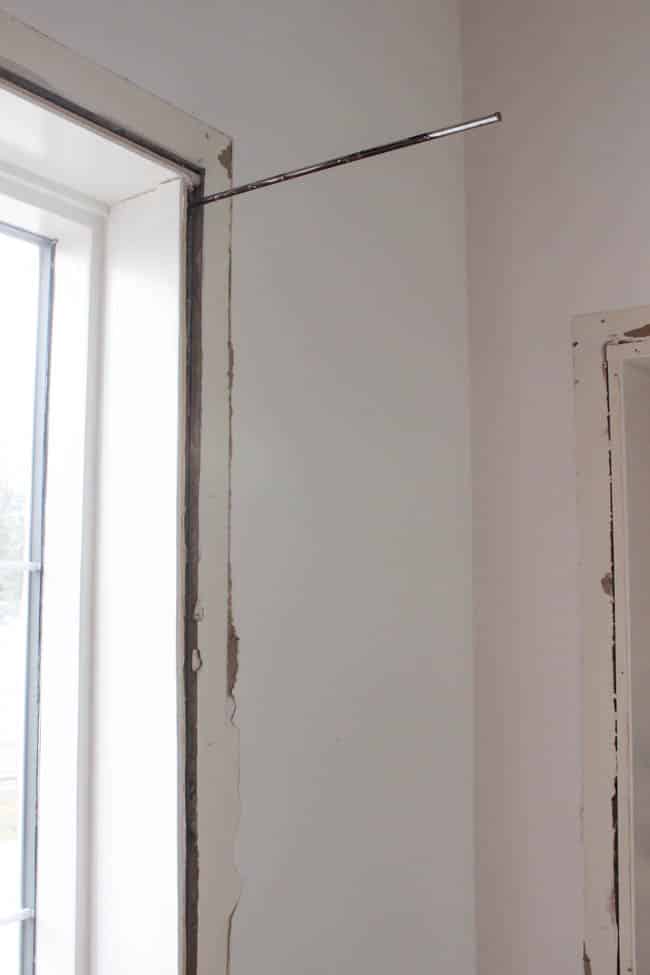
- Once you know your frame size, you also need the thickness of your drywall and the outside OSB board (always on the outside of the house between the siding and the framing). Add all three together and you will know how wide the casing needs to be for the new door.
- Our walls were 2x8s (7 1/2″), the OSB was 1/2″ thick, and we had 1/2″ drywall – so we ordered an 8 1/2″ casing for our new front door
Rough opening height and width
- Taking off your exterior mouldings will also allow you to find your rough opening width and height.

- To get the width, just measure from the outside edge of the framing on one side, to the outside edge on the other side.
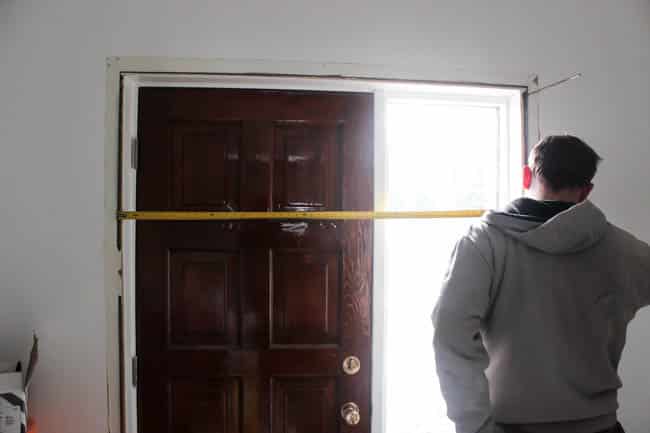
- Rough opening height is just the top of the framing to the bottom. The top is easy to figure out once the molding is removed – it’s just the measurement above the framing.
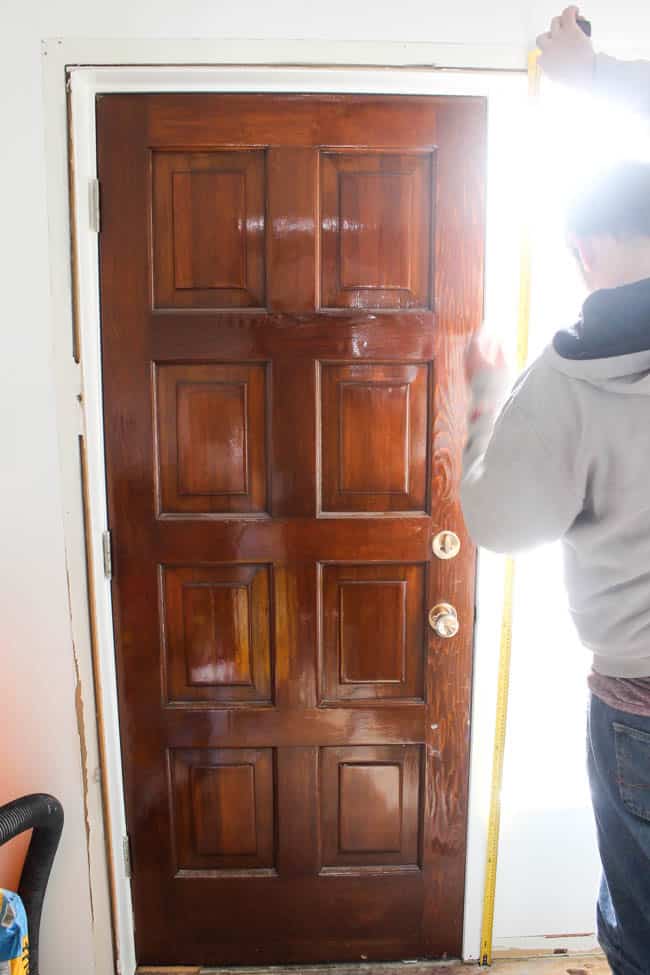
- The bottom can be a bit trickier because there can be a lot of variables affecting it, such as current flooring or subflooring, and whether or not you are building off concrete.
- You can take two measurements for this: the measurement from the top to the flooring surface (e.g. top of your hardwood), and the measurement from the top to the lowest point underneath your flooring (e.g. the concrete slab underneath), which will give you your maximum rough opening.
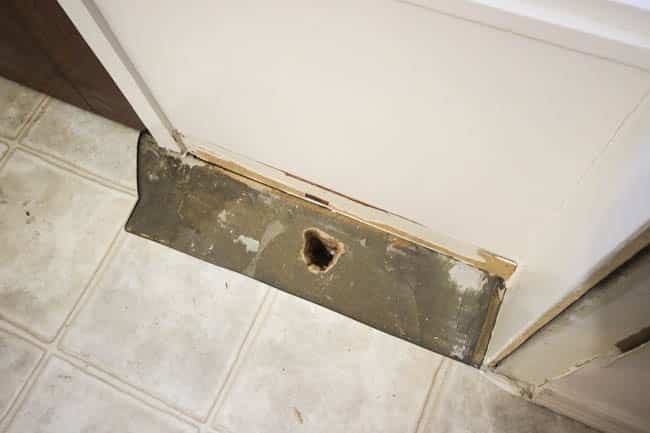
- In our case knew we were building off a concrete slab so we drilled a hole through the door sill and subfloor, to the concrete slab underneath to determine our maximum rough opening size.If you are replacing the flooring, you may also want to take into account the new flooring measurements
- If you are replacing the flooring, you may also want to take into account the new flooring measurements.
- We knew we were adding heated flooring, thin set and tile which added to 5/8″
How you want your new door to look
- Take a picture or note which way your door opens (to the inside or outside) and which side the hinges are mounted on
- Do you want a sidelight? Is there room for one? If you want one and there isn’t space, you may have to do some structural work and framing to add one.
- Get ideas of what door features you like. I spent some time perusing Pinterest to find exterior door inspiration. Here are some things to consider:
- Do you want glass? How much? Do you want it frosted?
- What type of door do you want? (e.g. steel, wood, or fiberglass doors)
- What do you want the door frame made of? (e.g. vinyl or wood)
- What door hardware options do you like the best?
Once you have these measurements, take all this info to your local Home Depot store. Their experts will sit with you, take all of this info, and they will help you scroll through the options available for replacing the front door. I definitely didn’t know exactly which door we would get when we sat down, but we knew that we really wanted something contemporary and I always wanted a black front door. We were so happy with the Masonite door we ended up choosing!
Installing your new door
- After a few weeks, your door will arrive
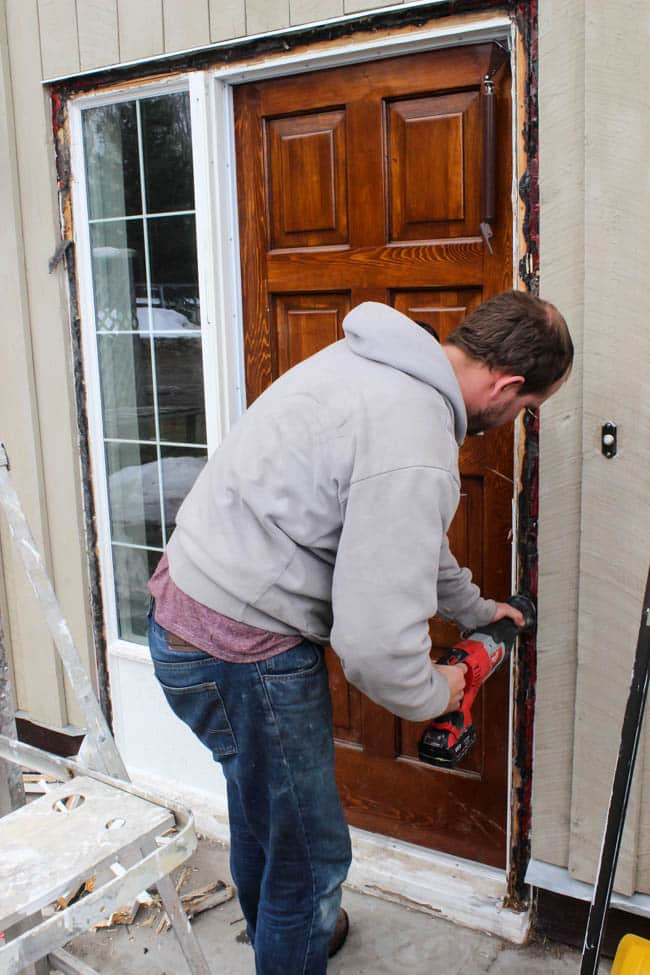
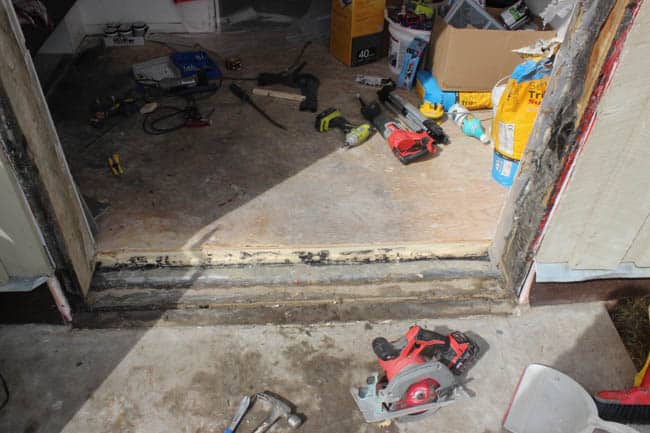
- Use a sawzall to cut around frame of old door and though screws that held the old door in place. Then remove the door.
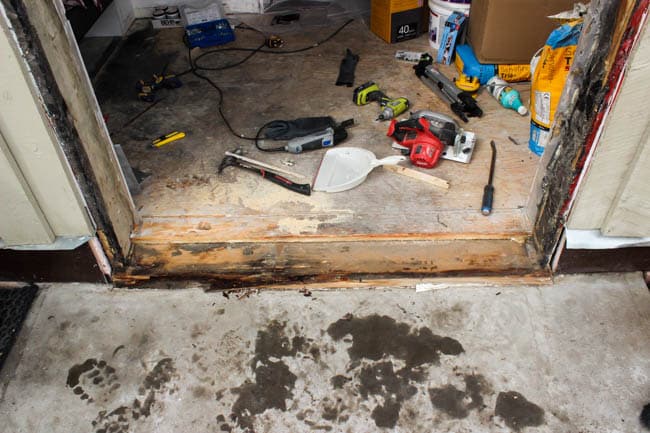
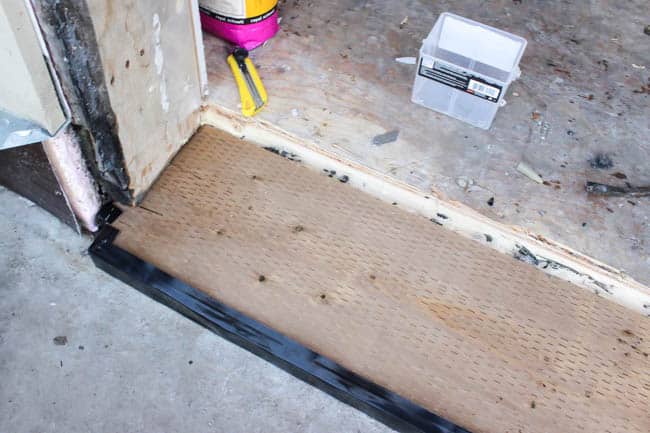
- Look for any rot or mold before installing the new door. We had to replace our bottom sill, which you can see was pretty moldy…
- Follow the instructions that come with the door to shim and install it
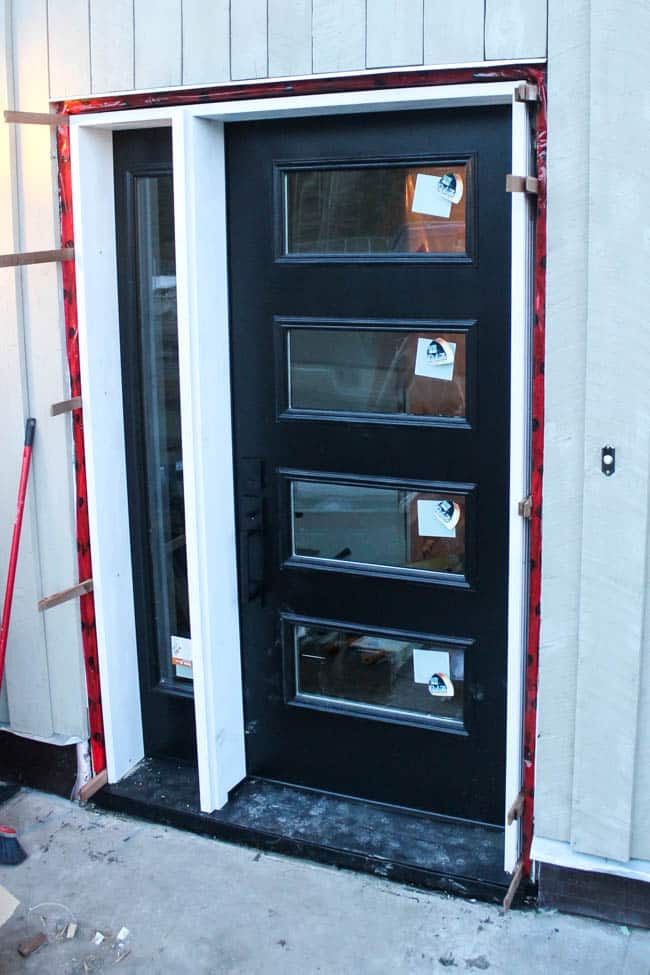
I was overjoyed when our door arrived. Honestly it was gorgeous. I’m so happy to finally have a black front door!
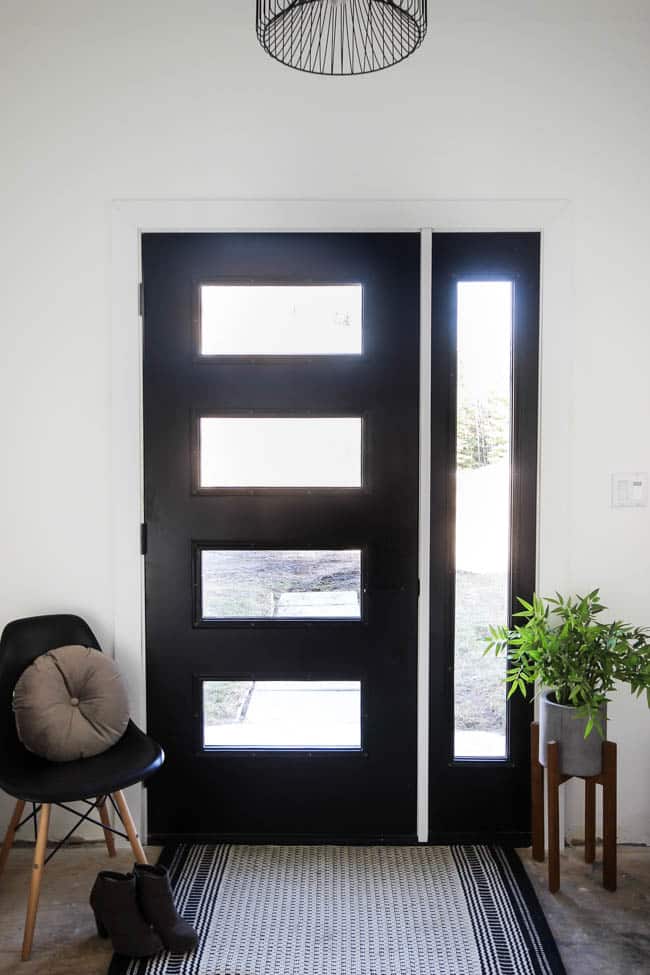
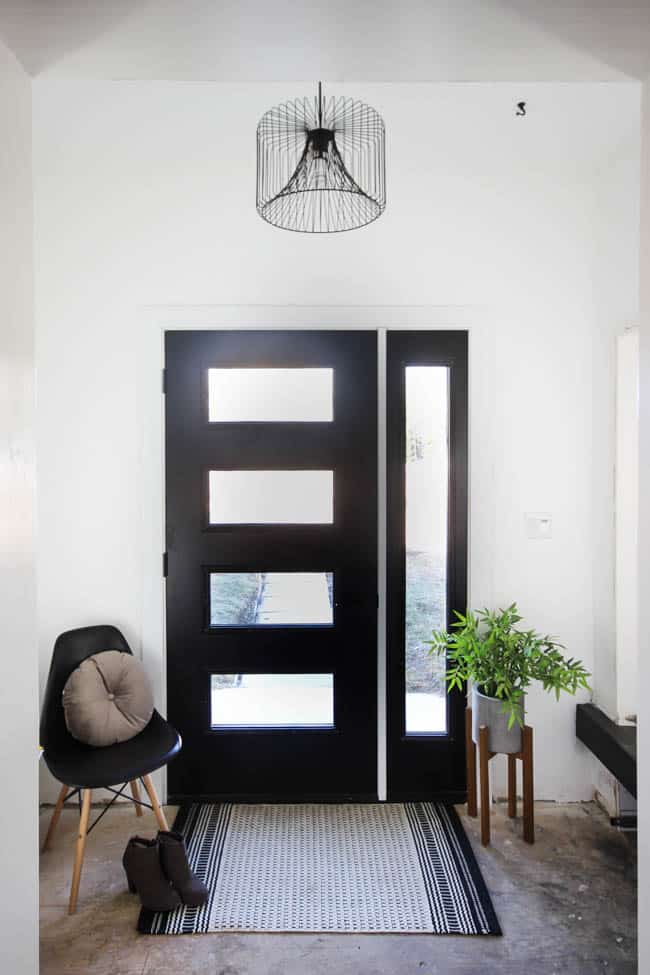
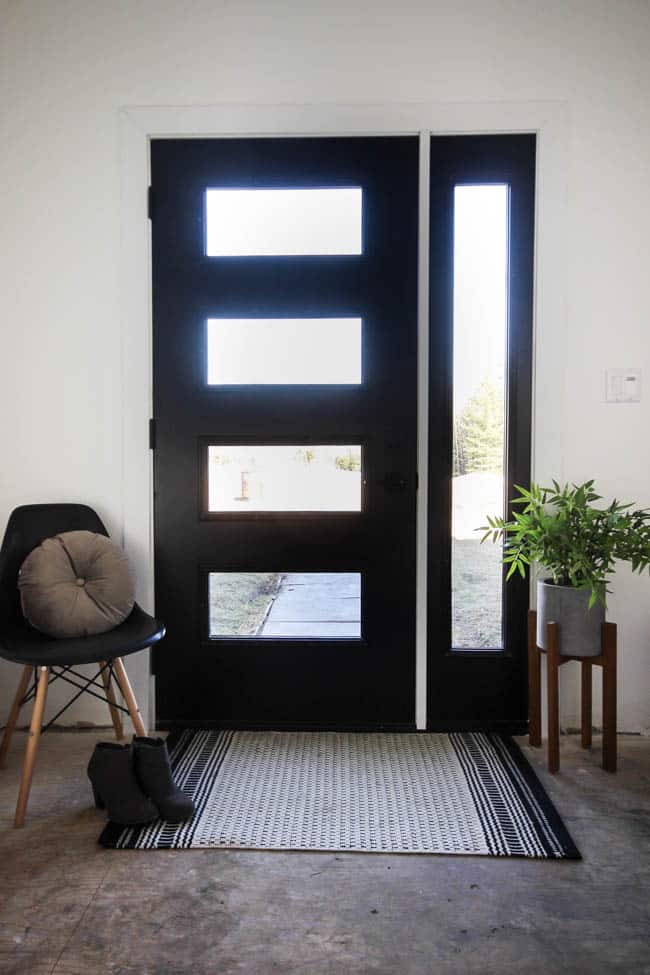
Even though there is a huge selection of doors to check out online, you really have to go into the store to get a full picture of the customized doors that are offered.
Since I’m an obsessive list maker, here’s how our list looks now that we’re done replacing the front door:
Demo the space- Tile the floor
Tile the benchBuild new shelving for storageBuild new drawers for storage- Design feature wall
- Build wood feature wall
- Paint
Remove old doorInstall new doorBuy a smart lock setBuy some decor (i.e. baskets, rug, etc).Order planters and faux or real plants- Install new modern moulding
Tiling a floor, building a feature wall, and doing some styling all in the last week. Shouldn’t be that bad… right?! lol.
Catch up on previous weeks:
Week 1 // Week 2 // Week 3 // Week 4 // Week 5

The entry isn’t completely done yet, but we can see the finish line, and we’re excited to show off the entire finished space next week!
Find more great One Room Challenge design plans on the One Room Challenge site, or at Calling it Home!

William
Friday 15th of February 2019
Great article.
Replacing the door turned out to be not as easy as I expected in the beginning :)
Karen Ching
Sunday 12th of August 2018
That black door looks sooo much better than your last one! The color black really gives off the elegance vibe that's why I love it so much. Can't wait to change all of our doors to black too :) Thanks for sharing how it's done! Love lots, xoxo
ninjaDIY
Thursday 28th of June 2018
Hey Lindi,
The door is beautiful and the entrance I can see it will look beautiful once everything is done!
I've installed a new door to my apartment as well but in my case, I went for an armored door :) ... since it's a property that I own but I only rent it in the summertime ... and I want a bit of protection.
The instructions are very helpful for the reader ... if your readers want to DIY this project ... make sure you don't do what I did, even if the door that you've installed it doesn't look as heavy as an armored one ... HAVE SOMEONE TO HELP YOU OUT :)
Thanks for sharing this project with us Lindi...good luck on your next ones!
Adrian
Lindivs
Thursday 28th of June 2018
Yes! So true! A second set of hands is necessary for a project like this! Thanks for your comments on the door :)
Filip
Wednesday 6th of June 2018
The new door looks so much better than the old one. Great job. Plus brown doors/windows is a bit outdated I think.
James N. Landry
Monday 28th of May 2018
This is a marvelous door. Your new door is looking so pretty. Before I think, The door change is tough, but it was not difficult to understand your writing. It's very helpful tips, and this is a great post. Thanks for sharing!