
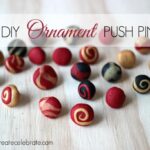
Easy DIY Push Pin Ornaments! Read this tutorial to create your own adorable push pins to match your Christmas decor!
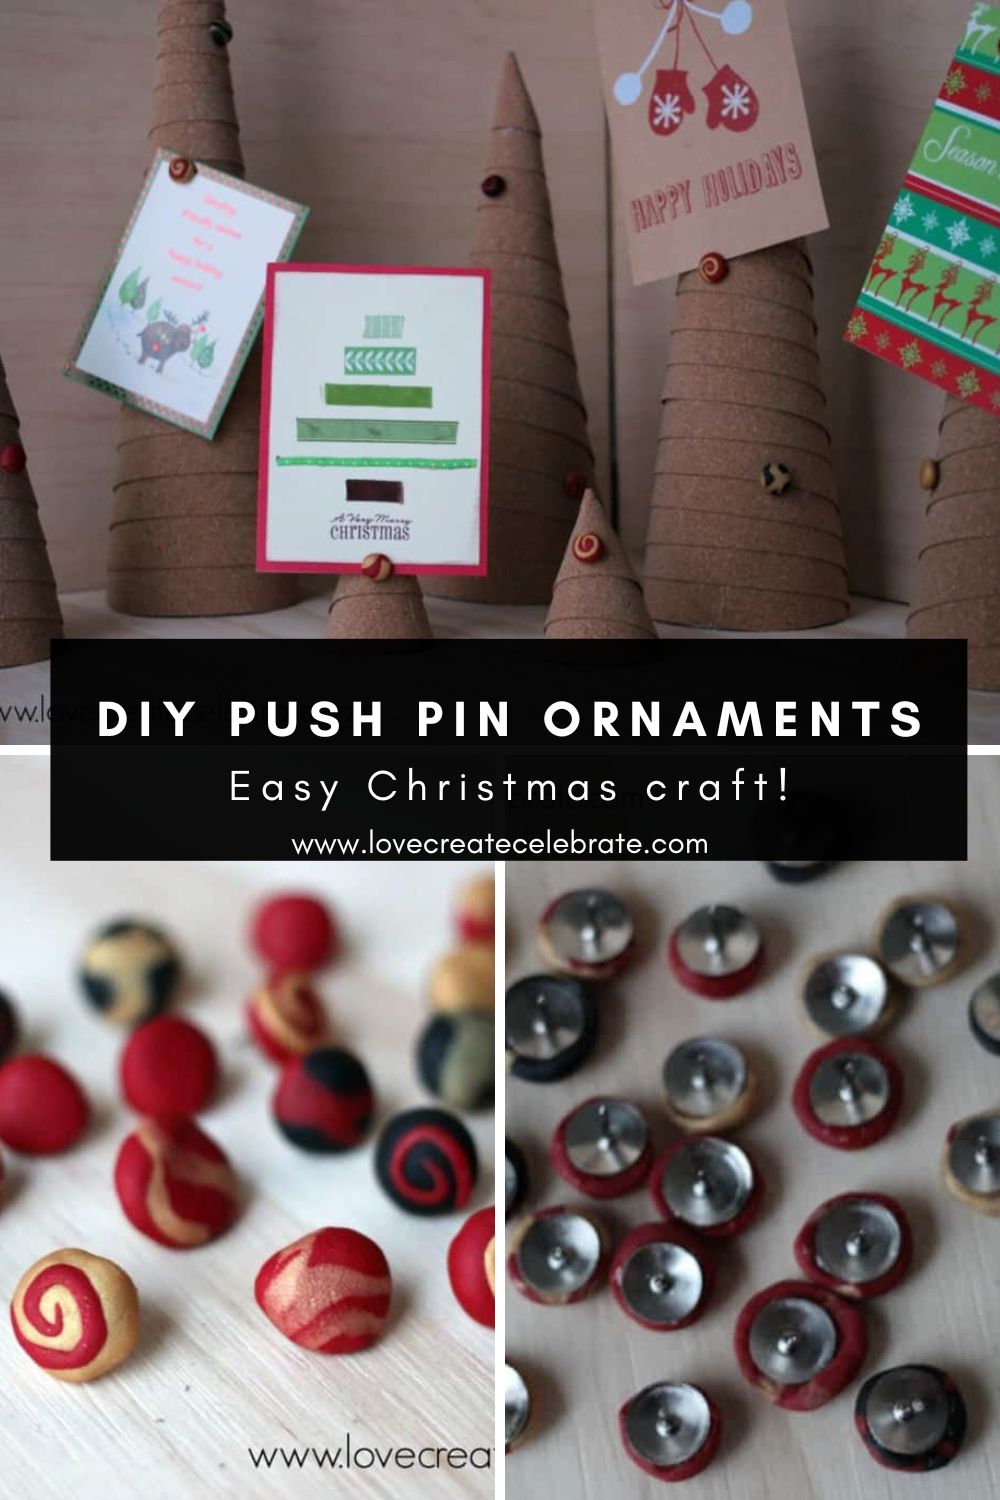
As a self-proclaimed DIYer, a lot of my “brilliant” ideas come from solving my own problems. Baby is getting filthy during her meal? Sew a better bib! Don’t have any artwork for the bedroom? Design my own canvas! Don’t have any push pins that match your Christmas decor? Make some push pin ornaments!
It may sound ridiculous to re-do my own push pins, but the project I had in mind needed some colourful thumb tacks, and the ones you can buy at the store simply do NOT match my holiday decor – yep, I’m talking to you bulky, bright and colourful push pins! So I set to work making some red and gold ornament push pins :)
*This post may contain affiliate links. When you buy a product through one of our links, we get a commission at no cost to you! Thank you for supporting our blog so that we can continue to bring you posts like these. For more information, please see our disclosure page.*
How to Make Your DIY Push Pin Ornaments
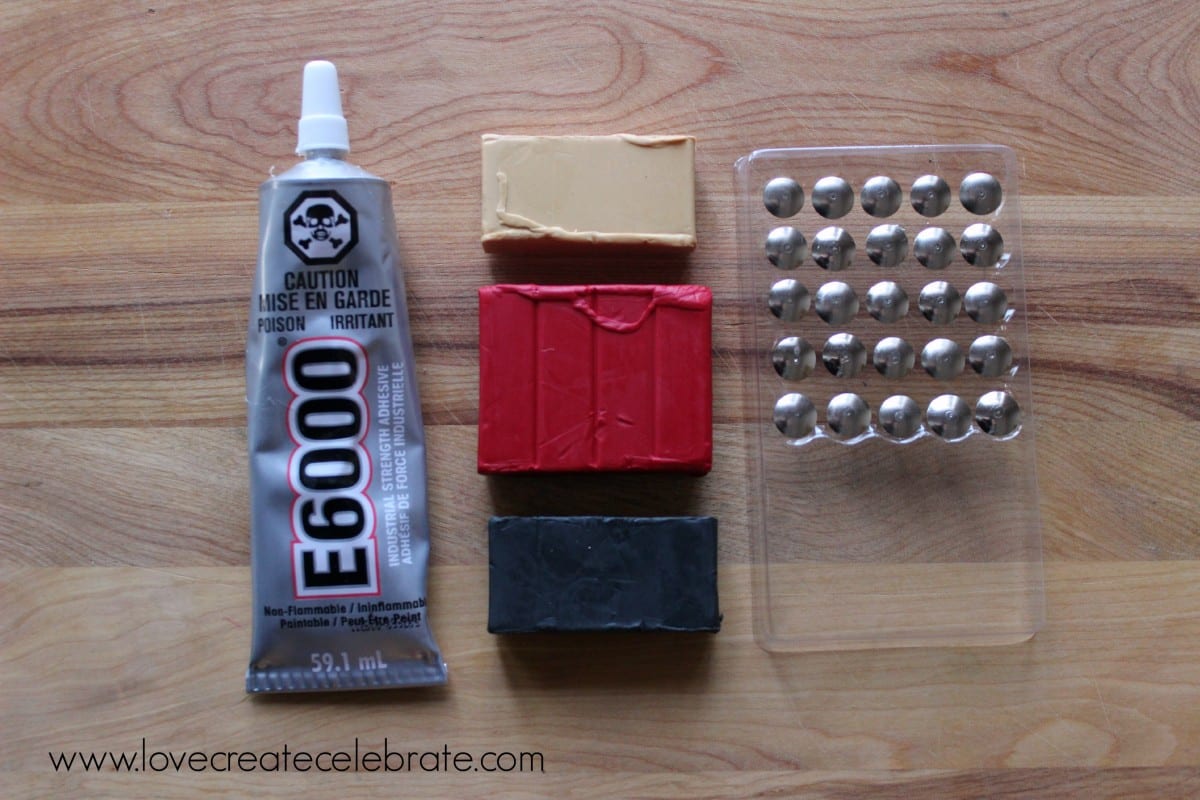
Materials Needed
- Flat Push Pins or Thumb Tacks
- Sculpey (I used red, gold, and black)
- E6000 Craft Glue
Step-By-Step Tutorial for Your DIY Push Pin Ornaments
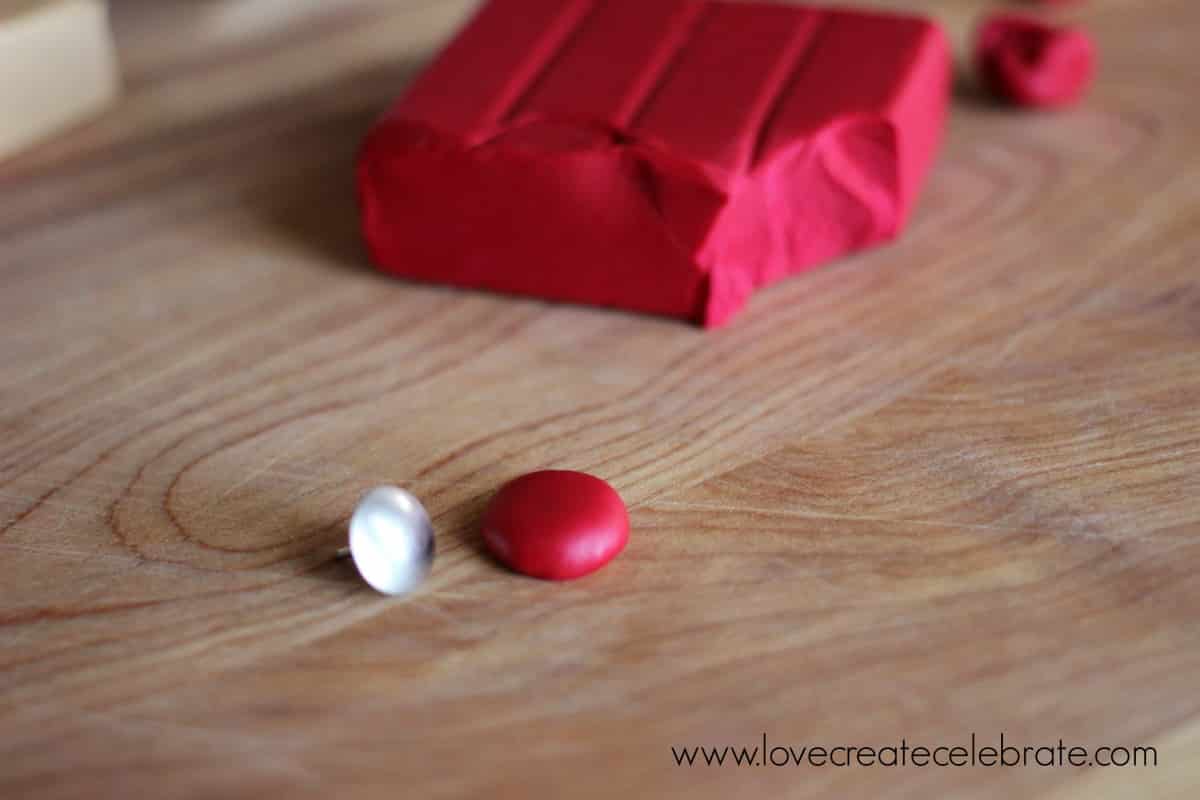
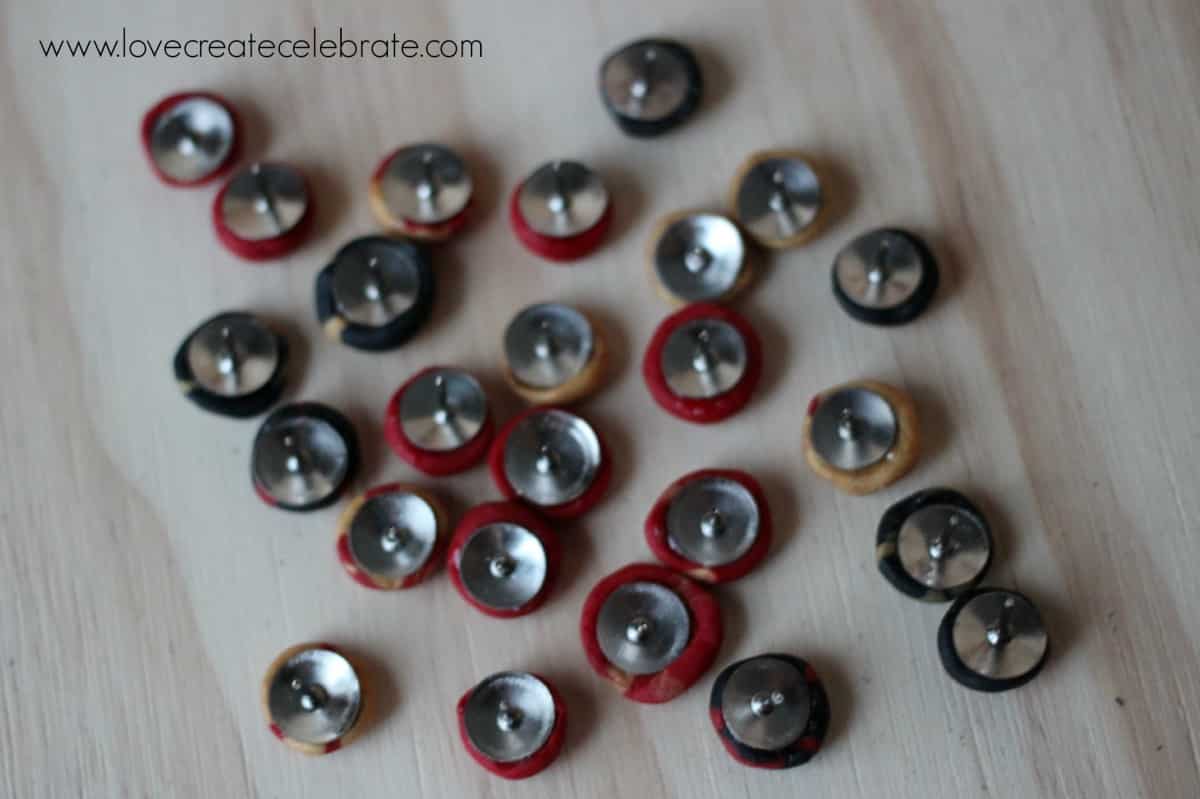
I chose a base colour to begin, then, using my fingers, I shaped a small amount of the base colour into a ball that would fit on top of the push pin. I actually stuck it on top of one of the tacks to mold it slightly as well.
[note: I didn’t do this, but I would recommend shaping the Sculpey onto the tack, and making sure the bottom surface area is wider than the tack because the Sculpey will shrink into itself a bit once cooked]
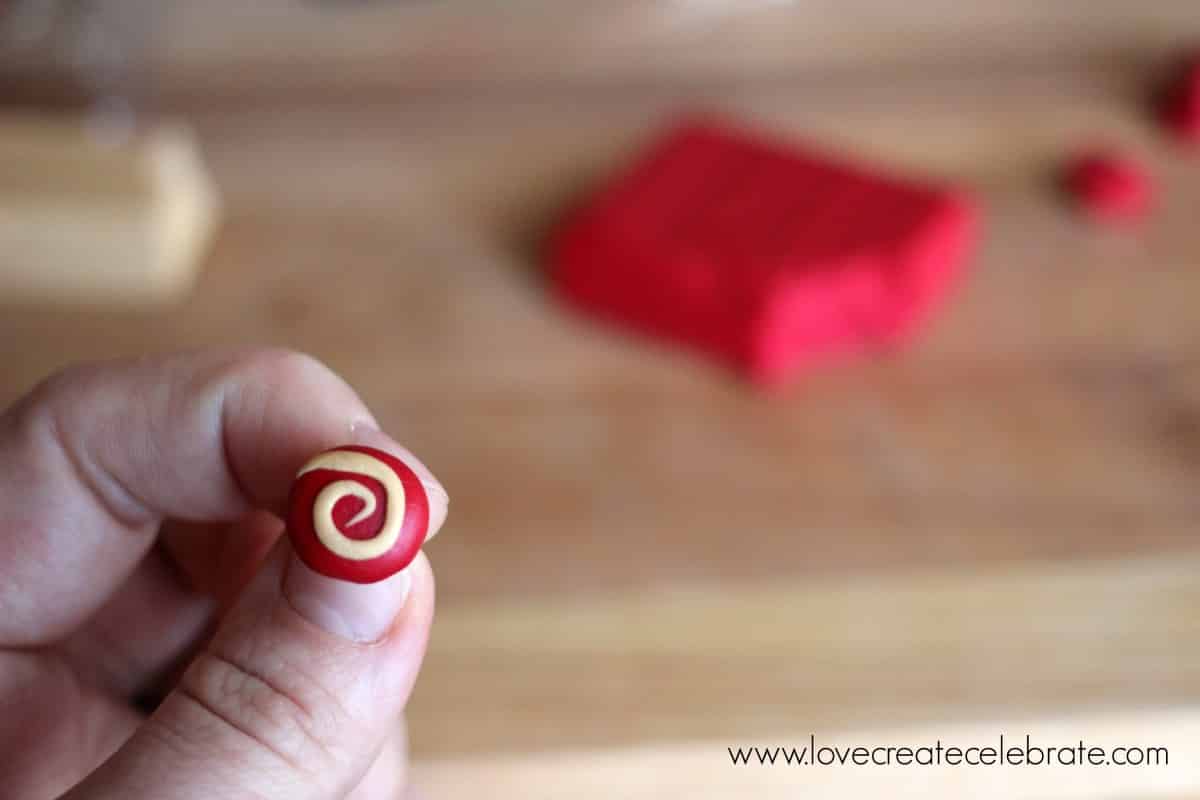
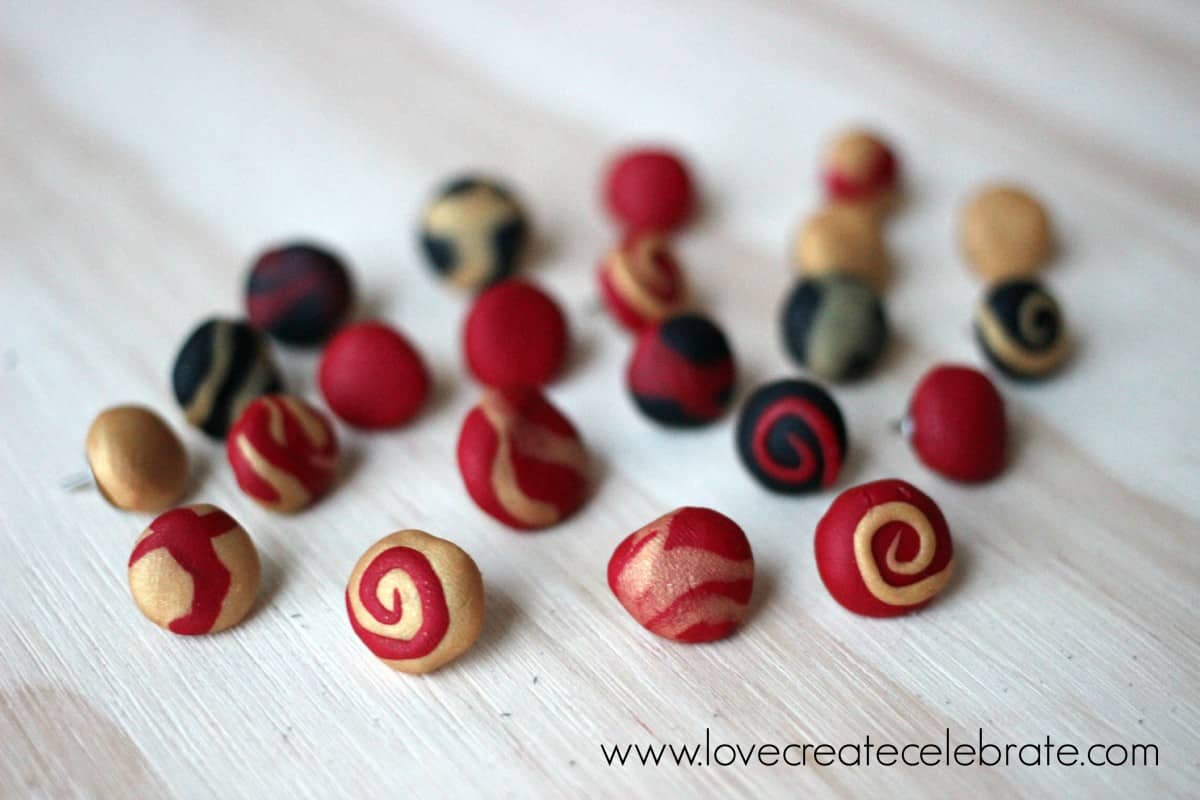
Then you take the other colours, and add colour or character to as many of the push pins as you like!
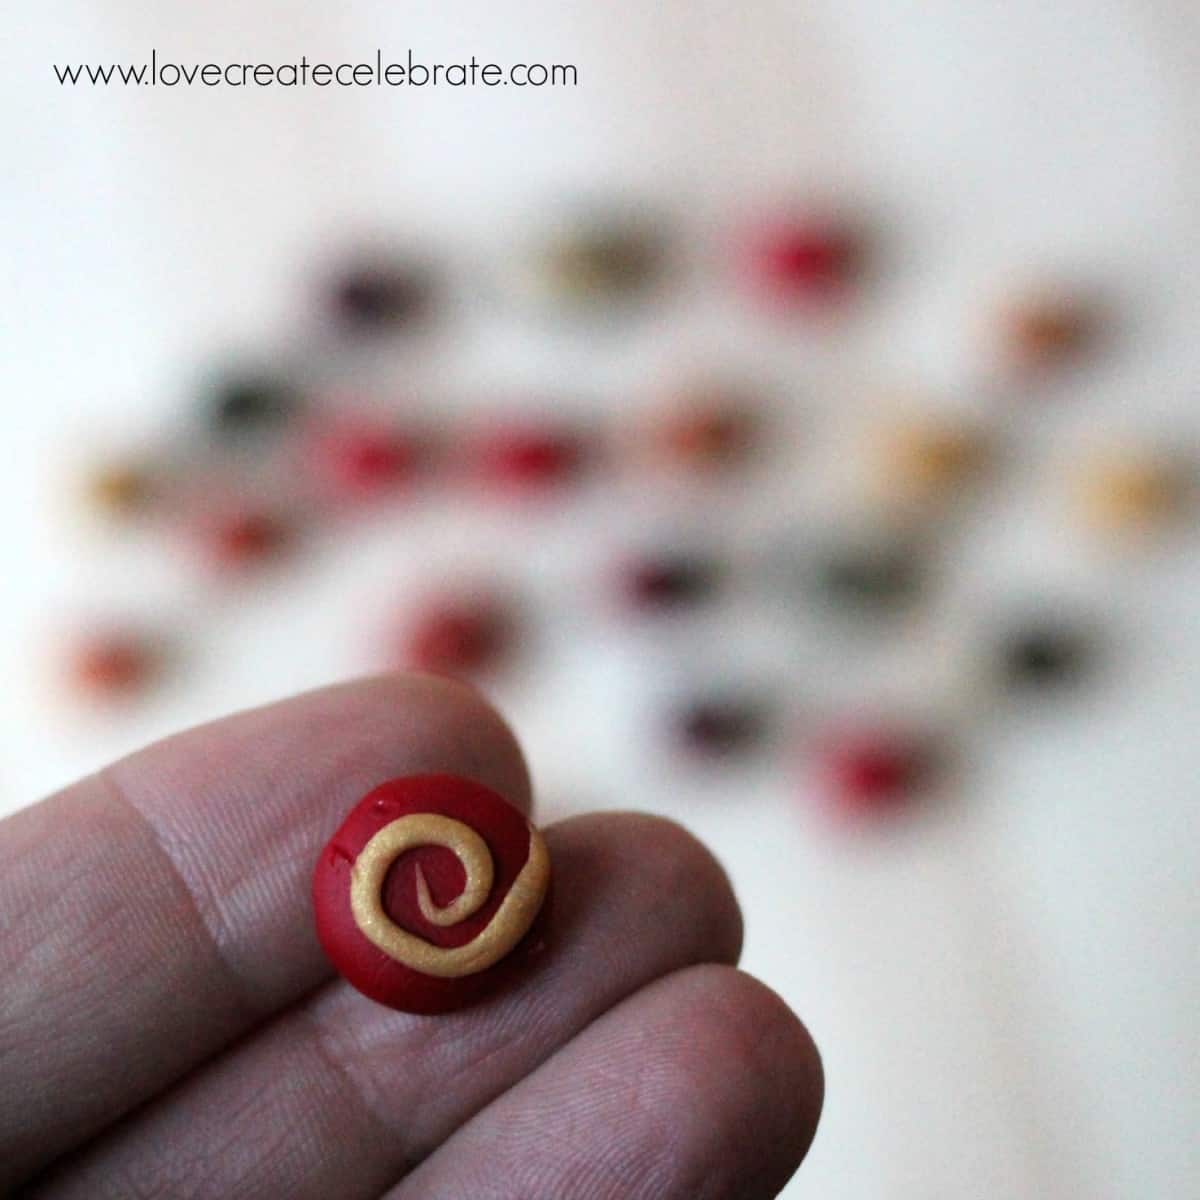
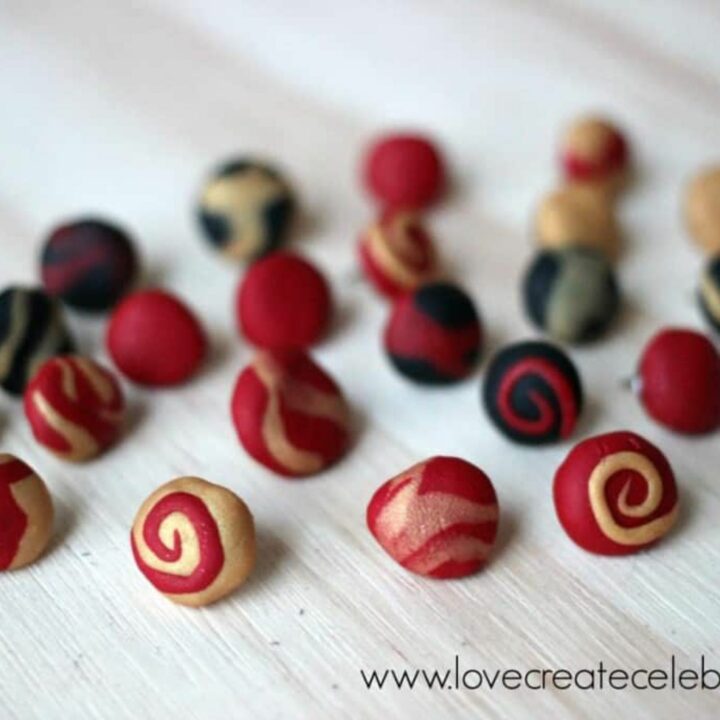
I added swirls by rolling a very thin piece of Sculpey and placing it on top carefully. I also made several marble ones. For those, I put a few random pieces of a second colour on top and massaged the clay until the colours were embedded together.
When they come out of the oven, let them cool (doesn’t take long!), and then use the E6000 to glue them to the thumb tacks. I recommend using something to apply the glue, because it can be VERY sticky on your hands!
Once you are done all of your designs, bake the pieces according to the instructions on the package :)
Then when you are done, you will have an adorable supply of ornament push pins!
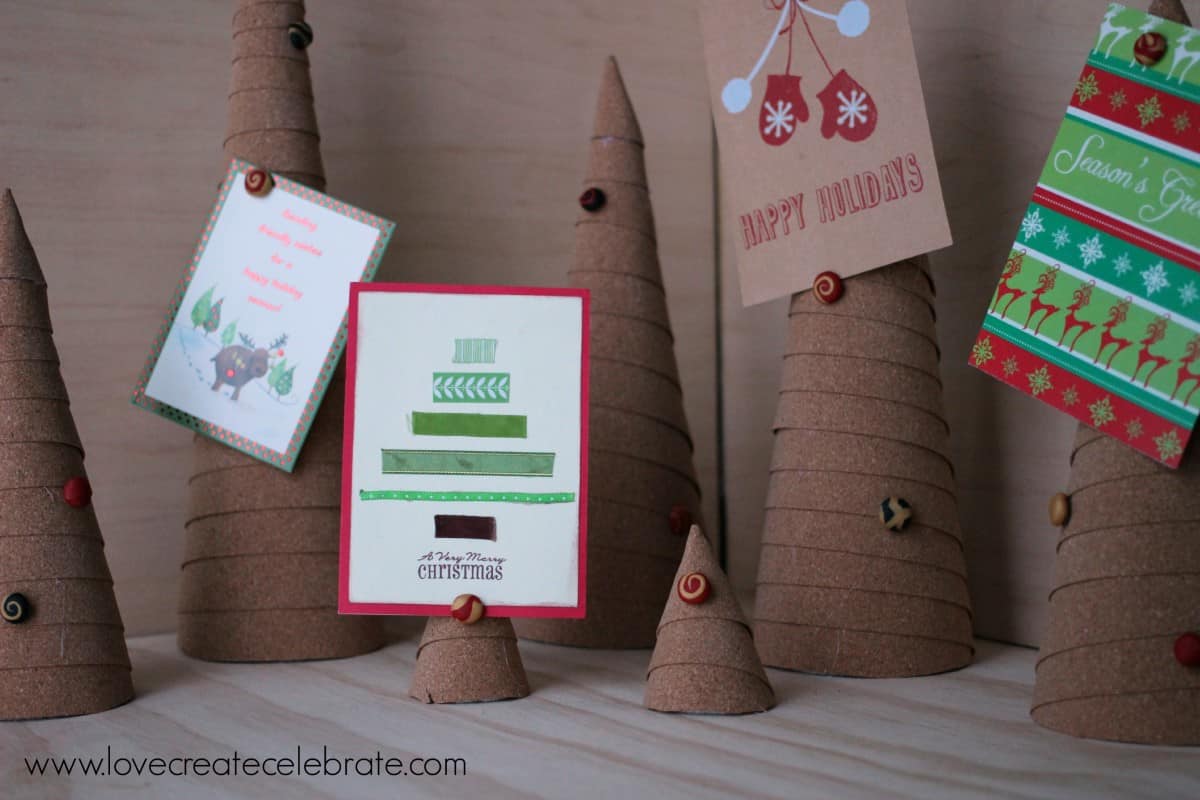
Here’s a sneak peak at how I’ll be using these handy dandy push pins tomorrow!
More Holiday Season DIYs
Don’t forget to subscribe to our YouTube channel for more great holiday season DIYs!
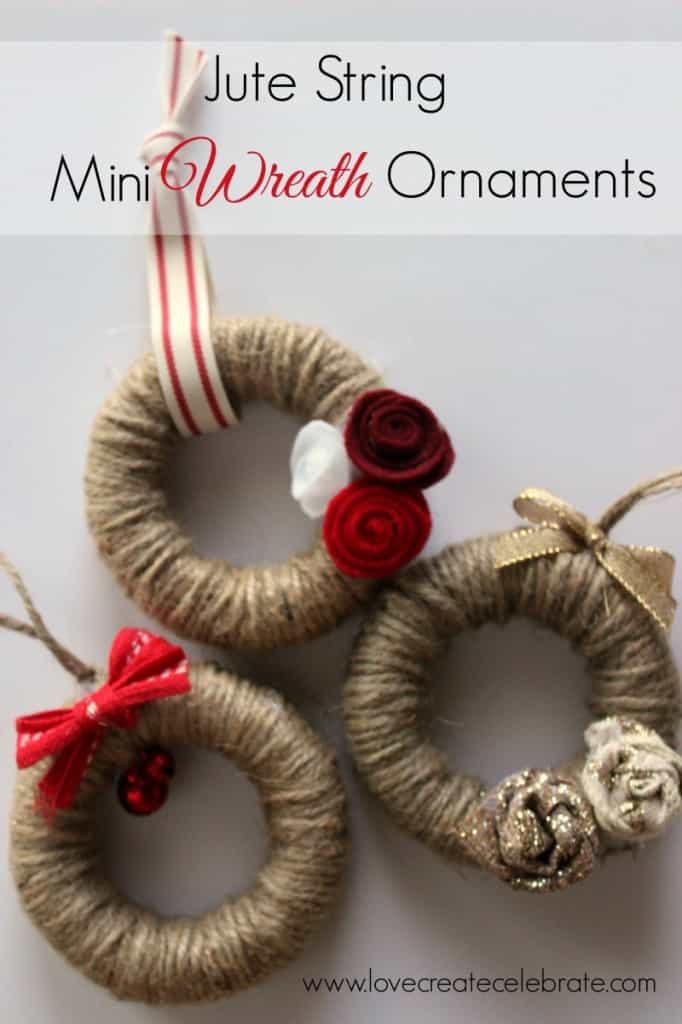
For more Christmas inspiration, check out these Jute String Mini Wreath Ornaments!
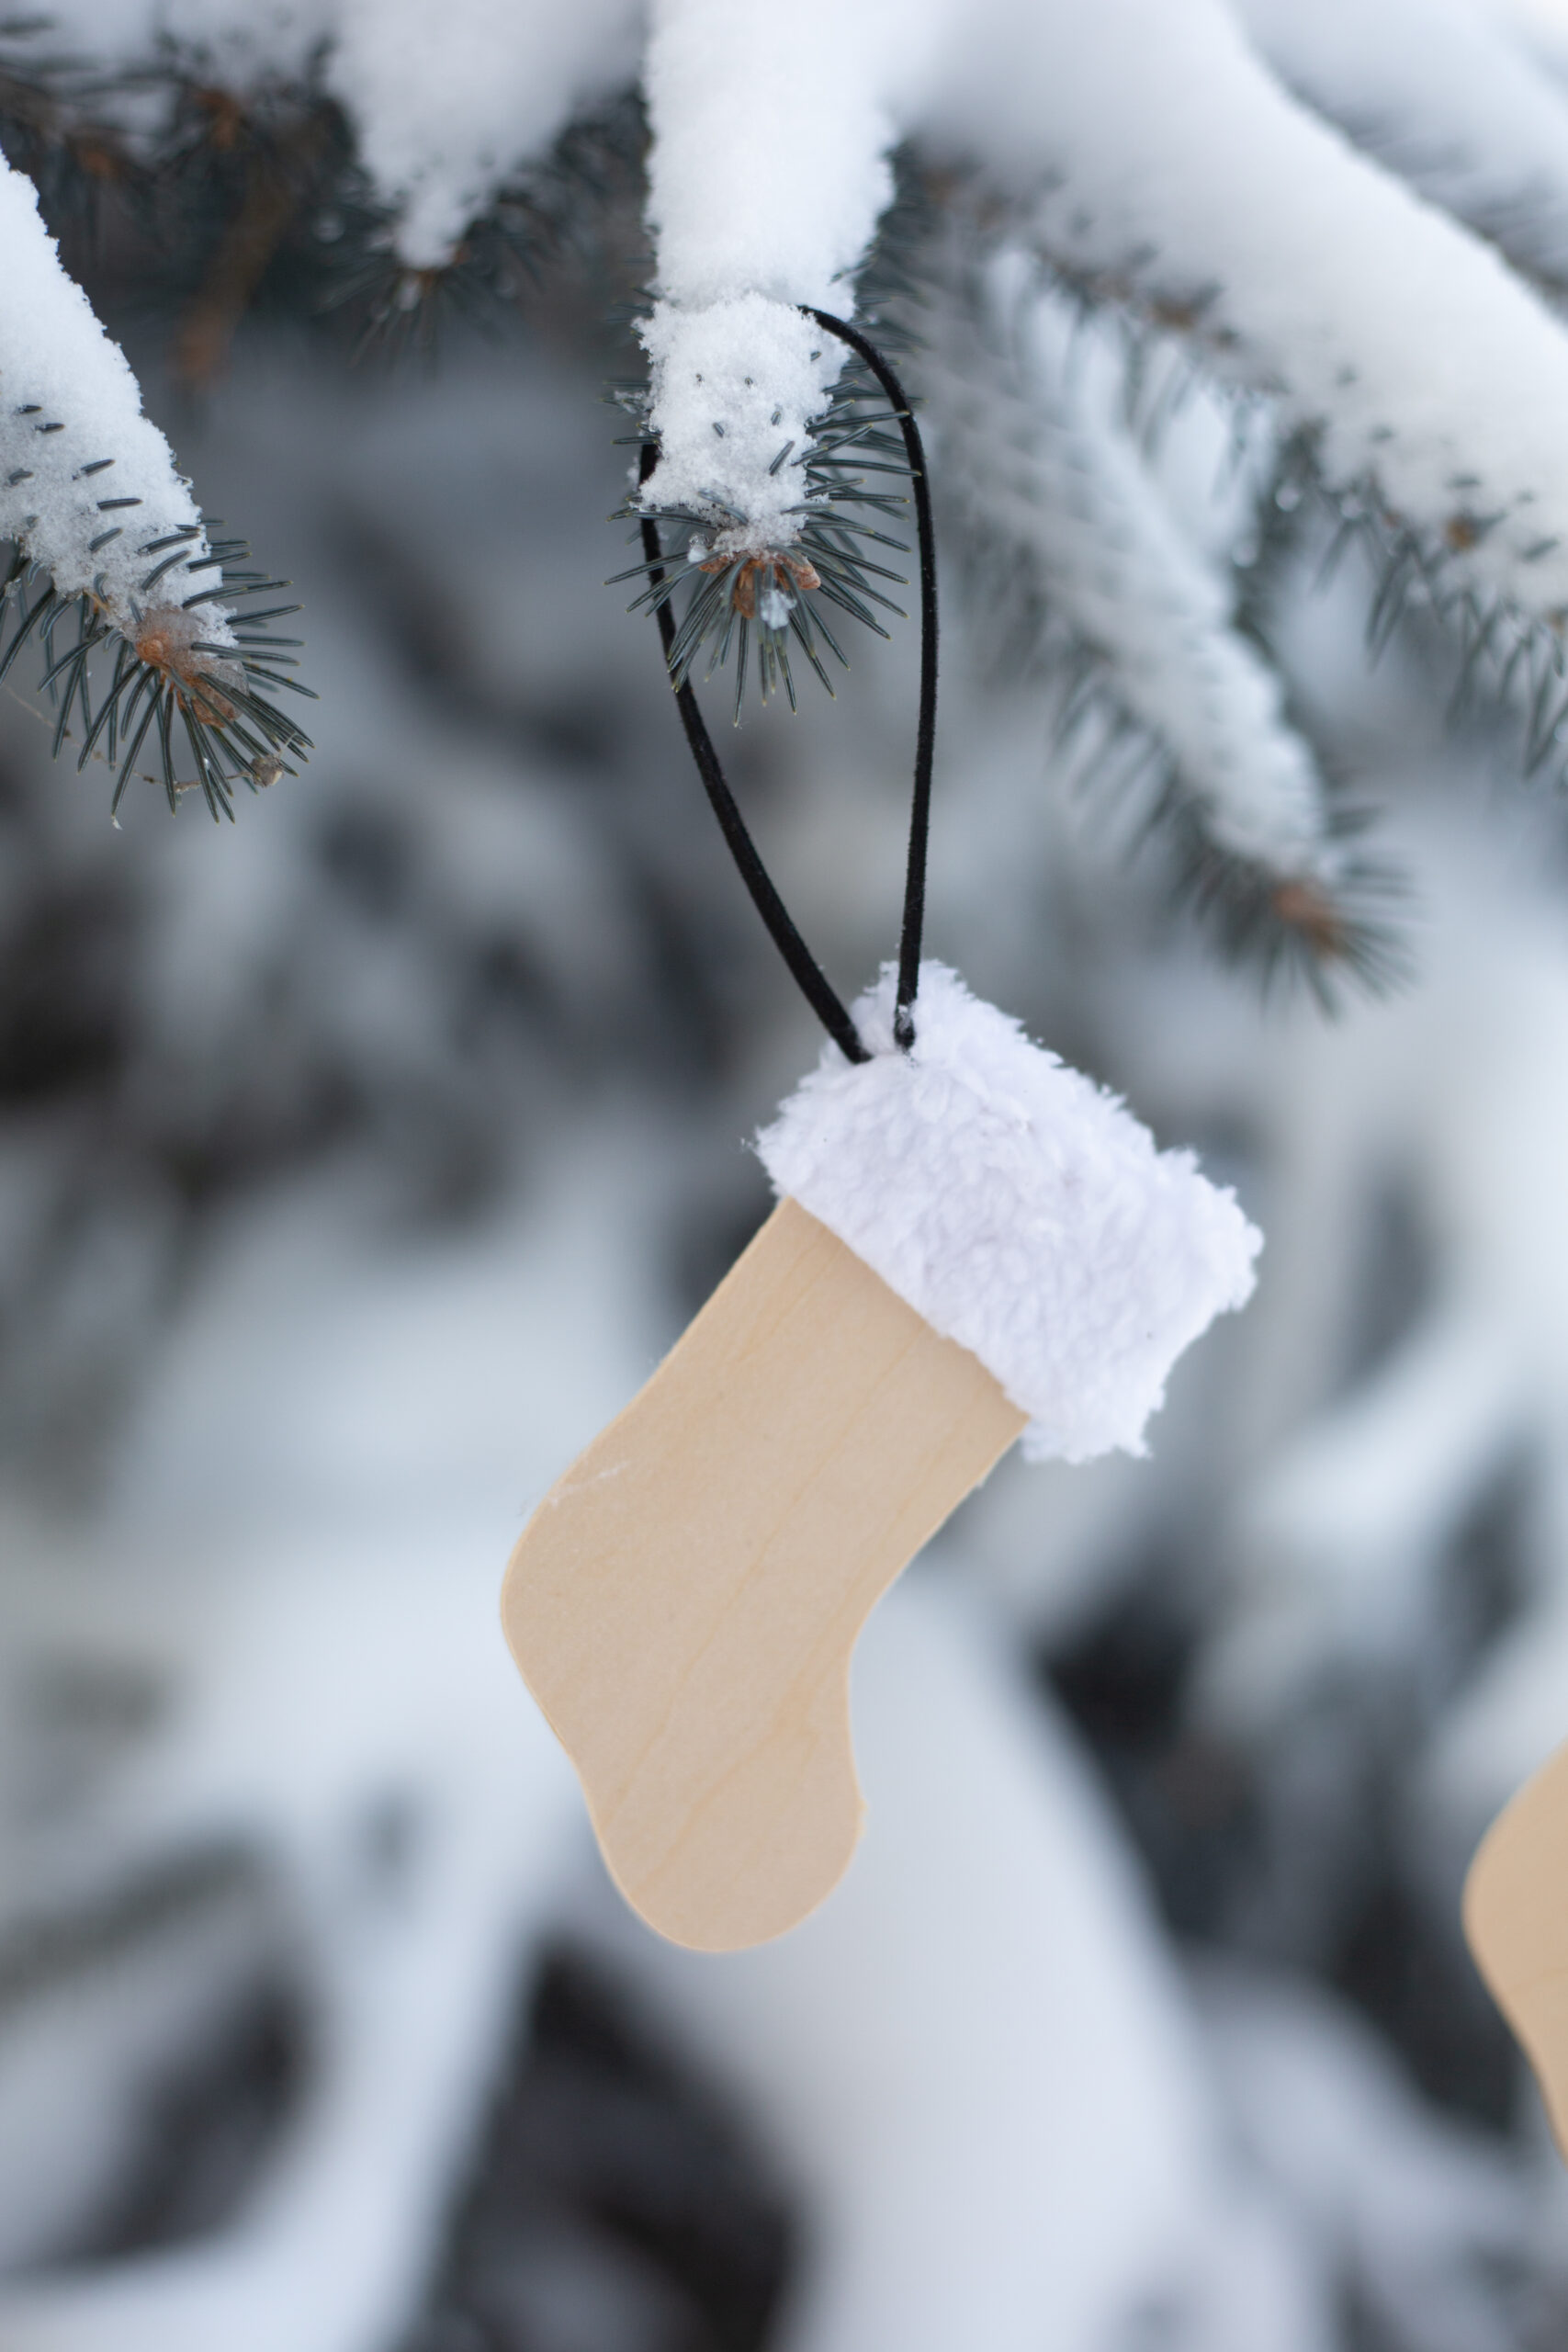
Or check out this easy DIY Stocking Ornament!
DIY Push Pin Ornaments
Easy DIY Push Pin Ornaments! Read this tutorial to create your own adorable push pins to match your Christmas decor!
Materials
- Flat push pins or thumb tacks
- Sculpey (red, gold and black - see blog post)
- Craft glue
Instructions
- Choose a base colour for your push pin ornament
- Use your finger to shape a small amount of the base colour into a ball that would fit on top of the push pin
- Stick it on top of one of the tacks to mold it slightly as well
- Take the other colours, and add colour or character to as many of the push pins as you like
- Once you are done all of your designs, bake the pieces according to the instructions on the Sculpey package
- When push pin ornaments come out of the oven, let them cool
- Now glue them to the thumb tacks and you’re done!

Courtney
Saturday 6th of December 2014
Cute! I might have to try making these with Claire someday. They probably won't be Christmassy though.