
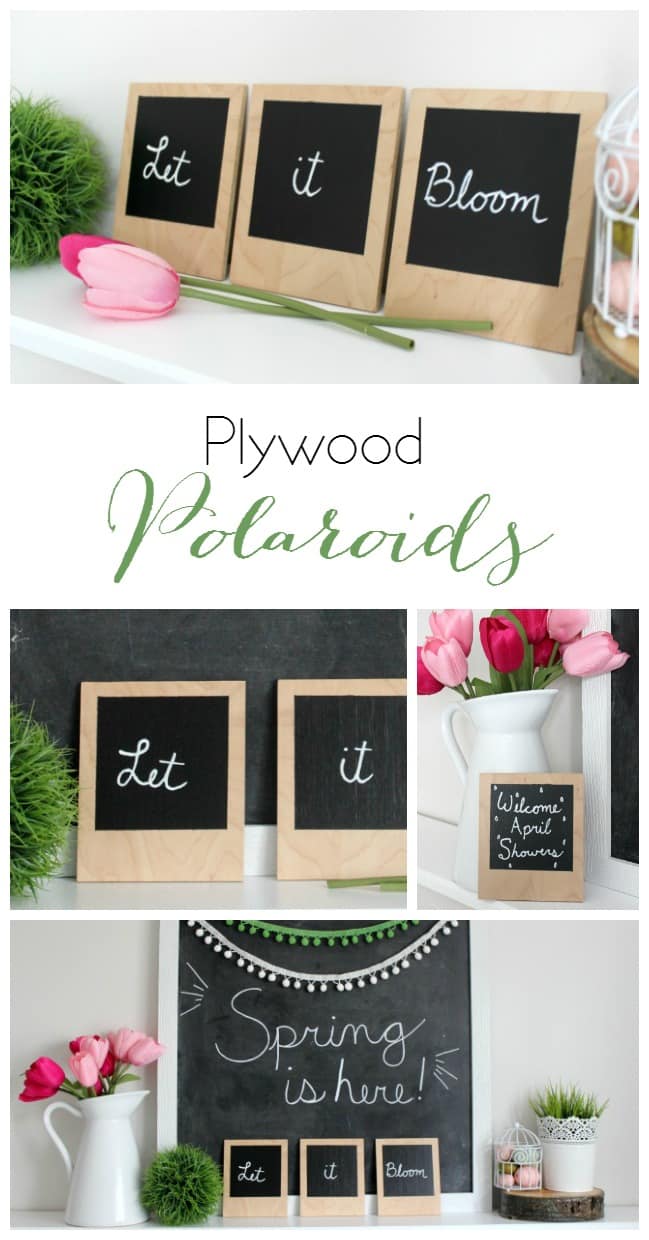
How adorable are these simple Plywood Polaroids?! Last month for the Create with Me challenge, I asked YOU to vote on which material I should DIY with this month, and you chose Chalkboard Paint [Come back Monday to link up all of YOUR chalkboard paint projects!]. When you chose that I had absolutely NO idea what I was going to make. No ideas. Until one afternoon was I was dreaming of owning an Instax camera to add polaroids to my decor and a light bulb went off! Come see how easy it is to make these simple Plywood Poloaroids!
*This post may contain affiliate links. Thank you for supporting Love Create Celebrate. for more information, please read my disclosure policy.*
Materials:
Plywood (5″ x 7″/polaroid)
Chalkboard paint
Painters Tape
Chalk or chalk pen
Tools:
Tape measure
Circular saw
Sander
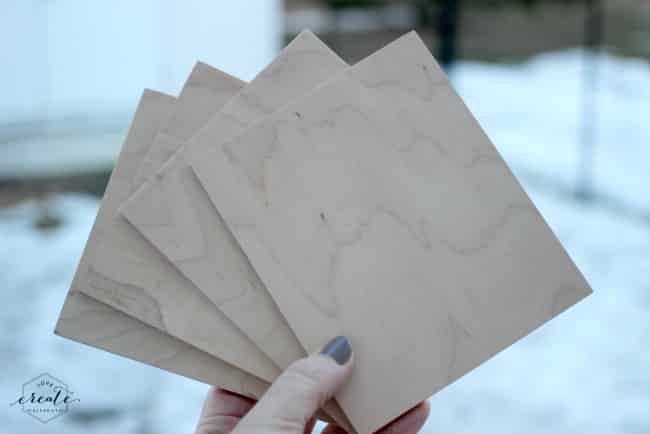
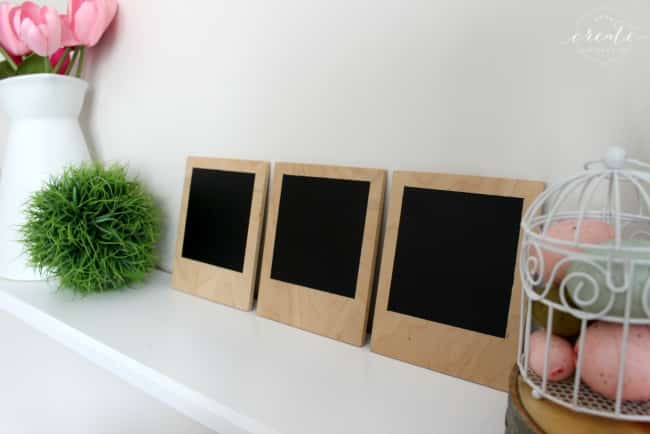
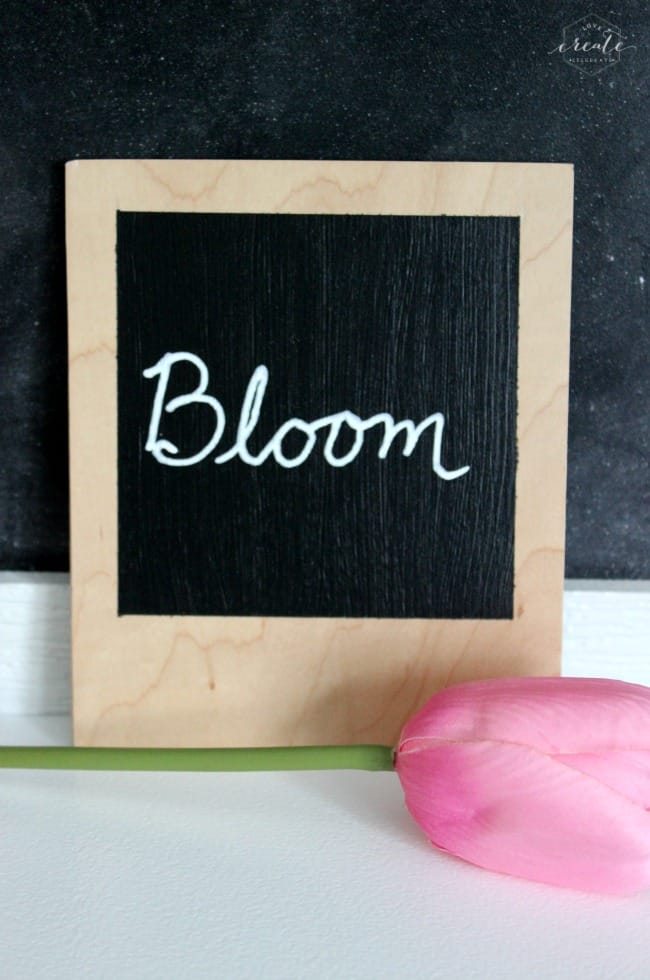
To start, cut your plywood into 5″ by 7″ rectangles. I made them this size because I wanted the chalkboard part to be 4″ x 4″ when it was done (the same as an instagram pic!), and this gave me a nice buffer. I used a plywood with a maple veneer, just because I like the look :)
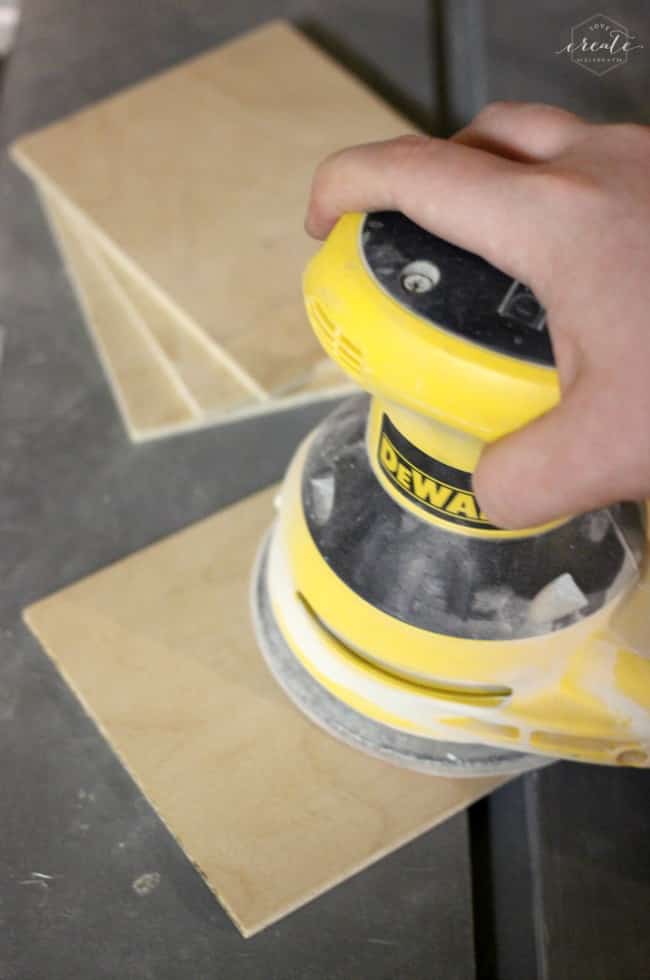
Now, sand down all of your pieces so that they are smooth everywhere. I knew my 2 year old would want to play with these (which she has!) so I made sure that there were no sharp edges.
I don’t have a picture of the next step, but you want to cover all sides of the plywood with varnish. This will protect them, and allow you to easily wash the Polaroids off with water. Next, you want to measure a 1/2″ from the right, left, and top of the plywood piece. You can mark these spots with a pencil, right on your plywood (the paint will cover it!). Also, measure 1 1/2″ from the bottom. Add painters tape all around the outside of your markings. You should be left with a 4″ x 4″ open square in the middle of your painters tape. Paint that in with chalkboard paint (two coats). Now you’re done!
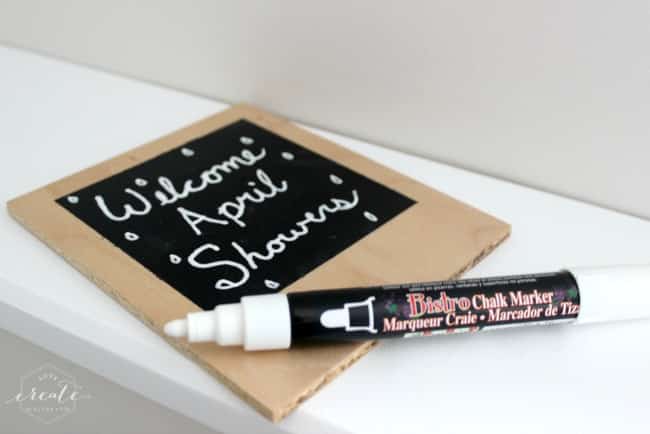
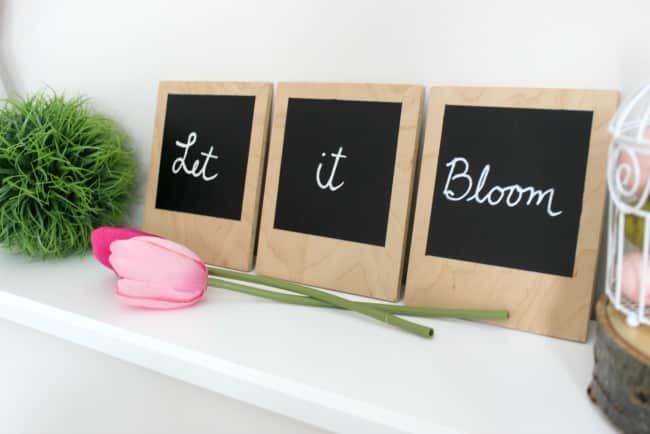
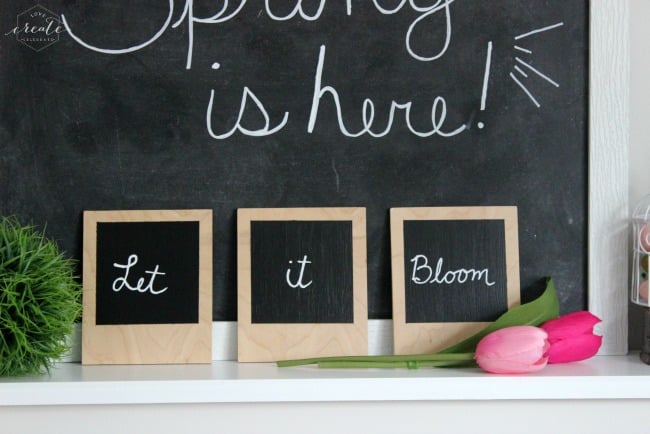
Grab some chalk, or a chalk marker, and draw away!
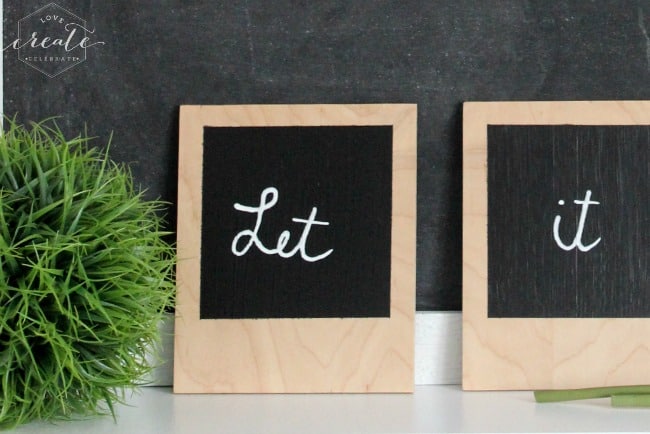
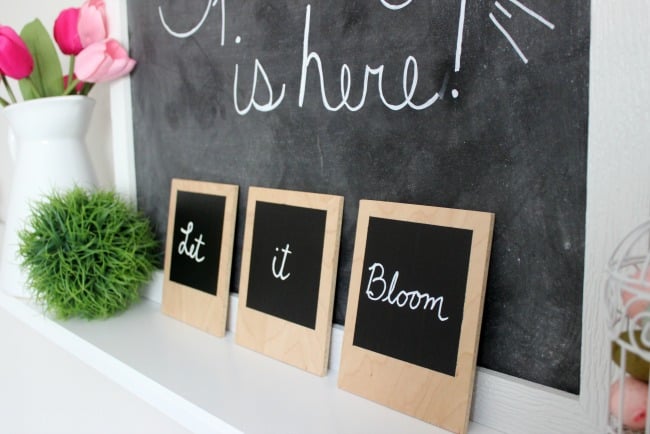
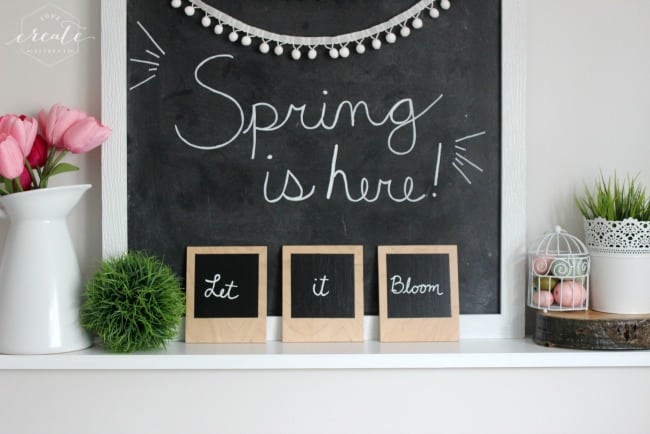
I LOVE them so much. I honestly didn’t know how they would turn out (I’ve had a few DIY flops here and there!), but I really love them. I can see myself pulling these out every season and decorating every mantle with them.
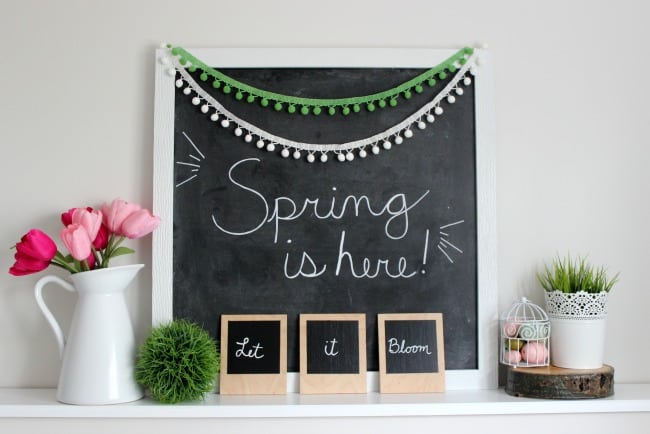
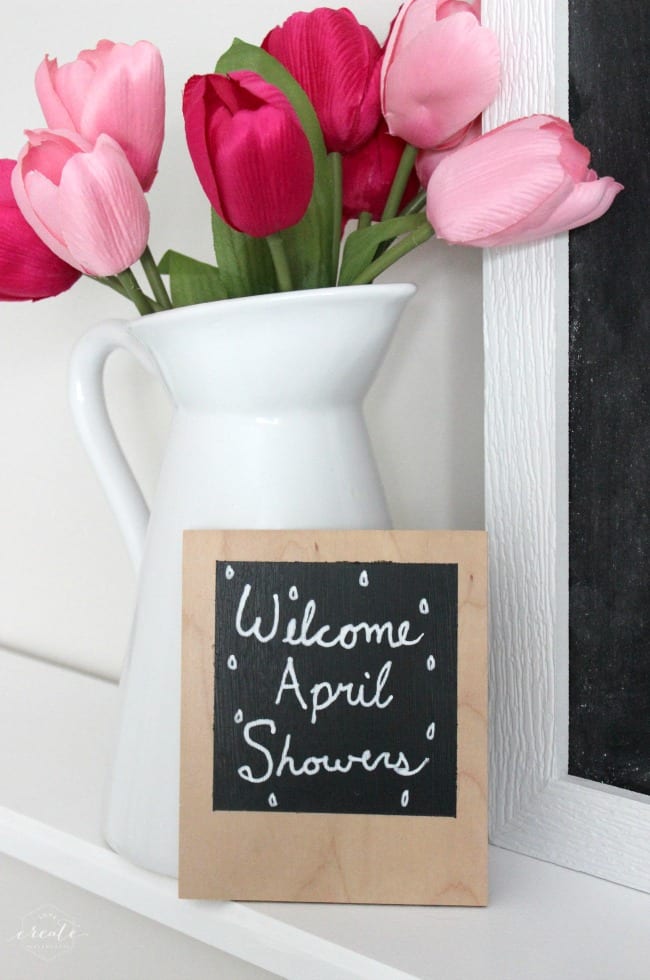
They added a whole new texture and depth to my Spring mantle.
Don’t forget to come back Monday to link up your chalkboard paint projects! EVERYTHING gets pinned!

The Wednesday Showcase #43 | I Say Nomato
Monday 8th of August 2016
[…] Plywood Polaroids from Love Create Celebrate […]
The Wednesday Showcase #43 - Flowers in My Hair
Tuesday 12th of April 2016
[…] Plywood Polaroids from Love Create Celebrate […]
The Wednesday Showcase #43 - Everday Made Fresh
Tuesday 12th of April 2016
[…] Plywood Polaroids from Love Create Celebrate […]
The Wednesday Showcase April 12, 2016
Tuesday 12th of April 2016
[…] Plywood Polaroids from Love Create Celebrate […]
Linda at Mixed Kreations
Monday 11th of April 2016
What a cute idea! I love chalkboards. Your Polaroid would be a fun and easy project, and they look really cute on your spring mantel with your large chalkboard. Thanks for sharing!