Affordable DIY Plywood Floating Shelves! Perfect for bathrooms, living rooms, reading nooks, or between cabinets!
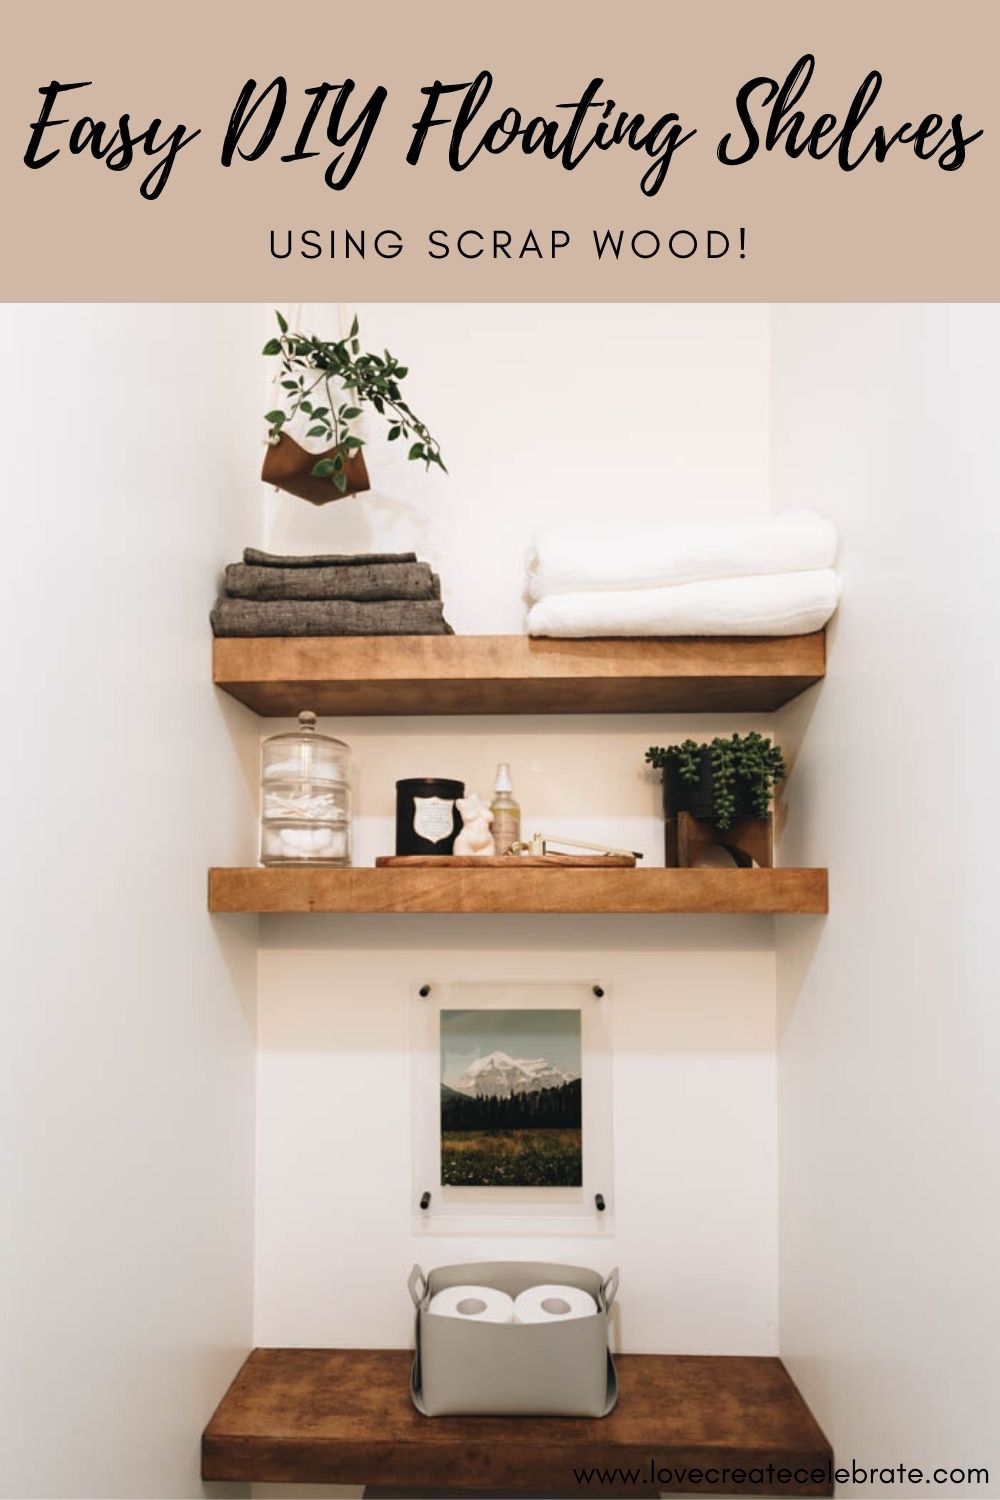
Custom, built-in floating shelves always look amazing! If you’ve never made your own floating shelves, there’s a few steps involved, but it’s easy to do, and absolutely worth the effort! This project centers around the plywood floating shelves that we did in our bathroom between two walls, but is perfect for between cabinets too, and for kitchens, offices, or any space in the home!
*This post may contain affiliate links. When you buy a product through one of our links, we get a commission at no cost to you! Thank you for supporting our blog so that we can continue to bring you posts like these. For more information, please see our disclosure page.*
How to Make Your DIY Floating Shelves
Materials Needed
Tools Needed
- Measuring tape
- Mitre saw
- Table Saw
- Digital angle gauge
- Sander
- Stud finder
- Drill
Step-by-step Tutorial for Plywood Floating Shelves
This is where we were in our bathroom renovation before we started building our floating shelves. We had the drywall on all three walls of that nook and we were able to take measurements both at the wall and about 10 inches out (the depth of our shelves) so that we knew how much space we had to work with.
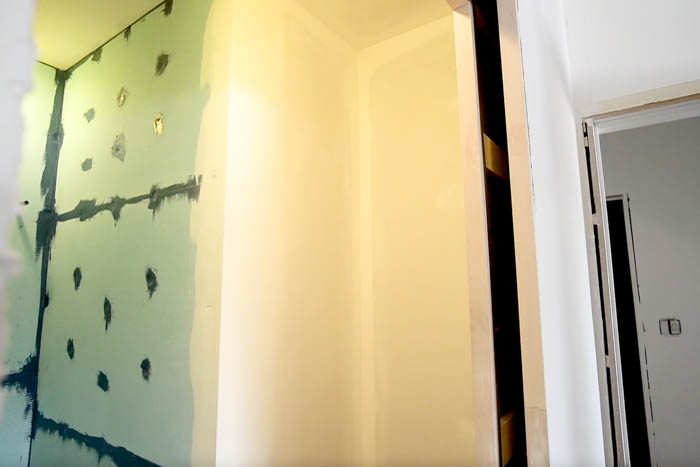
We took that measurement of the approximate length that our shelves would be, and then added a couple inches to it so that we’d have a little bit of extra space to work with on both sides of the shelf.
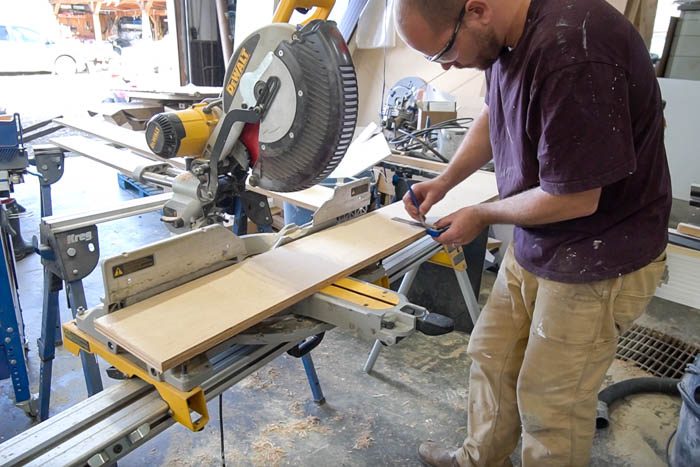
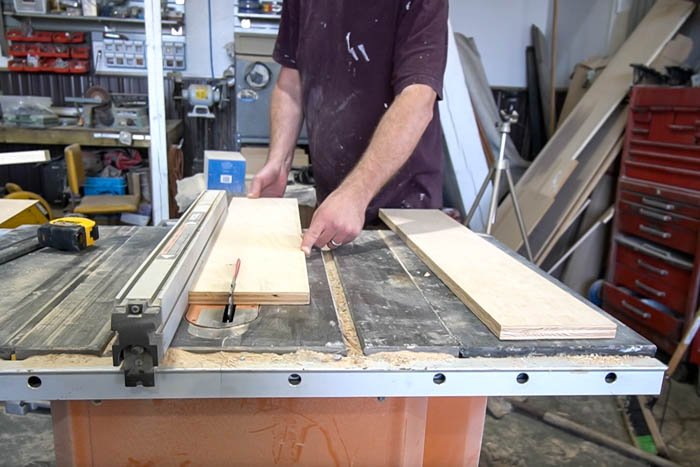
We’re cutting our shelves out of three quarter inch plywood and we knew that we wanted the shelves to be eight inches deep so we cut that measurement first and then cut the boards to length.
In total we were planning for our shelves to be about 30 inches wide and we added a couple of inches to that and cut them at about 34 inches each. We did this so that we would be able to cut them exactly to the custom size afterwards (e.g. if the walls aren’t perfectly square).
Then we cut nine of those 34-inch boards because we needed one board for the top, one for the front, and one for the bottom of each shelf and we’re making three shelves.
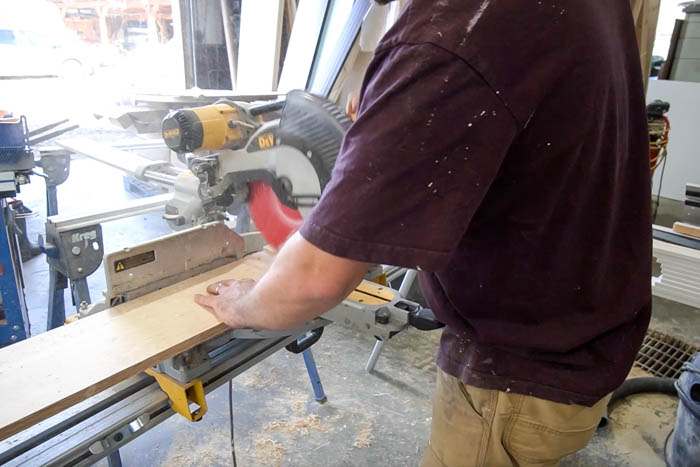
Next, we had to cut three of those boards down to the correct width for the front board of our shelves. This width is very important because it’s what makes your shelves look really custom.
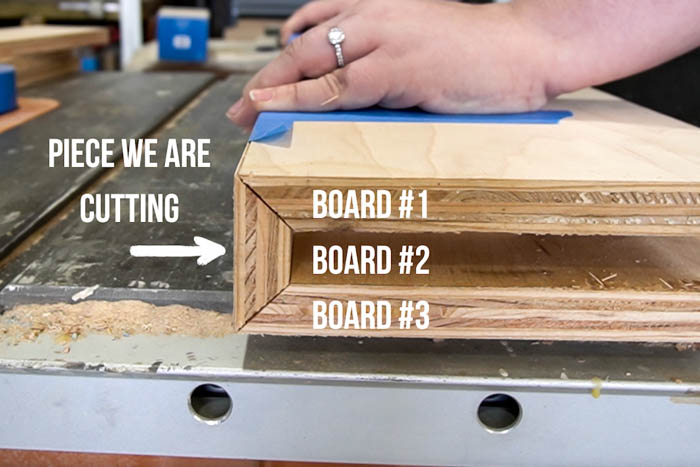
What we did is cut ours to the same width as three of the plywood boards stacked together. One being the top piece, one being the bottom piece and the other board being the piece that will be sitting on the wall that you will slide into.
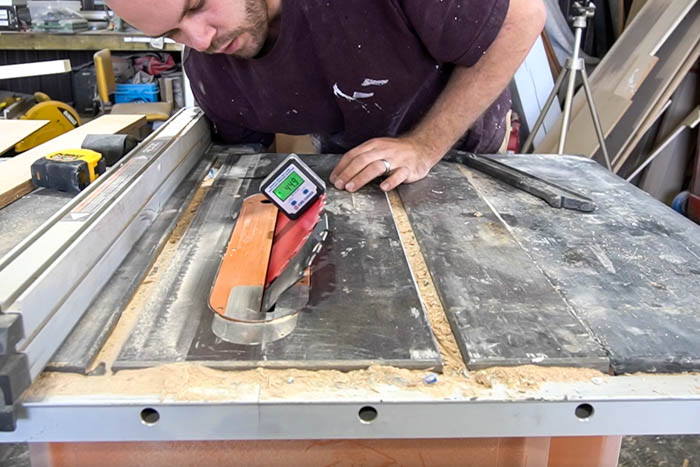
Next, we have to cut our miters on the edges of all of these boards. Since we want a really perfect 45 degrees, we’re using our digital angle gauge and we just zeroed it on the table and then attached into the side of the saw so that we can see exactly when it gets to 45 degrees.
Once we have the right angle, we set the width on the table saw, so that the blade would meet up with a corner on one side and we cut a nice miter off of one side at each of the top and bottom boards.
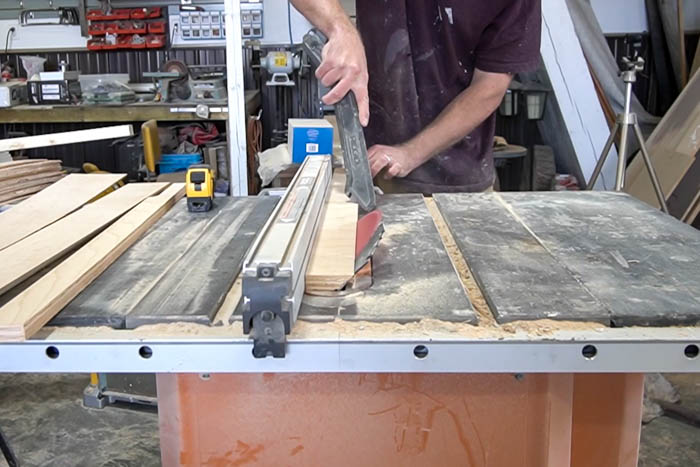
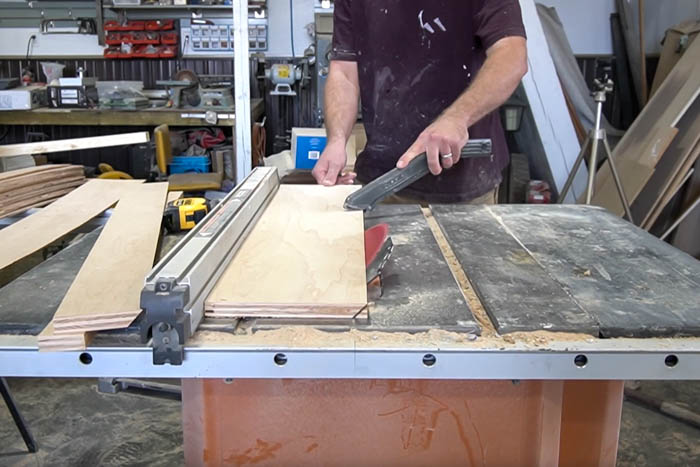
Next, we kept the same miter on the long sides of all three of our front facing boards. And make sure you cut both of those miters so that you keep the full width on one side of that board.

When all of your cuts are done, they should align up nicely with one piece of plywood in between it to hold it all stable.
Now it’s time to glue our shelf together and we’ll start by taping the outside edges to keep any glue from seeping through to the outside.

The tape also helps hold everything together when we fold up the shelf after.
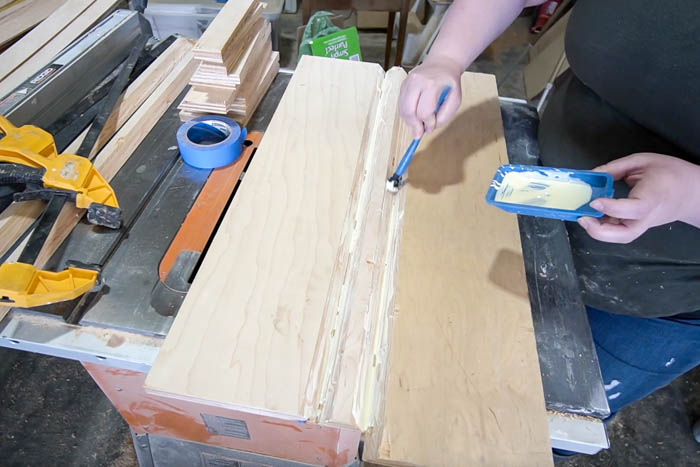
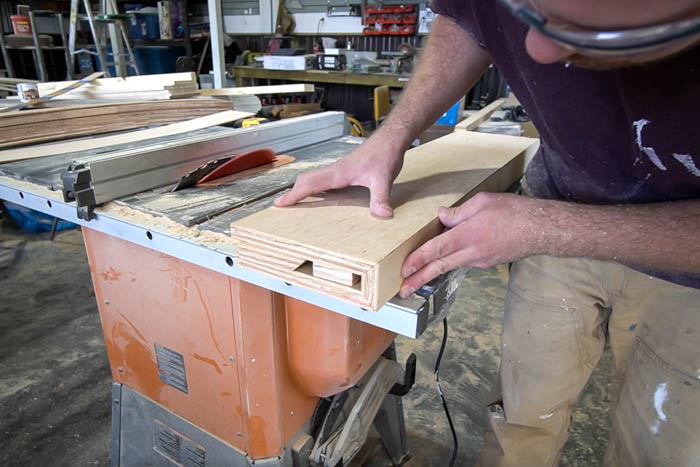
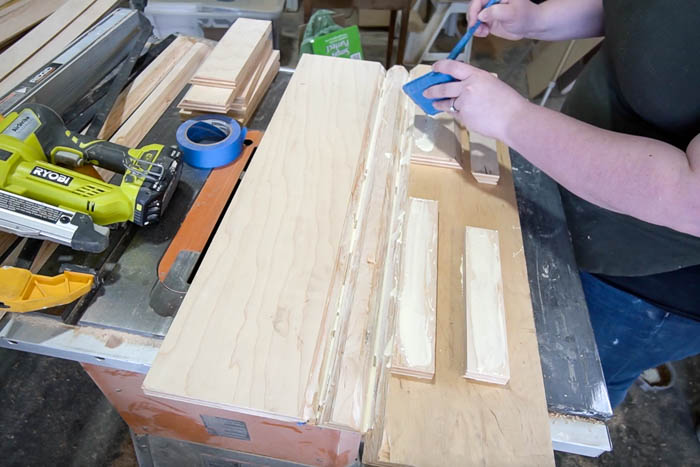
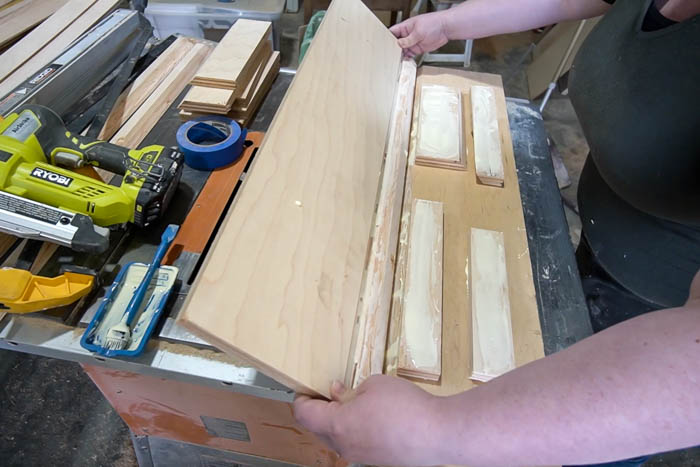
To give the piece some more structure, we also glued and nailed some scrap plywood pieces to the shelf on the inside edge, making sure that we left a couple of inches of space on both sides of the shelf as well as at the bottom where it will slide onto brackets. You could also just put one solid piece in here and it would do the same job.
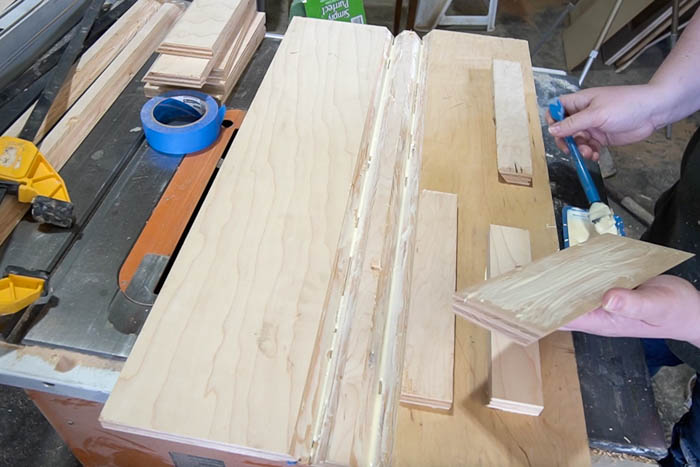
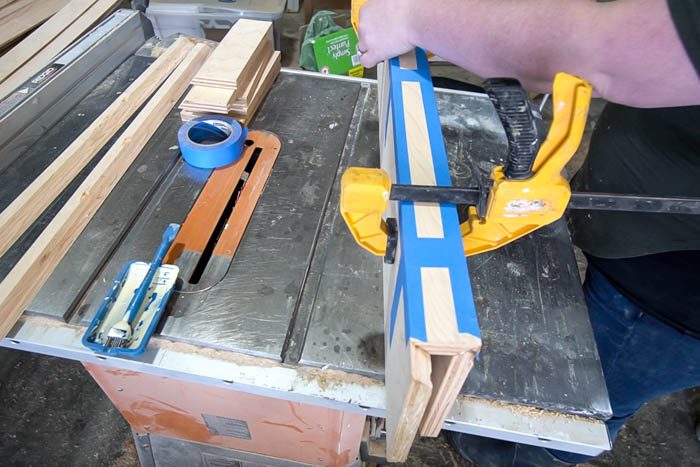
Once everything is glued, you can fold it all up and clamp it together to dry.
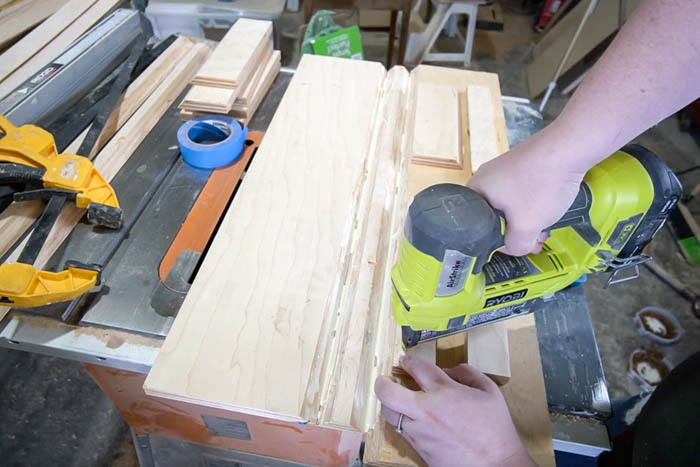
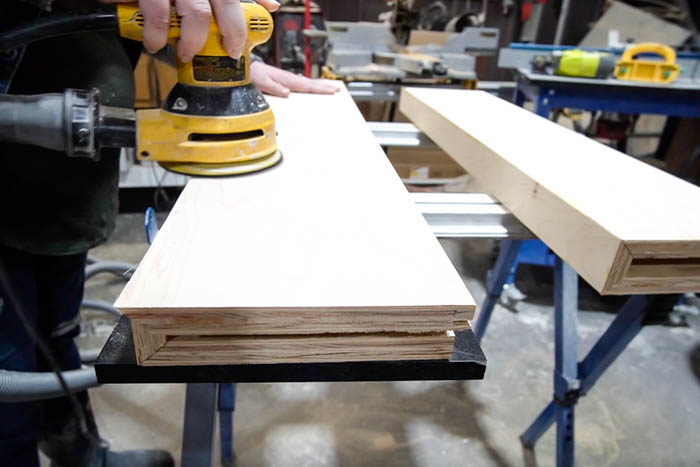
Then since we were building three shelves, we did this process two more times. Once the glue is set, we sanded down all sides of each of our shelves.
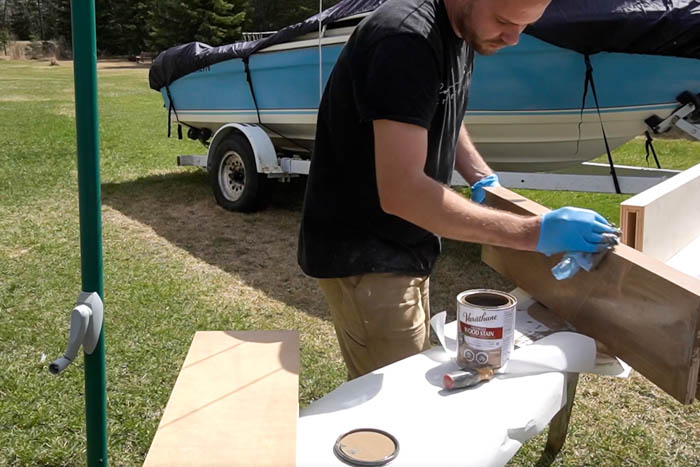
You can stain or paint these shelves in whatever color you like. We chose to do ours with flagstone. We actually did two coats of this stain to get it nice and dark. And finally, we sprayed them with a couple of coats of polycrylic to protect and seal them.
At the beginning, we asked you to keep a couple of extra inches of shelf space on each side and the reason is that most walls are not perfectly square. You can build a simple template like this with scrap wood.

We just use small pieces of pine at the back, and at the front, and at the sides and stretched them out so that they hit the wall (see the exact process in the video below). Wherever it meets the wall is where you want to nail them together so you have a really accurate depiction of how wide your shelf needs to be – it likely will not be square.
Now we use that as a template on our pre-built shelf to tell us where to cut because more than likely this won’t be a perfect 90 degree cut into the shelf. The small difference in angles will not be noticed when your shelf is attached and fits perfect! Alternatively, if you cut the shelf square when your wall is 2 or 3 degrees off, would leave a very noticable gap.
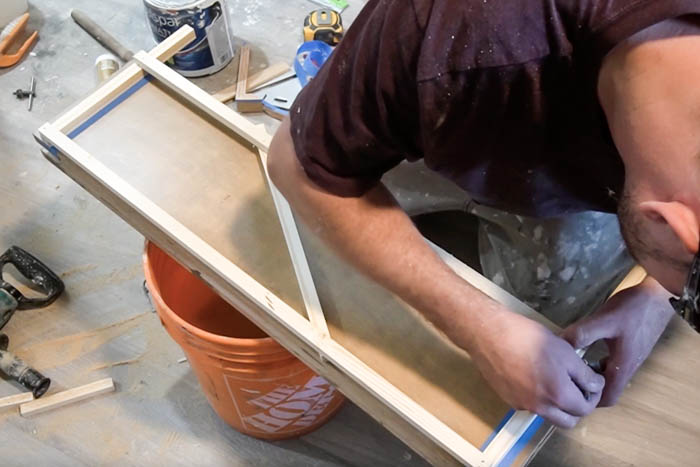
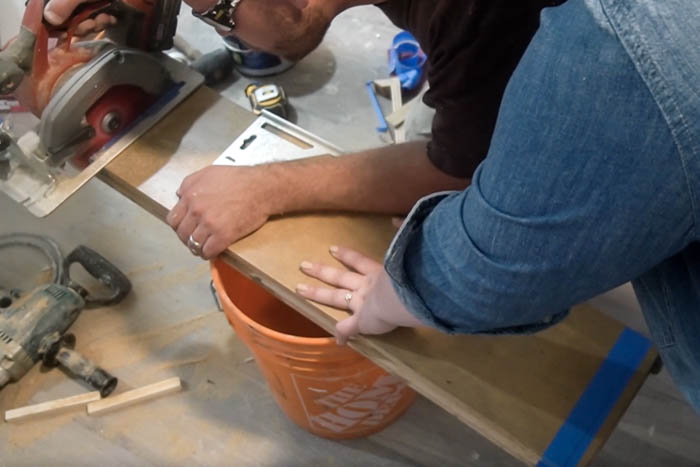
We wrapped some tape around the sides for two reasons. One, it allows us to draw some pencil marks on without marking up the shelf. And two, having the tape down eliminates tear-out in the wood when we’re sawing off a small part at the end. Now you can put your template in place, draw the new lines and saw off the excess wood to get a perfect fit.
Finally, we have to actually install these shelves. To do that, use a pencil and a level to mark those lines both on the back wall and on the two side walls where the shelf is going. Next use a stud finder to find your studs.
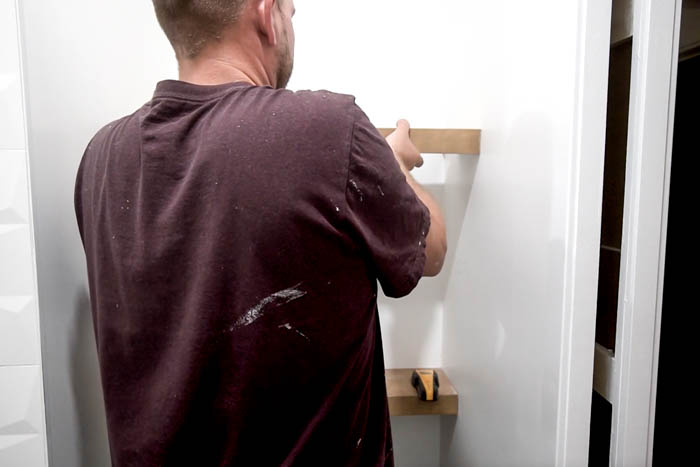
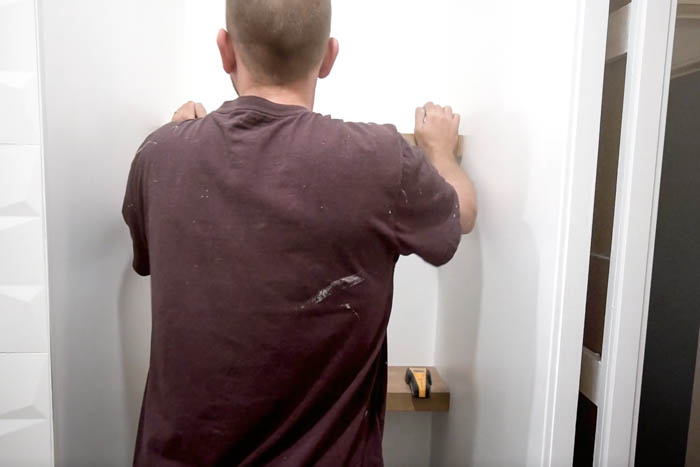
We had actually planned to add shelves during the renovation, so we had put a couple extra studs in this wall because already to help us hang the shelves. Once you have all of those spots marked you can put up your brackets.
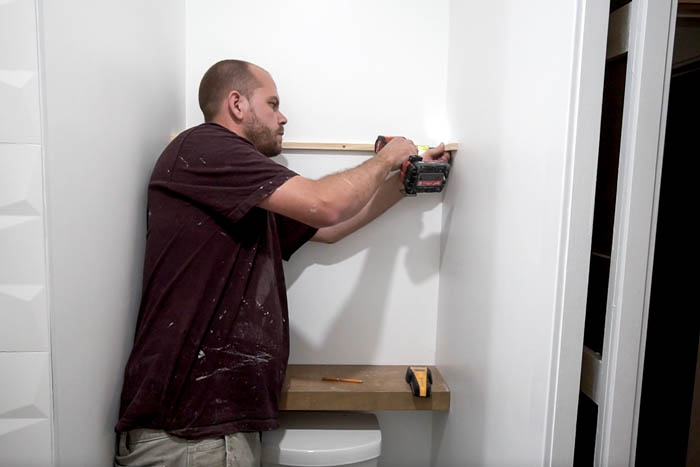
Our brackets are just wooden pieces of pine the same width as our plywood board that we used earlier to make the shelves. And here, we’re just going to screw these brackets straight into the studs on the wall. When everything is attached and level, your shelves should slide on easily.
Our Finished Plywood Floating Shelves
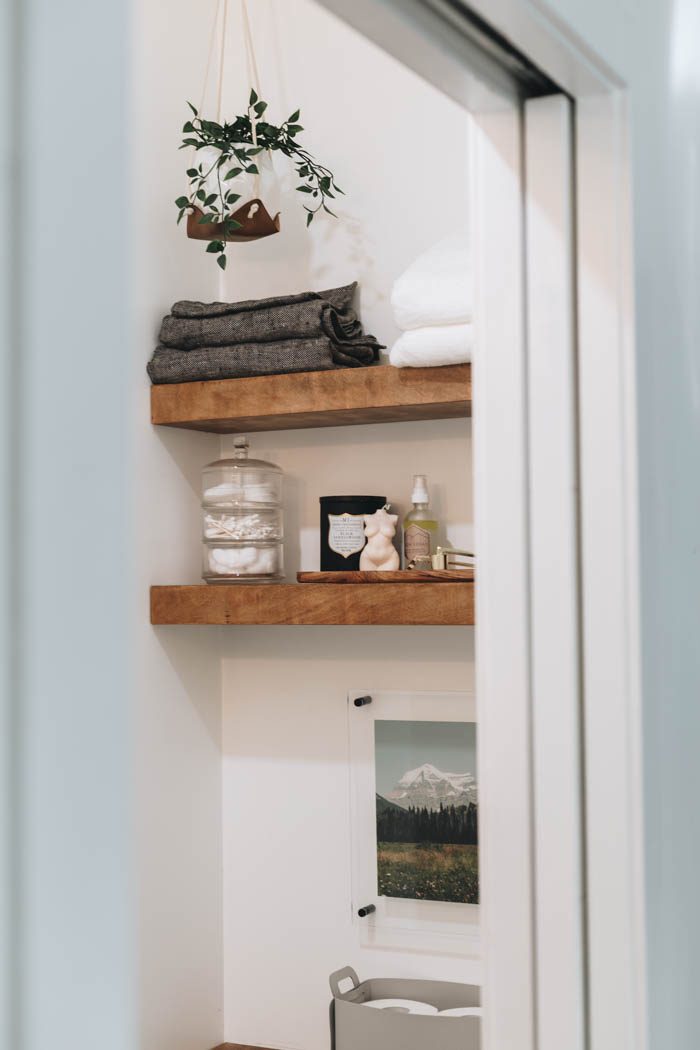
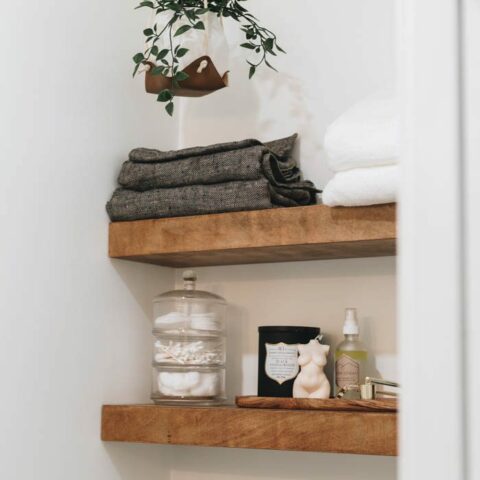
Here’s how the finished DIY floating shelves looked in our ensuite. They were the perfect addition to this space, both for the storage they added, and the warmth!
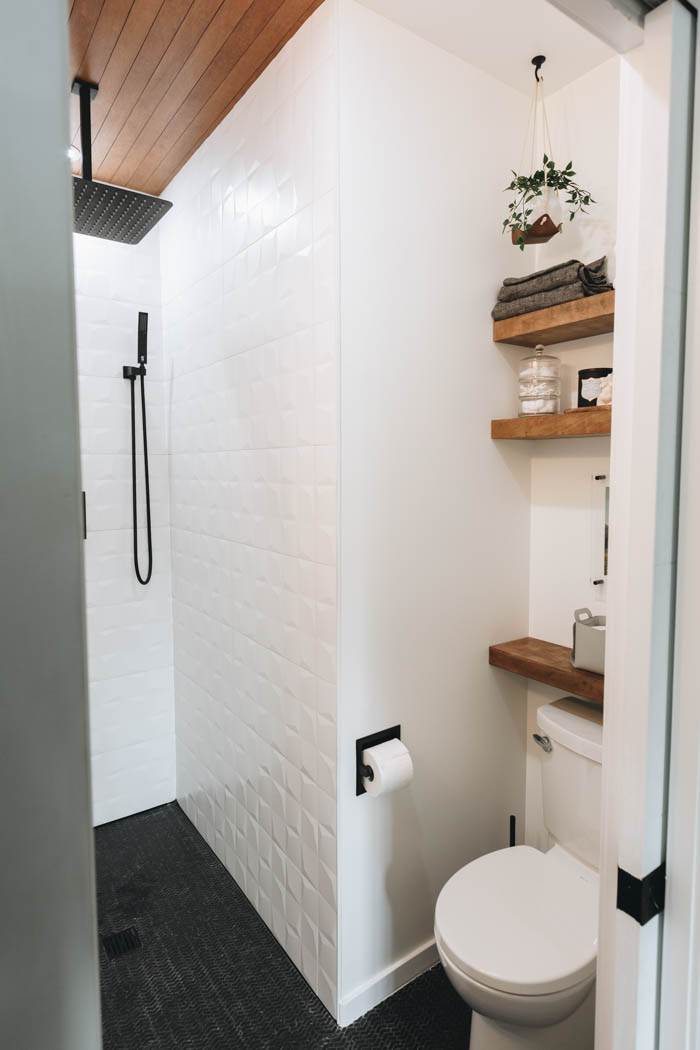
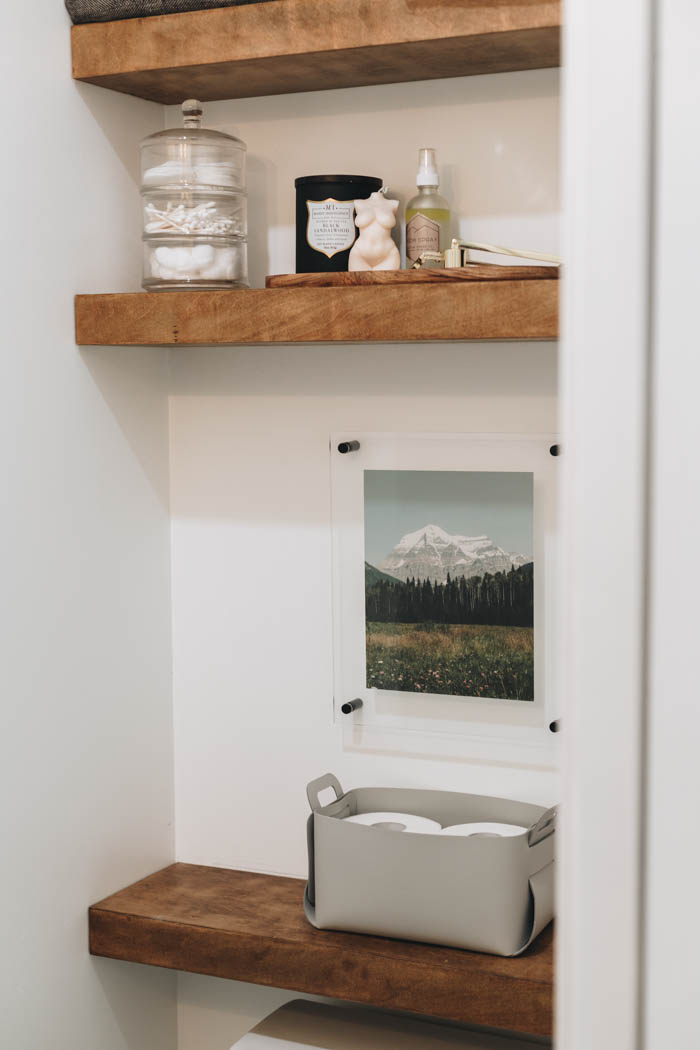
With just some plywood and scrap wood, it’s a fairly affordable project and if you have the right tools it’s pretty easy to make these too.
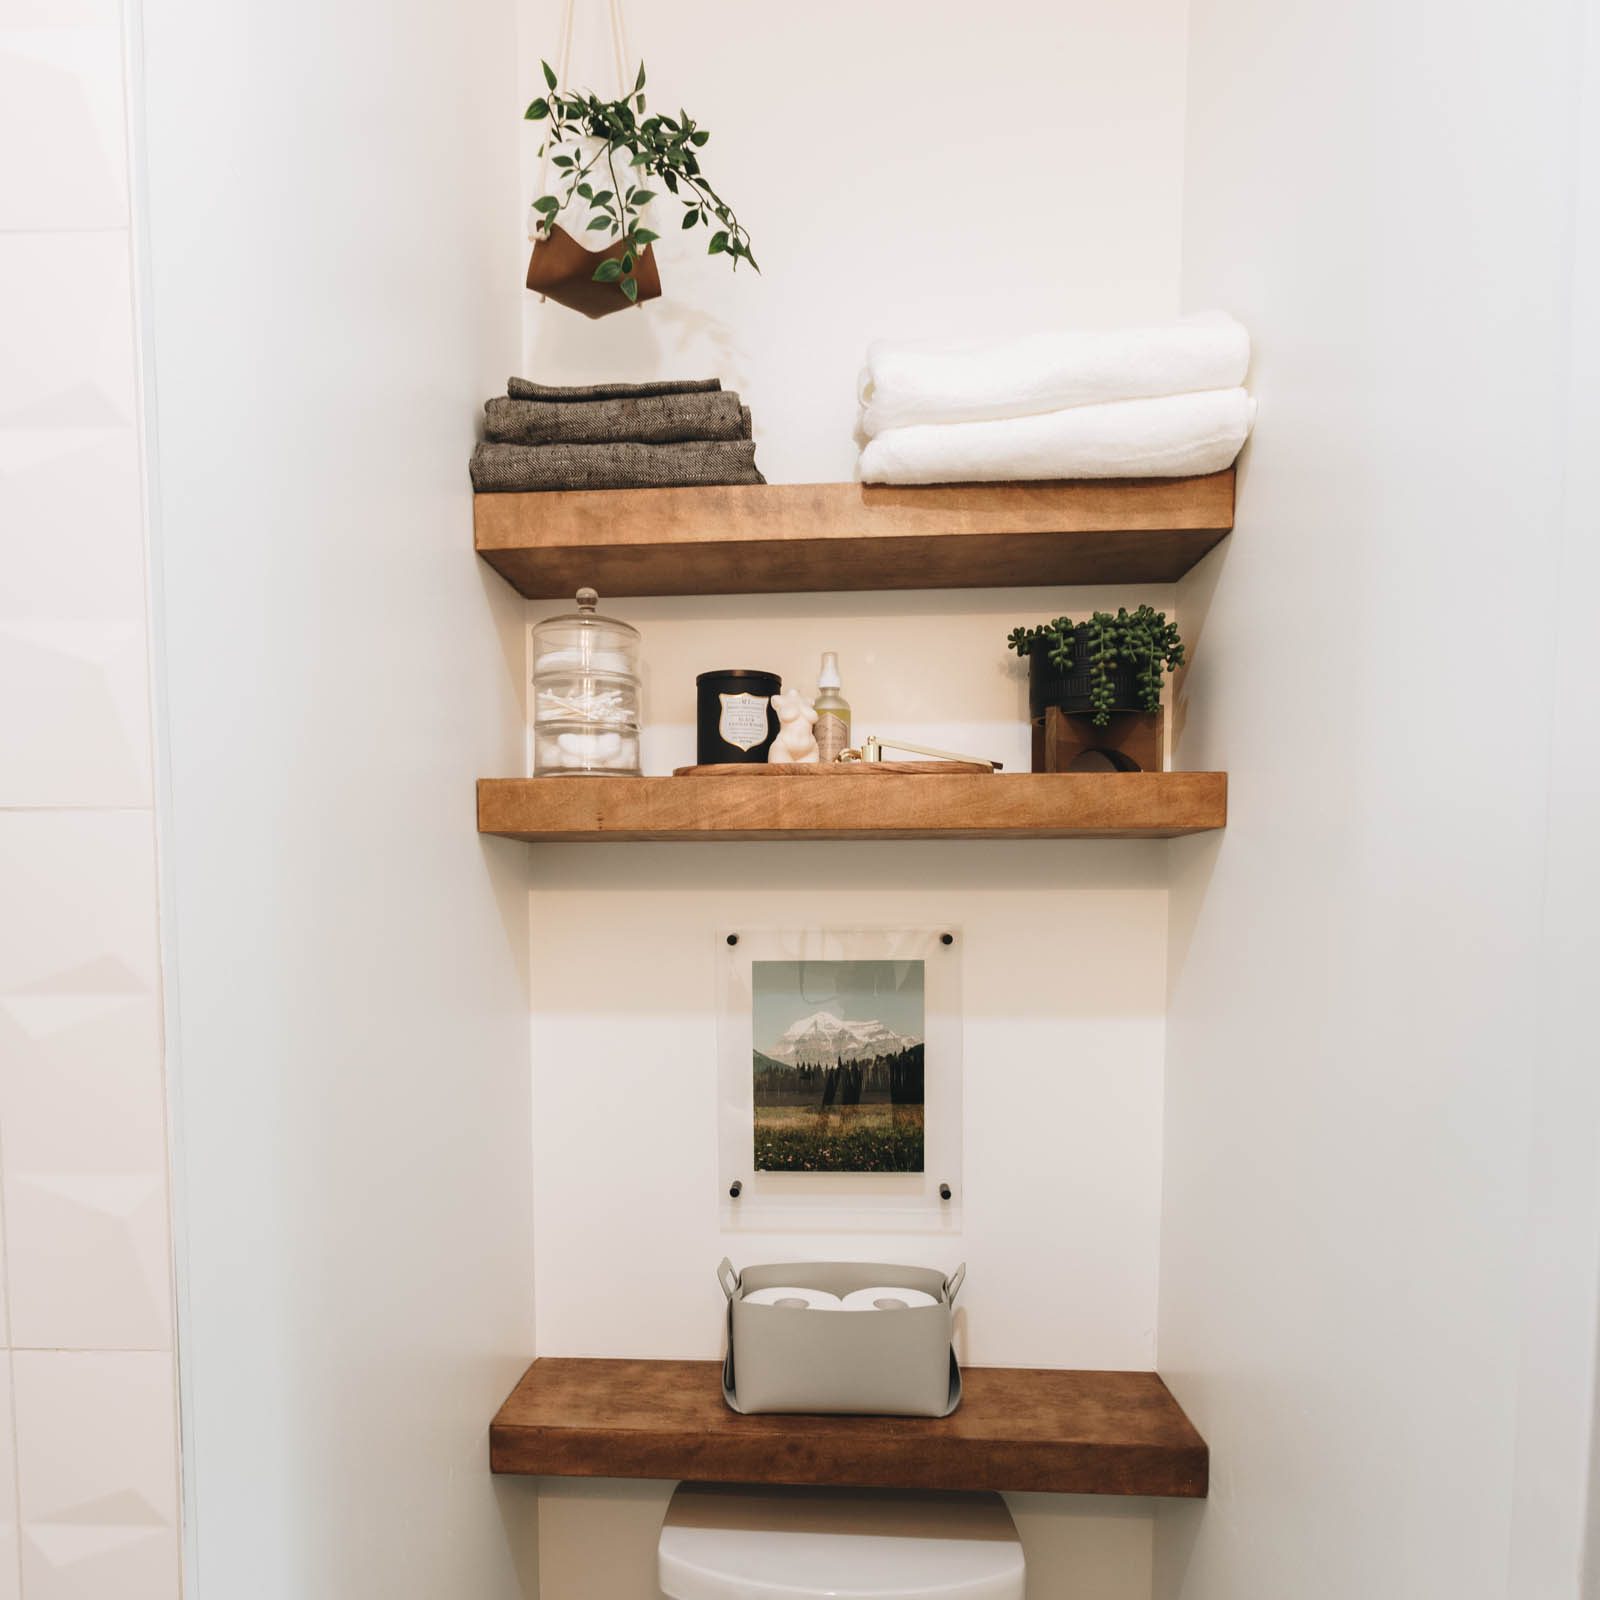
What’d you guys think about this tutorial? I know I love how these DIY floating shelves came out. I love the finished look and we’re really happy with the extra storage in this space. It gave it a really custom look and it also tied in some of the other features that we had in our bathroom.
Make sure you check out more from this small bathroom renovation reveal, including our full budget breakdown, how we did an IKEA hack built-in, and how we added the beautiful wooden ceiling!
More Scrap Wood DIYs
Check out the video below for more great scrap wood DIYs!
Don’t forget to subscribe to our YouTube channel for more great scrap wood DIYs!
If you haven’t seen this full bathroom renovation, we built an en-suite from nothing. Check out this extreme bathroom renovation!
DIY Floating Shelves
Affordable DIY Floating Shelves! Perfect for bathrooms, living rooms, reading nooks, or anywhere that you have a nook for shelving.
Materials
- 3/4” plywood
- Glue
- Wood glue kit
- Painter’s tape
- Wood stain
- Polycrylic
- Wooden template to measure dimensions of shelf space
- Pencil
- Wood brackets
- Screws
Tools
- Measuring tape
- Mitre saw
- Digital angle gauge
- Clamps
- Sander
- Level
- Stud finder
- Drill
Instructions
- Measure shelf length
- Cut plywood for top and bottom of each shelf (9 of the 34” boards)
- Cut width of front board
- Tape the outside edges of the wood pieces
- Glue shelves together
- Clamp shelves together to dry
- Sand down all sides of each shelf
- Stain shelves
- Spray with polycrylic
- Saw off excess wood in case the area your shelves are going isn’t perfectly 90 degrees (use wooden template to measure shelf space
- Measure and mark lines where you want to install shelves
- Use stud finder and mark studs
- Install wooden brackets into wall
- Shelves should slide easily onto brackets