
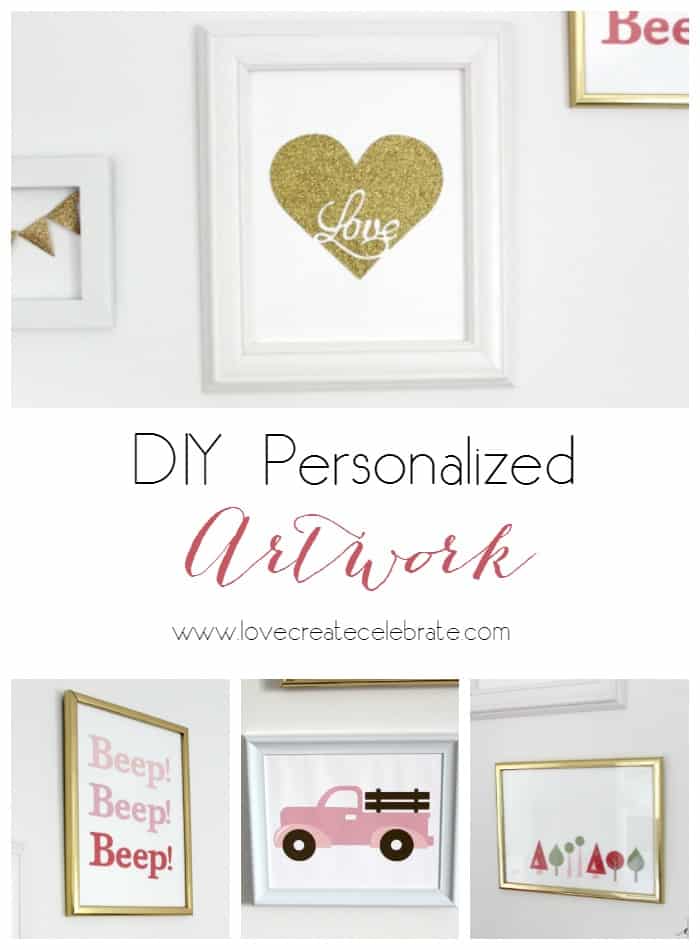
If you were here a couple of weeks ago, you saw that I had started sharing some of the DIY artwork in my daughter’s gallery wall. There were seven unique art pieces in my daughter’s gallery wall, and I made each and every one! Most of them in the same evening! I wanted to share with you how easy it is to customize your own artwork.
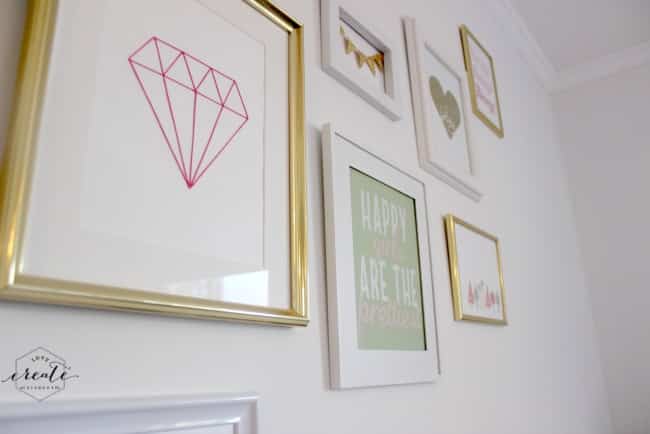
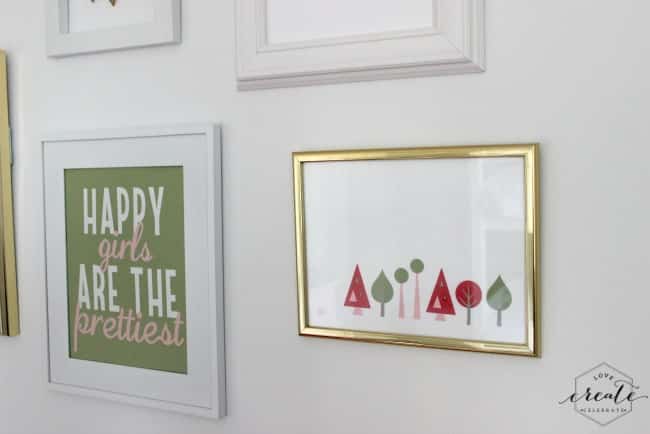
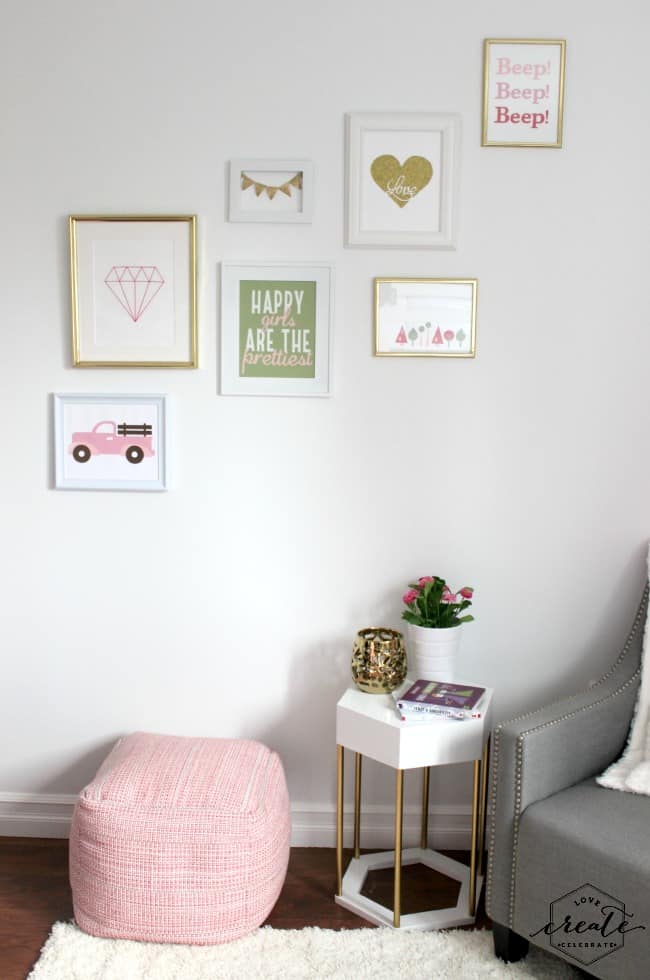
To start personalizing your wall think about the space you are filling and then about what you want that space to represent. This gallery wall [pictured] is hanging in my daughter’s bedroom, and I wanted everything in it to represent her in some way. If it’s an office, maybe you want it to be filled with motivational or pretty pieces (or both!). If it’s a family gallery wall, but you want to show off your family in photos of them and artwork they’ve done, or maybe you want prices that represent togetherness, like the collection of keys I have hanging in my family gallery.
Above all, you want to love the pieces. Don’t worry about how many there are or how they look together – I promise it’ll come together. Just start by choosing images and pieces that inspire you.
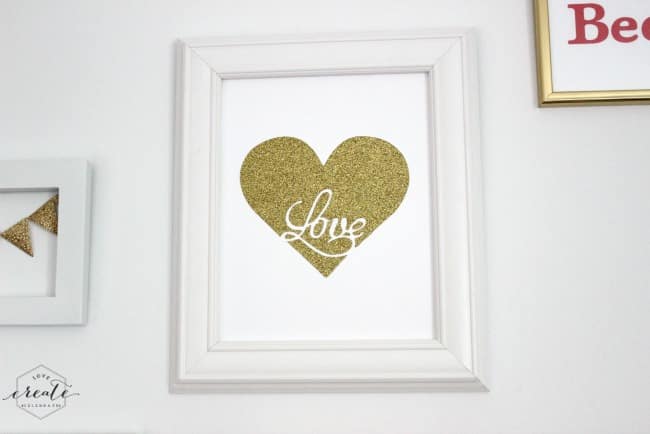
If you are adding words or images to your gallery, you can virtually make ANYTHING with your a Cricut Explore Air 2. I’ve already shown how I did this with vinyl (basically printed stickers) in this post, and I’ve shared how I made my Gold Heart Art with thick glittered card stock in this post.
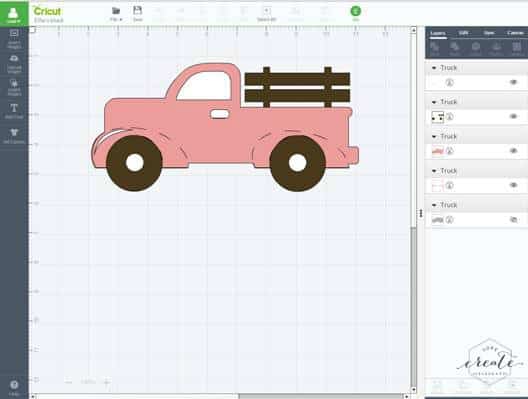
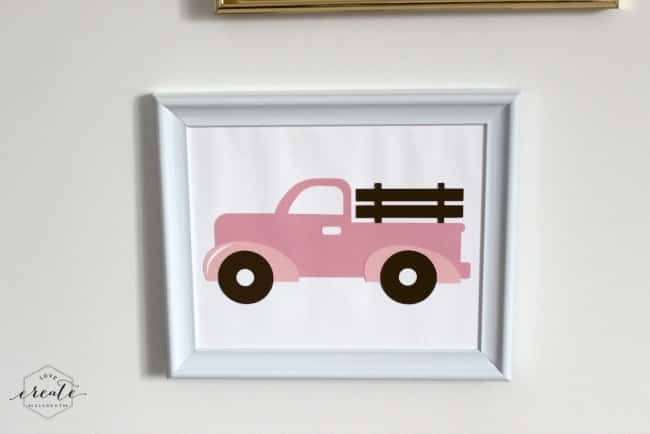
If you want to use card stock, your project can be as easy as choosing an image you like and cutting it out. My daughter LOVES the Little Blue Truck books, and I wanted to represent that in her artwork, so I found a truck image and cut it out. Easy as pie! I switched the colours around to see what it would look like by clicking on the colour in the “layers” tab. I chose a pink truck to match her room :)
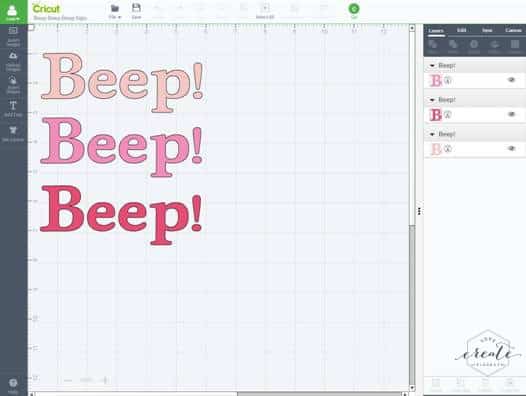
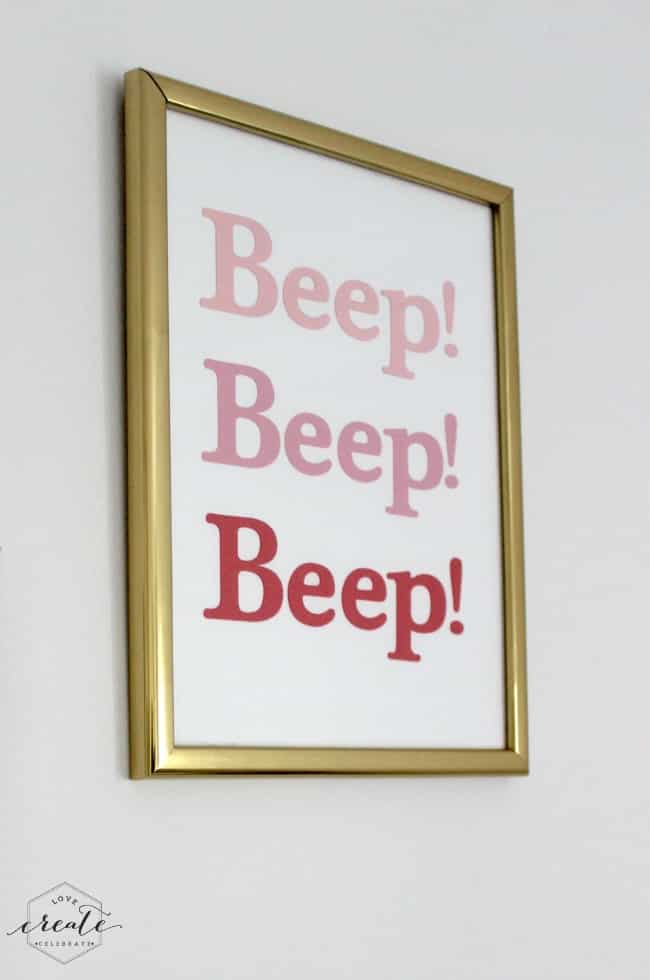
Or maybe you have words, phrases, or quotes inspiring your space. This quote came again from our daughter’s Little Blue Truck book (did I mention it’s her favourite… Lol). They were the first book words she memorized and I wanted a constant reminder of the cuteness, so I added them to the wall. All you have to do here is add text boxes, write your words, and choose a font you like. The Cricut Explore Air 2 will cut them out, and you can glue them to your background page. If you want your words all attached, make sure you decrease the space between letters in the edit tab, and then weld the letters together.
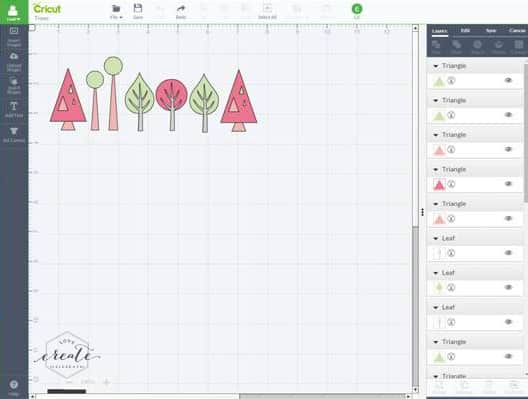
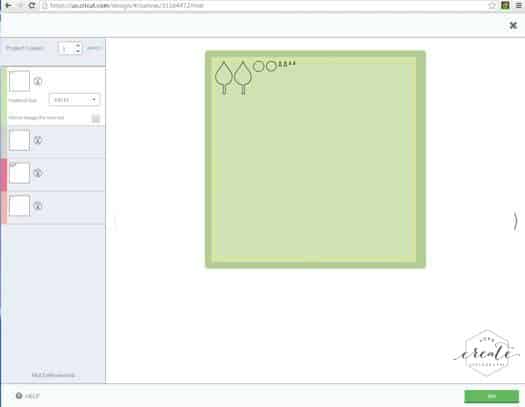
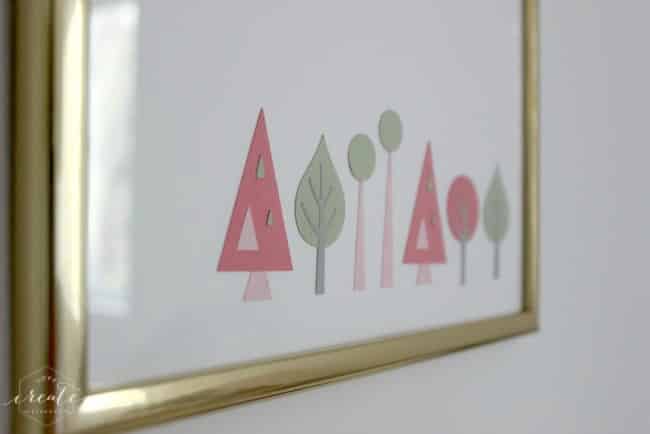
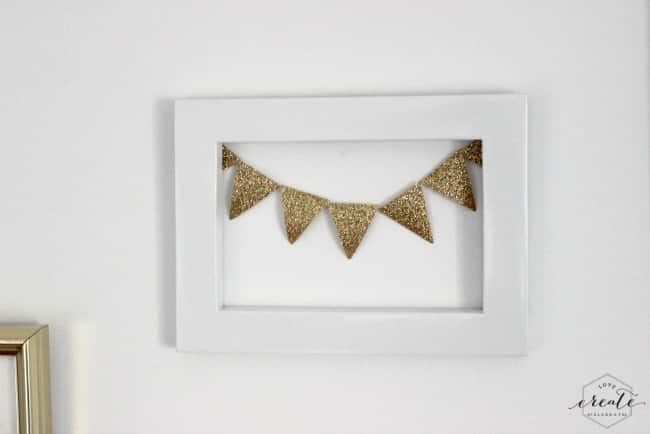
Or maybe you want to make your own design? There are two ways to do this: creating your own design with Cricut Explore Air 2 images, or uploading your own images and having the Cricut Explore Air 2 transform them. For the image below, I simply added a number of shapes and images to create my own design. I synced the colours so that I knew which colour would cut out on which paper. Then after it cut, I had to reassemble the pieces and glue them onto my canvas.
Curious about using your own graphics? Stay tuned! I’ll show you how in a future tutorial! Can’t wait!!!
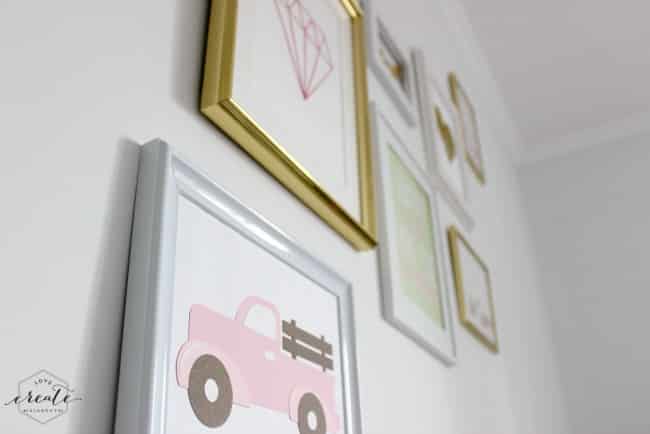
For now, here’s a few images of how my daughter’s personalized gallery wall artwork turned out! I set all of the pieces up in gold and white frames to match the decor of her Big Girl Bedroom. Love each piece.
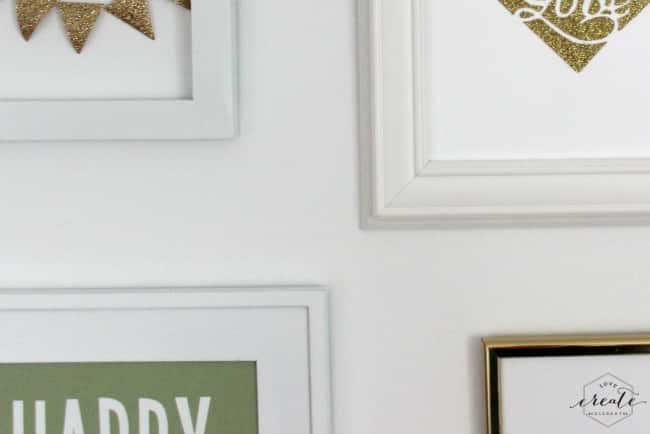
If this glittery Heart Art caught your eye, you’re not alone! See how I made this simple piece with the Cricut Explore!
Have I made you curious about the rest of my daughter’s Big Girl Bedroom? See the magic here :)

*This post contains affiliate links. Thank you for supporting Love Create Celebrate. For more information, please read my disclosure policy.*
Kostas Chiotis
Wednesday 11th of April 2018
Those colors are so soft and lovely. Most people are not sure what artwork to have on their walls, this proves even the simplest projects add so much character to a space.
Lindivs
Wednesday 11th of April 2018
So true! Thank you :)
Emily
Sunday 6th of March 2016
Her gallery wall is looking fantastic! I love all of the personalized touches you added :) Thanks for linking up with Merry Monday!
Two Uses Tuesday Link Up 69 | Sarah Celebrates
Monday 29th of February 2016
[…] With artwork on the brain this week, Lindi shows us her personalized artwork using a Circuit. […]
Munchkintime
Friday 26th of February 2016
Love all of the art work! Thank you for sharing!
Jenna @ A Savory Feast
Wednesday 24th of February 2016
These are all so cute! I've been wanting to get either a Cricut or a Silhouette and just can't pick which one I want. Either way, making artwork like this saves SO much money. These pieces at a store would be at least $10-$15 each if not more.