
Want to make use of that space under the stairs? Learn how to create an under the stairs playroom for your kids!
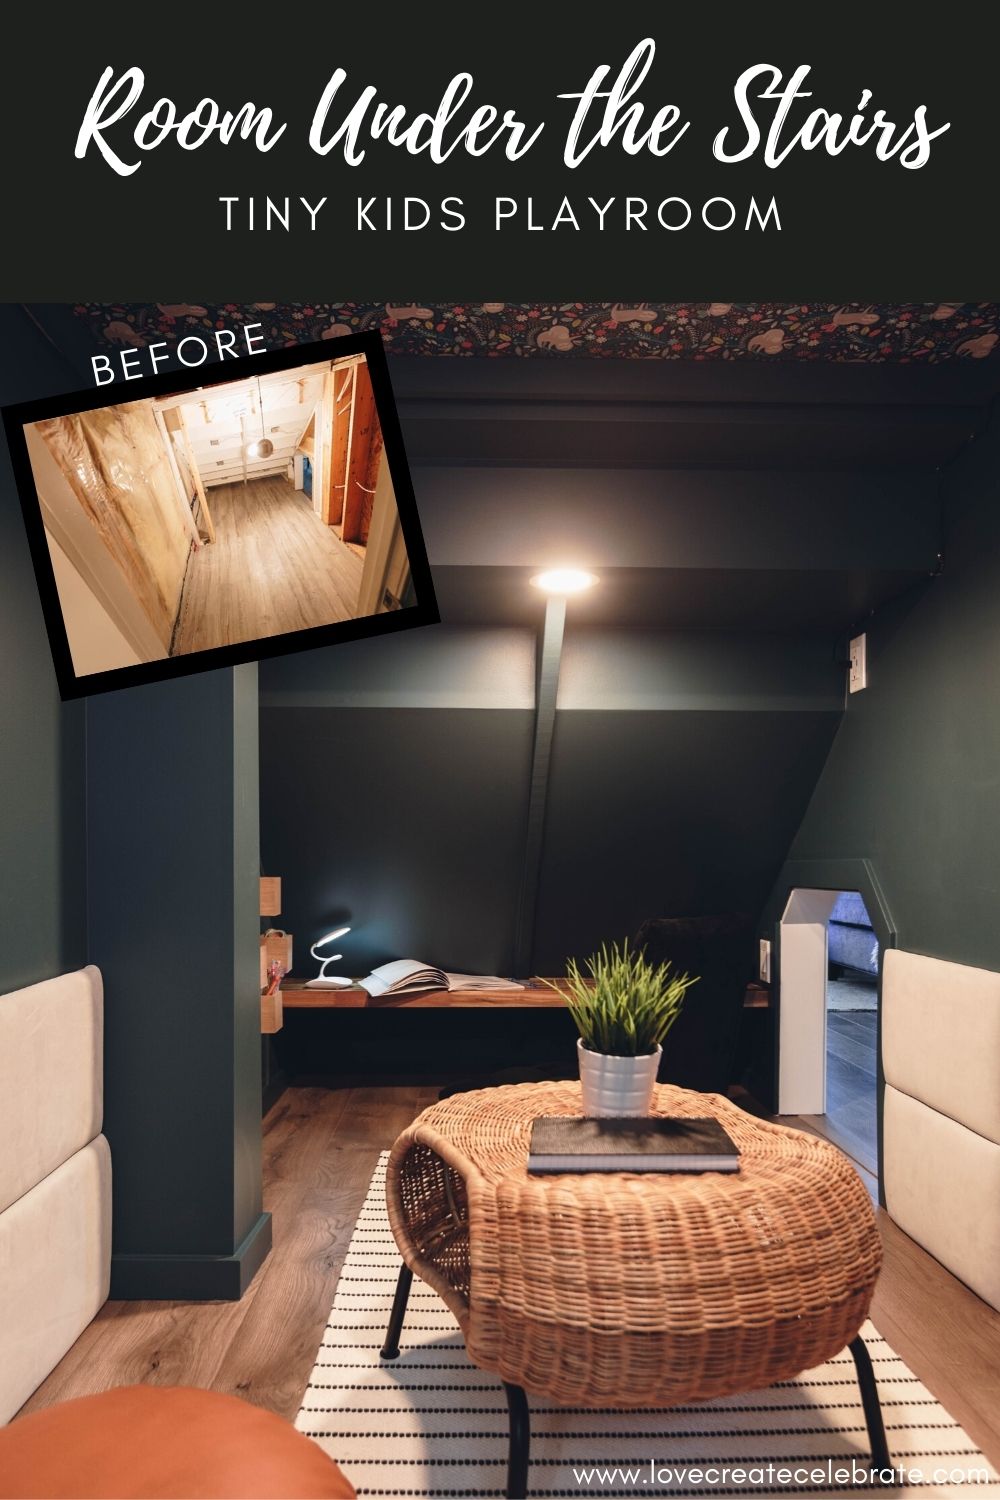
Homes are full of under-utilized spaces. Last year more and more people had to work and play from home, and 2020 became the year of multi-functional spaces. We took a the space under our stairs, that was previously used for storage, and turned it into an under the stairs playroom for our kids!
*This post was sponsored by Valspar Canada and may contain affiliate links. As always, opinions are 100% my own. For more information, please see my disclosure page.*
Our Room Under the Stairs
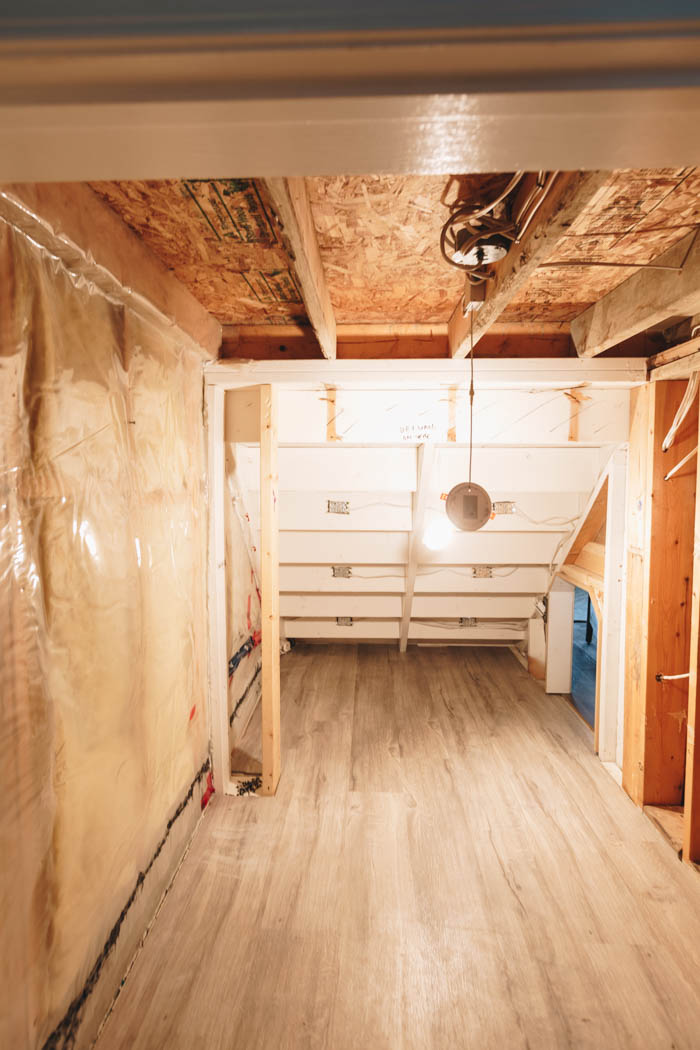
When we first moved to our home (which we name “Green Acres” upon moving in ) the space under the stairs was a catch all for all things. It was even partitioned into two spaces!
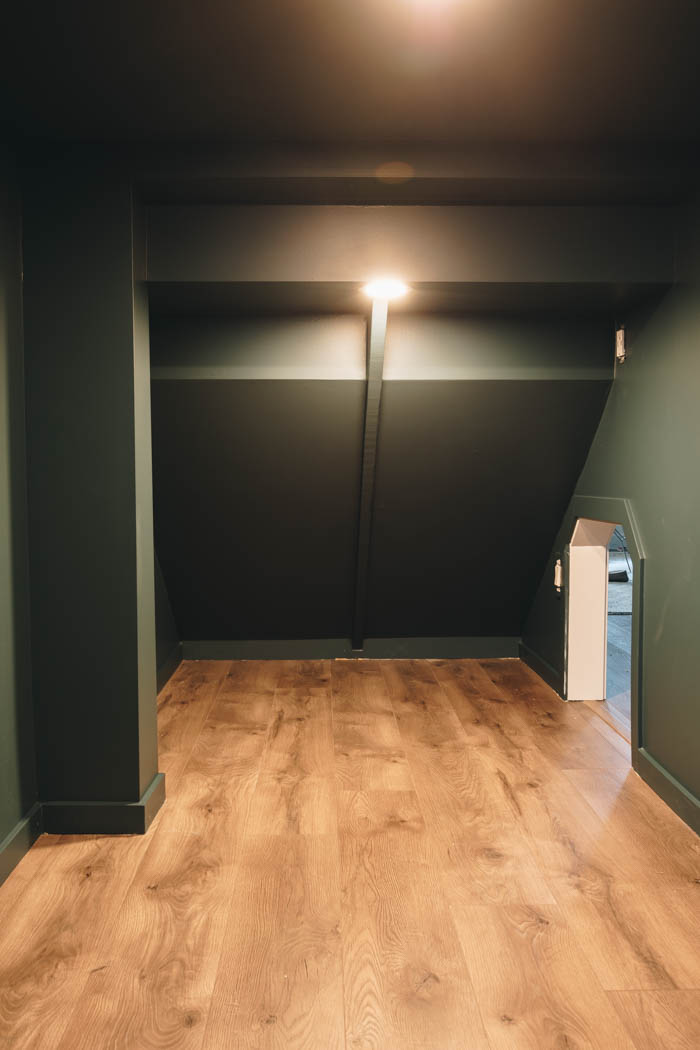
The space has actually slowly seen some upgrades since we moved in. We started by removing the wall (that spilt the space in 1/2) to open it up, than added some flooring we had left over from another reno just so the kids could use the space right away. When we started our stair renovation we removed all the textured drywall (1/2 the space was partially finished) to get access to add the in-tread lighting to the stair treads – you check out this post here is you missed the stair reveal.
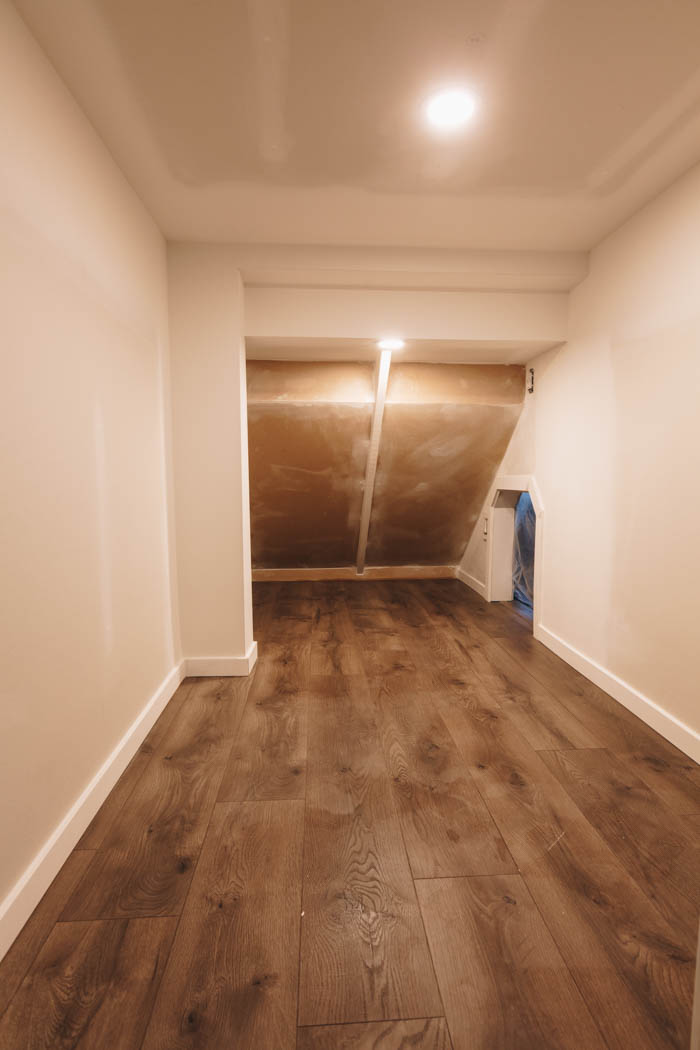
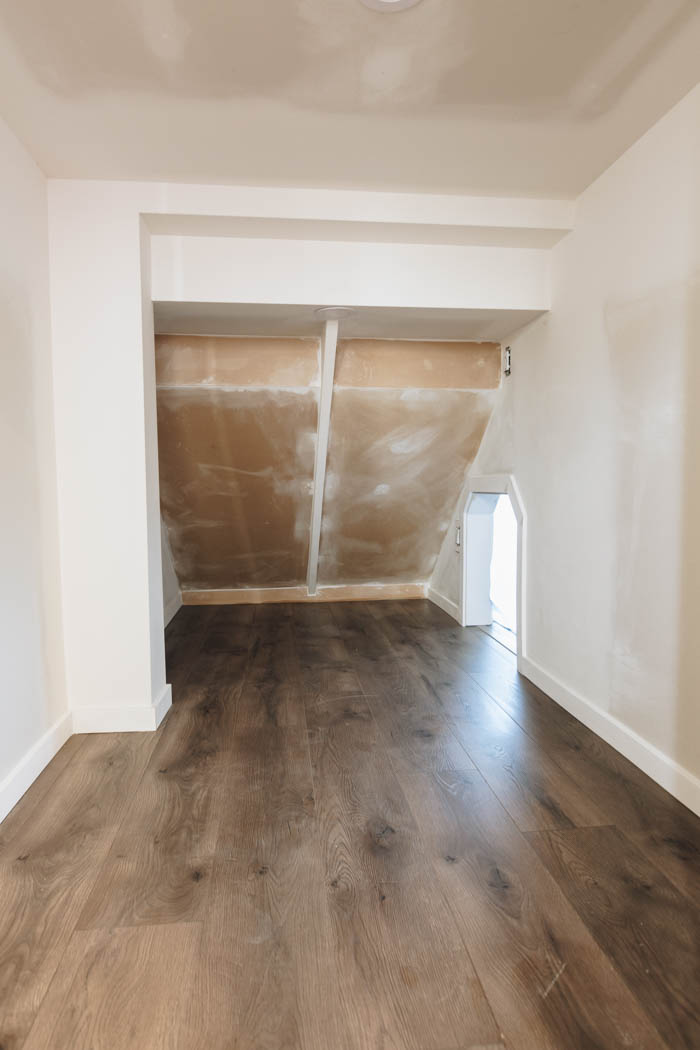
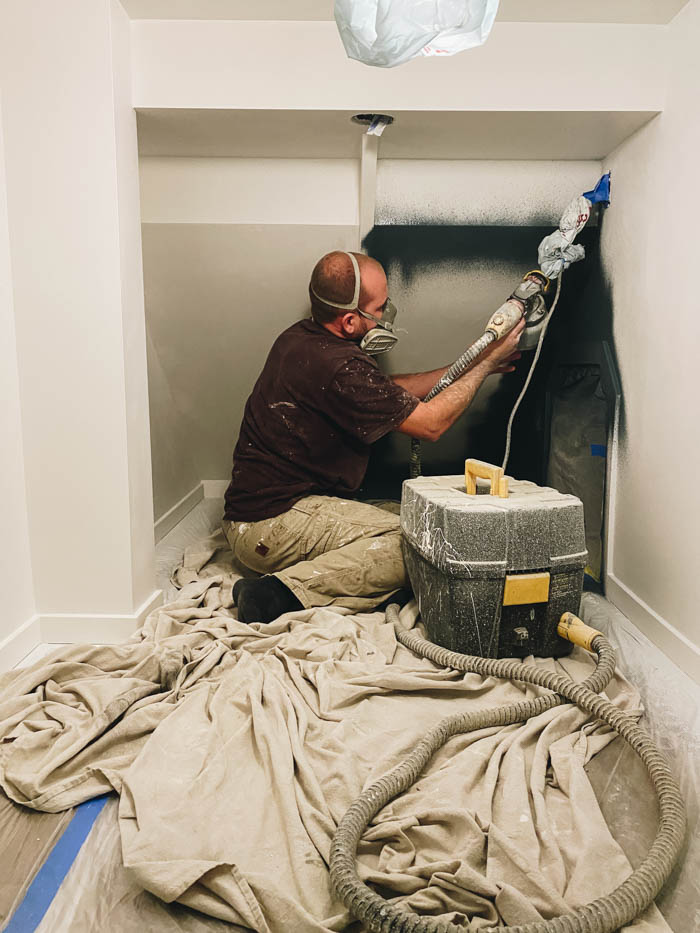
Finally once I had a vision for the space, we had the entire space drywalled, painted the walls (you can see us use this awesome paint sprayer for the job here)), and made a to-do-list of all the necessary parts to make the ultimate Under the Stairs Playroom!
Choosing our Playroom Paint Colour
When you’re looking at a space under the stairs, you’re usually looking at a space without any natural light, so you need to do take that into account when choosing a paint colour.
I knew that this space was going to be used as a play space and reading nook, but that I wanted it to be a moody space. I took to my Valspar paint deck and choose some beautiful dark moody paint colours. I picked my favourite deep green, deep blue, green, and deep purple/maroon, and then let my kids make the final decision (since it’s their space after all!).
I knew that the colour would likely look darker when it was in the space without natural light. I also knew that it had to look beautiful with an amber glow, because we would likely be using artificial light in that room. The colour we chose was Sequoia Glade by Valspar, and you will see in the coming posts, just how perfect and moody it is!
Video of our Under The Stairs Playroom Coming Together
We completely transformed this room, and shared the whole process on YouTube! You can watch the entire space unfold, and see our kids reactions to the space when they first come in!
Don’t forget to subscribe to our channel to see more amazing DIY videos!
All the DIY Details of our Under the Stairs Playroom
There were so many custom features in this kids space! Here are a few of the details that we designed to make this cozy room come together. Most of these DIYs were free, or affordable, and they all came together perfectly!
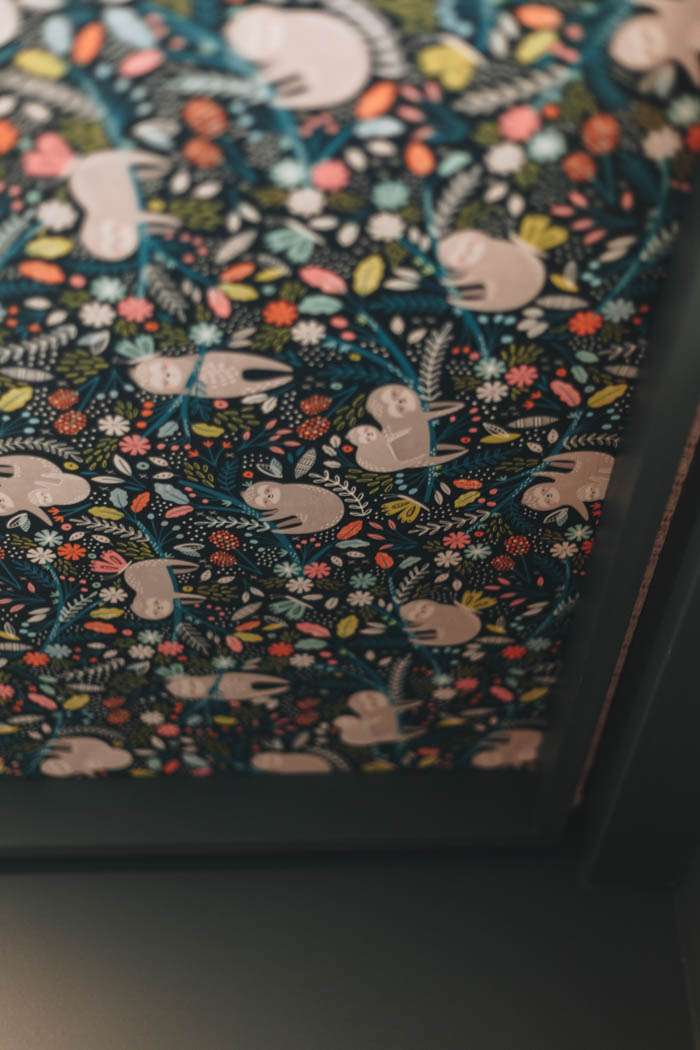
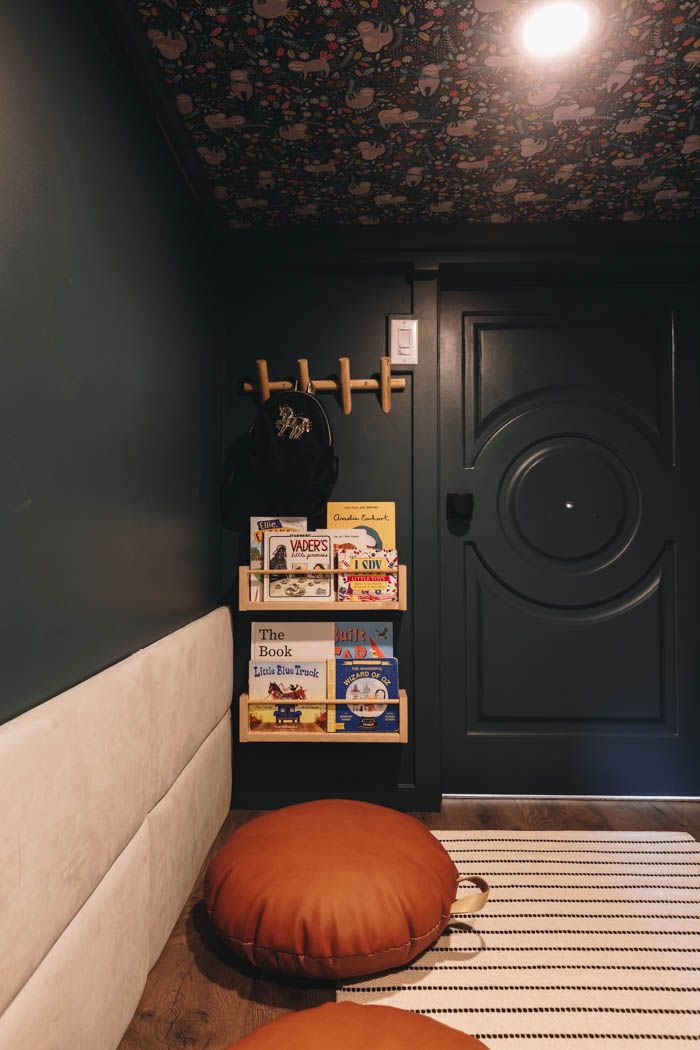
Wallpaper on the Ceiling
You may have already noticed that we added some fun wallpaper to the ceiling of the room! The truth is that I bought that wallpaper without even being sure where we were going to put it!
I was searching for a few days, and came across this sloth pattern that I loved, but more importantly, my kids loved. It was pre-pasted so it only took us an hour to hang up the entire ceiling, and it was totally worth it.
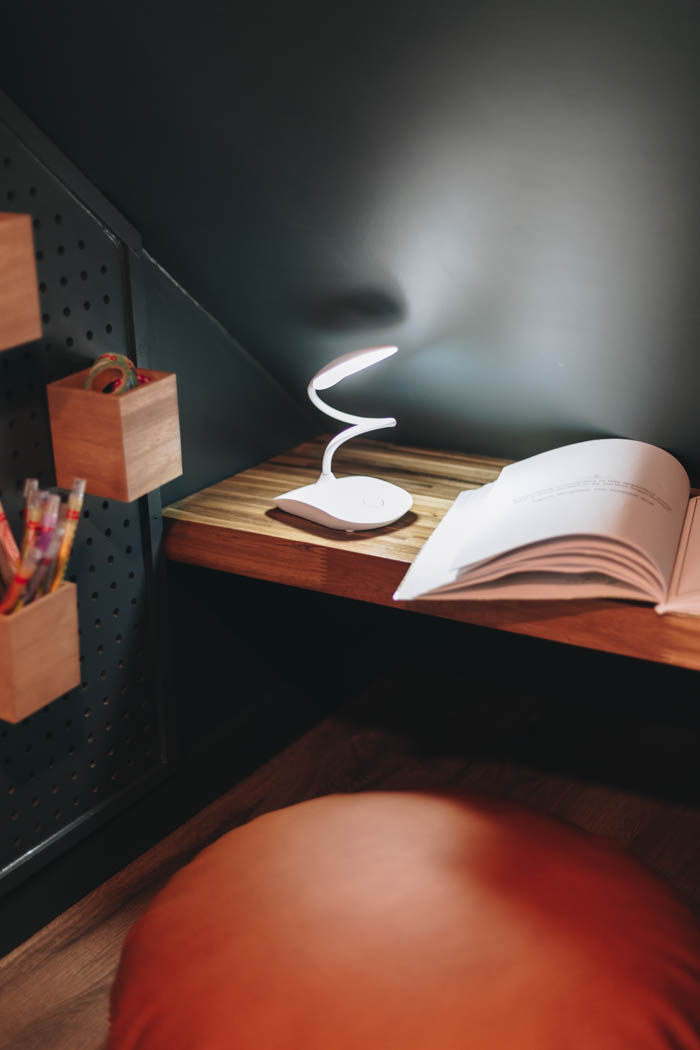
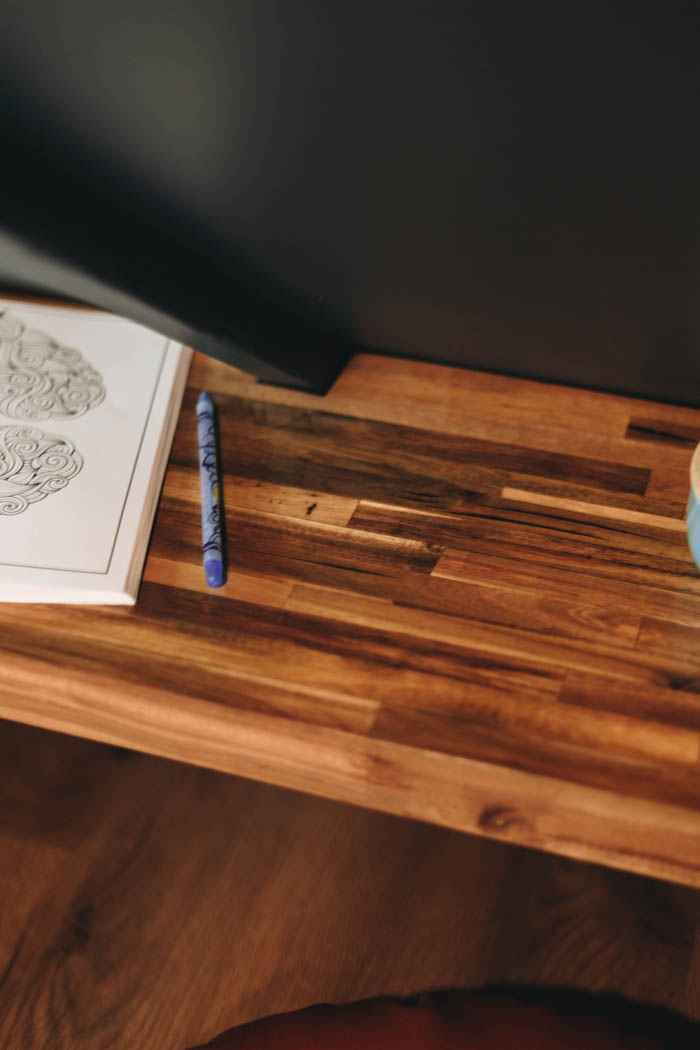
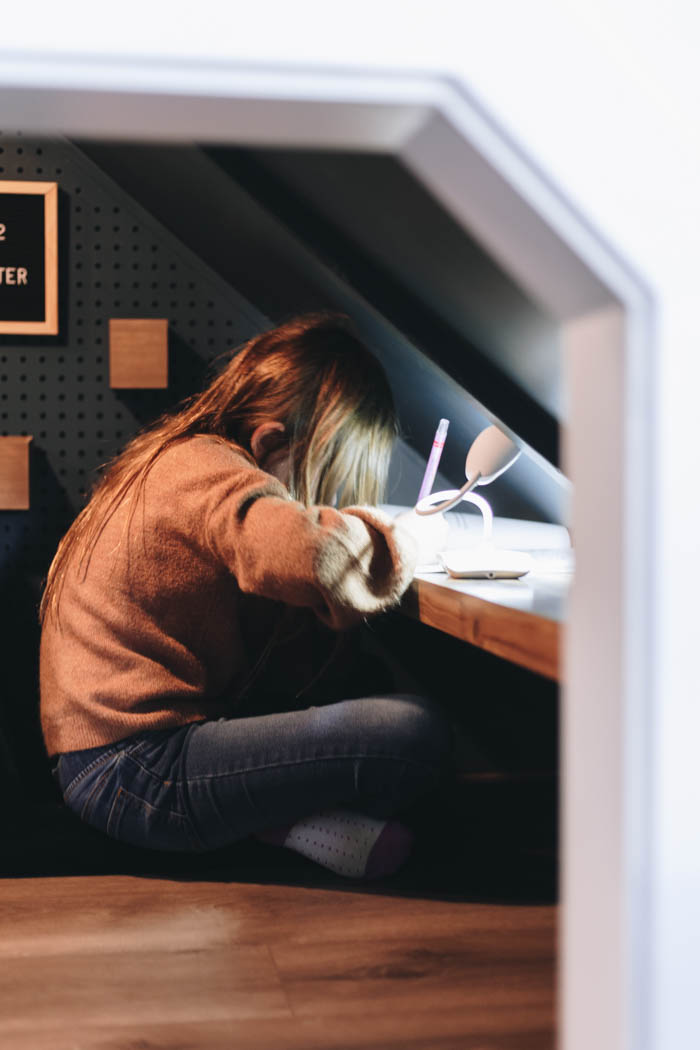
Our DIY Kids Desk
One of the biggest decisions in this space, we deciding how to best ultilize the space directly under the stairs. It has a crazy slant that makes it unusable for most things, but one day we got an idea to build a desk into that space and take advantage of the slant to give the kids extra leg space under the desk.
Once we decided to scrap the shelf and go with a desk, Russel scrounged through the shop and found some old Acacia wood from our live edge dining table build. He laminated the scraps together, epoxy filled some of the knots and cracks, sanded, stained, and added a coat of Polycrylic Protective Finish. Once cured the desk was installed and ready for use!
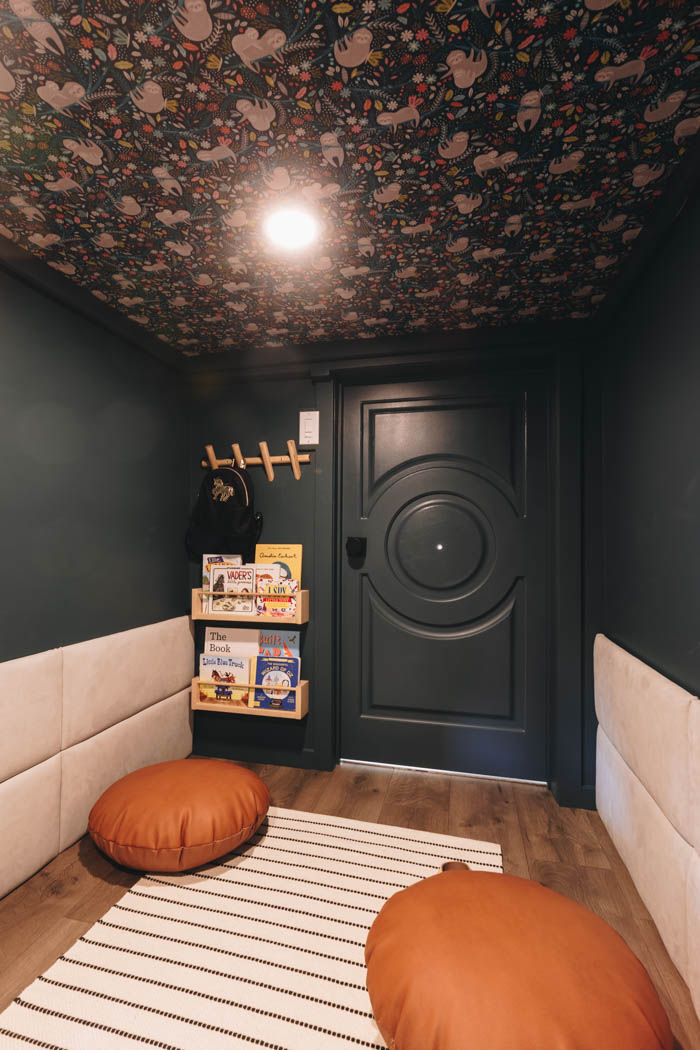
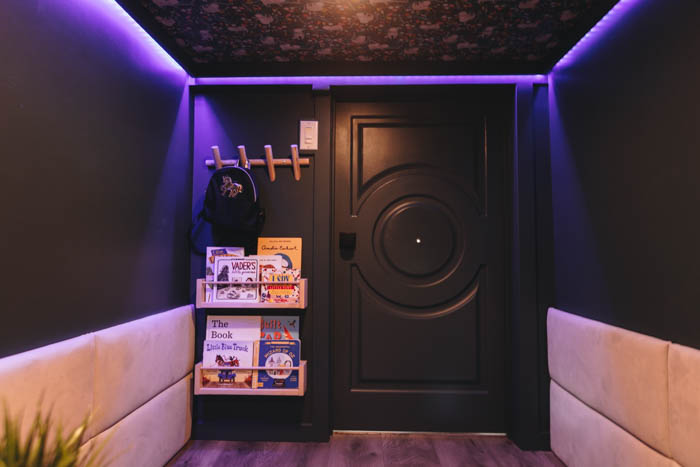
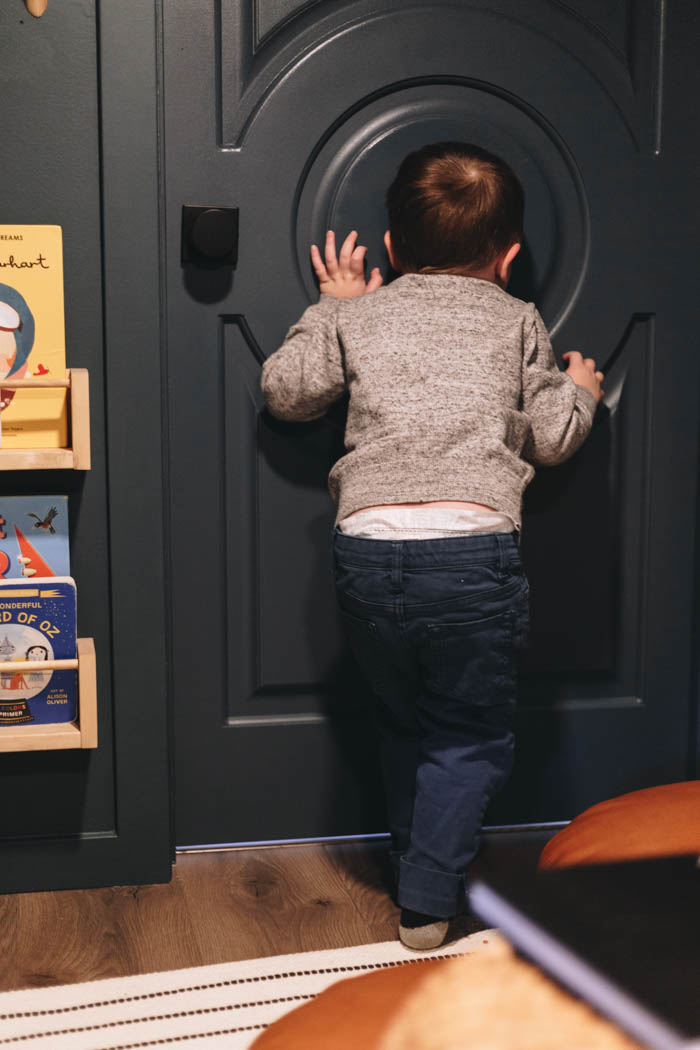
Our KIDs Door to the Playroom
Another custom touch to make our under stair playroom was the molding door, with a routered out circle. This was a left over piece from my office makeover (was initially sent the wrong one by mistake).
As the door opening was an un-uniform size (about 27″ wide by 53″ tall) we had to cut the door down to size. Russel had to actually cut a section out of the top and re-glue it back together due to the moulding feature/routed groove on the inside.
Once we got the door all cut to size, completed a test fit. We added some Valspar primer to both sides and their Sequoia Glade semi gloss paint to finish it off. We painted it in the same paint colour and it looked amazing!
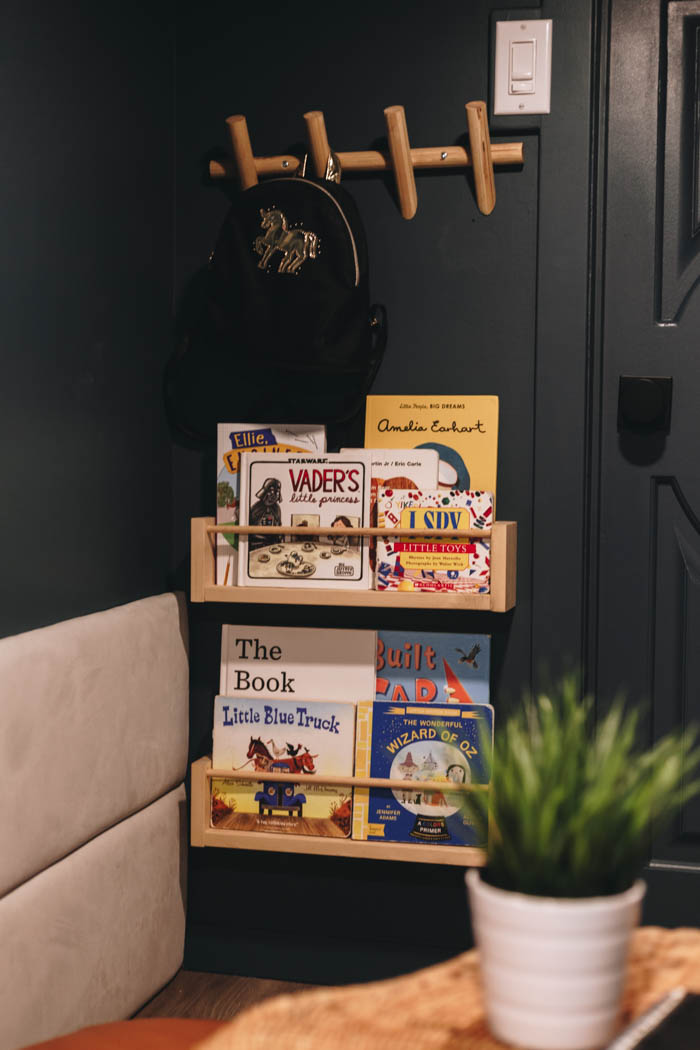
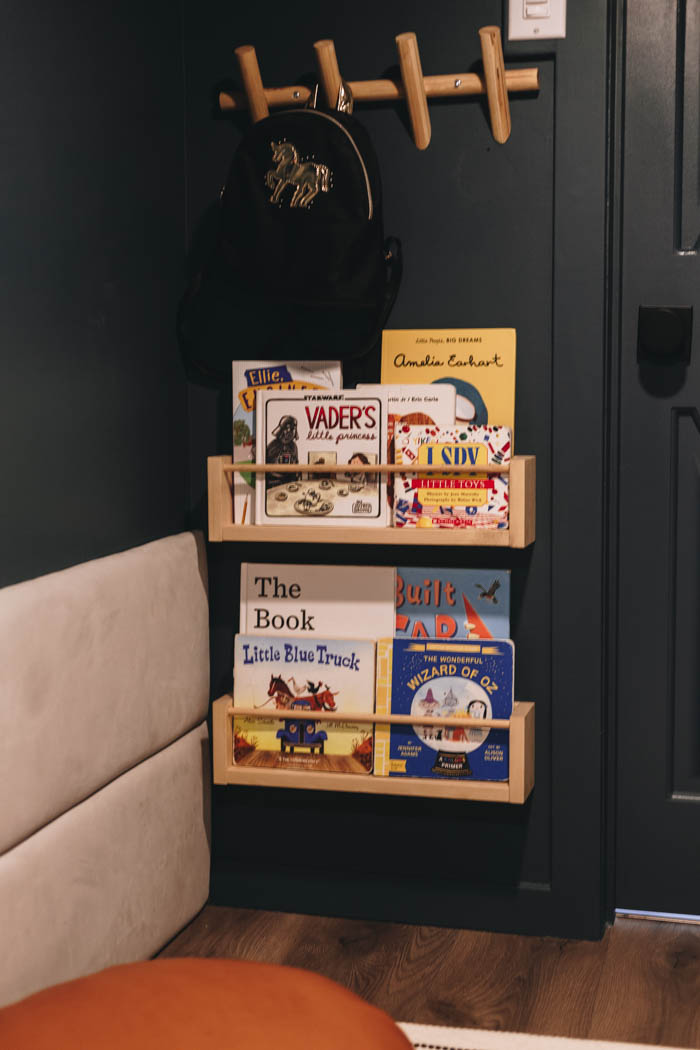
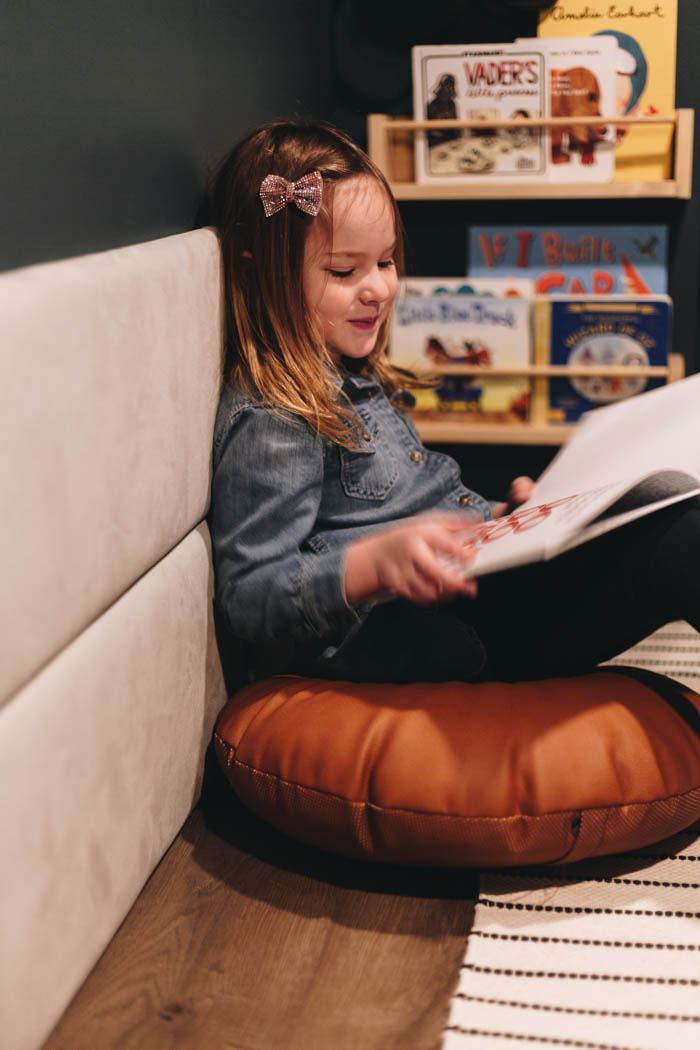
Scrap Wood Shelves and Hooks
In order to really make this a reading nook, I needed to make some book shelves. I used scrap wood from our collection of leftovers to make a couple of cute bookshelves, and some modern hooks. If you want to see how we made the scrap wood projects, check out the video for the book shelf and hooks.

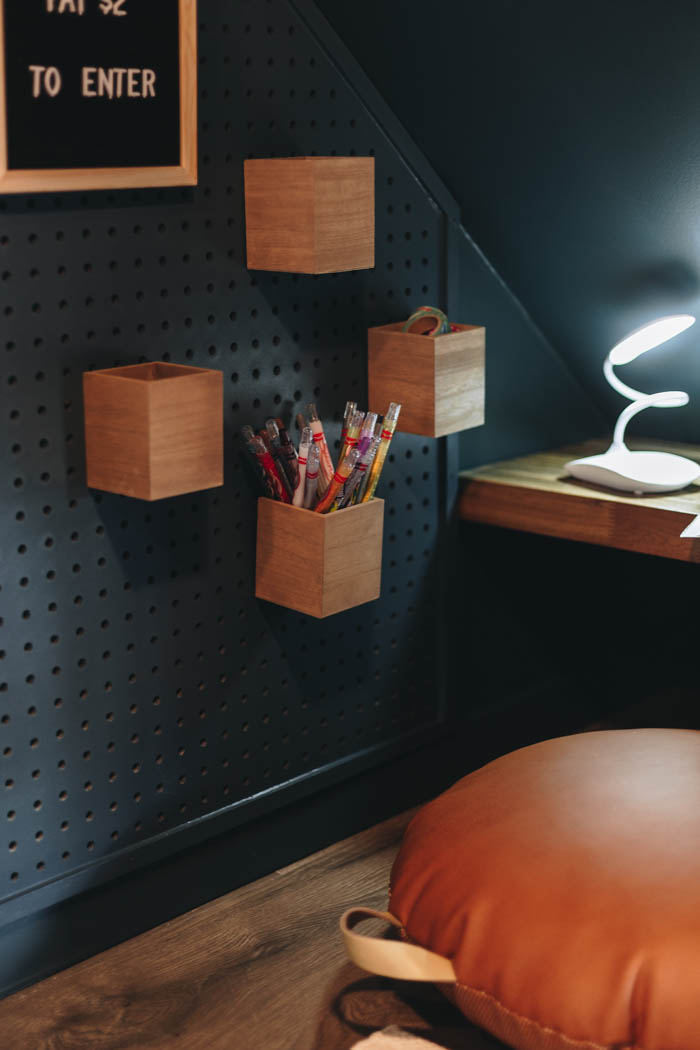
Our Kids Pegboard
Once the desk was installed we want a place for the kids to hang photos, store some coloring supplies and help organize the space. We had some old pegboard lying around so we templated the area we wanted to install the pegboard and cut out some beg board.
Russel added some 1/2″ by 1/2″ pine trim with a 1/4″ groove in the centre to go around the pegboard. This added some rigidity to the peg board and also pushed the board out from the wall. Once we confirmed if we we painted it the same as the door with the Valspar primer and Sequoia Glade semi gloss paint as we assumed it would get lots of kids finger marks and wanted to make it east to wipe clean.
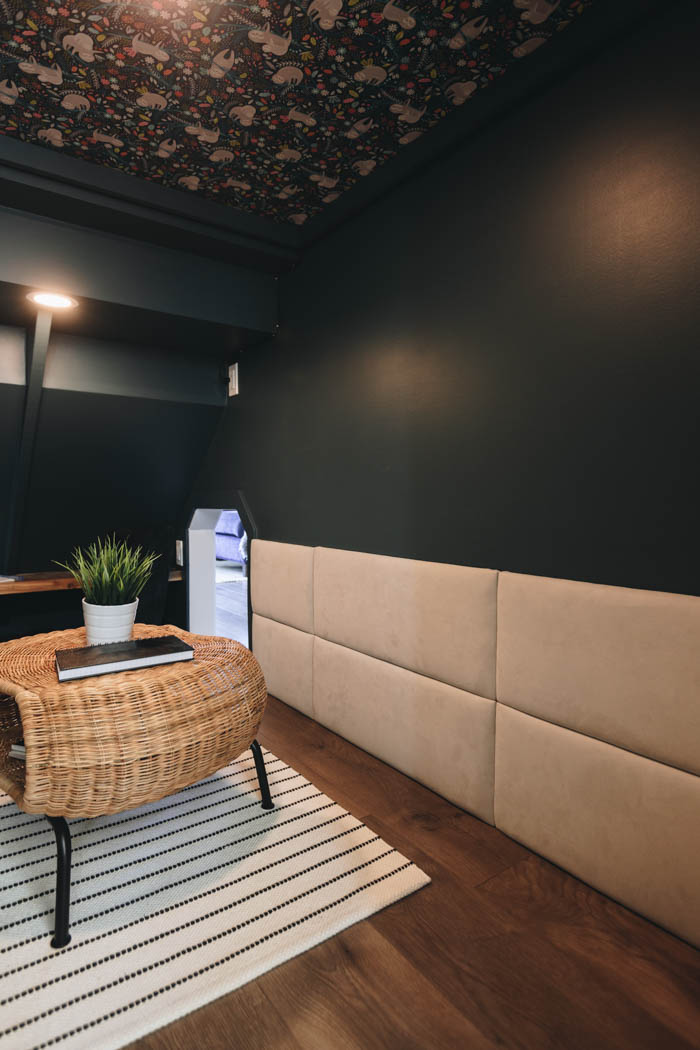
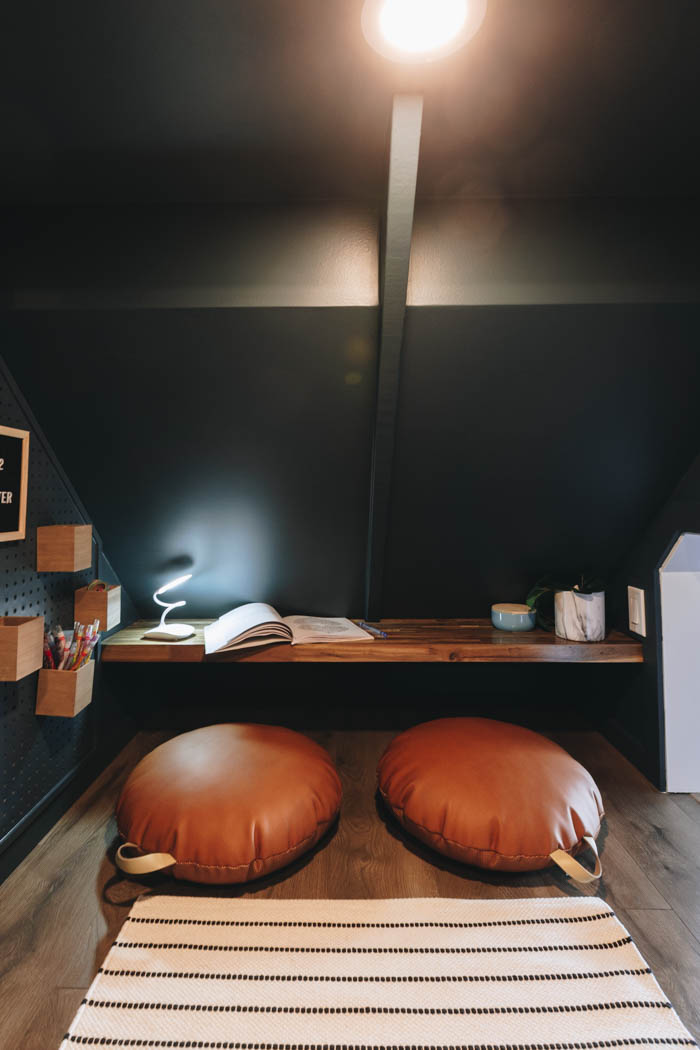
Fabric Wall Panels
The fabric wall panels felt like a stroke of genius. I was wondering how to make it feel like a reading nook, without overpowering the space with a giant beanbag or chairs (since it was pretty small to begin with!).
So I bought $100 worth of foam and fabric, and we used scrap MDF to build the these wall panels that the kids could lean on with a floor cushion under their bums. Cozy, comfortable, and doesn’t take up any of the valuable floor space!
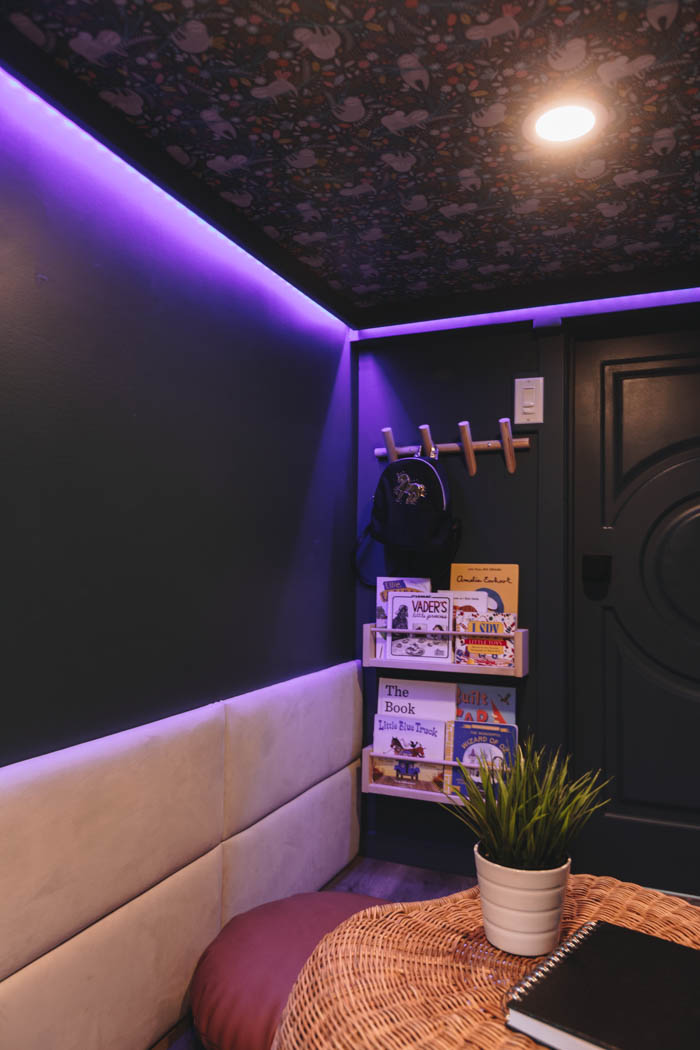
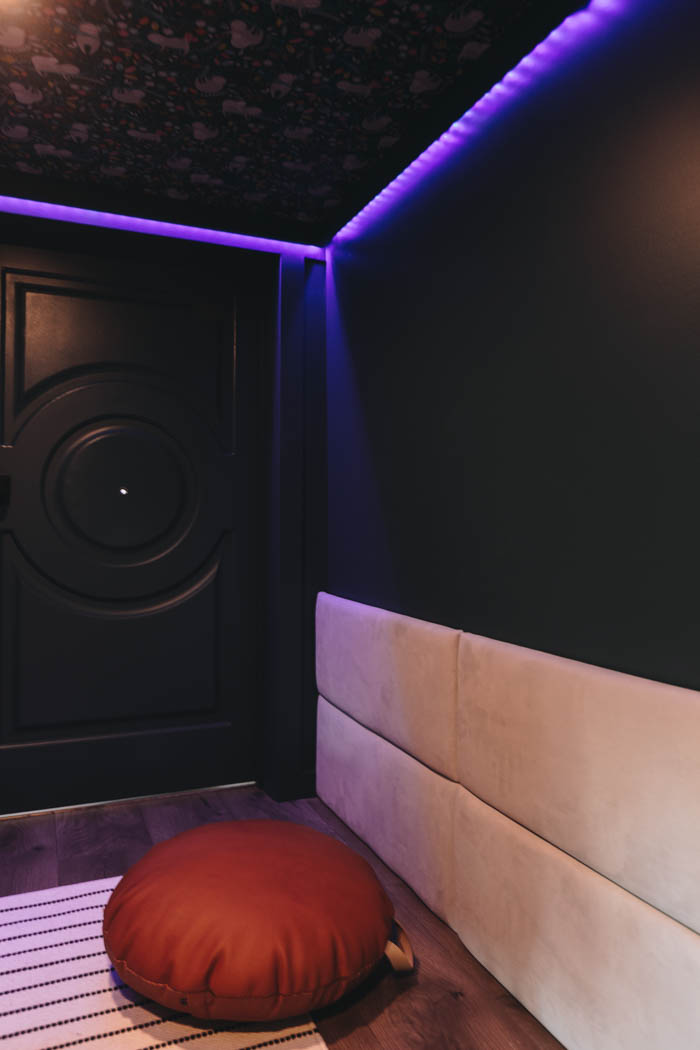
LED Lighting
Now this came from Russel, but according to him you can’t have an Ultimate Under Stairs Playroom with out LED lighting. Russel quickly made up some “L-shaped” MDF moulding to hide the LED light strips. There were made from 3/4″ MDF and were 1 1/2″ wide x 2 1/4″ tall. I attacked the mouldings to ceiling and stuck the LED light strips in place.
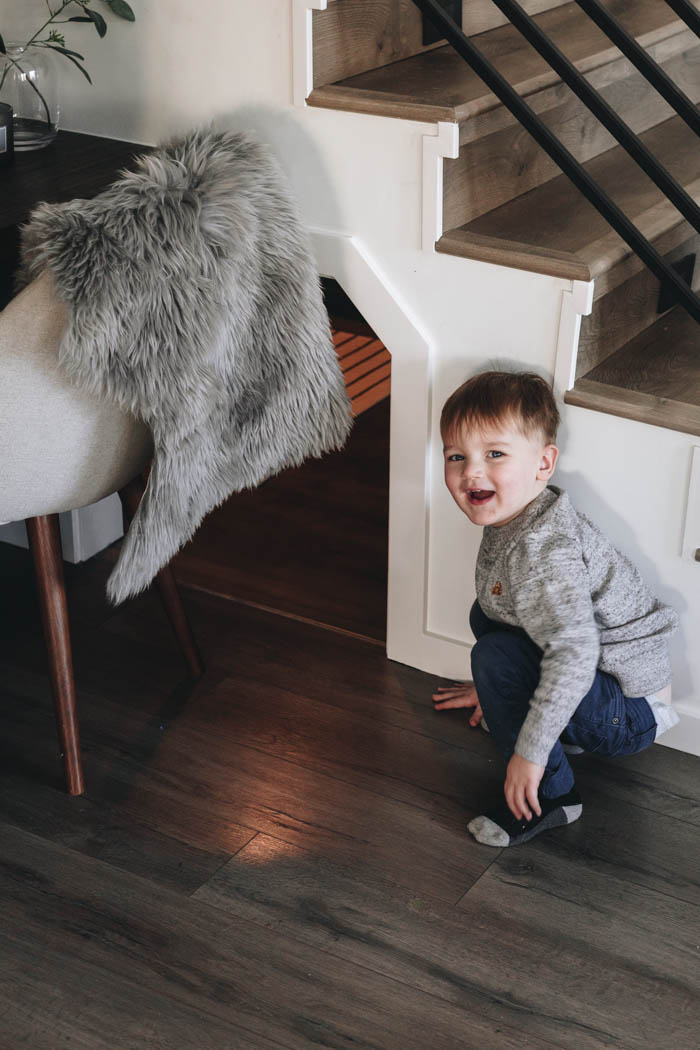
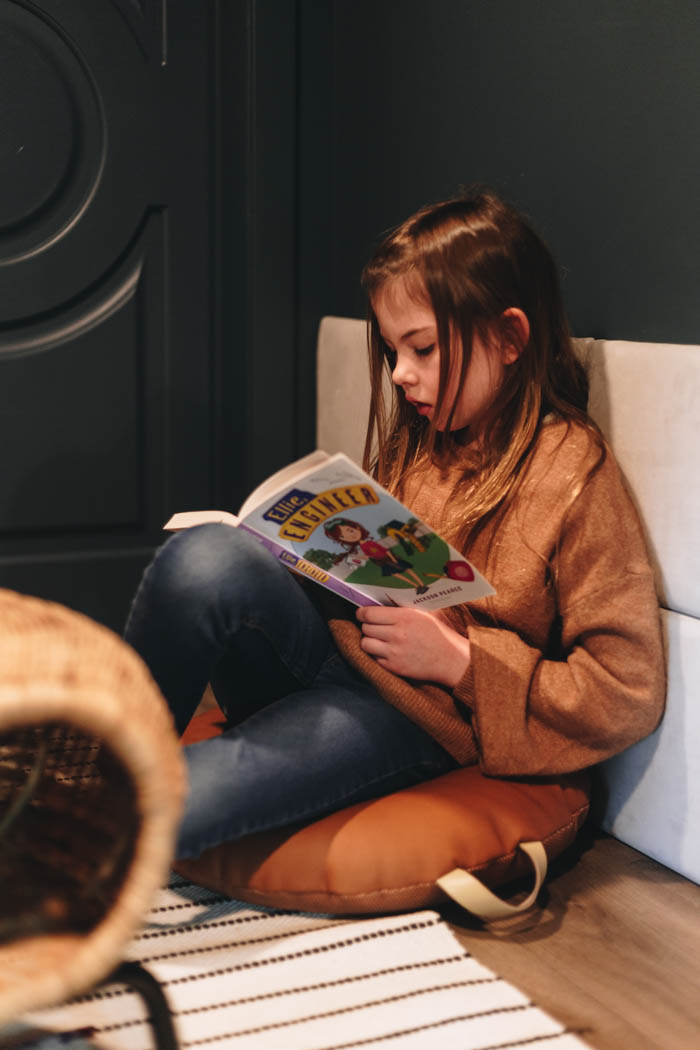
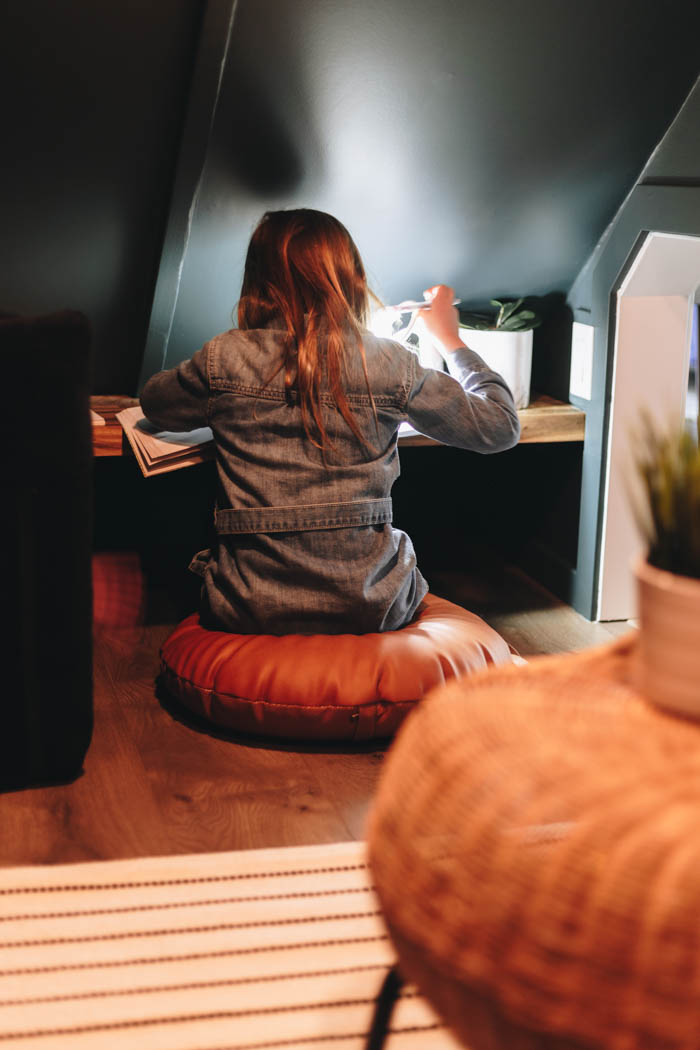
Our Kids in Their Finished Playroom Under the Stairs
Because it doesn’t feel like a playroom without kids enjoying it, here’s a few pics I shot of our kids playing in their new space!
Products used in this space
If you’re curious about any of the products we used, follow the links below!
- Desk lamp (Canada link here)
- Floor chair (Canada link here)
- Footstool with storage
- Rug
- Cushions
- Wallpaper
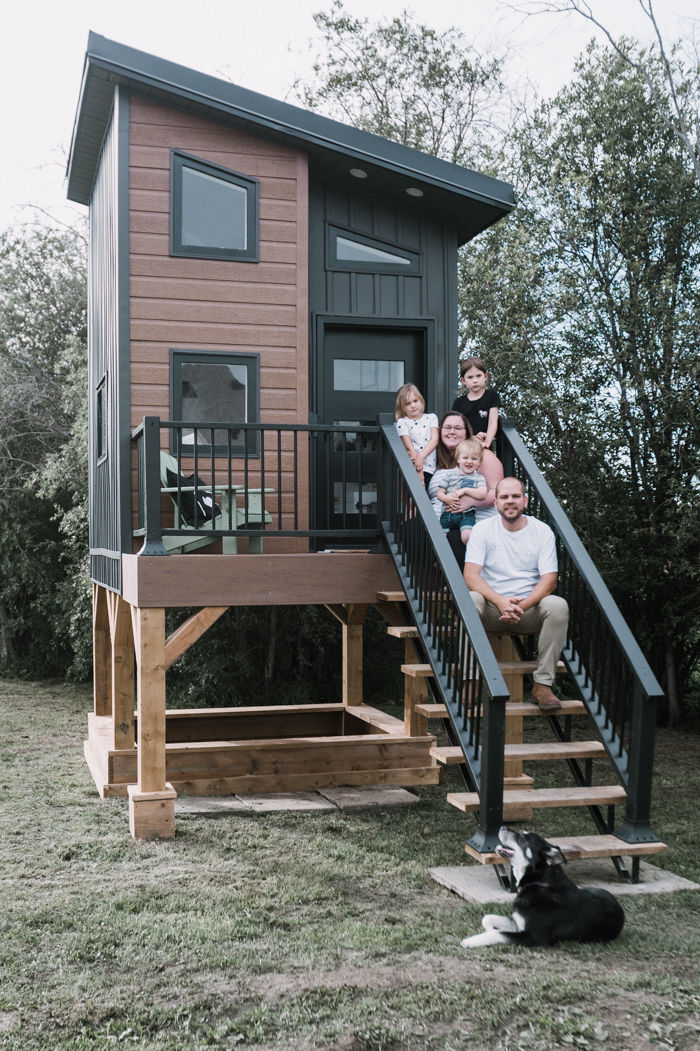
If you want to see another amazing space for kids, make sure to check out this Playhouse Build!


Milagros Carter
Saturday 8th of April 2023
What shades were you considering for the dark blues?
Hazel Grace
Thursday 11th of February 2021
This is such an amazing transformation of the house. Your blogs are always so inspiring and so different. My favorite part was the LED lights in the room.
Lindi
Thursday 11th of February 2021
Thank you so much! The LED lights are probably the kids' favourite parts too! They love the lighting!