
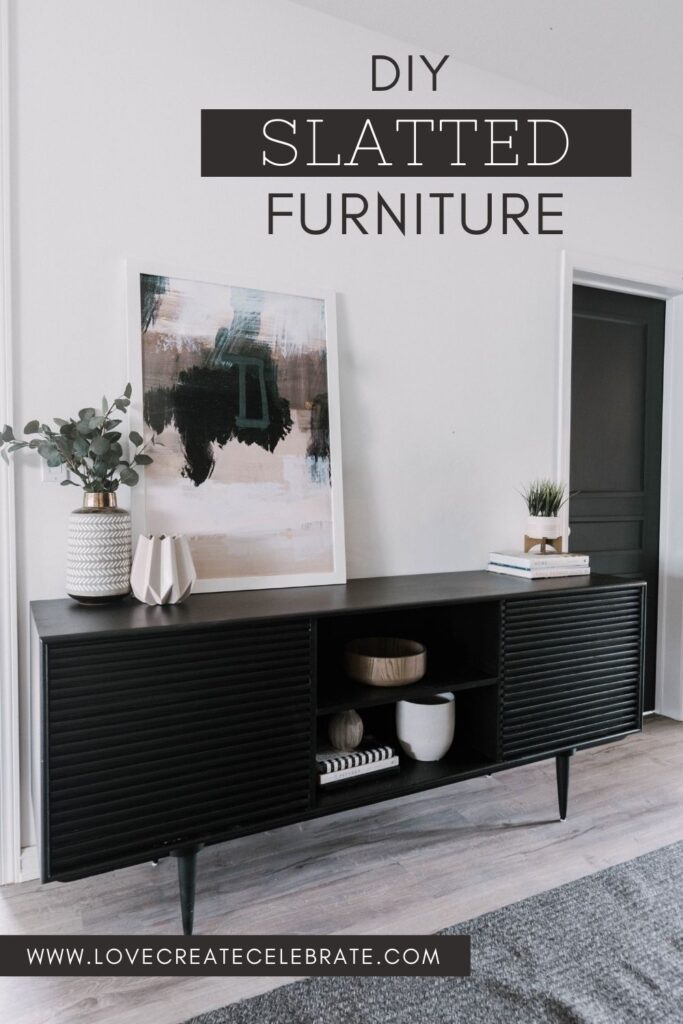
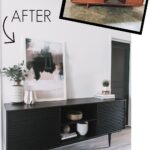
Make this beautiful Modern DIY Sideboard! Revamp an old piece of furniture, or add character to a new piece by adding wood slats!
It has been quite a while since we did a furniture flip hasn’t it? This week we tackled a piece that we’ve had for a long time, but just never quite loved. This modern DIY sideboard was born partially out of our need for more storage, and partially out of our need to either DIY this piece so that we actually liked it, or move it out of the house!
*This post was sponsored by Wagner and may contain affiliate links. As always, opinions are 100% my own. For more information, please see my disclosure page.*
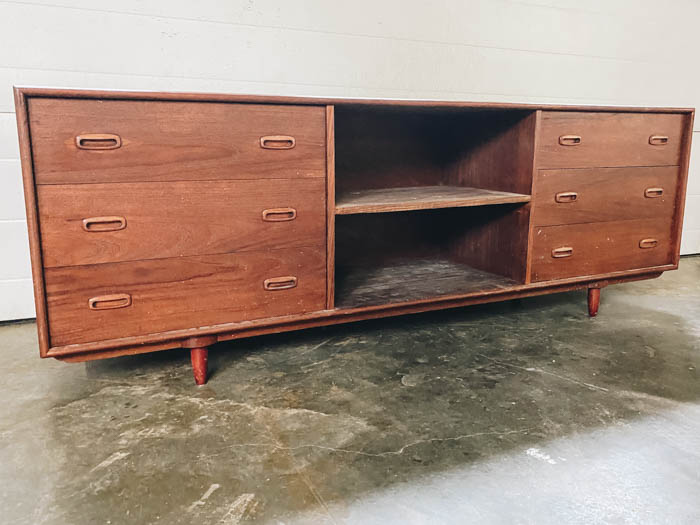
Here is the piece that we started with! Pretty basic mid-century modern sideboard. We gave it a revamp once before, trying to keep the wood, but we just never loved the piece.
It had a damaged drawer, so we swapped out the three middle drawers for a shelf and we still love that change, but it needed another revamp to turn it into a piece we loved.
DIY Sideboard Makeover Video Tutorial
I’ll share all of the steps below for this DIY sideboard project, If you want to see the sideboard makeover in action including the entire tutorial, and how we open and close the drawers now, then check out the video here:
Don’t forget to subscribe to our channel while you’re there!
Modern DIY Sideboard Tutorial
A full list of tools and materials for this makeover is in the summary at the bottom of the post!
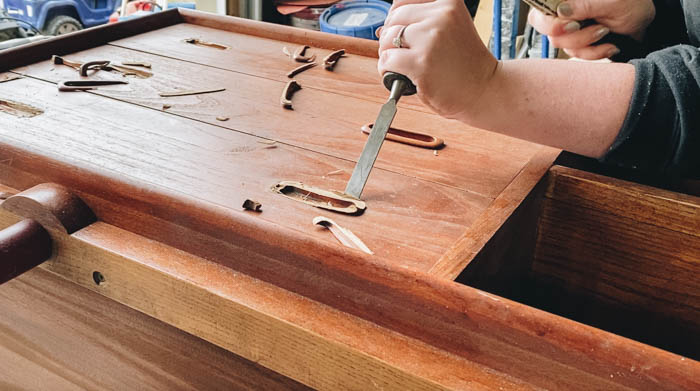
The first step is to remove the wooden handles that we weren’t in love with. We used a chisel and a hammer to do this quickly and easily.
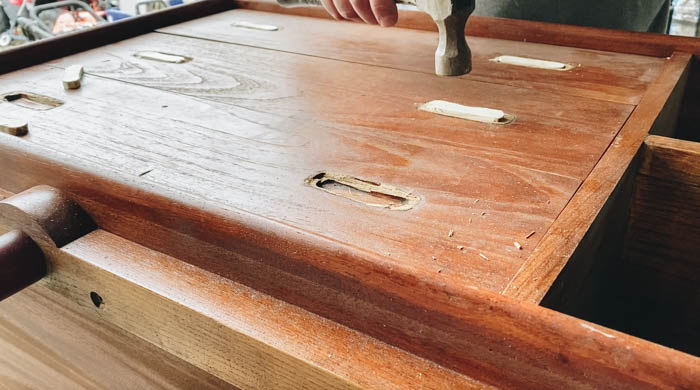
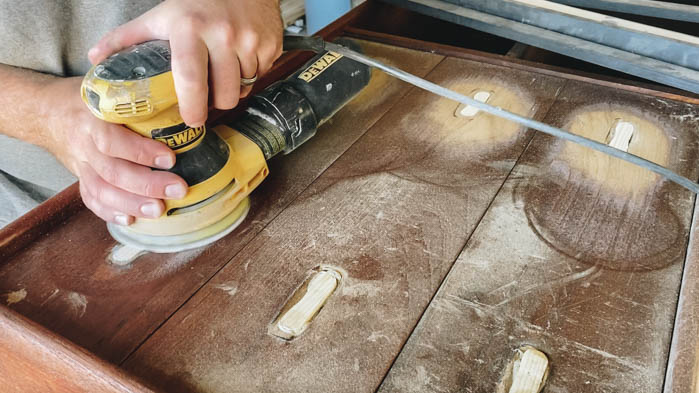

The next step is to fill the voids let from the handles. Depending on the piece you have, you may just be able to use putty to fill small holes. Are holes were larger and deeper, so we cut a custom wood piece to fill it.
We traced the hole onto paper, then cut a small piece of scrap wood to fit it and glued it into the hole. When it was dry, we sanded it down and added wood filler to fill in the cracks. Then sanded down the wood filler after it was set.
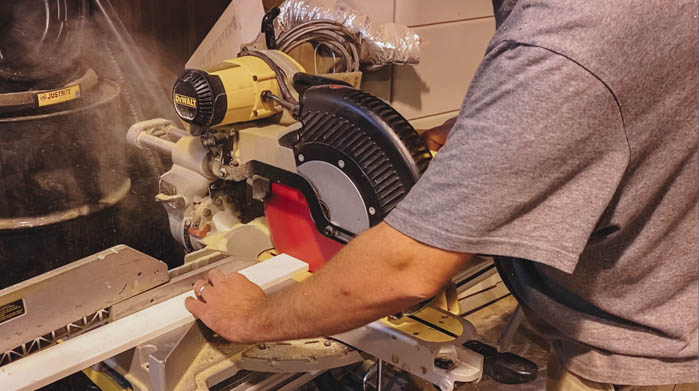
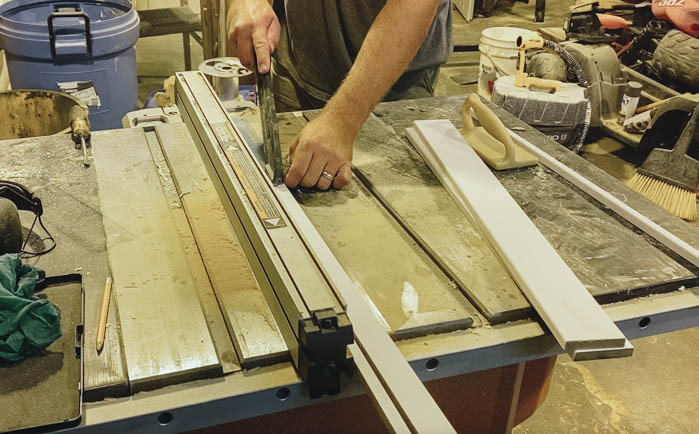
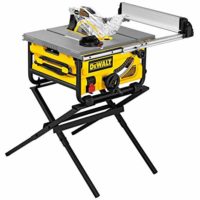
To make the DIY slats we cut MDF pieces (actually old mouldings we had leftover!). We cut them to length using the mitre saw, and to width using the table saw, to make 1/2″ x 1/2″ slats.
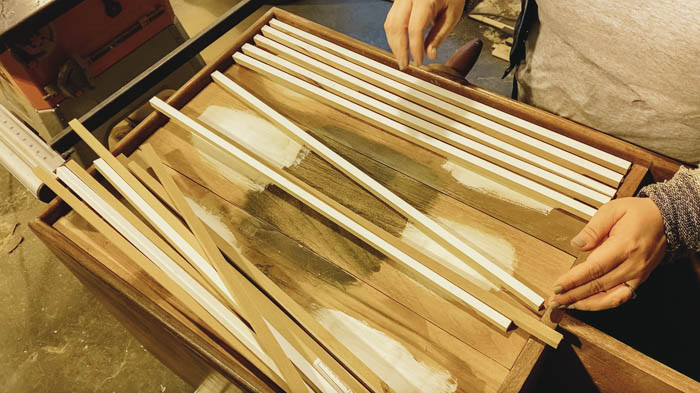
We spent a lot of time making sure that the spacing would work and the slats would fit nicely on our piece. We were lucky that we could mostly use an extra piece of moulding as a spacer.
We didn’t have quite enough space, so we did fudge a few spots, making the spacing slightly smaller, but no one will ever notice a mm difference here and there!
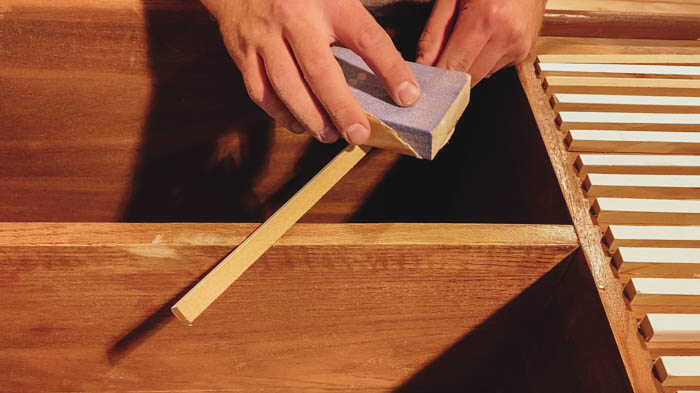
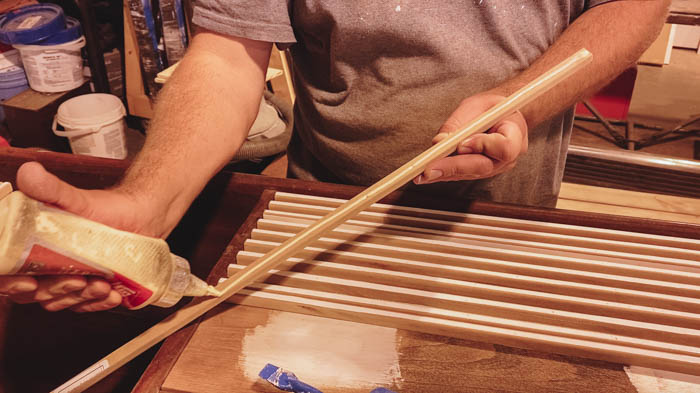
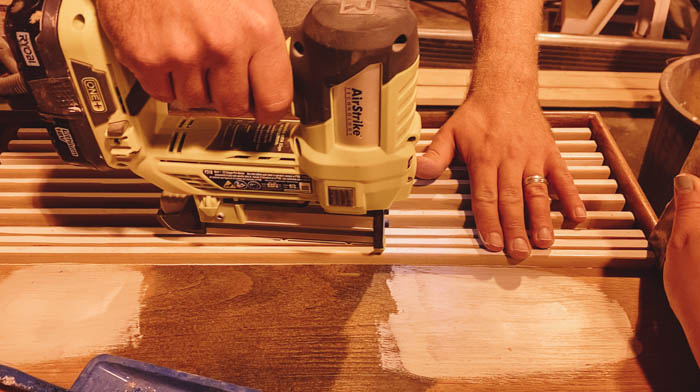
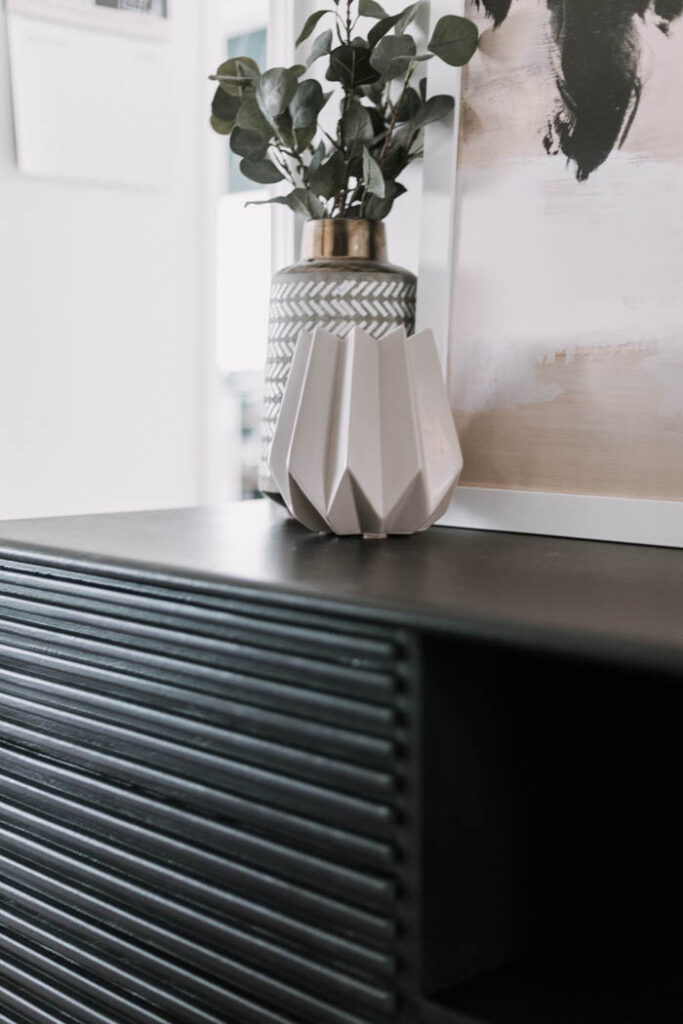
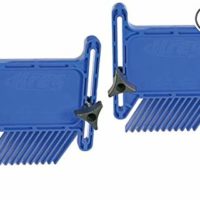
We sanded the edges of each slat to mimic the rounded edges of the original piece, and then glued them in place with wood glue and nailed then down with our pin nailer.
In the video above we share three different ways to sand the edges of the MDF slats. Sanding the edges was a small thing visually, but makes a huge difference when you look at the finished project. Just a tiny radius on the edges softens the whole piece and makes it look more intentional.
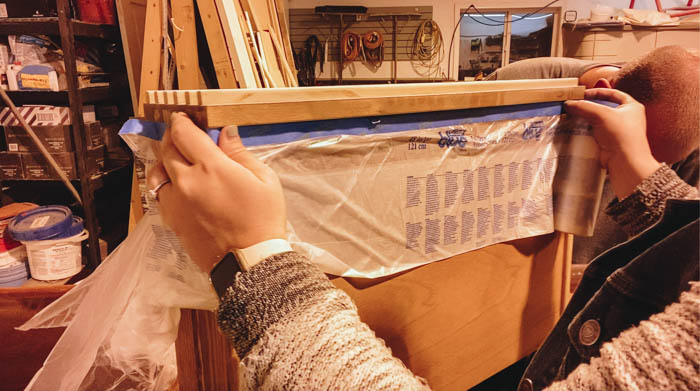
We used a tape roll with plastic attached to protect the drawers before painting. We taped off everything on the drawers except the fronts, and we taped off the slides on the inside because we didn’t want paint to get inside and ruin or affect how nicely the drawers slide in and out.
We also gave all of the wood a light scuff to help the paint adhere better and wiped it down before painting.
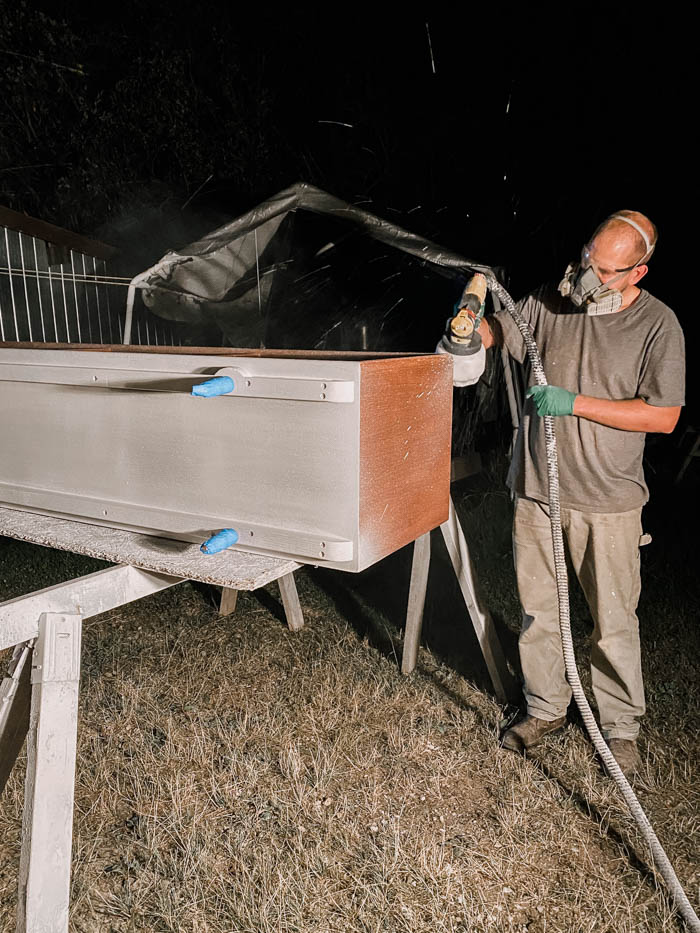
We used our Wagner Flexio 5000 paint sprayer to spray the entire piece with primer first.
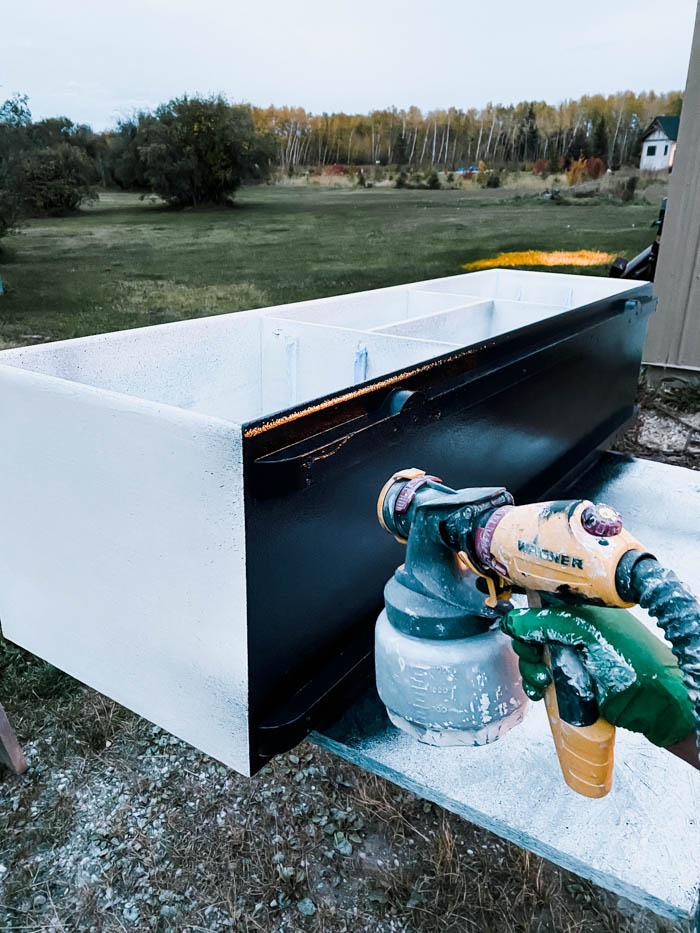
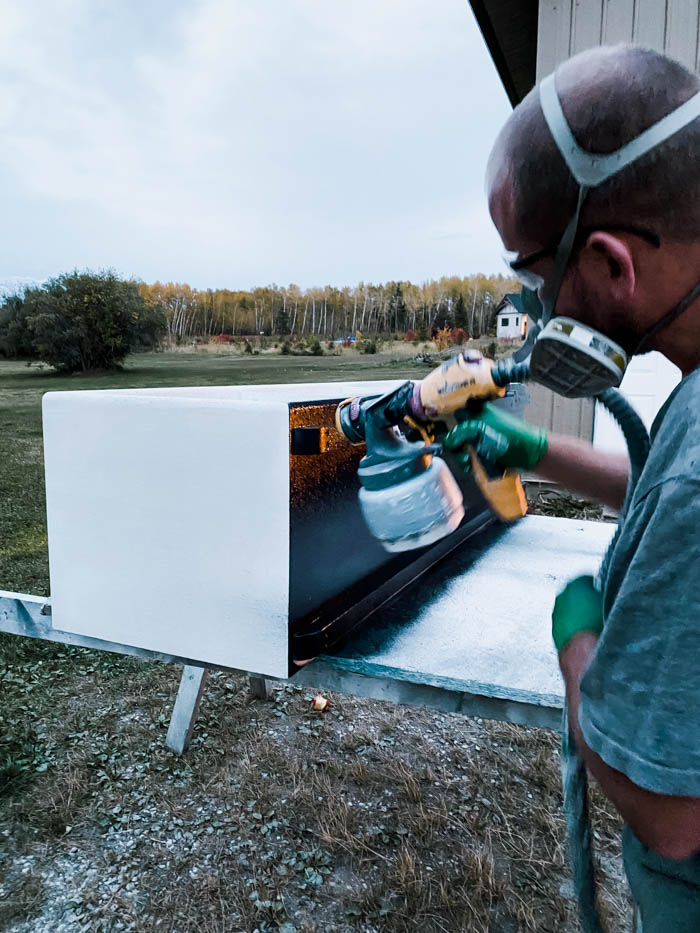
When the primer was set, again we used our Wagner Flexio 5000 paint sprayer to spray the black paint. The paint sprayer was so fast and made it SO easy to get into all of the little groves between the slats – it was definitely the right choice for this project!
In the vide above we shared a few quick tips for things to do when your drawers don’t go back on nicely after painting. This is a common issue, and SO easy to fix! It’s amazing what a couple mm of paint can do to the spacing. Check out the video for our tips on fixing that common issue!
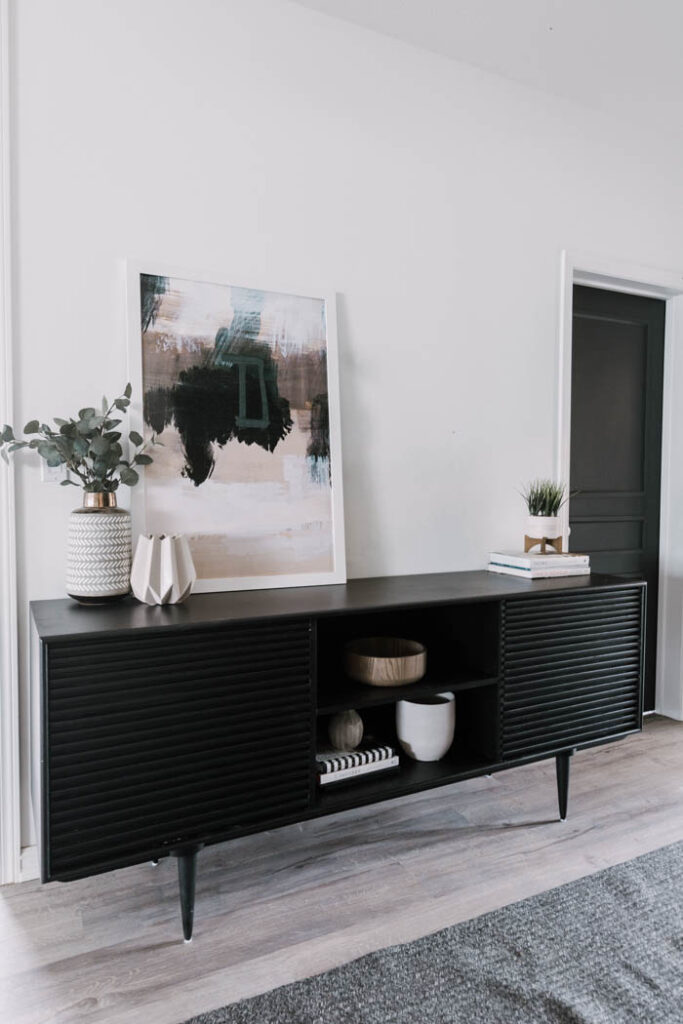
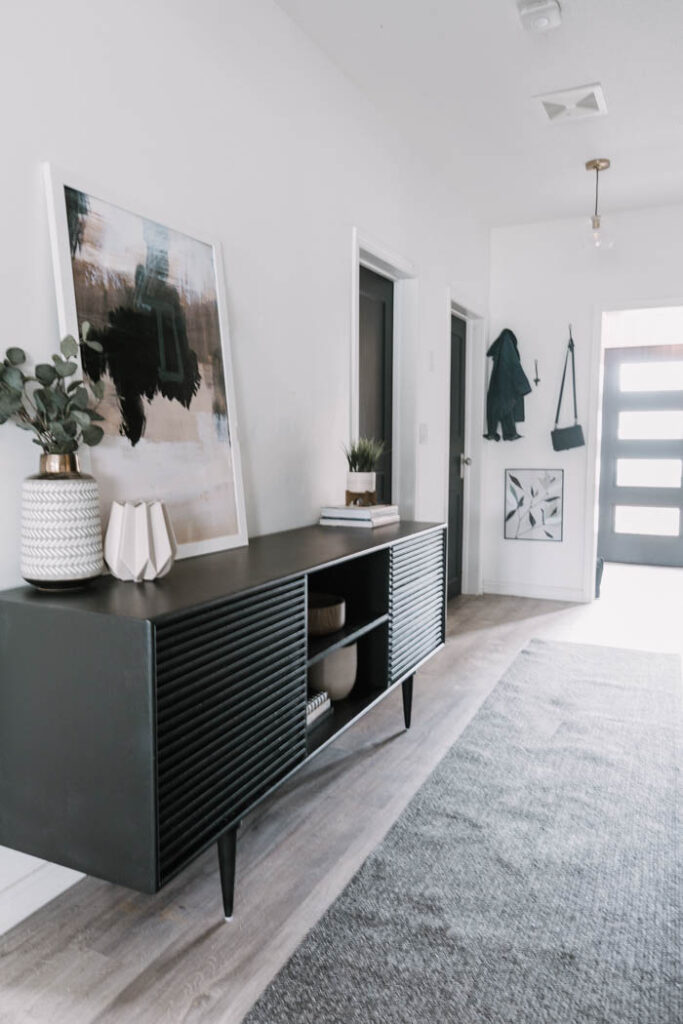
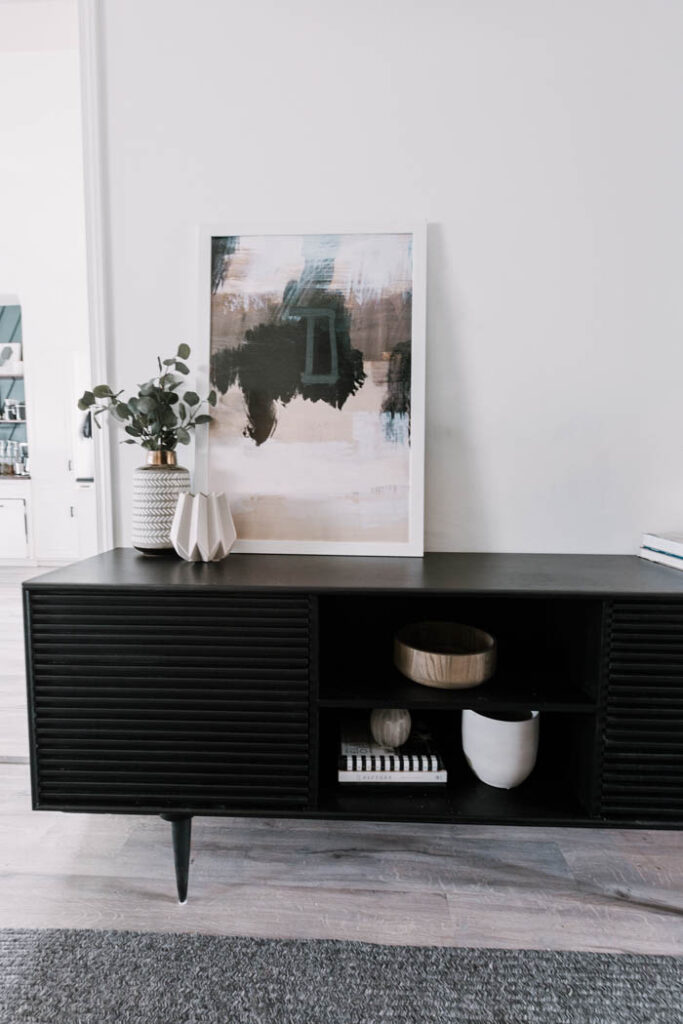
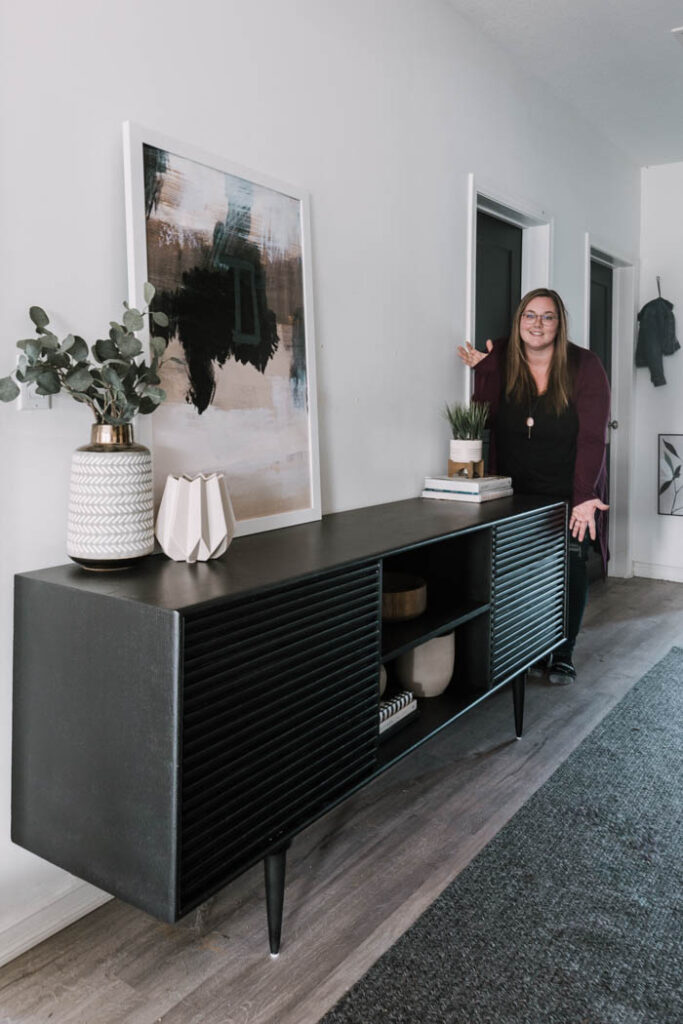
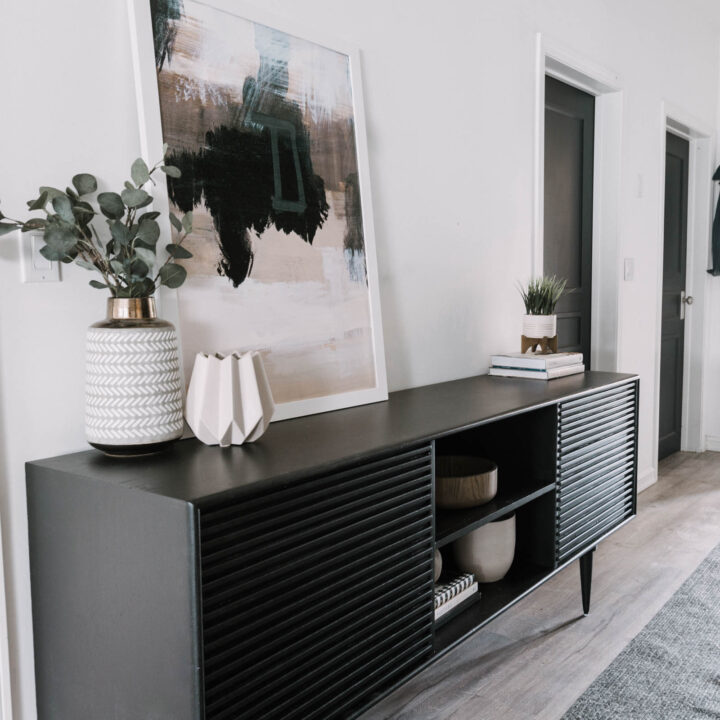
Finished Modern Sideboard Makeover
We honestly could not be happier with how this project turned out! It is the perfect piece for our home, and something that I’m actually excited to use every day!
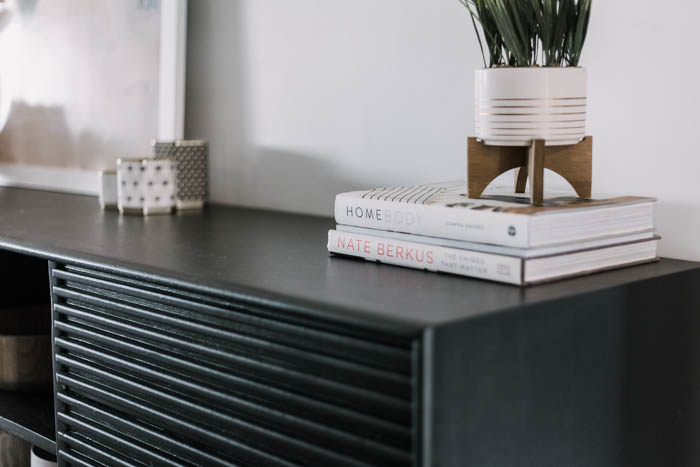
For now I filled it with table linens, napkins, place settings, etc., and I’m sure I’ll find more beautiful pieces to fill it with as well! It’s a stunning decor piece, a beautiful piece of furniture, and the perfect fit for our home!
DIY Sideboard Makeover
Materials
- Old sideboard
- Wood filler
- MDF (to cut into slats)
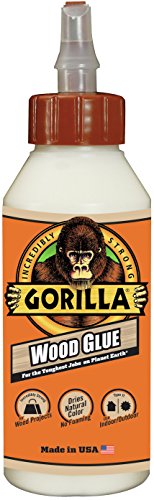
- Wood glue
- Paint
Tools
- Flexio 5000 Wagner Paint Sprayer
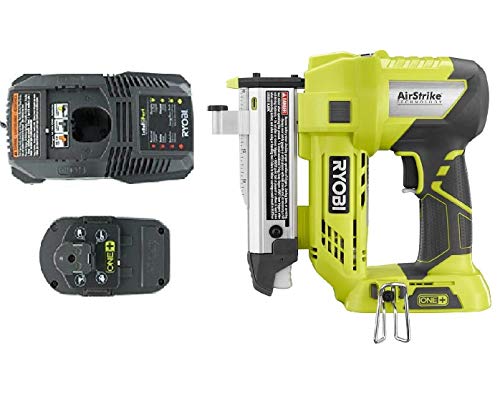
- Pin nailer
- Table Saw
- Mitre Saw
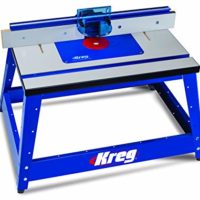
- Router table or sand paper
Instructions
- Remove old handles (with a chisel and hammer if necessary)
- For a smooth surface, fill handle voids with wood scrap pieces and glue in place. Send down when glue dries and fill cracks with wood filler. Sand wood filler when dry.
- Cut 1/2" x 1/2" MDF slats to the correct length using a mitre saw, and to the correct width using the table saw. Cut enough to cover the drawer fronts.
- If desired, sand down the sharp edges of the slats to give them a small radius with sandpaper, a hand sander, or a router table.
- Spend time spacing out the slats correctly, making sure none of them will cover the drawer openings.
- Attach wood slats with wood glue and a pin nailer.
- Scuff piece with sand paper, and tape off any parts that you do not want to get paint on (e.g. drawers and drawer slides).
- Prime entire piece with the paint sprayer.
- When primer is dry, paint sideboard with the paint sprayer.
Notes
See the YouTube video for more detailed instructions!
Recommended Products
As an Amazon Associate and member of other affiliate programs, I earn from qualifying purchases.


Learn more about How to Use a Paint Sprayer here!


Sydney85
Saturday 3rd of October 2020
What paint did you use? The sideboard looks fabulous!
Lindi
Saturday 3rd of October 2020
Thank you! We had leftover paint from a previous project, but it was Forge Black from Para Paints!