
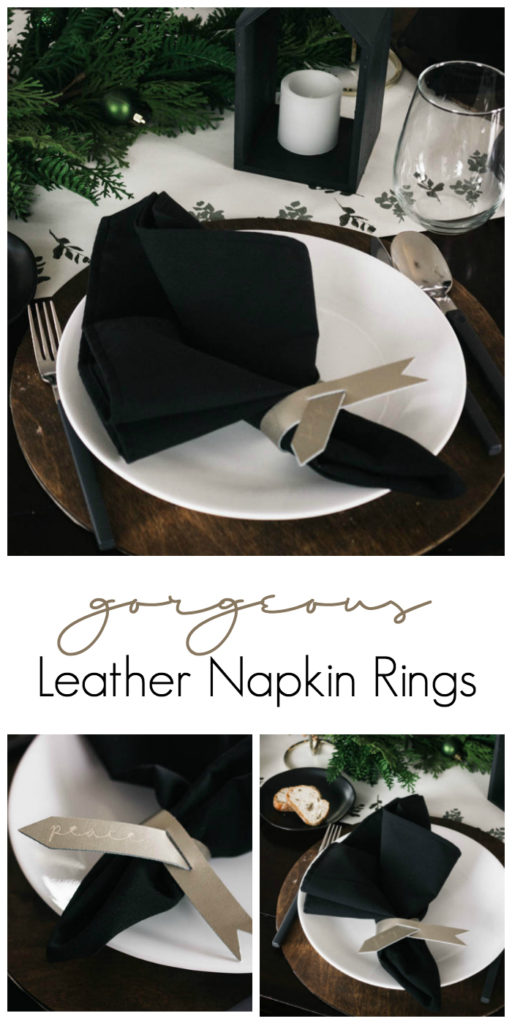
Do you ever get ideas in your head and think, “Ohhhh, this is gonna be good!” Anything. A new recipe, a decoration you bought, a way to magically get your kids in bed on time… (ps – share if you came up with that last one!). That’s what I thought when I decided to make these DIY napkin rings. This is gonna look goooood! I never actually know until my project is done, but I was excited about this one from the get-go.
*This post was sponsored by Cricut. As always, opinions are 100% my own. For more information, please see my disclosure page.*
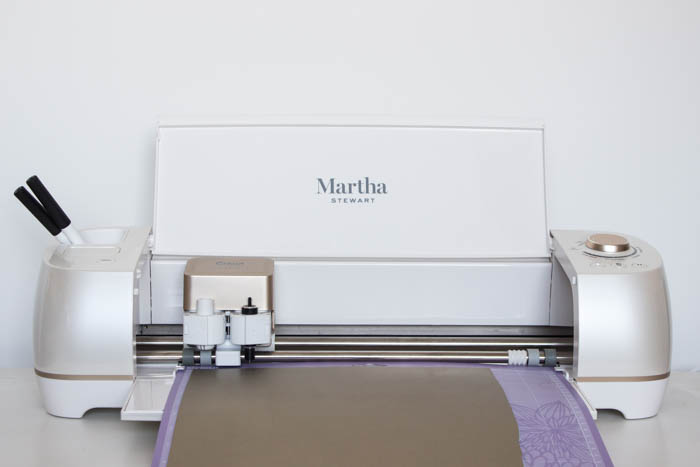
The Cricut machine is so versatile. I feel like a broken record go on and on about all of the amazing things that the machine can do, but then I asked on Instagram if everyone knew that this machine could cut leather and 94% of my audience said “No!”. 94% of you still didn’t know! So I’m sharing all of the magic of the Cricut Machine now.

What you need to make your Leather Napkin Rings:
- Cricut Machine
- EasyPress 2
- Cricut Metallic Leather (gold)
- Martha Stewart Iron-On vinyl (gold)
- EasyPress mat
- Knife Blade
- Standard grip mat 12×24
- Leather Cut File in the Cricut Design Space: HERE
- The Vinyl Cut File in the Cricut Design Space: HERE
How to Make Leather Napkin Rings:
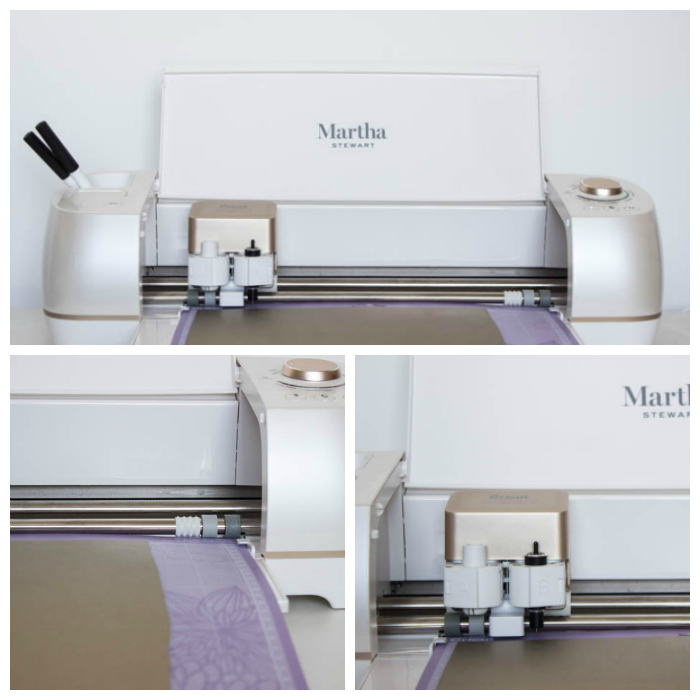
There are a few important things you need in order to cut leather on the Cricut machine:
- You need a Strong Grip Cutting Mat (to hold the leather down)
- Knife blade (the black housing)
- You need to move all of the white stars on the bar to one side (see photo in bottom left above)
- You need to cut off the piece of your leather sheet that would roll under the star wheels

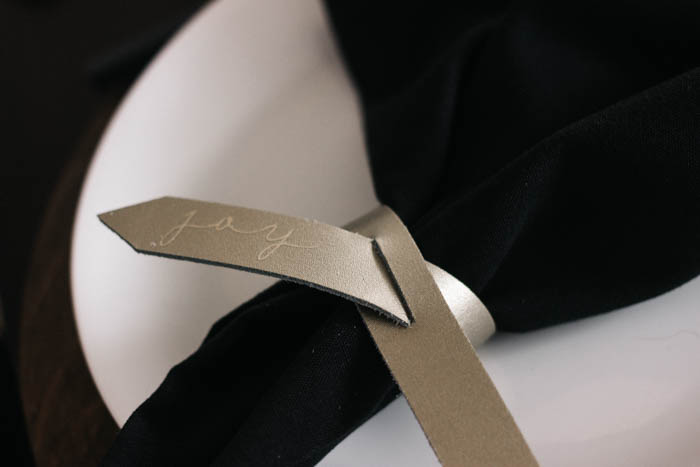
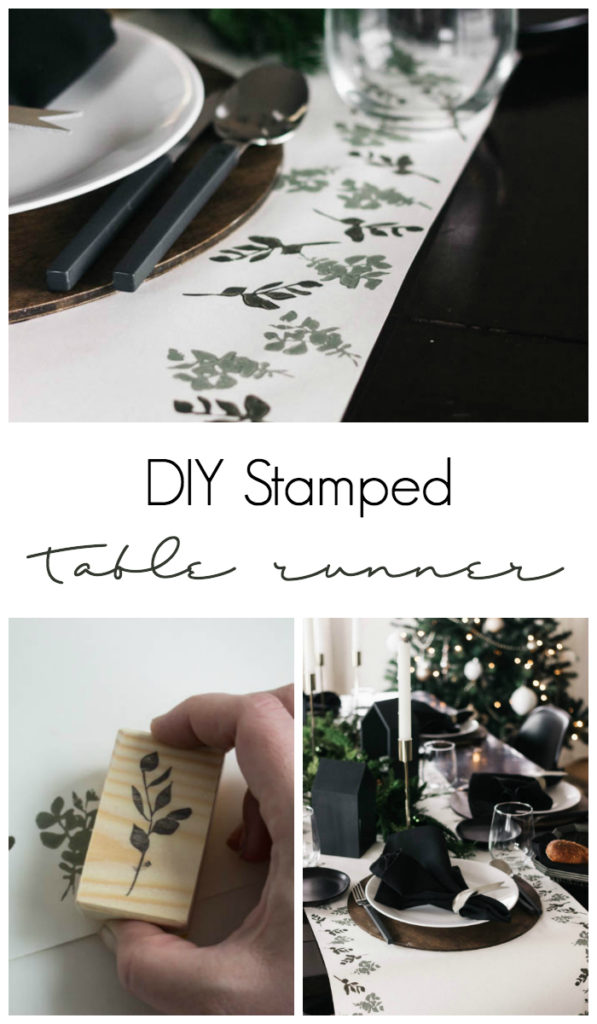
I used the above tips to cut leather on the Cricut machine for my napkin rings. Once they were cut, I knew I wanted to add a subtle holiday flare to them, so I decided to use iron-on vinyl. With the EasyPress 2 it is soooo easy to add vinyl to your designs. It’s a better version of an iron! Better because it’s more portable, provides even heat, and has specific heat settings! You just heat it up, and press it down on your vinyl. That’s it.
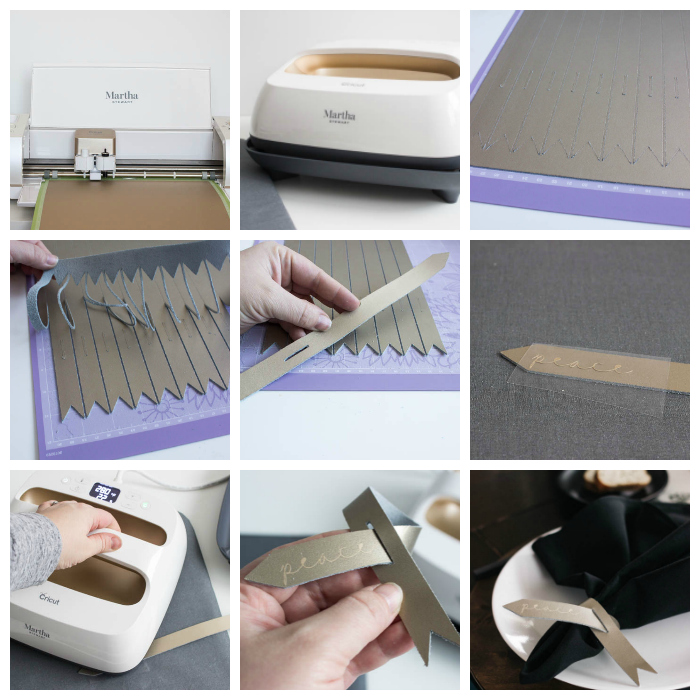
So go ahead and print that second Design Space File on some iron-on vinyl. Make sure to put the shiny side down, and to select “Mirror ON” before you print the design (i.e. it should print backwards).
Peel your leather arrows off of the mat. Then place your vinyl words on top of the leather (you will have to cut out the words individual, and then remove the parts of the vinyl that are not needed, just leaving the letters underneath the shiny protective layer). Place your word on top of your leather and use the recommended settings for “faux leather” with the EasyPress 2 to apply your design. Peel off the plastic protective layer while it’s still warm, and your napkin rings are done!
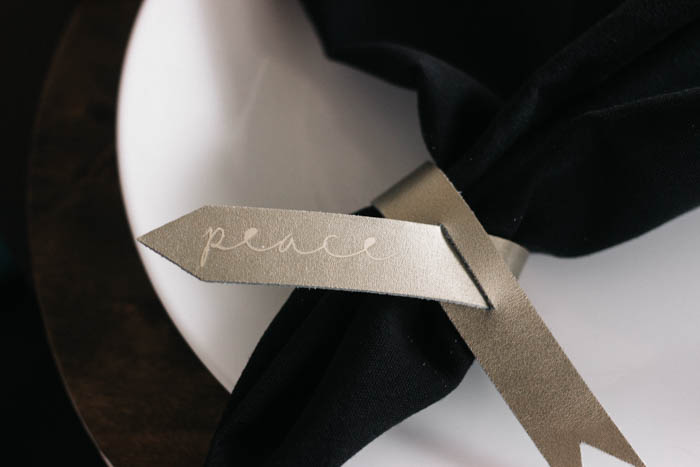
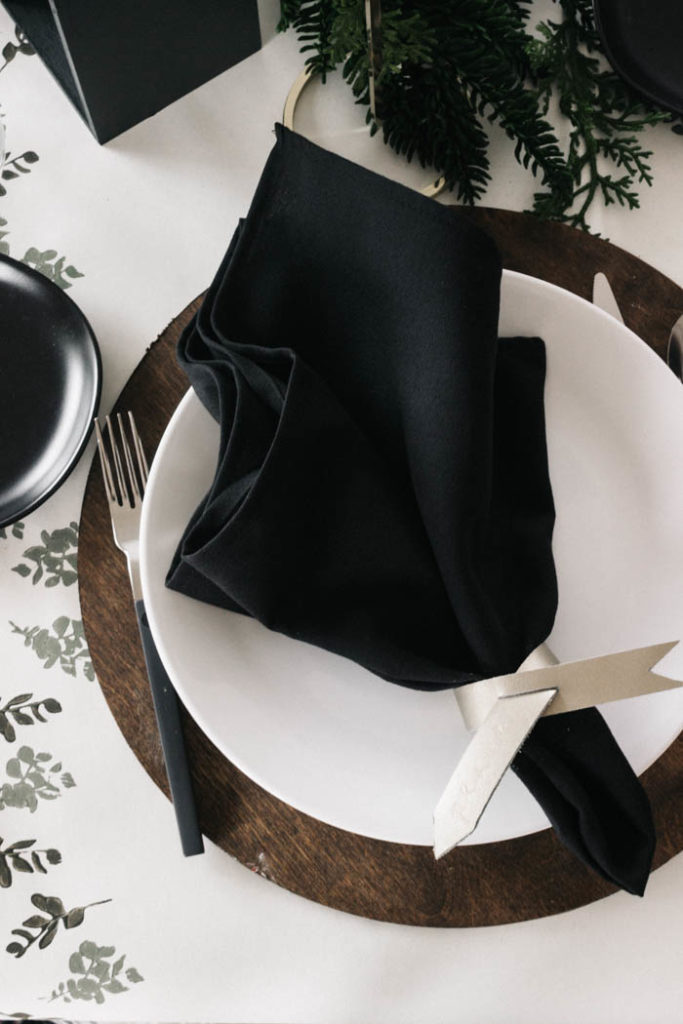
I could not love this project more! I love the subtlety of adding gold onto gold. Every guest will notice it when they sit down at the table, but it’s not an overbearing part of the table design.
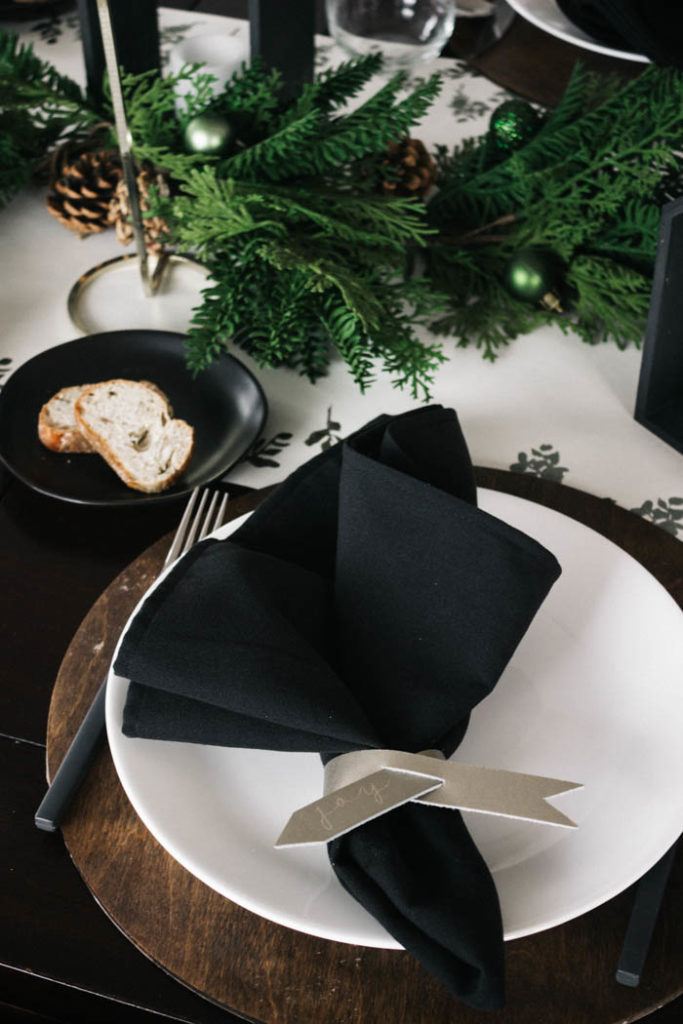
And how good do those metallic napkin rings look?! I may make some more in a brown leather just because I love them so much!
What do you think?! If you recreate these, or try another leather project on your Cricut, I’d love to see it!
If you love this project, you may also love these:
This is a sponsored conversation written by me on behalf of Cricut. The opinions and text are all mine.
Laura
Sunday 5th of December 2021
I would love to make these napkin rings. They are just perfect. Unfortunately I could not get the link to work, every time I hit it I just ended up with a blank project in design space. Any help would be greatly appreciated. Thanks, Laura
Lindi
Monday 6th of December 2021
Hi! Sorry - Cricut has changed how they share files so I may have to look into how to make the file sharable again. I'll try to take a look asap :)
Sarah
Saturday 27th of March 2021
The files for your leather napkin rings are set to private. Are you still able to share them?