An easy tutorial on how to install laminate flooring on stairs! Including how to install nosing, custom trim, and in-tread lighting!
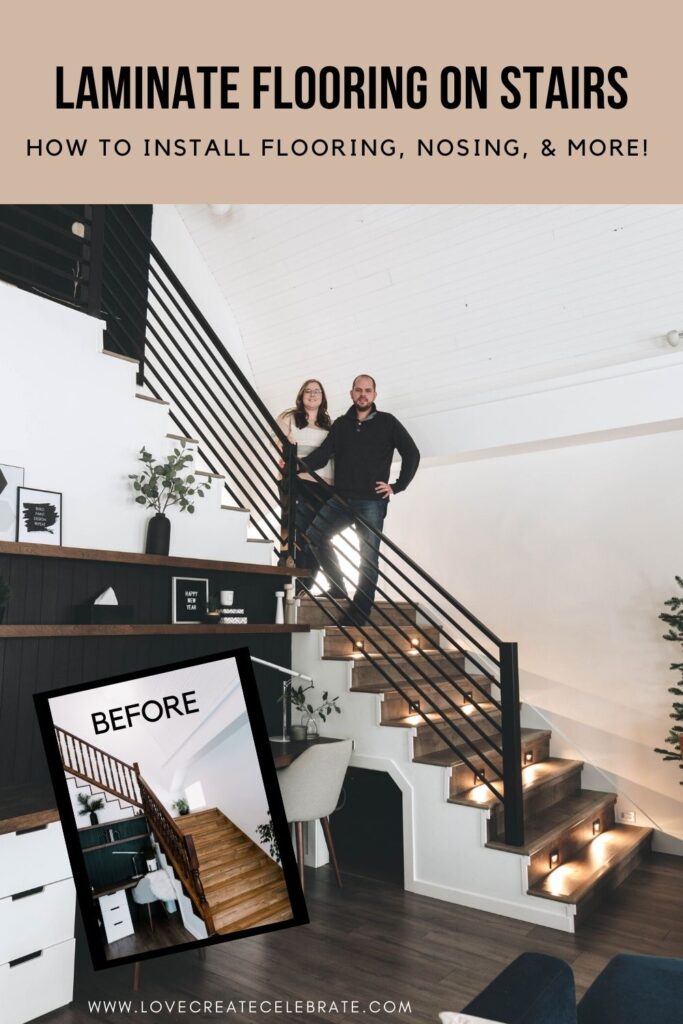
Russel here with another post about our staircase renovation. This time the post will be about all the things for installing laminate flooring on your stairs. We will go through the best tools, how to deal with removal of the old flooring, installation of trim, tricks for installation of new flooring, and even how to install in-tread lighting!
*This post was sponsored by Golden Select and may contain affiliate links. As always, opinions are 100% my own. For more information, please see my disclosure page.*
If Golden Select sounds familiar it is because we previously did a post on installing Golden Select laminate flooring in our dining and living areas here. We loved their flooring so much we wanted to partner with them again to complete our stairs! We also have a great video that shows the entire stair renovation process below.
If you want to see the entire process from start to finish, including the laminate flooring install, definitely give this video a watch:
Don’t forget to subscribe to our YouTube channel!

Step 1: Select Your Laminate flooring
Golden Select has multiple amazing colours to chose from, as we used Golden Select’s Silverwood color in our living and dining room previously we decided to go with the Silverleaf finish for our stairs. We decided to go with Golden Select laminate flooring because of its easy to use click/installation system, pre-installed foam backer, and that its laminate flooring is waterproof for up to 24 hours (which our 3 kids have already tested).
Golden Select also sells trim and nosing for all their flooring which is makes it easy to finish off your work as all the colours match perfectly! For our project we just needed their stair nose moulding but they also sell reducing, end cap, and T-moulding.
One item to remember is once you pick up your Golden Select laminate flooring you are going to want to let the boxes of flooring climatize to your house, this takes about 48 hrs (review Golden Select’s Installation Guide for specific details)
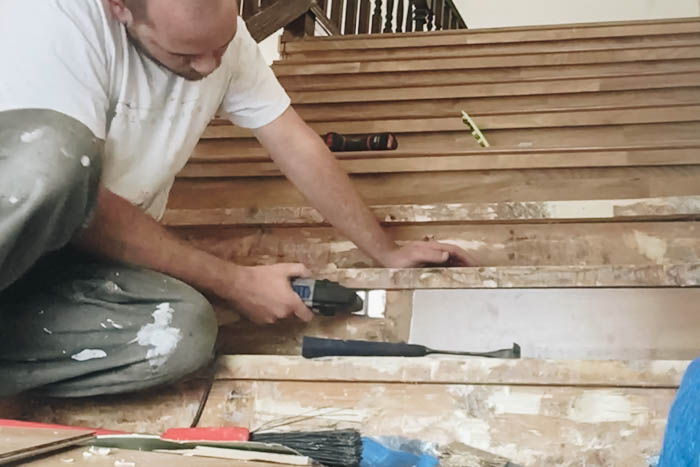
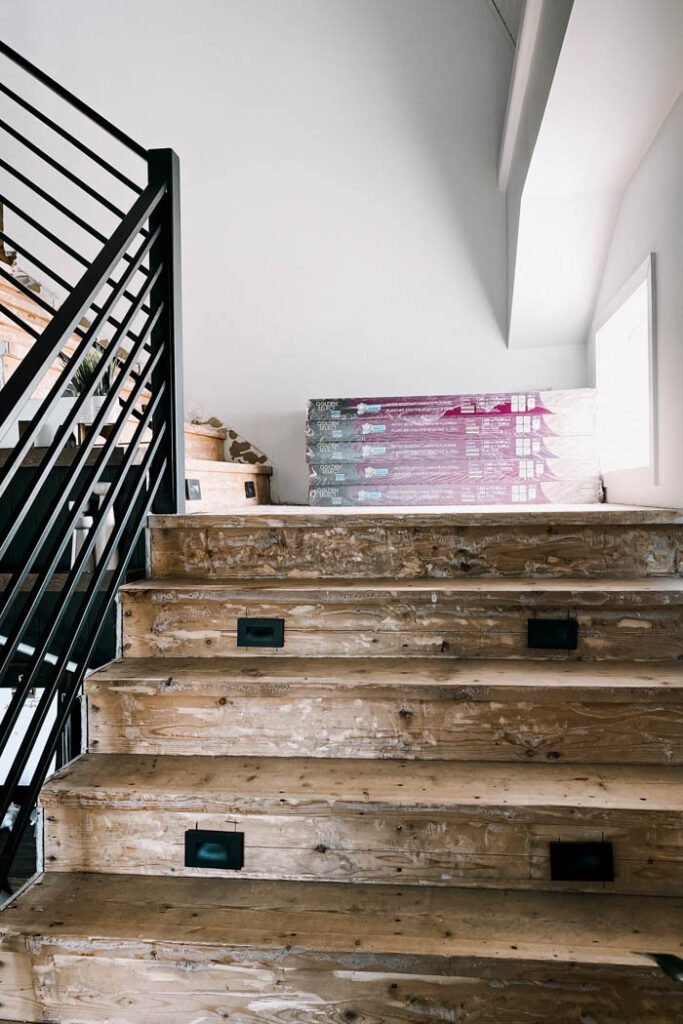
Step 2: Remove old flooring
Before you can start with installing your new laminate flooring you will need to remove the old flooring. The tools I found best to remove my old laminate flooring and original nose trim were:
Multitool with scraper blade
Drill to remove screws from old stair nosing
The biggest challenge was getting all the glue off the stairs once the flooring was removed (the old flooring was well glued down). I found the best method was using a mulit tool with a scraper blade as well as a pry bar with a hammer to remove all the old glue.
You need to remove any glue residue because you want to make sure that the new floor has a smooth/flat service to place your new laminate flooring and nose trim on.
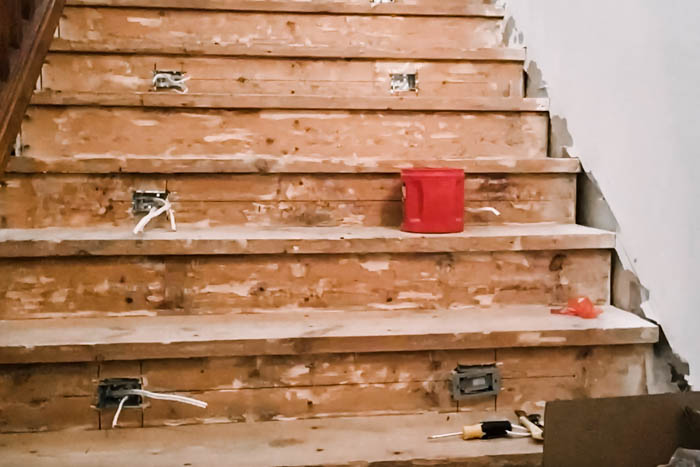
Step 3: In-tread lighting *optional*
After touring a local dream home and seeing a modern stair case with tread lighting I decide in-tread lighting was a must our new stairs. Originally we thought it would be more of a novelty, but once we got them installed and working they we very convenient and functional.
We always turn off all the lights before we go to bed (because I was brought up in a Dutch household and was told to not waste electricity!) making the house dark in the middle of the night.
With our stairs being located near the open concept living/dining area, once the sensors are tripped, the light up the stairway and living making it easy to rush up/down the stairs in the case of an emergency (e.g. the dogs needing outside or a child needing to get to a bathroom for example).
We installed two motion sensors in total – one at the top and one at the bottom of the stairs. We connected the sensors to these LED tread lights which we installed two on every other step. These lights gave the stairs a very high end look and were very functional, we couldn’t be happier that we choose to add the in-tread lights to our staircase.
If you decide to install in-tread lighting, make sure you consult/use an electrician to ensure the lighting is installed safely and to code for your area.
Step 4: Installing laminate flooring
This section will go over the installation of laminate flooring on stairs which is different than just flooring in a room. To install flooring in a room check out this post and this video we did earlier in our living room. Here is Diagram of stairs components for reference for how to list below:

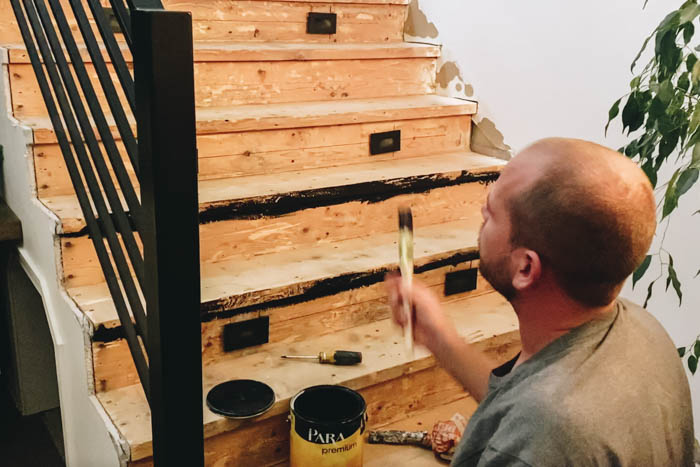
1. Paint – optional
The next step, which is optional, is to paint the underside of your overhang (if you have). Our stair treads went past our risers by about 3/4″. I painted the underside of this overhang with some black paint I had lying around as this was the only piece of the stairs that you *may* see, and we were not going to floor the underside.
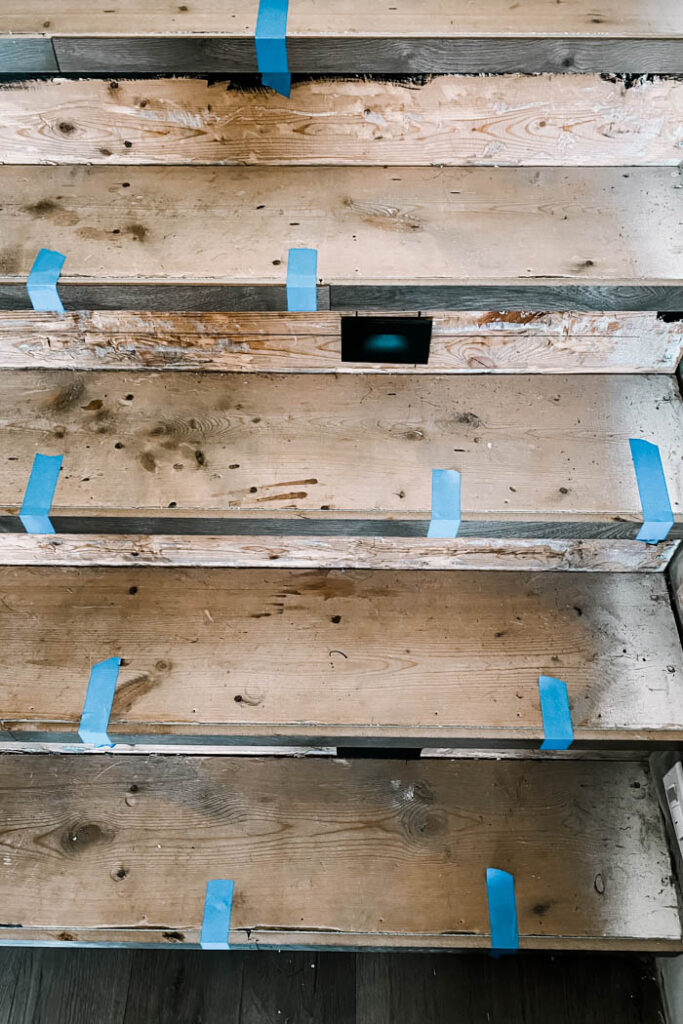
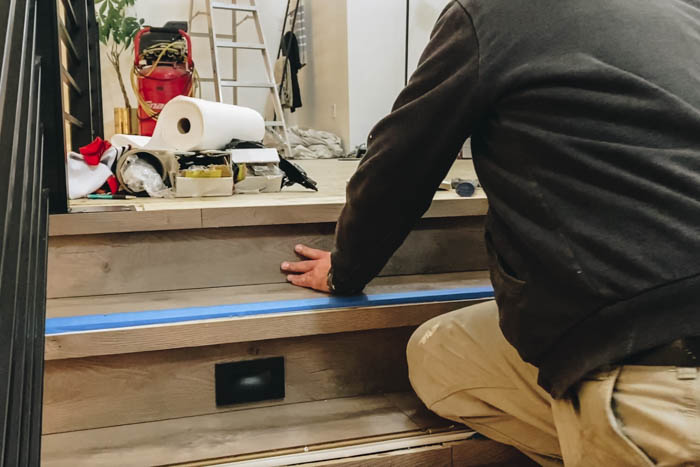
2. Installing laminate flooring on vertical portion of tread/step
Next step was to install all the flooring on the vertical face of your treads (that part that overhangs). This may not apply to you if your treads don’t overhang your risers. I cut the flooring to the exact height (1 1/2″ in my case) and glue the flooring in place using a construction adhesive. You can use painters tape and/or a pin nailer to hold the flooring in place until the glue dries. If using a pin nailer you can place the pins near the top of the flooring pieces as this area will be covered by stair nosing.
3. Installing channel for stair nosing
Once your flooring is installed on all the vertical faces of your tread you can install the channel that will hold your nose moulding in place. You need this installed in order to know the width of the flooring you will need to install on each tread. To install the channel cut it to length and screw the channel onto the treads. I used a couple of 2-3″ long pieces of scrap stair nosing to space the channel when screwing it into place.
As our stairs had open ended treads on one side and we wanted the stair nosing to wrap around the tread we also need to install the stair nosing channel along the exposed end of our stair case. I used the same method as described above to install the nosing channel along the edges.
4. Installing laminate flooring on treads
With the stair nosing channel in place you can begin to place laminate on your stair treads. The laminate will need to fit between the stair nosing channel and riser. I got lucky and one width of flooring fit in this area for my stairs, however as my stairs were 60″ wide I needed to use multiple pieces of flooring to fill in the length of the tread. I ensured I staggered the flooring pieces to make sure none of the seams lined up while cutting the flooring for each tread.
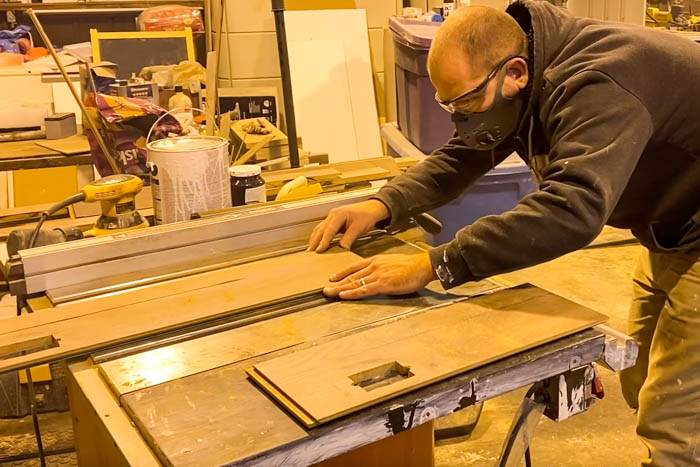
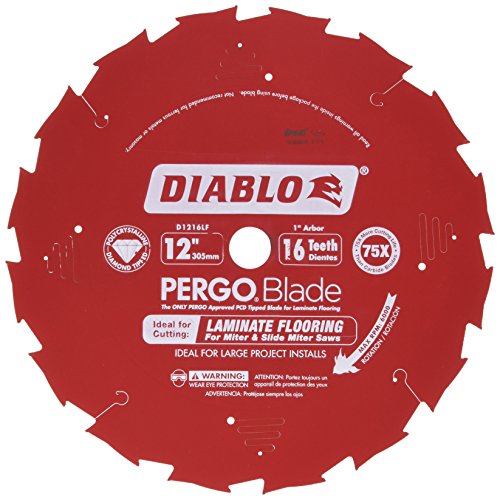
When cutting laminate flooring it is worthwhile investing in some good blades. Prior to making any cuts I switch out the blades on my table saw, mitre saw, and jig saw to specialized laminate cutting blades. These blades minimize the tear-out/damage to the cut edges to give you a nice clean look.
To install my laminate flooring I cut the pieces to length and used a construction adhesive to hold the flooring in place. I use my scrap stair nosing moulding to ensure the moulding would cover the edges of the flooring while setting in place to make sure I had no gaps.
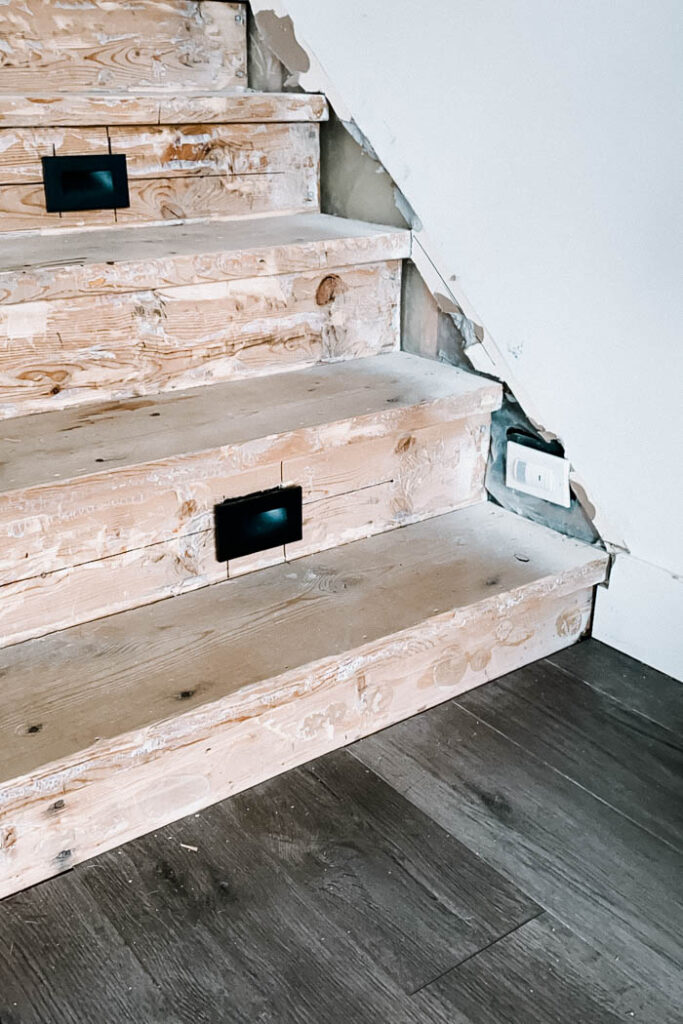
5. Installing laminate flooring on risers
Installing the laminate flooring on the vertical faces of the risers is similar to installing the flooring on threads. For me the main difference was having to cut out all the tread lighting holes. Also this section of flooring may be slightly longer as there is no stair nosing mouldings on the vertical face.
To locate and cut the holes for the tread lighting I did the following:
- measured the first edge (light one) off the open ended tread side of the stairs, continue with all the vertical edges all referencing one side of the stairs.
- measured the bottom of the box from the tread, and than the top of the box.
- Used an extra box and lining it up to the marks measured above and traced the box onto the piece of laminate flooring.
- Drill the 4 corners for the electrical box out with a drill bit size big enough to put your jig saw blade through (drill location should be inside the marked lines)
- Using a jig saw, you can cut the hole out
With the hole in your flooring do a dry fit (with no glue) on your stair riser to make sure everything lines up. If everything looks ok, remove and use a construction adhesive to glue the flooring into place. If you need to remove more material you can use your jig saw or a multi tool with a sanding disk to remove any excess material from the laminate flooring. You will want a tight fit so you don’t have any gaps.
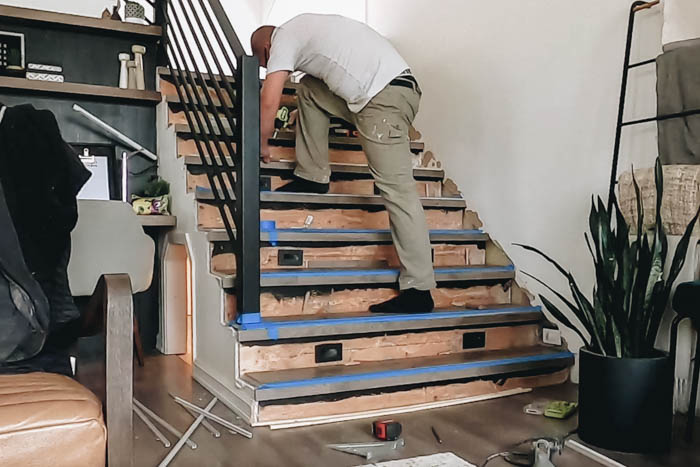
6. Install trim
You can check out this post or the video embedded above for detailed explanation on what we did for trim on our stairs. But before you install your stair nosing you will have to have the trim up for the vertical edges on the open ended side (if applicable) and wall stringer first.

7. Installing stair nosing
With all your laminate flooring and trim in place you can install your stair nosing. If you have open ended stairs you will need to mitre the ends of nosing for a nice fit. I used construction adhesive and pin nails to secure the mitres together. If you have any gaps or holes to fill you can use wax crayons.
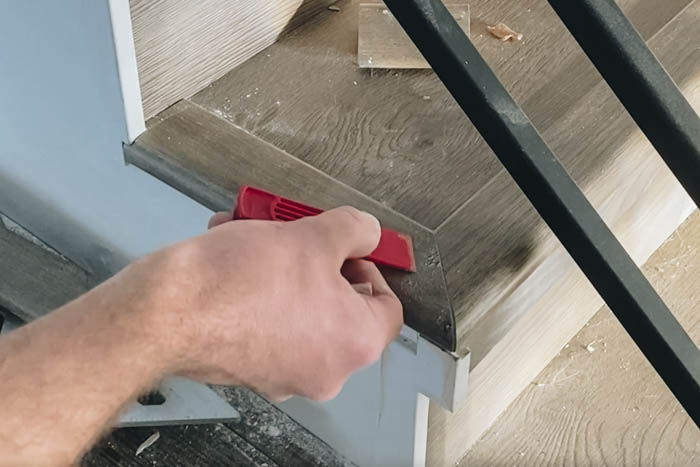
There are special flooring kits to fill in holes on laminate flooring however I found my kids wax crayons worked just as well and I could match the colour better (and as a added bonus it was significantly cheaper). I used my heat gun, a small plastic scraper, and a scrub pad to melt and push the wax into place and wipe off any excess. Once done you could hardly see the mitred joints.
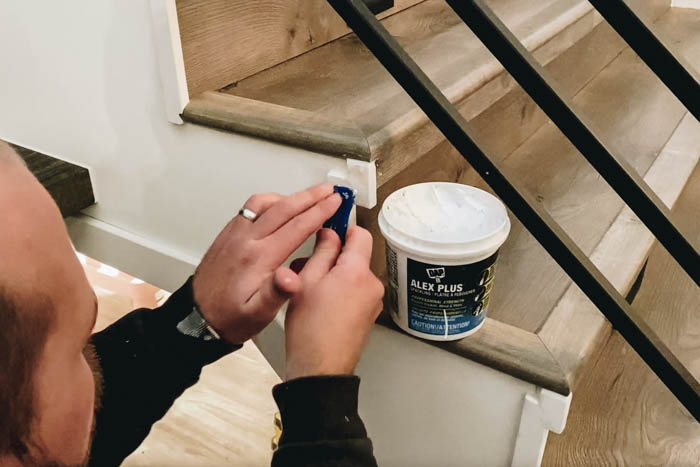
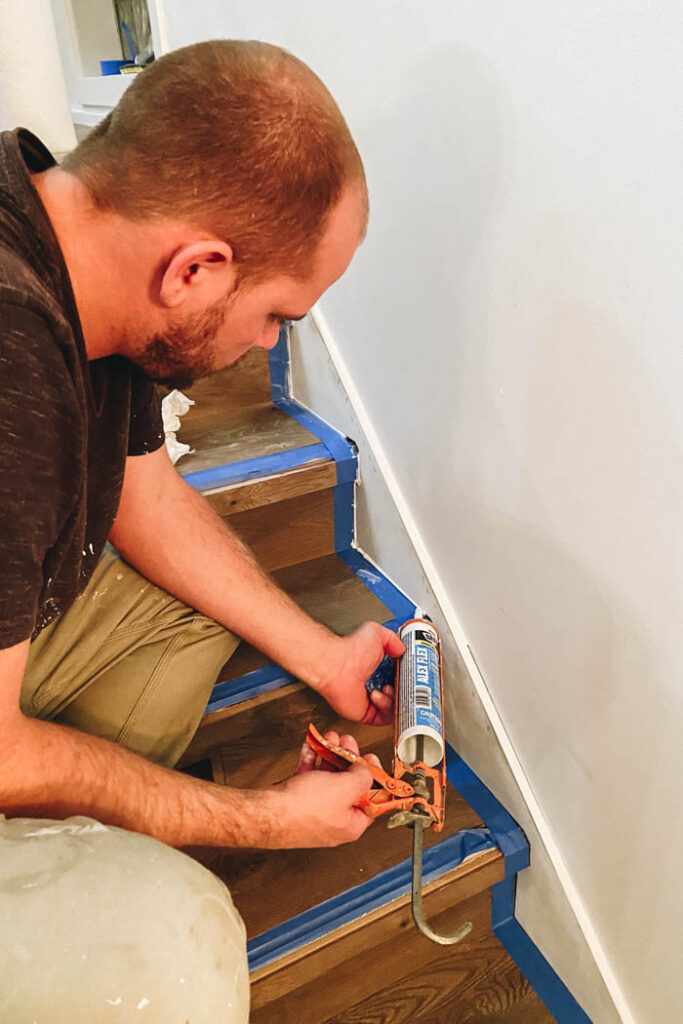
Step 6: Final touch up
You can caulk any gaps around your newel posts and spindle (as applicable) and paint any trim that was installed once puttied and sanded. We installed all the LED lights and trims plates and were ready to enjoy our new stairs.

Installing Laminate Flooring on Stairs (with nosing)!
Materials
- Golden Select flooring - Silverleaf
- Golden Select stair nosing
Tools
- Table Saw
- Mitre Saw
- Jig Saw
- pry bar
- multi-tool with scraper attachment
- measure tape
- painters tape
- caulking gun
Instructions
- Select new flooring and let it climatize to home
- Remove old flooring and any glue (ensure new flooring has smooth/flat surface to adhere too
- Install (glue in place) laminate flooring on vertical face of tread overhang (if applicable)
- Install channel for nosing on tread
- Install (glue in place) flooring on tread
- Install (glue in place) flooring on riser, cut holes in flooring for in tread lighting (if applicable)
- Install trim on open ends (if applicable) and on/along wall stringer
- Install stair nosing
- Fill any holes/gaps in laminate with wax (colour matched) and caulk/putty/paint any trim that was installed
Notes
See blog post and Youtube video for further details
Recommended Products
As an Amazon Associate and member of other affiliate programs, I earn from qualifying purchases.


There are some great tools you can purchase to help with Installing Laminate Flooring on Stairs. First is the stair template tool, this tool allow you to measure the actual angle of the wall or open ended face to ensure the new flooring is an exact fit. Another great tool is heavy duty pull bar, this is great to get the final piece of flooring in along a wall or corner, and can be a life saver when installing laminate flooring on stairs. And finally a laminate flooring install kit, this has all the pieces needed to start your first laminate flooring job!
I hope you found our Installing Laminate Flooring on Stairs tutorial useful, if you have any questions be sure to leave them below.
Here is a link to our other laminate flooring blog post as well as the video. As well as a link to our blog post about the custom trim we did on this stair renovation.
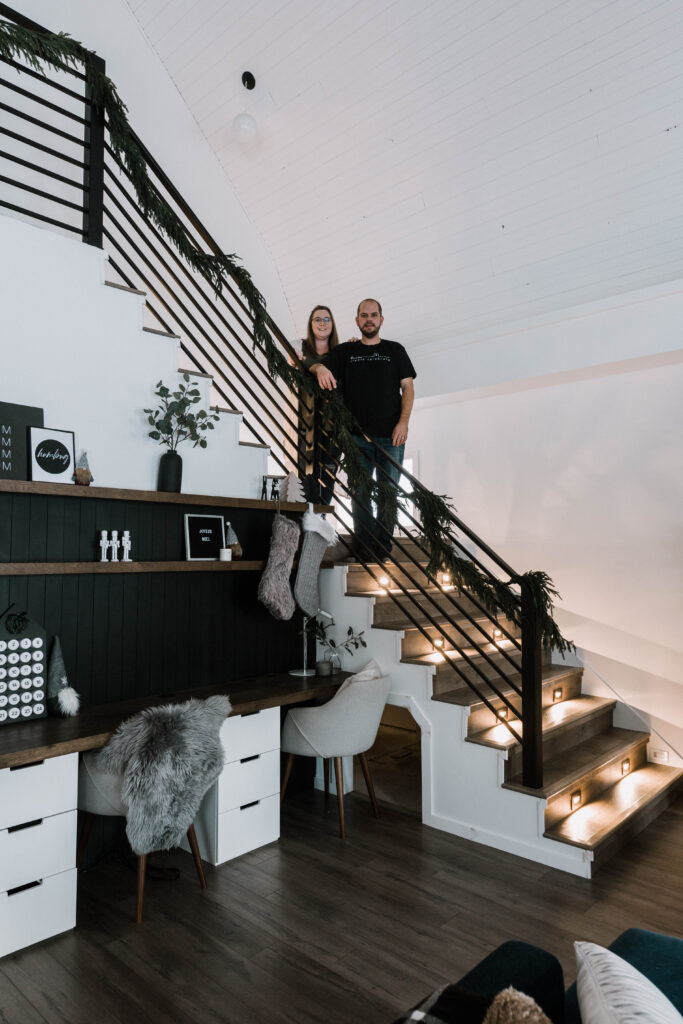
Our Finished Staircase
Here’s a look at our completed staircase after all of the laminate flooring was installed.


If you’re looking for more DIY inspiration, have you tried an accent wall?