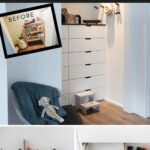
A quick, easy, and affordable IKEA Nordli Hack. Use the IKEA Nordli drawers to make your own sleek small closet organization system!
It is organization season in our home and we have been busy doing this small closet makeover for our son.
*This post was sponsored by Wagner and may contain affiliate links. When you buy a product through one of our links, we get a commission at no cost to you! Thank you for supporting our blog so that we can continue to bring you posts like these. For more information, please see our disclosure page.*
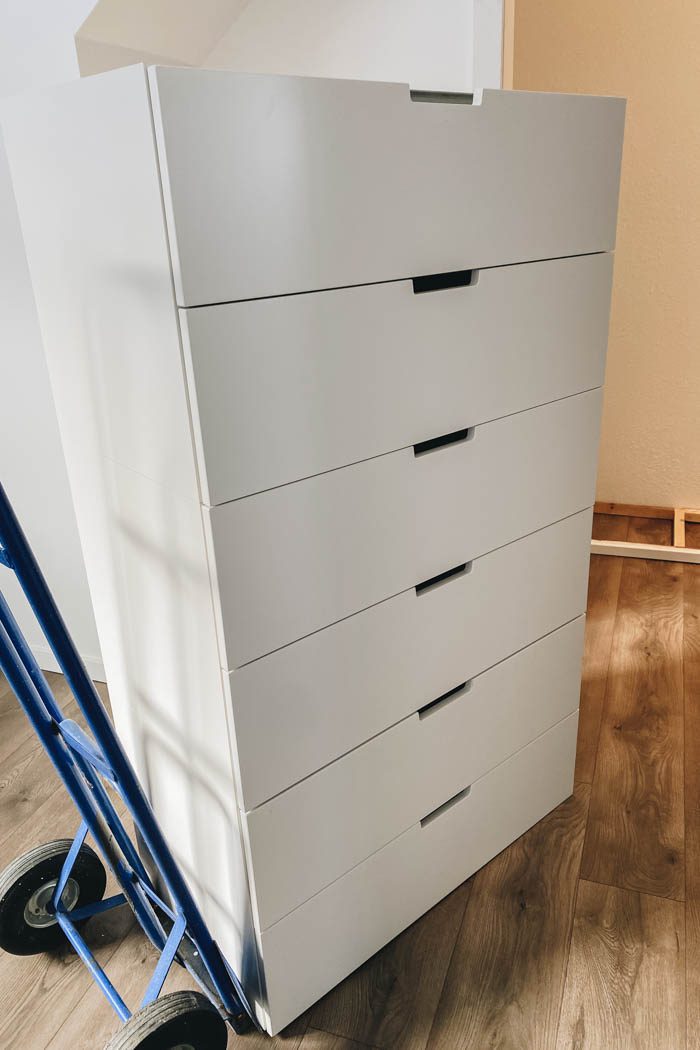
These Nordli cabinets have been sitting in our garage for well over a year. Why you ask? We saw these drawers on sale in the IKEA AS-IS for $20 each! Don’t ask me why they were marked down, but we snatched them ALL up as soon as we could! We bought 6 of them, knowing we would be able to use them one day. That day has come!
Closet Before The IKEA hack

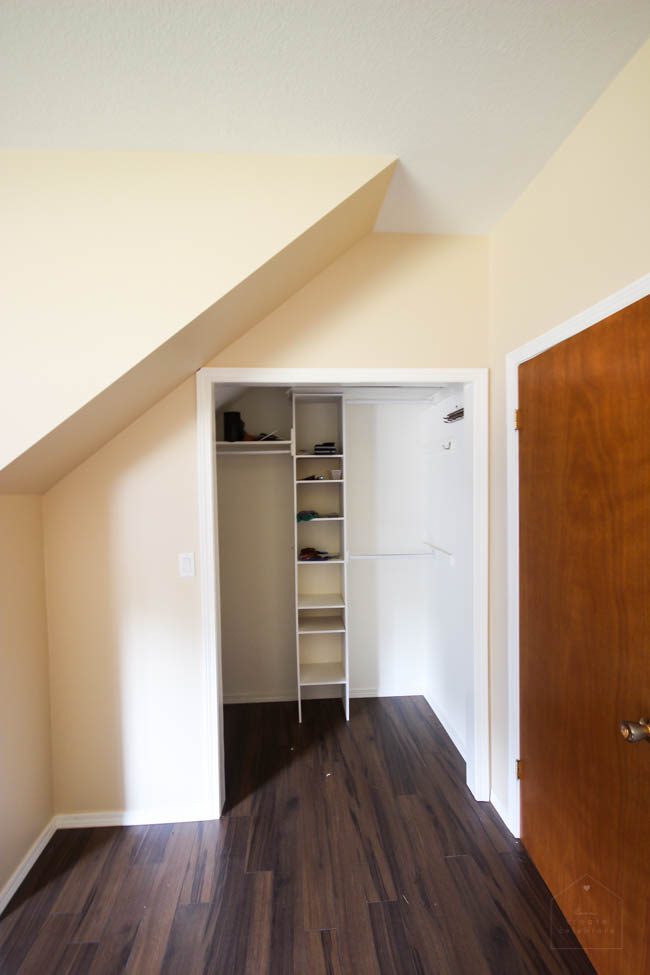
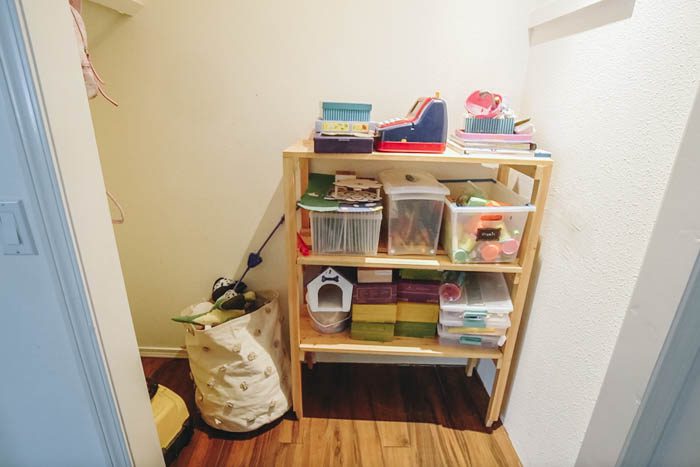
Here’s what this bedroom looked like when we moved in. Over time we had removed the existing shelves from the closet, and repainted the room white, but we had never done anything to add storage to the closet.
This room has been sitting as a playroom for a few years, but now it’s time for our son to move to his own room. This IKEA nordli hack will give us the space and storage we need to store his clothes and toys, and still maintain lots of space to play in this room.
Prepping for the Small Closet Makeover
Before we installed the Nordli dressers, we wanted to freshen up the closet, starting with a fresh coat of paint.
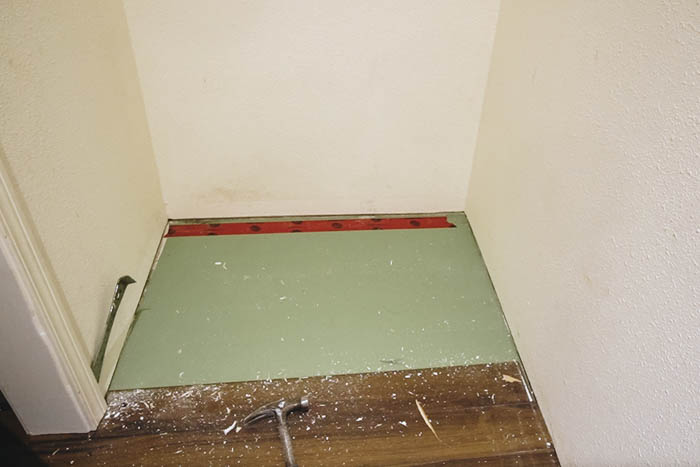
We started by removing everything out of the closet. There were a few holes that needed to be filled in on the walls from the old closet organizer and shelves that used to be in the closet. We also removed all the trim as we wanted to install new moulding to match what we used on the rest of the house.
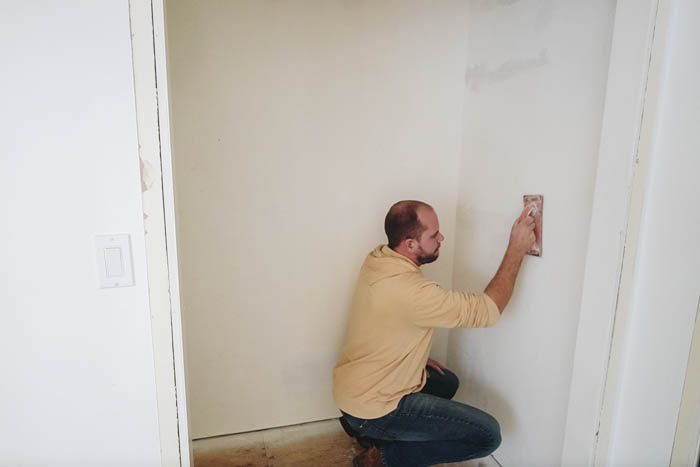
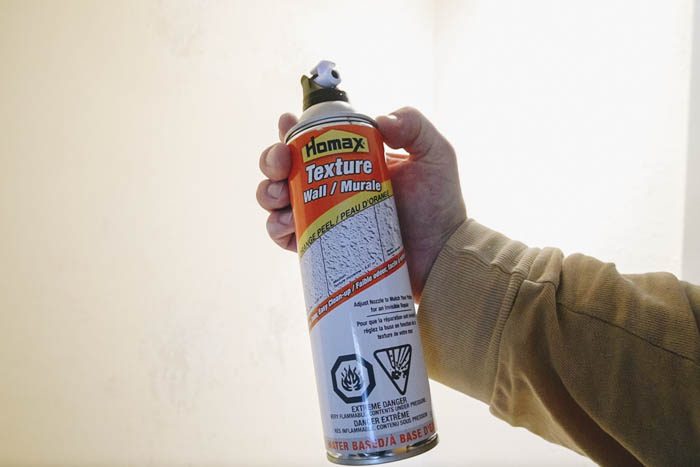
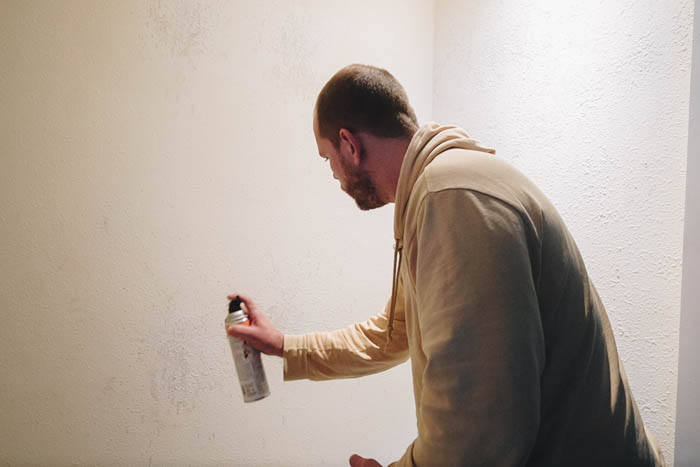
We patched the holes with spackling. On the larger repairs we used a can of wall spray texture to match the existing finish on the wall. We quickly primed the areas we patched and were ready to start painting!
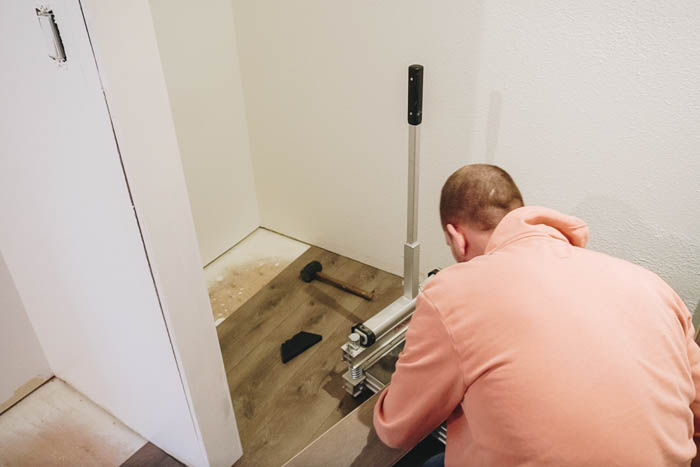
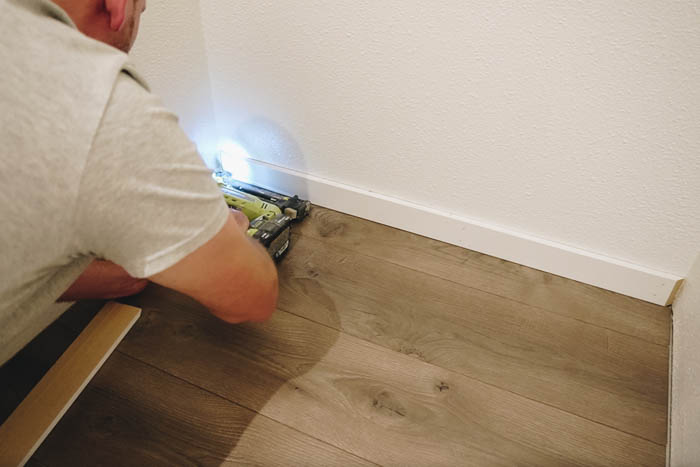

Since we were at it, we freshened up the entire room with new flooring. The old flooring was scratched and didn’t match the rest of the house. This was the last room to get new flooring, and it made a huge difference in refreshing this closet. We used Silverleaf laminate flooring from Golden Select to match the rest of the house. We also updated all the trim to match the aesthetic in the rest of the house.
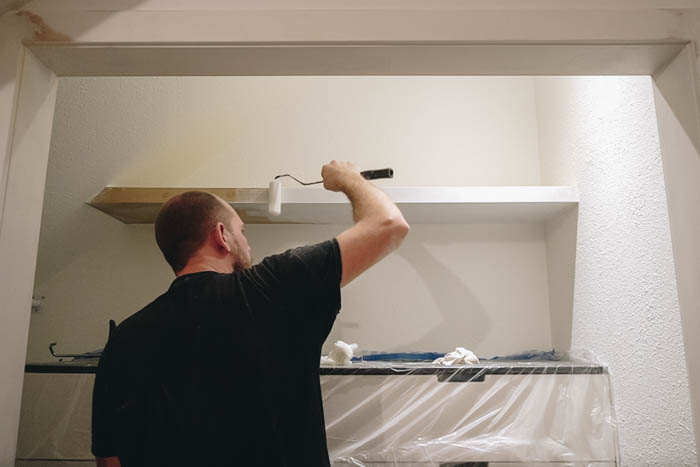
Painting the Closet
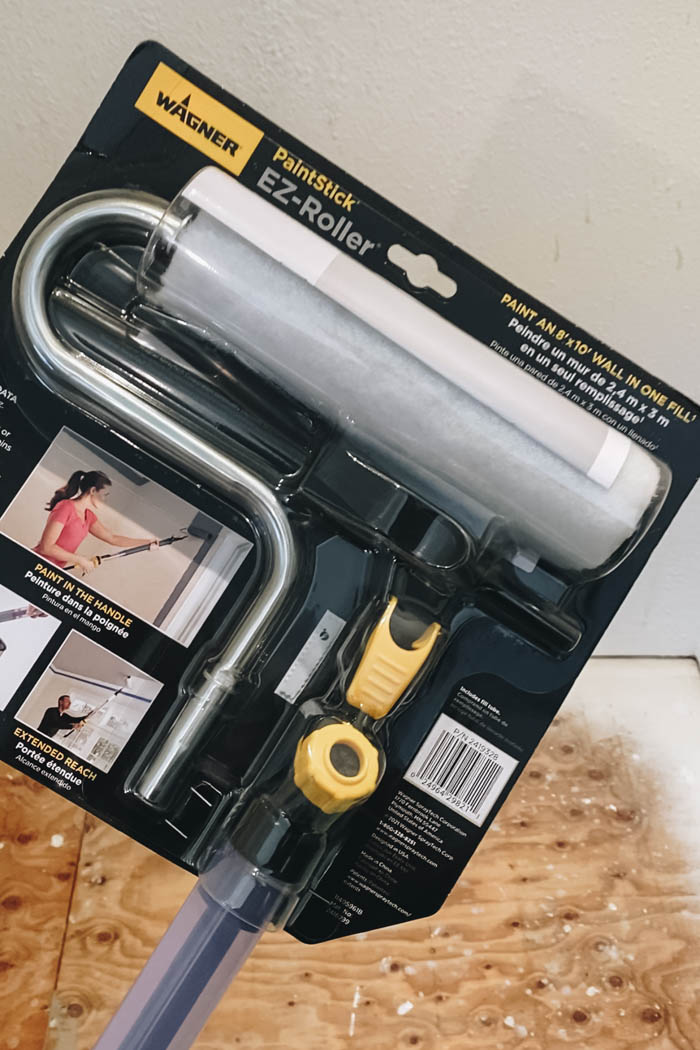
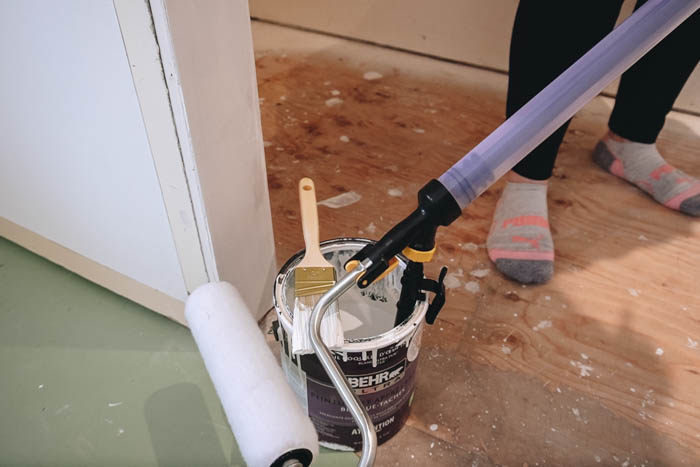
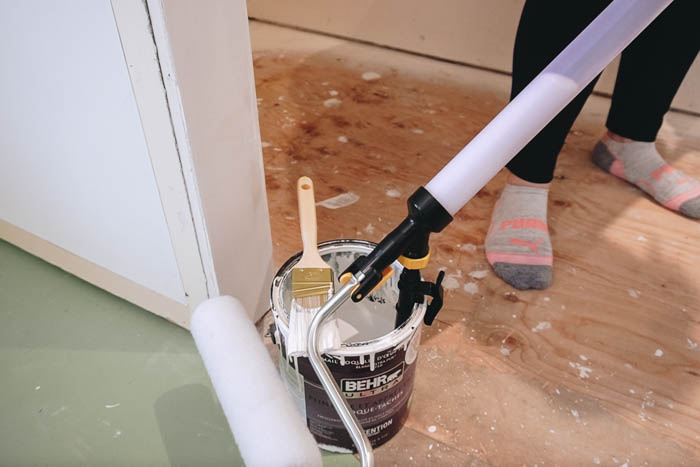
We used our new EZ Roller from Wagner to paint the closet. The EZ roller was super easy to use (no pun intended). To use the roller you:
- Install the roller cover and roller arm assembly onto the main tube
- Install the the filler tube into your paint can
- Place the EZ roller’s fill valve onto the filler tube
- Pull back on the plunger until the main tube is full of paint
- You will need to “prime” the roller, you can squeeze the trigger a couple times until you have paint coming through the roller cover. As I squezed the trigger I roller the roller along a wall until the roller was fully soaked with paint and left a even pattern on the wall
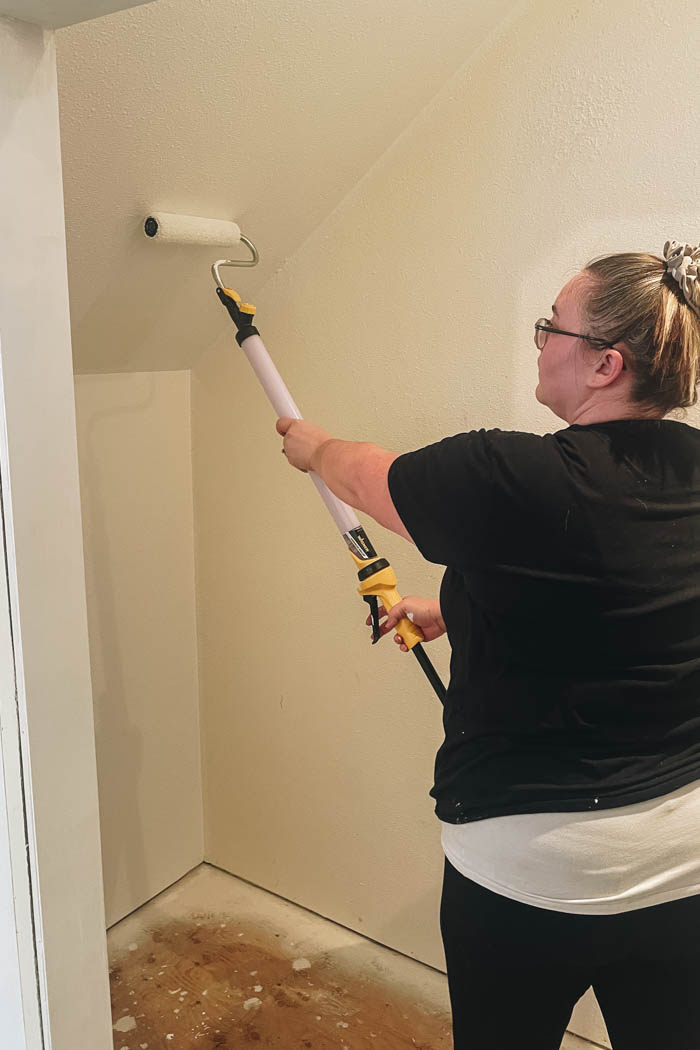
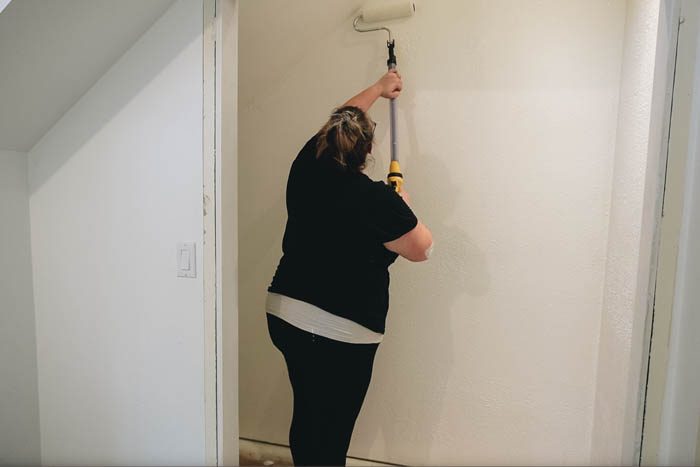
I started by cutting all the corners with a brush. Than I finished the walls and ceilings with the EZ Roller. After using this roller these of some of the benefits:
- No trips to the paint tray to keep loading the roller with paint. And as an added bonus because you are not putting the roller into a tray, you don’t get paint on the ends. This made it really easy to cut close to the ceiling as there was no paint on the ends of the roller (if you use a tray up to 1/2 -1/3 of the roller ends can get covered in paint as you roll paint onto a roller)
- Minimizes drips on the floor from going back and forth from the paint tray
- Ergnomic handle is easy to hold and helps reach the top of our walls and ceilings without a ladder
- Last but not least, easy to clean. This is a big one, I find the easier something is to use and clean the more likely I will keep using it in the future.
What you will need for your IKEA Nordli Hack
Tools
Supplies
- Construction Adhesive
- Spackling
- Paintable Caulking
- 3/4″ Plywood for counter top
- 2x2s for bottom braceing
- Flat stock moulding (I used 2 1/2″ tall x 1/2″ thick) for base – could also use the 1/2″ MDF and cut to size
- 1″ thick wood (could use 2x2s) for shelving brace
- 1/2″ MDF sheet for floating shelf
Adding the IKEA Nordli Drawer Unit
Build a Base
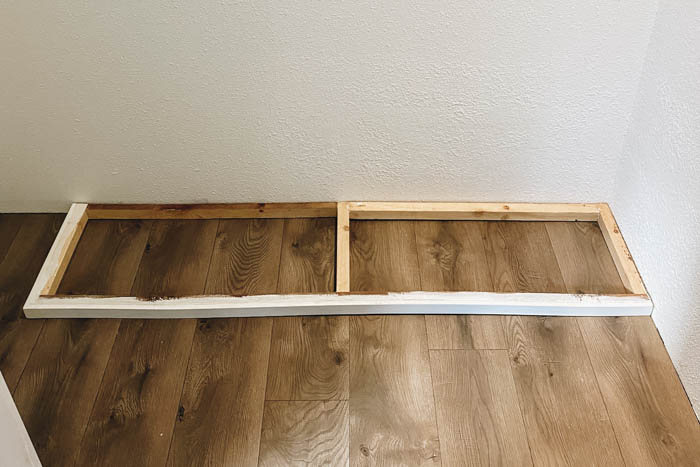
The first step to adding Nordli to our closet is to build a base. I used some scrap wood I had lying around the shop to build the base. For the two units wide setup we went with my base dimensions with trim were 15 1/2″ deep by 62 1/2″ long x 1 1/2″ tall or 15″ x 62″ without trim. This allowed for about 1 3/8″ of overhang on the front and 1/2″ of overhang on the sides from the Nordli units. The trim used was 1/2″ thick and the same flat stock I used for our base boards jsut cut down to 1 1/2″ tall. I added the trim to the two exposed faces and painted it all white.
Make a Top

Than with some scrap plywood and lumber I made a custom counter trop for the Nordli drawers. My Counter Top dimensions were 17″ deep by 63 1/4″ long x 3/4″ thick. This allowed for about 1/8″ -1/4″ of overhang on the two sides (sitting flush agaisnt two walls). I used 3/4″ strip os wood to cover the two exposed edges of the plywood. I primed than painted the top with black paint.
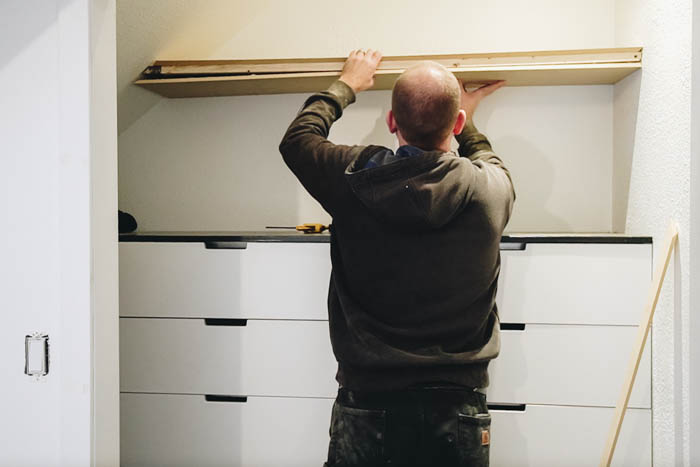
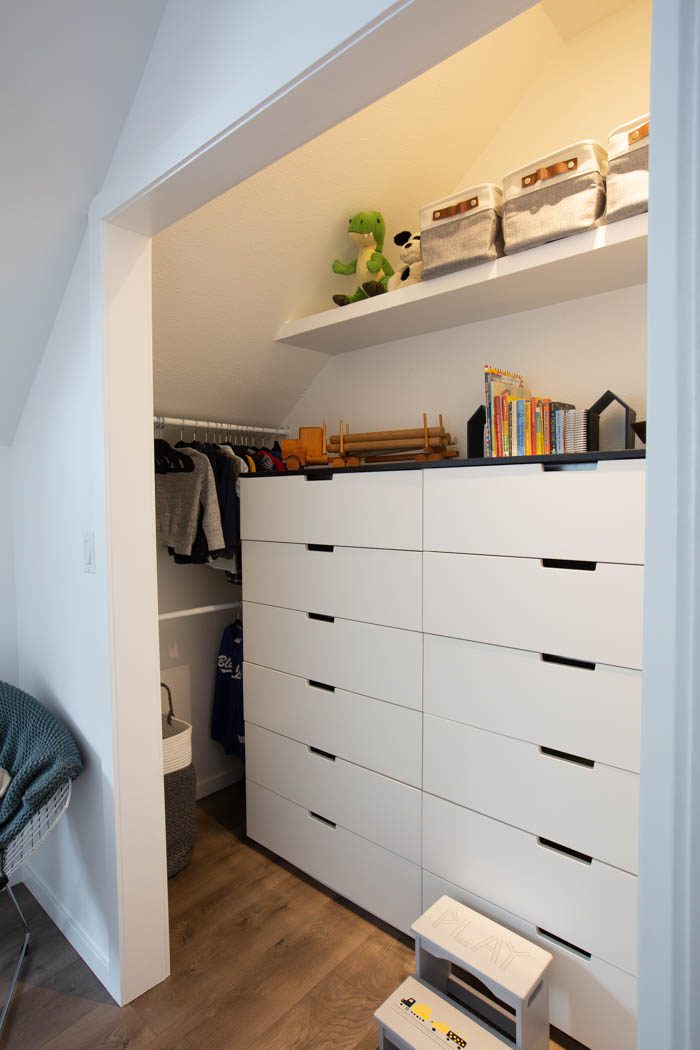
Assembly and Install of the IKEA Nordli Units
We built the IKEA Nordli units and assembled them 3 high. They came with connectors to secure the units together once you stack them to ensure they line up perfectly!
Than we installed the base onto the floor, secruing it to any studs that we found in the wall behind it.

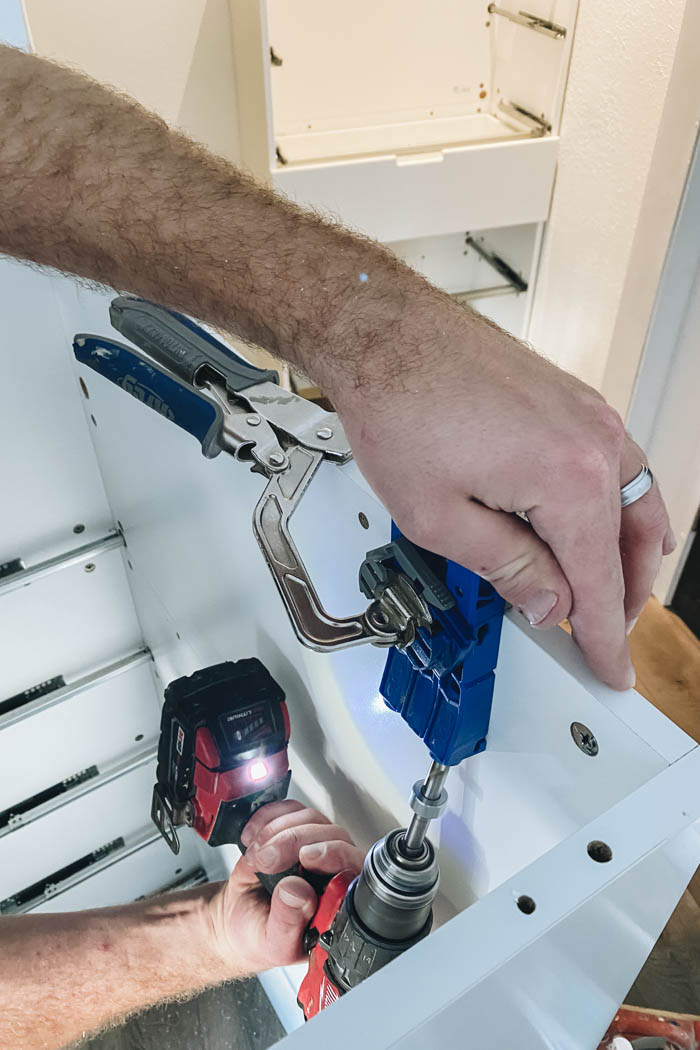
To attach our custom counter top to the IKEA Nordli Hack I added several pocket holes along the top of the IKEA Nordli unit with our Kreg R3 pocket jig.
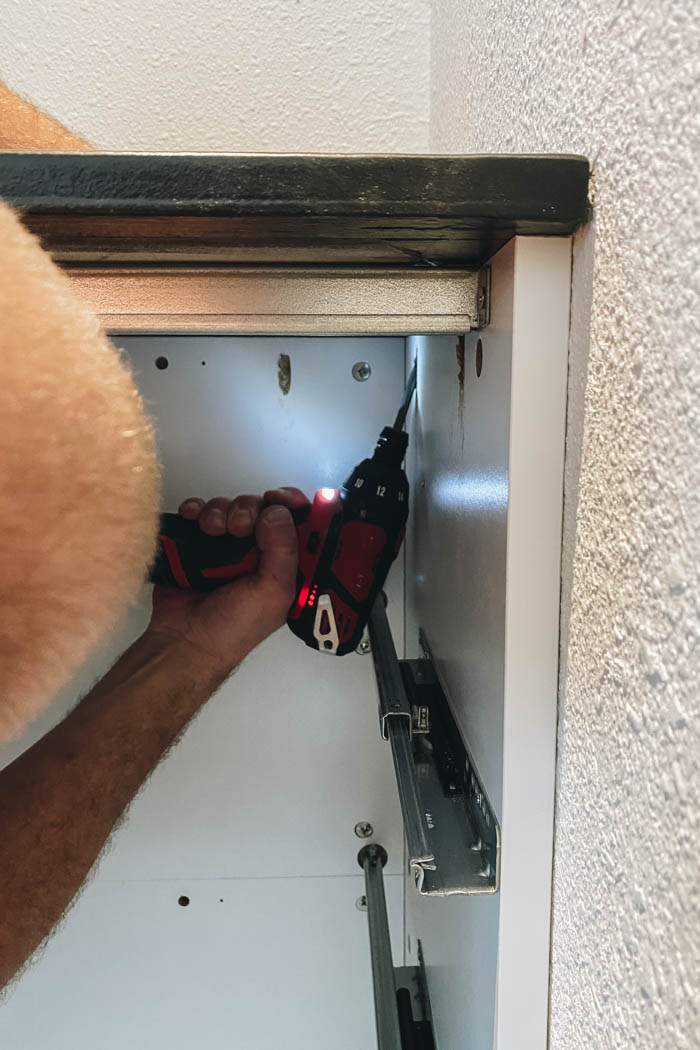
Than we brought the drawers into the closet. To secure the drawers we clamp them flush and screwed them together using 1″ wood screws. Than once we were happy that everything was level, we secured the units to studs behind the drywall (using a stud finder).
The top was installed next, using the previously drilled pocket holes to secure it down onto the Nordil drawer units.
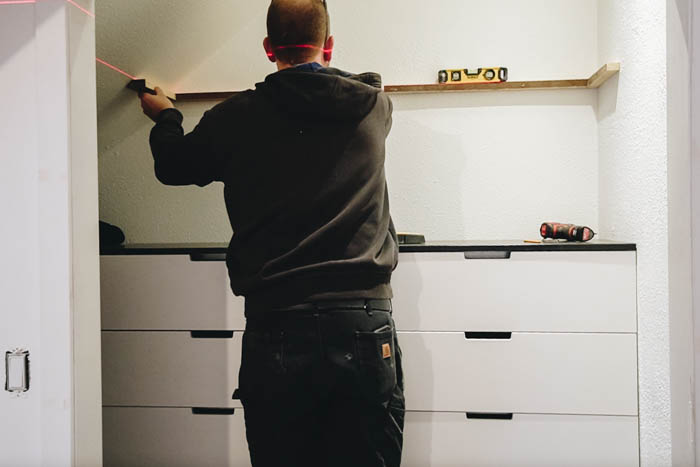
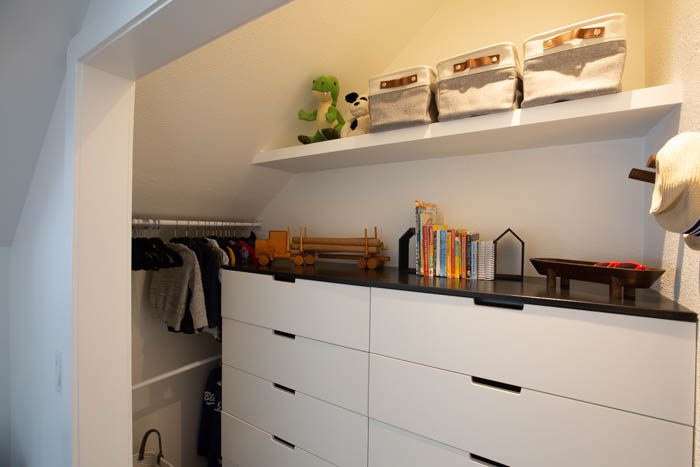
Building a Floating Shelf
To add additional storage to our IKEA Nordli Hack project we decided to add a shelf above the drawers. We took some scrap wood and cut it down into 1″ thick strips to act as a brace. We attached the bracing to the wall by screwing it into the wall studs. This allowed us to wrap the entire brace structure with 1/2″ MDF to create a seemless looking floating shelf. We installed the shelf 19″ above the drawer top and made the shelf 12 3/4″ deep. This allowed the basket we got off amazon to fit perfectly!
This method/design is a great and we have used it in multiple spaces. Even with 3 walls and 2 wall configurations. You can check out the video we did on the shelves in our latest ensuite here. And we did a blog post from our old house with similar shelves with a wood finish here.
We used construction adhesive and brad nails to attach the MDF to the bracing. Filled any nail holes and/or seams with spackling. And used paintable caulking around the perimeter to fill any gaps between the wall and MDF shelf. We gave everthing a light sand, and than a coat of primer. We painted it with the same paint we used on our trim, which was a semi gloss in Ultra White from Valspar.
Organizing Your IKEA Nordli Drawers and Closet
And here are all the items we found and bought on Amazon to organize the closet:
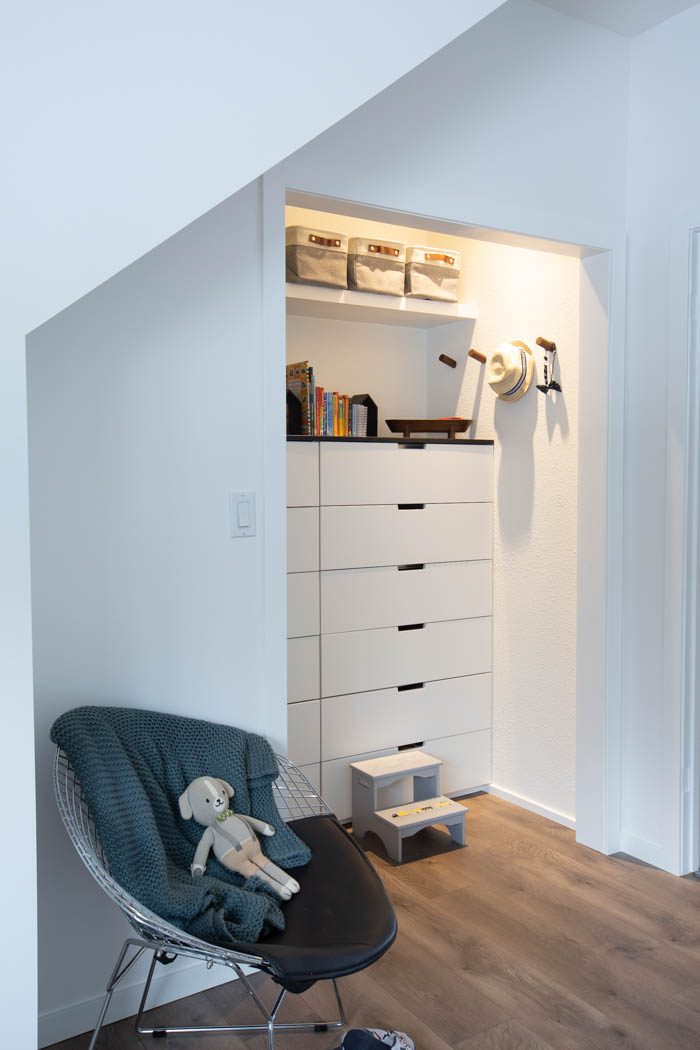
Collapsible Fabric Storage Baskets
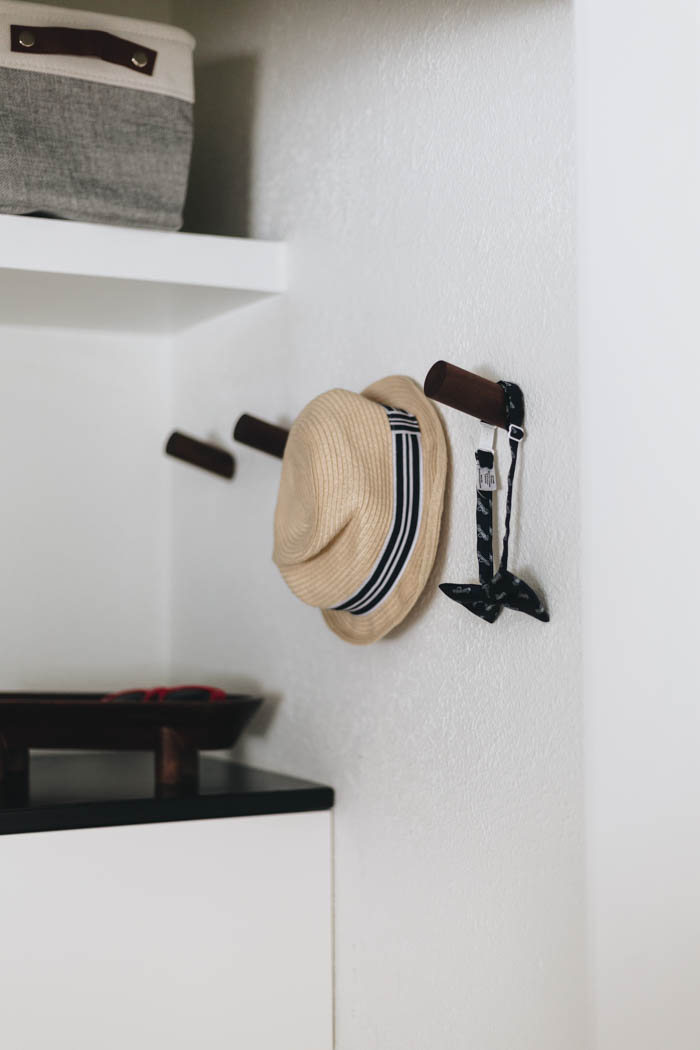
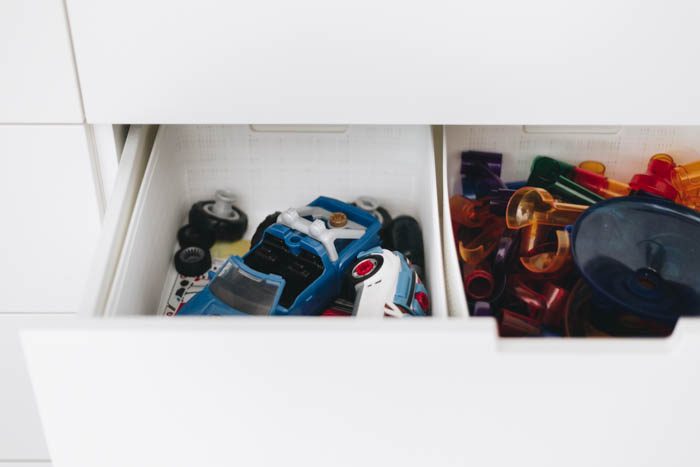


All these items really helped finish the space and provide great functional organization in and around the IKEA Nordli Hack Closet Organizer.
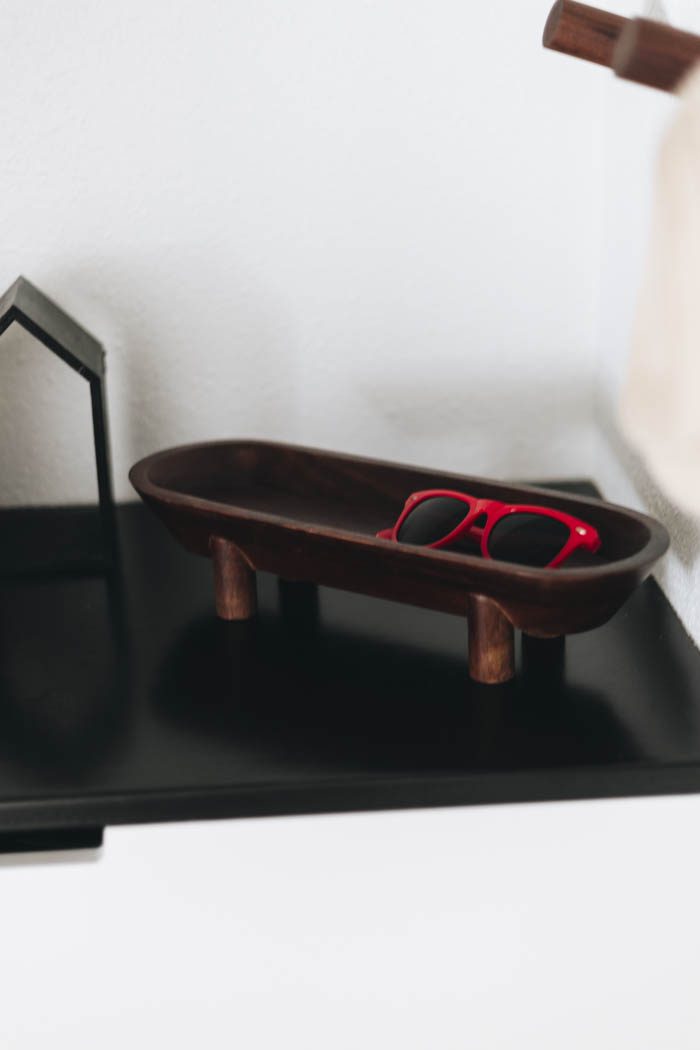
And no space would be complete without some Dollar Store DIYs, so we added these cute little books ends I made from Dollar Store finds!
IKEA Nordli Hack Closet Organizer Budget
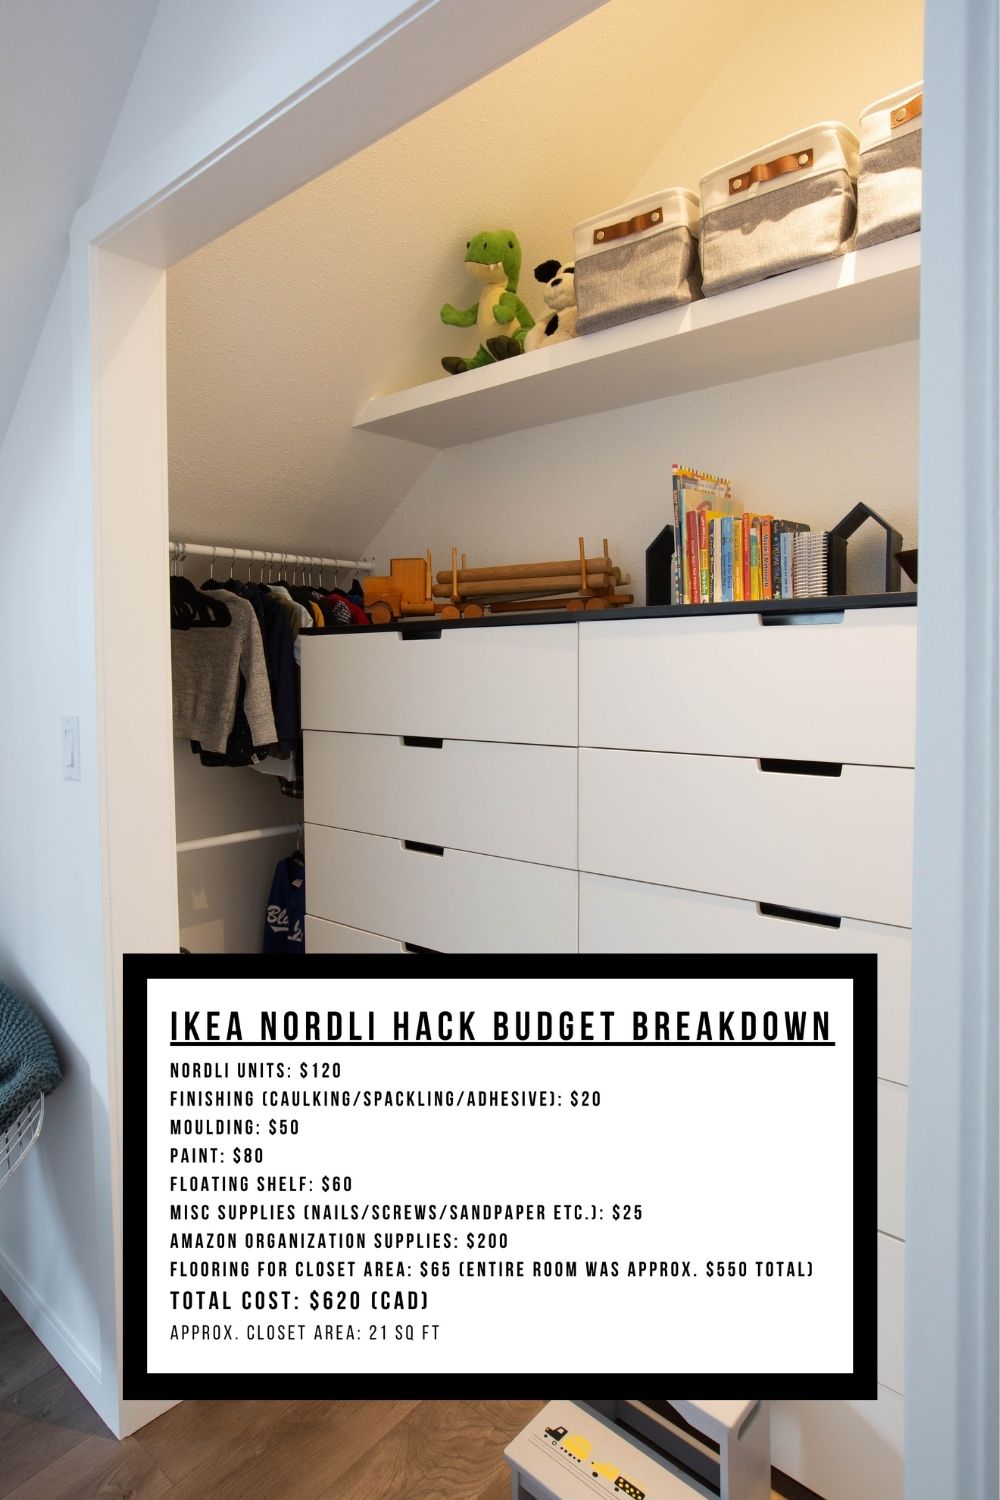
We couldn’t be happier with how this space turned out. Its hard to believe where it came from and what it looks like now. And for the money we spent I think we defiently added value to our home. This closet is definetly better than most builder grade closets in the new homes I have seen.
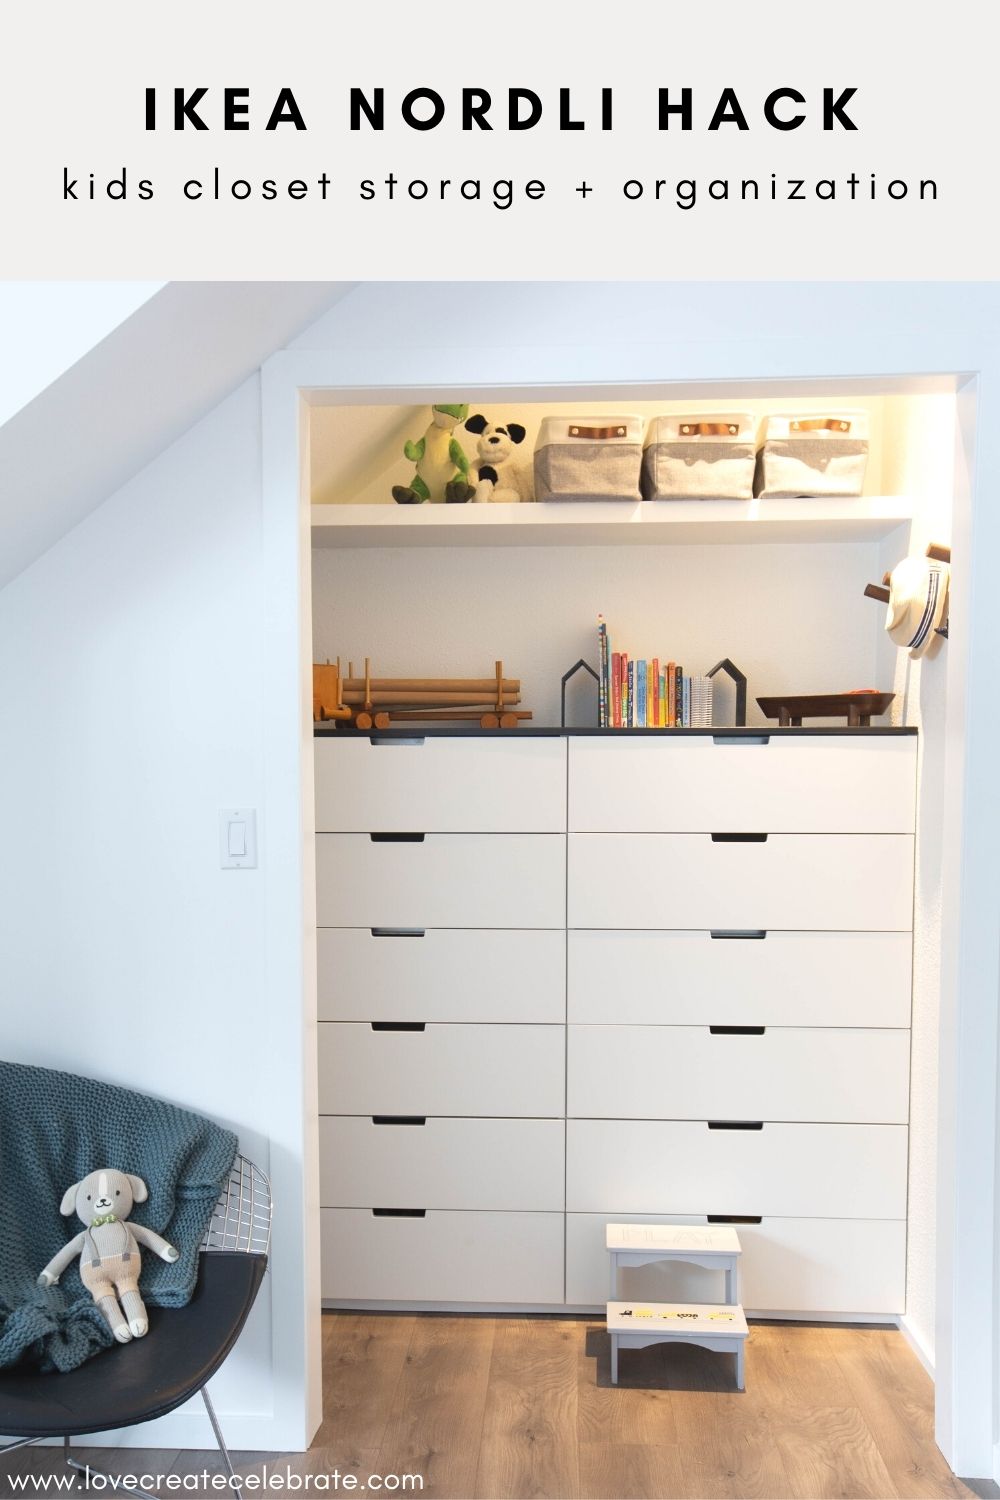
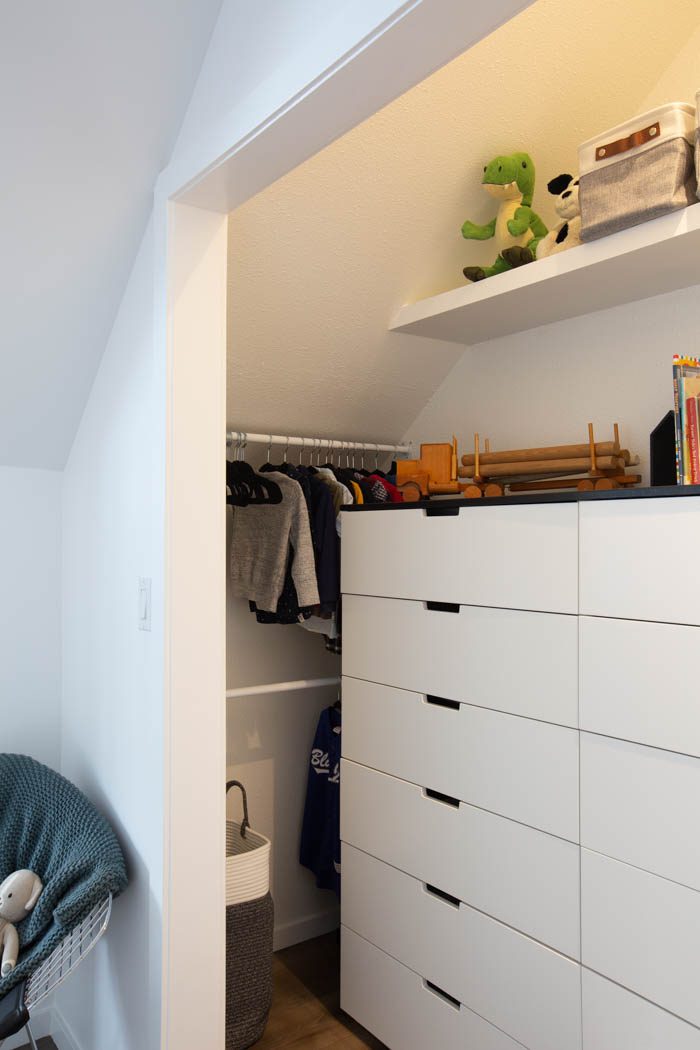
Our IKEA Nordli Hack Closet
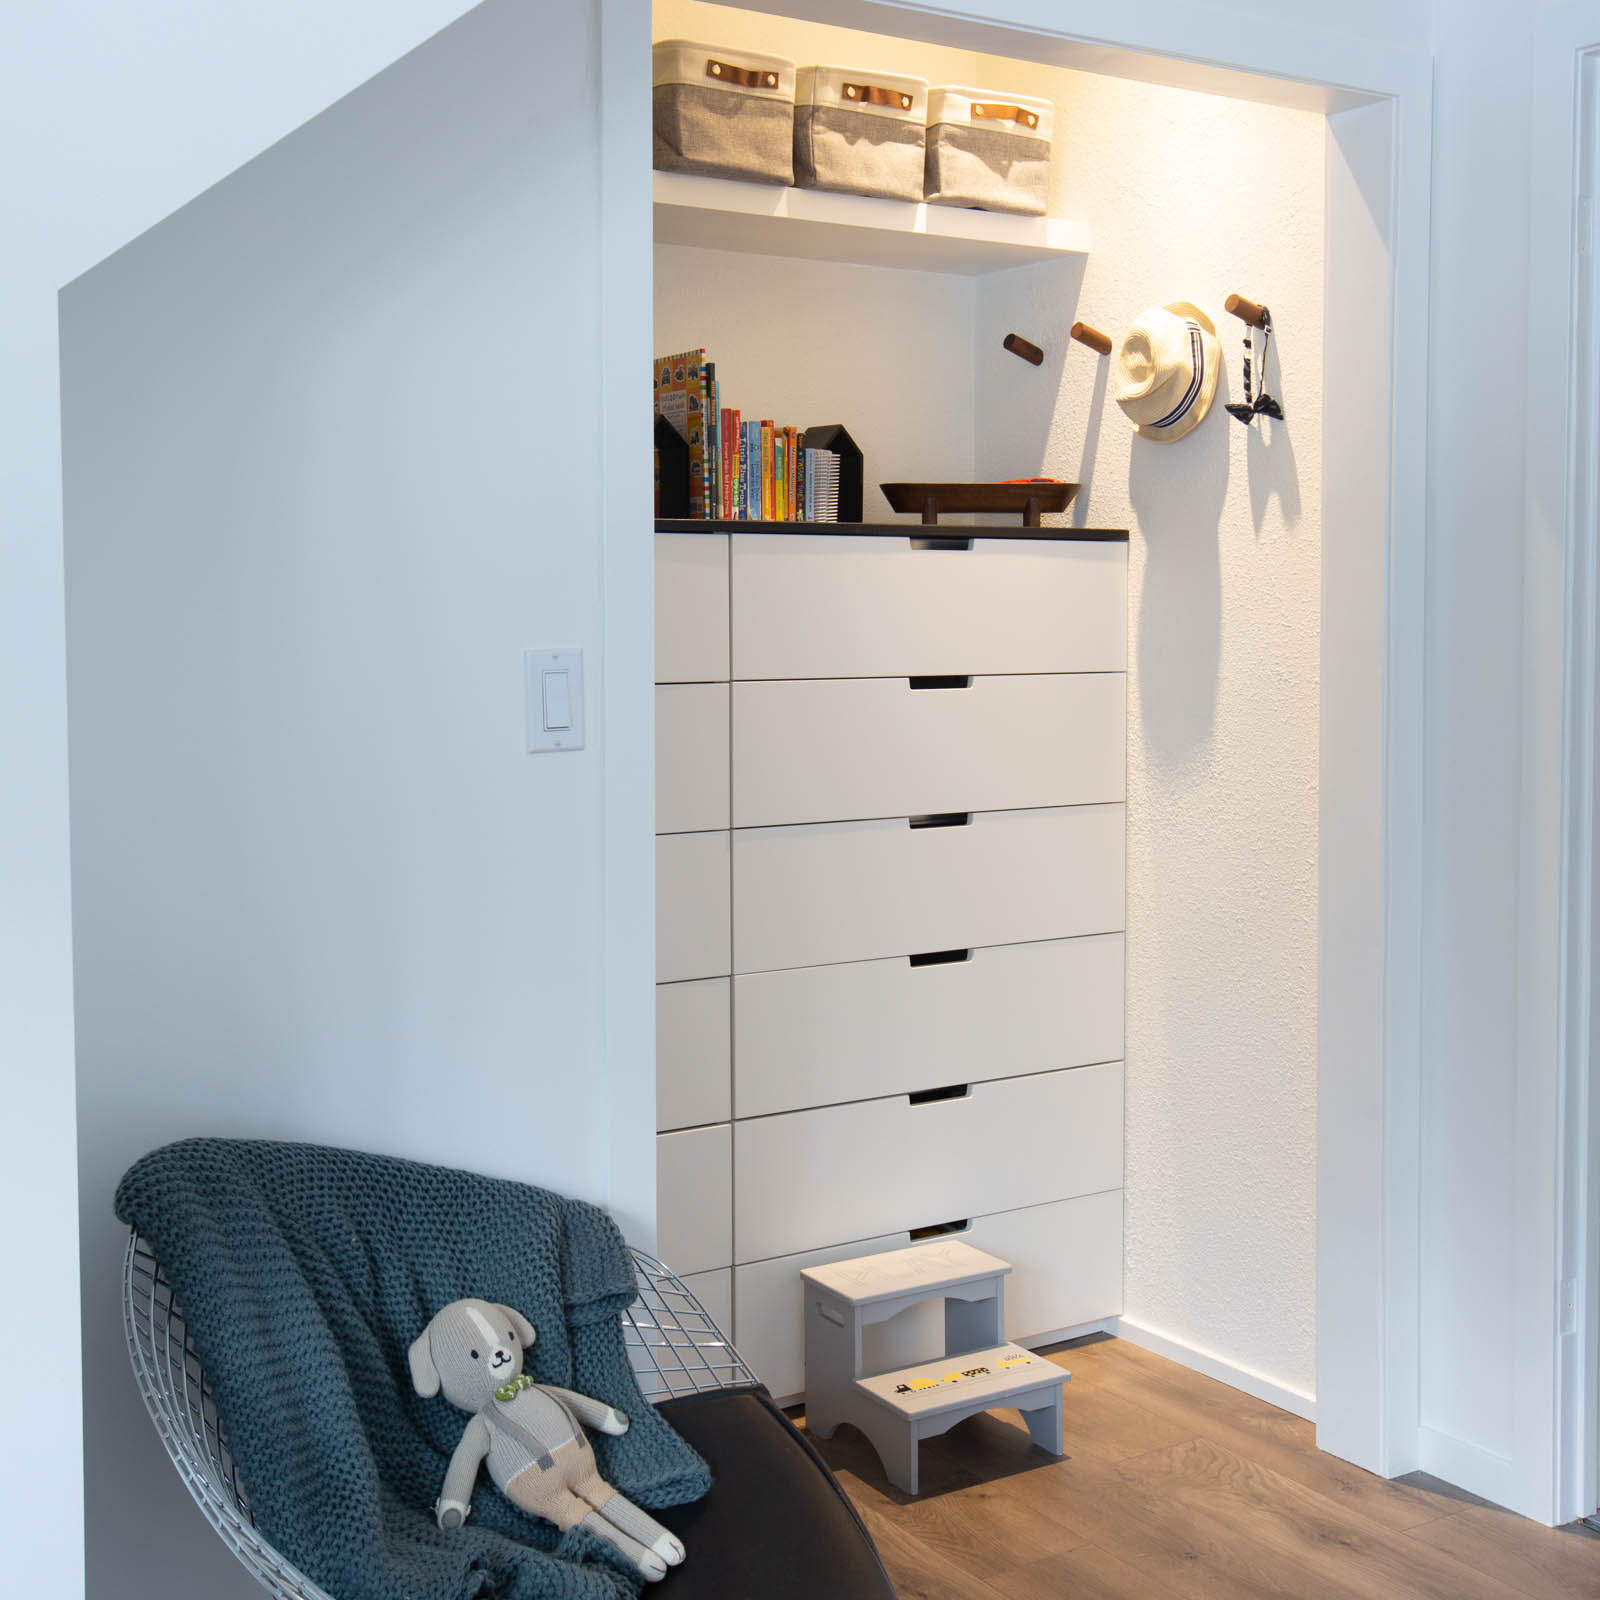
Here’s what our son’s finished bedroom closet looked like when we were done. We’re so happy with this finished space. Everything came together beautifully to create a high-end feel, on a budget.

What do you think? Will you be scouring IKEA’s as-is section for your next reno?
How to do a IKEA Nordli Hack in your Closet Video Tutorial
Here’s a great tutorial for the entire process of this IKEA Nordli hack. See the full before and after of this small closet makeover.