Learn how to wallpaper a corner! Great tips and tutorials for how to apply paste the wall wallpaper, how to wallpaper a room, and how to wrap a corner!
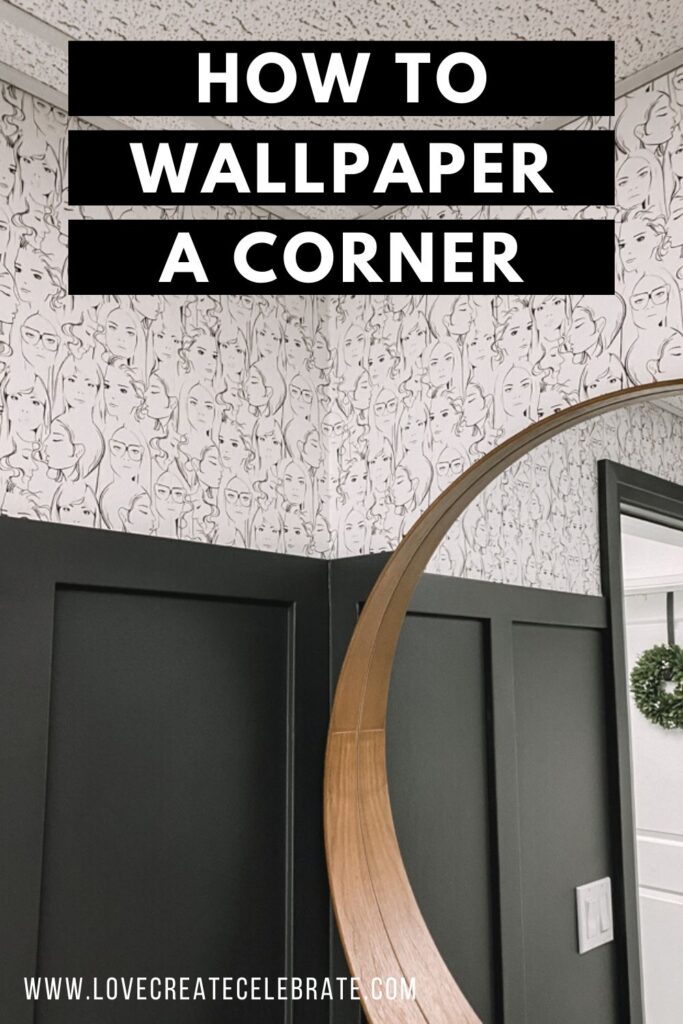
Have you been waiting anxiously for this?? If you were following along on Instagram when we renovated some hair salon bathrooms, then you already know that we had a ton of questions about the wallpapering, especially about how to wallpaper a corner! So we are finally sharing all of our best tips and tricks to help you wallpaper successfully. Spoiler: it’s not as hard as you think!
*This post may contain affiliate links. When you buy a product through one of our links, we get a commission at no cost to you! Thank you for supporting our blog so that we can continue to bring you posts like these. For more information, please see our disclosure page.*
What is Paste-the-Wall Wallpaper?
For this project, we used a Paste-the-Wall Wallpaper. When it comes to wallpaper types, they are generally classified by how they adhere to the walls or how the paste is activated before hanging it.
When people think of wallpaper, they often think of the paste-the-paper wallpaper that people used to use. With this wallpaper the paste was applied to the paper before hanging it, and the wallpaper had to soak.
Paste-the-wall wallpaper is different, and in my opinion, much easier to use. With this wallpaper we just brush adhesive on the wall and the wallpaper doesn’t soak, or expand when wet.
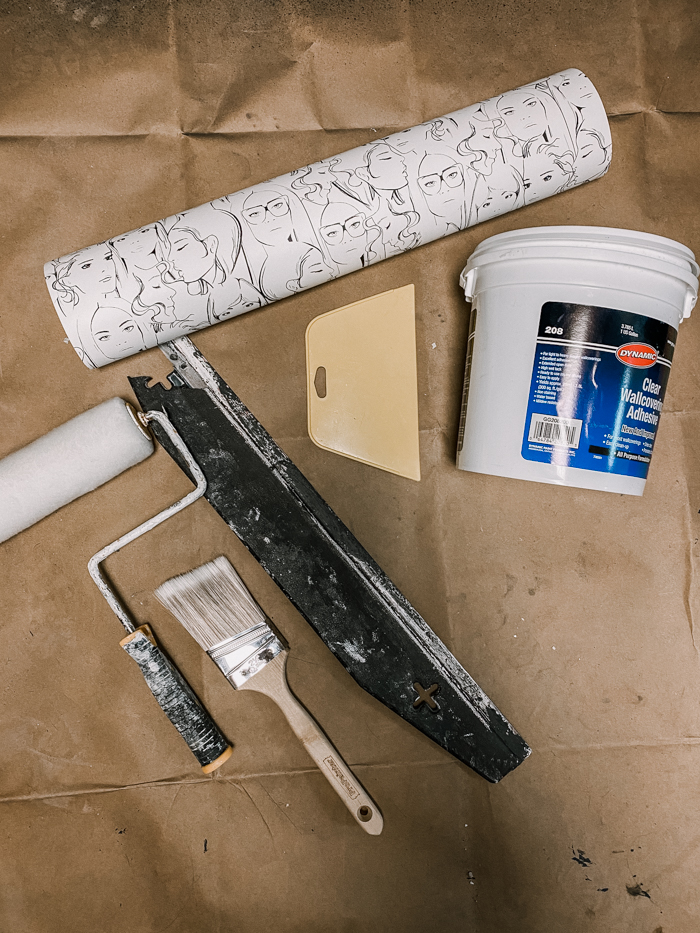
Materials Needed for Wallpapering?
There are a few tools that we use every time we wallpaper a room.
- Wallpaper (here’s the wallpaper we used for this project!)
- Straight Edge
- Wallpaper Adhesive
- Squeegee or Smoother
- Utility Knife
- Utility Knife Blades
- Paint Brush
- Paint Roller
- Plumb Bob (optional)
- Level
Where to Start and Stop Your Wallpaper?
Deciding where to start and stop your wallpaper is always tricky decision. When starting wallpaper, whether we are doing a single wall, or wrapping a whole room, we never start in the corner of a room.
Typically corners of the room are not perfectly straight or level, making it really hard to start a sheet of wallpaper there, since you need your paper to be straight and level at the beginning. Even a mm out of level will be amplified over time and really affect the final look of your pattern.
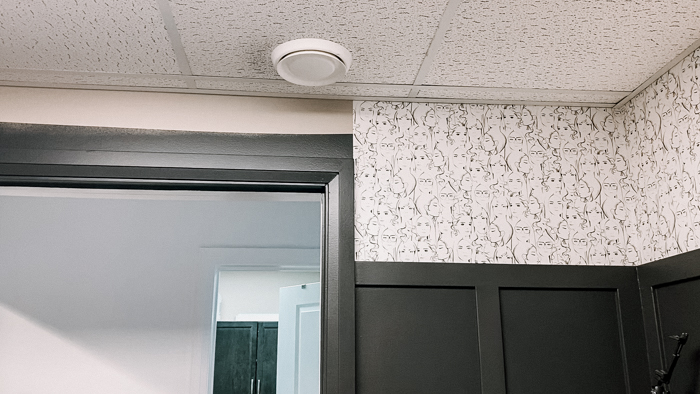
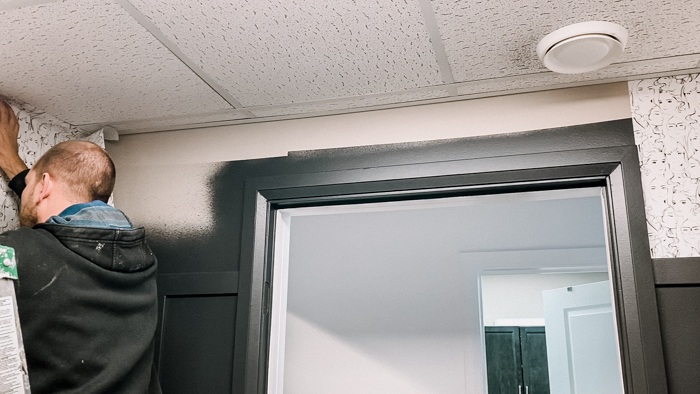
Instead we usually start less than a full sheet from one corner, so that we can cut it in the corner, or wrap the corner easily. In this case, we actually chose to start at the edge of the door because wrapping wallpaper around a door is always more difficult and our door frame happened to be perfectly level.
If you are wrapping a whole room, then when deciding where to end your pattern, you want to think about what will be easiest, and what will be most hidden.
When doing the whole room, the last pieces will never match up perfectly, so choosing to end the pattern in the corner hidden behind the door, or beside a door or window frame, where there is less seam to match up, is always a good idea.
How to Wallpaper a Corner Video Tutorial
Want to see all of this wallpapering in action? Some things, like wallpapering around corners, are much easier to learn when you see it in action.
This video covers where we started and stopped wallpaper and how to wallpaper a corner when it’s both level and not level.
Then all of our instructions are written below as well, in case you want to read through some of our other tips and tricks.
Don’t forget to subscribe to our channel to see all of the great DIY and Home Renovation videos that don’t make it to the blog!
How to Hang Paste the Wall Wallpaper
Hanging wallpaper is so much easier these days than it used to be! Just a few short steps to put a sheet up. If you are doing a single wall, you can easily finish floor-to-ceiling wallpaper in just a few hours.
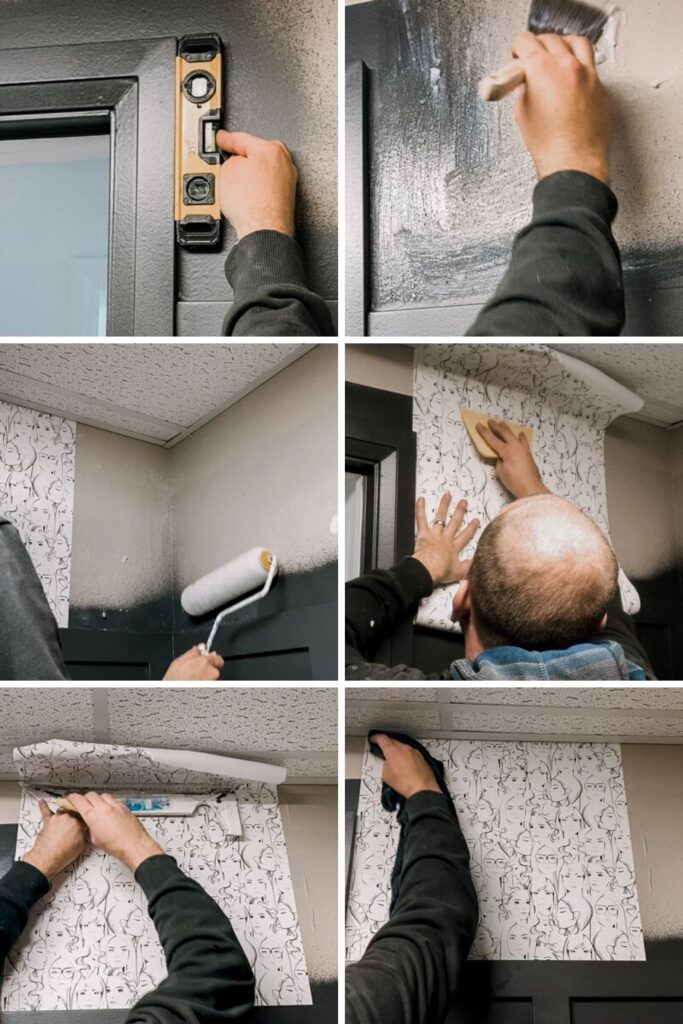
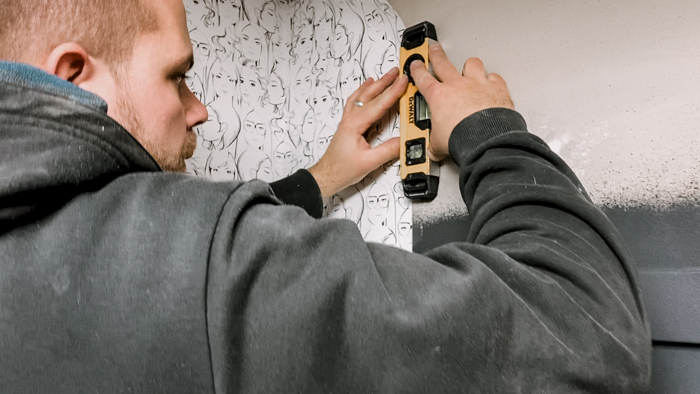
The photo collage above shows the steps for applying wallpaper. The first step is to make sure that you are starting from a level line, either already on the wall, or drawn on. If you’ve never used a plumb bob to make a level line, here’s a great tutorial.
Next apply paste to the wall. We do this by applying a generous amount on the wall with a brush, and then smoothing it out with a paint roller.
Once the adhesive is on, apply the wallpaper, lining up the seam with your straight line. Use a squeegee or smoother to push from the center towards the edges of the wallpaper sheet. This smooths out the paper, and removes any excess paste.
Use a straight edge and a utility knife to cut off the excess wallpaper at the top or bottom, and then use a damp rag to remove any excess adhesive that you pushed to the edges.
Every subsequent piece of wallpaper is attached in the same way, but you need to make sure that your seams are lined up perfectly. If it is perfectly aligned, the seam should disappear completely. If it doesn’t, sometimes even a mm out of alignment can look aligned in some spots and not others.
How to Wallpaper A Corner
Now onto the hardest part of wallpapering: going around a corner! Traditionally when we took wallpaper around corners, we would bring the wallpaper right into the corner, and then cut it about a cm after the corner.
This was the best way to do it with paste-the-paper wallpaper because the wallpaper would get wet and expand and shrink over time. With paste-the-wall wallpaper, the paper doesn’t expand in the same way, and we don’t have to worry about it shrinking and bulging in the corner after it dries.
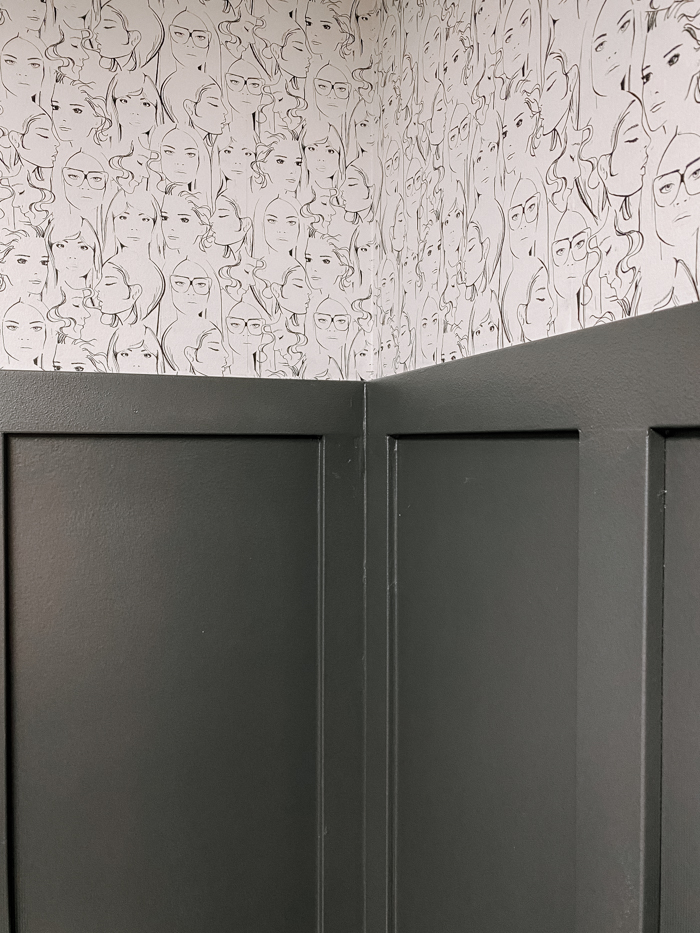
What we’ve been successful doing is wrapping the wallpaper around the corner. This keeps the pattern as perfect as possible and the corners smooth.
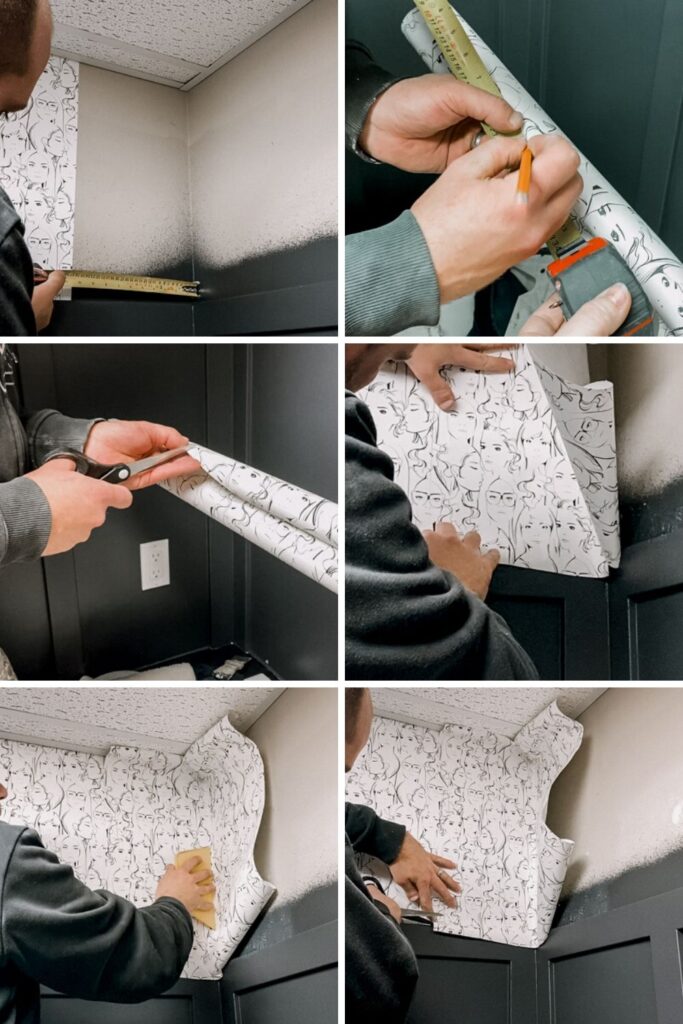
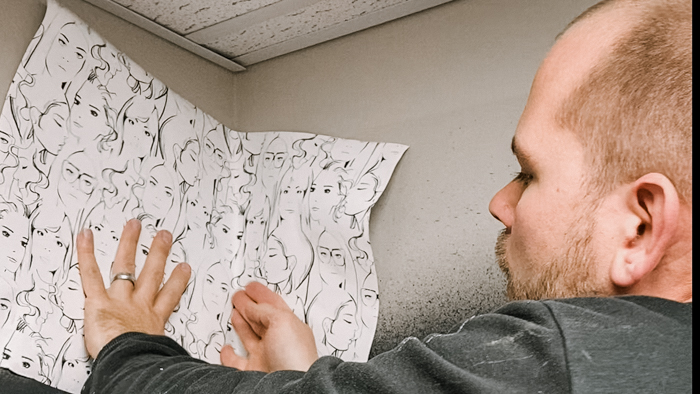
We start by measuring the distance to the corner, and then transferring that measurement to our corner piece of wallpaper and making two small cuts at the top and bottom that we call relief cuts.
The relief cuts allow the wallpaper to bend at the corner in the way we want it to while we set up the sheet. Start by focusing on the side that you were working on already, and apply the wallpaper to that wall first by pasting the wall, lining up the seam, smoothing the paper, and cutting off the excess paper.
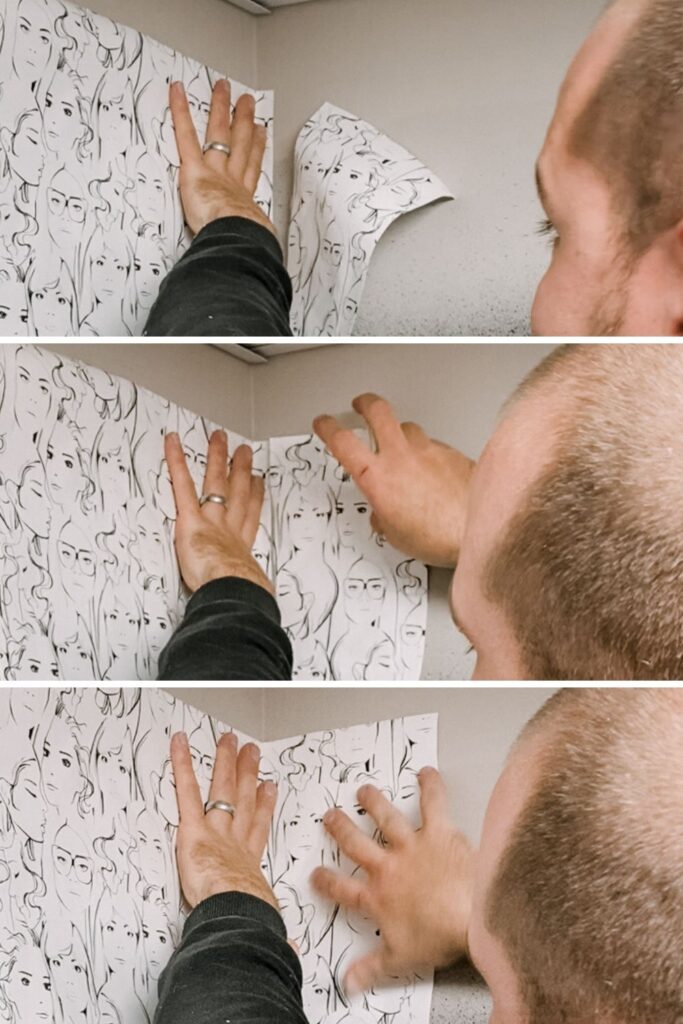
When that side is done, you can squeegee into the corner to make sure you have lots of adhesive there, and then wrap the wallpaper around onto the next wall and adhere it. Make sure that your wallpaper is level before sticking it and moving onto the next piece.
How to Wallpaper a Corner that Isn’t Straight
When we were taking photos for this tutorial, the room we were working in had corners that were 100% true and level. That never happens! It was a first for us, lol.
We didn’t have any real photos of what to do with corners that aren’t straight, so we just pretending with a scrap piece of wallpaper to show you what we would do.
Usually walls like this are only out my a couple of mm’s, but that can make a big difference in how straight your pattern looks if you try to wrap around without leveling out the paper.
What we have found success with is cutting a large relief cut in the paper, slightly past the corner, and then adjusting the second paper by overlapping into the corner, just slightly until the sheet is level on both the left-hand side and right-hand side.
If this explanation is confusing, watch the video above to see a visual of exactly what we’re talking about! It takes a little longer to do, but you end up with a perfectly matched pattern.
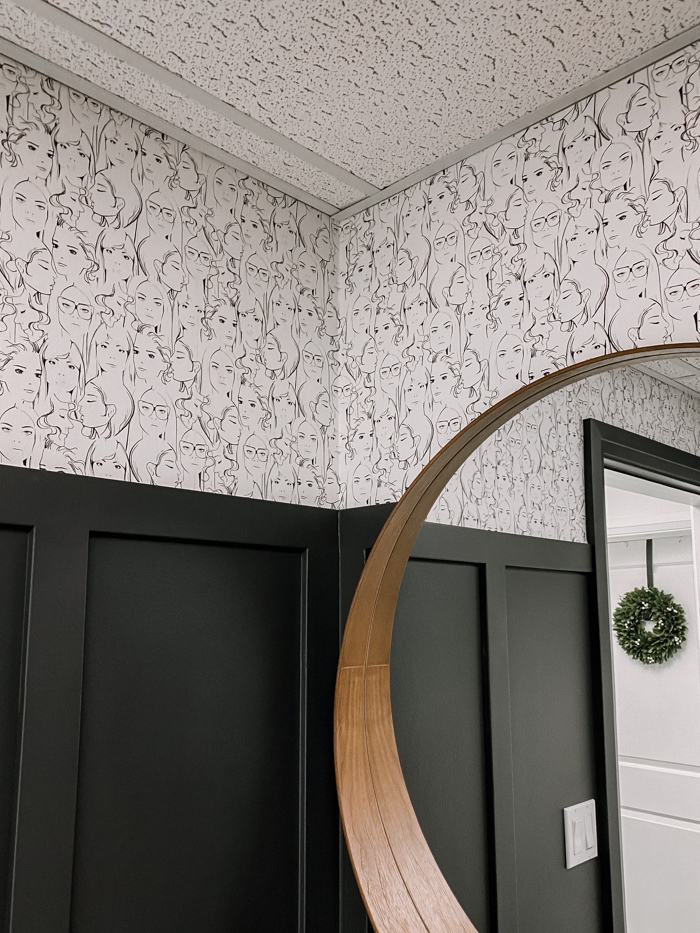
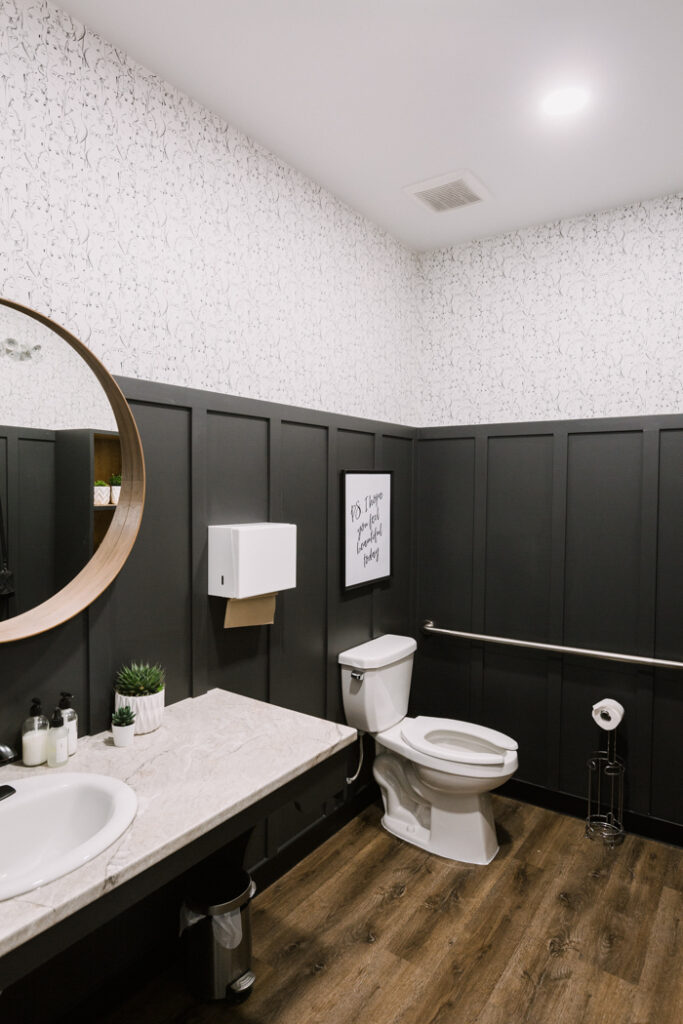
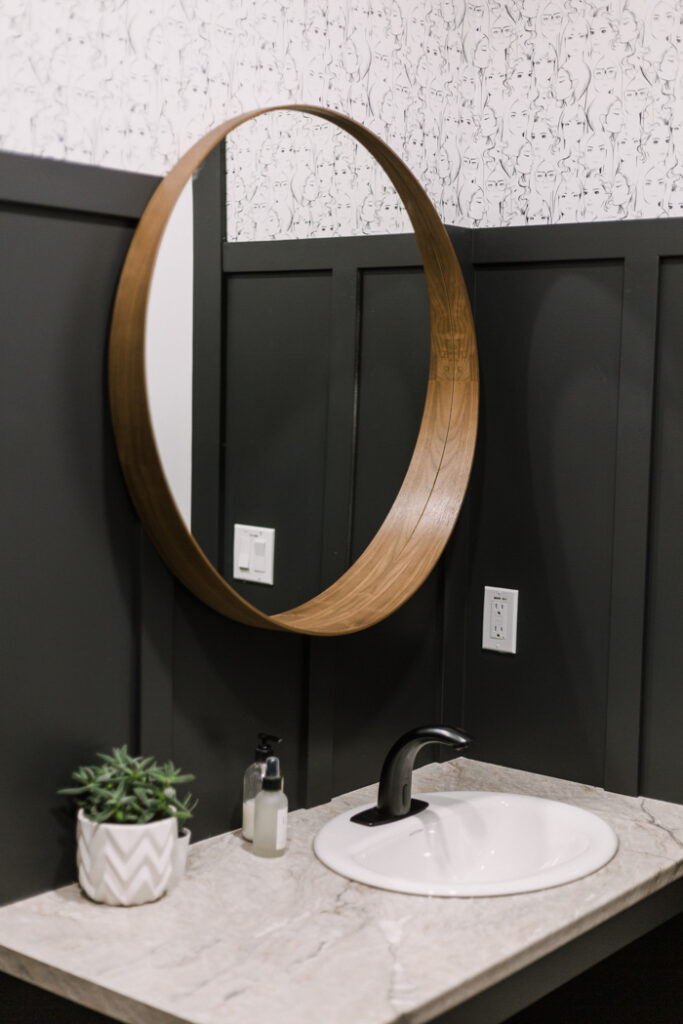
Our Finished Bathroom Wallpaper
We did three bathrooms for a local hair salon and wrapped the wallpaper around the entire room in all three spaces above the board and batten.
It looked amazing and all three of our rooms were finished with beautiful corners.

If you want to see how we did the board and batten in these spaces, check out our tutorial on those feature walls!