My son is nine months old now. That’s the best age isn’t it? He thinks everything is fun! His sisters, a big plush ball, a lick on the face from the dog… lol. Shortly after he was born, I swore I was going to make him something, and then life happened, and here we are 9 months later… still no homemade gift for him. Buuuut Cricut was looking for some people to try out the rotary blade on some projects and I jumped at the chance! I knew I could make a great gift for him and show you all how to sew a ball, and how to cut fabric using the new rotary blade! Get excited because my son already loves this ball, and if you have any littles in your life, you are going to want to make one too!
*This post was sponsored by Cricut and may contain affiliate links. As always, opinions are 100% my own. For more information, please see my disclosure page.*
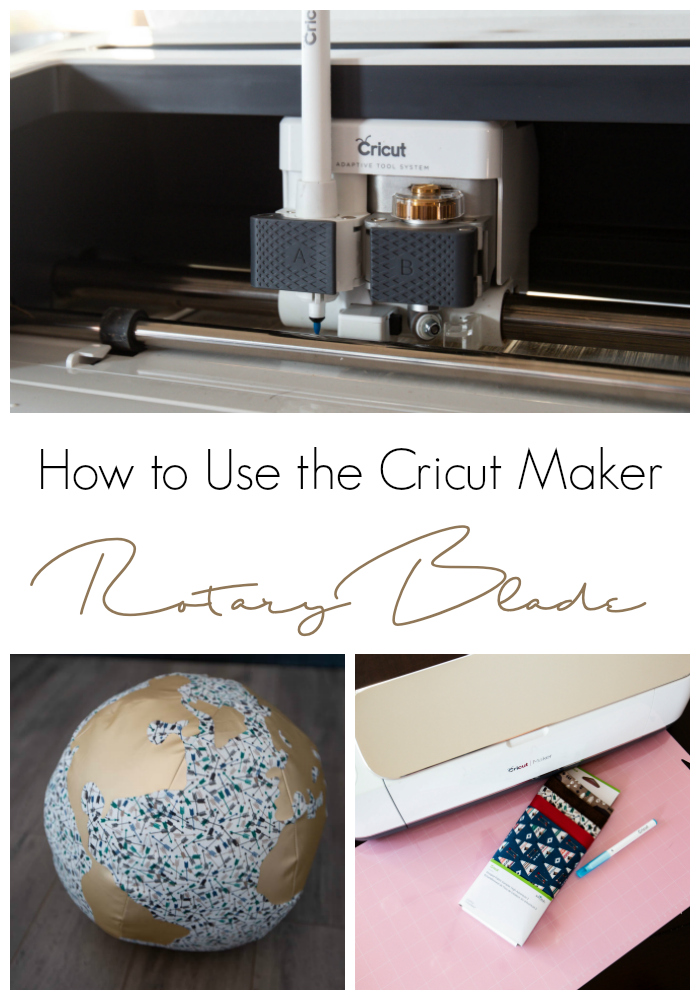
If you don’t know what the Cricut Maker is, this is a great introduction to the machine – it will tell you everything you need to know! One of the best additions to the new Cricut machine was the entire Adaptive Tool System, including the Cricut Rotary Blade.
What is the Cricut Maker Rotary Blade?
The Cricut rotary blade is basically a miniature version of a rotary cutter. Sewers are often using rotary cutters because they are the best for cutting fabrics. A rotary cutter is basically a circular blade that “rotates” as it cuts. Although Cricut does have a handheld version of this, their Cricut Maker machine also has a miniature tool for the machine that allows it to cut fabrics quickly and easily.
This blade can only be used on the Cricut Maker machine, because it is part of the Adaptive Tool System, which uses a gear system to allow the rotary blade (and other blades) to cut difficult curves and angles with ease.
This tool is a dream come true for crafters and sewers because is significantly reduces their cutting times! No more cutting out each individual square for a quilt. The Cricut has those squares programmed in, and will even draw on the seam allowances (as you will see in the video below!). The Rotary Blade comes with the Cricut Maker, so if you already own a Cricut Maker, then you’re ready to get using it and ready to learn how to sew a ball!
What you need to learn how to sew a ball:
- Cricut Maker
- Rotary Cutter
- Washable Fabric Pen
- Designer Fabrics
- Cricut Sewing Cutting Mat
- Cricut Standard Grip Mat
- Gold Iron On Vinyl
- EasyPress
- EasyPress Mat
How to Sew a Ball with the Cricut Maker Rotary Blade:
I’m going to be honest with you… I would NEVER ever have tackled this project without the Cricut, lol. It would usually seem very daunting to me, who’s not all that talented when it comes to sewing projects. Buuut, the Cricut Maker makes it easy! The pattern is already made for me, the rotary cutter cuts all of the cotton, and the washable pen draws on the seam allowances. It’s amazing!
If you want to see everything in action before I get to the tutorial, here’s an easy-to-follow video:
I’ll write out some of the instructions for how to sew a ball as well here:
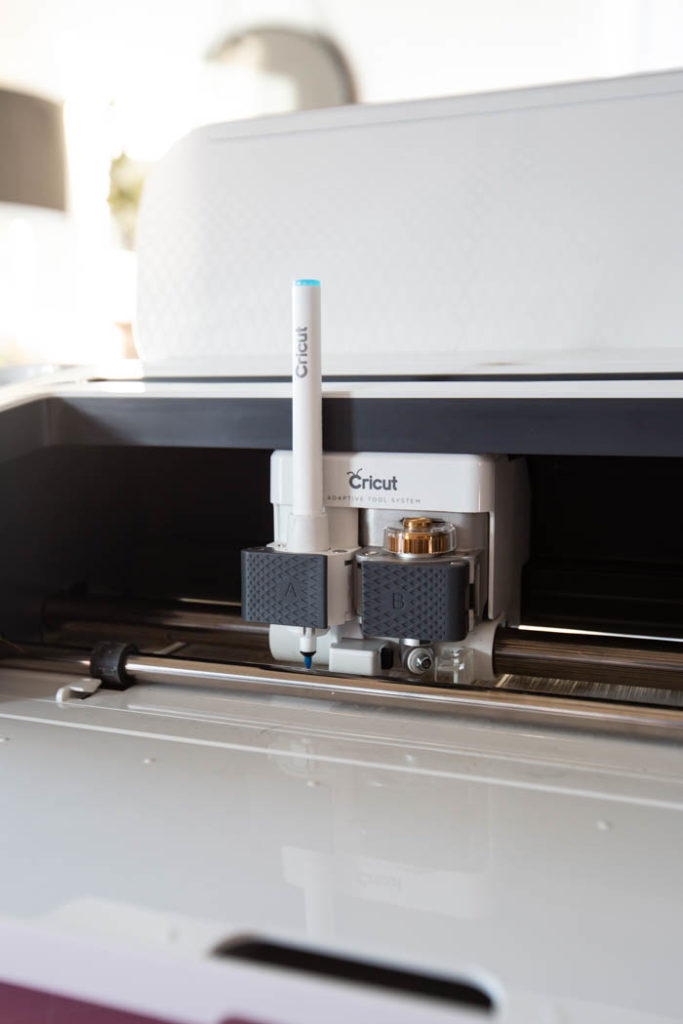
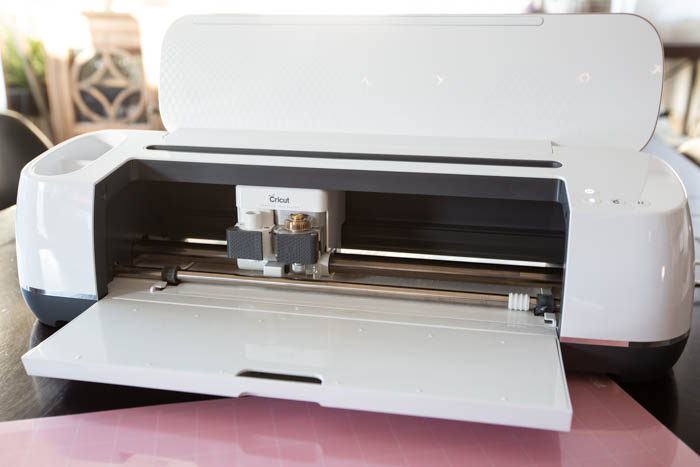
The first step to any sewing project is to insert your rotary blade and washable fabric pen into the Cricut Maker machine. The rotary blade should slide easily into slot B, and the fabric marker into slot A (make sure you push it down so that you can no longer see the arrow on the pen).
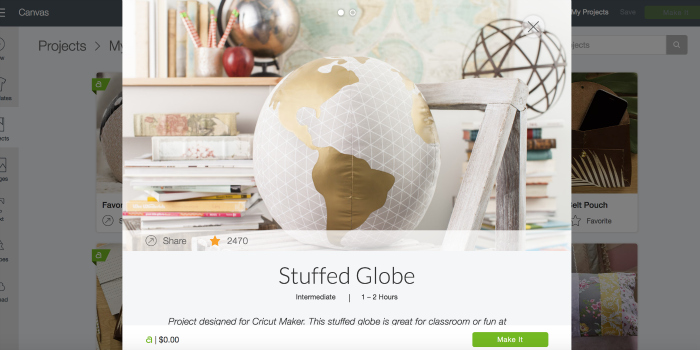
The next step is to open your project in the Cricut Design Space. I clicked “Make-It-Now” projects and searched “globe” to find the stuffed globe. When you click on the image, it will give you a list of all the materials you need to make it, as well as a full set of instructions. When you click “Make It”, you will open the cut mats with all of the images already spread onto mats for you. (see all of this in the video above!).
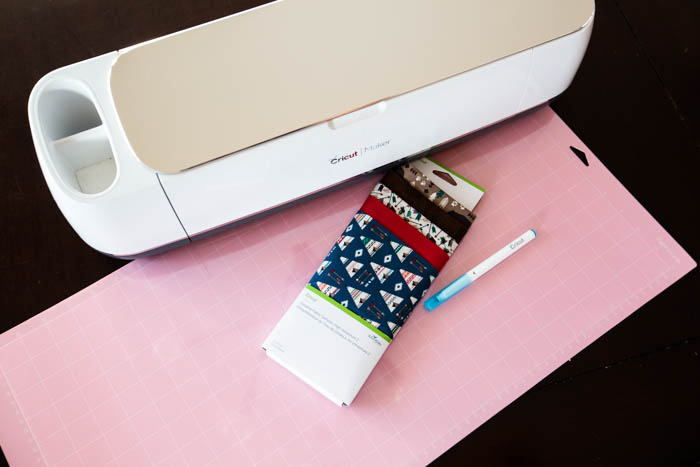
Because this is a large project, you will need the larger 12″ x 24″ mats. The pink cutting mats are specifically for cutting fabrics and should be used here. When you are ready, the Cricut Maker will first draw on your seam allowances with the fabric marker, and then cut out the fabric design with the rotary blade. It’s amazing to watch the blade spin around!

When the fabric is all cut, you can move onto cutting your iron on vinyl for the “world”. Just remove the fabric pen and rotary blade, and then put your fine point blade back into the Cricut Maker. This will also require a larger 12″ by 24″ mat, but this time you will use the green Standard grip mat.
After the vinyl is cut, you need to weed out the design, and remove the unneccessary vinyl.
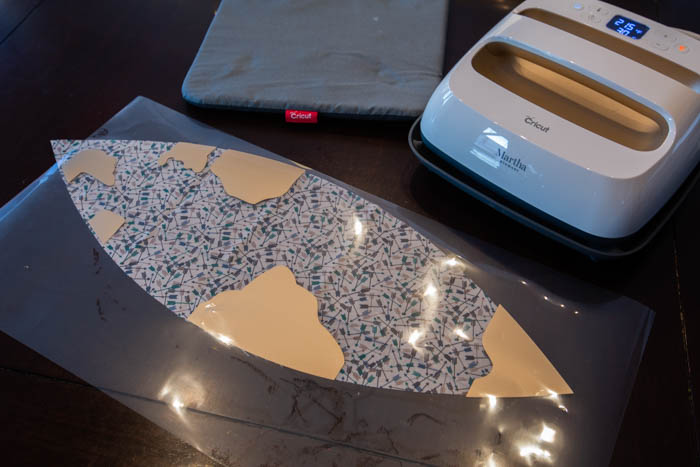
To iron on your vinyl, lay your vinyl cuts right onto the cut out fabric panels – it should be an exact fit! Follow the recommended EasyPress settings to apply the vinyl with heat.
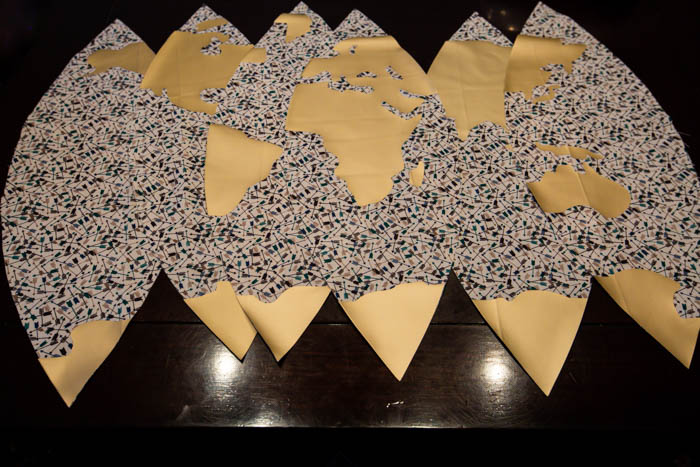
Before you start to sew your ball, lay out all six of your panels like a world map to make sure that you are sewing them in the correct order.
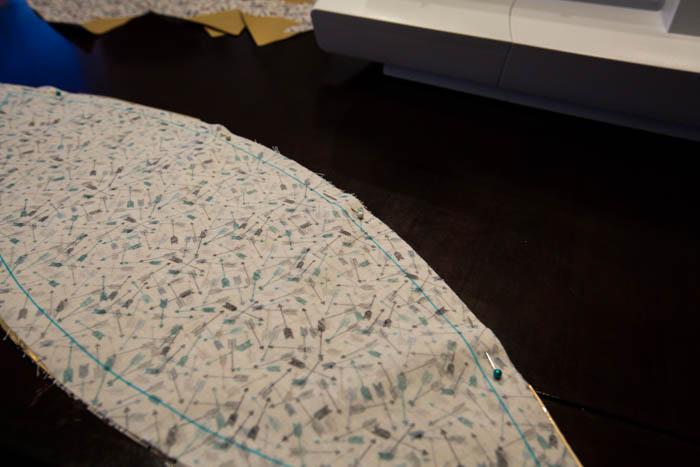
When you are ready to sew, take two of the panels and pin them together, right sides together. You will be able to easily see the blue lines on your fabric – this shows you exactly where to stitch.
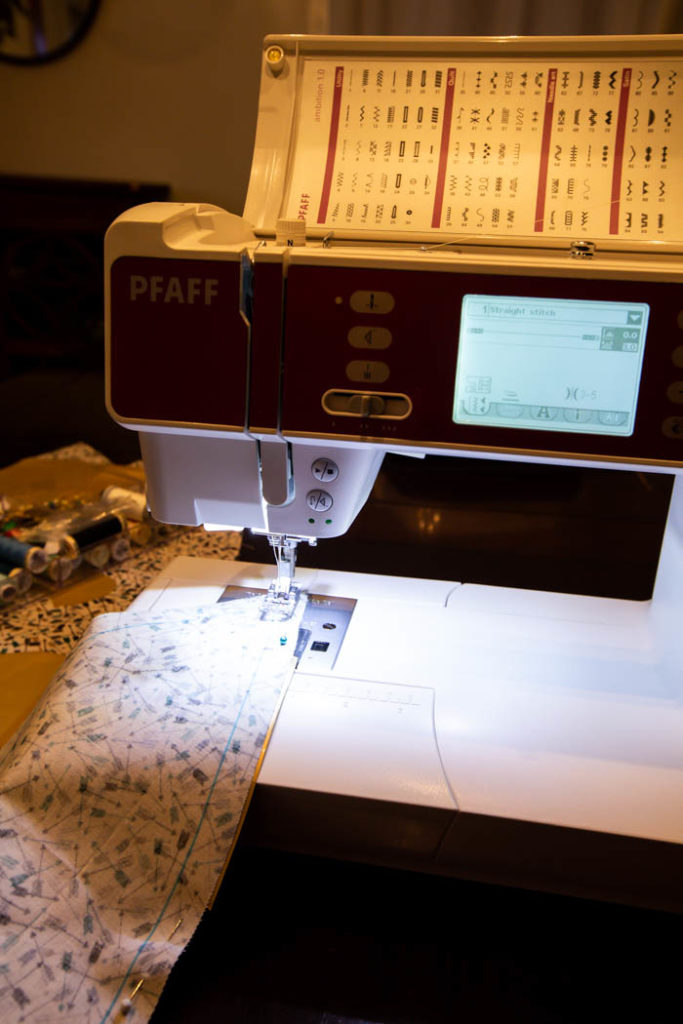
Using a sewing machine, stitch along the lines, one panel at a time until the entire ball is complete, leaving one small space no the last panel open. When you are done, turn the globe right-side out through the space you left, and fill it with stuffing.
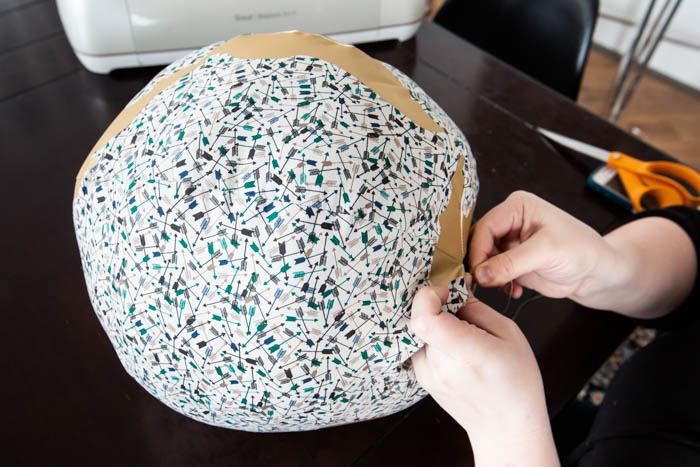
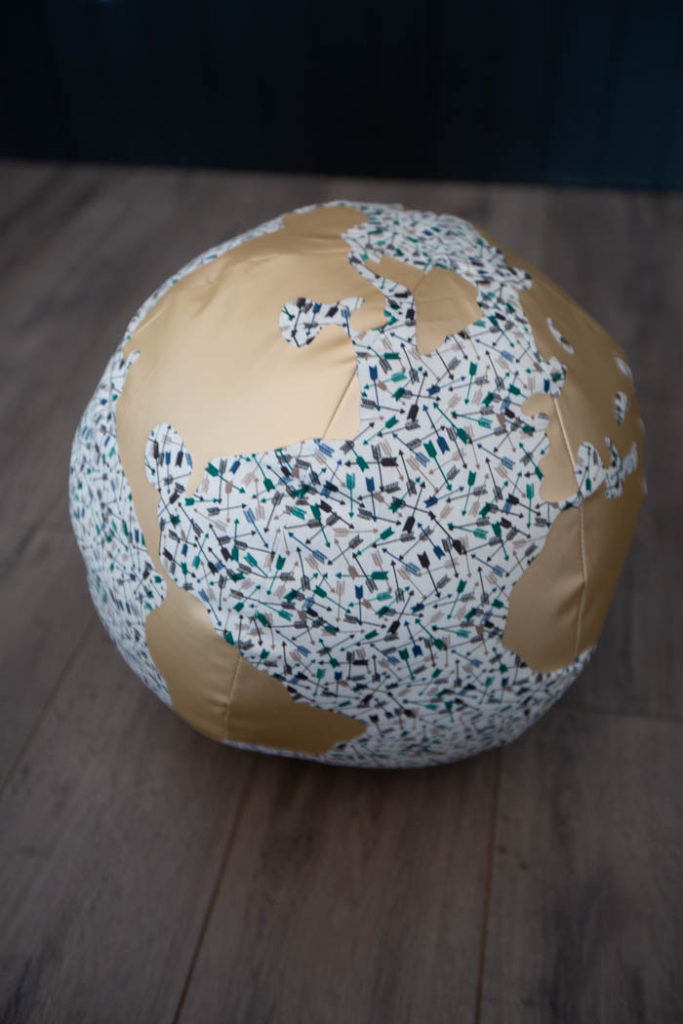
The final step is to hand-stitch your opening closed. That’s it!

I am definitely a BEGINNER sewer, and I was so impressed with how easily this ball came together! The vinyl lines between the fabric panels were almost perfectly lined up when I sewed everything, and the rotary blade made it easy to cut the fabric out in no time – no crazy patterns or hours with scissors. I feel like I could teach anyone how to sew a ball now! lol.


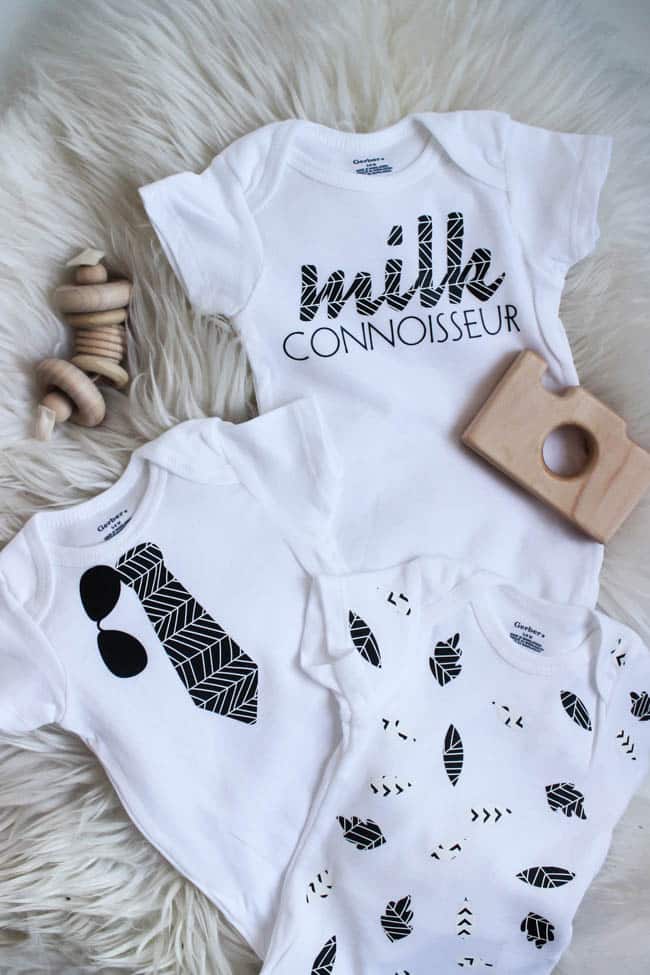
If you’re looking for another easy project for kids, try these adorable Modern Baby Onesies!
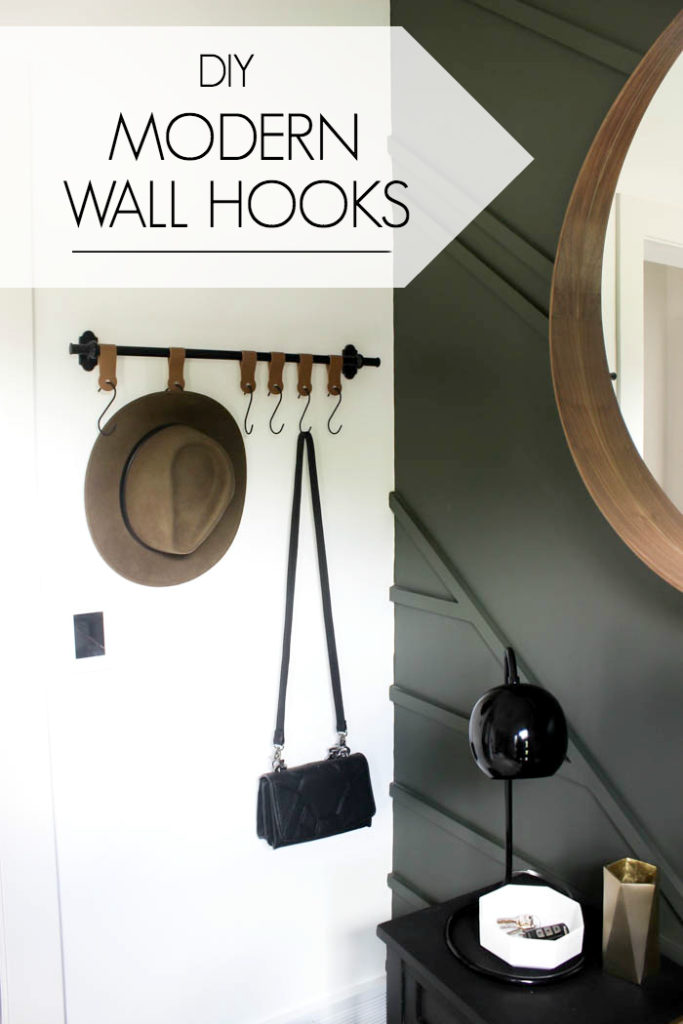
Or, if you want to try your hand at another Cricut Maker project, try cutting leather for these Modern Wall Hooks!

This is a sponsored conversation written by me on behalf of Cricut. The opinions and text are all mine.