
Learn how to patch nail and screw holes in your wall! If you have small holes from nails, screws, or anchors, this is the fastest and easiest way to repair them! Works for any small drywall holes too!
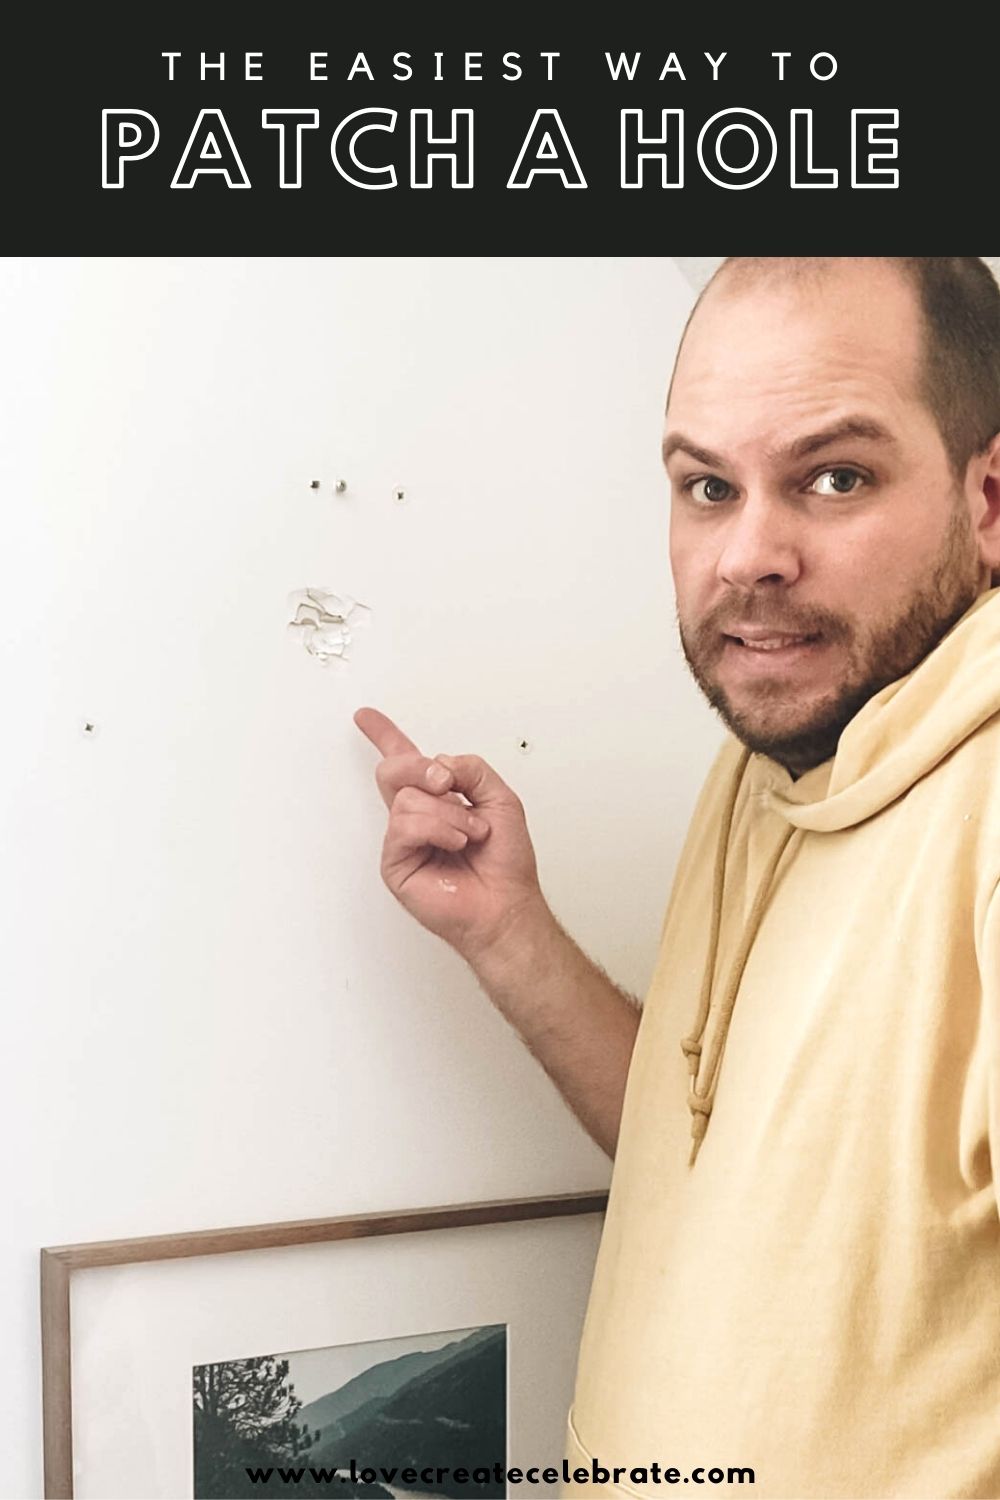
In our house, we always have an endless list of “to do’s”, and most of them are things that we don’t want to tackle! Patching nail and screw holes in our walls is one of those projects that we typically avoided on our list. But today we’re showing you how to patch a nail hole quickly and easily, without spackling or sanding!
Whether you accidentally get holes in your drywall, you’re doing a full room redesign or renovation, or moving and patching up all of your wall holes before you sell, there are always small holes in the wall to fill, and we were looking for the quickest & easiest way to patch them seamlessly (i.e. you can’t tell there is a patch!).
*This post was sponsored by DAP and may contain affiliate links. When you buy a product through one of our links, we get a commission at no cost to you! Thank you for supporting our blog so that we can continue to bring you posts like these. For more information, please see our disclosure page.*
Types of Repairs
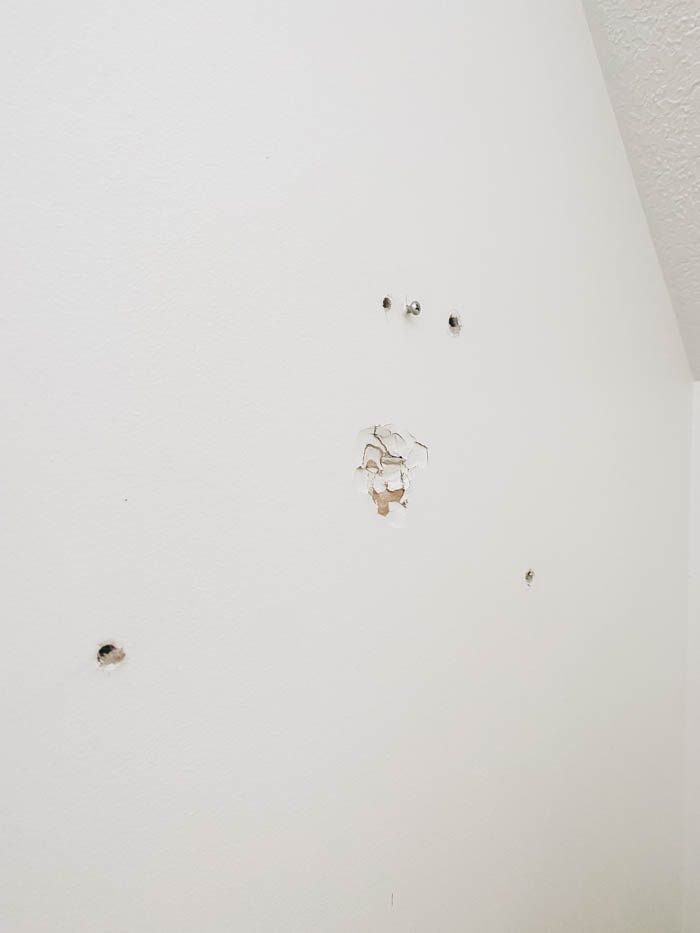
There are several types of holes and methods when repairing holes in dry wall. This post is going to focus on patching nail and screw holes but can also be used on other types of holes as long as the patches gray area covers the damaged area.
Spackling and Sanding Repairs
Traditionally when you would go to repair holes on your drywall walls you would use a process of applying spackling, sanding, priming, and painting. This is messy and time consuming. You can see a video here on patching and filling nail (patching at 9:09 in the video) and screw holes with spackling and sanding from our IKEA PAX Built In hack post.
Large Drywall Patch Repairs
On larger holes you would need to cut out the damaged area, add backing board, screw in a new piece of drywall, tape and mud the perimeter, and sand/mud/sand until the area was smooth and the damaged area disappeared. This is even more messy and more time consuming. You can see a great video here on that process.
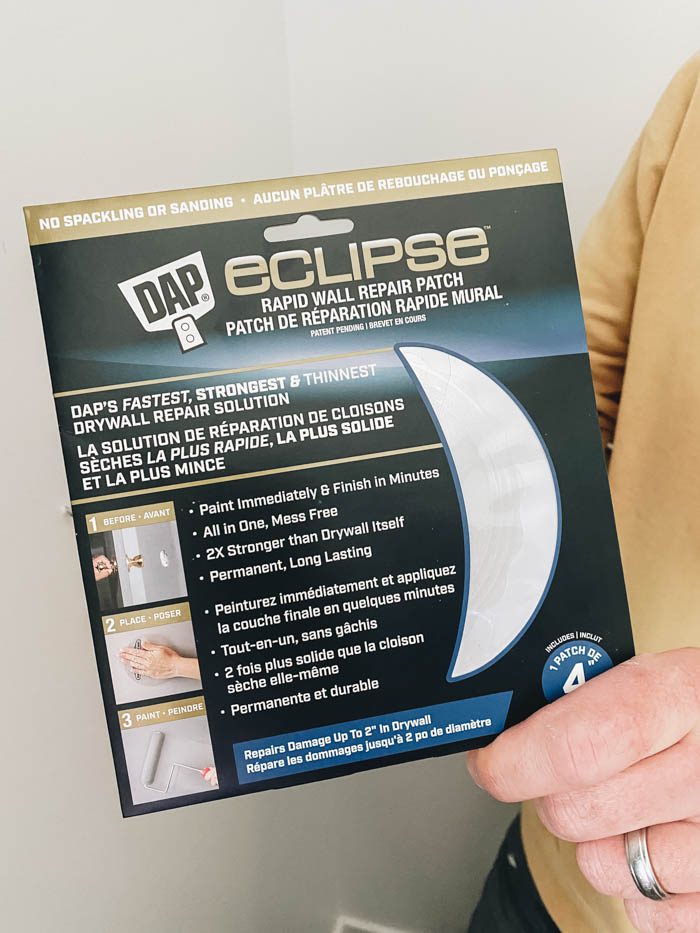
Rapid Wall Repair Patch
The great thing about DAP’s Eclipse® Rapid Wall Repair Patch is that they come in a multiple diameters (2″,4″, and 6″) allowing you to repair damaged areas to about 5 1/2″ in size. The Eclipse Rapid Wall Repair Patches are a great because you don’t need to wait for spackling to dry and you get to skip that dreaded step of messy sanding. The DAP wall patch allows you to patch drywall damage and paint immediately, allowing you to finish your project faster. DAP’s Rapid Wall Repair Patch provides a permanent and long-lasting repair. And as an added bonus, it also has superior impact resistance for areas that may see reoccurring impact, such as behind a door.
As another bonus, there is no worrying about shrinking spackling or not counter sinking screws, you just need to apply the patch, apply a couple coats of paint, and you won’t even remeber the holes in your walls once you are done!
Supplies Need to Fill a Nail Hole
Here is list of all the supplies you need to patch all those screw and nail holes:
- Eclipse® Rapid Wall Repair Patch
- Utility Knife
- Mini Paint Roller and Finish Roller
- Fine Sanding Block
- Paint to match the wall area you are working on
How to Patch Nail and Screw Holes in Your Wall
These patch kits are so simple to use, here is the step-by-step how to on how to make those nail and screw holes disappear!
Step 1:
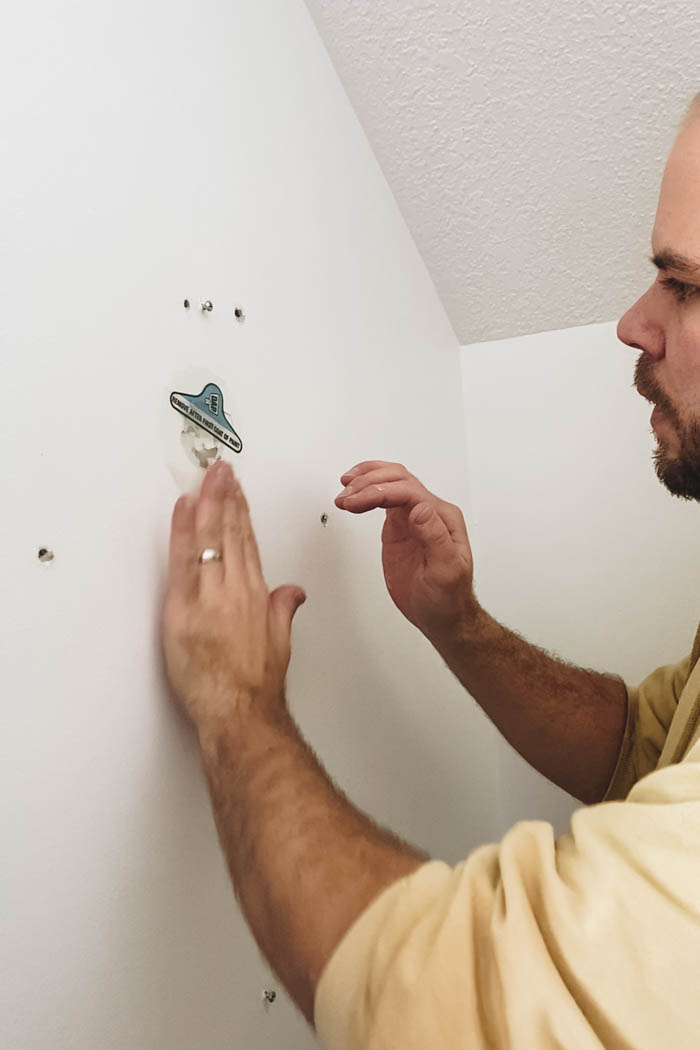
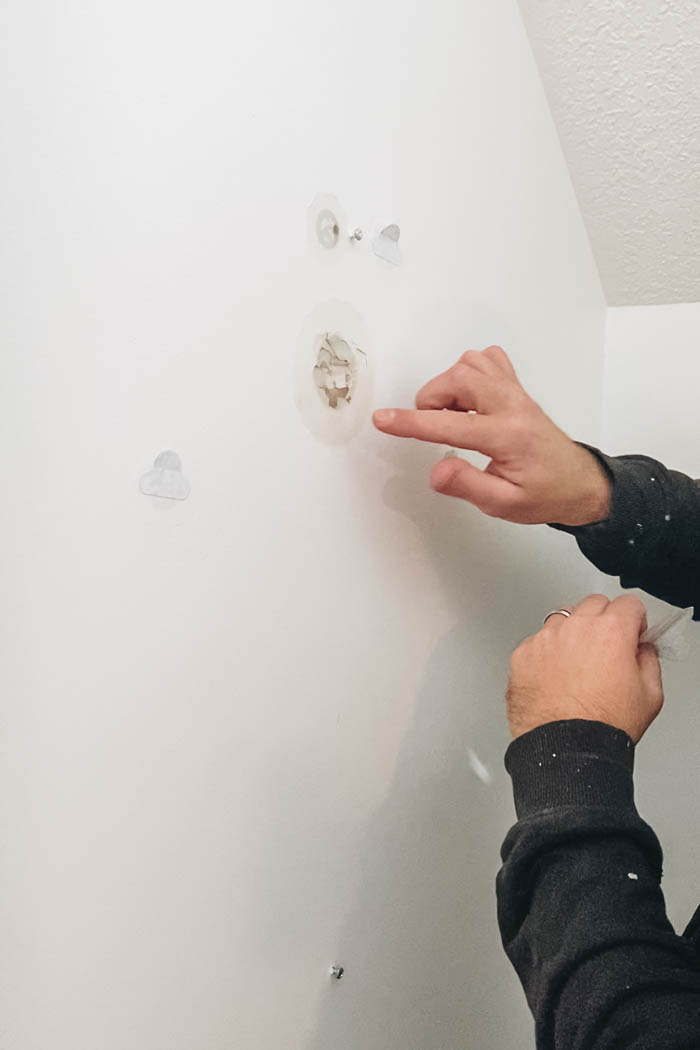
- remove the nail or screw, if a wall plug was used to secure the screw, remove from the wall
- with a knife blade from a Utility Knife to remove any rough or jagged drywall, you want the Rapid Wall Repair Patch to sit flat/flush on the wall
- give the area a light sand with a fine sanding block, you want to de-gloss any sheen on the wall to ensure the paint bonds properly
- wipe the wall to remove and dust debris
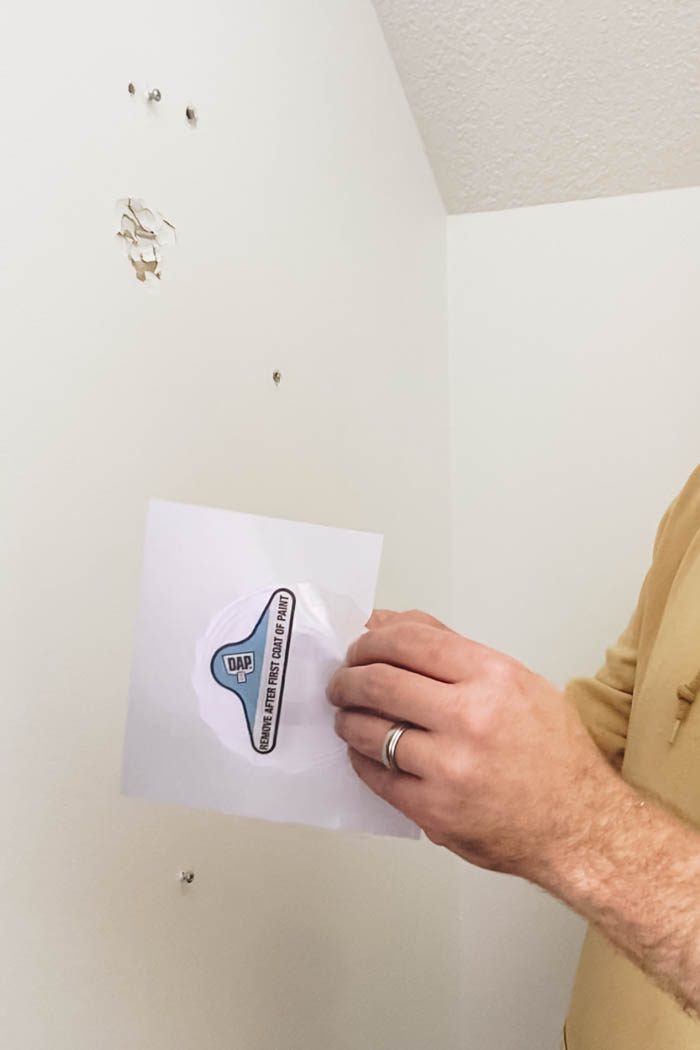
- Apply the patch, you are going to want to press firmly to smooth around the perimeter of the patch to ensure proper adhesion to the surrounding drywall. Only press where the patch is in contact with the drywall. Do not push along the damaged area. Use the gray center circle of the patch as a guide to align over the center of the damage. Be sure the damaged area does not exceed the gray area.
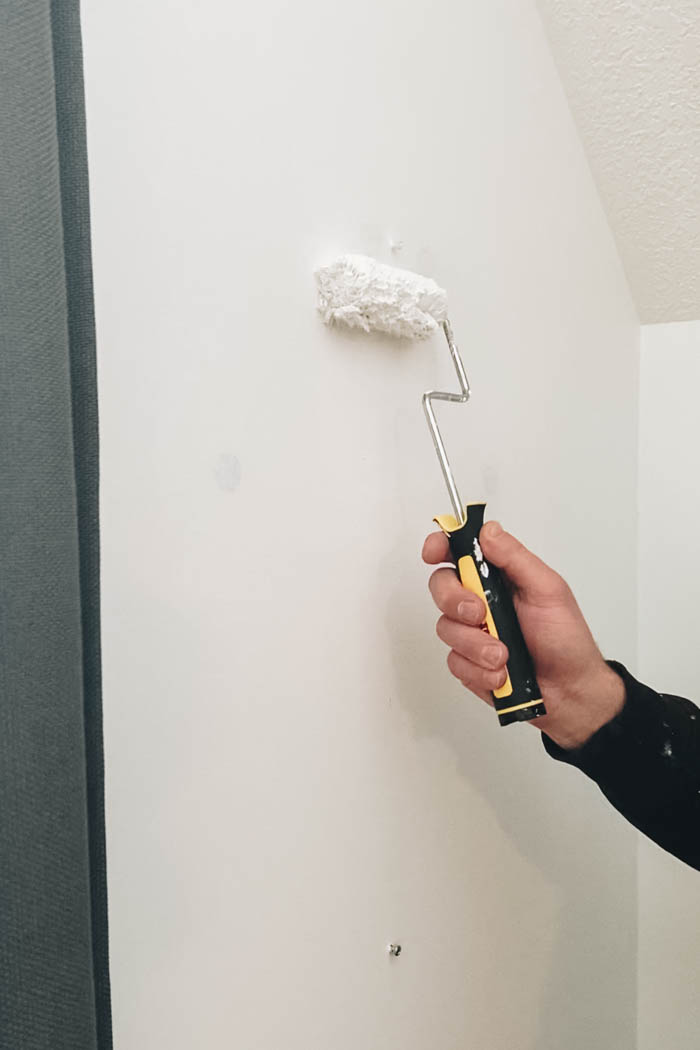
- Apply your first coat of paint. You want to be generous with the first coat of paint. I used a mini roller with a “very smooth” finish roller. See below about matching your paint colours.
Step 2:
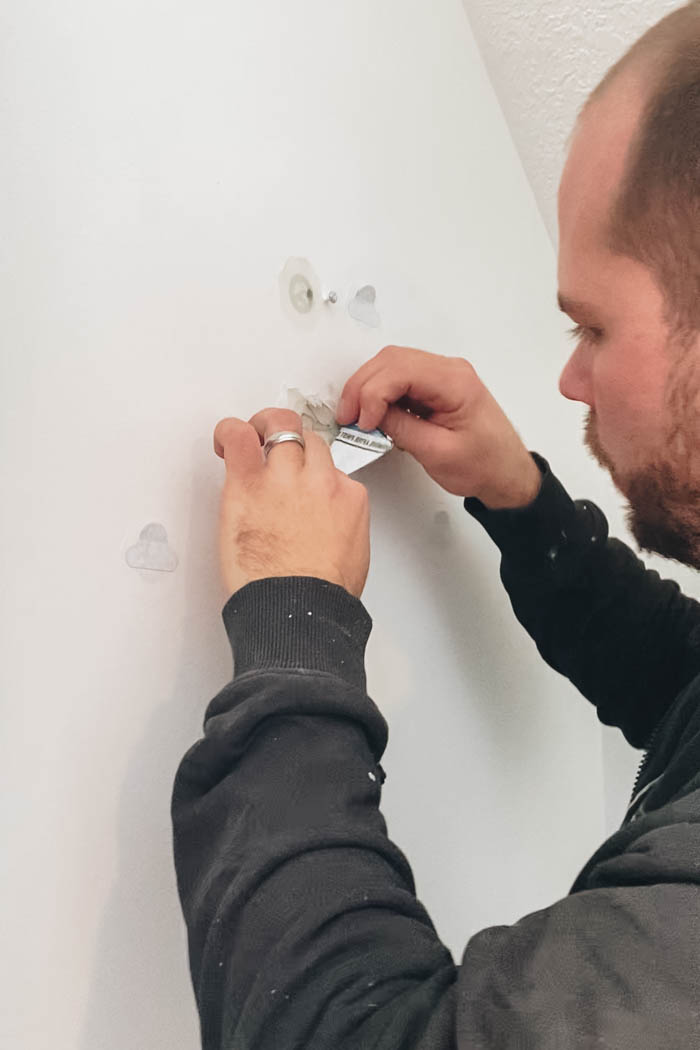
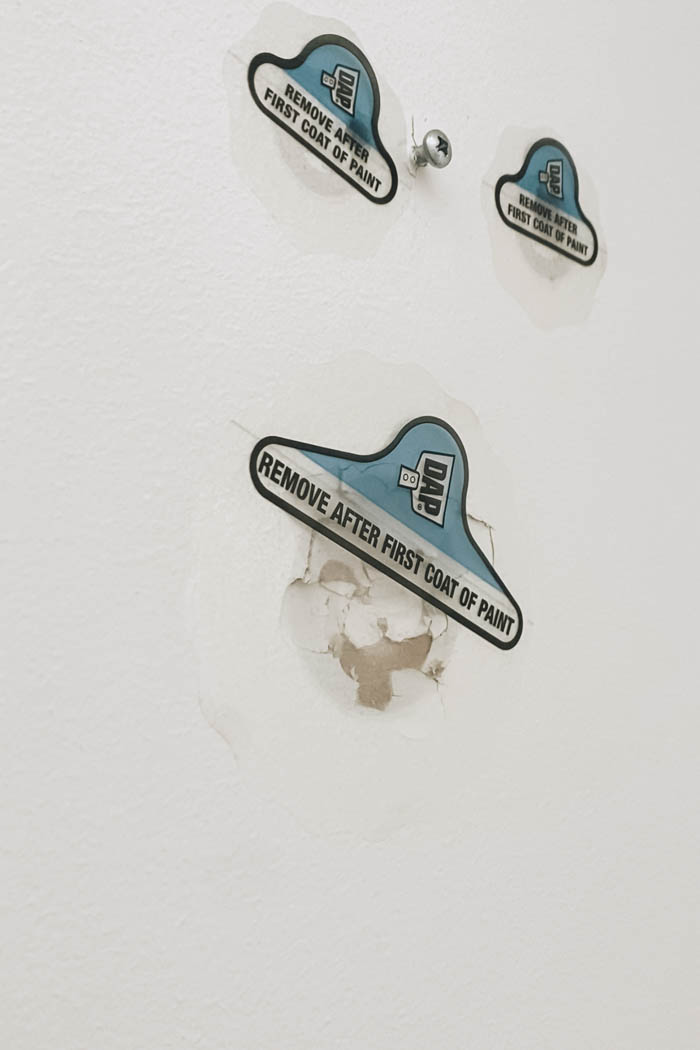
- Let your paint dry, once dry remove the protective layer by pulling the pop-up tab up and away from the drywall towards yourself in order to release it from the patch. If the protective layer does not completely come off in one piece, use your fingernail to remove the rest of the protective layer prior to applying the next coat of paint.
- Apply your second coat of paint on and around the patch area. You will still likely see abit of the patch outline still, but thats ok.
Step 3:
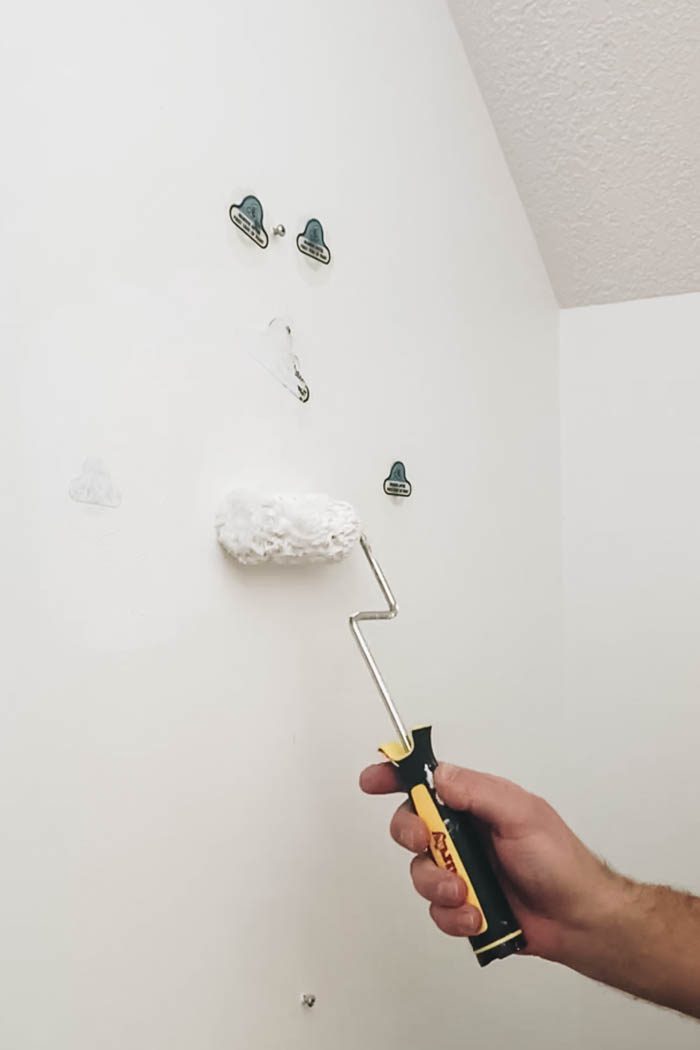
- With the paint dry, apply your third coat of paint on and around the patch area. This may be your final coat (it was for us on a white wall), but depending on your paint colour you may need a fourth coat of paint for the patch area to completely disappear.
Tips for getting your Paint Colour to Match your Wall
To get your patched nail and screw holes in your wall to complete disappear you are going to need to the right paint colour.
Whenever we paint a room we try to label the paint can with the room/date/and what it was used for. This way we can easily grab the right paint colour if we need to do any touch up. But this may not work if:
- you don’t have the original paint
- the wall was painted several years ago and is dirty and marked up
- the wall is sun faded and the orginal paint no longer matches
If you don’t have the correct or matching paint don’t worry! Remove a small piece of the existing wall as a sample near the area you are going to repair. You don’t need the full piece of drywall just the top layer that has the existing paint colour on it.
If you choose a spot near the damaged area it will be patched over it when you apply your Wall Repair Patch. Or you can use an additional wall patch to cover your sample area. You will need a sample piece that is about 1 inch square for the best results. You can bring this to your favourite paint store and they can match the colour and sheen (walls are generally an eggshell finish).
How to Fill Nail and Screw Holes on a Textured Wall
Yes you can use this to quickly how to fill a nail hole! If repairing textured walls or ceilings complete the following steps first:
- remove any existing texture along the area when the patch will be applied. You can use a putty knife to scrape the texture off or sand smooth.
- remove the protective layer by pulling the pop-up tab immediately after applying the patch to the drywall (no need to apply the first coat of paint).
- You can apply and match texture, using aerosol spray or a textured paint roller. Allow the paint to dry, then apply paint following steps 2-3 as above for a normal wall repair.
Our Final Rapid Wall Repair Patch Review
What is the biggest reason I liked using this method to repair holes in my walls? No drywall/spackling dust! This repair only took about 30 mins of actual time to complete (not including the time waiting for paint to dry). Here are some reasons I will use this to fill any nail or screws holes in my walls in the future:
- No drywall/spackling dust from sanding
- Minimal prep work required
- Minimal clean up
- Great end results!
We couldn’t be happier with how this repair turned out! These DAP’s Eclipse® Rapid Wall Repair Patch kits will definitely be our go-to for future wall repairs.
If you want to see a video with the wall repair kit in action be sure you check out the video below from our YouTube channel (wall repair with patch kit starts at 9:30 into the video).
If you like budget-friendly DIY projects, check out this other amazing IKEA hack – How to Make PAX Wardrobes Look Built-In!


Neha @ Love Food Recipes
Wednesday 23rd of March 2022
Such an informative & fantastic blog. Looking forward to more such blogs.