
As a DIYer, I’m constantly seeing projects or ideas and adding them to the “try this one day” list. I know some of you can relate! I spent a crazy amount of time on Pinterest so you can imagine my list is endless. “Learn how to make your own stamps” has been waiting on that list for quite a while now, and this new project with the Cricut knife blade was the perfect excuse to make it happen!

*This post was sponsored by Cricut and may contain affiliate links. When you buy a product through one of my links, I get a commission at no cost to you! As always, opinions are 100% my own. For more information, please see my disclosure page.*
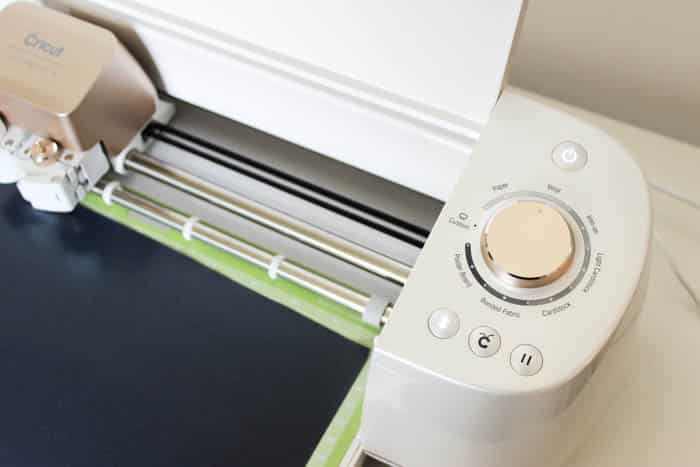
So you all know how much I love my Cricut machine right?? And everything that Cricut comes out with is gold. Gold. So when they announced that they were coming out with a new knife blade– I knew it had to be better than the average knife! I mean, it has a lock system so that the blades can’t shift, it has a way for you to change the blades without having to touch them (yay!), and it’s cushioned and comfy to hold! So I’m taking it for a test spin and showing you how to make your own stamps!
Here’s everything you need:
- Cricut machine
- Design Space File HERE
- Vinyl
- Knife blade
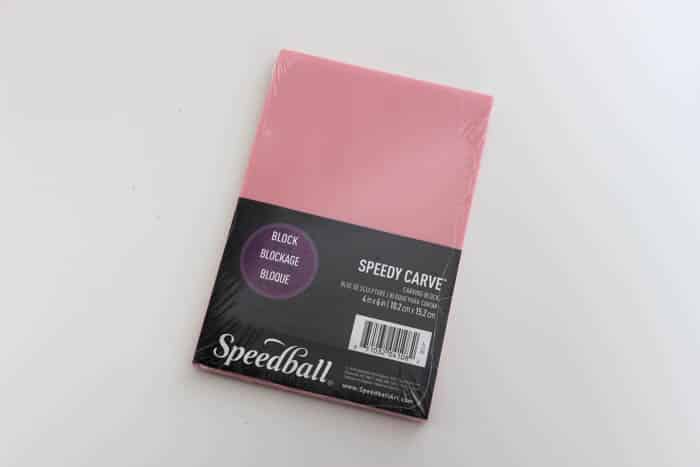
- Speedball Stamp Block
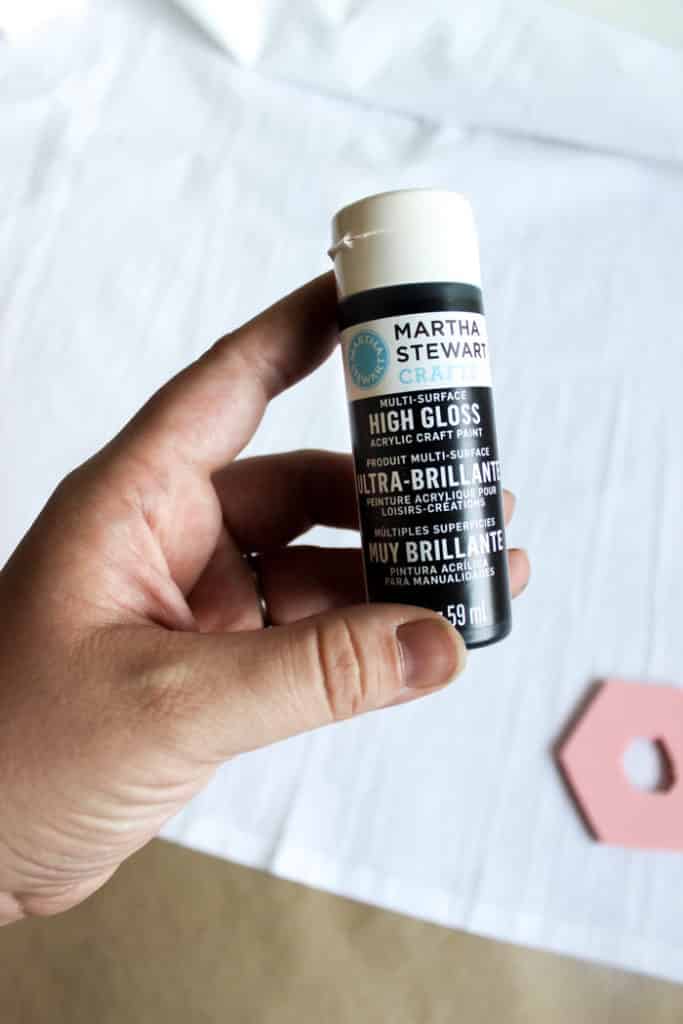
- Black Martha Stewart Acrylic Craft Paint
- Tea Towels
- Foam Brush
How to Make Your Own Stamps:
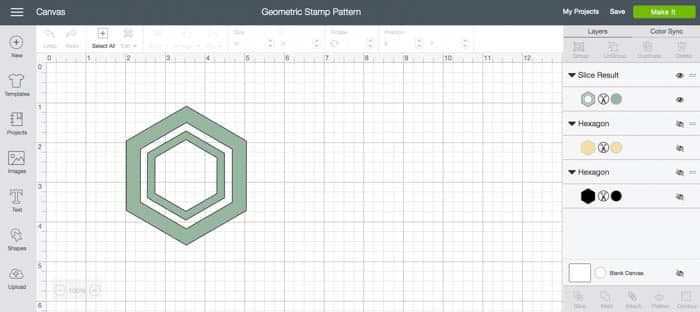
Start by opening the Design Space File and choosing “make it”. Set your Cricut Machine to “vinyl”and get ready for your cut.
You can load any colour of vinyl into the machine as it’s not part of the finished design – we’re just cutting a template.
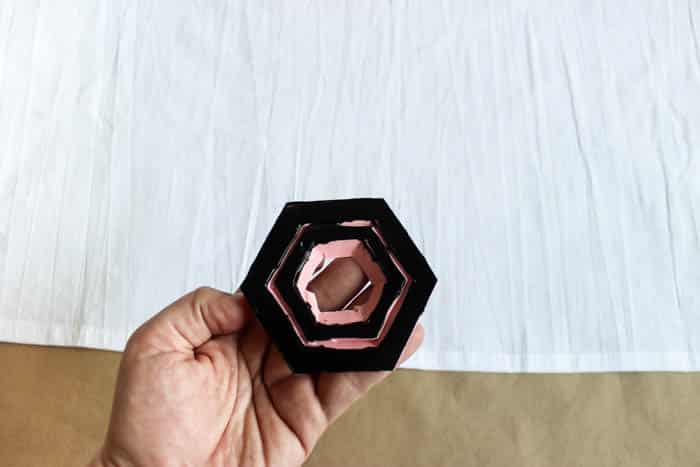
These Speedball carving blocks are perfect for designing and carving your own stamps! This was my first time using one, and I couldn’t believe how easy it was to carve.

I simply placed by cut out design onto my carving block, and used the knife blade to cut around the pattern.
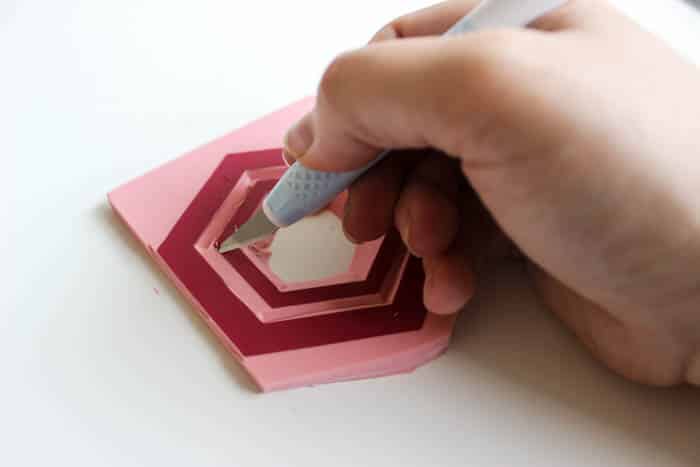
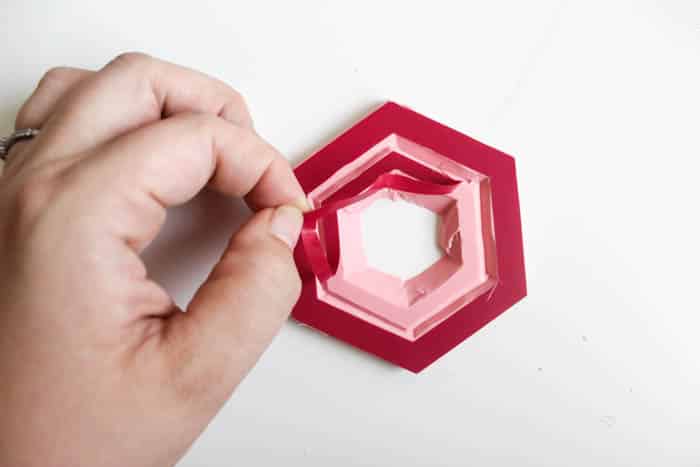
The outside edges can be cut off completely, but I wanted my inside and outside shapes to stay attached. To do this, I made diagonal cuts with my knife blade, and peeled out a perfectly cut triangle. The stamp was still attached at the bottom.
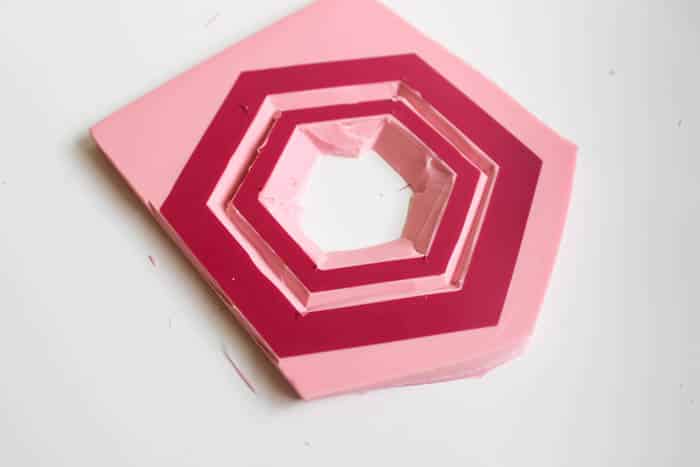
When you’re done cutting out the shapes, you can peel off the vinyl and throw it away.
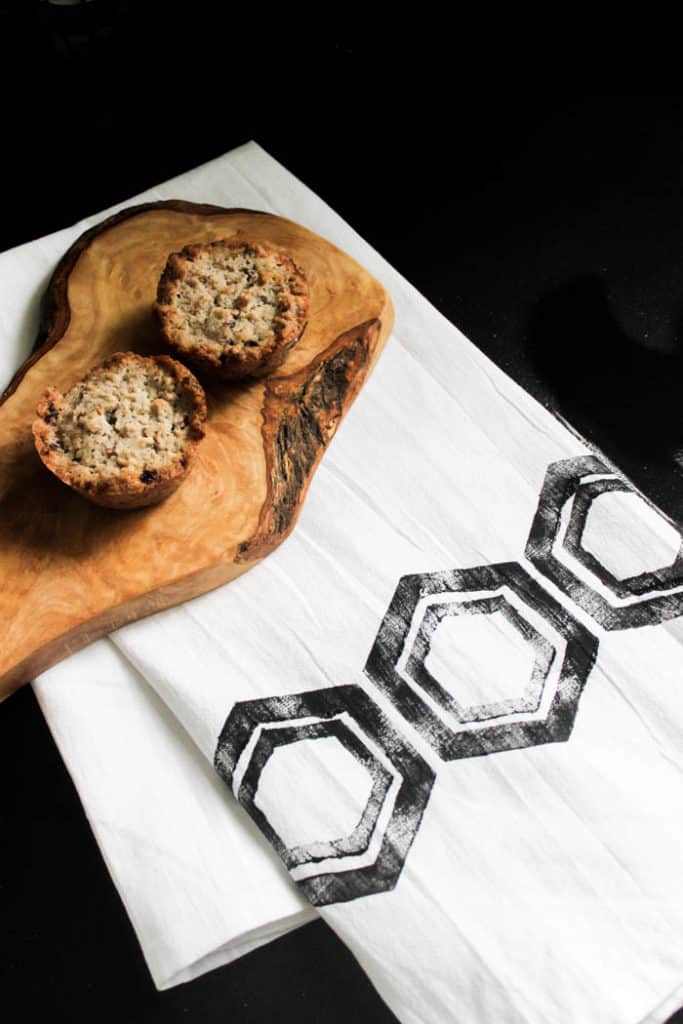
When you’re ready to use the stamp, grab some fabric paint. I used the multi-surface high gloss acrylic craft paint.
I found the best way to load the stamp with paint, was a simple foam paint brush. Apply your stamps in any pattern or design that you want!

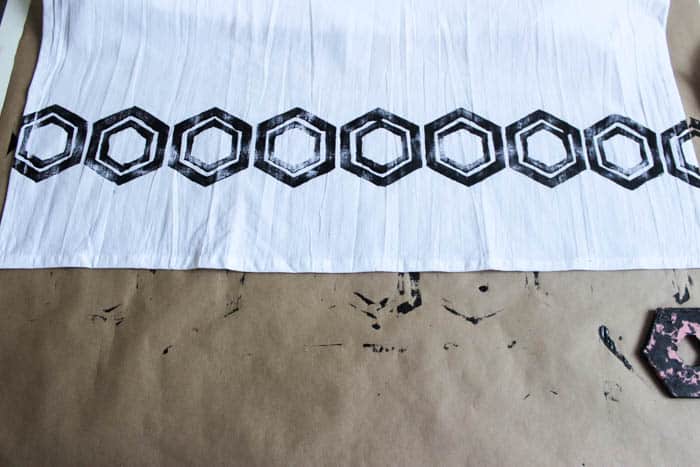
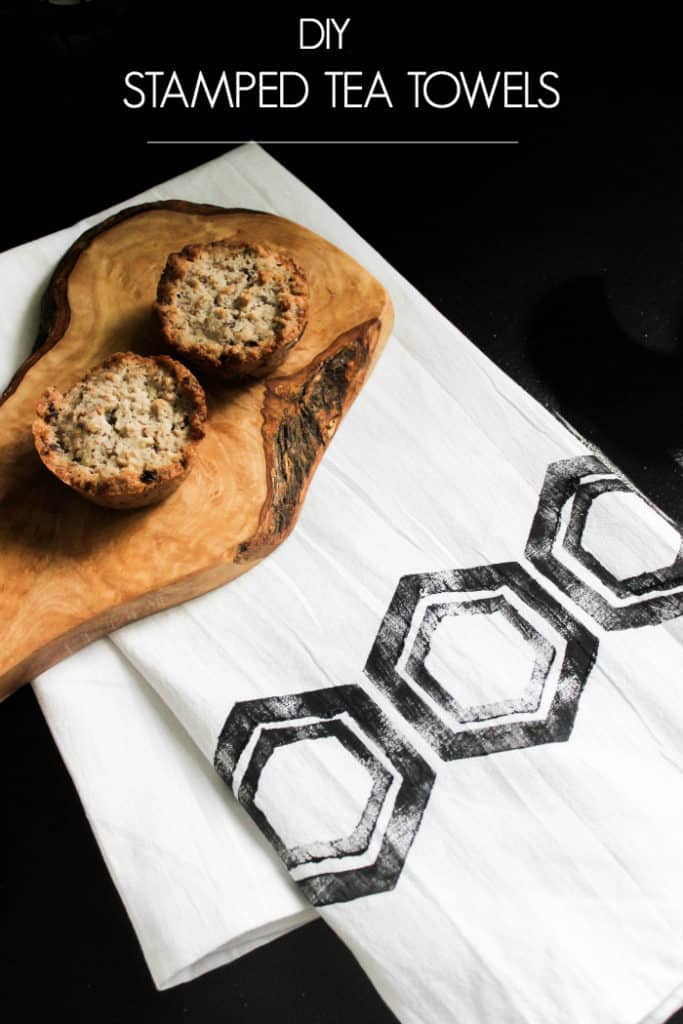
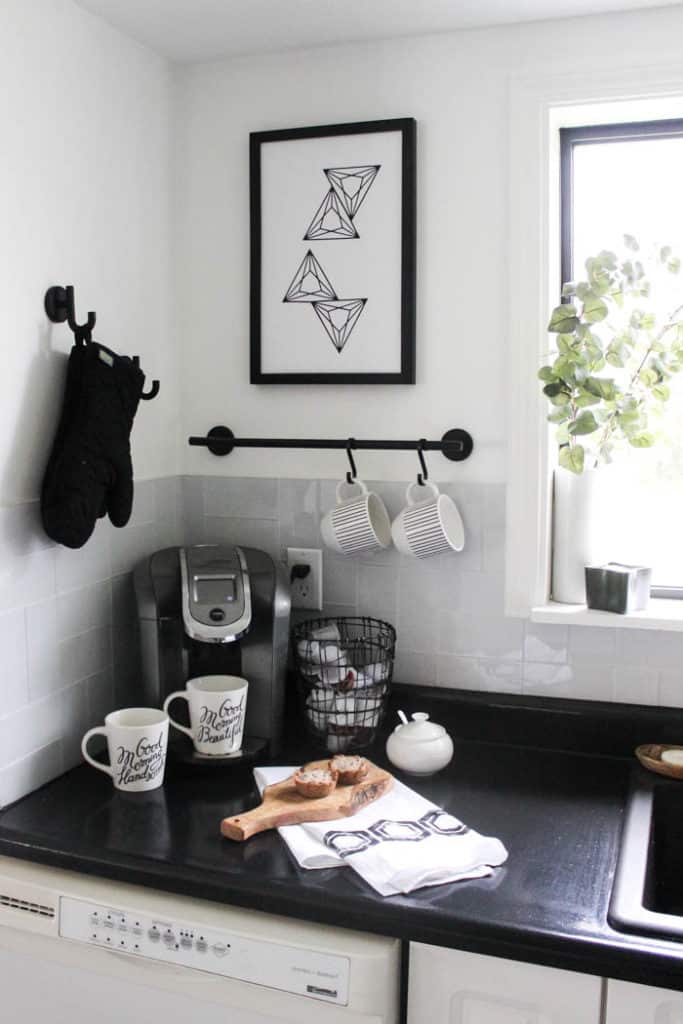
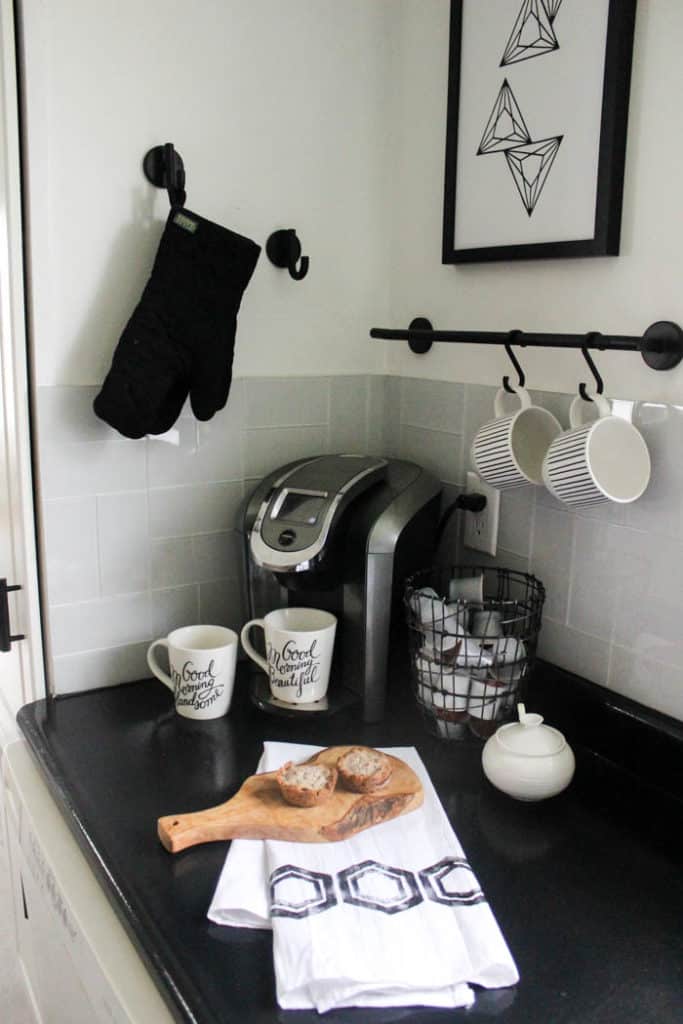
Since this was my first time stamping, I wasn’t sure how it would turn out, but I really love the final design! There’s something about the imperfect patterns they create, that make it so perfect. It’s a great addition to our black and white kitchen!


This is a sponsored conversation written by me on behalf of Cricut. The opinions and text are all mine.