
Learn how to make stencils. DIY reusable stencils for walls or wood signs are easy to make with this simple tutorial using the Cricut.
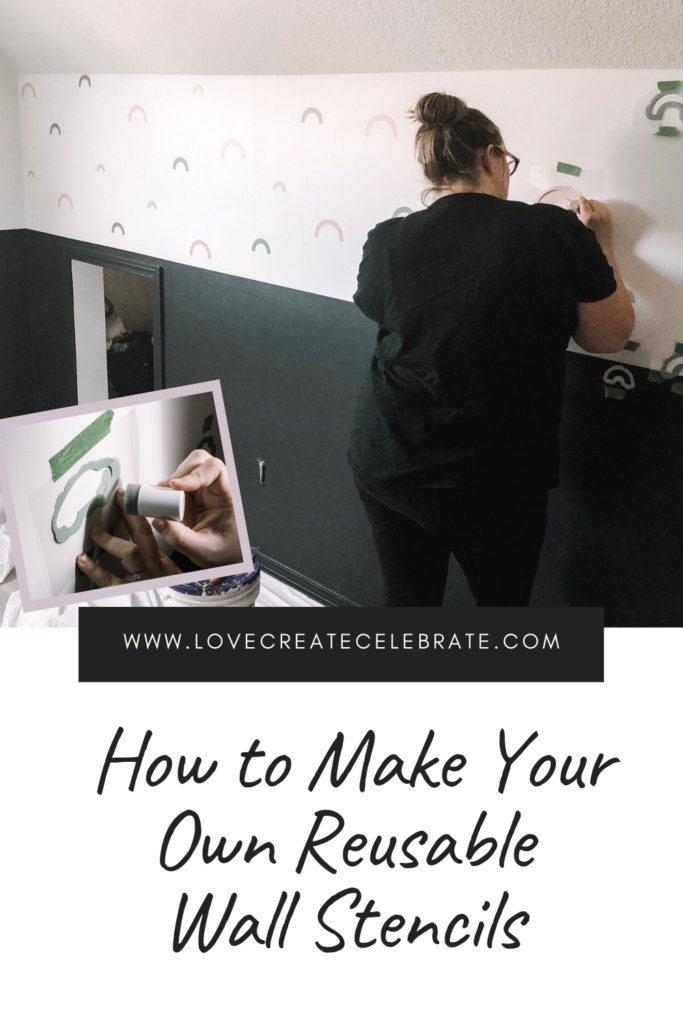
When I first told my husband that I wanted to stencil, not one, but TWO feature walls during the weekend makeover of our children’s room, I think he thought I was crazy. Two stencil walls in less then three days, on top of all the other exciting changes we were making seemed totally crazy! But when we actually got to the weekend, we made the stencils in less than an hour, and stencilled both walls in one afternoon. Some of you have been asking for this tutorial, so I’m excited to finally share exactly how to make your own stencils and put them up on the wall.

*This post may contain affiliate links. When you buy a product through one of our links, we get a commission at no cost to you! Thank you for supporting our blog so that we can continue to bring you posts like these. For more information, please see our disclosure page.*
You can buy decals and stencils online, but they are much more expensive than this! Since I already had a Cricut machine, I knew that I could use it to make my own stencils at a fraction of the cost.
Materials Needed
- Cricut Machine
- Cricut Cutting Mat
- Plastic Film
- Paint Dabbers
- Paint
- Level
- Painter’s Tape
Download the Design Space File: HERE
Video Tutorial for Making Stencils
The easiest way to see how we made our stencils and created our stencil walls is to to watch this video tutorial:
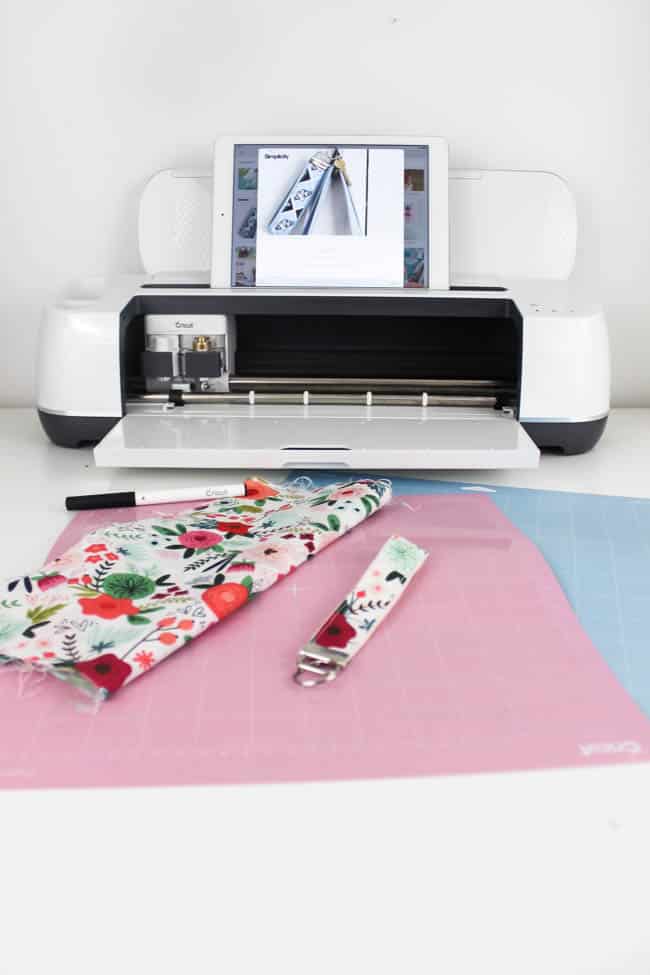
How to Make Your Own Stencils
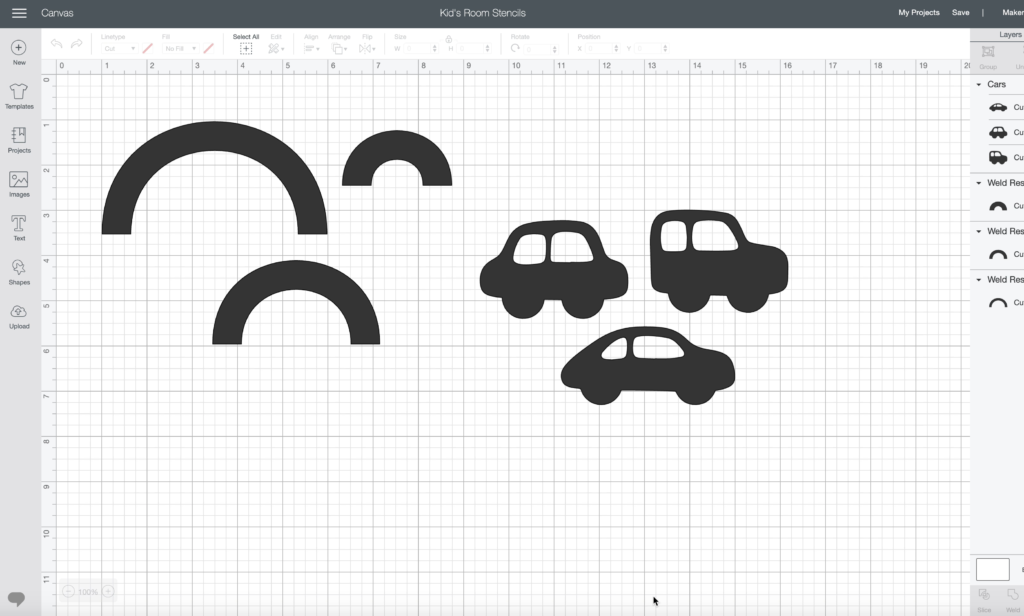
The first step to making your own stencils, is to open the Cricut Design Space and create your design. You can watch the video above to see how we created our stencils.
If you want to make the same rainbow or car stencils as we did, there is a link above to our design space file.
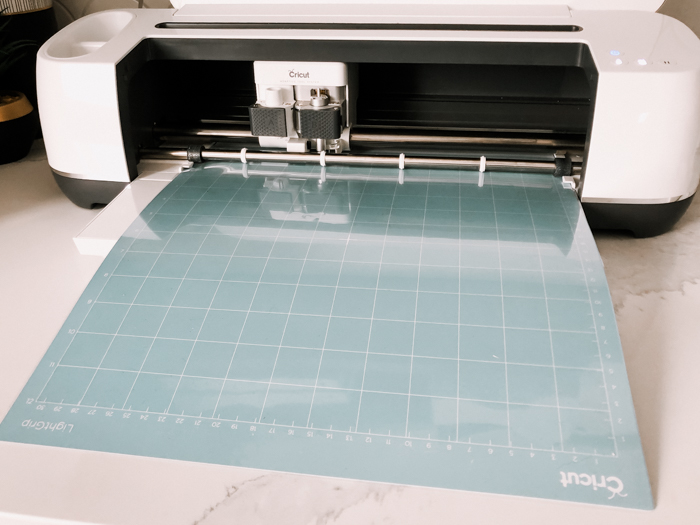
You can buy plastic film for your stencils online, or you can do what I did and save a few more dollars!
When you use Cricut cutting mats again and again they eventually are not sticky anymore, and don’t work as well. Each mat comes with a plastic protective cover. If you mat is worn out, you can use that plastic cover to cut your stencils.
The mat covers are thick, sturdy, and can withstand multiple stencils, so they are perfect to use if you are wanting a reusable stencil!
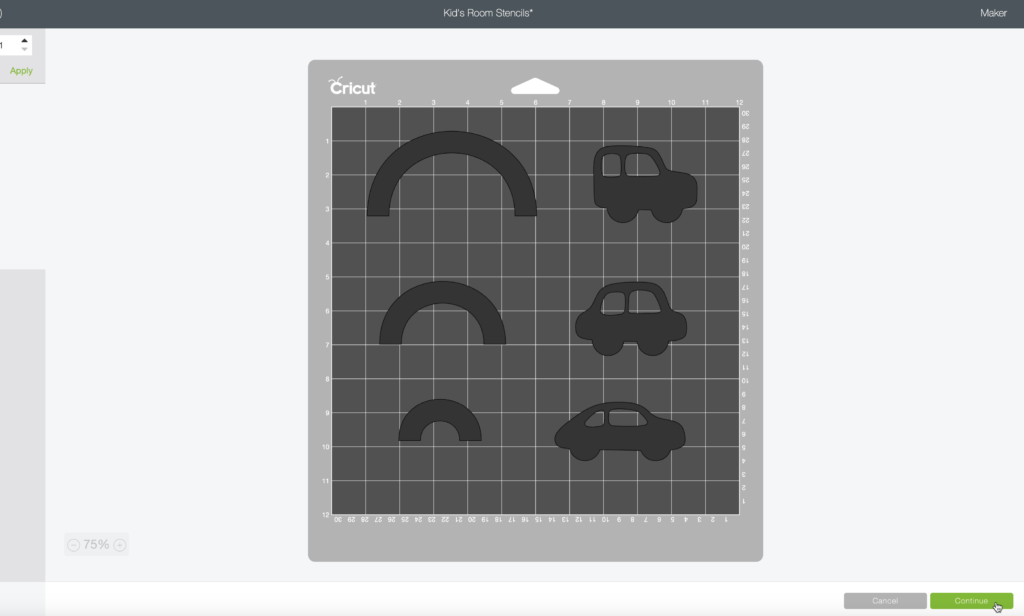
When your designs are ready, spread them out so that there is space around each of the designs. When you cut them out on your Cricut you want to have enough space to hold onto the stencil or tape it down while you are using it.
How to Stencil Your Wall
When we put our stencils up, we just eyeballed which where we wanted them to go. If you want to do a very exact pattern, you can use a ruler to continuously measure the distance between each stencil.
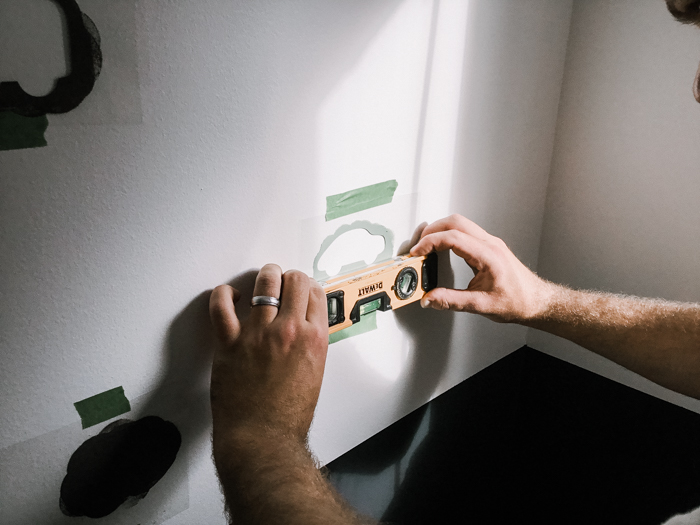
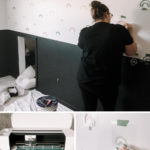
When we knew approx. where we wanted to the stencil to go, we lined up the bottom of the stencil with a level, so make sure it was perfectly straight. Then we used painters tape on the top and bottom of the stencil to hold it in place while we painted it.
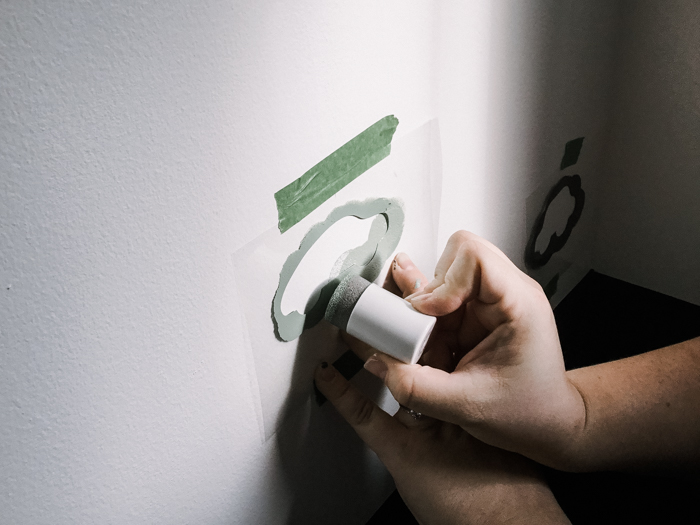
When we were ready to paint, we used these small paint dabbers (which I HIGHLY recommend) to put the paint on the wall. We started with only a small amount of paint on the sponge, and lightly went around the edges of the stencil first to avoid any bleeding outside of the stencil.
When the outside was done, we lightly painted the inside of the stencil. You can remove the stencil right away, but you have to be careful that you won’t get paint from the stencil on the wall as you lift. We found it easier to just wait a few minutes to let the paint set before moving it.
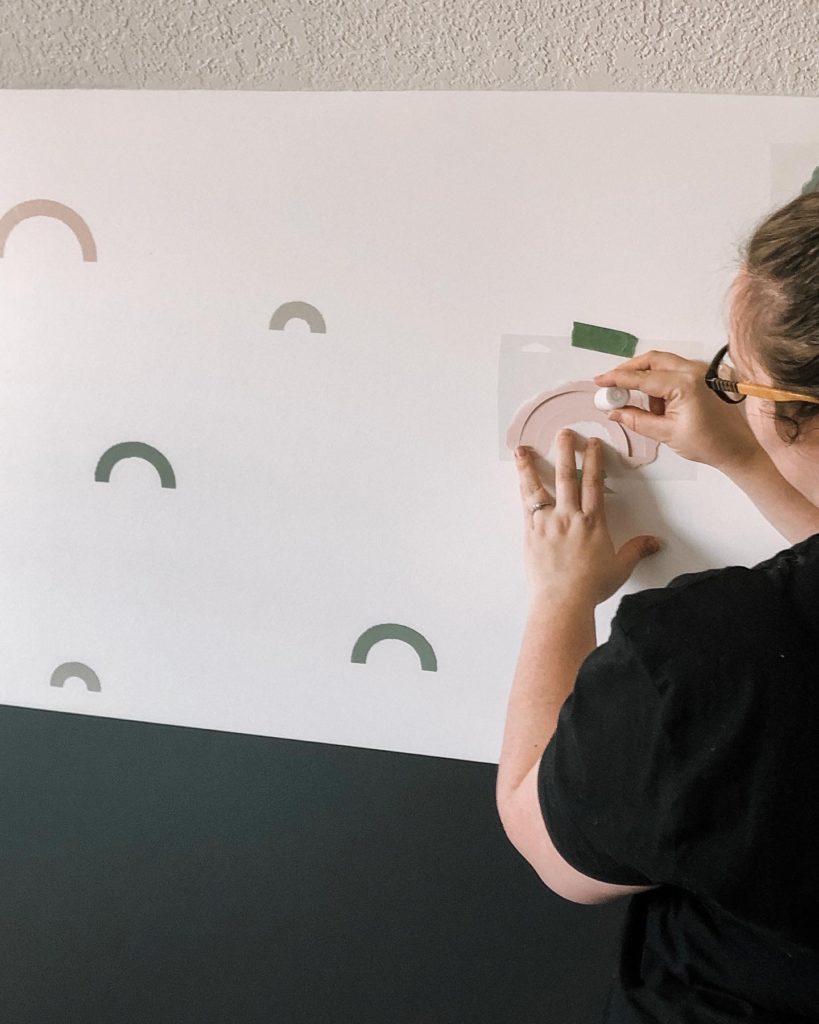
I was able to cut six stencils out of one sheet. So I would place sic stencils on the wall, level them, paint them, and then move them. I did this over and over until the entire wall was done.
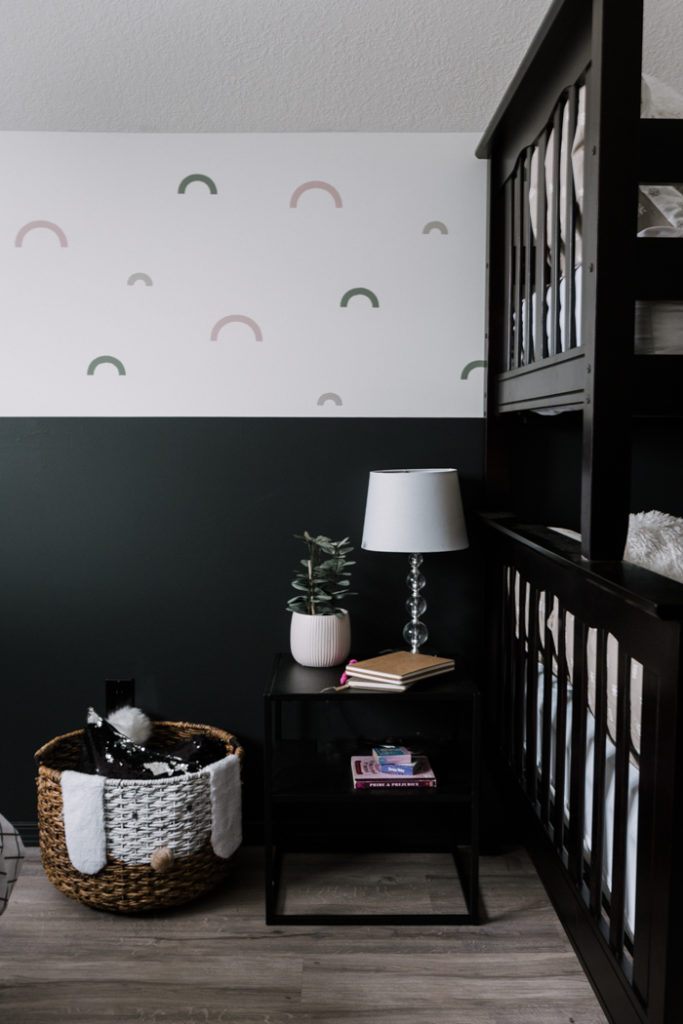
Our Finished DIY Feature Walls
I absolutely LOVE how these stencils turned out! For a fraction of the cost of wall decals, I was about to create my own design and finish off the room beautifully.
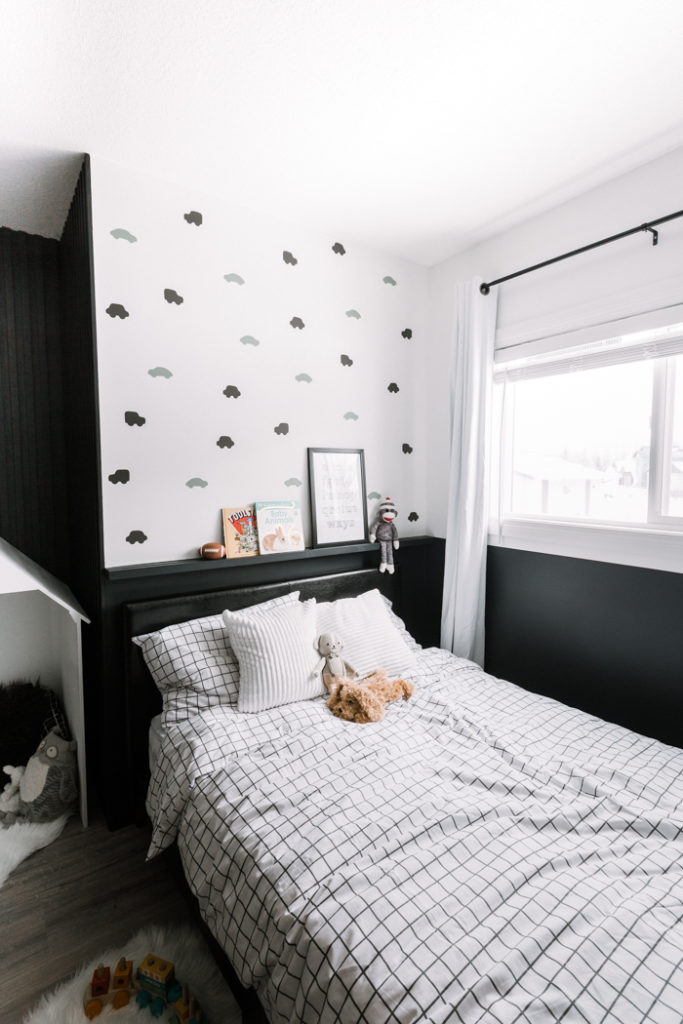
I’m so glad that we decided to do the stencils. They nicely define each of the spaces. My son drives his cars up and down the walls when he’s playing because he loves the cars and trucks, lol.

It was easy to make two sets of stencils. One for my son’s side of the room, and another for my daughters’ side.
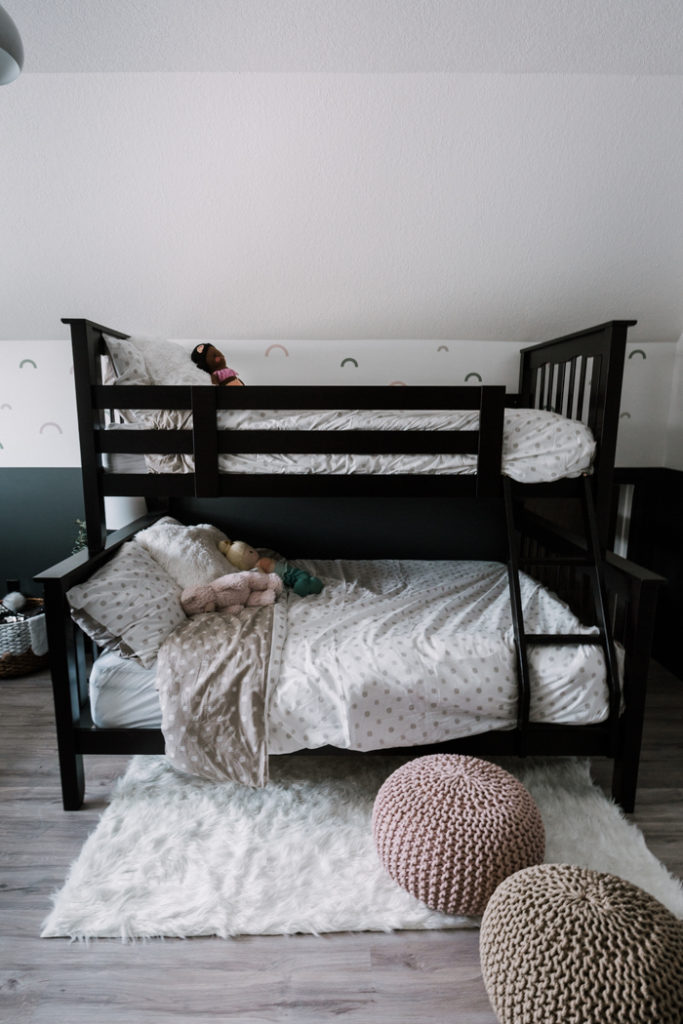
These “deconstructed rainbows” were perfect for the girls – they love them! I kept the room cohesive by using the same green paint colour on both walls, but still gave them each their own design.

DIY Wall Stencils
Learn how to make your own stencils. DIY reusable stencils for walls or wood signs are easy to make with this simple tutorial using the Cricut.
Materials
- Plastic Film for Stencils
- Paint
- Paint dabbers
- Painters tape
Tools
- Cricut cutting machine
- Level
Instructions
- Prepare a stencil design using the Cricut Design Space. See the video in the blog post for instructions on how to make your own, you click to open our stencil design file.
- Cut the design out of plastic film using the Cricut cutting machine.
- Cut out the individual stencils from the plastic film with scissors.
- Get ready to paint the stencils by using a level to make sure that your stencil is straight, and tape it to the wall with painter's tape.
- Use the dabbers to paint your stencils, only taking a small amount of paint, and dabbing around the edges first, and then the center, to prevent bleeding.
- Remove the stencil, and place it in a new spot to paint another stencil. Continue moving the stencils until you are done the wall.
- If you want to use them on another wall after, you may need wash them in between, and especially after. Too much paint build-up could cause the stencils to stiffen and not allow clean edges.
Notes
Design Space File: https://design.cricut.com/landing/project-detail/5e3e3d7612a42206ae9a3ccc
Recommended Products
As an Amazon Associate and member of other affiliate programs, I earn from qualifying purchases.


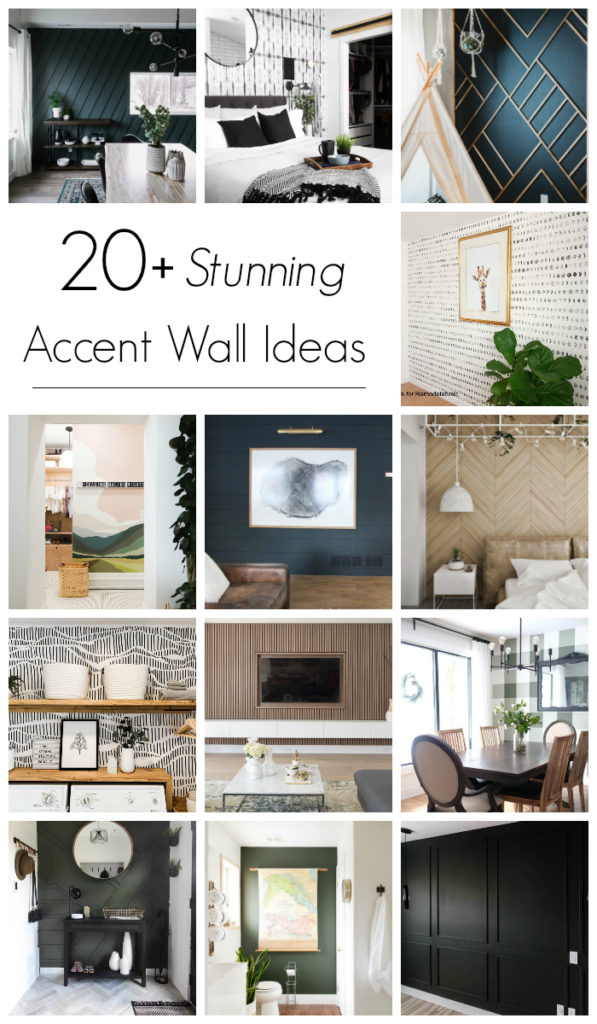
Here are another 20+ amazing accent wall ideas!
If you’ve never heard of the Cricut machine, here’s everything you need to know!


Marlene Kemerling
Monday 10th of May 2021
Hi have been trying to find stencils for two of my end tables! I want them to like like granted tops I saw this on diy but they did it without stencils! Not sure I can do it would there be a chance you could a grante stencil ? Let me see it and then if like would buy from you??? To much trouble to try? That's ok let me know. Thank you
Lindi
Tuesday 11th of May 2021
Hi! Unfortunately I don't sell stencils. You might have luck with a custom order from an Etsy shop! Good luck :)
20 DIY Handpainted Accent Walls - themartinnest.com
Wednesday 1st of April 2020
[…] DIY Rainbow Stencils at Love Create Celebrate […]