How to make a mood board! Learn how to make a mood board quickly and easily, with three different programs and methods, and decide which one is right for you and your project.
I have been asked so many times how to decorate a room. I decided it was finally time to share the process I use when I’m designing a space. After I create a floor plan, it’s time to create a mood board and I’m going to show you exactly how I make a mood board using three different programs.
*This post may contain affiliate links. When you buy a product through one of our links, we get a commission at no cost to you! Thank you for supporting our blog so that we can continue to bring you posts like these. For more information, please see our disclosure page.*
What is a Mood Board
Mood boards are widely used by designers in the early stages of a project to help visualize a design for a new space. A mood board is a visual representation of what you want in the space. It can include colours, textures, inspiration photos, products, or pictures that convey a feeling.
For designers, they are a visual presentation of the client’s brief. They are something they can show the client to help them see their inspiration and vision. It is helpful to initiate discussion to confirm the design style and direction before proceeding further.
As a DIYer, I wanted to be able to create mood boards to see my own ideas come to life, and to be able to share my ideas with my husband before we started a new space.
Searching for Products and Photos
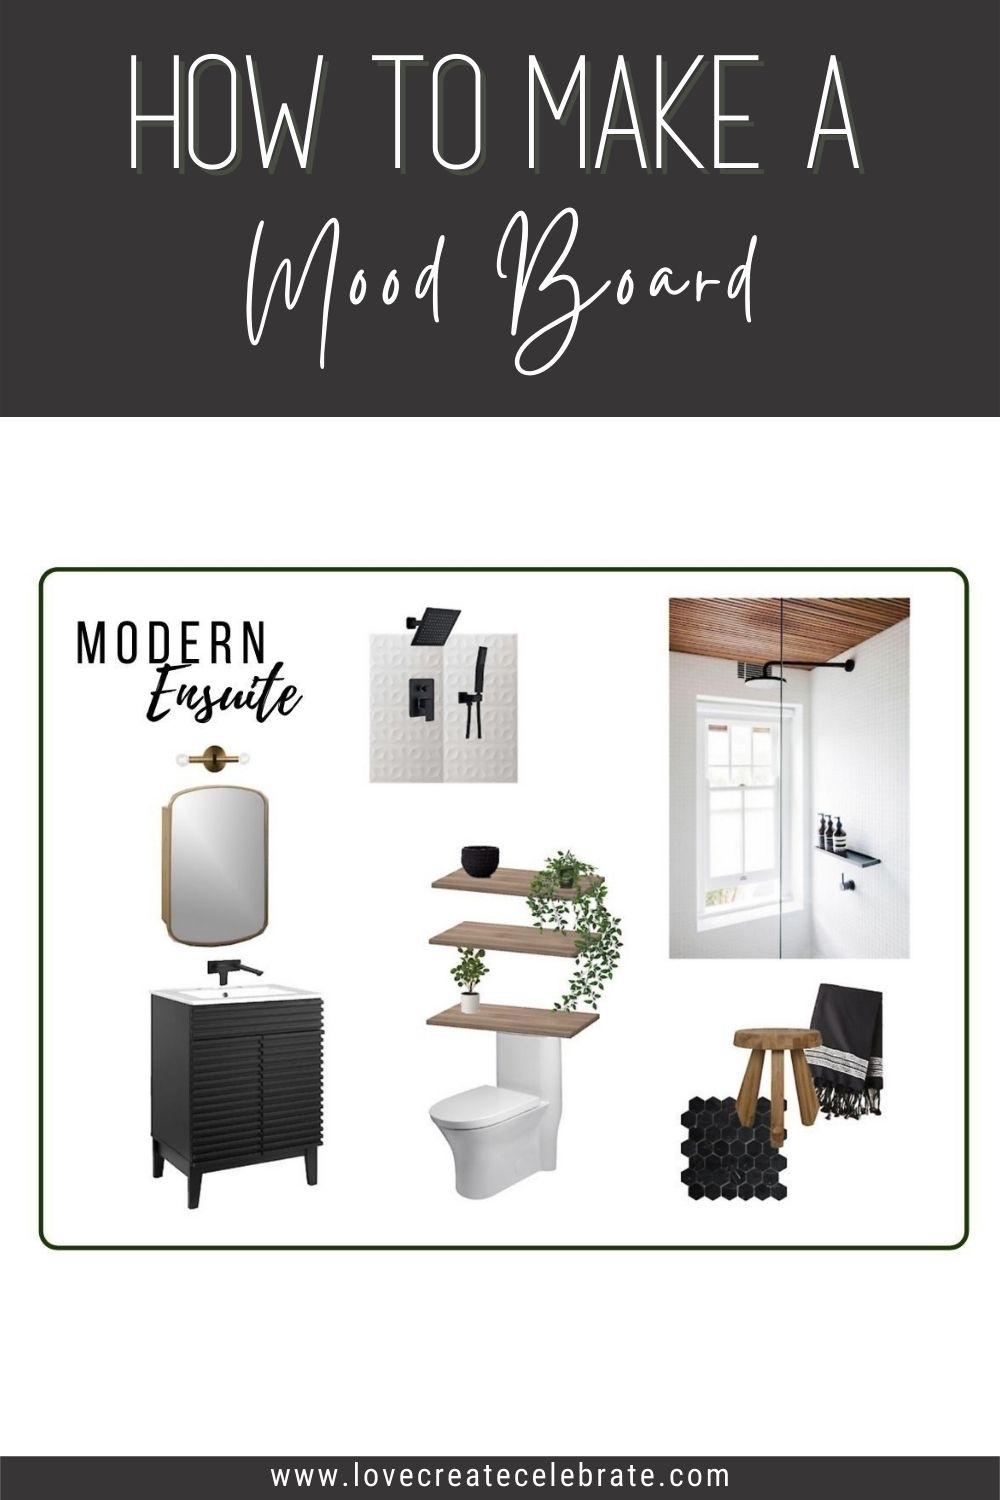
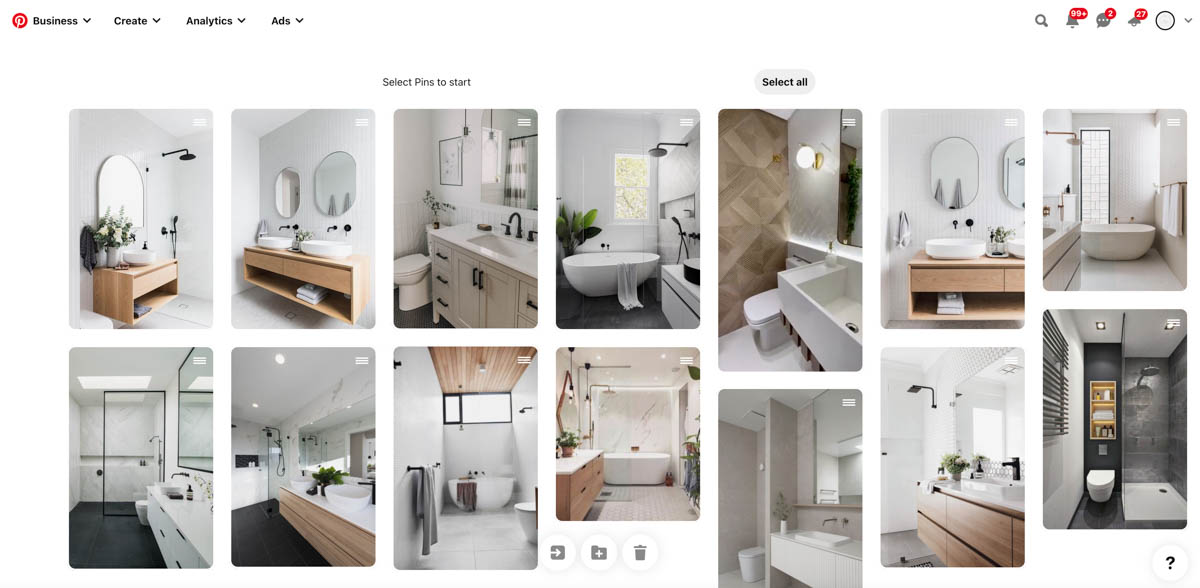
When I decide I want to tackle a new space, I start by searching for inspiration photos and product photos. I usually start on Pinterest with a very specific board, such as Modern Ensuite, and start searching for inspiration.
I will then go to stores that I like to shop at, and look for inspirational products, based on those Pinterest photos. For example, if many of my inspirational photos include a grey sofa, I will go to stores and search for grey sofas. Then I save a photo of my favourites, and make sure to add the details (e.g. identifying features, cost, colour, etc.) and links into a spreadsheet so that I can find them again.
How to Make a Mood Board
Creating a mood board is one of the first steps in the design process, and there are three main ways that I have done this:
- PowerPoint
- Canva
- DesignFiles
For consistency, I’m going to use all three of these programs to make the same mood board for our primary bedroom ensuite.
How to Make a Mood Board Using PowerPoint
The easiest and free way to make a mood board is by doing it in PowerPoint. Many people I share this with didn’t know that they could do this, but it is really easy.
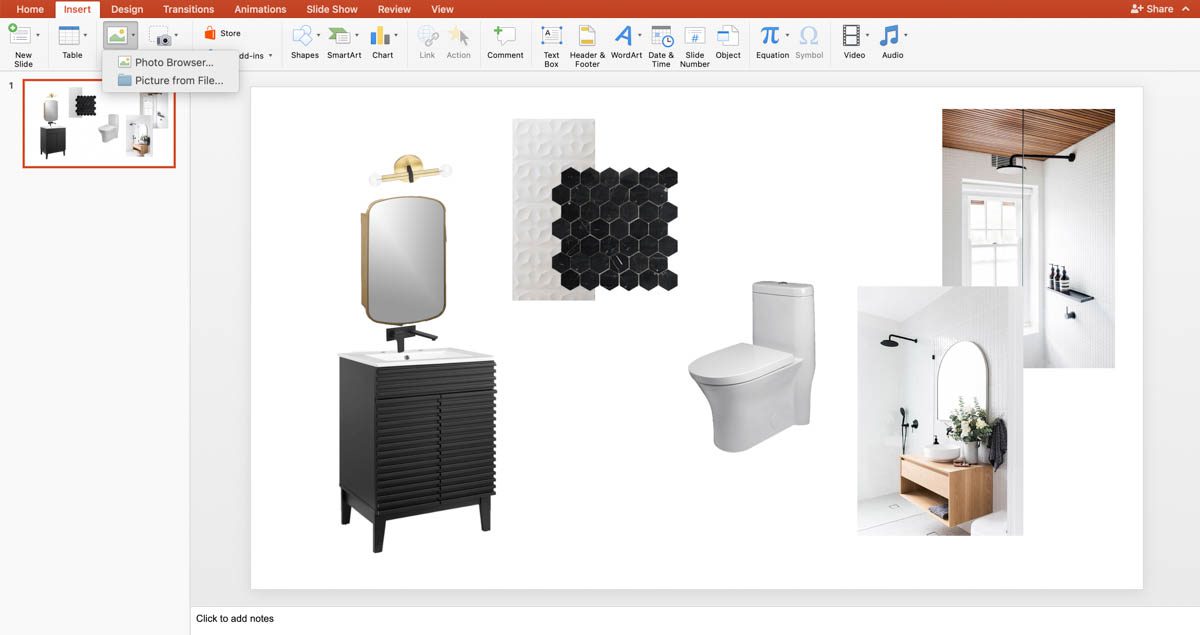
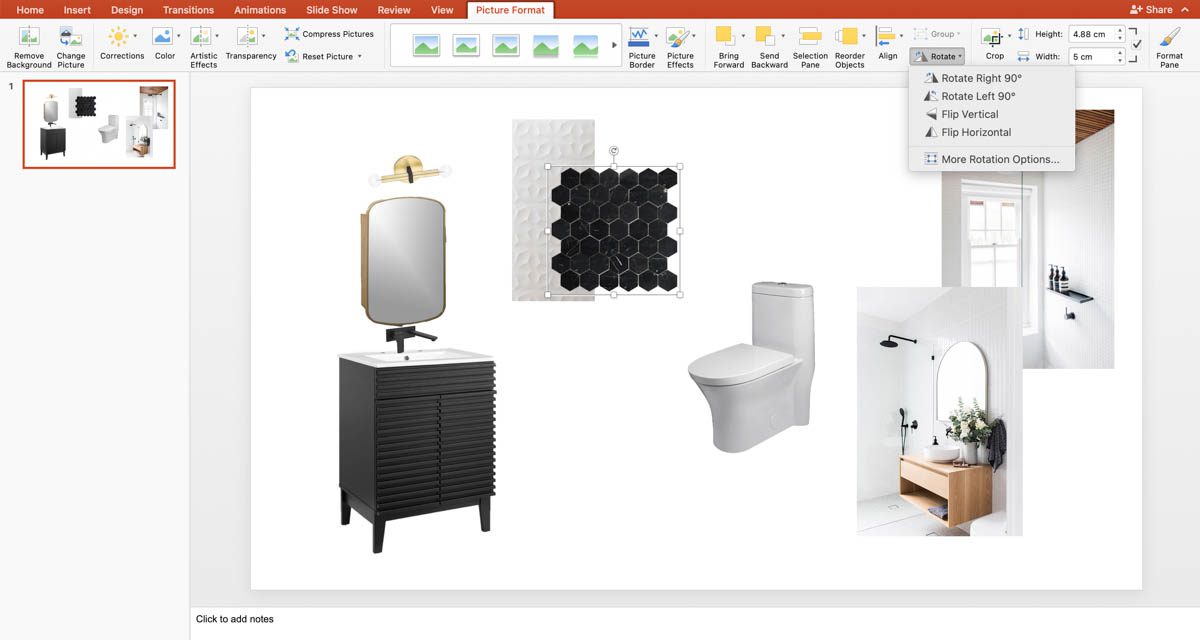
You can pull any of your saved inspiration pictures into the program by hitting insert and picture from a file, and pulling any of those images, resizing them, or rotating them as needed for your design.
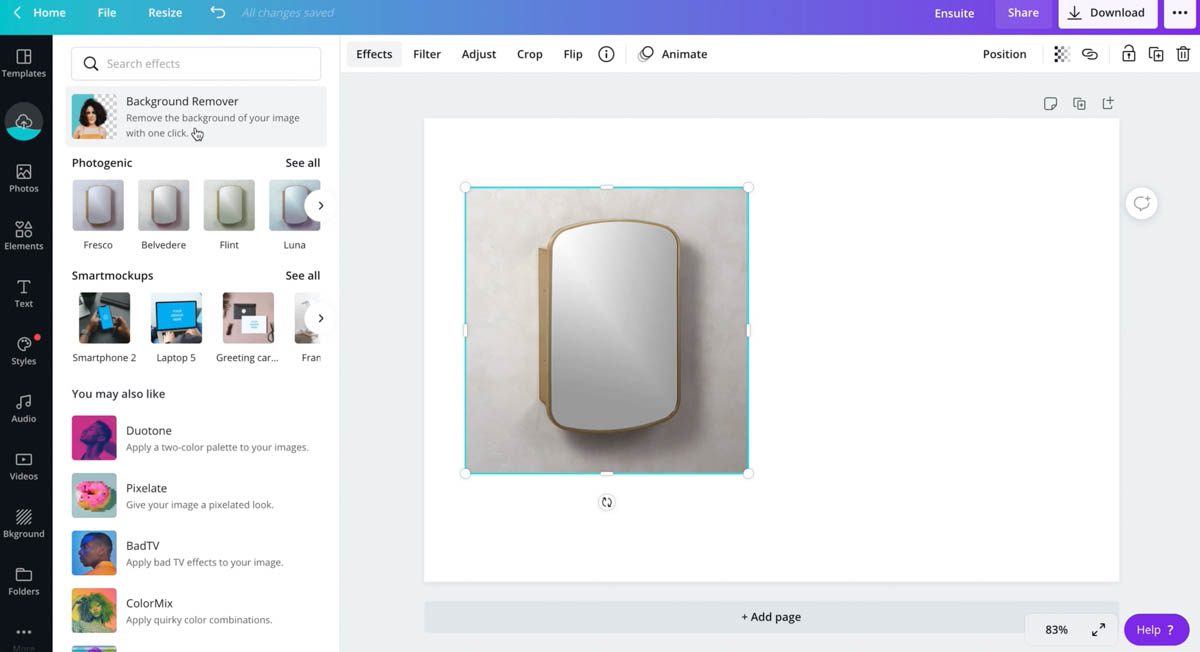
You will notice that you have images that have white backgrounds (or other colours). I usually want to remove those backgrounds, which is super easy to do in PowerPoint. To do this, put the image over top of something else so I can really see the background and then hit “remove background”.
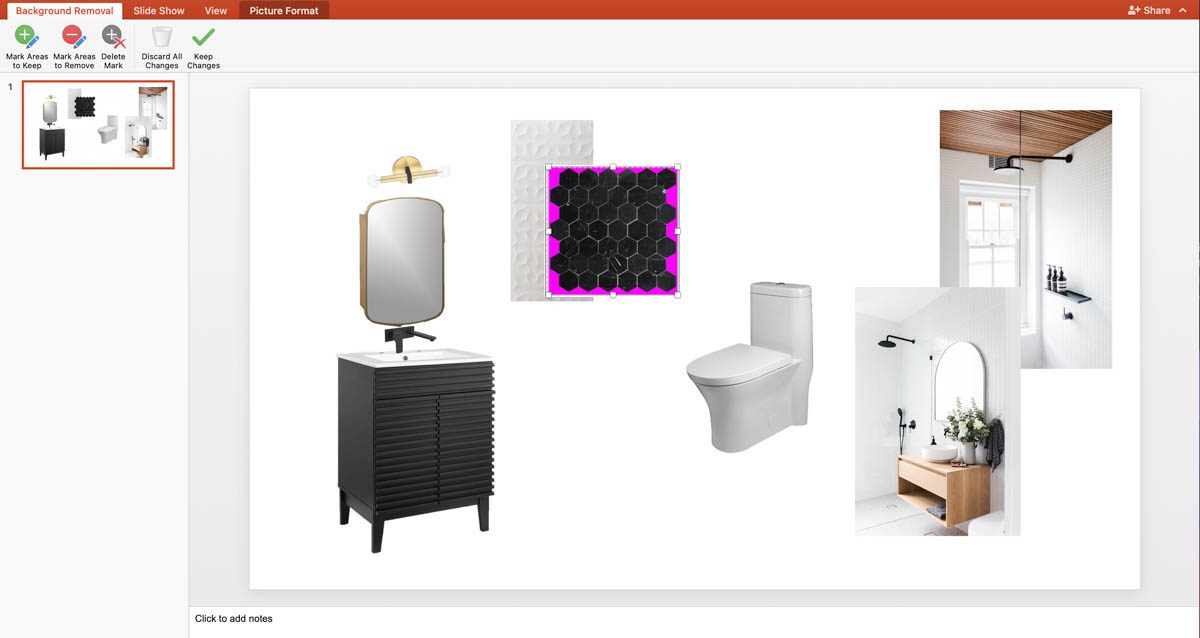
I resize the box so that I get the full picture of the image and make sure it took away any of the white space or background space that isn’t needed. This gives your mood board a much more professional look, and allows you to layer pieces beautifully.
Now you can just pull in all your different images, remove backgrounds, and create a nice looking mood board that gives you a pretty good representation of what your space could look like, and a good visualization of where you are going with the design.
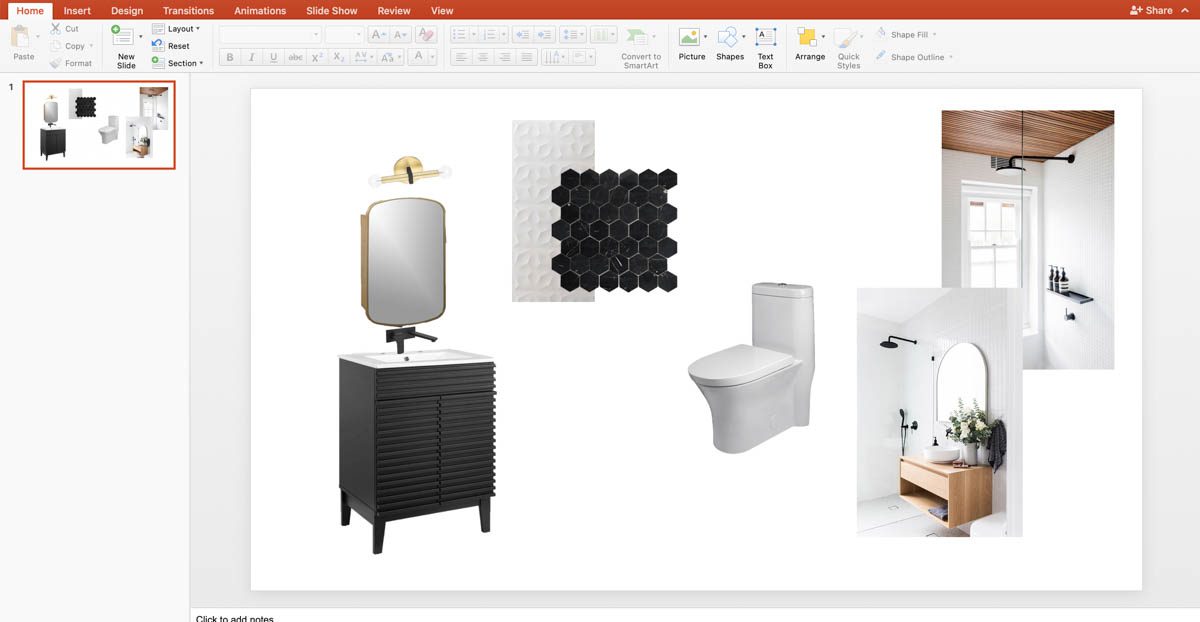
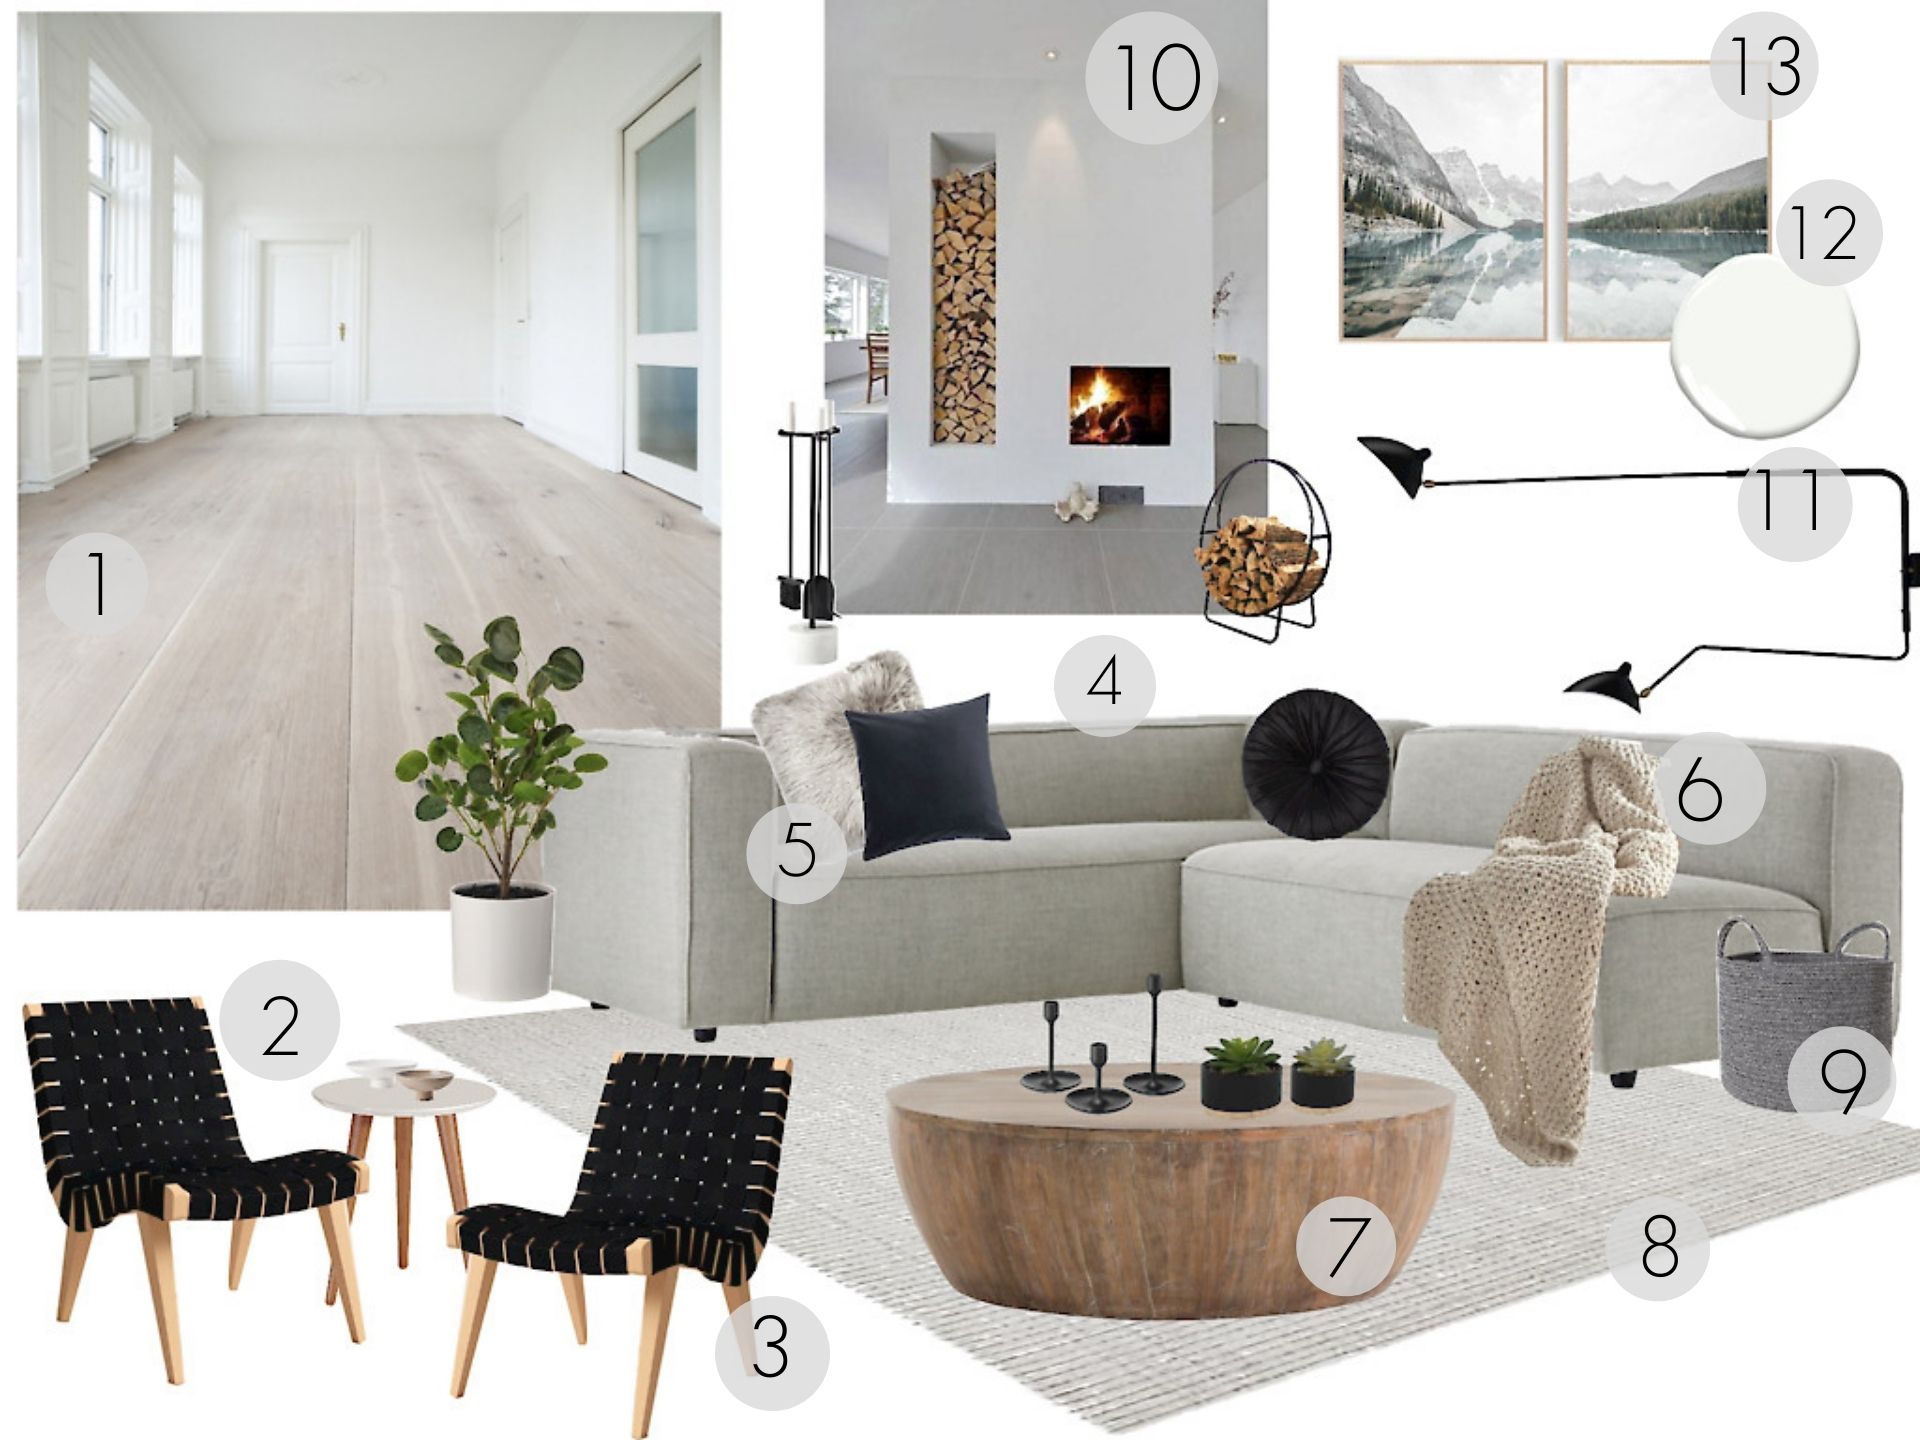
I’ll often add some of those full room Pinterest images, just so I have a good visual representation of how some of the key elements in the space with interact, and then have the actual products we are using on the side.
The picture above has black faucets, white tile, and some wood, which are all elements I want to include, then you can also experiment with different pieces of your design, like pulling in different mirrors and seeing what you think is going to look best in the space.
The other thing I often do that I didn’t do here is pull in some paint swatches and colours of what I might be painting the walls in the board as well.
Making a Mood Board With Canva
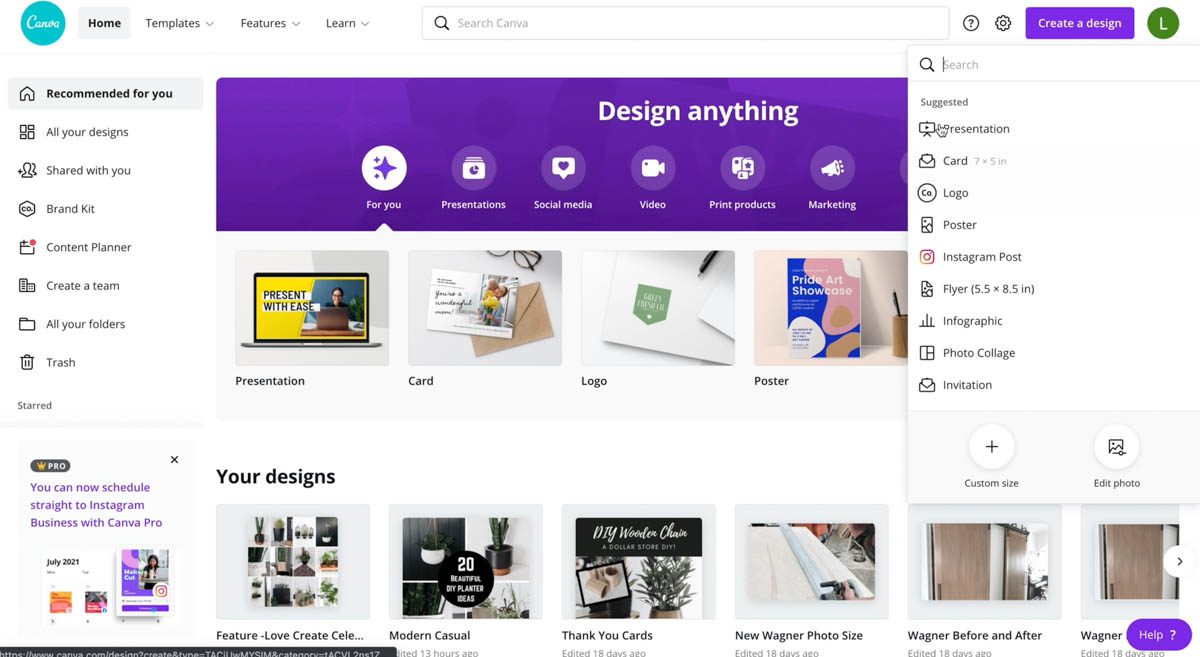
Another option to make a mood board is to use Canva. This is a website online and you can use to create a custom size and start making your mood board right away.
You can upload all of your photos into Canva and then, just like PowerPoint, you can remove the backgrounds, resize, rotate, crop, whatever you need to do to make your mood board and design come to life.
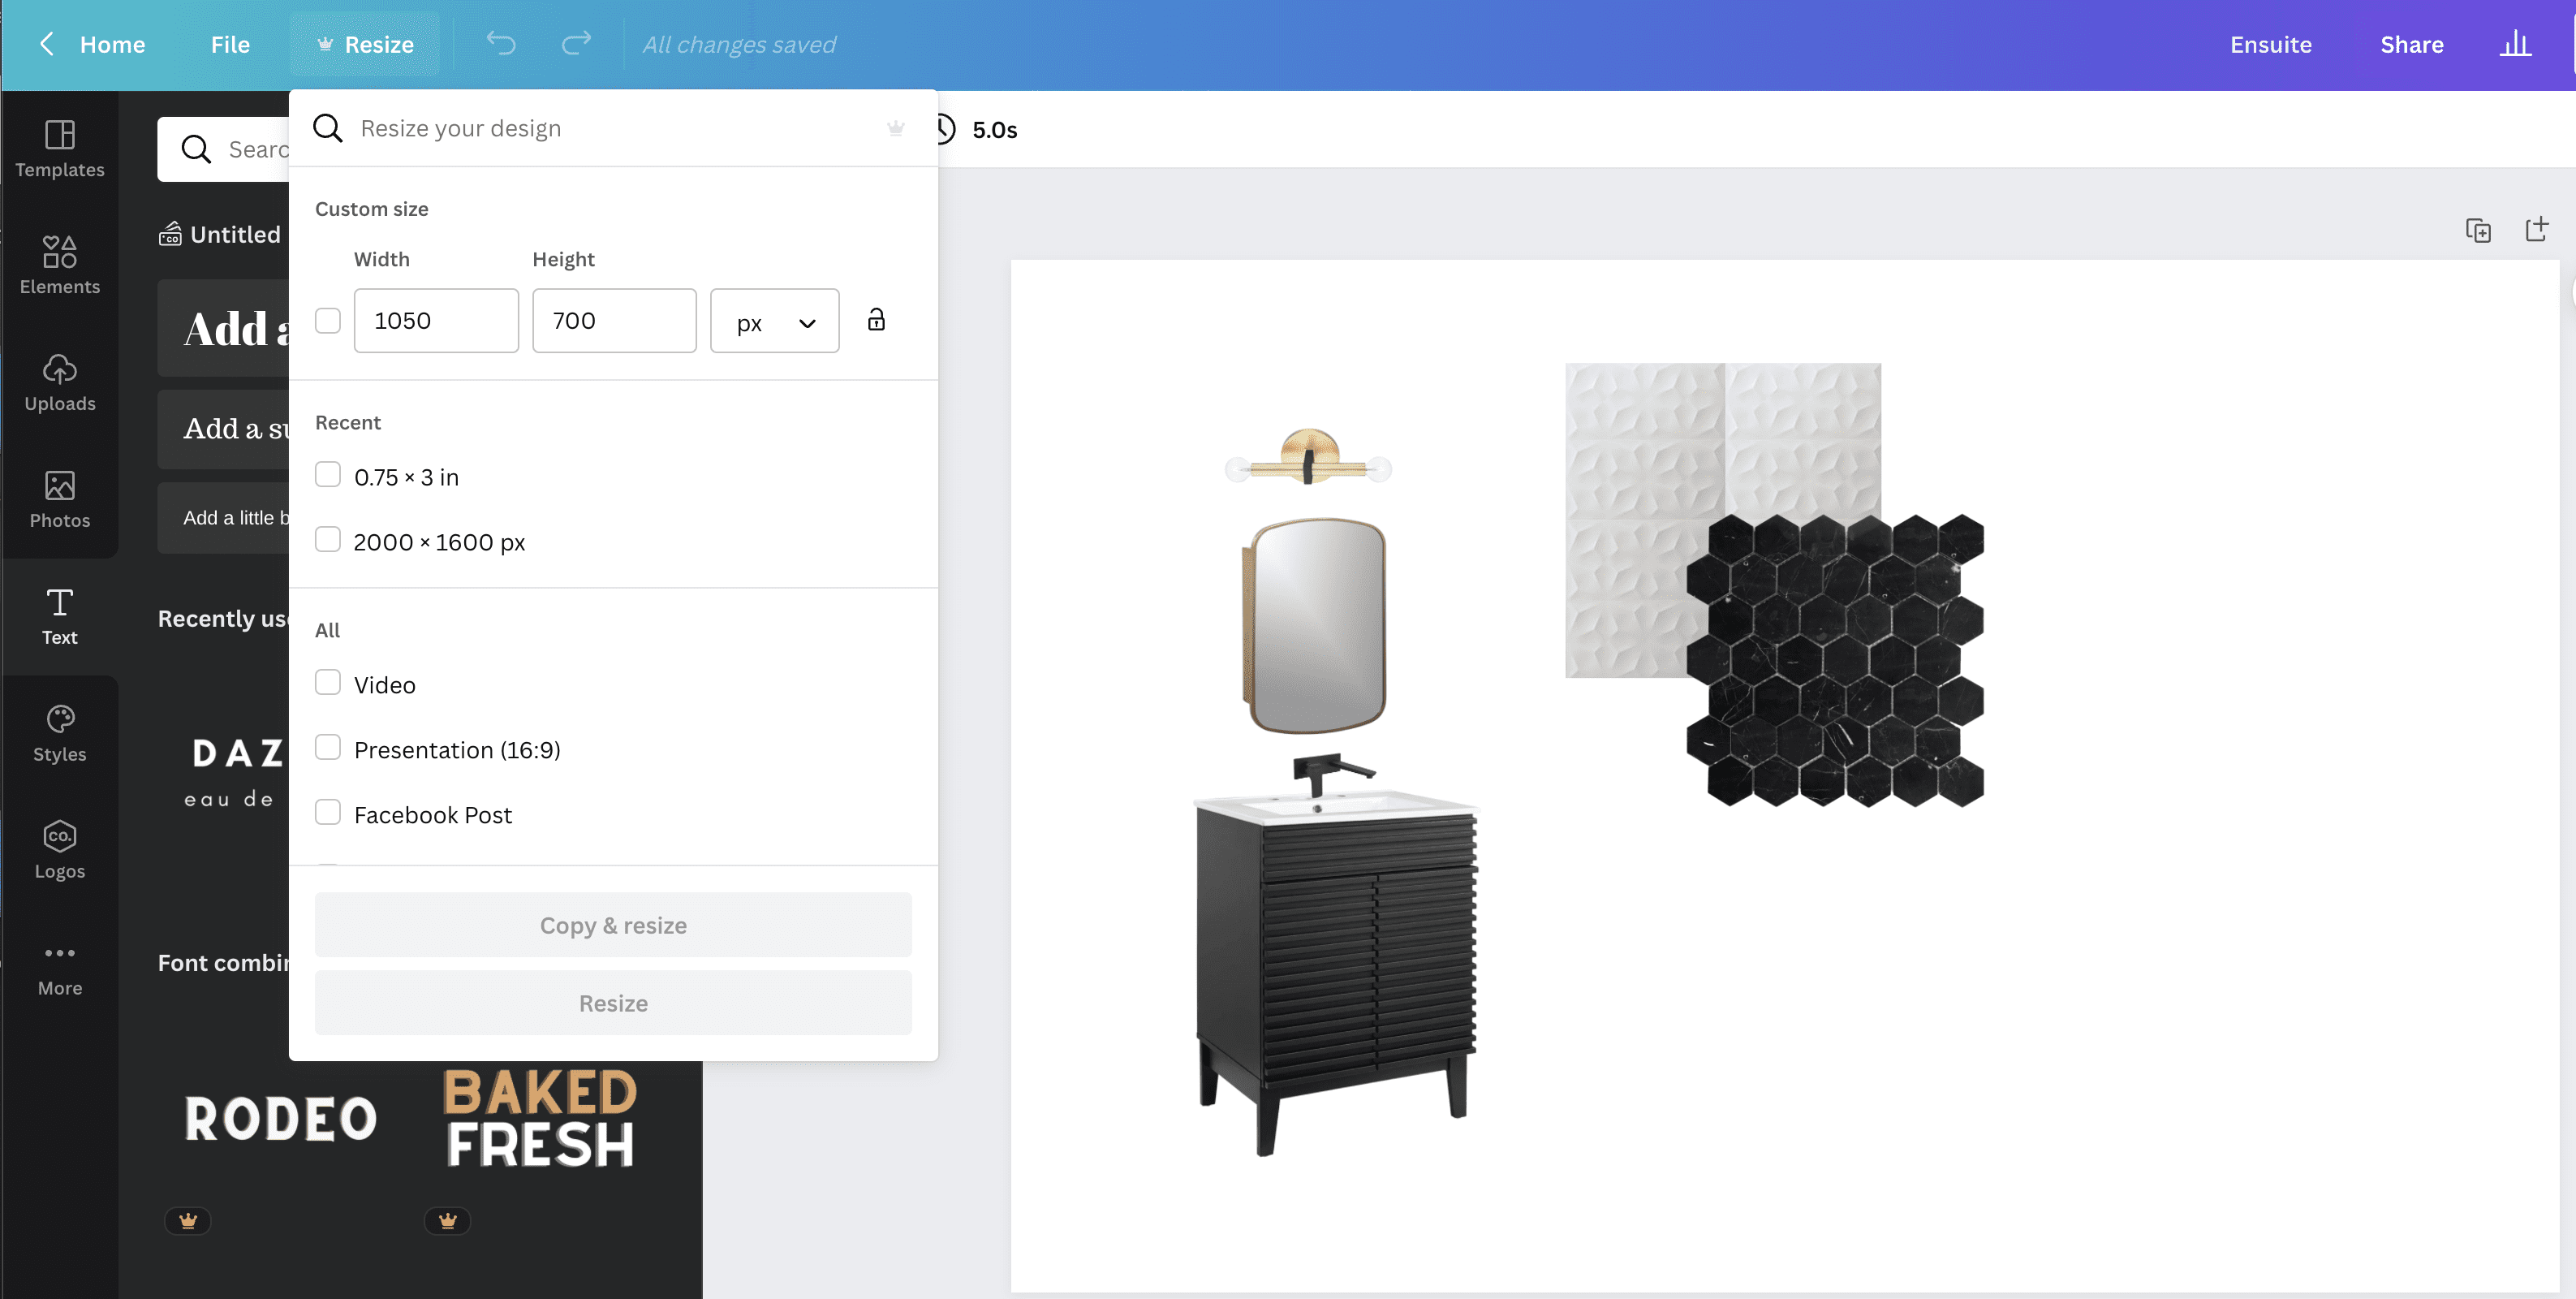
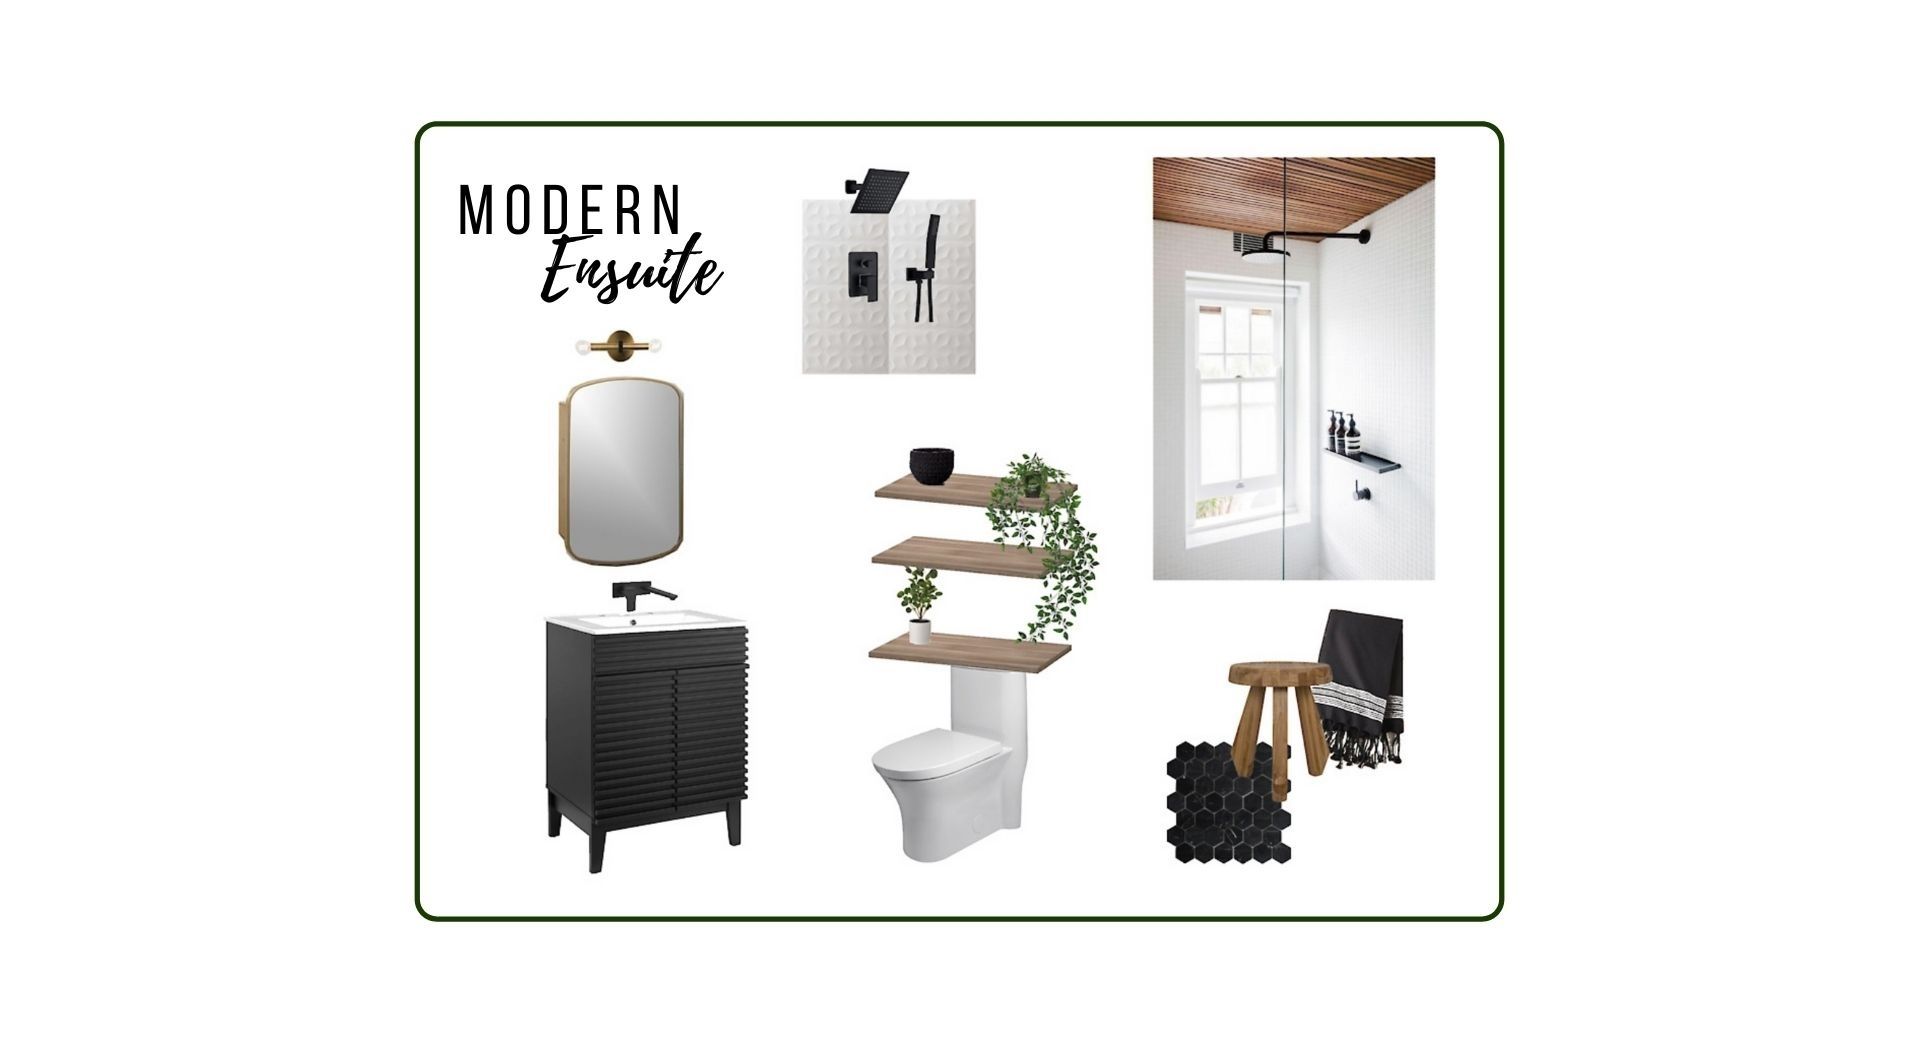
The board boards from canva will end up looking very similar to the ones on powerpoint, but there are a few advantages to using this program. One, you can easily size and resize the mood boards to make ideal sizes for instagram, Pinterest, or your blog.
They also have a ton of built-in fonts, grids, shapes, and more to help you really achieve the style and design you want.
One of my favourite shapes to use is these rounded paint swatch looking ones. All you do is drag them into your design, and change the colour or drag a photo of your paint swatch over to fill it. It looks a lot like the paint swatch images and works for companies where you can’t find those easily, or for when you want to show a colour, but don’t have a specific one picked yet.
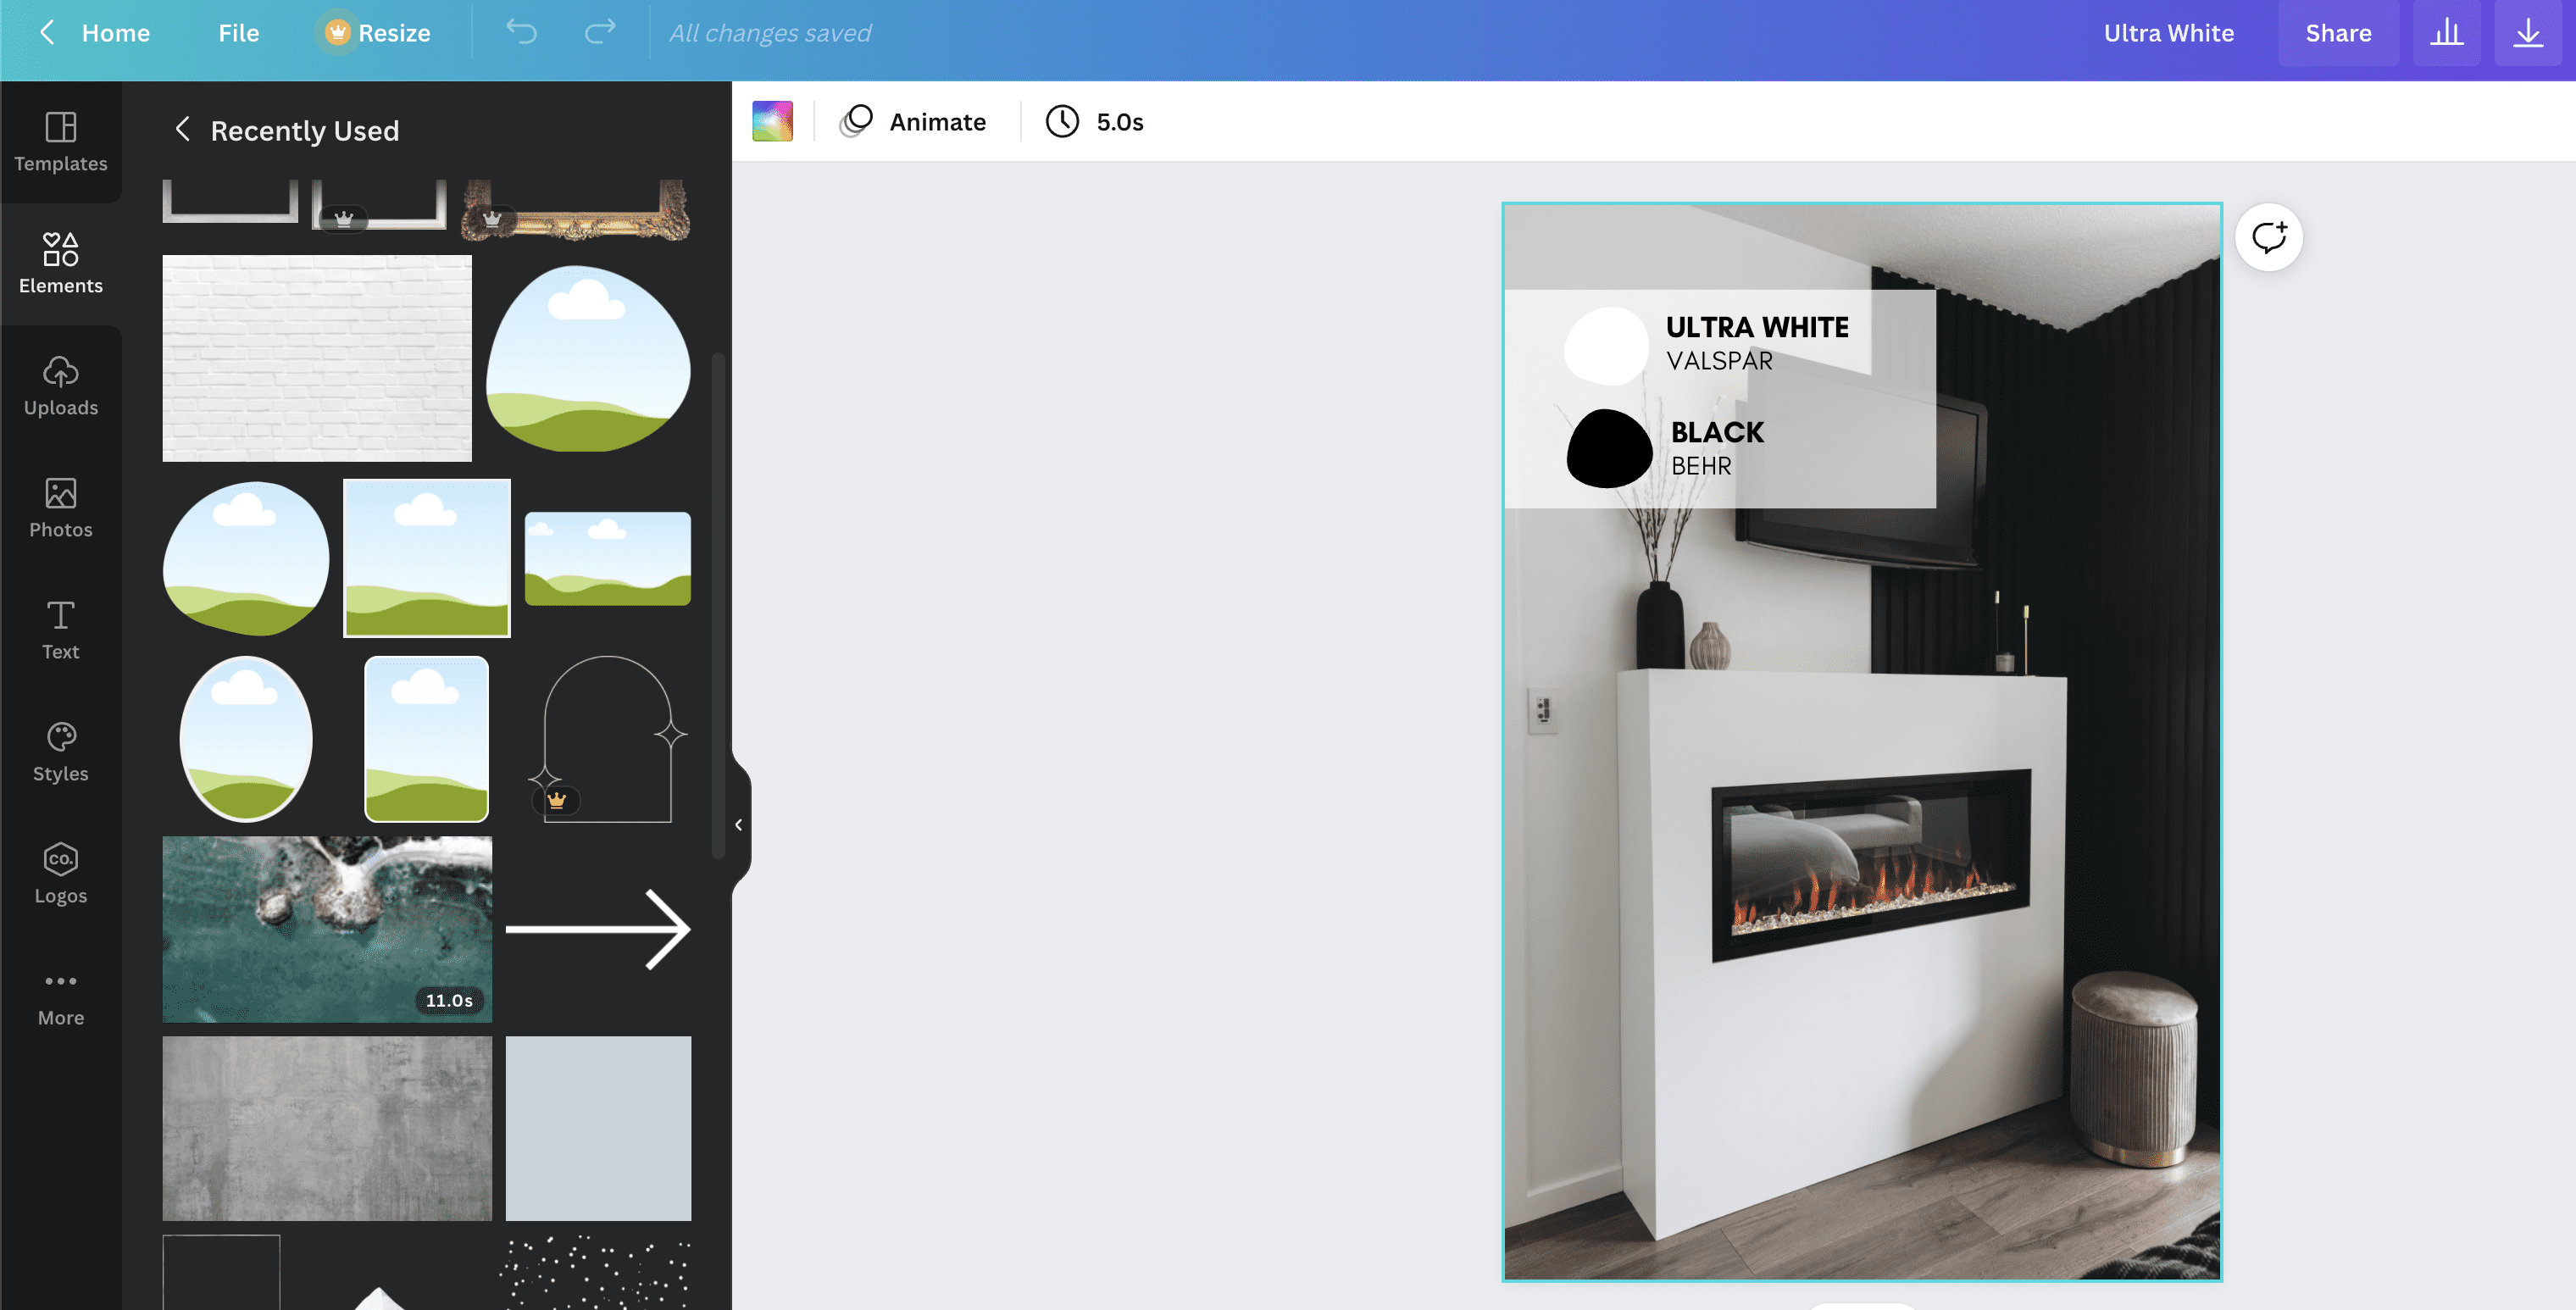
The one thing that you can’t do in Canva that really bothers me, and is the primary reason I started using Design Files for everything, is that you can’t change the angles of the pieces. In the bathroom representation above, you can’t change the light or the faucet to be at the same angle as the vanity or mirror, but I’ll show you how you CAN do that with Design Files.
How to Make a Mood Board With Design Files
One last option for creating a mood board is called Design Files. This is an online program and you do have to pay for it. It has a free trial, but I actually do use this one because there’s a couple of things it can do that the other programs can’t, and because I make quite a few mood boards, it’s worth the investment for me.
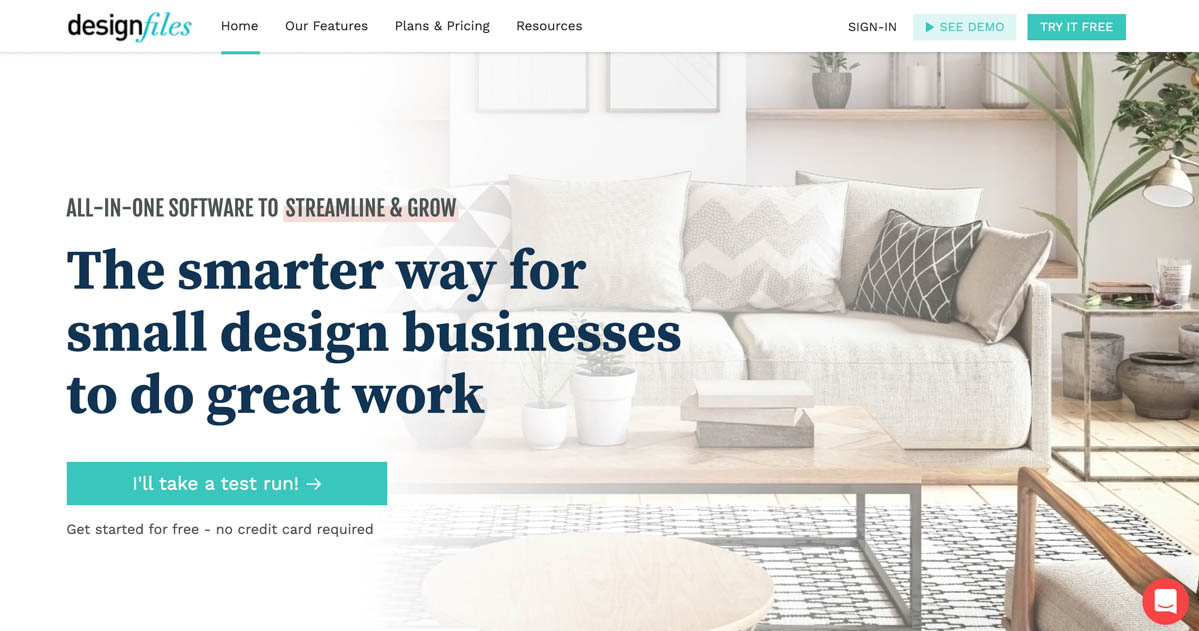
Design Files is made for interior designers, so not only does it have a large library of items that you can look at and pull into your designs already, it also allows you to upload your own finds, and inspiration photos.
When I’m initially looking for inspiration and products, I used the Design Files tool to bookmark all of the products I find and add them straight into my library from the site. This way I don’t have to keep an excel sheet of details, the program saves the names, details, costs, etc. for me.
Design Files uploads the link, then I can add the price and any other details or description that I need and save it directly to my Design Files library. This saves me a ton of time because I don’t have to go back and record all the links and websites and prices.
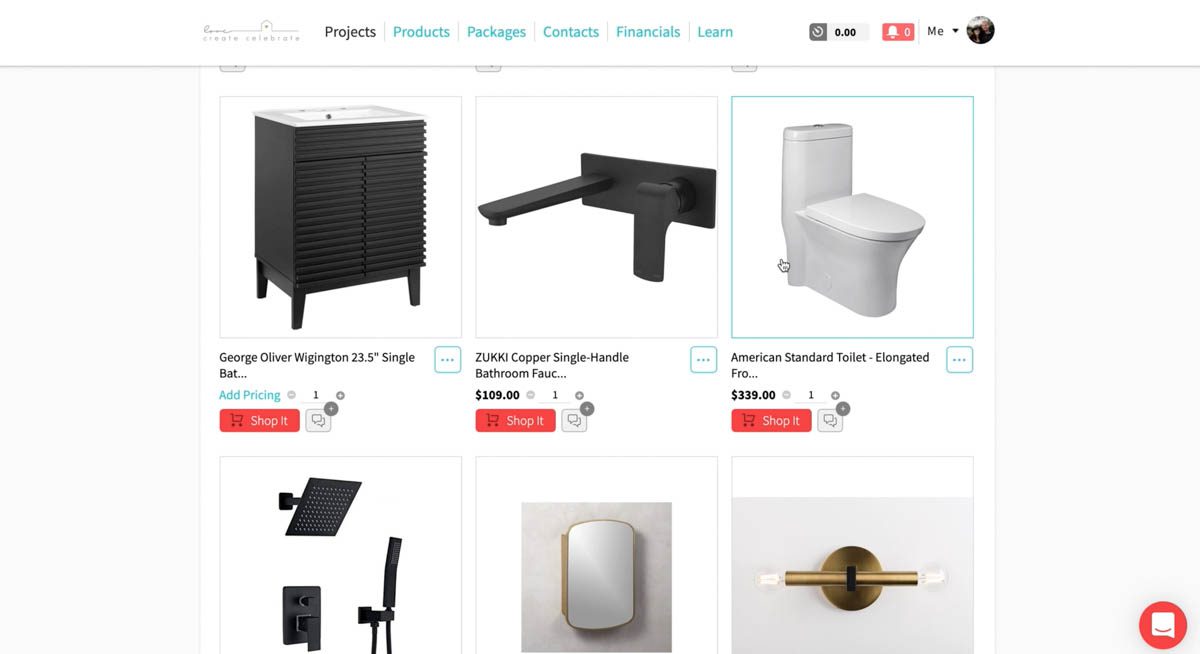
It’s all already there, and if I want to use something that I’ve used in a previous project I can look up those items and all the information from those items is already stored as well. So for example, if I was using the same faucet as a previous bathroom, all of the information is already here.
I can also store multiple images for the same objects when there are different images of the same item online.
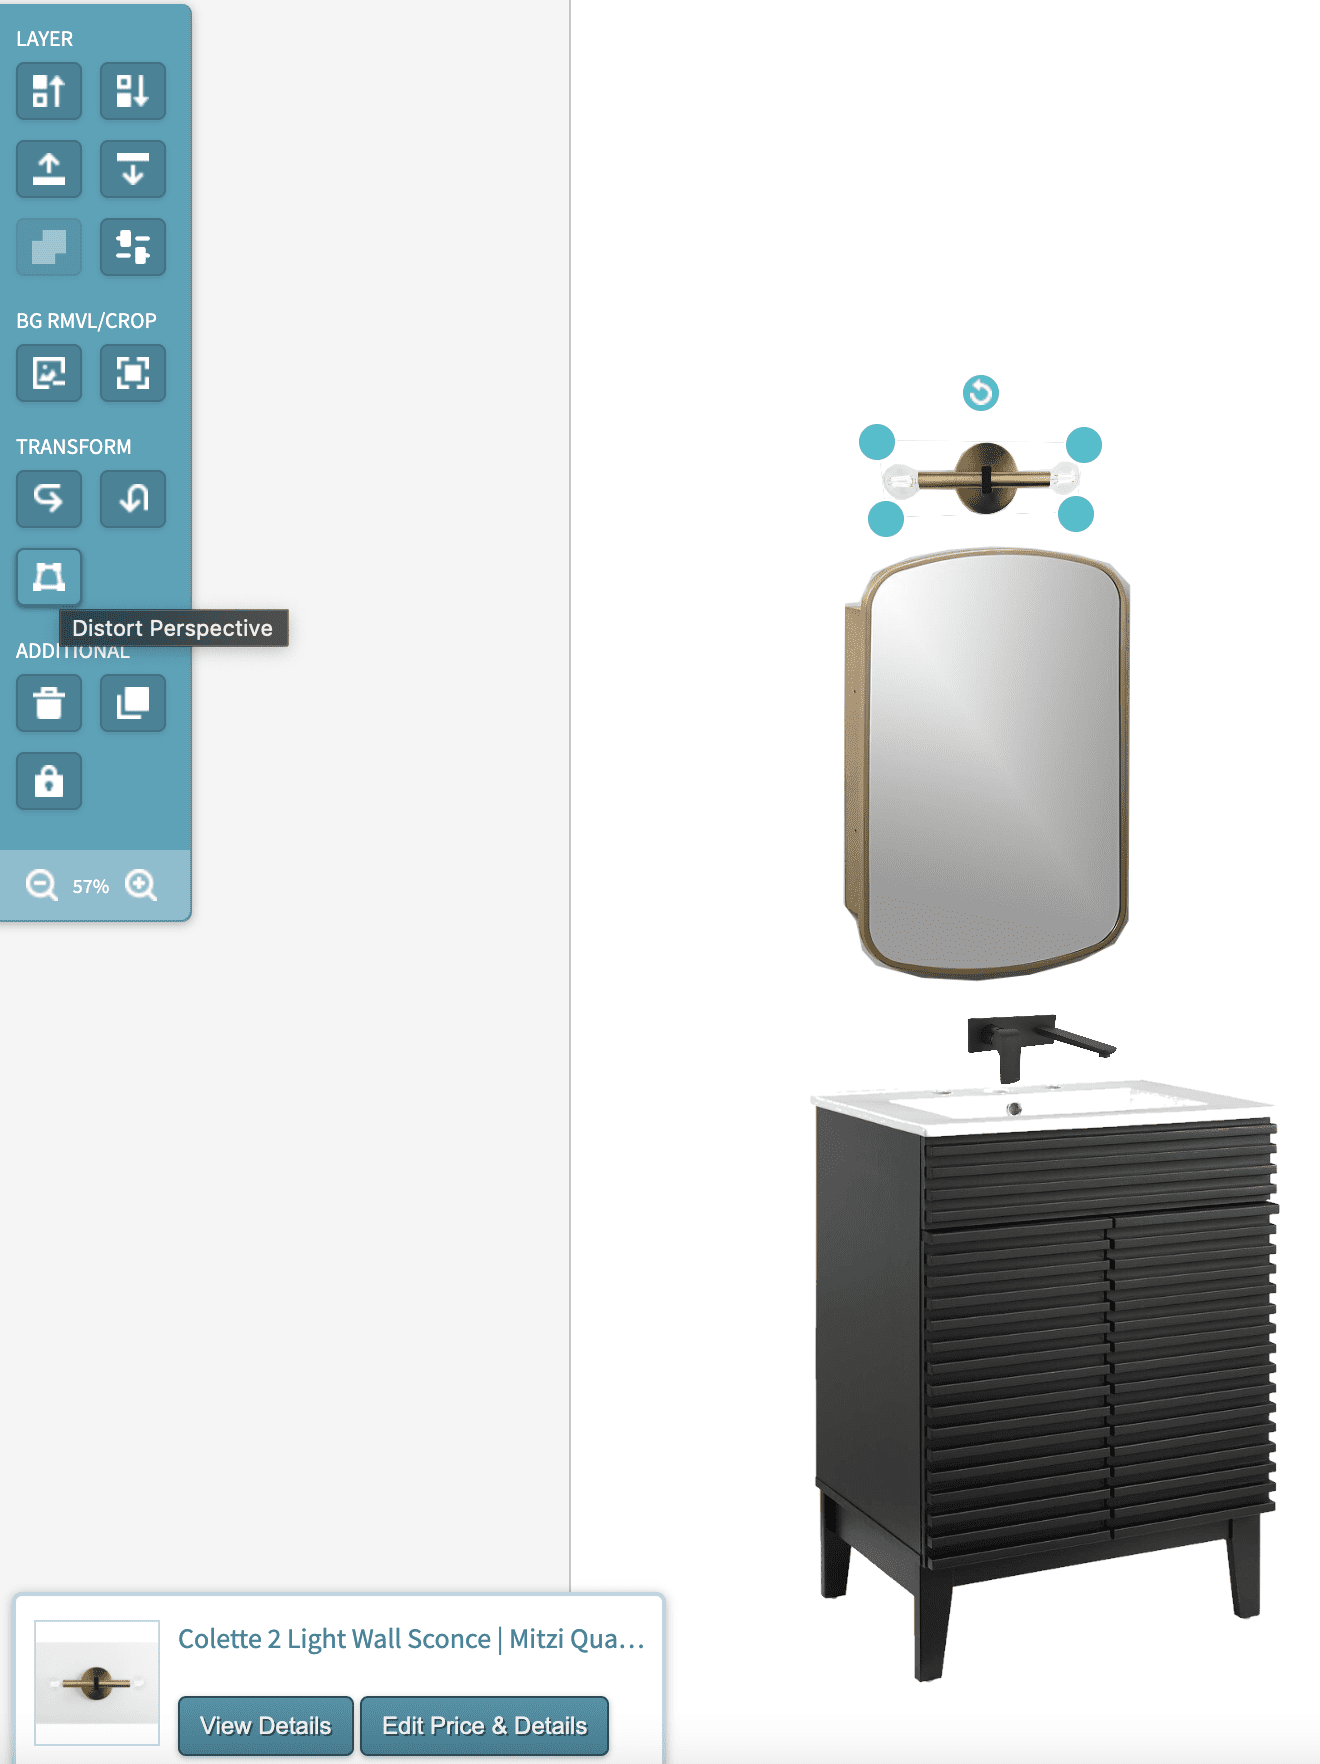
The other thing I really like about Design Files that you can’t do in any of the other programs is you can distort the pieces and change the perspective a little bit.
For example, with the faucet below, on all of the other mood boards I made it was bothering me that the faucet pieces were not on the same plane as the rest of the things that I was taking into the diagram. Using the distort tool, I can actually move edges around and move pieces so it looks like it’s all in the same plane.
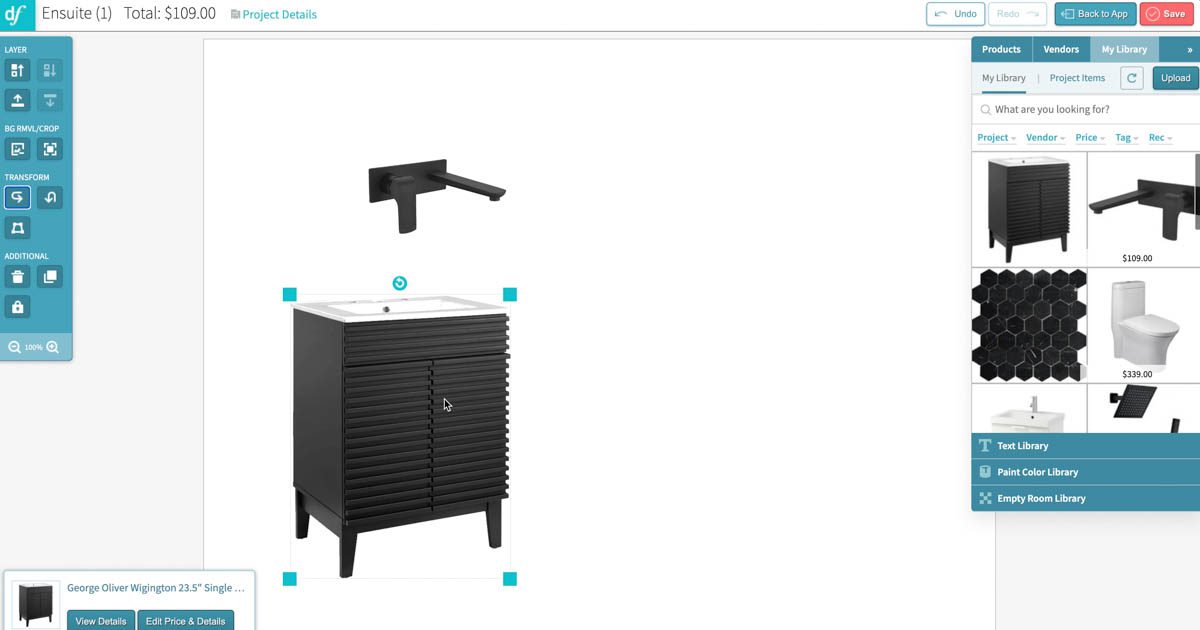
In the image below, I’ve used the “Distort Perspective” option to move the light and faucet to a nicer orientation. Now everything feels more cohesive and complete. It’s a small detail that takes your mood boards up a notch in terms of presentation.
With Design files you can remove backgrounds from pieces, crop them, and rotate them. I can upload individual photos as well and add those to my mood board.
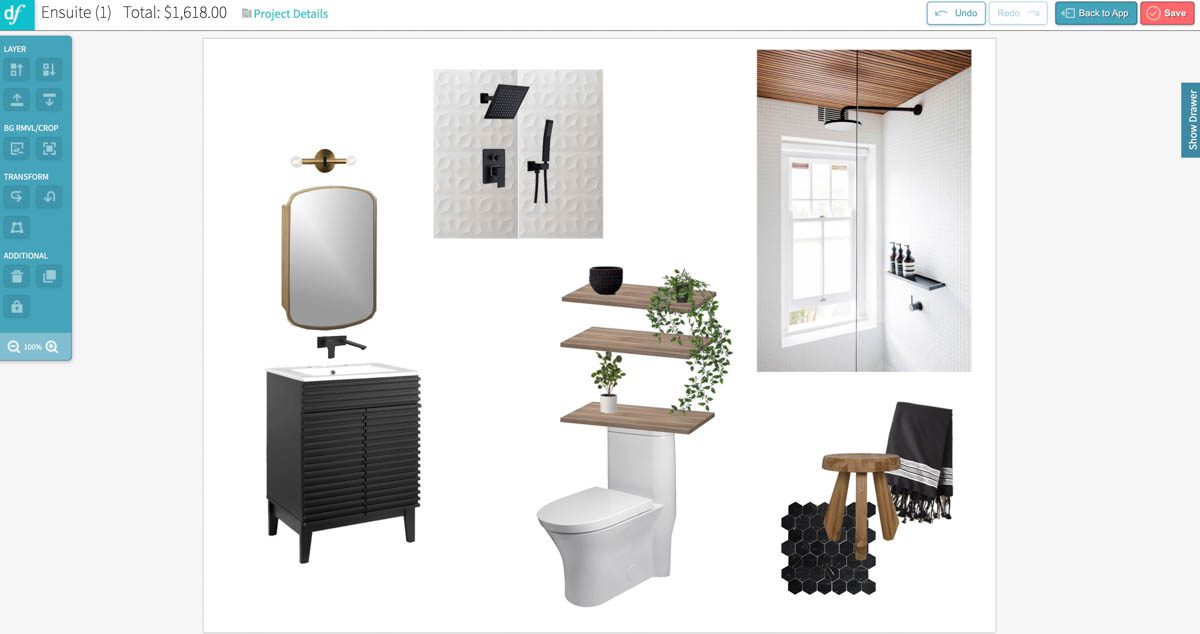
This is the final version of my mood board for the small modern bathroom we added to our master suite.
How to Design a Room Video Tutorial
That’s it, that’s how I make a mood board. It’s a fun creative process that I really enjoy doing! You can watch how I design a room from start to finish in the video below. You can see all of these mood board design programs in action!
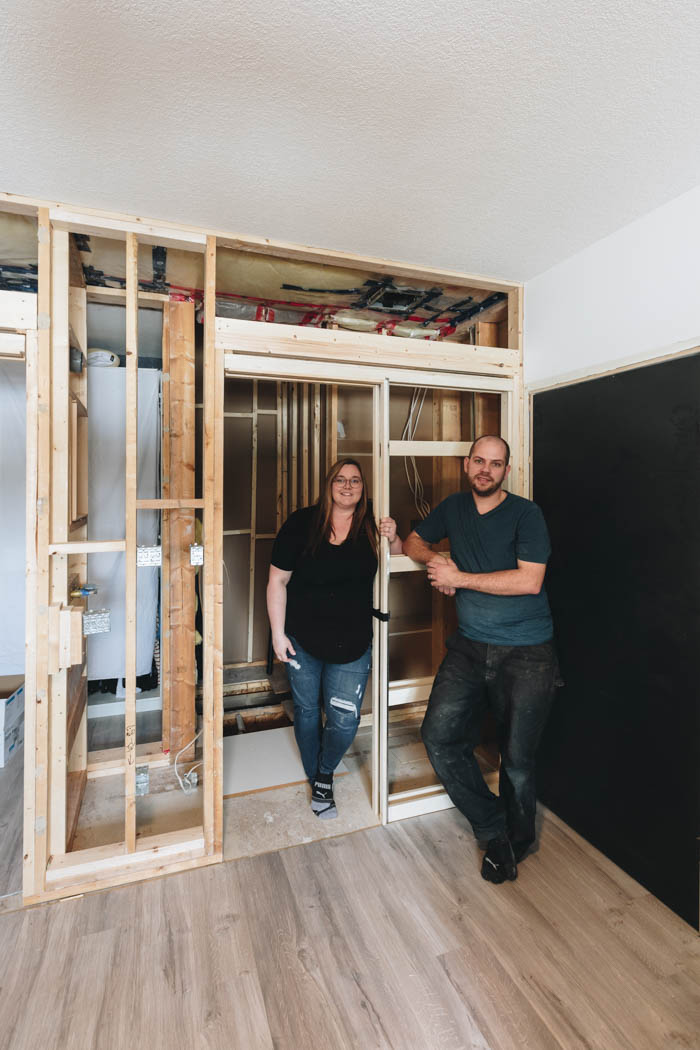
The demo’d space below is what we started with before we renovated this bathroom! If you want to see how all of these designs came together, here’s the finished Primary Ensuite Reveal!