Learn how to install laminate flooring in an afternoon! Everything you need to know to lay this DIY flooring including a video tutorial, design tips, and helpful tools.

Are you following us on Instagram? If you are… I sincerely apologize, lol. Because you know that we laid down this laminate flooring months ago, and you’re been waiting anxiously for us to finally post about it! We share a ton of our tutorials live on Instagram and try to do the projects live so that all of you can learn along with us. Flooring is so easy to install in an afternoon and we’ve tried to share everything you need to know to learn How to Install Laminate Flooring.
*Products in this post were provided by Golden Select. This post may contain affiliate links. As always, opinions are 100% our own. For more info, please see our disclosure page.*
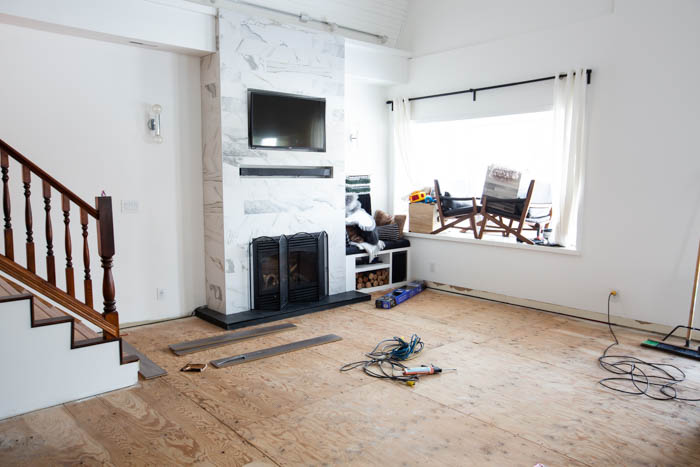
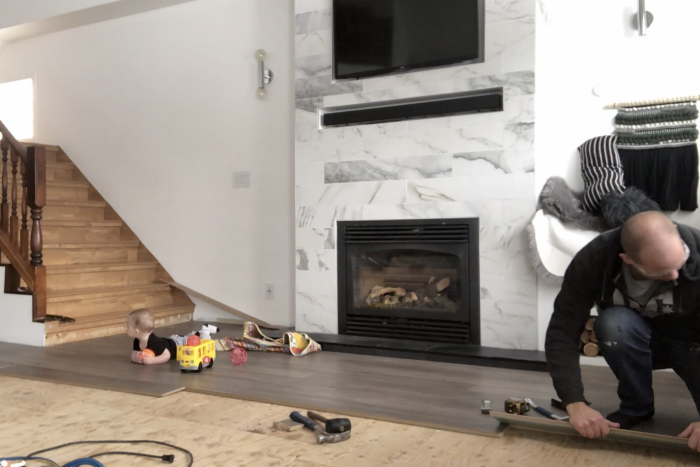
If you saw my whole home tour earlier this year, then you may have seen all of the lovely orange flooring that used to be in this space. I couldn’t WAIT to remove that flooring and add something new in here! This is our living room space with all of the flooring ripped out before we started. Each standard size room we tackle, takes about 3-4 hours to complete.
Tools Needed To Install Laminate Flooring
- Rubber Mallet
- Sliding Compound Miter Saw or Circular Saw
- Table Saw or Jig Saw (for intricate cuts)
- Pry bar for removing mouldings and nails in mouldings
- Knife (for opening boxes and helping with moulding removal)
- Speed Square
- Tape Measurer
- Pencil
- Taping Block (or you can you a scrap piece of wood from your new flooring)
- Pull Bar
- Shims (or you can use scrap pieces of wood or flooring for shims approx 1/8-3/8″ thick by 2-3″ wide)
- Dremel Oscillating Tool (if you need to cut under door sills or door opening mouldings)
Or you can buy a kit like this for the tapping block, pull bar, spacers and mallet
Once you pick up your Golden Select laminate flooring you are going to want to let the boxes of flooring climatize to your house, this takes about 48 hrs (review Golden Select’s Installation Guide for specific details). We had seen this flooring at Costco in the past. They have a selection available in our store, or you can order from the online Costco flooring section.
How to Install Laminate Flooring
We have written out all of the instructions for installing our Costco Laminate flooring below (or any laminate!), but if you are a visual learner (like I am!), you will likely find this instructional video helpful.
Hopefully the video gave you a good idea of how to install your flooring. Here’s a step-by-step guide to installing it at home:
How to Prep a Space to Install Laminate Flooring
To start you are going to need to remove all base board moulding around the area that you plan to install your new Golden Select laminate flooring. You then need to remove your old flooring and underlay. To remove the baseboards, take a knife and lightly score the top of the moulding where it meets the wall. This prevents the moulding from peeling any paint off the wall during its removal. Then, taking a pry bar, start from one end of the room and slowly pull and pry the moulding away from the wall. You can leave the moulding at your door openings (as long as your new flooring is the same thickness or thicker than the existing flooring – if it is smaller you will have a gap between the moulding and flooring). Remove all nails and put the moulding to the side so that you can reuse it later once the new flooring is all installed.
With the moulding off you can begin with the removal of your old flooring. Depending on your flooring type you may be able to install over top of your existing flooring (check and review Golden Select’s Installation Guide for further details on this.
Due to flooring heights and door clearances (you should check this if the new flooring is a different thickness from the flooring you are replacing) we removed all the old flooring down to the sub floor. You can also add height to your old floor (if your old flooring was thicker than your new flooring) by leveling it with another layer of plywood or hardboard depending on the thickness you need to achieve for your desired final height requirement.
With the old flooring cleaned up you are going to want to do a quick look at your sub floor to ensure there was no underlying issues (rot near exterior door openings, windows, any bumps that may affect the install of your new flooring, etc). In our installation the subfloor looked good so we proceed to the next step.

Where and How to Start Your Flooring
With your Golden Select laminate flooring climatized to your home you can begin with the installation of the flooring. At this point your are going to want to think out how you want to lay the flooring (longitudinally or transversely) in your space. Depending on adjacent flooring, stairs, hallways, etc if may affect the look and feel. With that complete the next step is going to be which corner you start with, you will be moving left to right so depending on obstacles (fireplaces, closets, openings, etc) there may be a corner that is easier to start in that others. This is a great resource for where to start and which way to lay flooring if you’re unsure.
How to Start Laying Your Laminate Flooring
With your starting location determined you can being with your first piece. I generally start with a full piece at the start and try and use cut offs from the end of the first row to start the next row. A couple of items to note, you will want to try to have your first and last piece of flooring a minimum of 16″ long and you want to ensure your stagger between rows and boards are at least 8″. This will create a better end product.
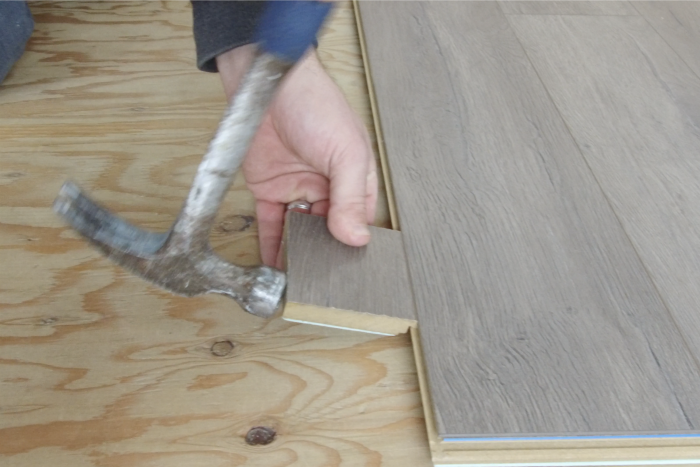
Taking your first piece of flooring, place the long edge tongue against the wall (or the grooved edge facing away from the wall). You can now continue to install boards until the row is finished. To interlock the Golden Select flooring into each other you can lift the piece on the right hand side at approximately 30 deg angle to interlock it into the piece on left side. I also found that once you had all the edges and grooves aligned you can use a rubber mallet to lightly hammer and lock the short edges into each other (take caution with this because if you don’t have the boards properly aligned on your first row this can result in damage to the tongue and groove of the boards).

How to Cut The Final Board in a Row
When you get to the end of the row, you will likely need to cut a piece of laminate flooring to fit into place. Measure the space between your most recent board and the wall, then subtract the width of your shims. Take that measurement and mark it onto your board, making sure that you are cutting from the correct side, and use a table saw to make a straight cut across that board. Then install it as described above.
Placing Shims
With you first row completed install you shims between it and the wall. You want to allow 1/8-3/8″ of gap to protect your flooring when it expands and contracts (e.g. due to temperature changes). You can use purchased flooring shims, or scrap pieces of wood that are the correct size. You are also going to want to check that your base board moulding is thick enough to cover this gap.
Continuing Your Laminate Flooring
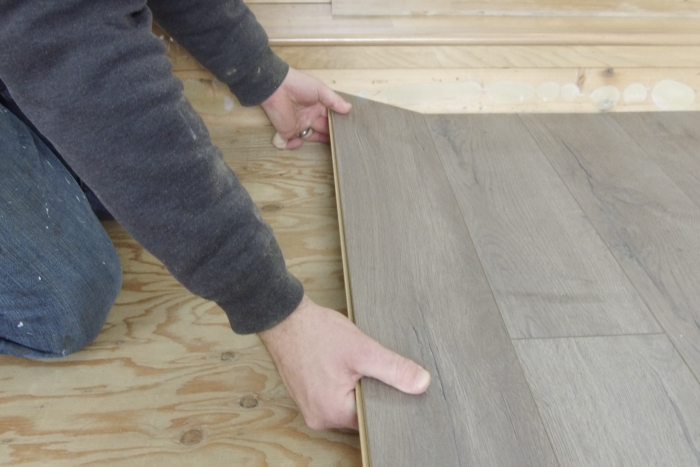
With that completed you can move onto your next row. To install the next row take the long edge tongue and place it at a 30 deg angle into the previous rows groove. You can use a taping block or scrap piece of the new flooring to tape the piece tightly into place. Repeat until you get to the opposite end of the room ensuring you maintain a stagger with your rows as you move along the room.
How to Install the Last Row of Flooring
When you get to your last row you may have to cut the width of the board to fit it between the last row and adjacent wall. To complete this cut I would recommend a table saw but a jig saw or circular would also work. Take multiple measurements along the length of the board (ends and center) as the final board may have a small taper depending how square or not square your walls are. After you have cut this piece, a good pull bar is really handy to help put it in place (since you can’t get hands and fingers between that last row and the wall.
How to Work Around Door Openings
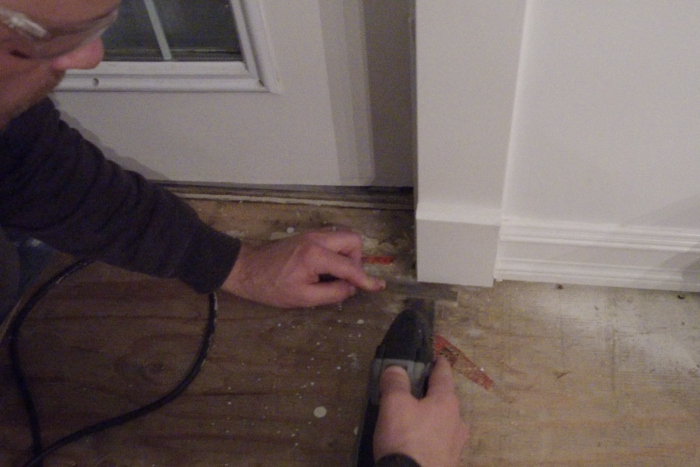
Door opening can be tricky as the doors will have a timber or MDF casing that may or may not be at the correct height. If the door opening is too low you can use a oscillating multi-tool and an scrap piece of flooring to cut the bottom and allow your new flooring to slide underneath (as seen in the video above). This is where the pull bar and a good taping block may come in handy as well. If your door opening is too high (if your old flooring was thicker than you new flooring) you may have to re-case your door or live with a bit bigger gap between the top of the flooring and bottom of the door casing. The same process can be used for the trim around the door – you should be able to use an oscillating multi-tool and an scrap piece of flooring to cut the bottom and allow your new flooring to slide underneath.
How to Work Around Corners, Vents, or Objects
You’ll never have perfectly straight cuts throughout an entire room. If you come to a corner or location that requires a piece of flooring to work around a edge or vent you can use a tablesaw or jig saw to complete this cut. Carefully measure and mark out the cut, remembering to leave some gap along adjacent wall edges. If you have a hole in a piece of flooring (a vent for example) you can use a drill to drill holes in the 4 corners and a jig saw to complete the cut.
Our Floors After Installing The Laminate Flooring
We put the Silverwood Golden Select Laminate Flooring down in our living room and dining room and the new flooring completely transformed the space.
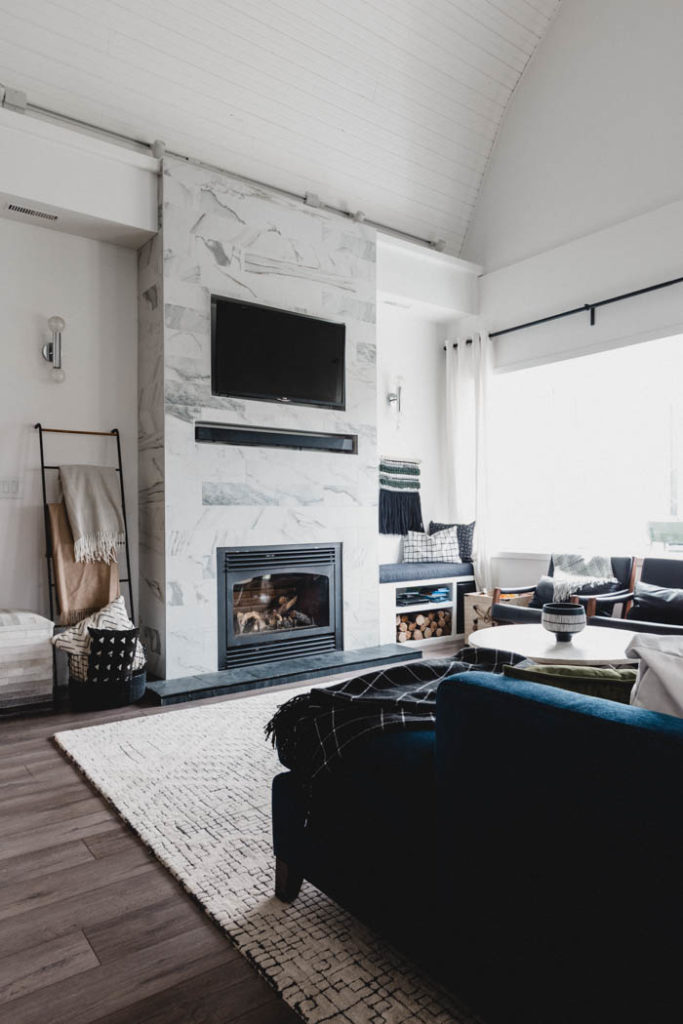
Here is what the flooring looked like in our completed living room:
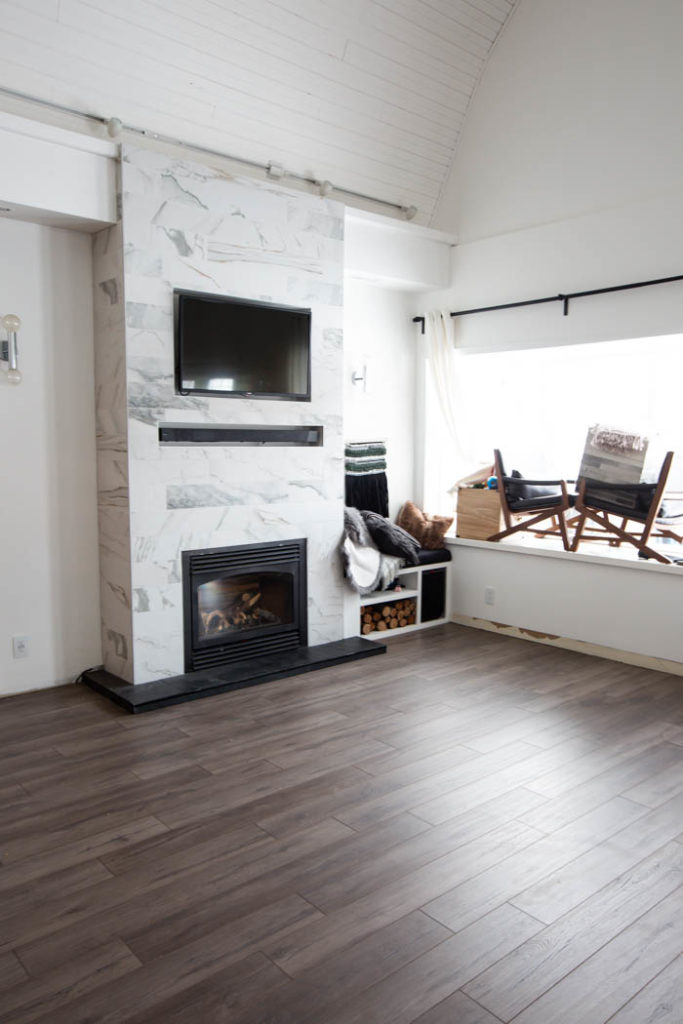
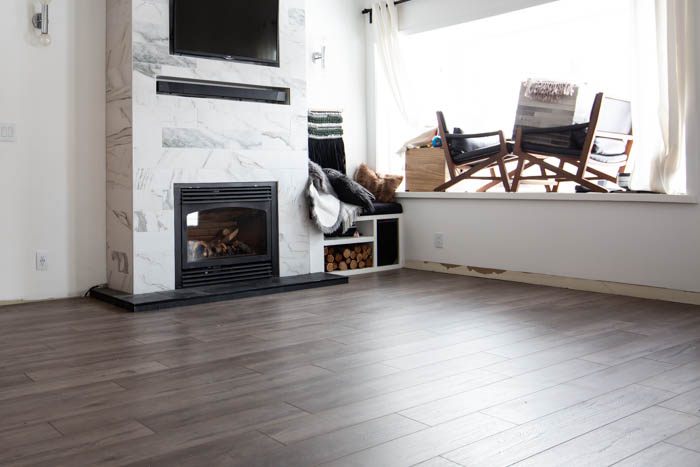
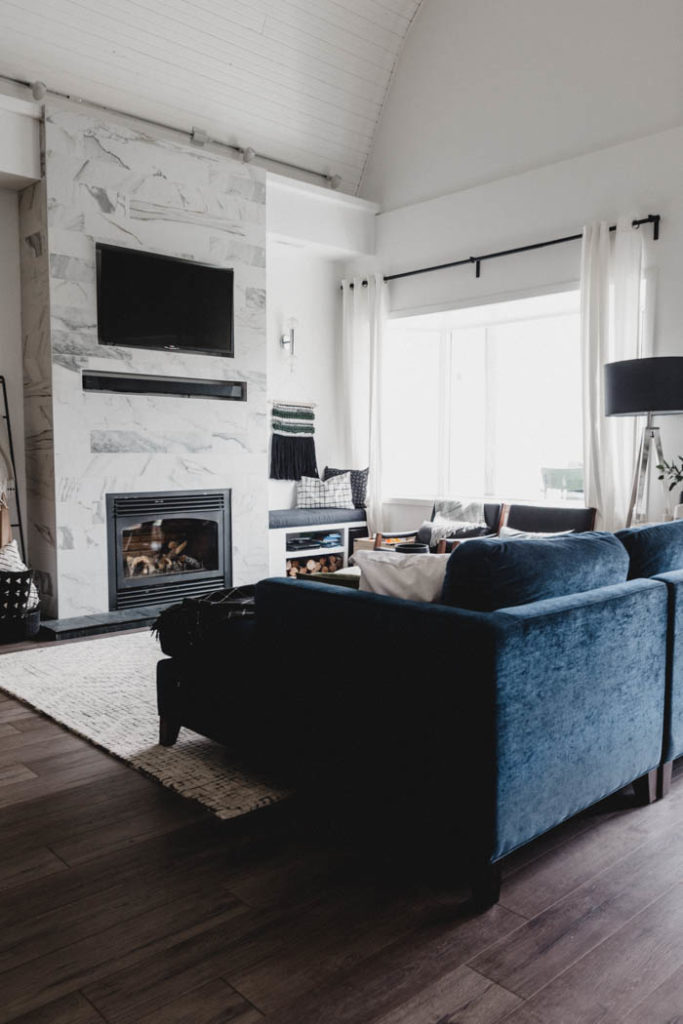
When the furniture was back in place, the brown/grey colour of the Silverwood flooring looked beautiful!
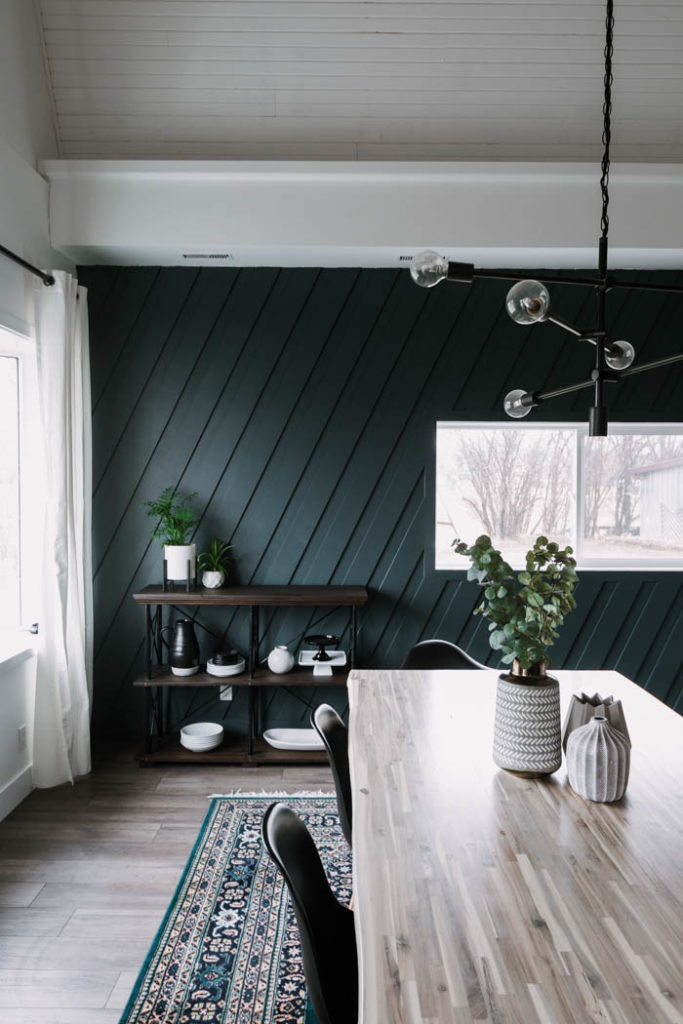
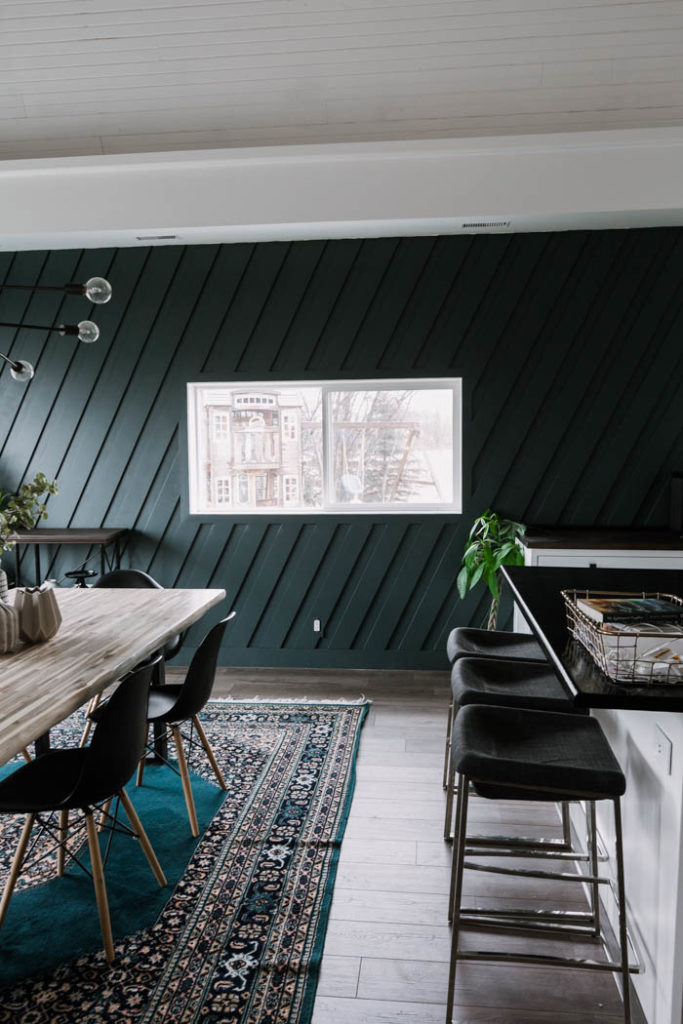
We also followed the flooring into our Dining Room and love the look in that space as well!
Our Review of the Golden Select Laminate Flooring from Costco
Overall, we would likely buy this flooring again. In fact, I’m already planning to continue it into other spaces. It was easy to install, easy to use, and seems to be a high quality product. We’ve only been living with flooring for a couple of months, but so far we haven’t had any issues. I also love the brown/grey colour – it’s exactly what I was looking for!
If you have laminate flooring, you might want to check out this article on How to Properly Care for your Laminate Floors.