How to install baseboards and door trim! Tips and tricks for easy removal and install of new trim, how to do bullnose corners, and more!
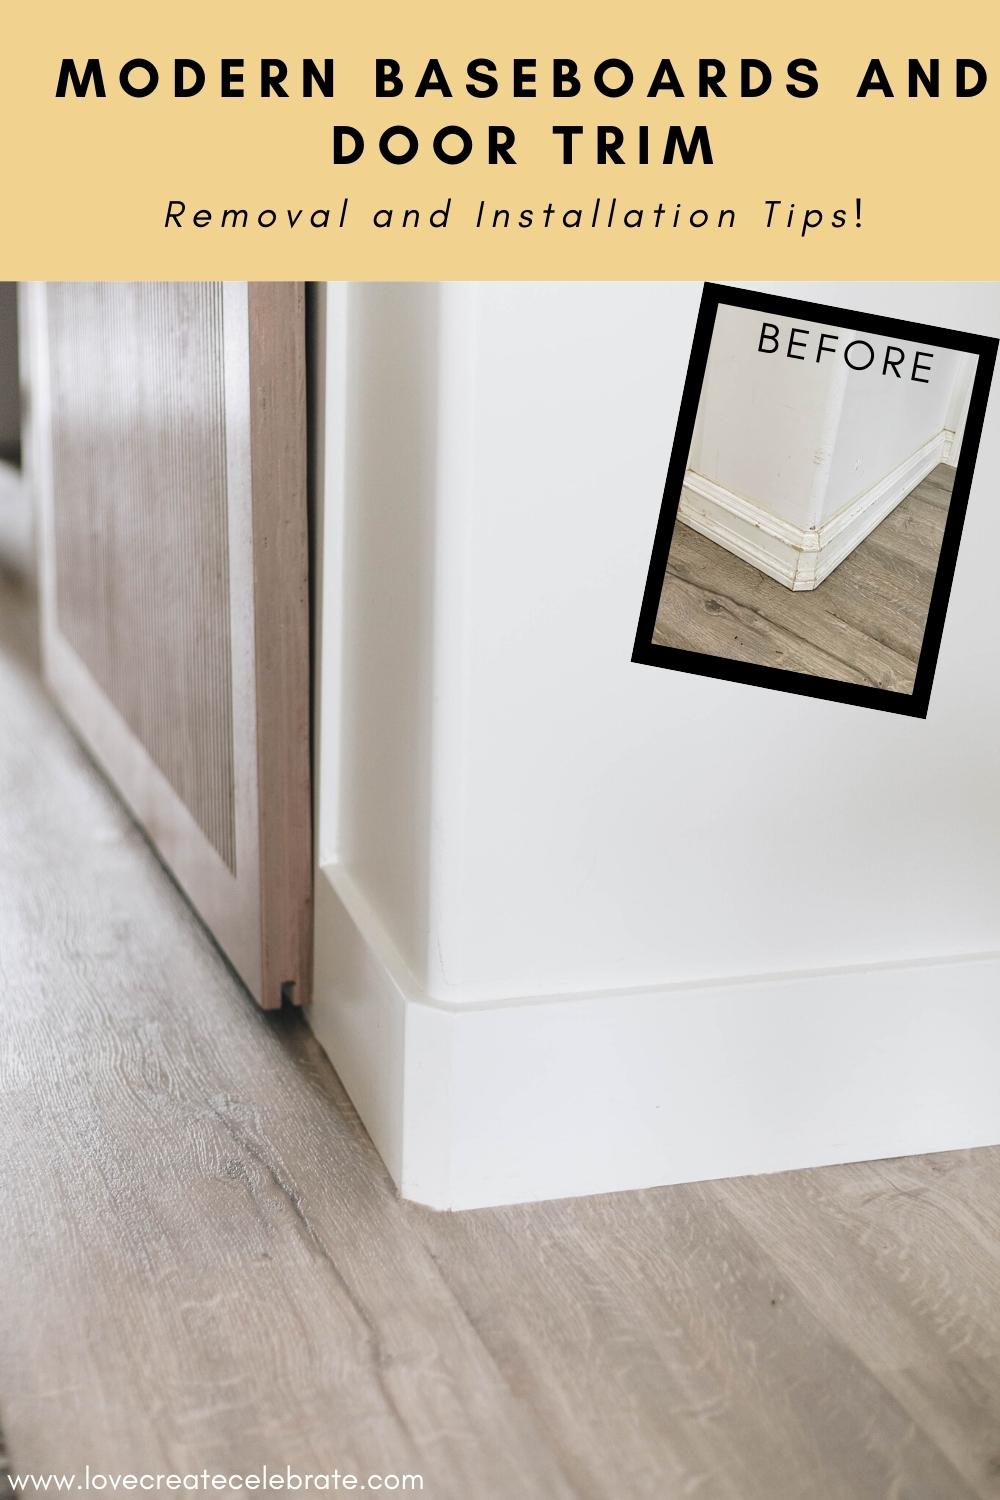
Hallways are a high traffic area, and that means your mouldings can look rough and worn down after years of use. Having 3 kids, a dog, and cats (and a woodworking husband!) means our hallway sees a lot of traffic. The mouldings in this area were original to the house and had seen better days. This post will go through how to remove, prep, and how to install baseboards to refresh your space!
*This post was sponsored by DAP Canada and may contain affiliate links. When you buy a product through one of our links, we get a commission at no cost to you! Thank you for supporting our blog so that we can continue to bring you posts like these. For more information, please see our disclosure page.*
- How to install baseboards and door trim! Tips and tricks for easy removal and install of new trim, how to do bullnose corners, and more!
- Our Hallway Before
- How to Install Baseboards and Door Trim
- How to Caulk Baseboard and Trim
- Filling and Sanding Baseboard and Trim
- Painting your Baseboards and Trim
- DIY Video Tutorial
- Our Finished Hallway!
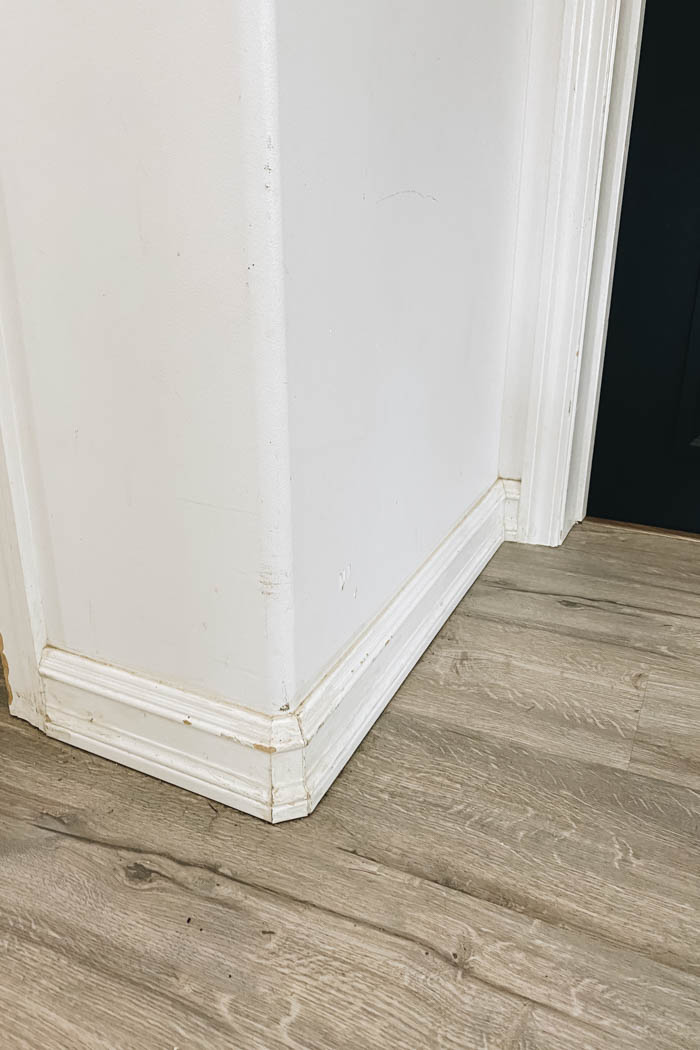
Our Hallway Before
Our Hallway has seen some changes over the years. The first thing we did before we moved was change out the old out dated closet doors for barn doors and changed out the flooring, you can read all about those plans here.
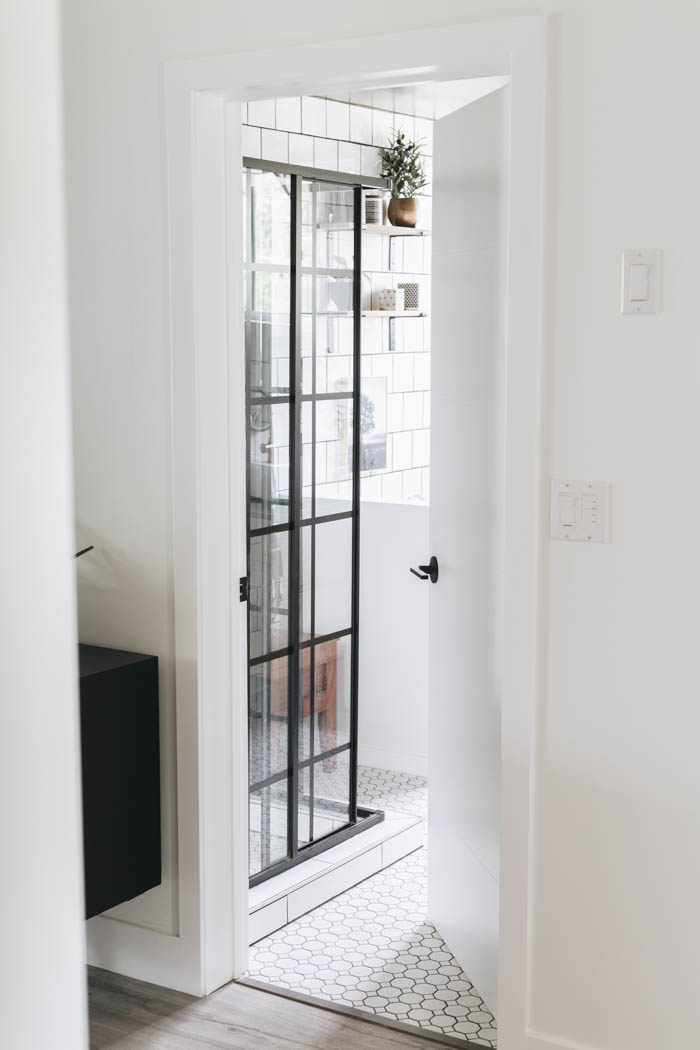
We then updated and refreshed our old hollow core doors and added some new lighting. Finally we added these custom sliding barn doors which really changed the space. But one issue that lingered through out all these renos where the mouldings…
The mouldings in these area where beat up from kids toys, scratched from pets, and just worn down from general use. They also had a look/ profile which didn’t match the rest of the aesthetic of the house. Trim is never our favourite job to do but this space finally got to the top of the list and we wanted to finish this space 100% off. So we grabbed from tools and supplies and started work removing the old mouldings!
How to Install Baseboards and Door Trim
I will go into details below but one item to note on all mouding installation is that mouldings generally have a “top” and “bottom.” You will want to make sure that the mouldings are installed correctly and in the same orientation throughout the space.
Generally for flat stock mouldings (what we are using for this post), the radius end points up towards the ceiling and the 90° edge to the bottom for base boards. For door and window casing we like to have the radius to the inside (if the edges differ) and the 90° edge to the outside of the casing.
Tools and supplies needed to remove and install mouldings
Here is a all-inclusive list of the tools and supplies you need for your moulding update project:
DAP Products:
Tools:
- Cordless nail gun
- Mitre saw
- Speed Square
- Multi-Mark Tool
- Laser Measurer
- Caulking gun
- Putty Knife set
- 6″ drywall taping knife
- Sander and sanding pads
- Long Sanding Block and paper
- Short Sanding Block
- Pry Bar
- Flat Pry Bar
- Utility Knife
Miscellaneous:
- MDF mouldings (5″ tall for the baseboards and 2 1/2″ for the casings by 1/2″ thick)
- Primer
- Your trim paint
Moulding Removal
Before you can install your new moulding you will likely need to remove the old moulding. This is a quick and easy process with just a couple steps. If you are just adding new mouldings you can skip this step.
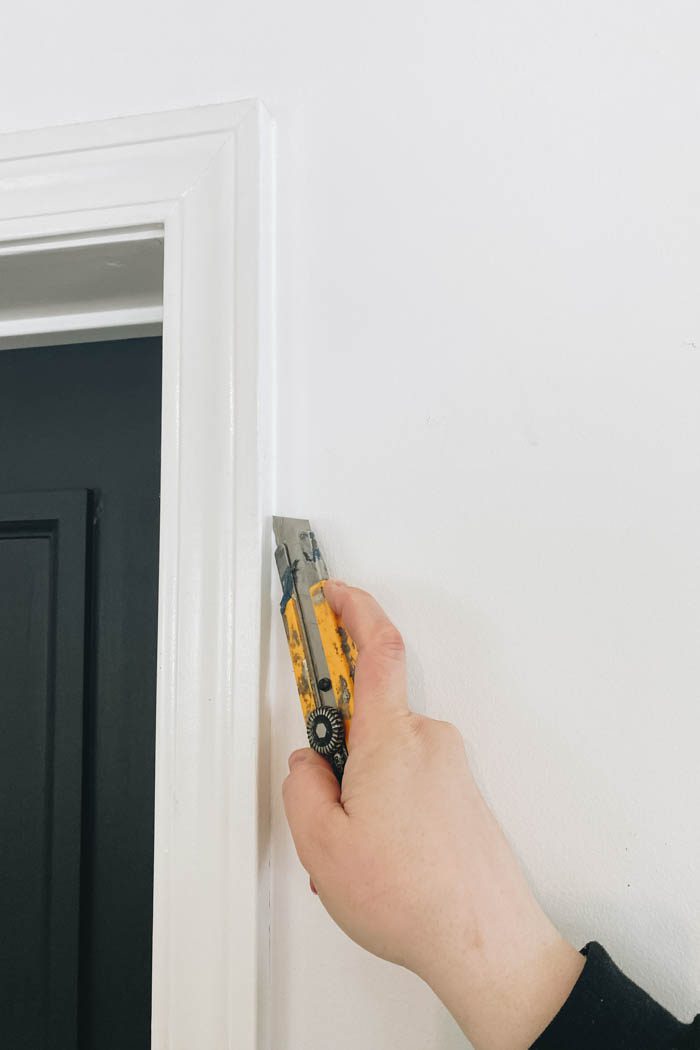
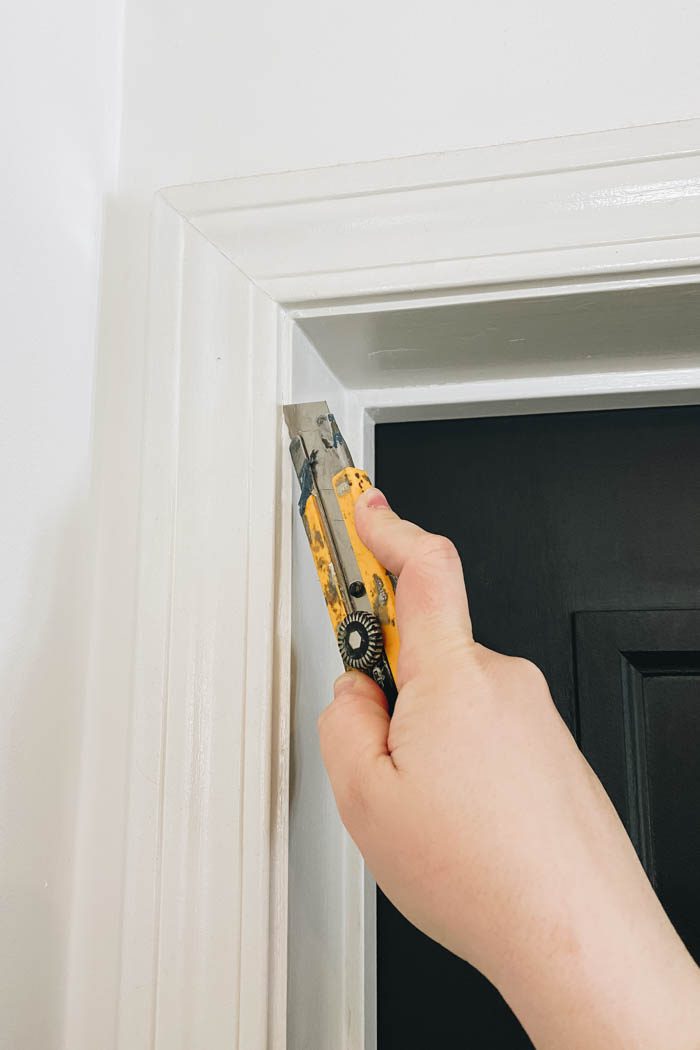
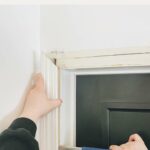
First, taking your utility knife, score the edges of moulding on both sides, where it meets the wall and/or door casing. This will help minimize any damage to the wall paint when removing the moulding.
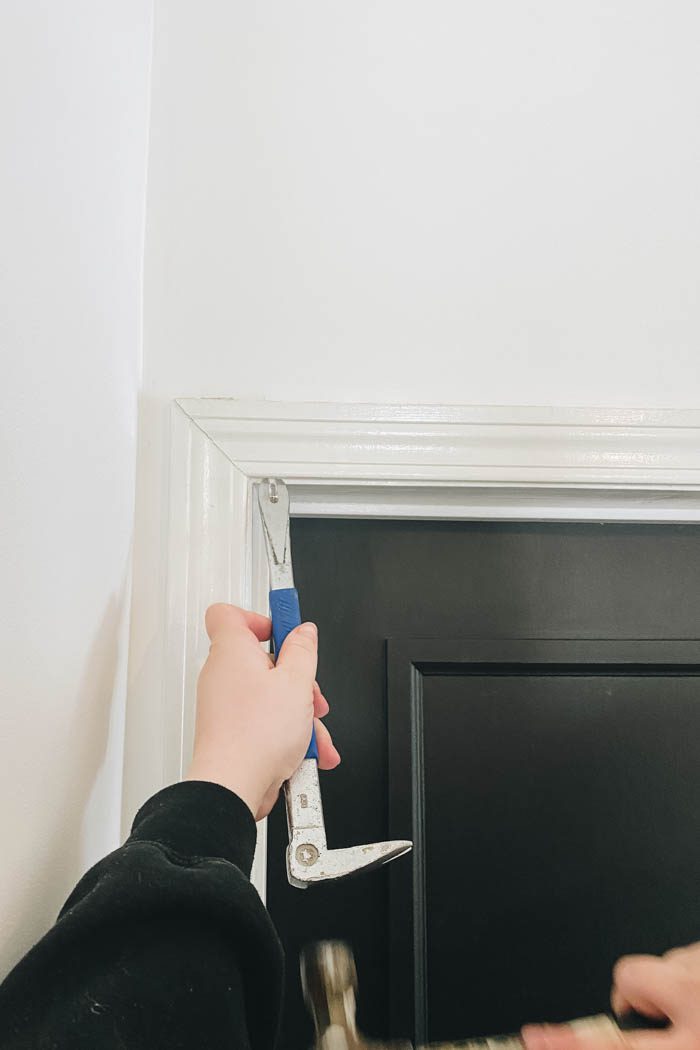
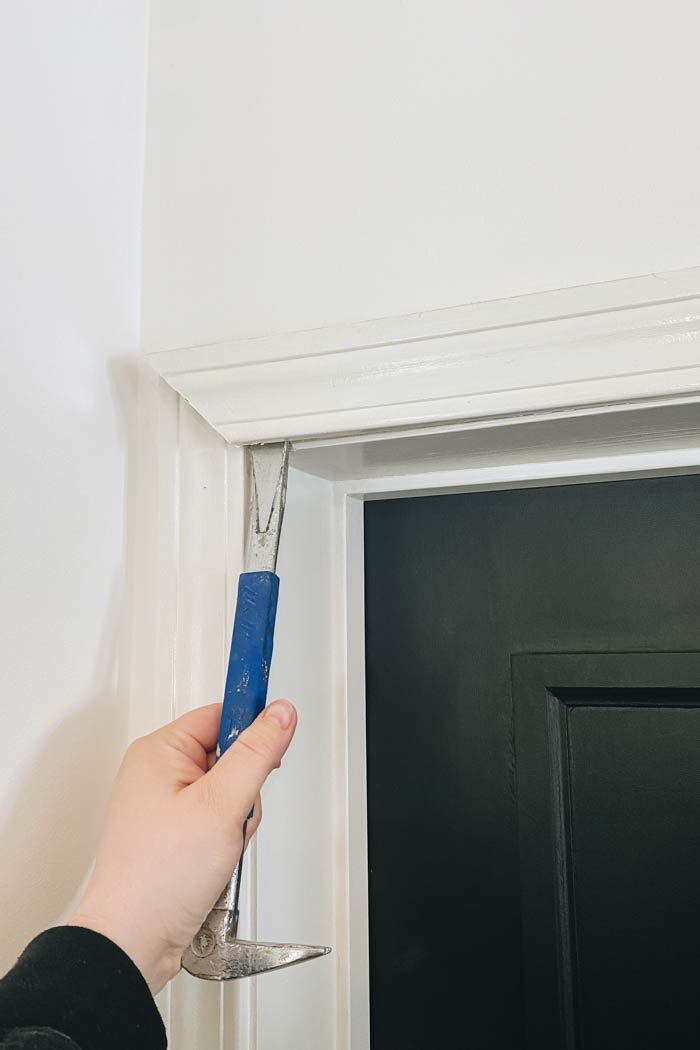
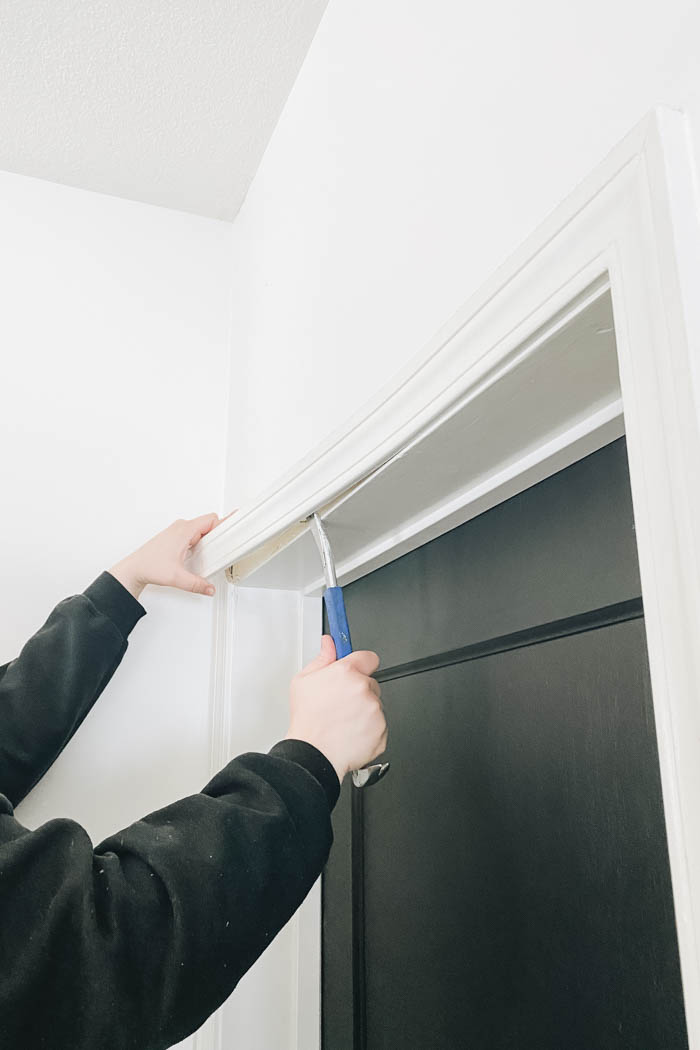
Second, using your pry bar or flat pry bar, gently press the flat part of the bar behind the moulding. If you can work off the door casing or another piece of moulding it will help minimize/prevent and damage to the drywall. You can use a hammer to tap the end of the pry bar to get in behind the moulding.
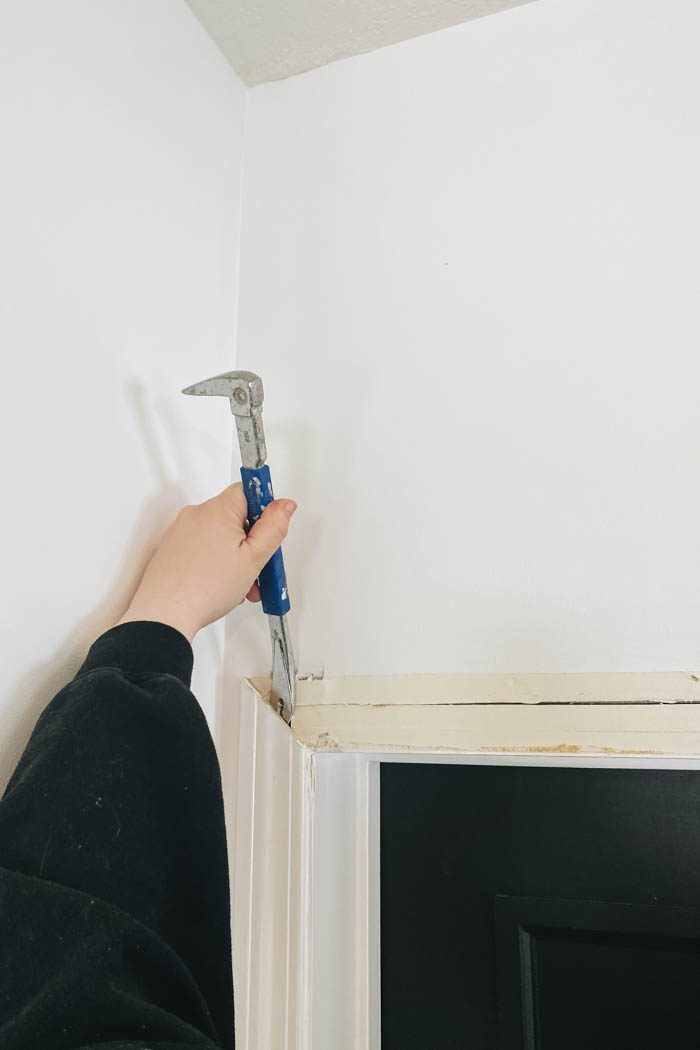
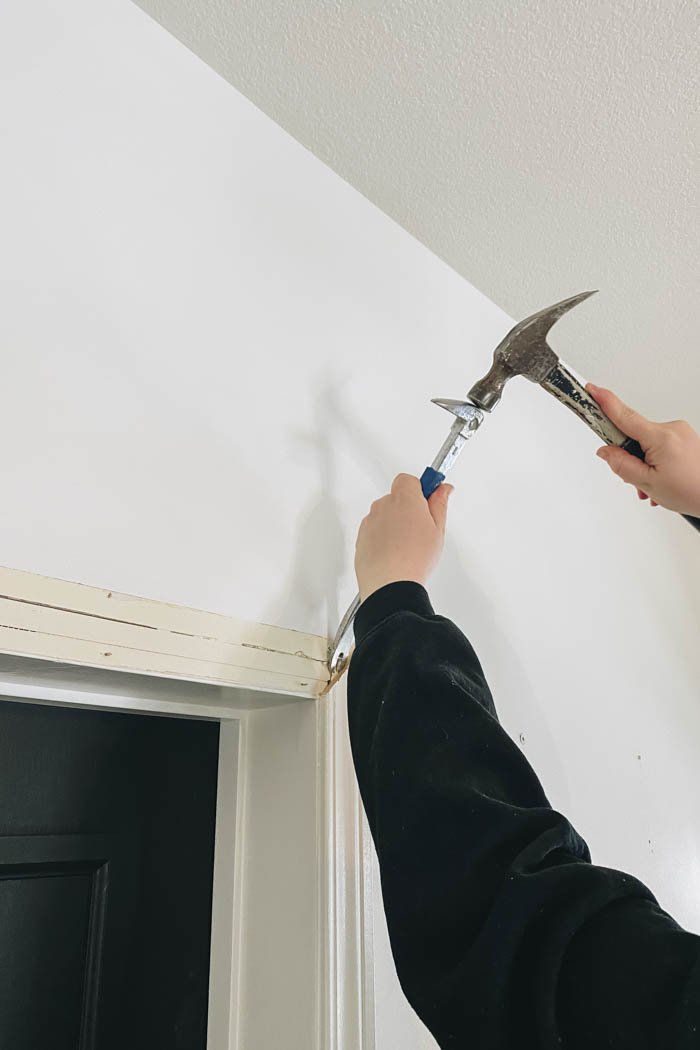

I like to start with the removal of the moulding on the door casings, starting at the top, and work my way to the floor. Once these are removed you can easily remove the base boards. If you go slowly you can usually get the moulding off in one piece in case you want to keep the moldings for another project.
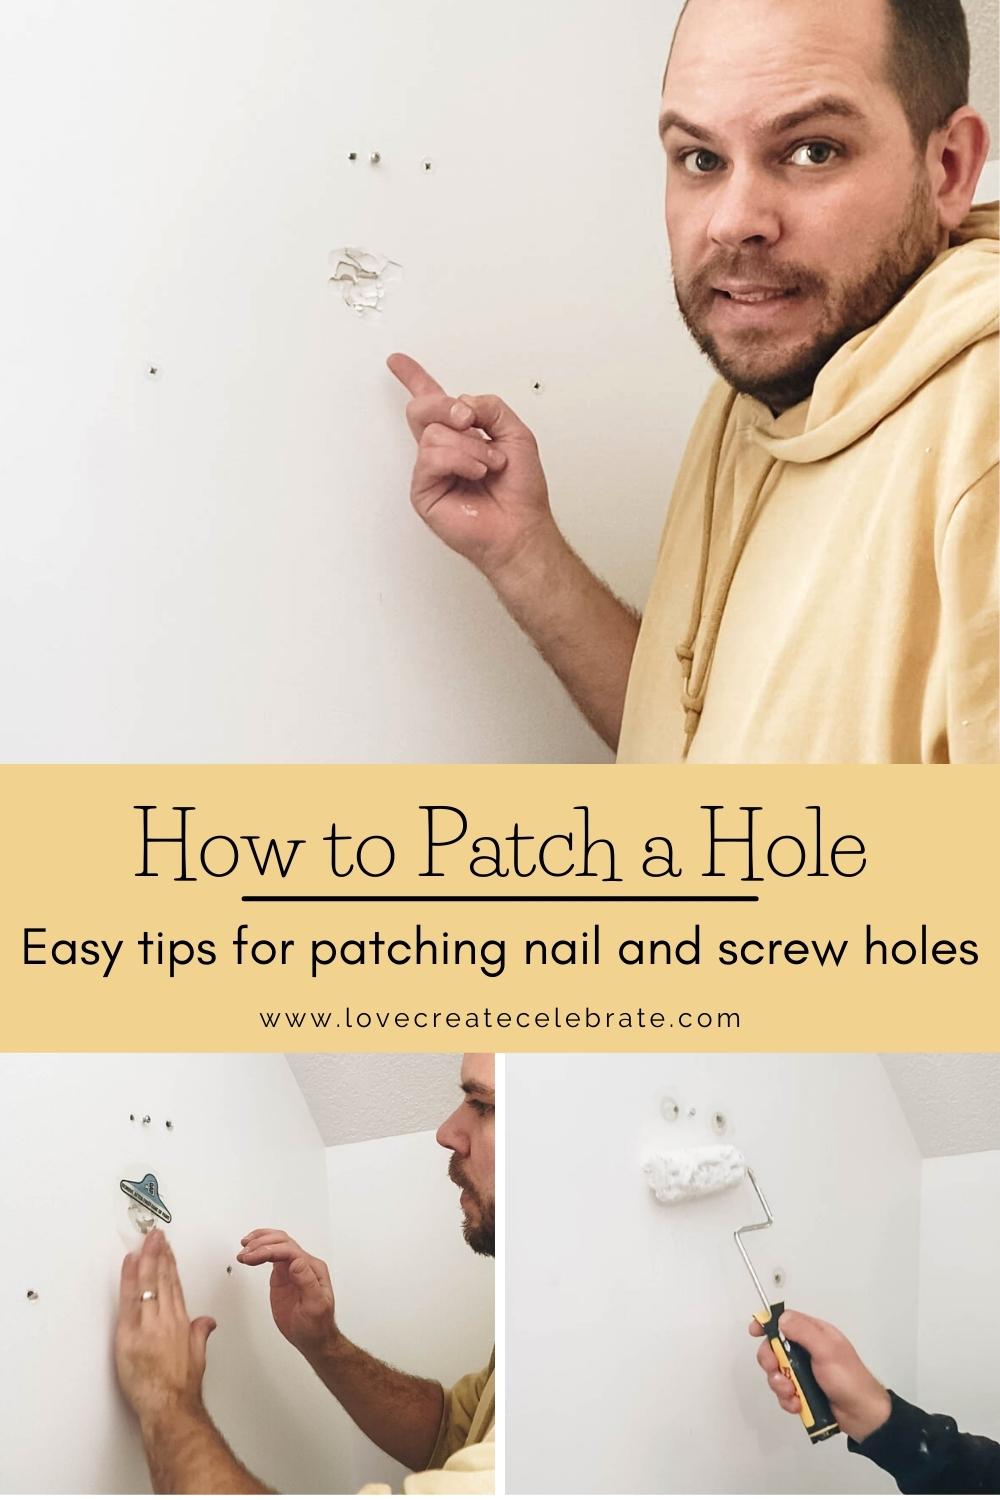
Drywall Repair
If you end up tearing or marking up any of your drywall during moulding removal, here are 3 easy steps to get these areas all patched up.
First, sand the area down and remove any rough edges or loose paper.
Second using some DAP spackling and putty knife, fill the area with spackling and let dry.
Sand the area with a sanding block. Once sanded, run you finger over the area, if it is smooth and you don’t feel any edges you can move to the next step. If not, add a bit more spackling, extending past the repair area. Let dry and sand again.
Third, prime the area, let dry and coat with your matching wall paint colour. See this video about baseboard installation to see how this is done.
Moulding Installation
This tutorial is going to focus on installing flat stock moulding. It is by far the easiest and most forgiving type of moulding to install. If you area planning to install a moulding with a design/profile, a lot of the steps are similar.
The biggest difference is the mitred corners. With a profile moulding you need to be a lot more careful with how the corners line up, so the pattern from your horizontal and vertical mouldings line up seamlessly.
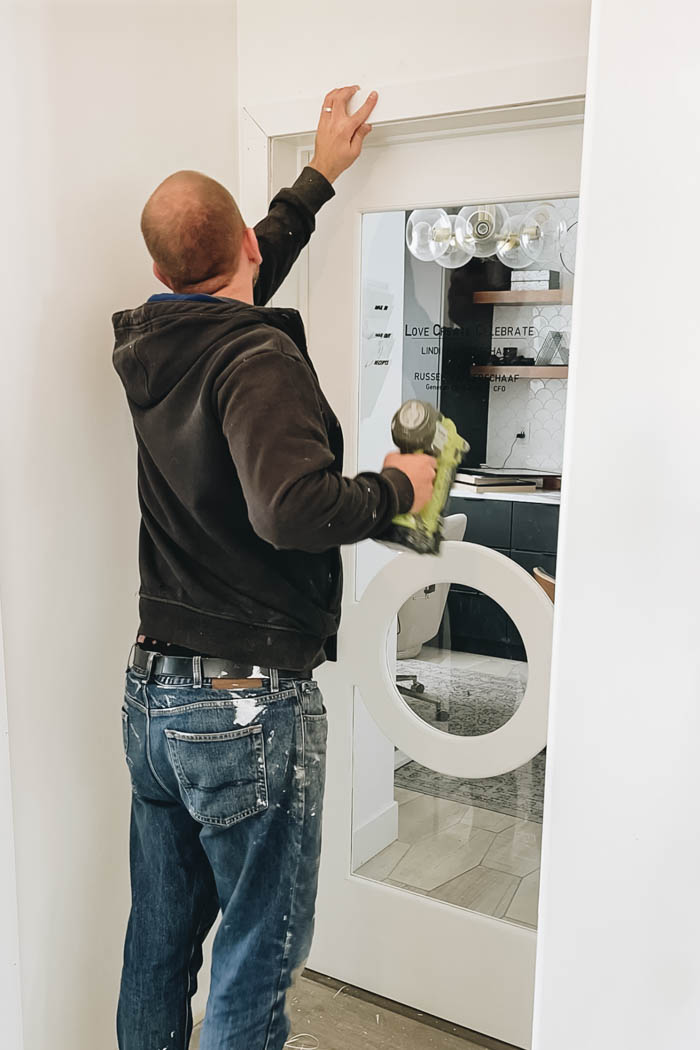
Door Casings
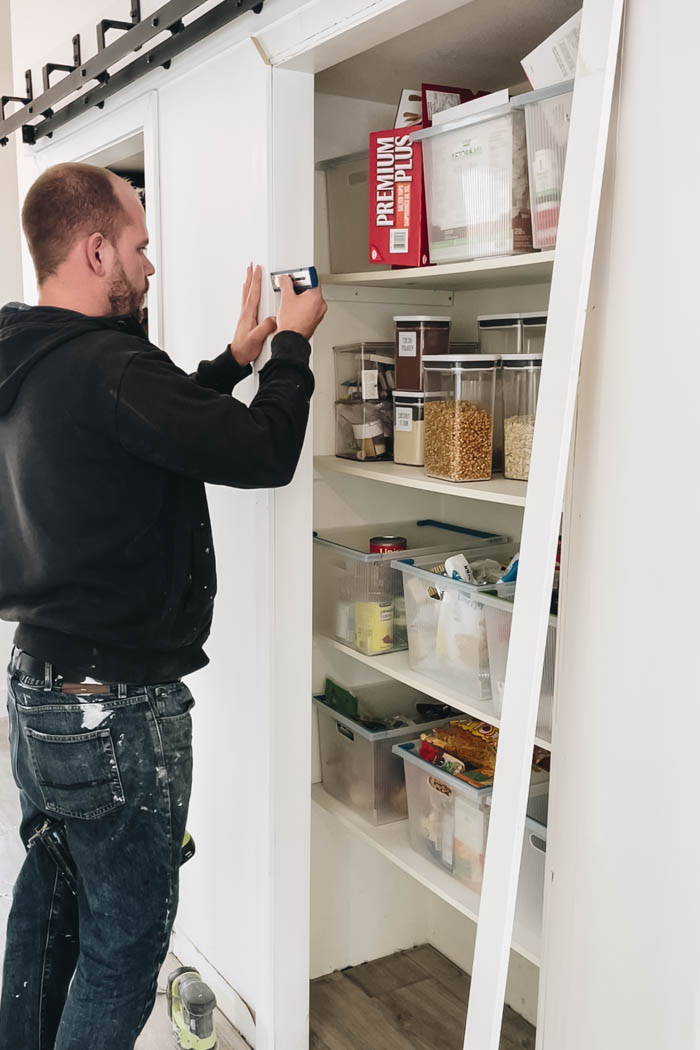
Add your Reveal
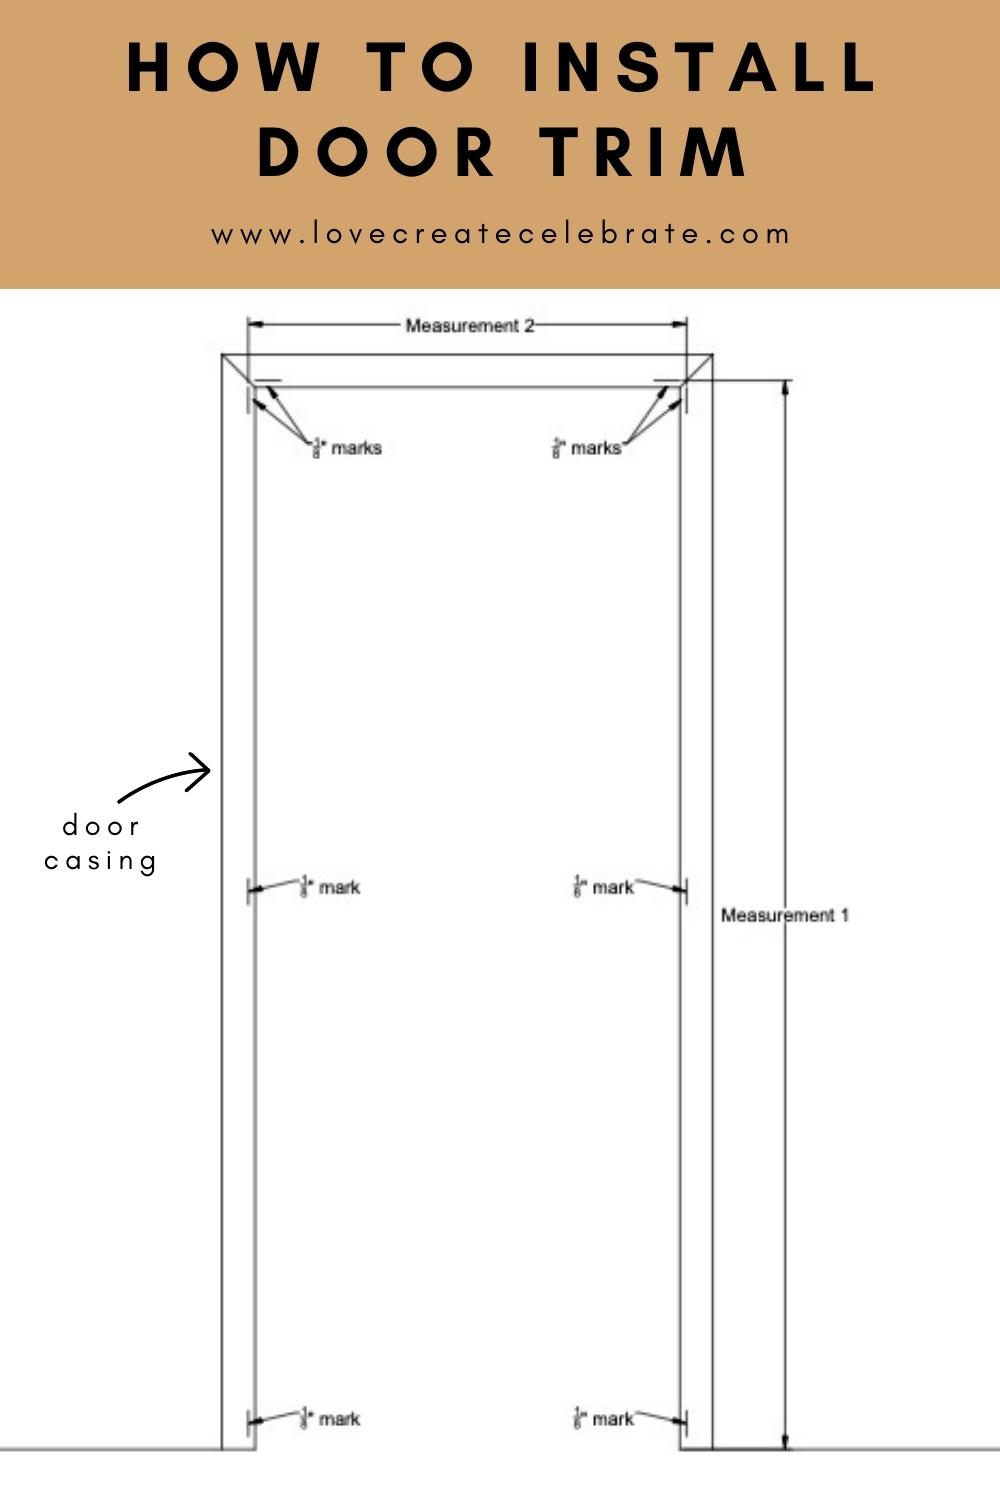
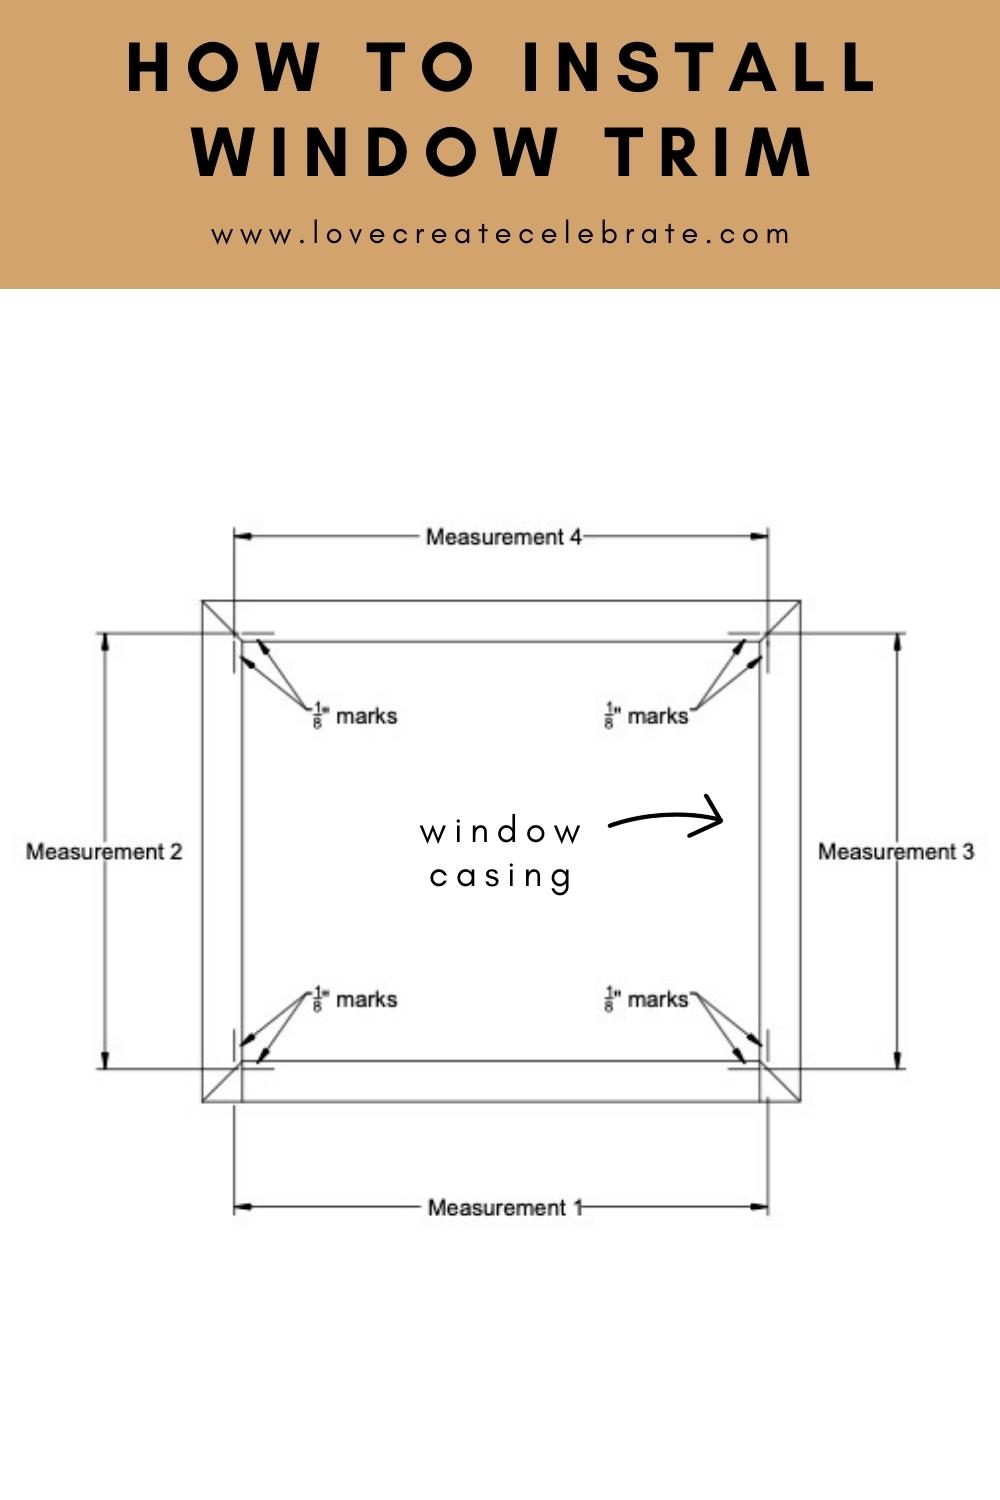
The first step is to take your multi-mark tool and mark a line 1/8″ from the edge of all your door casing. This will give you a spot to measure to and keep the spacing on all sides of the door consistent around your door casing.
We added 8 marks in total, as per the diagram above. Two horizontal marks on either side of the top piece of casing, and three vertical marks on each side of the top/bottom/middle door casings.
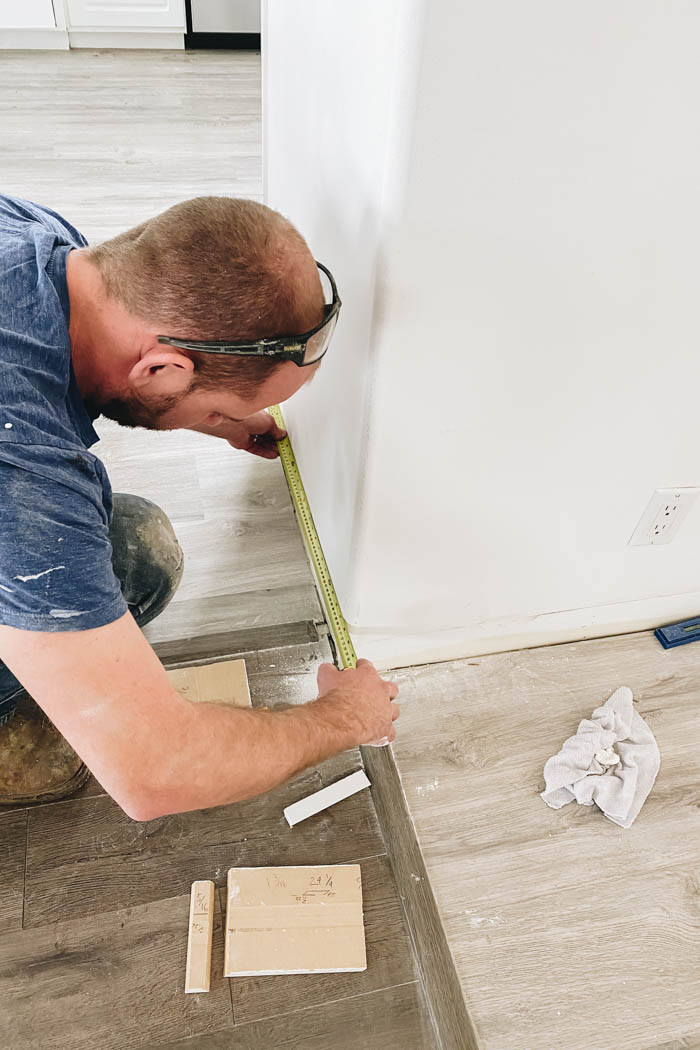
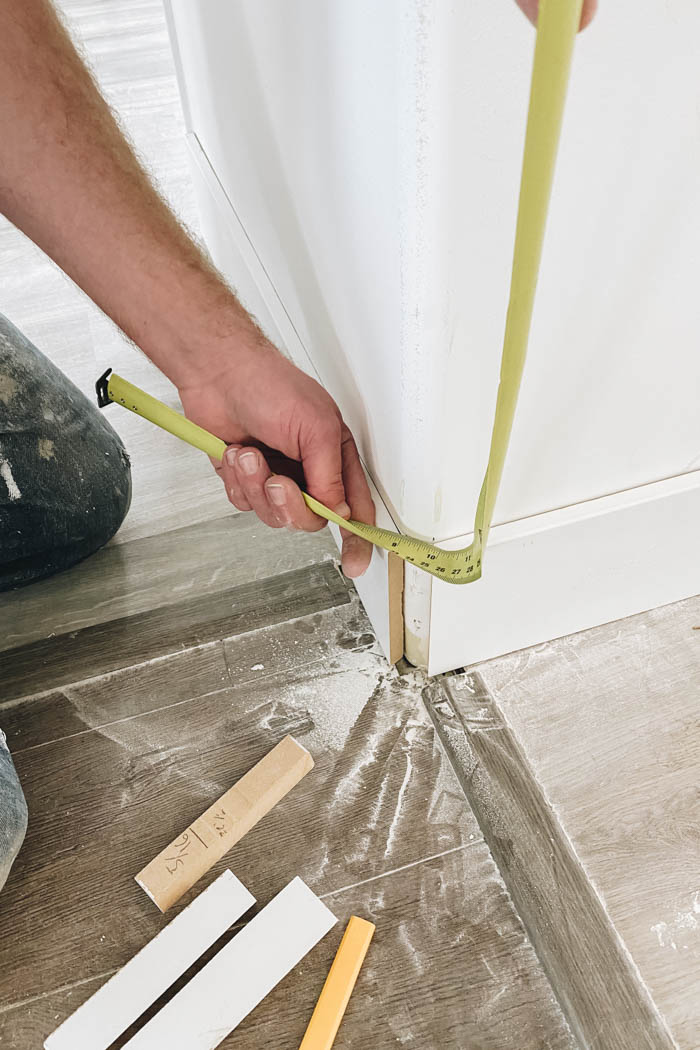
Measure
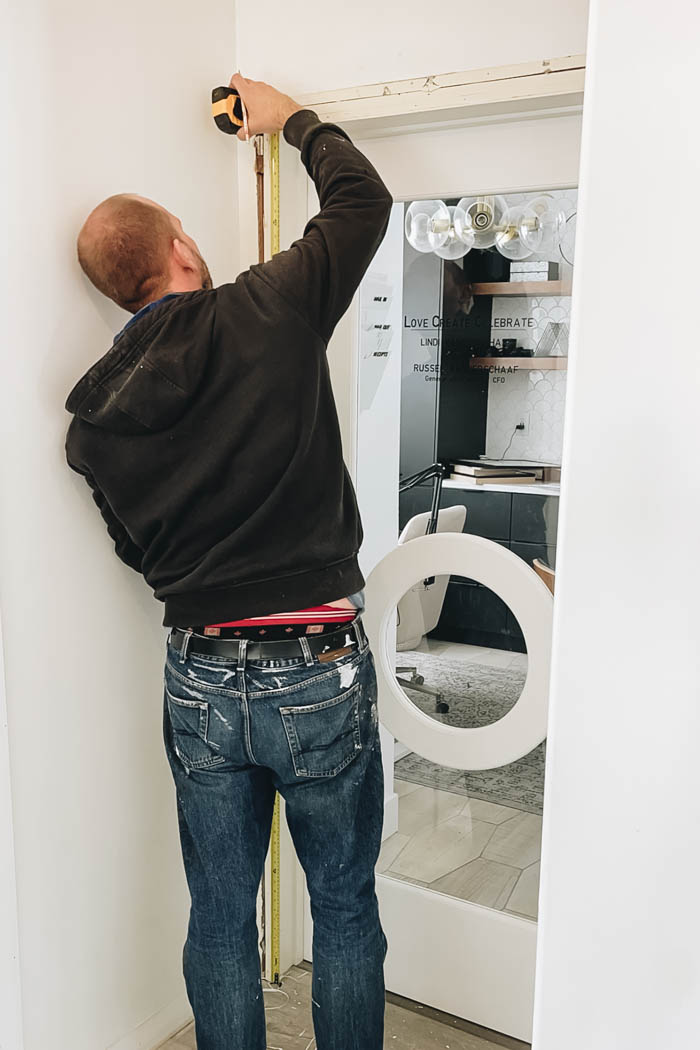
Next is to measure the vertical distance to this line on either side of the door casing (between the top horizontal mark and floor) – this is “Measurement 2” on the sketch. Then measure the horizontal distance at the top of the casing (between the top vertical marked lines) – this is “Measurement 1” on the sketch. As openings can vary I would always measure both sides of the doorway to ensure a proper fit.
These measurements will give you the cut length of the three pieces of mouldings to install around your door casing. A Laser Measurer is a great tool to get your vertical measurements. These measurements are from the bottom of the floor to the inside edge of your mitre (not the top of the mitre).
Cut your mouldings
I take my measurements to my mitre saw and cut the two vertical pieces first. Remember that your measurements are from the bottom of the mitre (not the top), and measure and mark out my door casing side pieces. I set the saw to 90° angle and cut the bottom square first.
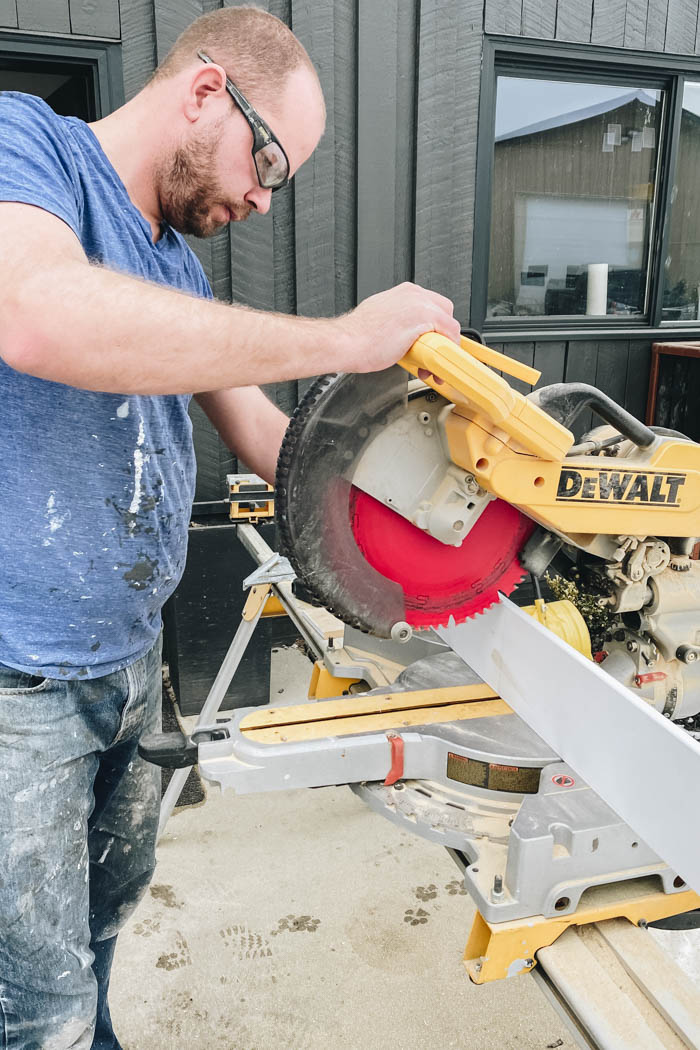
Next I measured from the bottom and marked the distance “Measurement 1” onto the moulding. Using a speed square, I then drew a 45° angle starting from the marked line upwards (you are adding the distance of the 45° not subtracting). Set your saw to a 45° angle and cut the angle. Do this for both sides (see sketch above for orientation).
Measure and cut your top piece, remember the distance you measured is between the inside corners of the 45° mitres (“Measurement 2”). Add the 45° angle and mark with a speed square to both ends of your board (see sketch above for orientation).
Install Mouldings
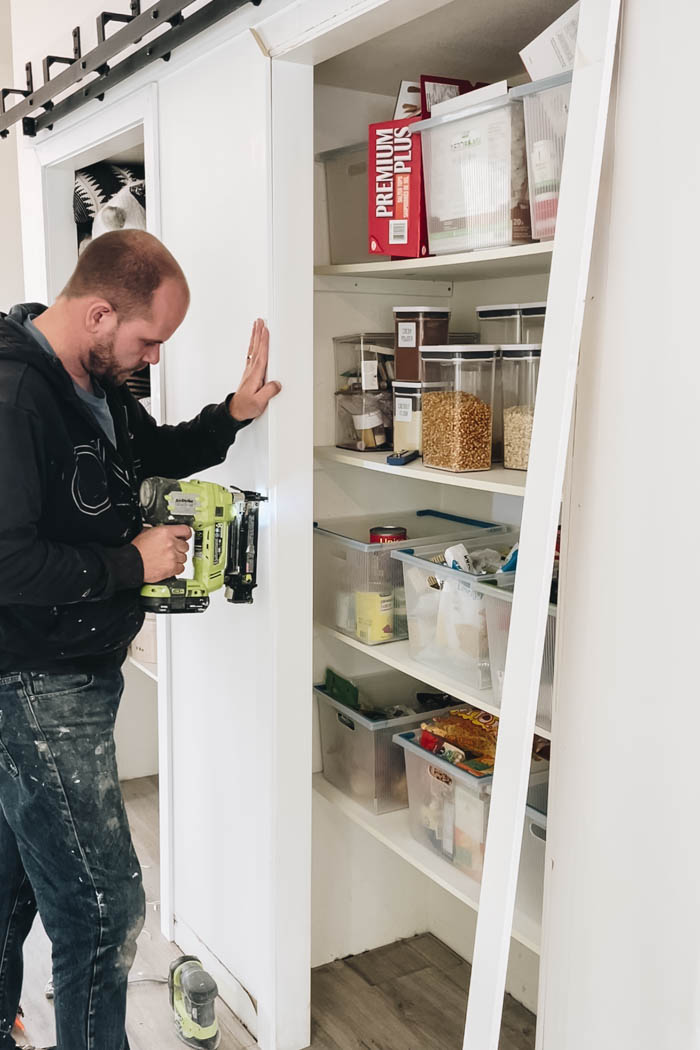
To install we start with the two vertical pieces. We start from the bottom by lining up the inside edge of the mouldings with the 1/8″ marks. Next, add 2 nails approximately every 12″, and stop about 2/3rds up the moulding (we will nail the top in after).
We put two nails in side-by-side so that one nail goes through the moulding into the casing, and the other goes through the moulding into the drywall.
You can use the multi-mark tool set at 1/8″ to help set the moulding in the correct place as you do. Don’t nail the the top 1/3rd yet.
Next, grab your horizontal top piece and test fit. Since you didn’t nail the tops of the two vertical boards, they are still able to adjust slightly to line everything up, if needed.
If the top or side mouldings don’t line up with the marks, you may need to shorten or lengthen them (or cut a new piece) to get everything to line up nicely.
If the moulding fits between the vertical pieces and all the mouldings still line up with your 1/8″ marks you can install it.
Using construction adhesive in the corners and 2″ brad nails, install all the mouldings in place. Start with one side and work your way around until all 3 pieces are secured. Add nails at the corners of each mitre to ensure everything is well secured.
Window Casings
For our project we didn’t have any windows, but the process for adding trim to windows is vary similar to doors. For windows add all of your 1/8″ marks (see sketch), then start with the bottom horizontal moulding first, and work your way to the top. Use the same method for measuring/cutting/install as above for the doorways.
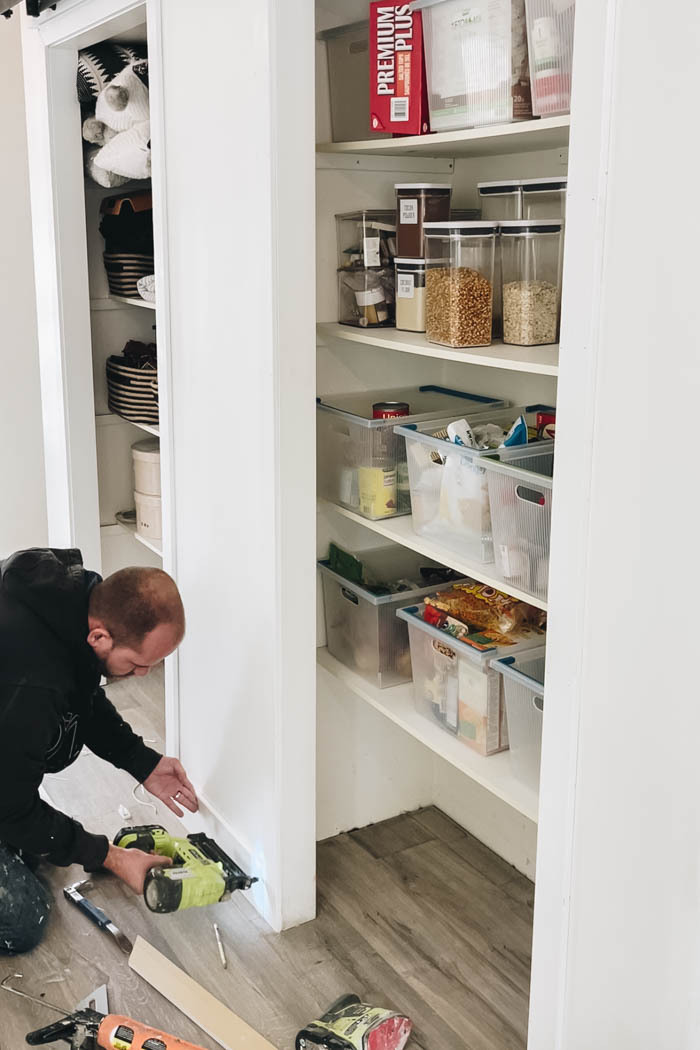
How to Install Baseboards
Walls
To start, install baseboards by starting with the pieces in between the previously installed door case mouldings. Take a measurement between the moulding, cut, test fit, and then install. Use 2″ brad nails to secure it in place with a little bit of construction adhesive at any joints to minimize any cracking.
Inside corners
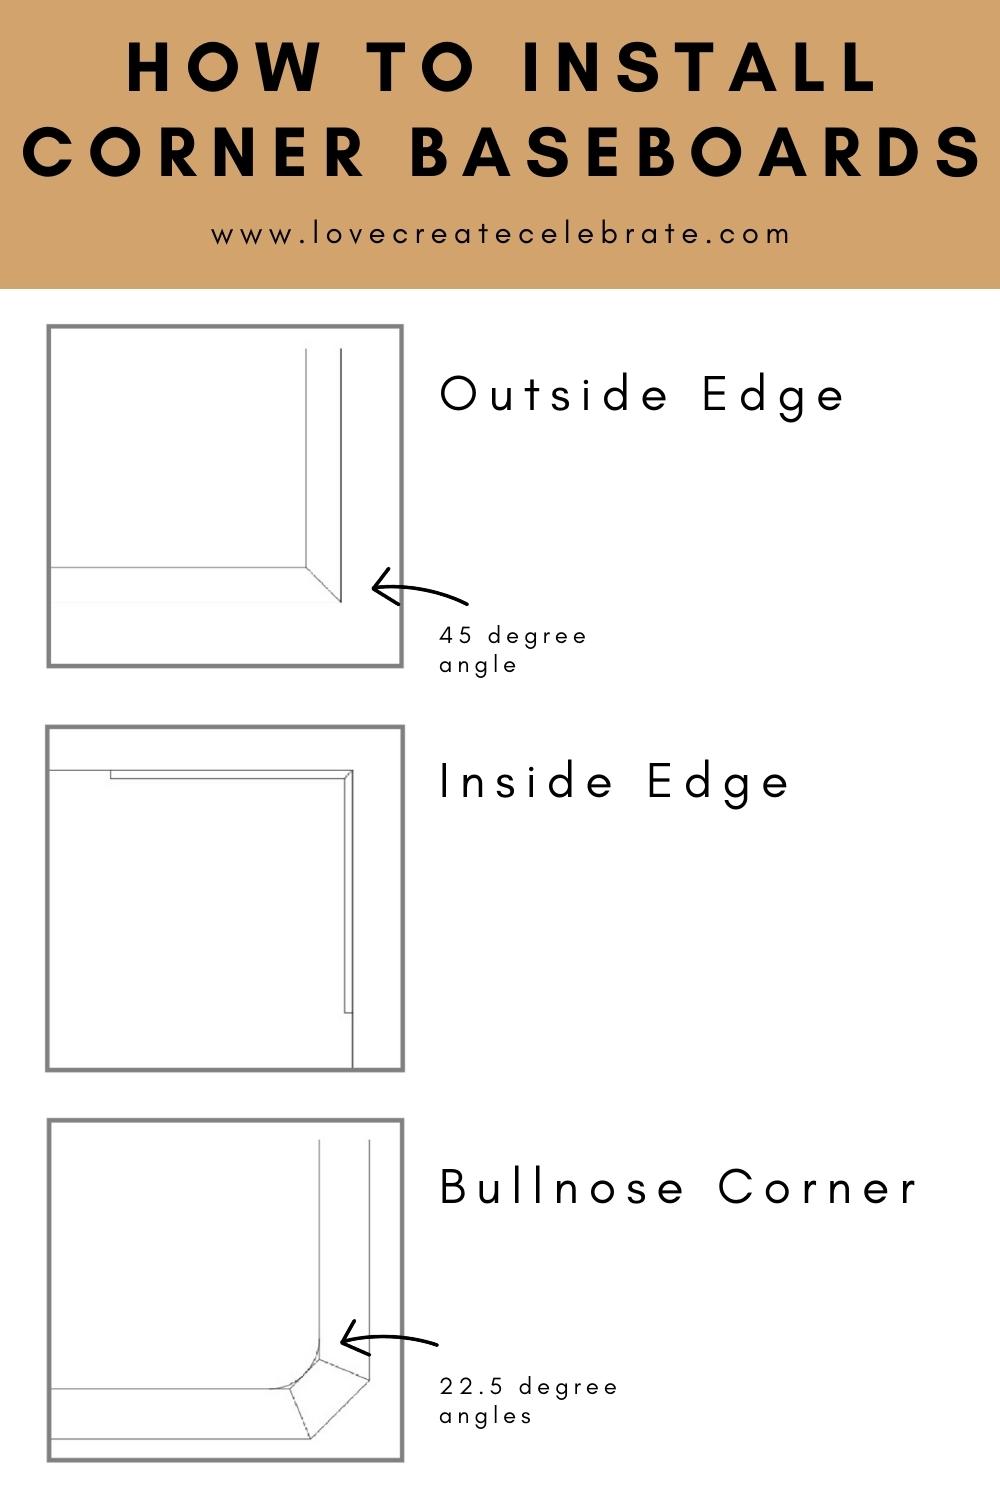
To install baseboards into an inside corner take a measurement between the corner and the opposite end. The corner(s) will need to have a 45° mitre cut (see diagram above for orientation of cut). Do a test fit and if everything looks good you can install them. Use 2″ brad nails to secure them in place with a little bit of construction adhesive at any joints to minimize any cracking.
For most homes you can get away with a 45° deg cut on both mouldings to get a nice clean installation (based on installing in a 90° corner). If you corner is not 90°, you can check the angle you need with an angle gauge. If you have a corner that is a 82° angle for example, you would cut 41° angles on each piece of moulding instead of a 45° (To calculate yours, it will be the corner measurement divided by 2).
Outside corners
To install baseboards onto an outside corner take a measurement between the corner and the opposite end. The corner(s) will need to have a 45° mitre cut (see diagram above for orientation of cut). Do a test fit, and if everything looks good you can install them. Use 2″ brad nails to secure in place with a little bit of construction adhesive at any joints to minimize any cracking. See above in for corners that are not a 90° angle.
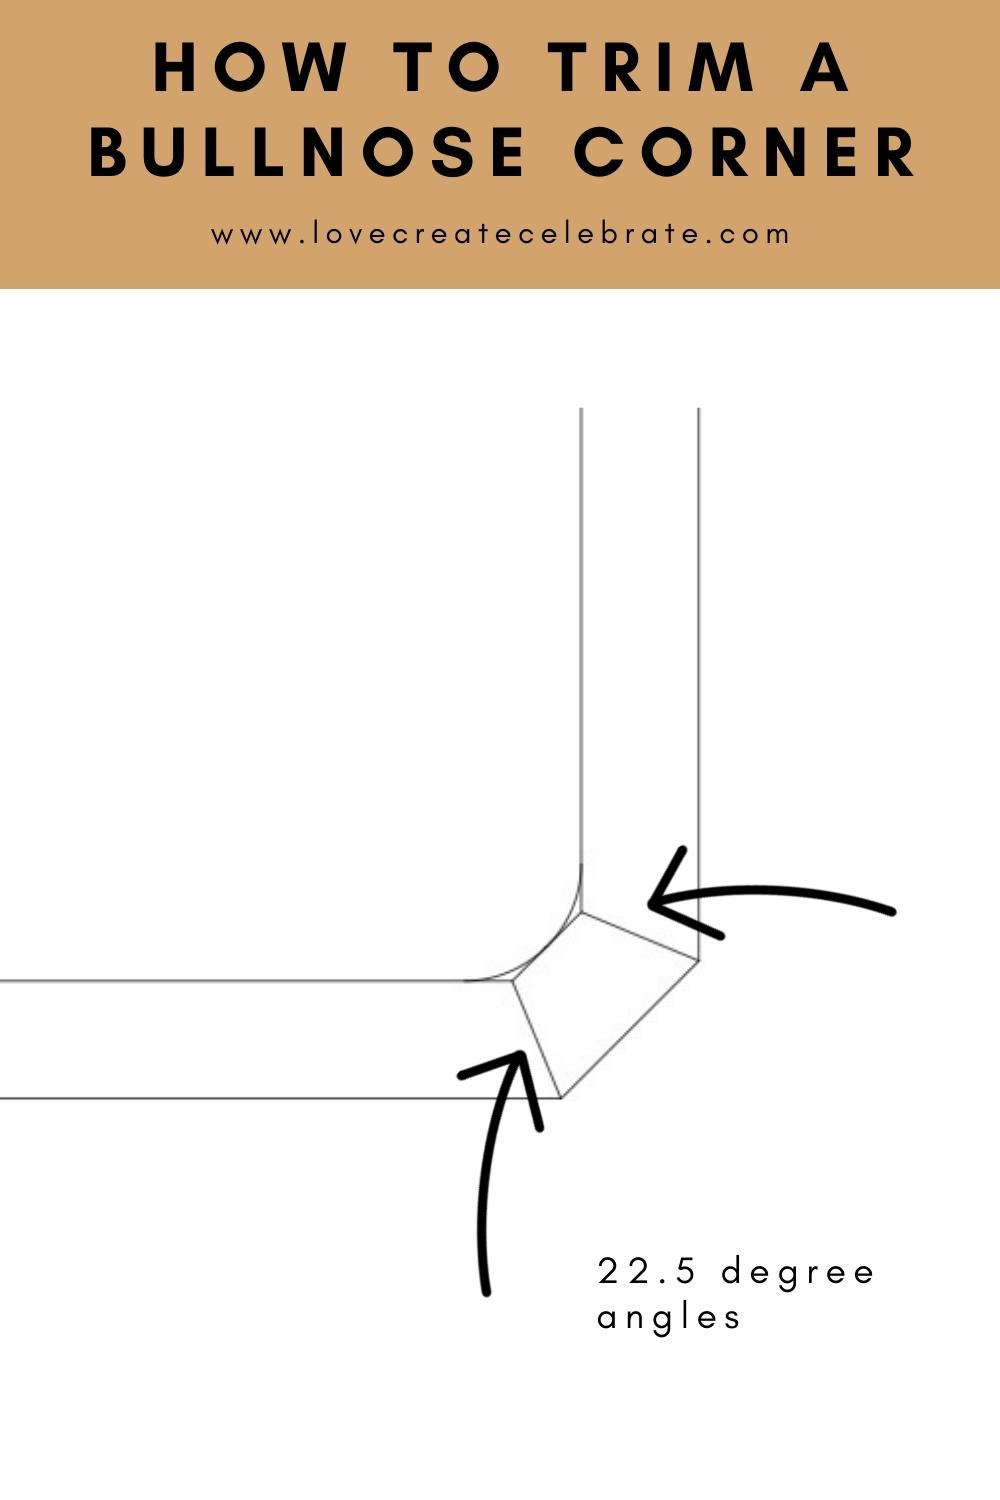
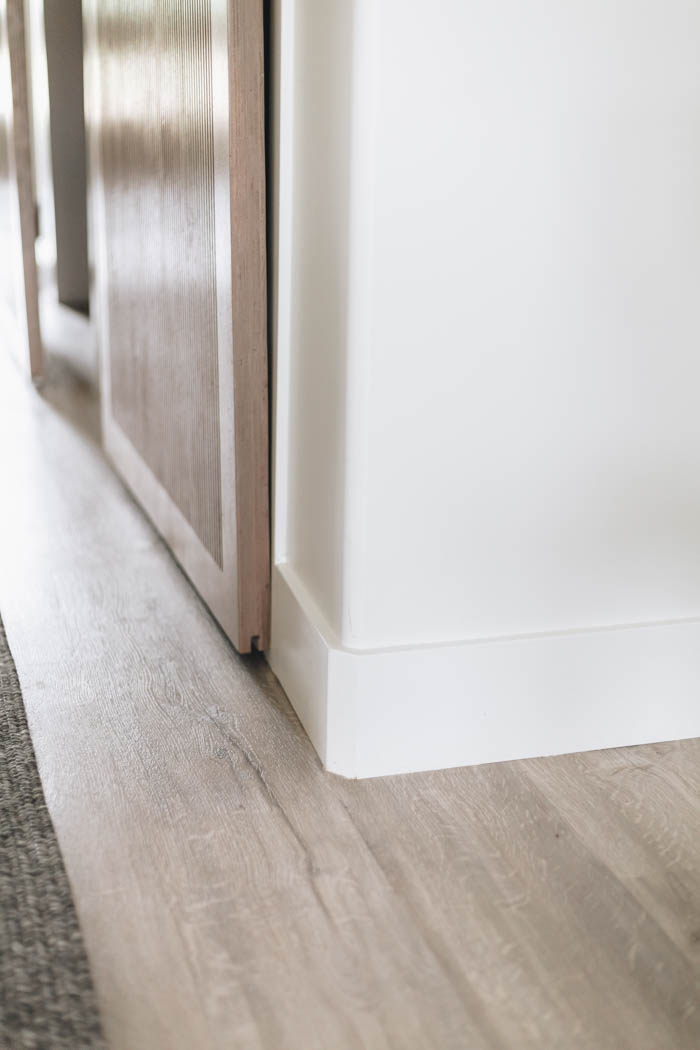
Bullnose corners
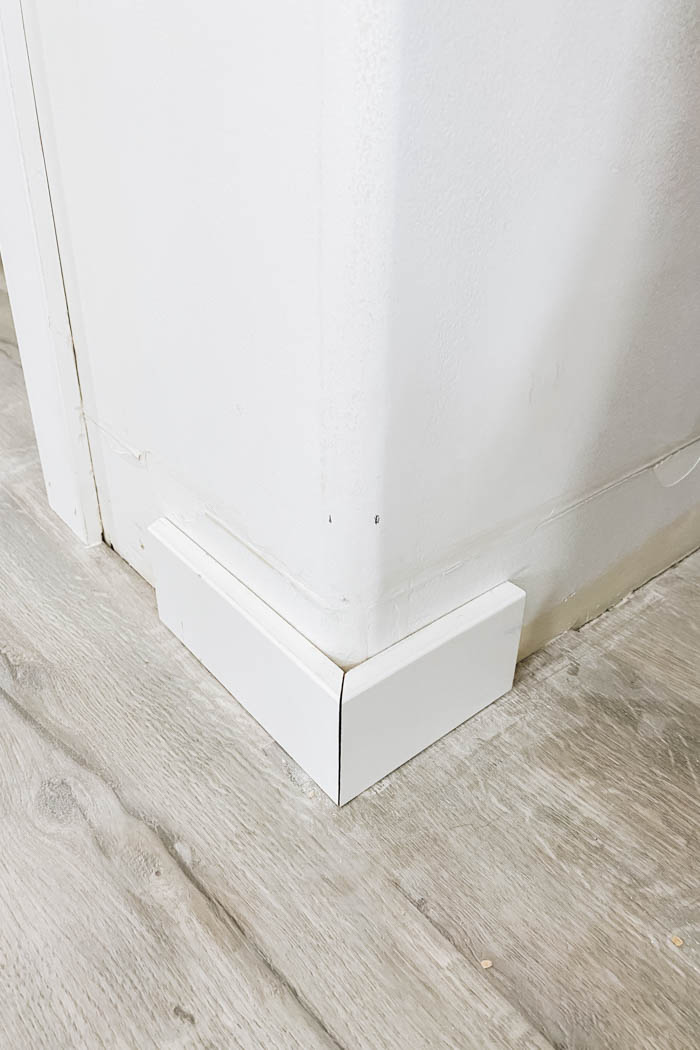

If your home has radius or bullnose corners you will need to add an additional piece of trim to get a professional look. Looking at the diagram above you can see how to properly finish a bullnose corner with baseboard.
Start by cutting several small pieces with two opposite 22.5° angles. I cut a few at 7/8″, 3/4″, 5/8″, 1/2″ to use as templates. Then cut two scrap pieces of moulding with opposite 22.5° angles (any length shorter than your wall). If you need a visual of this process this video shows how to install bullnose corner trim.
Next, place your two scraps on the adjoining walls, and find the small piece that fits best onto the corner, allowing all pieces to sit tight without gaps against the wall. Once you have this, mark where your corners intersect on the wall behind.
Then you can measure the distance between the lines you just put on the wall and the edge of the baseboard or door casing.
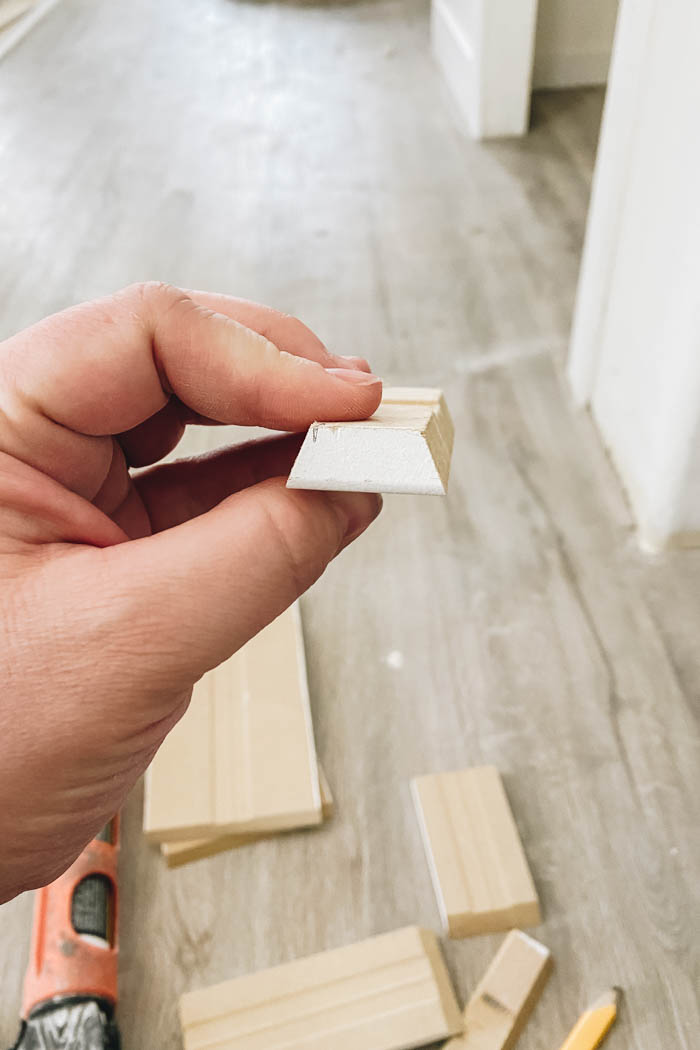

We found that the 7/8″ wide (or 7/16″ on the short side) worked best for the bullnose corners in our house.
When you’re happy with how everything fits, you can glue and nail the boards to the wall.
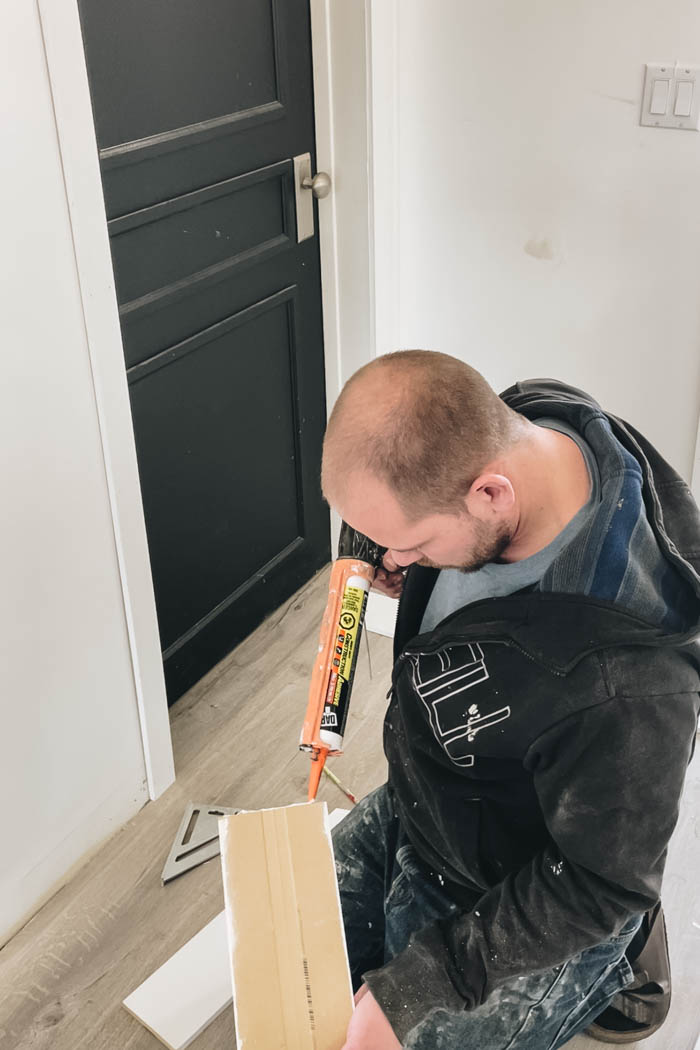
How to Caulk Baseboard and Trim
Once all the glues sets you can start on getting your baseboards and trim ready for paint. The first step is to add caulking to all the edges where the baseboards and trim meet the wall and door/window casings. You can also add caulking to the inside and outside corners of your baseboards if your mitres didn’t perfectly line up.
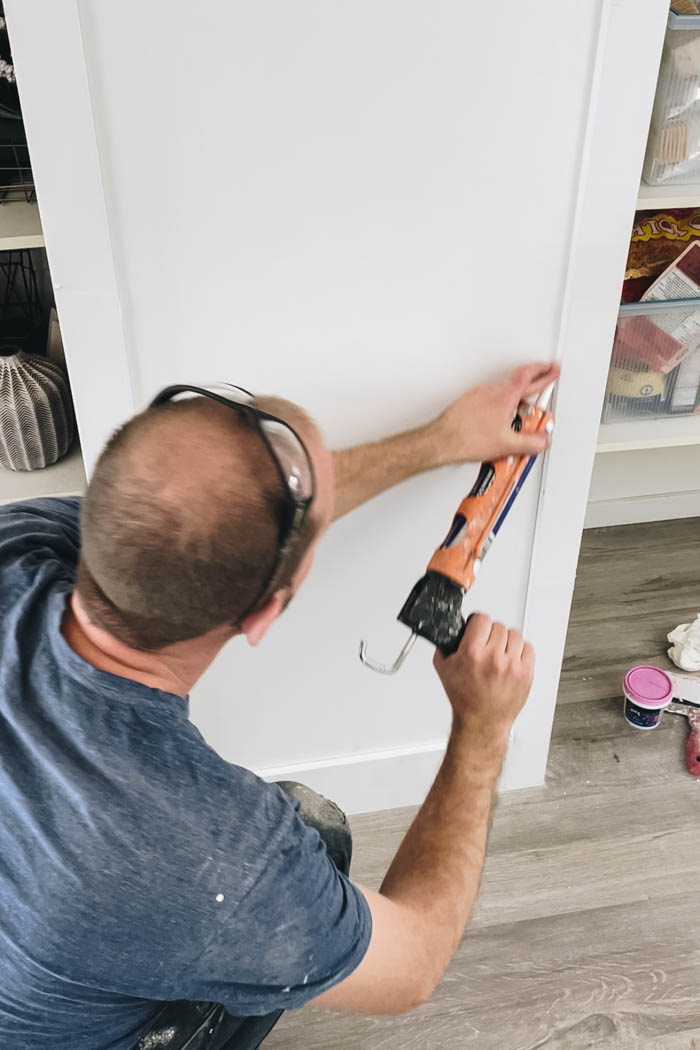
We like to use DAP’s Extreme Stretch Caulking. It allows for 600% of expansion, its paintable in 2 hours, and is waterproof. DAP also has a great caulking kit you can use to help apply and finish the caulking. If you prefer, you can also run your finger behind the caulking gun as you move along the moulding, as shown in the video below.
You can keep a small bowl of water and some paper towel handy for clean up and to keep your finger wet to help smooth out your caulking. Remember, you don’t need to add much caulking, just enough to fill any gaps between the mouldings and wall or casings.
Filling and Sanding Baseboard and Trim
Before applying any spackling check for high/low spots where the mouldings meet (at miter joints and where baseboards meet door casings). Use a small detail sander to sand these level. This is one of the big advantages of using the flat stock moulding, as you can’t sand down the profile on more traditional mouldings and have to be very accurate with your cuts and alignment.
When the caulking is dry you can fill and nail holes and uneven spots with spackling. Use a small putty knife for any of the nail holes and a 6″ drywall taping knife for the mitre corners and door/baseboard joints.
In case you have any nails that aren’t fully driven into the baseboard or trim, you can use a hammer and punch to recess these nails all the way. You don’t want any nail sticking out when you go to paint the trim.
When the spackling dries (turns from pink to white) you can sand. Use a long sanding block for the flat areas and a short sanding block for any of the small edges. For any hard to get to areas you can just use a small piece of sand paper to sand the area smooth.
Once sanded, run your hand over the area. If it’s smooth you can move onto paint, if you feel edges/high/low spots don’t be afraid to sand a bit more or add more spackling to smooth it out.
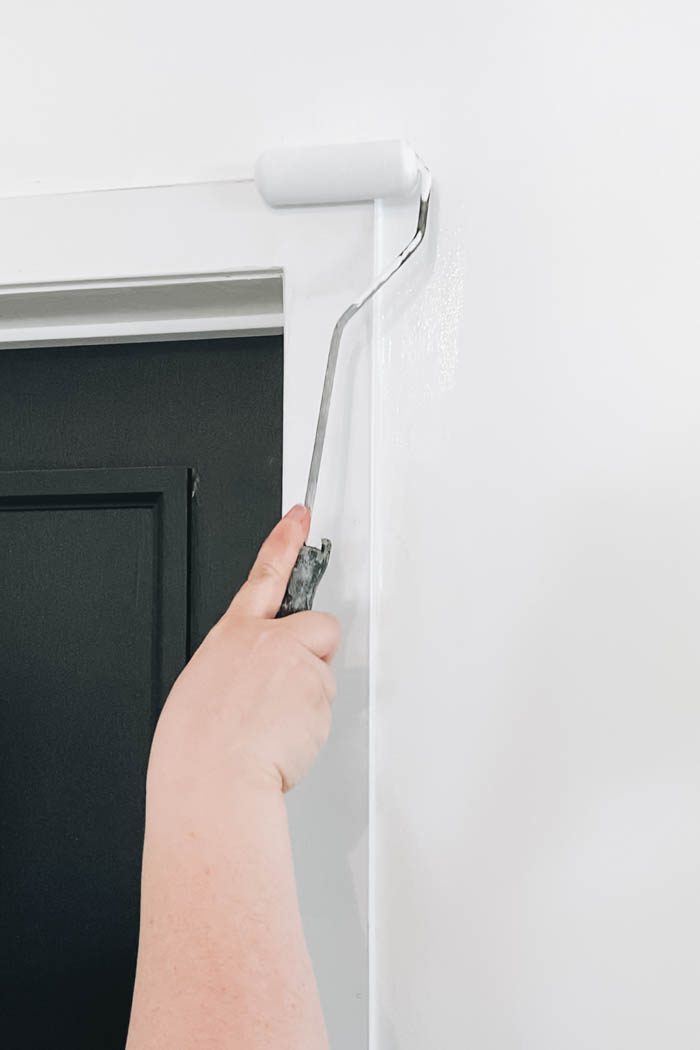
Painting your Baseboards and Trim
We have painted our trim both before and after install, and from experience, would definitely recommend painting them after install. If you paint the moulding first, you still need to patch the mitre corners and any nail holes, and essentially re-paint everything. It saves time and energy to paint it all after.
Prepping
With the caulking and spackling dry you can start to paint. The first step is to ensure you get rid of any debris along the mouldings or floor. You can use a soft brush or a vacuum with a brush attachments to clear away dust. If you have any interior doors, I like to remove them for easier painting.
Depending on your painting style you may want to protect the floor when painting. You can run a 3″ line of painter’s tape along the base of the moulding on the floor. This allows you to easily cut the bottom of the mouldings and get a professional finish.
Priming
Next, prime all of your trim. With the primer dry you might find that you missed filling a nail hole or caulking an edge. If this happens, address the defect and give a quick second coat of primer before painting.
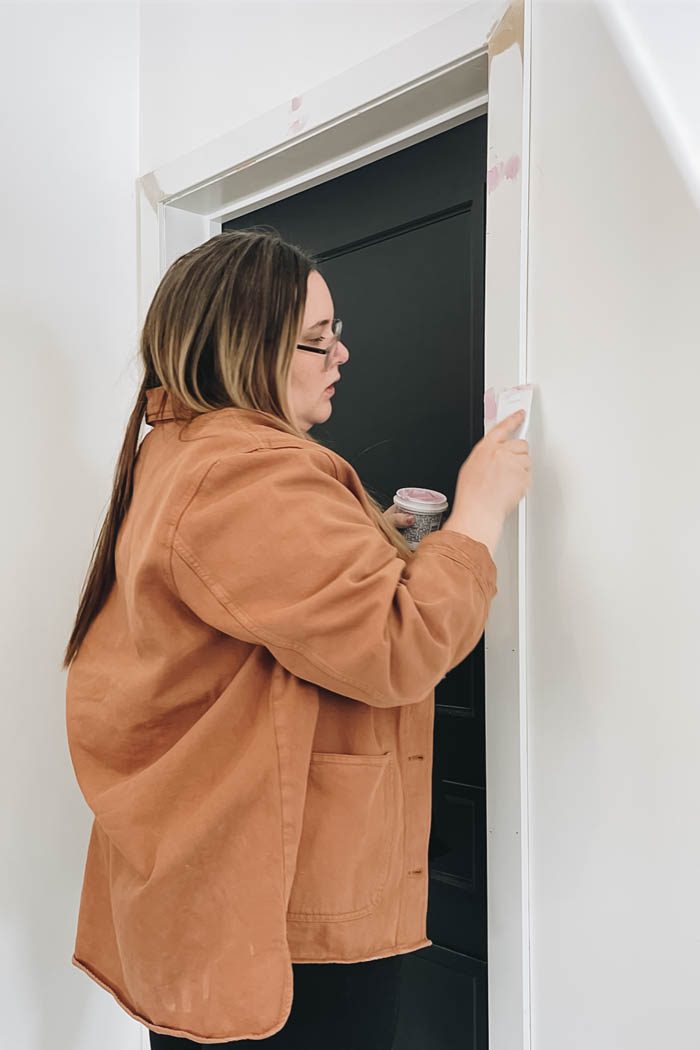
Painting
Once the primer drys you can paint the top coat on the mouldings. We like using a semi-gloss finish. Generally we try and keep all the trim in the house the same colour. This makes future touch ups really easy and in a lot of the scenarios the trim flows from room to room and it makes sense to all be the same colour.
We find it usually takes 2 coats to get a nice finish. Once the paint dries remove any tape and enjoy your new baseboards and trim!
DIY Video Tutorial
For a full video on us updating our base boards and door trim check our YouTube video below!
Our Finished Hallway!
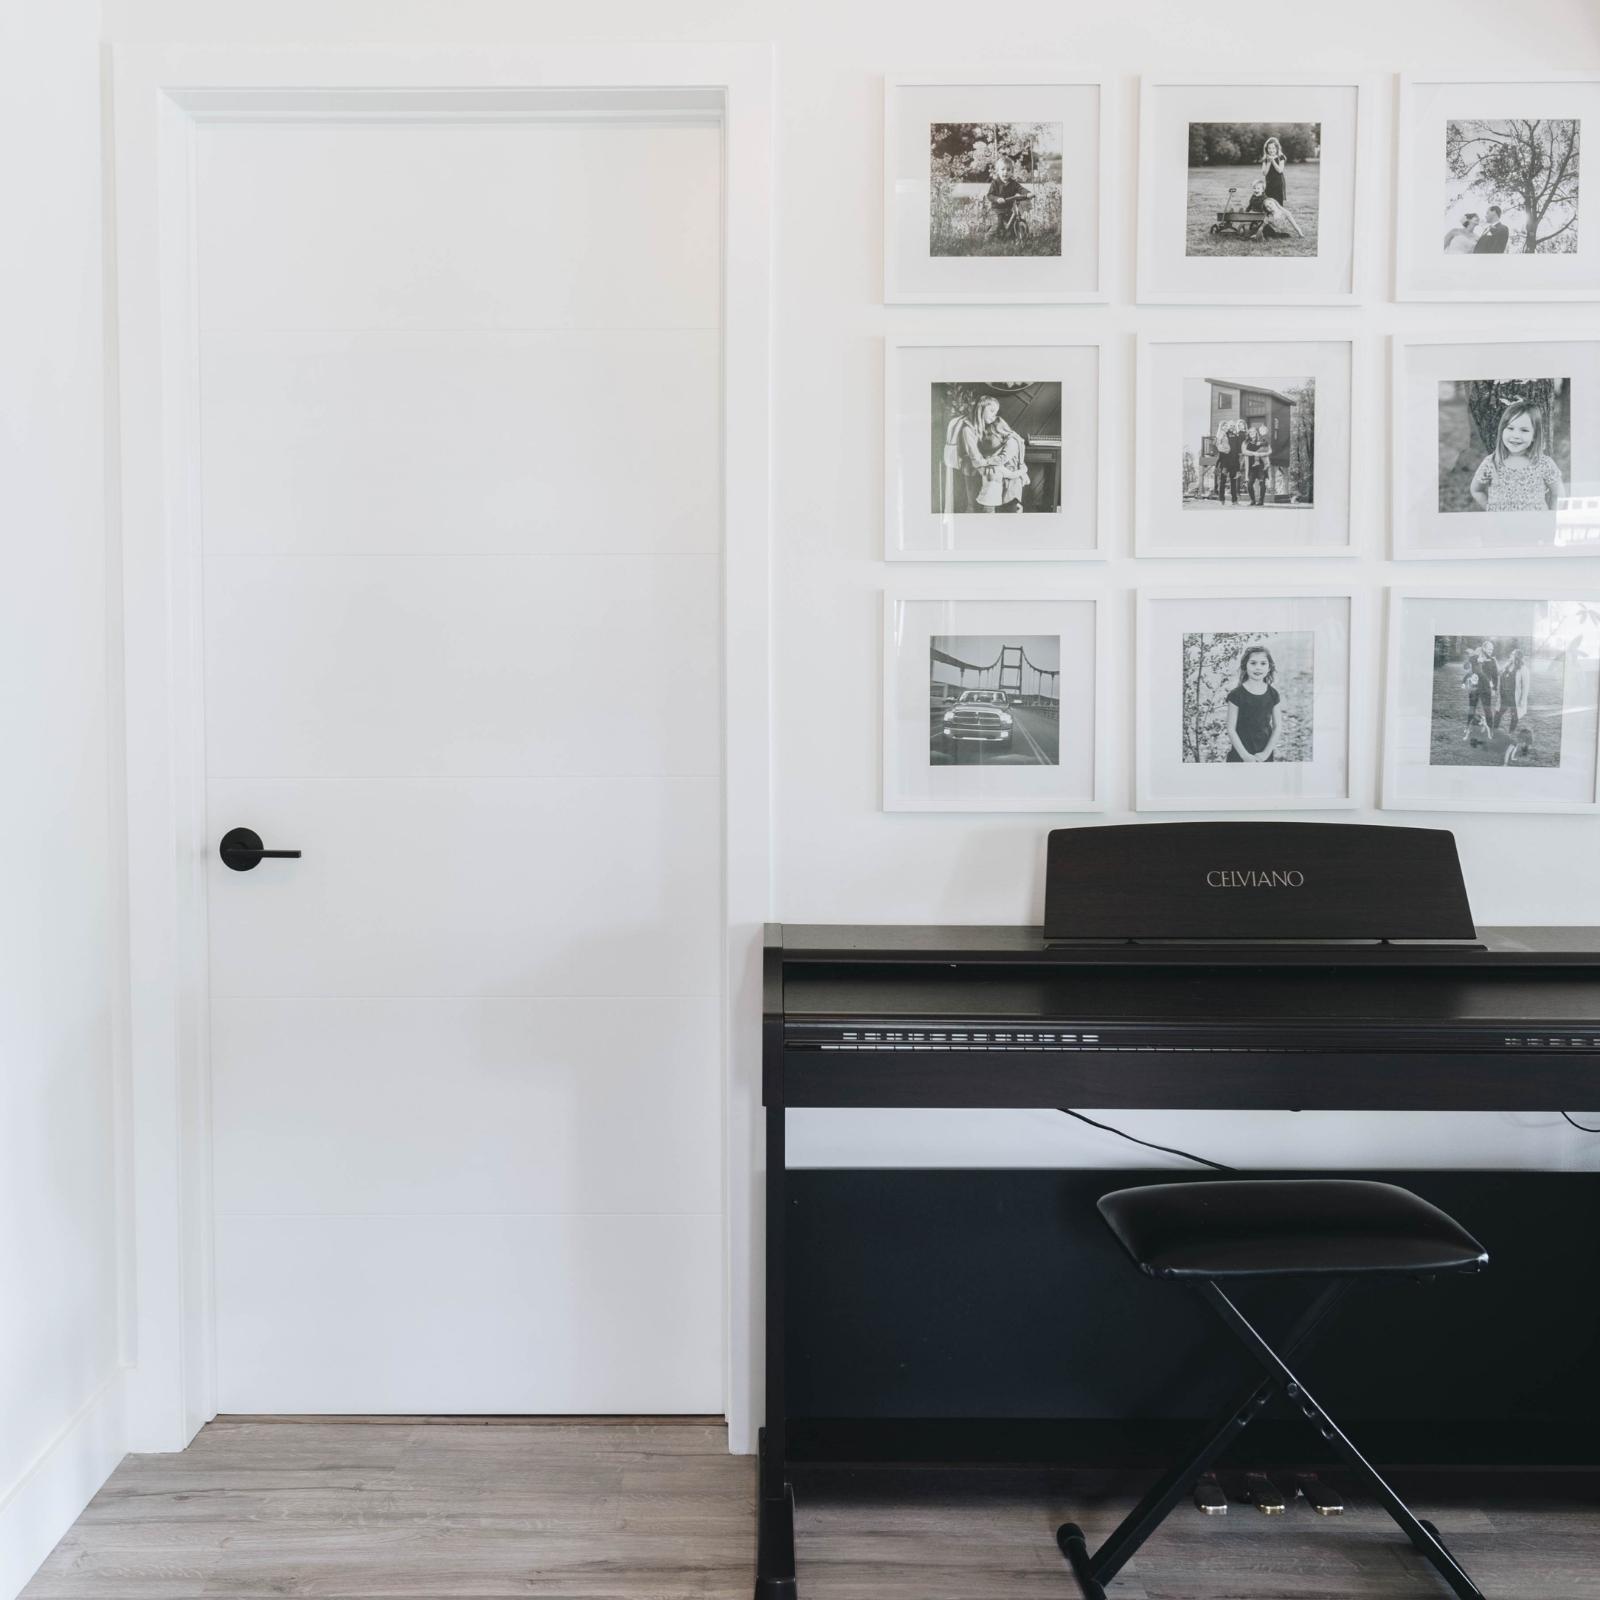
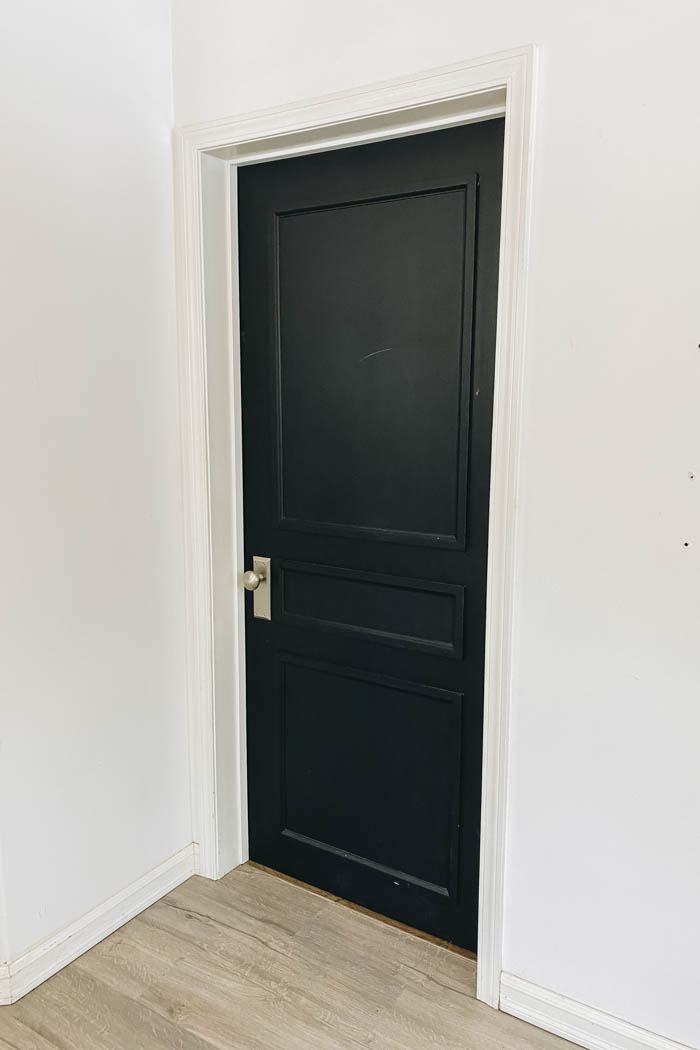
We couldn’t be happier with how the trim turned out. We also updated our 3 interior doors to match the other doors we had in the home.
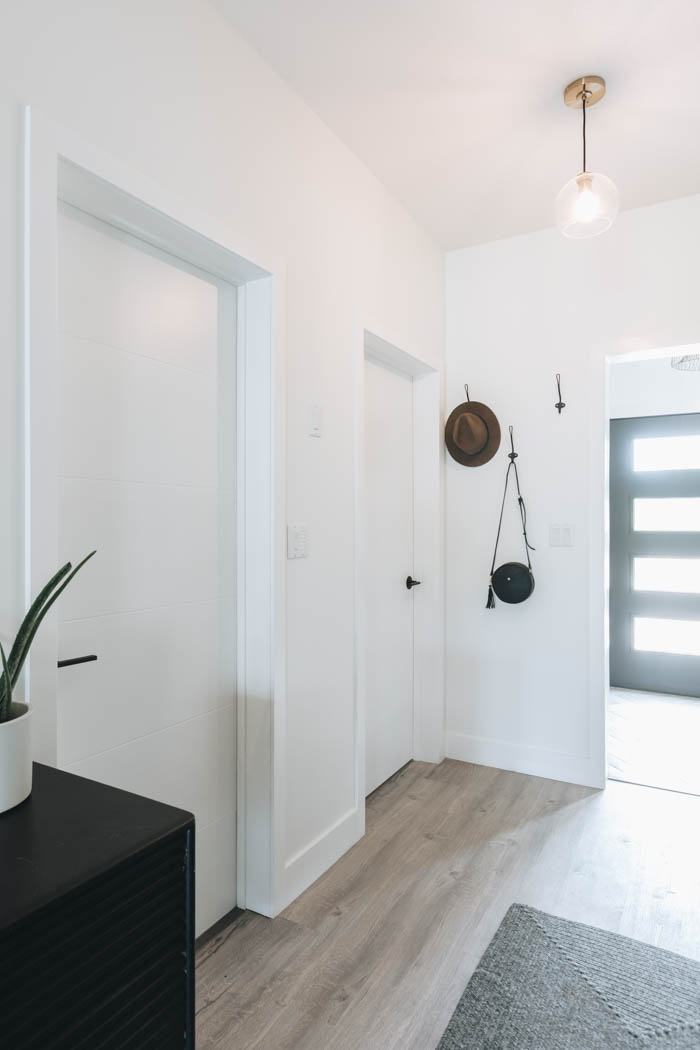
The new mouldings really refreshed the space and matched the aesthetic in the rest of the house.
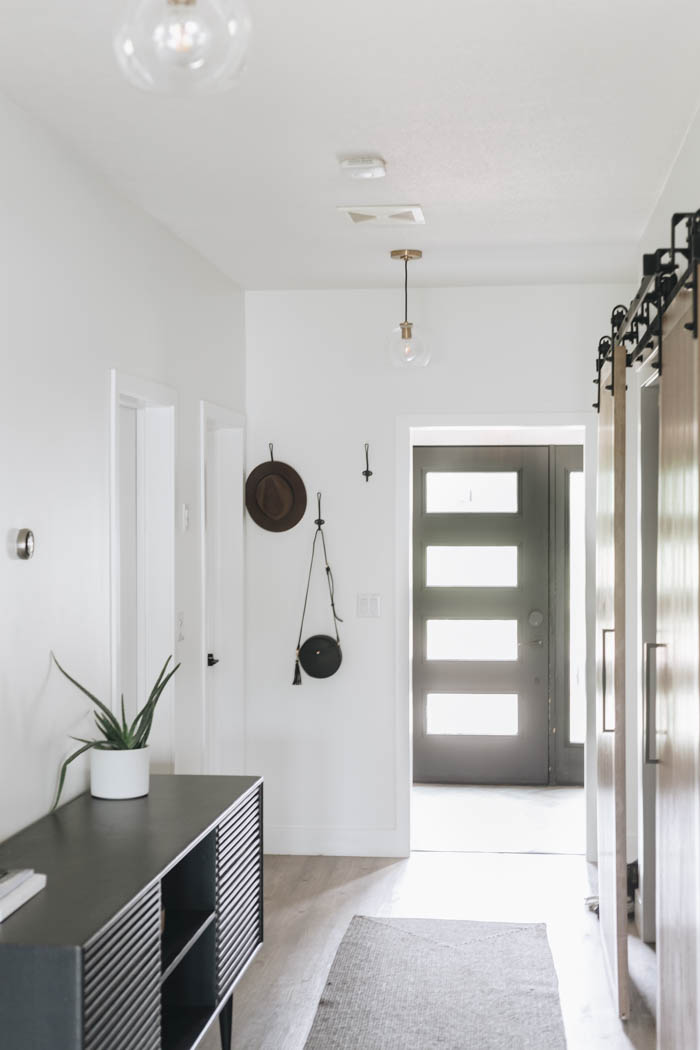
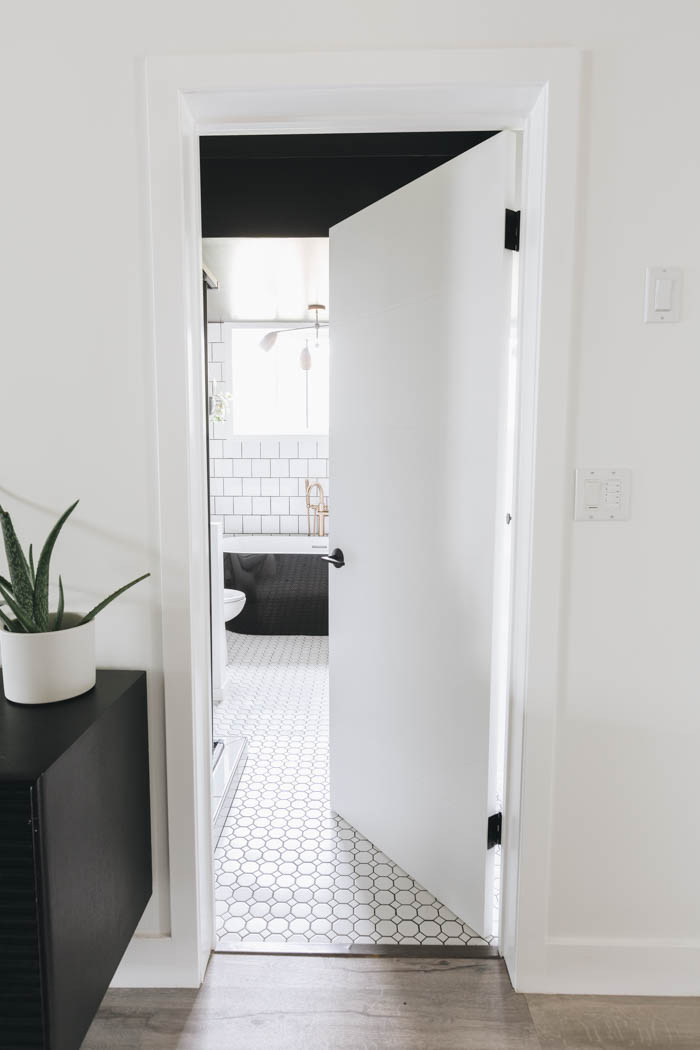
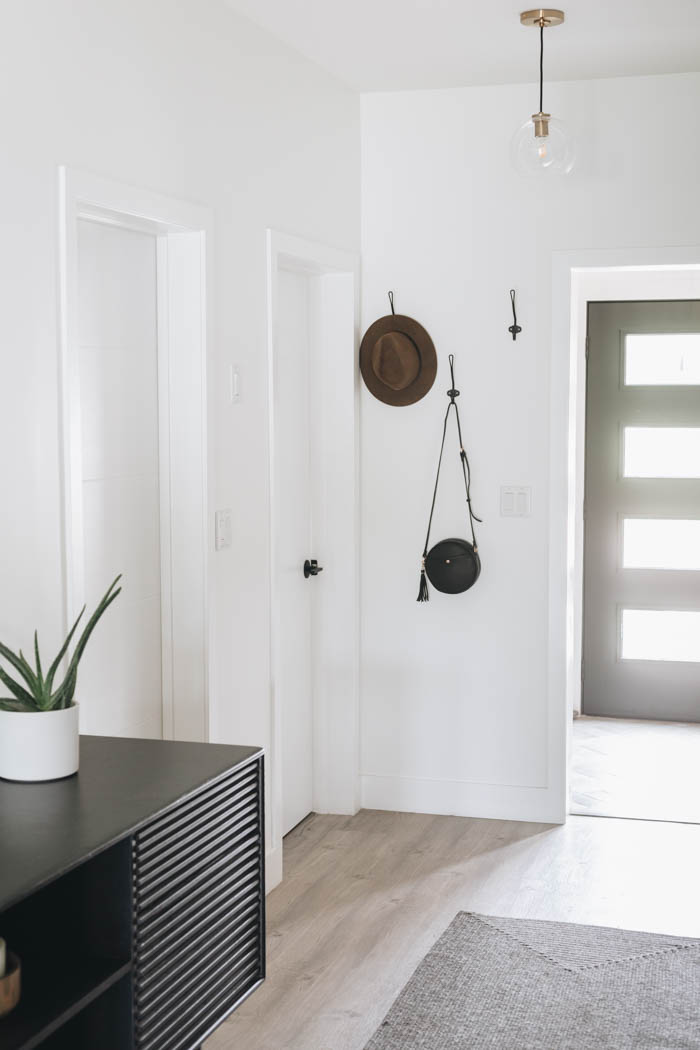
Its crazy we waited so long to update mouldings in this space. The new moldings give it a nice modern look and makes it feel like a totally different hallway!

If you want to turn that boring closet into a beautiful looking built in using only trim and MDF, check out this post!
Or if you have a small hole in your wall and want a quick and easy way to making it look like it never happened check this post out!