
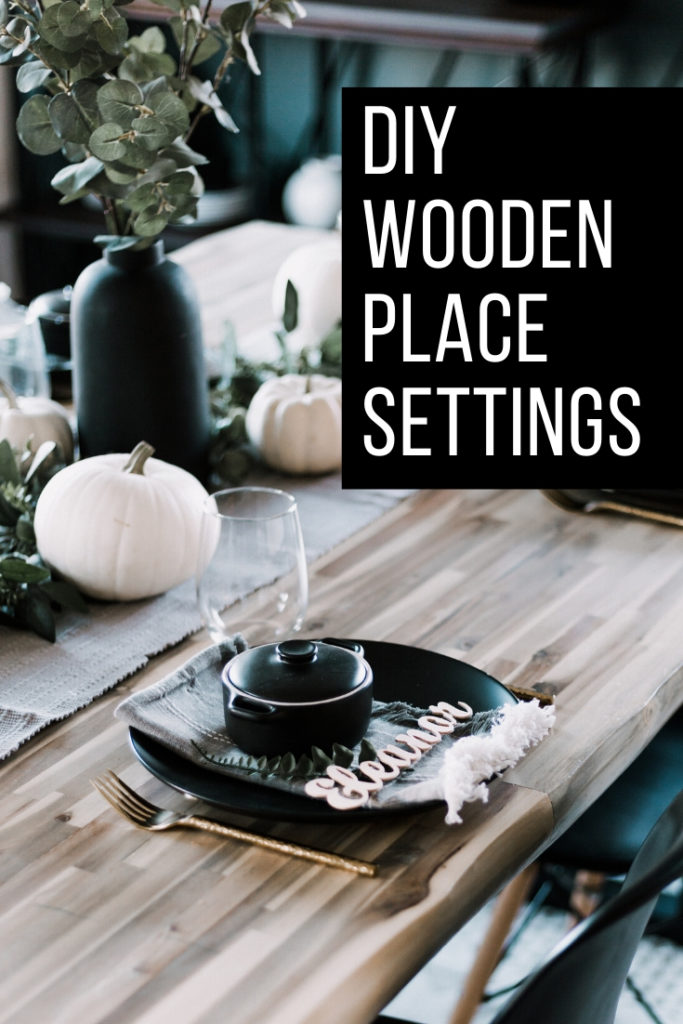
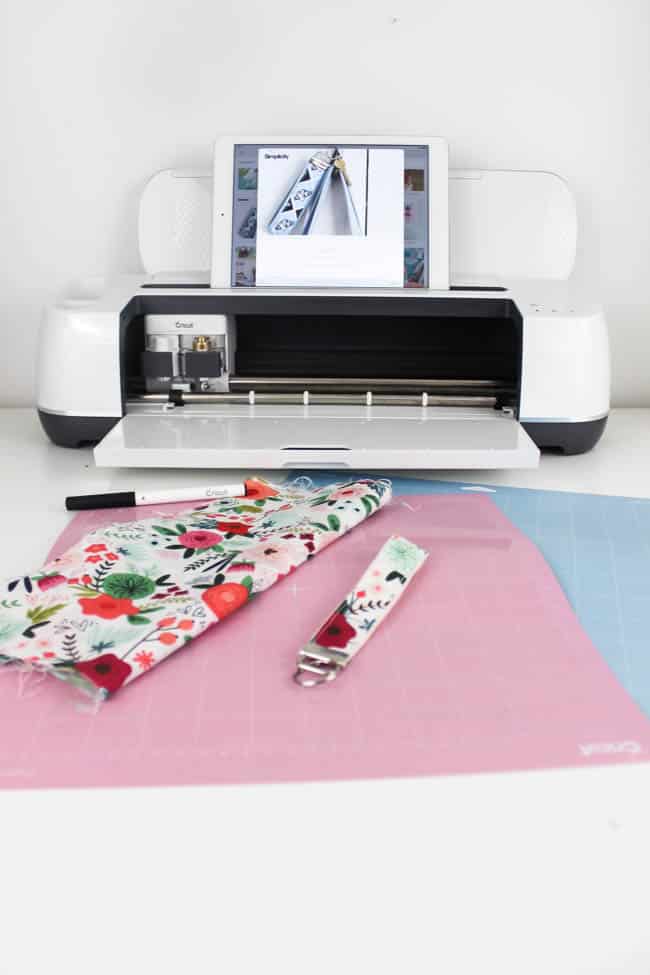
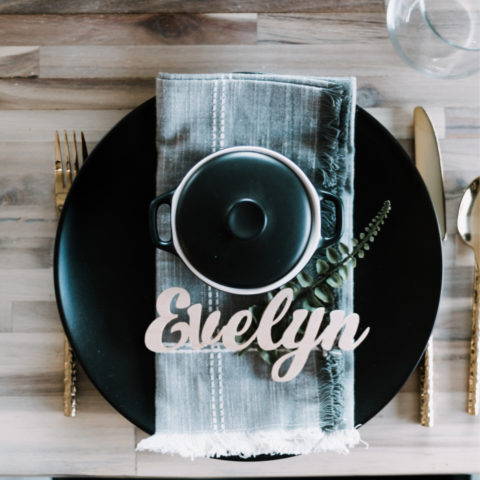
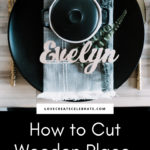
Learn how to make wooden words quickly and easily with the Cricut Maker! Add style and character to your tablescape with these wooden place settings!
Ok, I’m just going to start by saying that the wooden words I made for today’s project and really cool. I mean… if I saw these in a store, I would want to buy them! Except that they wouldn’t be personalized…. so this is even better! I’ve been using Cricut machines forever. Before I started blogging. Before I started a family. The Cricut was my outlet for all things creative. And as the Cricut has evolved over the years, I have loved it more and more. I’m going to share a few of the reasons that I love the newest machine, the Cricut Maker, and show you one of my favourite projects I’ve made with it already.
*This post was sponsored by Cricut and may contain affiliate links. If you buy a product through one of our links, we get a commission at no cost to you! For more information, please see our disclosure page!*
Five Reasons I Love My Cricut Maker
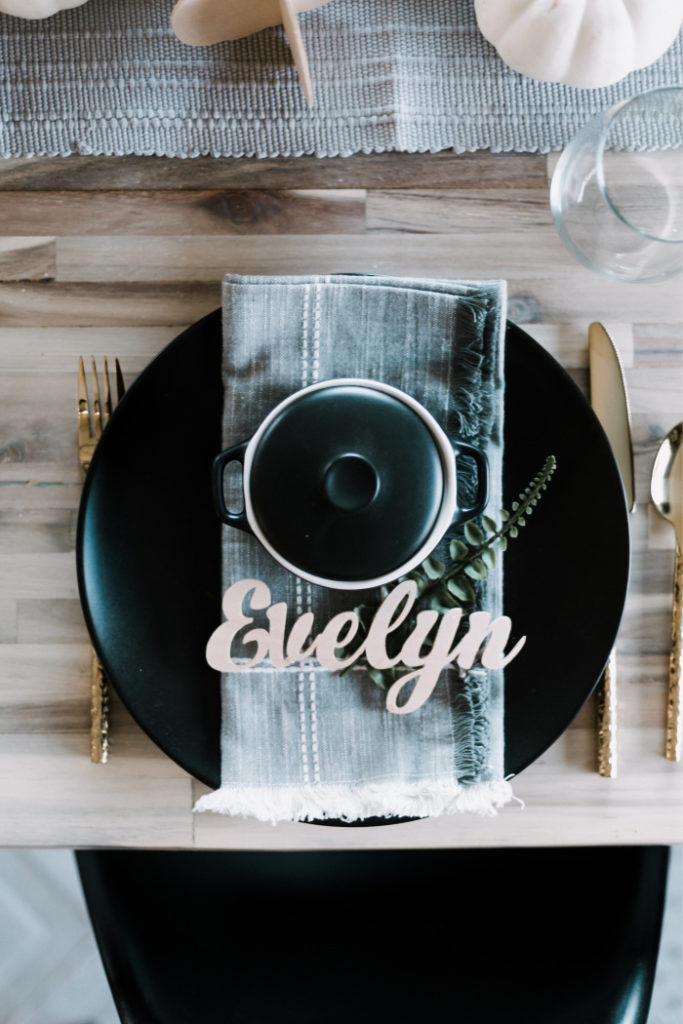
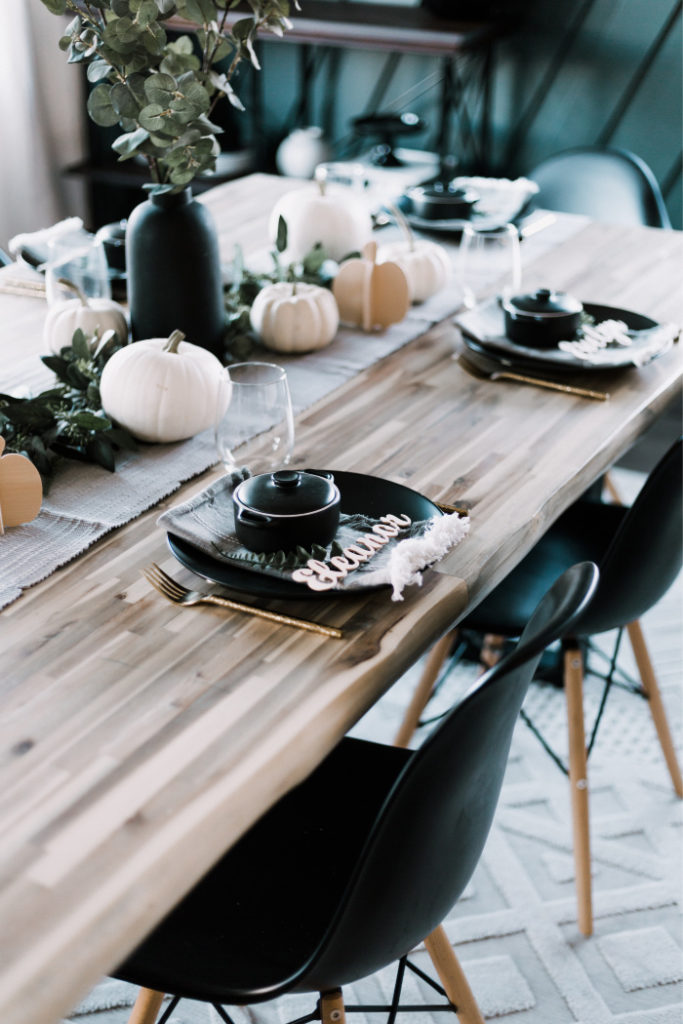
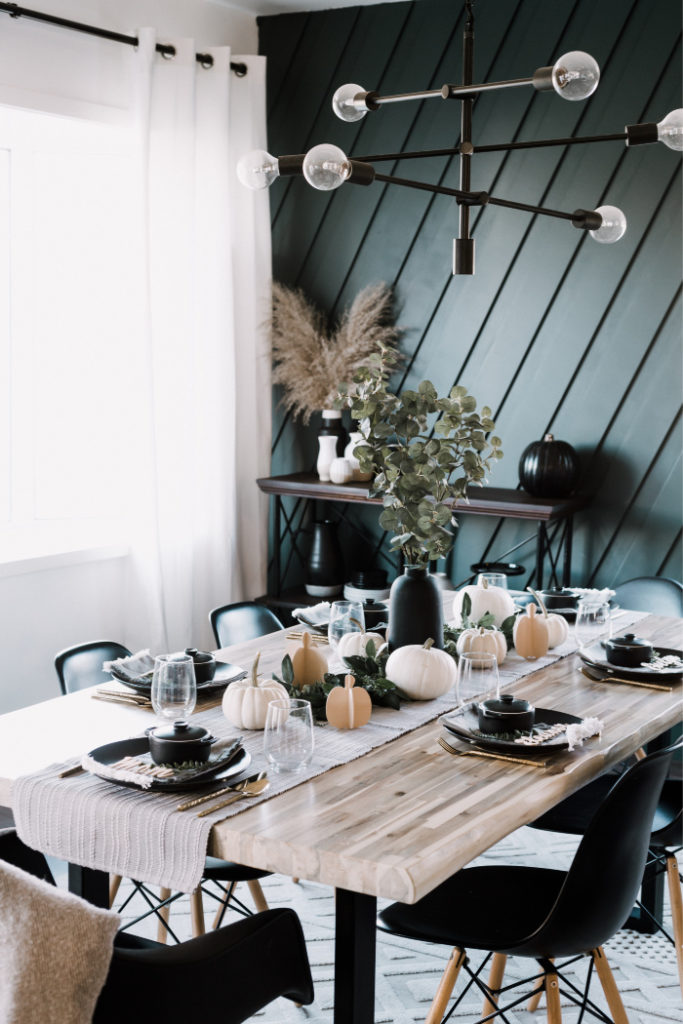
I have always loved my Cricut machines, but the newest machine – the Cricut Maker – it’s a game-changer! I recently used it to make these beautiful wooden letters for my Thanksgiving table settings. They are stylish, and modern, and look stunning on the table. I’ll show you how to make wooden words with the Cricut Maker, but first, let me share a few things I love about the machine.
The Cricut Maker Cuts Fabric Seamlessly
I have attempted very few sewing projects in my days. Sewing is just not my strong suit. But the Cricut Maker actually makes me feel like I could successfully sew something!
It has this amazing Rotary blade, that glides, spins, and rolls across fabric to smoothly cut curves, corners, and edges with perfectly accurate cuts. It’s amazing to watch! And it cuts all kinds of fabrics. Everything from silk, to cotton, to leather.
If you’ve ever cut our a fabric pattern for a project, then you know how long it takes. This rotary blade does all of that for you! And now, you can access hundreds of sewing patterns that are already in the Cricut Design Space for you. All you have to do is select the design, and make the project.
I made a fabric globe for my son to play with. I would never have attempted that without the Cricut Maker and it’s rotary blade! But it cut everything out for me perfectly, and drew on the seam lines (which I’ll get to), just leaving me with the actual sewing part!
The Cricut Knife Blade is a Game-Changer
If you’ve been following my blog for any amount of time, then you know that I love working with different materials, like leather and wood. When Cricut announced that the knife blade was part of their new Cricut Maker machine, my jaw dropped.
The knife blade is everything! It allows the Cricut machines to cut thicker, heavier materials than any other machine like it. Anything from balsa and basswood, to poster board, cork, heavy leather, and chipboard. The knife blade cuts materials that are up to 2.4mm thick.
I’ve used the knife blade for leather, chipboard, balsa wood, and basswood, and I’ve loved every single project I created! For someone like me, who wants to use the Cricut Maker to make home decor, like the wood words I’ll share below, this is a game-changer.
New Tools Keep Coming
One of the things I’ve loved about the Cricut is how they continue to evolve, and adapt their products. The Cricut Maker still has their traditional Fine-Point Blade and Deep-Point Blade. They also have a spot for pens such as the Fine-Point Pen, the Washable Fabric Pen, the Calligraphy Pen.
But they’ve creating new products every day that I haven’t even been able to keep up with! They’ve created an adaptive tool system, so that any future tools can easily be used with this machine, which allows them to release a ton of really amazing tools that I’m dying to try like the scoring wheels, the engraving tip (dying to try this!), the debossing tip, and the wavy blade.

I Can Still Use All of My Traditional Materials
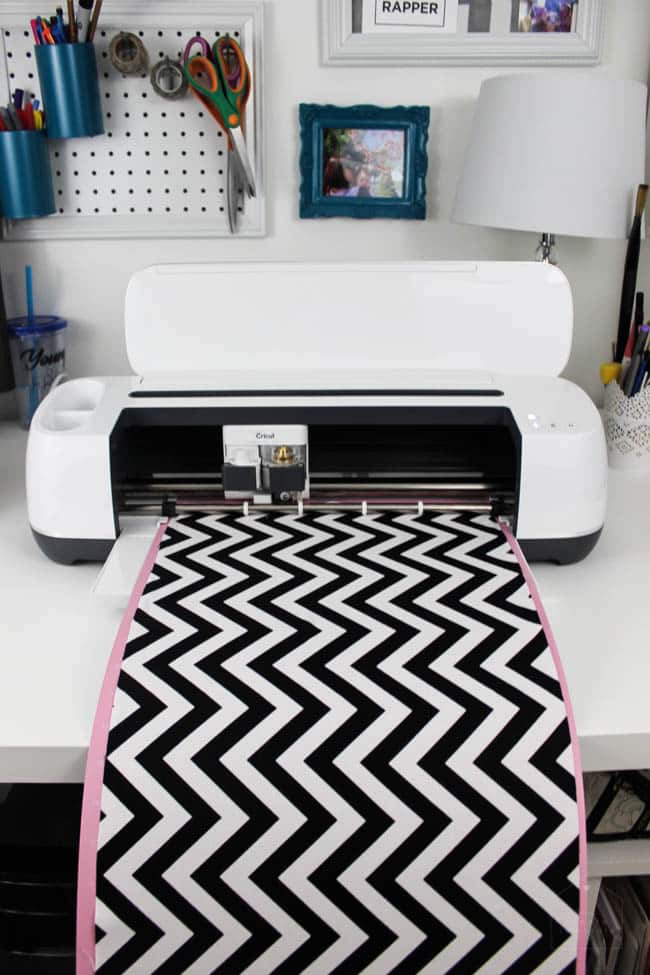
When I first fell in love with my Cricut all those years ago, I was cutting paper. Just paper. Making cards and scrapbooking. When the Cricut evolved a bit, I was cutting vinyl and iron-on vinyl all the time. Those materials are timeless.
As my style and tastes have grown, I’ve used the my paper and vinyl to make new crafts and decor items, like the iron-on vinyl for my Valentine’s Day pennant. I don’t think I’ll ever stop using those traditional mediums, and I’m glad the the Cricut adaptations allow us to integrate older tools too.
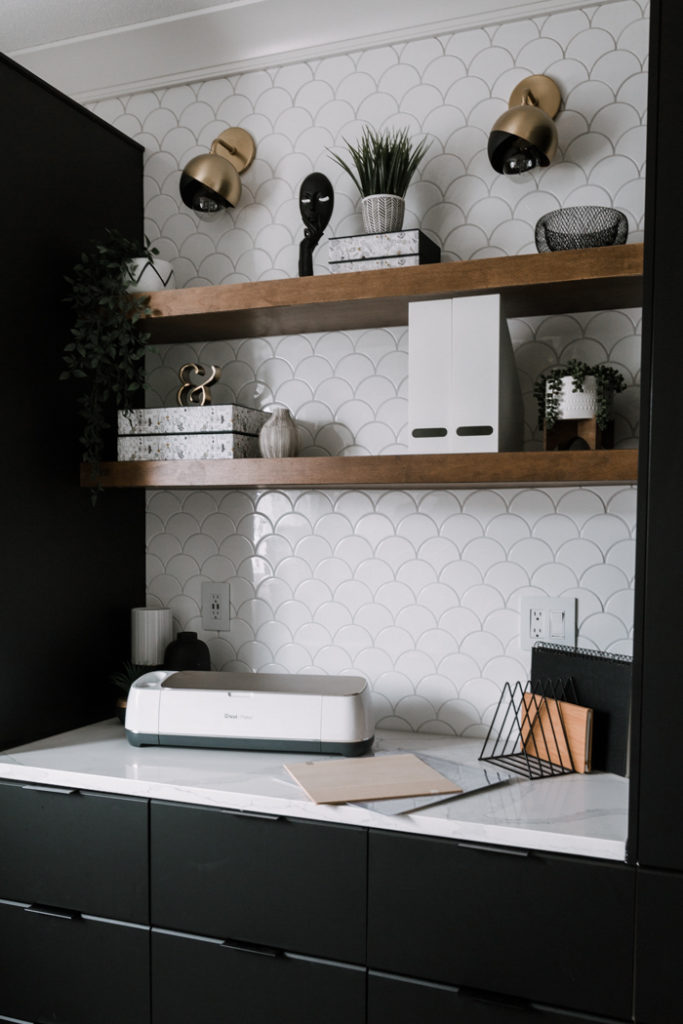
The Cricut Maker User-Friendly!
There is nothing worse than buying a new machine, spending three days trying to figure out how to use it, giving up, and having it sit in a closet for a year, lol. I feel like that would NEVER happen with a Cricut Maker because everything is so intuitive!
The Cricut Website has created a ton of resources to help you through learning new tools, and it all uses the Cricut Design Space where you can access 100s upon 100s of pre-made designs, or design your own project quickly and easily.
Plus, they’ve created a user friendly app! You don’t even have to log onto a computer to cut new, amazing projects anymore.
I used the Cricut Design space and Cricut fonts to create the wooden words that I used in my Thanksgiving tablescape, and it was so easy to design and manipulate everything in there! I’ll show you how I did it!
How to Make Wooden Words with the Cricut Maker
Now time for the fun part! Time to put that Cricut Maker to action with these DIY wooden place settings.
Video Tutorial for How to Make Wooden Words
Any tutorial involving the Cricut Design Space, is better with a video! It’s so hard to explain all of the intricacies of the adjustments you make to the fonts, etc. without showing them.
This video reviews how to choose your font and how to adjust it so that it will do the optimal cuts (including how to size, spice, weld, etc), until the font is the best it can be for cutting.
Tips for Cutting Wooden Words
The basics of cutting out these wooden words, is that you login into the Cricut Design Space, choose the font you want, weld it together so that all of the letters are attached, and cut it on basswood using the Cricut Maker. It seems very straightforward, but here are a few tips to make sure that your wooden letters are a success the first time!
- Use basswood, not balsa wood. The balsa is much more soft and fragile, and just won’t withstand an entire meal!
- Make sure every point and line in your name is at least 1/8″ wide, or the knife blade will not be able to cut it smoothly
- I tried a lot of different scripts, and the Retro Script was my favourite! It was thick enough to make words this size, yet still looked pretty and stylish
- Make sure your mat is clean, and taped down well! The worst feeling, is coming in 2 hours later and realizing that your wood moved, and your project is ruined. Make sure it’s secure!
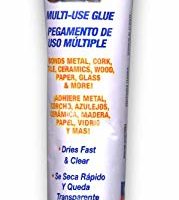
- If you get any broken pieces or cracks, you can easily repair them with a glue like 527 multi-use glue. It dries super quickly, and holds very well. You only need a dab to hold the wood together again.
How to Make Wooden Words with the Cricut Maker
Learn how to make wooden words quickly and easily with the Cricut Maker! Add style and character to your tablescape with these wooden place settings!
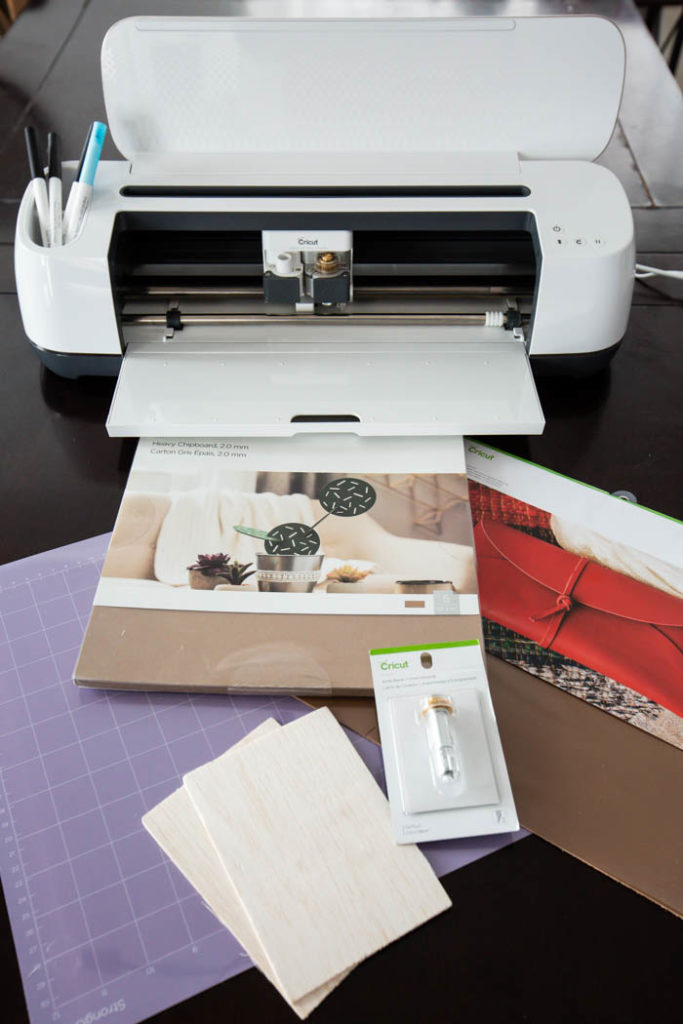
Materials
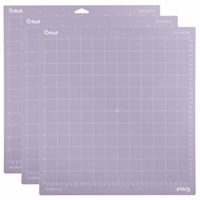
- String Grip Cutting Mat
- Basswood
- Glue
Tools
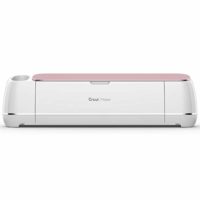
- Cricut Maker
- Cricut Knife Blade
Instructions
- Open the Cricut Design Space and choose a font to work. We chose Retro Script for these wooden words.
- Make adjustments to the words, as needed, until all of the script is connected beautifully. The attached YouTube video goes through many of the spacing, sizing, and splicing you may have to do to adjust your words to have them cut nicely.
- Weld each word together using the "weld" button in the bottom right corner of the design space.
- Hit "Make It".
- Choose Basswood as your material, and make sure the knife blade is in the Cricut Maker.
- Add your wood boards to the strong grip cutting mat, load your wood (making sure it is taped down, and the stars are all moved out of the way), and allow the machine to cut. This will take a long time, as my design required 14 passes until it was finished. Just make sure it was taped down securely (you really don't want anything to shift!) and check in periodically.
- When the Cricut Maker is done cutting, very carefully remove your designed words.
- If any of them crack (my daughter played with one and split it), there is a glue linked here that only requires a small dab, and will glue everything back in place very nicely!
- Add them to your tablescape or decor, and enjoy!
Notes
The names and fonts will have to be adjusted for your individual family and/or friends.
Recommended Products
As an Amazon Associate and member of other affiliate programs, I earn from qualifying purchases.


This is a sponsored conversation written by me on behalf of Cricut. The opinions and text are all mine.


Nikki Nixon
Sunday 12th of December 2021
Where did you purchase the retro script font? It isn’t on my Cricut maker
25 Personalized DIY Gift Ideas with Cricut | The DIY Mommy
Thursday 12th of December 2019
[…] Personalized Wooden Words by Love Create Celebrate […]