
Everything you need to know about how to clean your paint sprayer! Whether you just used it or the paint is dried on, these tips will help!
If you’ve ever used a paint sprayer, then you probably already know how valuable they are. We’ve used ours for at least 10 different projects, from furniture flips to full room renovations, and we’ve never been disappointed! Paint sprayers and quick and easy to use, but also quick and easy to clean! Whether you just used your sprayer, or are trying to remove dried paint, we’ll show you how to clean your paint sprayer.
*This post was sponsored by Wagner and may contain affiliate links. As always, opinions are 100% my own. For more information, please see my disclosure page.*
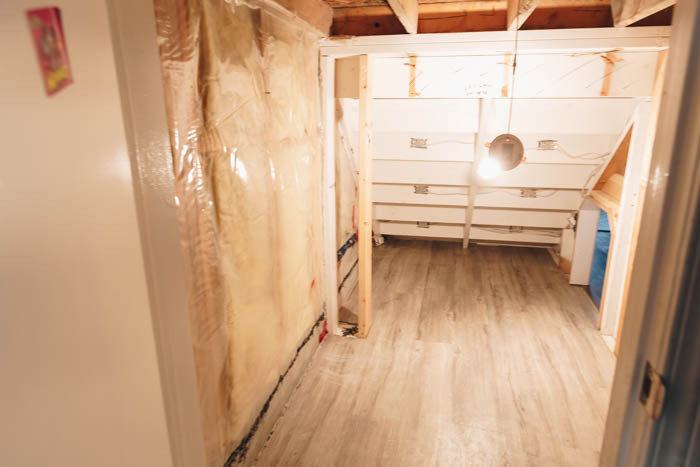
We pulled out our paint sprayer this week because we wanted to clean a fun space in our home. We’ve had this little nook that our kids call “The Secret Place” under the stairs and slowly over the years we’ve made small changes to it to.
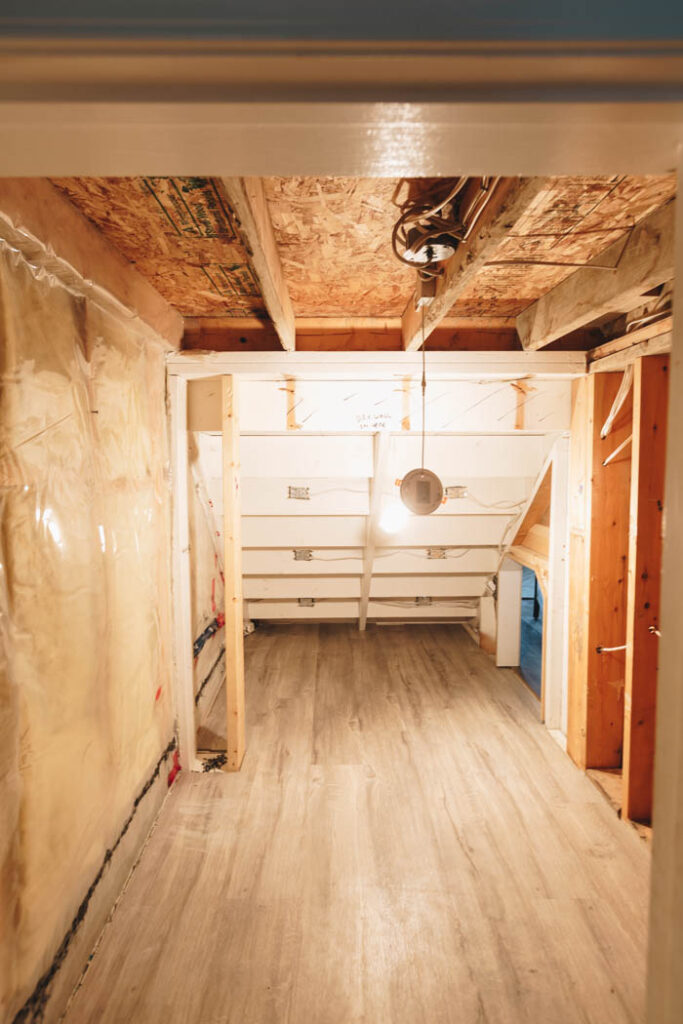
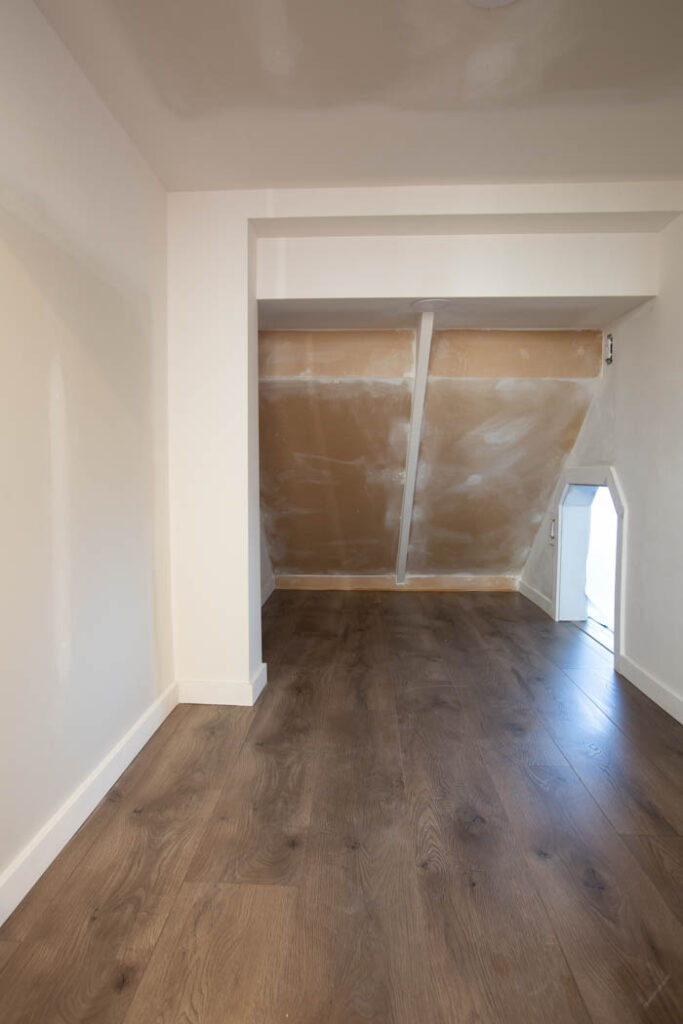
It started as a storage space, but then we ripped out the old textured walls, added new drywall, and removed the old vinyl plan flooring (some of which was damaged already) and added new laminate flooring.
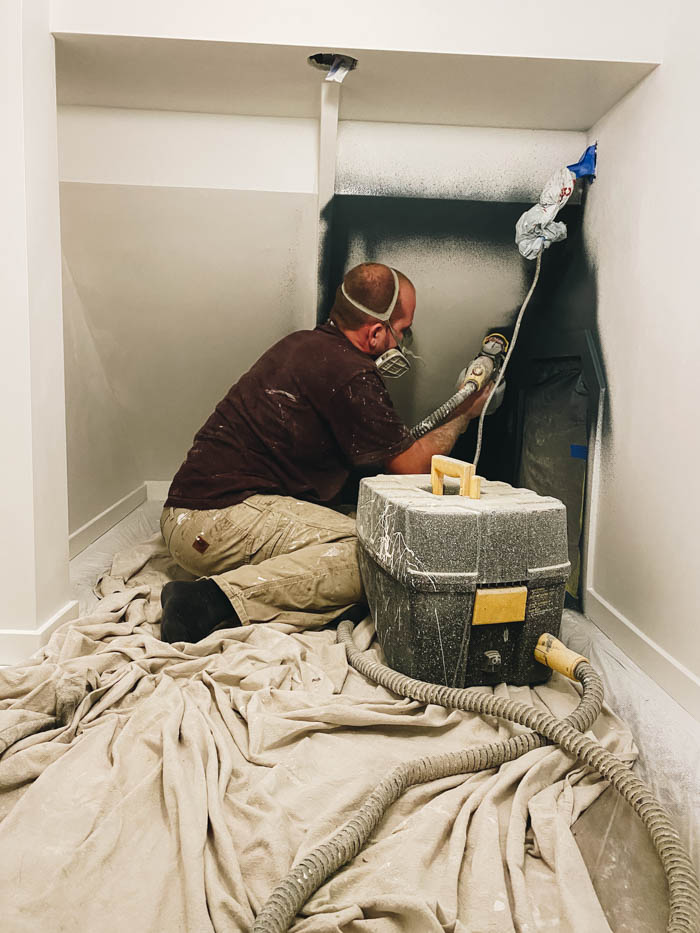
Now we were finally ready to add some paint. As we got our paint out, we thought this would be a great opportunity to share some answers to one of the most asked questions about our paint sprayer: how easy is it to clean?
What is a Paint Sprayer?
Essentially paint sprayers are devices that send a coating through the device, and through the air onto a surface.Typically this uses compressed air or a turbine to send something like paint or stain onto a wall, fence, piece of furniture, or other surface.
They are used because they can paint large surfaces and intricate details (think ornate furniture!), much faster than a brush or roller, yet they are still hand-held and portable.
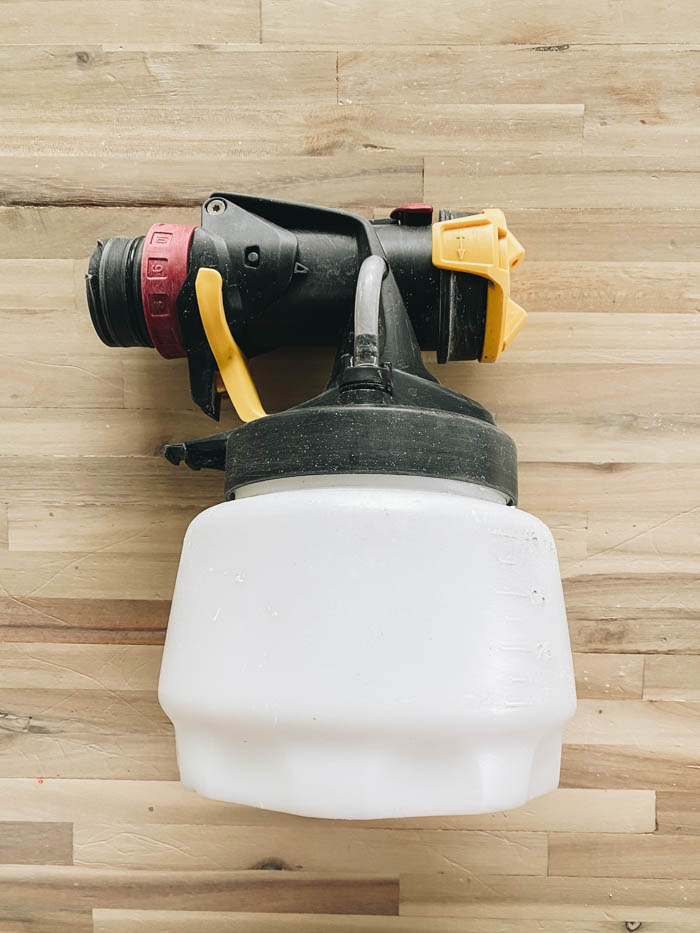
There are a lot of different paint sprayers out there, but today we are focusing on the Wagner Flexio 5000. This one was gifted to us my Wagner, and is honestly our favourite paint sprayer that we’ve ever used!
- Wagner Paint Sprayer
- Material Cup Liners (for clean up!)
- Respirator (when sprayer)
If you want to learn How to Use a Paint Sprayer, check out our other post that answers all of the common FAQs!
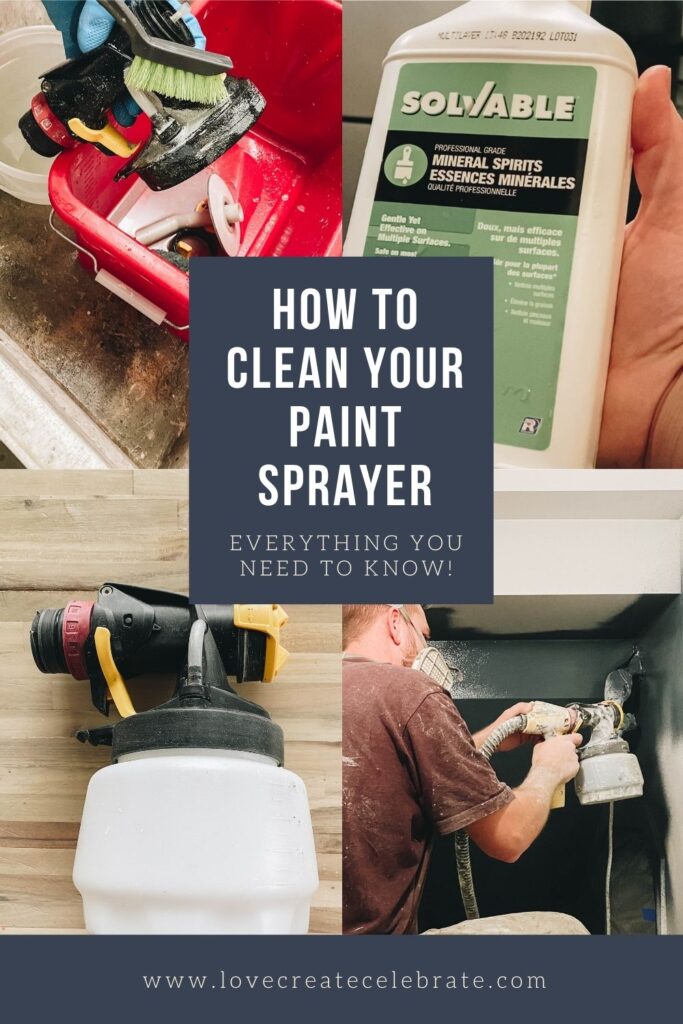
How to Clean Your Paint Sprayer After Use
The best and easiest way to keep your paint sprayer clean is to wash it immediately after use. When you wash it right away, you hardly need any tools, materials, or time. Our full clean after priming our space under the stairs was only 4 minutes.
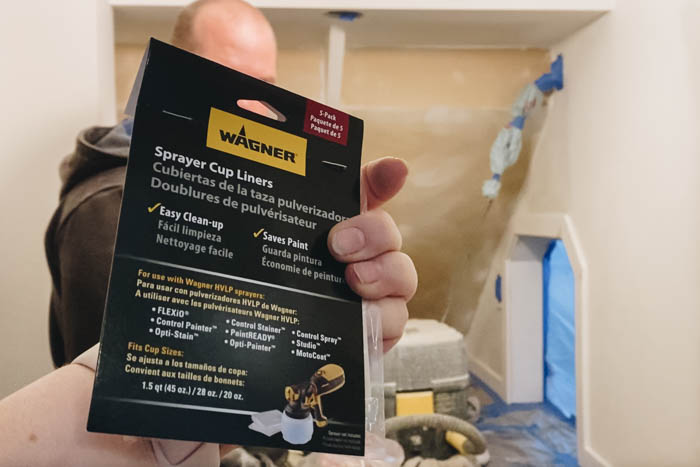
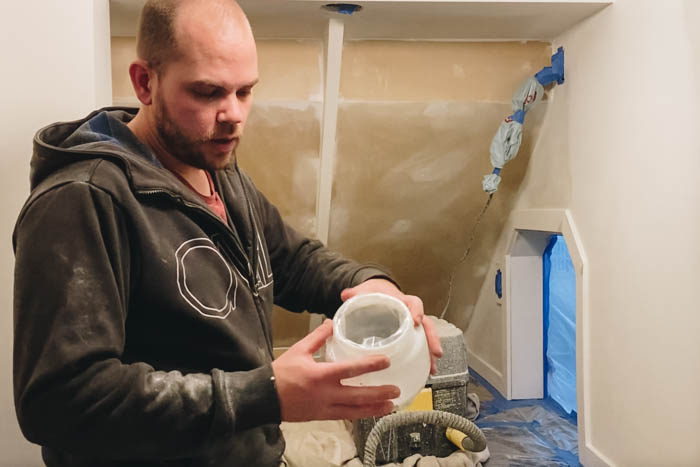
Our first recommendation would be to use these sprayer cup liners. You can put them right inside your paint sprayer bucket and it makes clean-up so much faster!
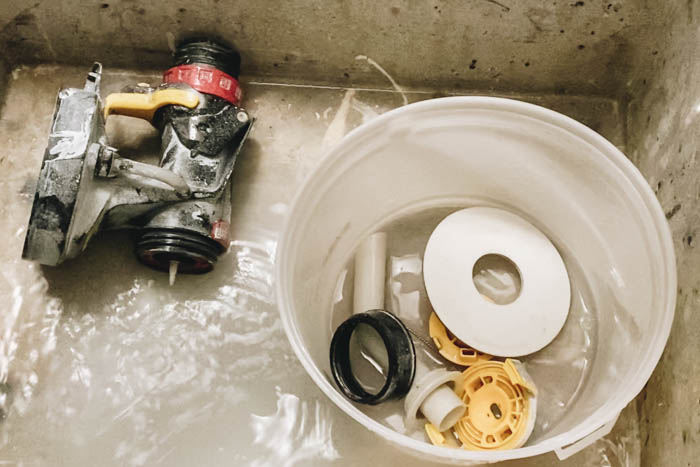
Once you have the paint liner out, the paint bucket will have little to no leftover paint on it, and just needs a rinse in some warm water.
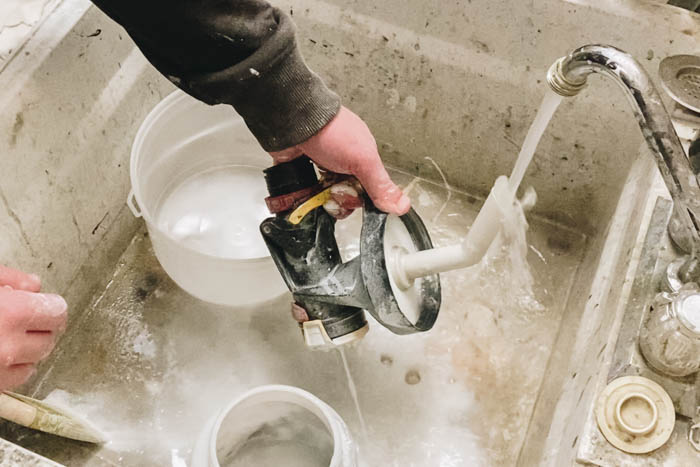
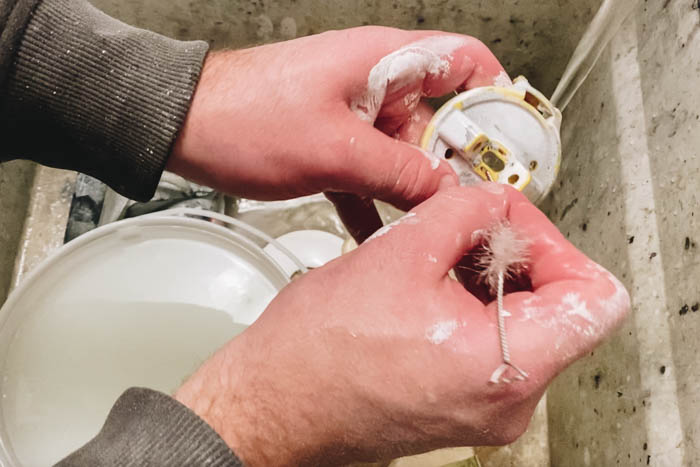
As for the rest of the sprayer, we start by running warm water through the nozzle, and clearing as much paint out as we can. Next, we take all of the pieces apart, one at a time, and rinse them all.
As I said before, if you do it immediately after painting, it usually rinses very easily.
We do sometimes use a small wire brush to clean off the more intricate parts of the sprayer. We just gently use the wire brush in any of the holes to scrap off anything that could clog the openings and/or could be dried on from this session or a previous one.
Then, if we aren’t using the pieces right away, we will let them soak for a few hours to make sure they are clean of any paint.
How to Clean Dried Paint Off a Paint Sprayer
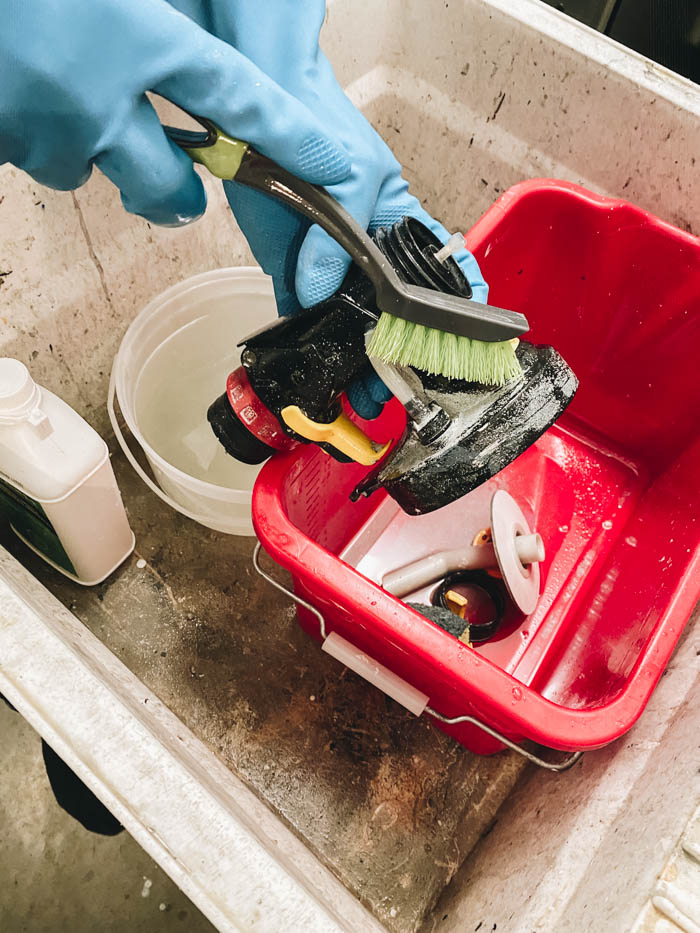
If you have paint or other materials caked onto the inside or outside of your sprayer, it’s a big more complicated to clean, and requires a few more tools to help get the job done.

Here’s everything we used to clean the stuck on paint:
- Mineral Spirits
- Bristle Brush
- Small flathead
- Sponge and bucket
- You could use this paint cleaning kit too
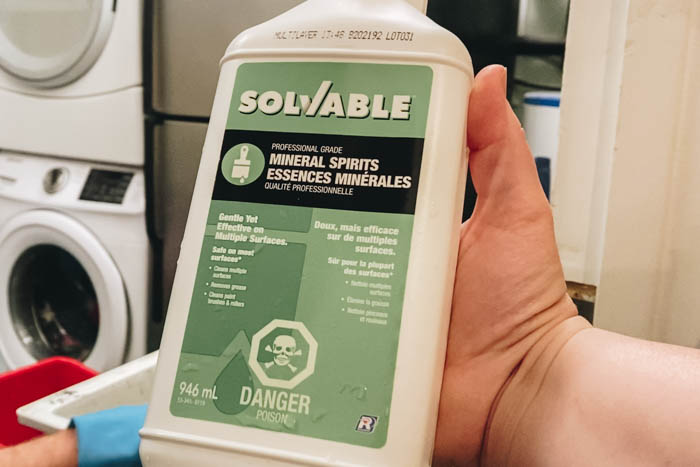
The most important tool when cleaning stuck on or dried paint, is the mineral spirits. This is strong, so you want to make sure to wear gloves while you handle it, and to use the mineral spirits in a bucket, so that it doesn’t go straight down your drain.
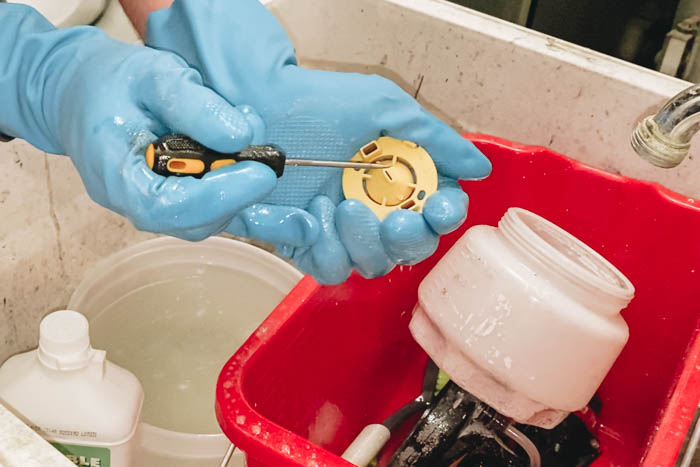

We add a small amount of the mineral spirits (see the video below for an example!) to a bucket, and put our paint sprayer pieces in the bucket. We spread some of the mineral spirits onto the pieces, and onto the bristle brush, and started to scrub away the dried on paint.
We found that using a flathead screwdriver was a good way to gentry scrap away a small amount of the paint first. It would “start” the process of removing the paint, and give us access to a wider surface to scrub.
This tool was also good for getting into the small openings of smaller pieces like the nozzles. You just have to be careful to use light pressure so that you don’t widen any holes or push on any plastic, as it could effect the performance of your gun later on.

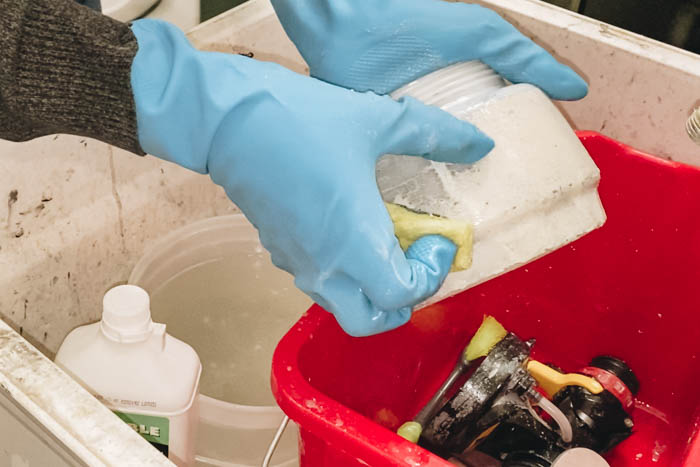
After that we would gently scrub away the paint with a sponge or the bristle brush. If anything was still caked on after scrubbing and rinsing with warm water, then we would let it soak for a bit in the mineral spirits.
After the pieces soaked for a few minutes even it was much easier to get the paint off!
When all your paint is off, rinse everything with warm water, and you’re ready for your nest paint project!
Video Tutorial on How to Clean Your Paint Sprayer
If you want to see exactly how we used any of these tools, you can see us cleaning our paint sprayer and chatting about this room transformation in this video!
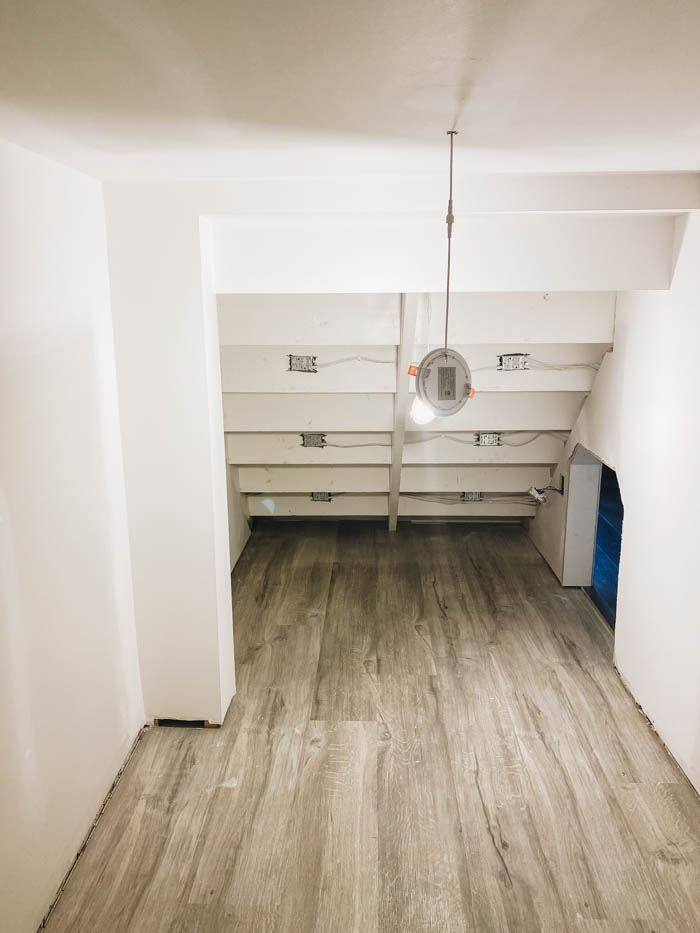
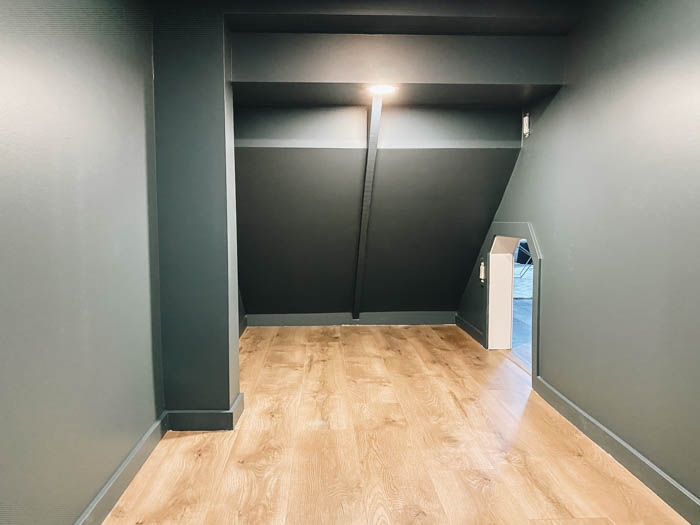
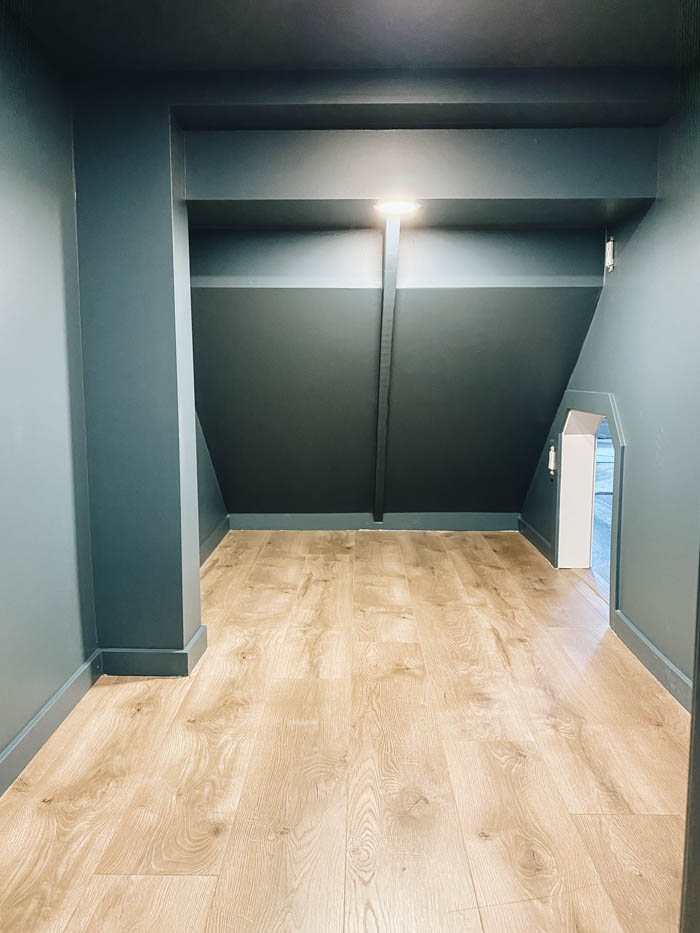
Our Painted Room Under the Stairs
If you were wondering how our room turned out, here are a couple of pics of the finished space! Next month we will be adding some fun design features and making this into a fun reading nook for our kids, so stay tuned for the full transformation!
Got more paint sprayer questions? Here’s everything you need to know!

Melody D Klotz
Monday 21st of December 2020
I love the color you chose for your Harry Potter room. It looks great as all of your DIY projects do! Happy Holidays to all of you Melody
Lindi
Monday 21st of December 2020
Thank you so much! Happy holidays!! :)