
Want to spice up the design in your home? These easy floating shelves are simple to construct and add an interesting element to any room!
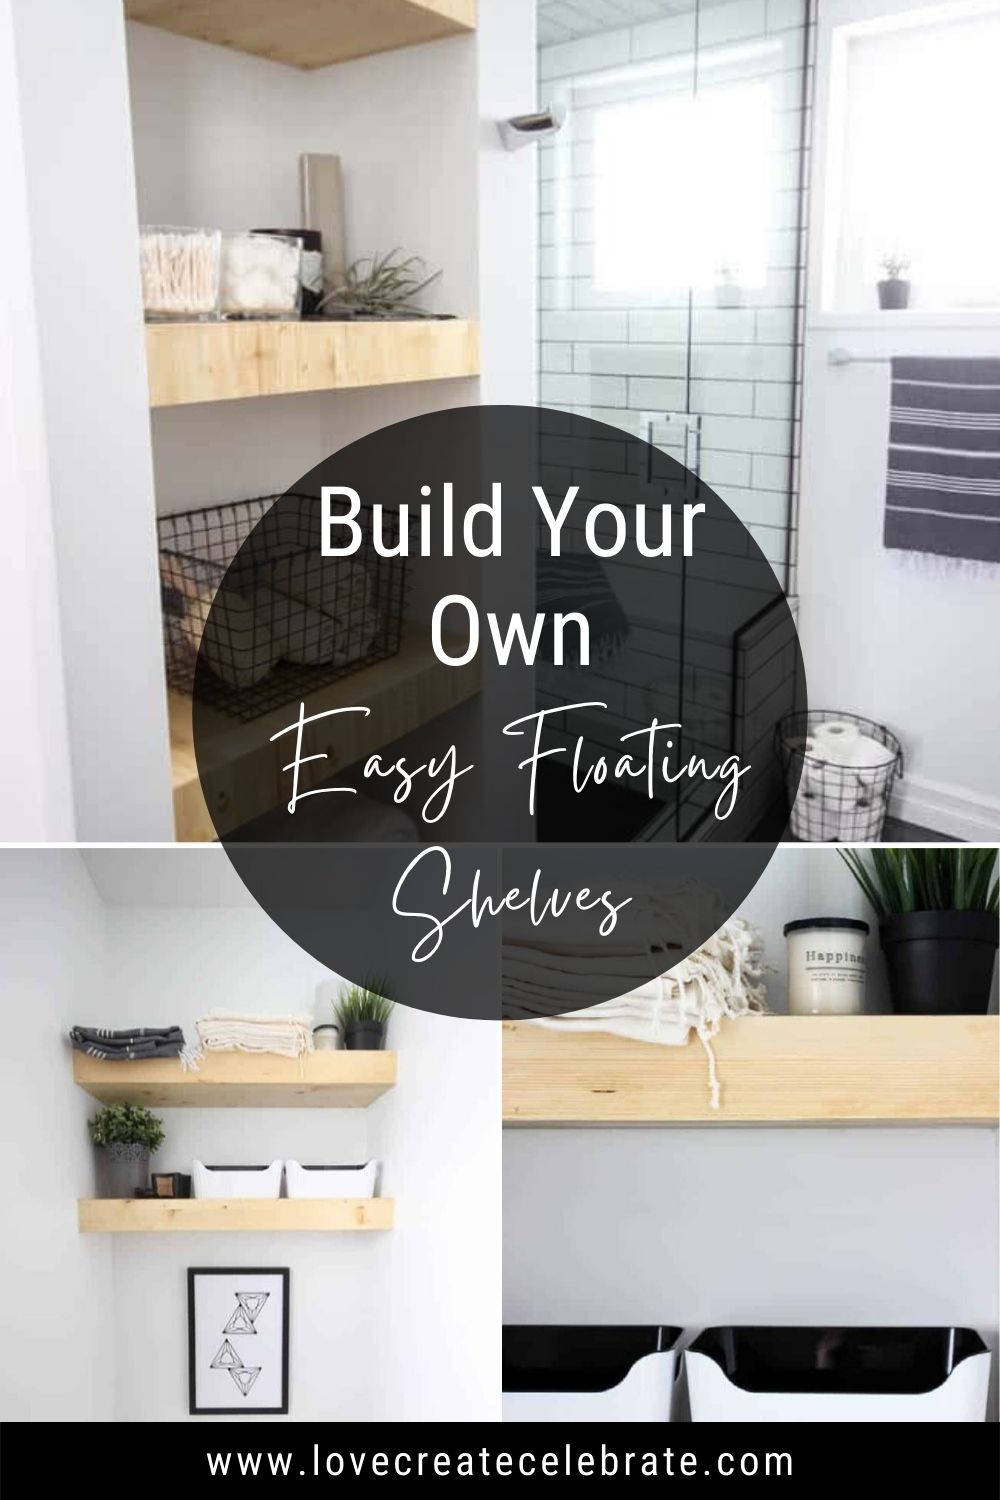
There are two main types of open shelves that everyone wants in their homes: built-in shelving and floating shelves. Since we did both DIYs in our recent modern bathroom renovation, I wanted to share the tutorials. Last week I shared the Built-In Shelving secrets, and this week I’m showing you had we built our own easy floating shelves.
*This post may contain affiliate links for your convenience. For more information, please read my disclosure policy.*
If you already have a saw and a couple of clamps, it costs next to nothing to build your own shelves! You can’t always buy shelves that fit perfectly into your space either, but this is a way to ensure that your shelves are the perfect size!
Materials:
2×2 wood boards
Wood Stain of Your Choice
Polycrylic
Pine shelf board (or MDF)
Painters Tape
Screws
Drywall Anchors (if you don’t have studs)
Caulking
Wood Putty
Tools:
Table Saw
Mitre Saw
Nail Gun and Finish Nails
Clamps
How do you Build Floating Shelves?
The first step is to determine location on wall and mark out using painters tape.
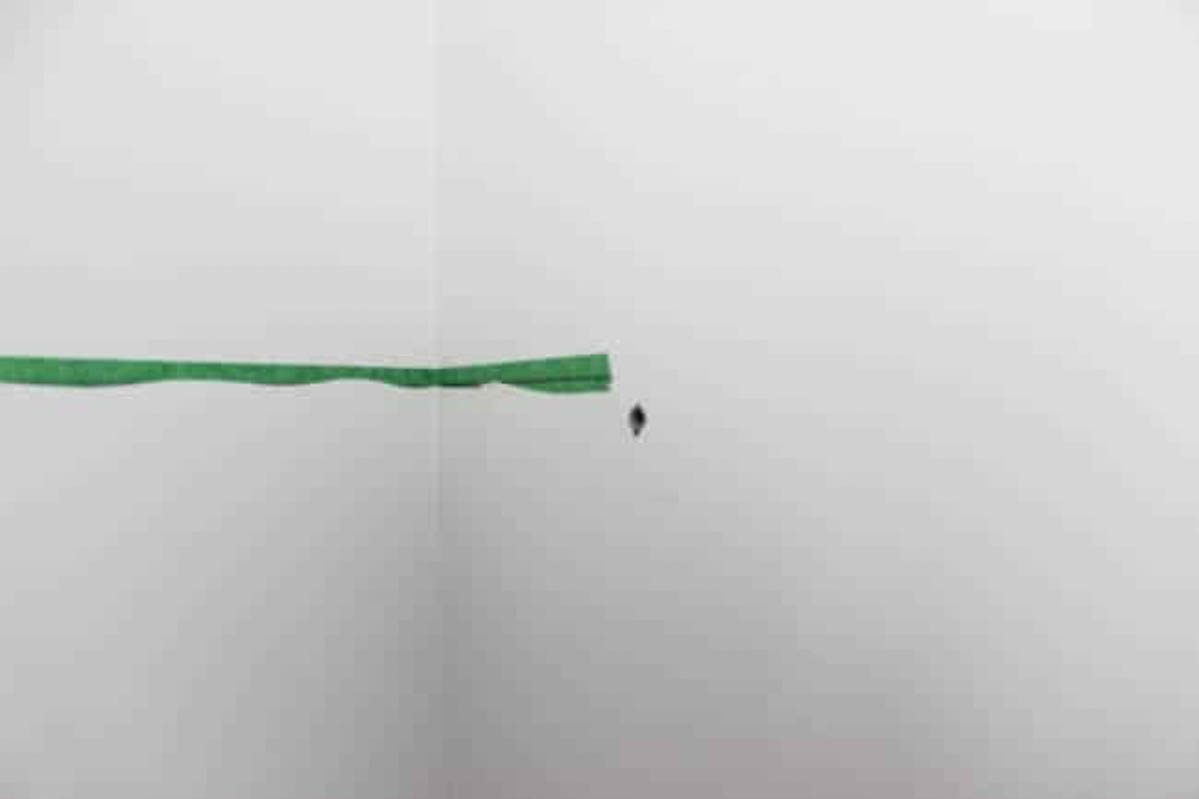
Locate the wall studs and mark out your studs on painters tape. If you don’t have a stud intersecting with the location of the shelf on all 3 of your walls you can use drywall anchors. Ensure that you have at least two studs or a drywall anchors on each wall for a minimum of two connection points (6 in total). If you plan to place heavy objects on the floating shelves you may consider having more connection points.
Measure the width of the wall behind the floating shelves, take this measurement and subtract 1/4″ (this will allow 1/8″ of gap between the shelf and wall on each side). Then determine the depth of the shelf, we went with 8″. Build a 2×2 rectangular frame using these measurements.
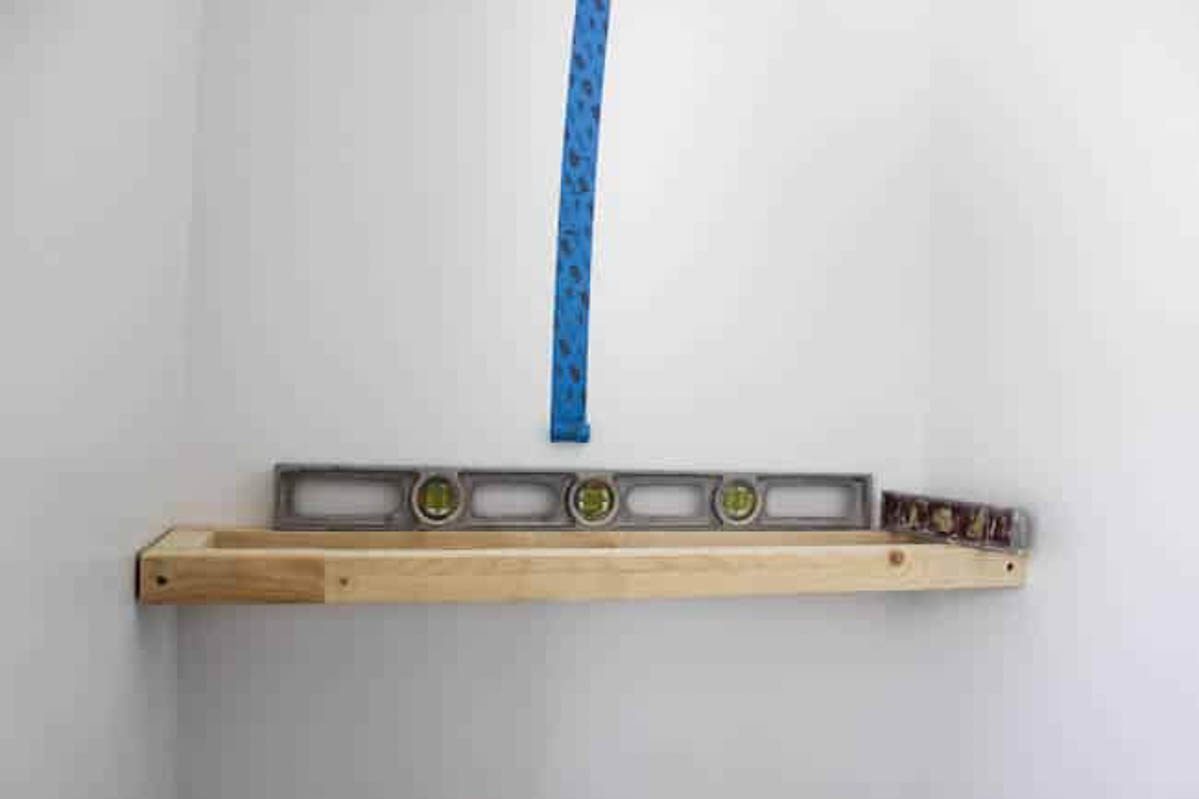
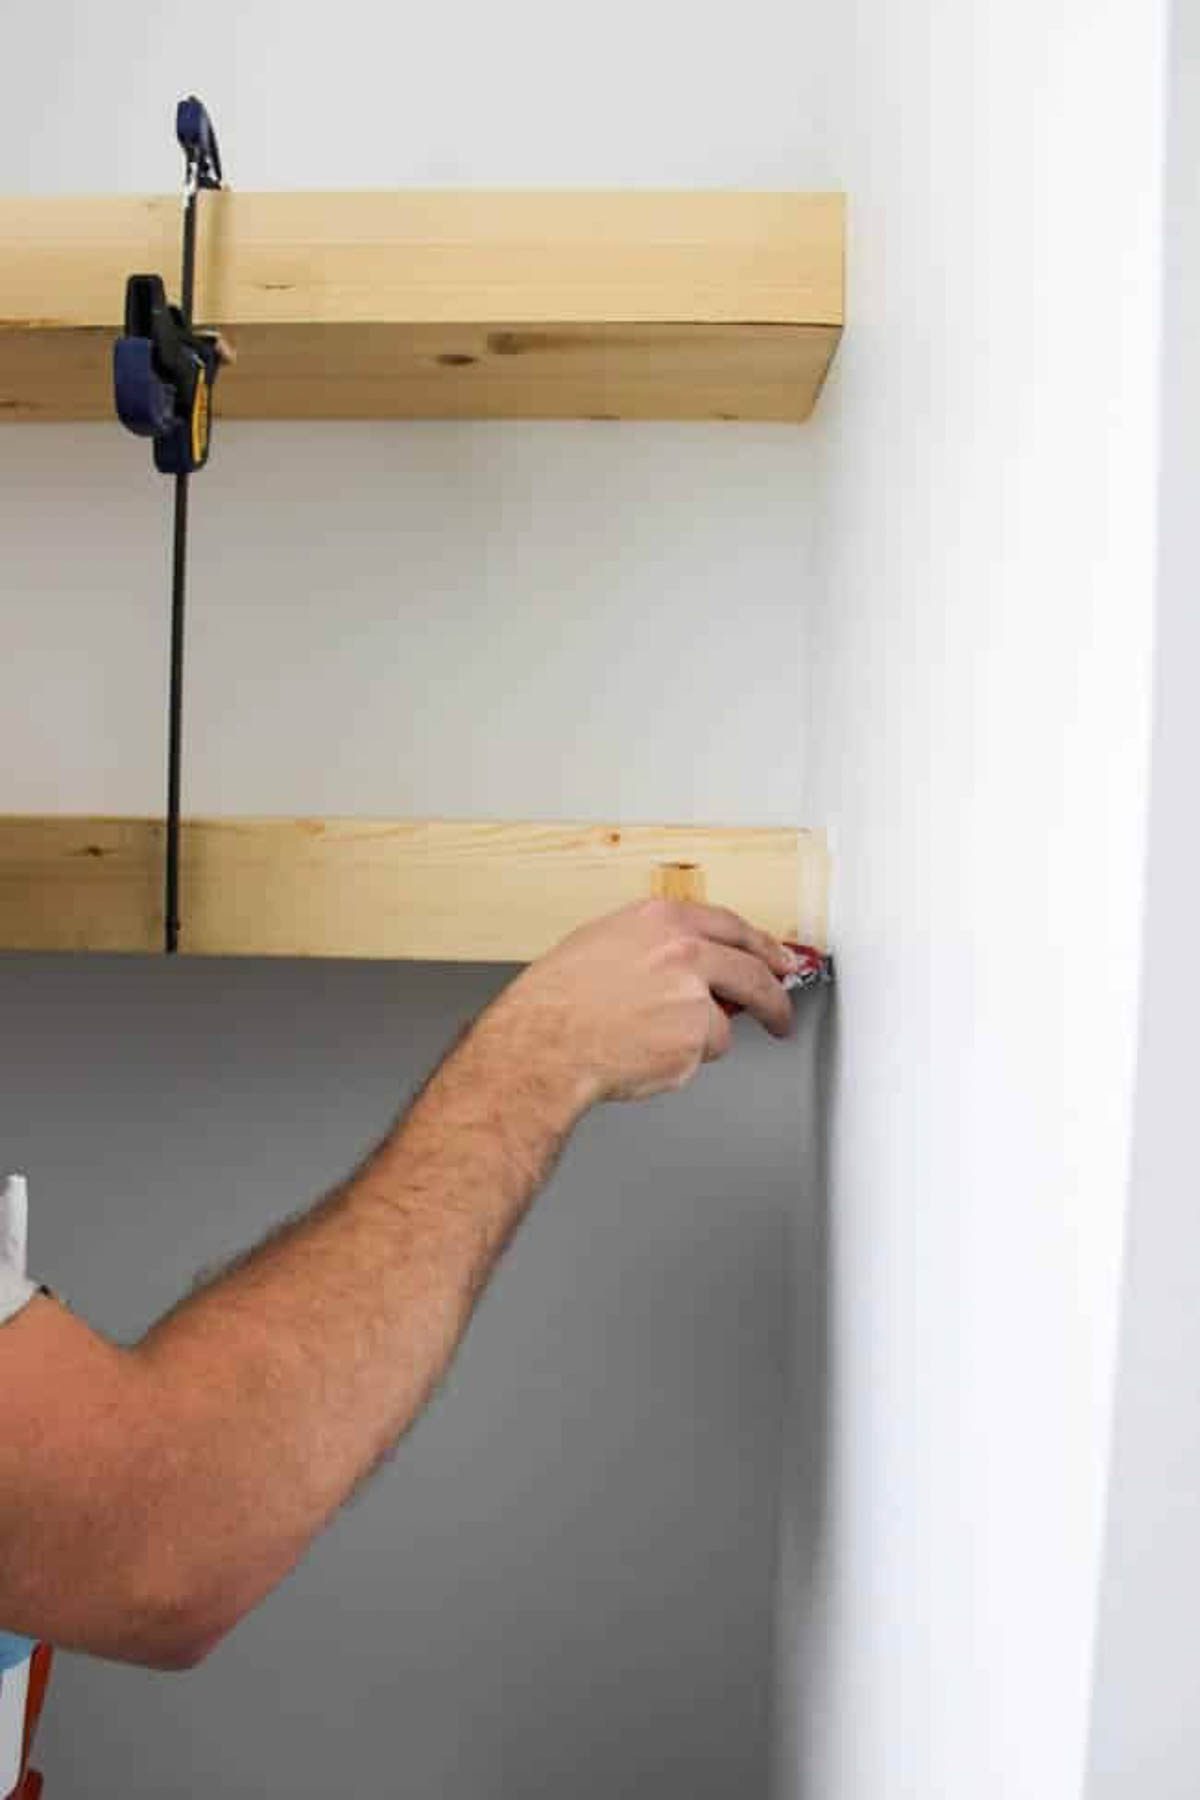
Install your 2×2 bracing at the correct height. Ensure that you have a screw connection to a stud or drywall anchor on each end of the 2x2s. Check that your brace is level prior to attaching it to the wall.
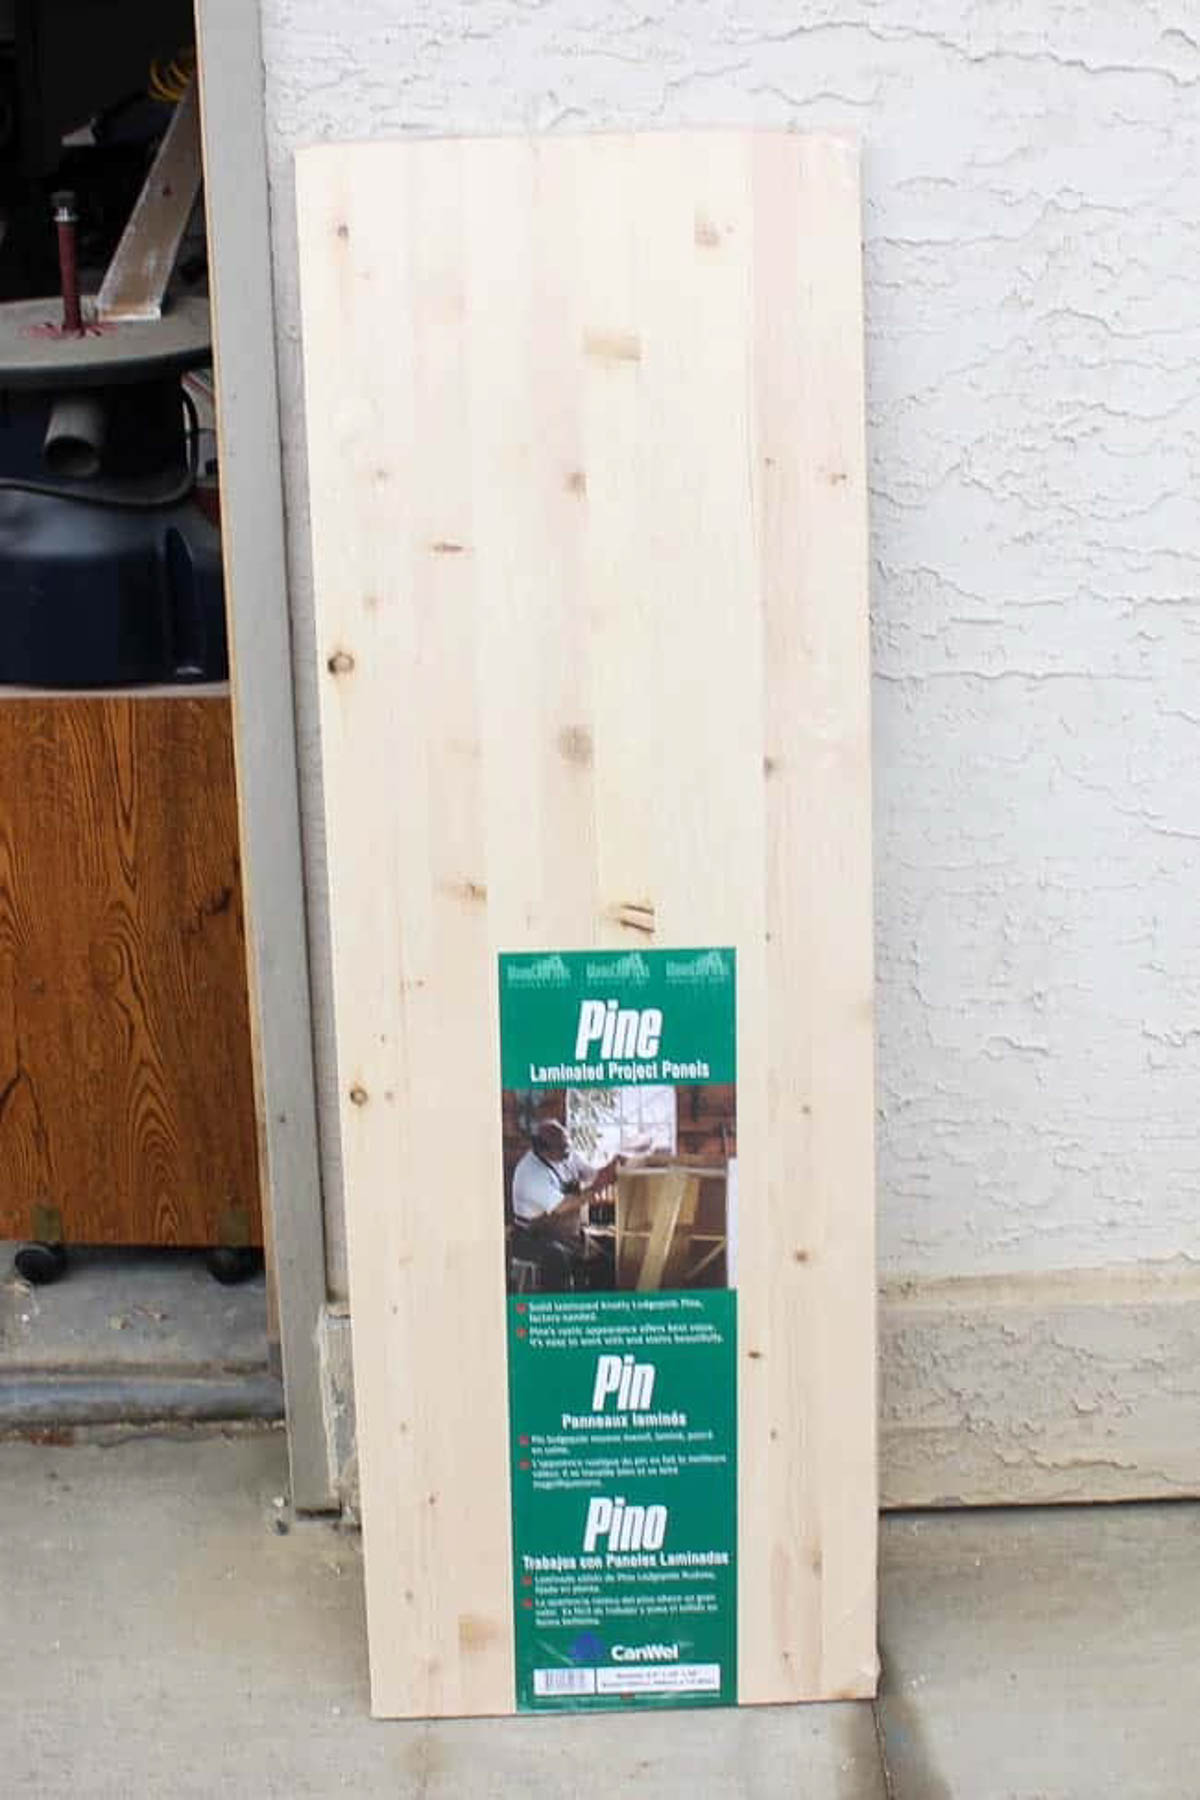
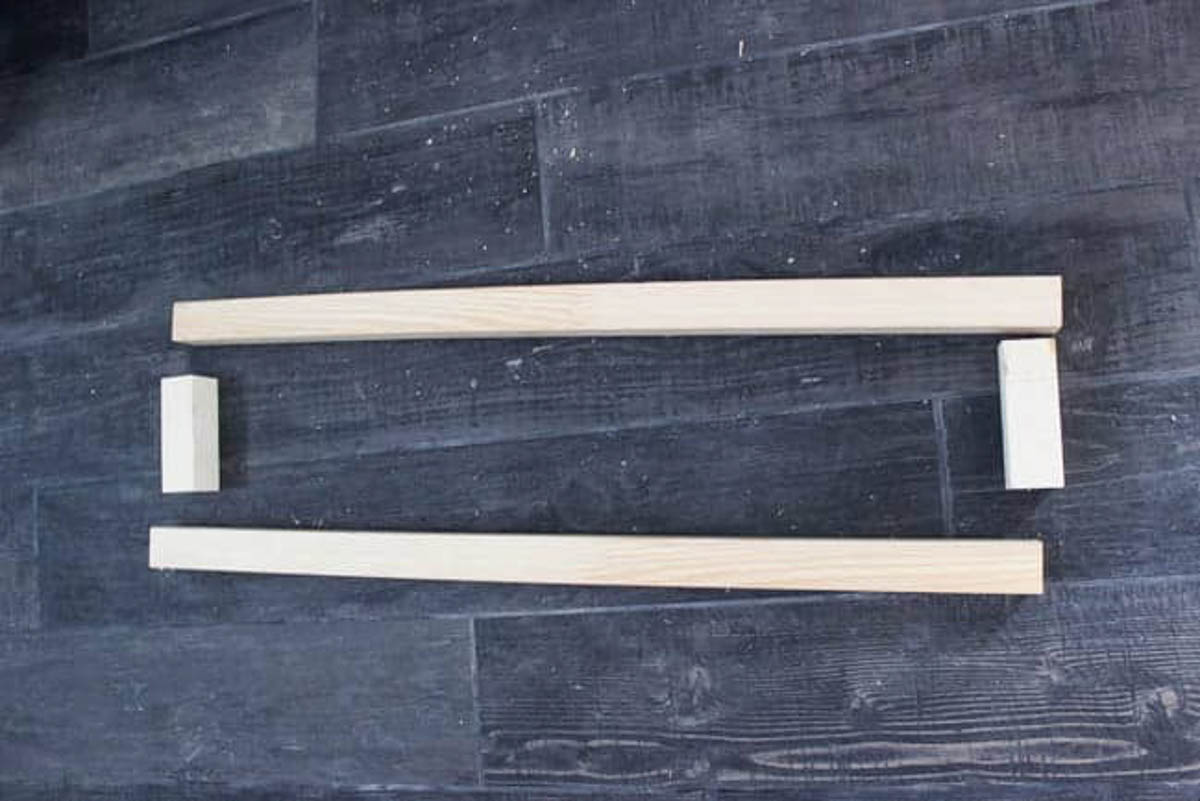
We wanted a natural wood look so we used pine shelving boards that we could stain; however, if you plan to paint your shelves you can use MDF. Cut your three boards for the top, front, and bottom of your shelf. Cut the top and bottom boards to the width above, but add the thickness of the material you are using to your measurements. The front board will be the outside dimensions of your shelf (including thickness of the top and bottom materials).
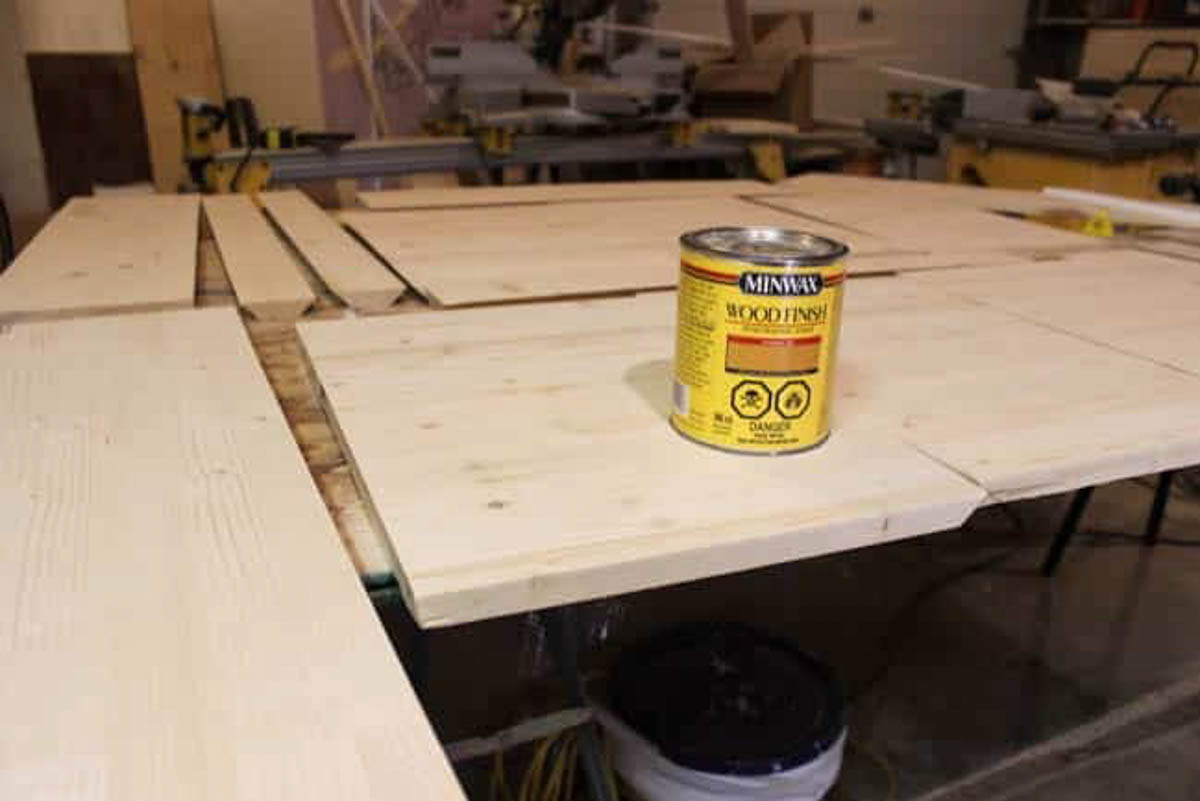
For the top and bottom boards cut a 45 deg mitre at the end that meets the front board. For the front board cut a 45 deg mitre on the top of bottom (you can see the small front board, with two 45 deg mitres in the second row in the photo above).
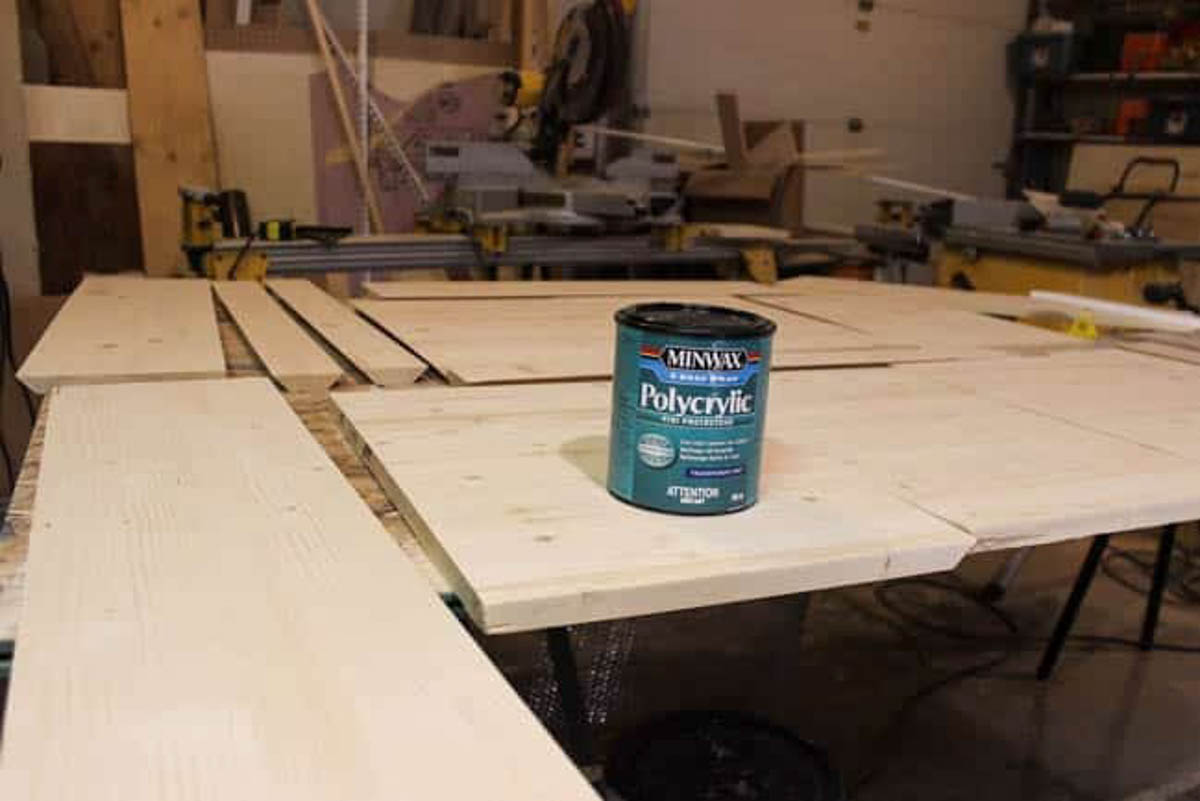
We stained our boards with my favourite natural stain, and then protected them with Polycrylic.
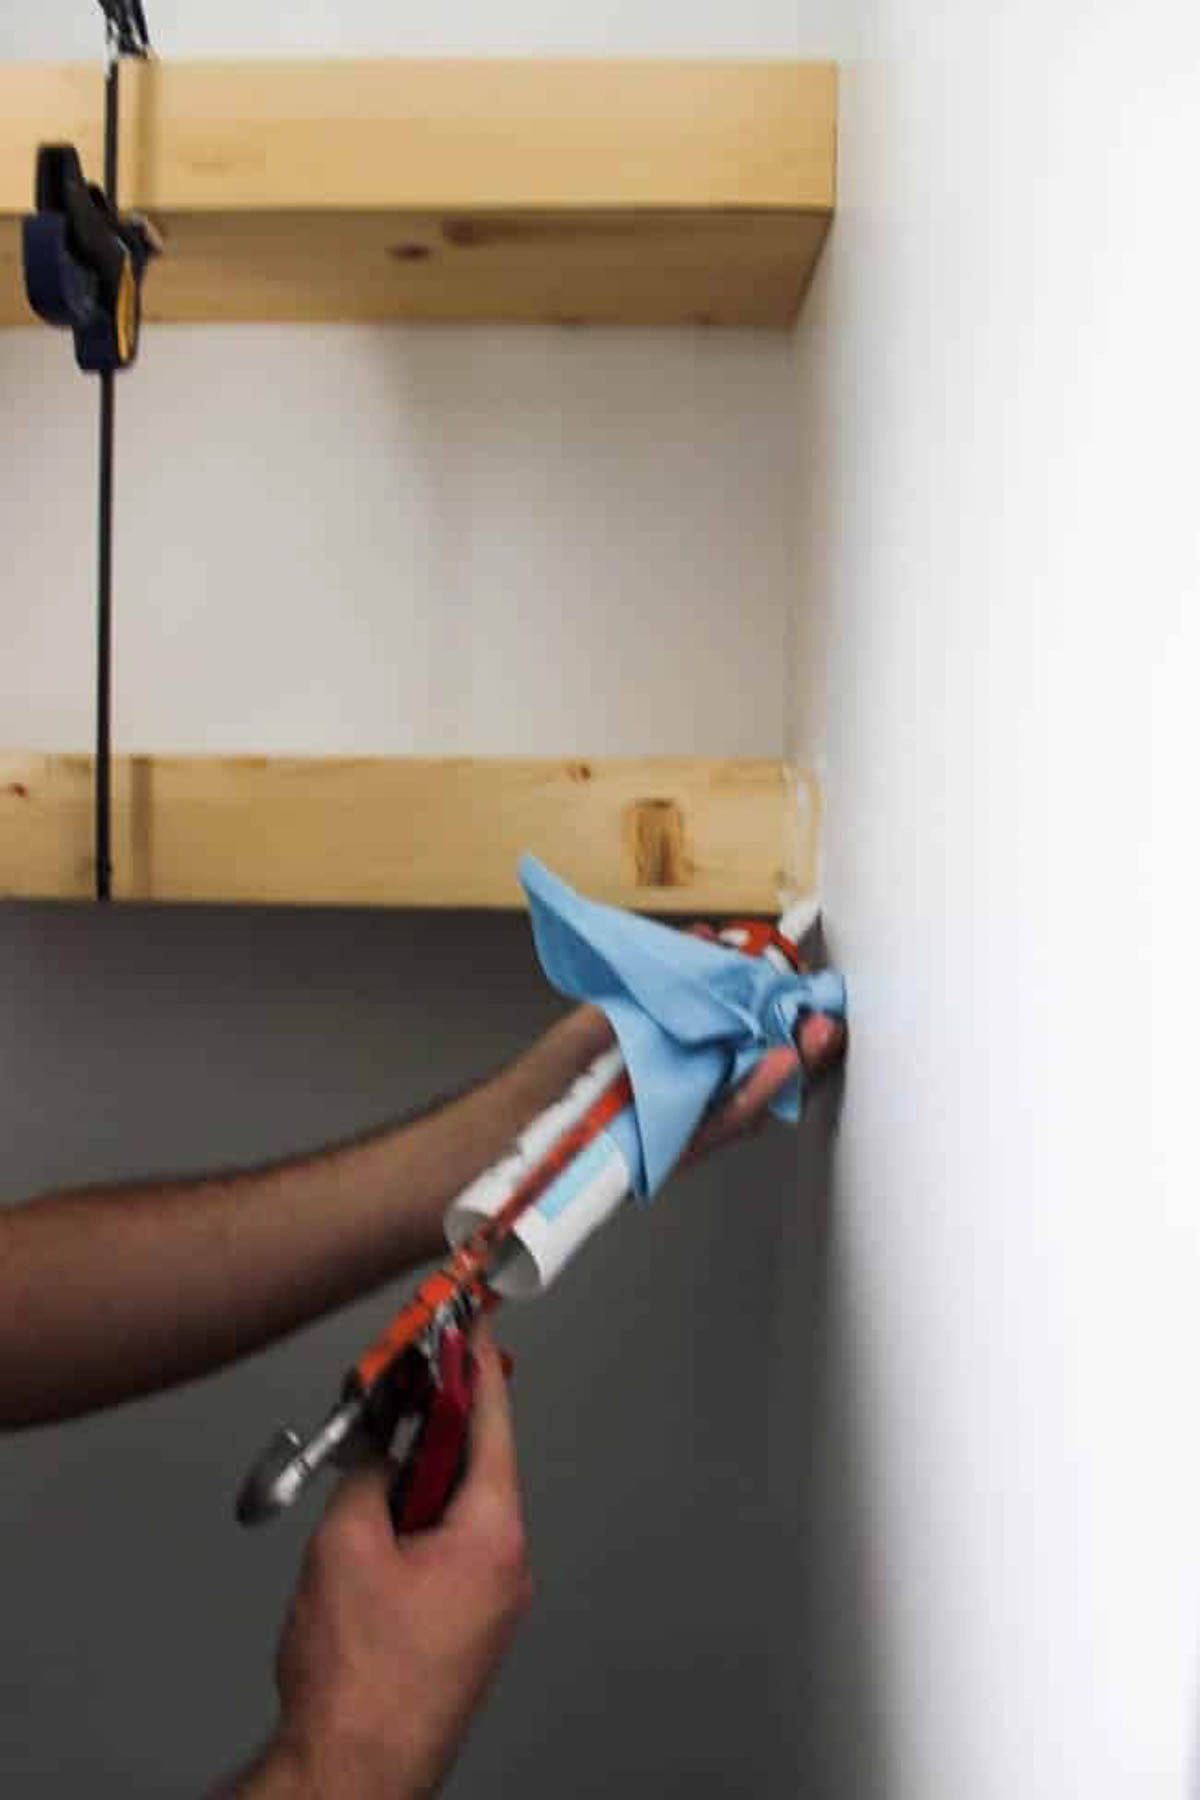
Install your finished boards to the 2x2s, using a nail gun and finish nails. Once the shelf is installed, use wood putty to fill the nail holes and any gaps between your mitres. Use caulking to fill any gaps between the wall and shelf.
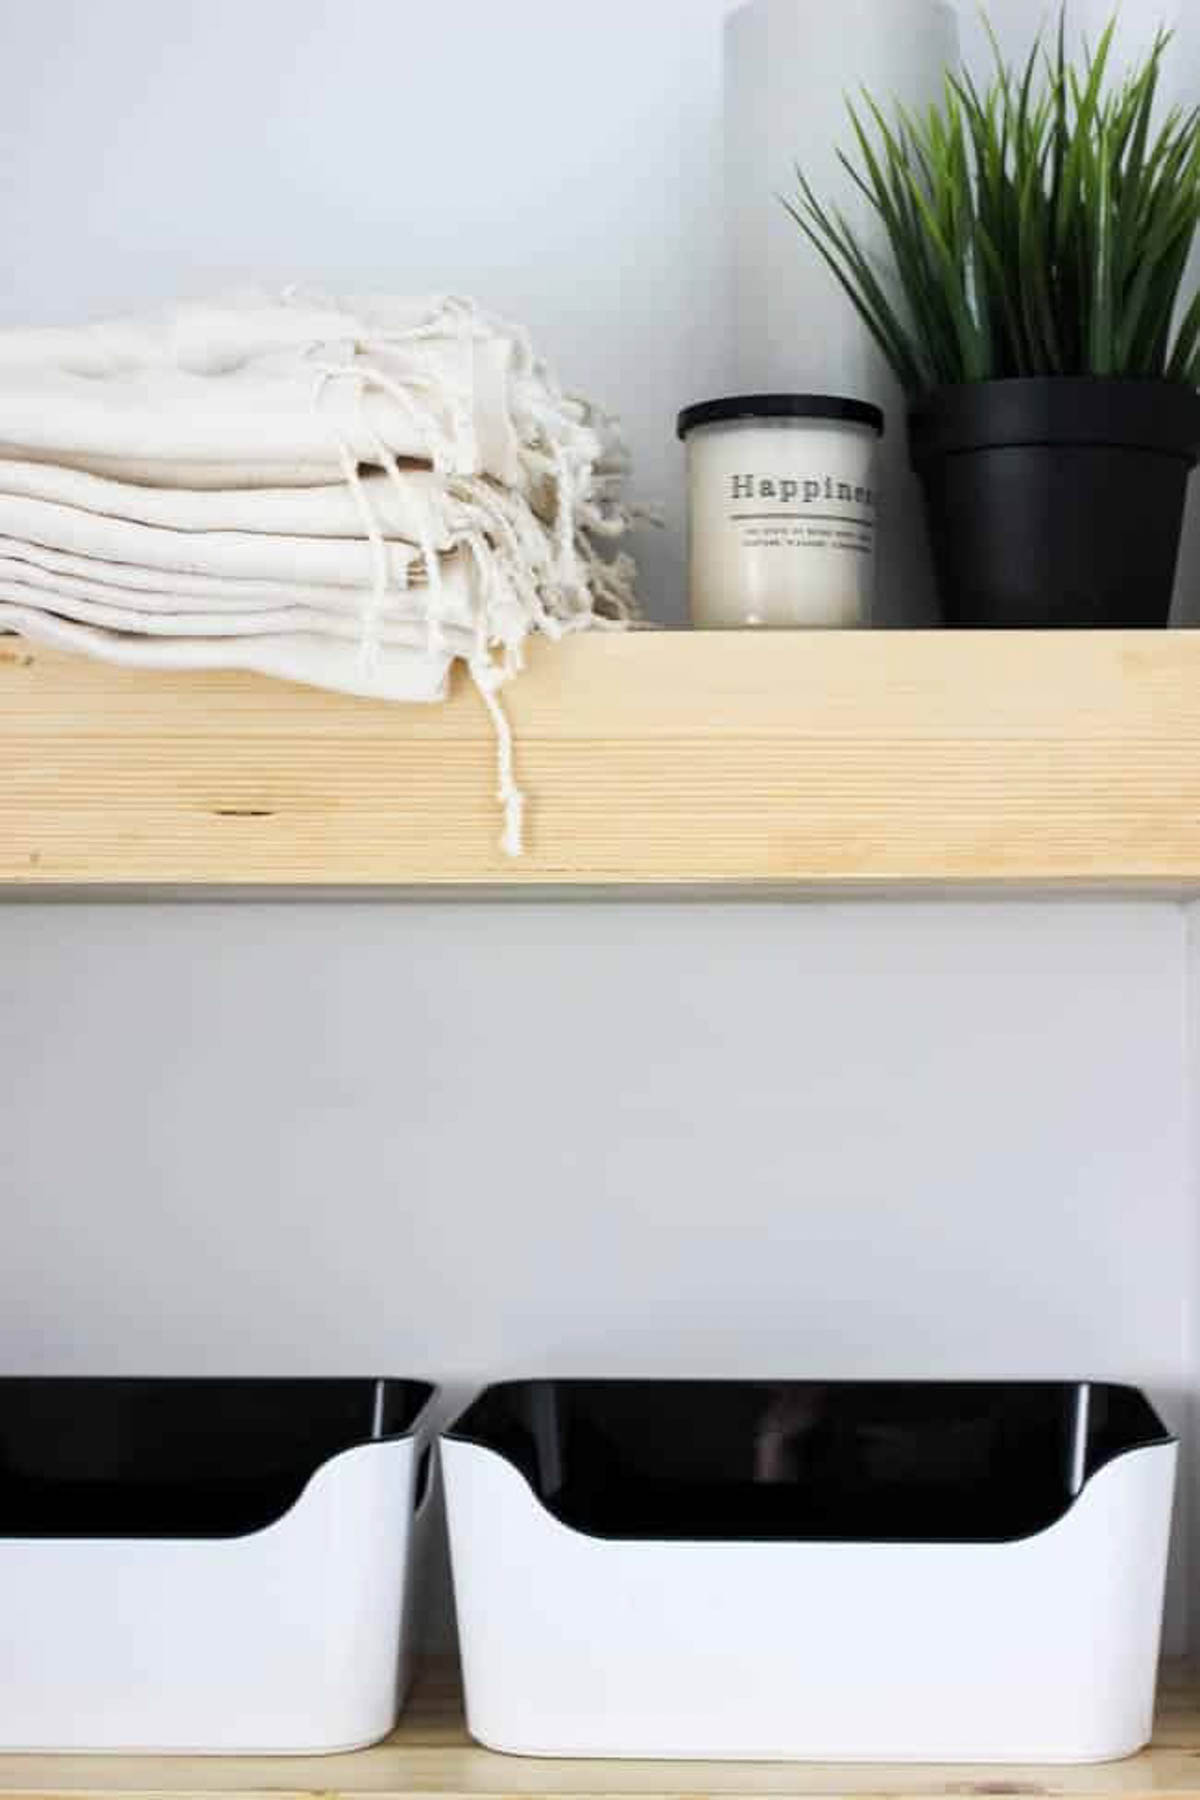
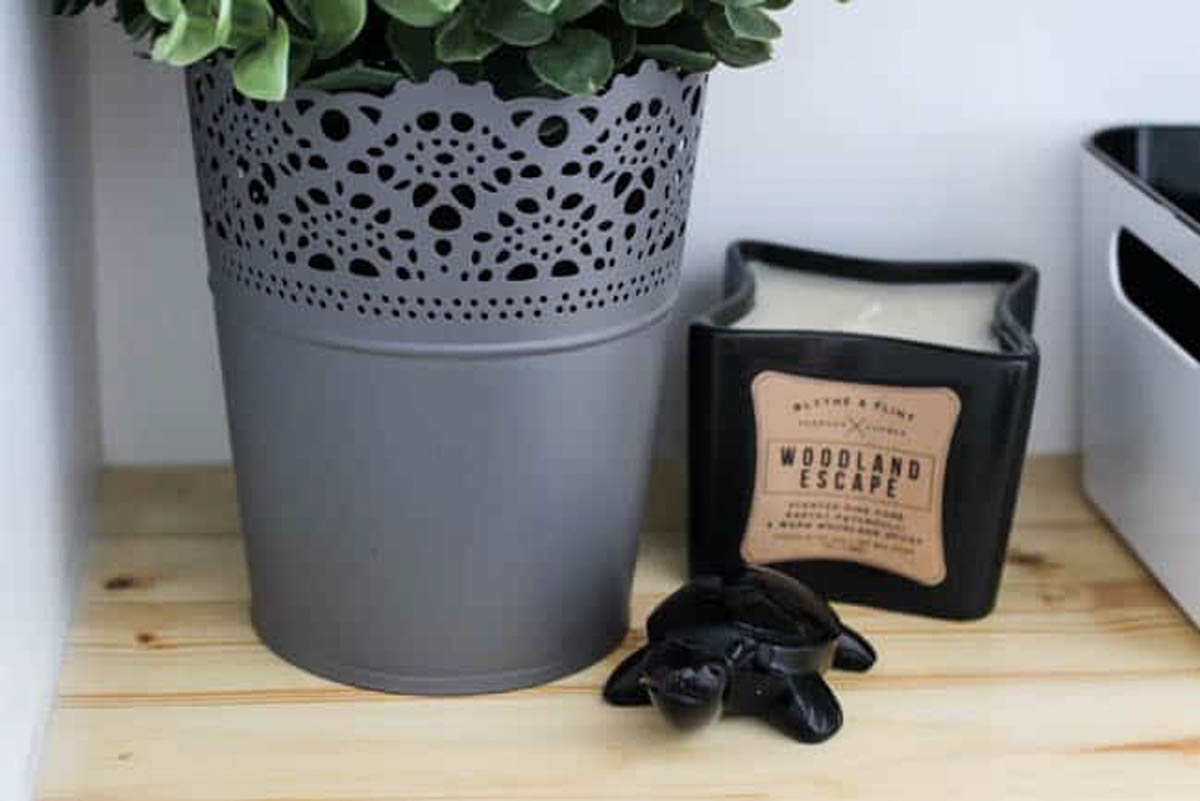
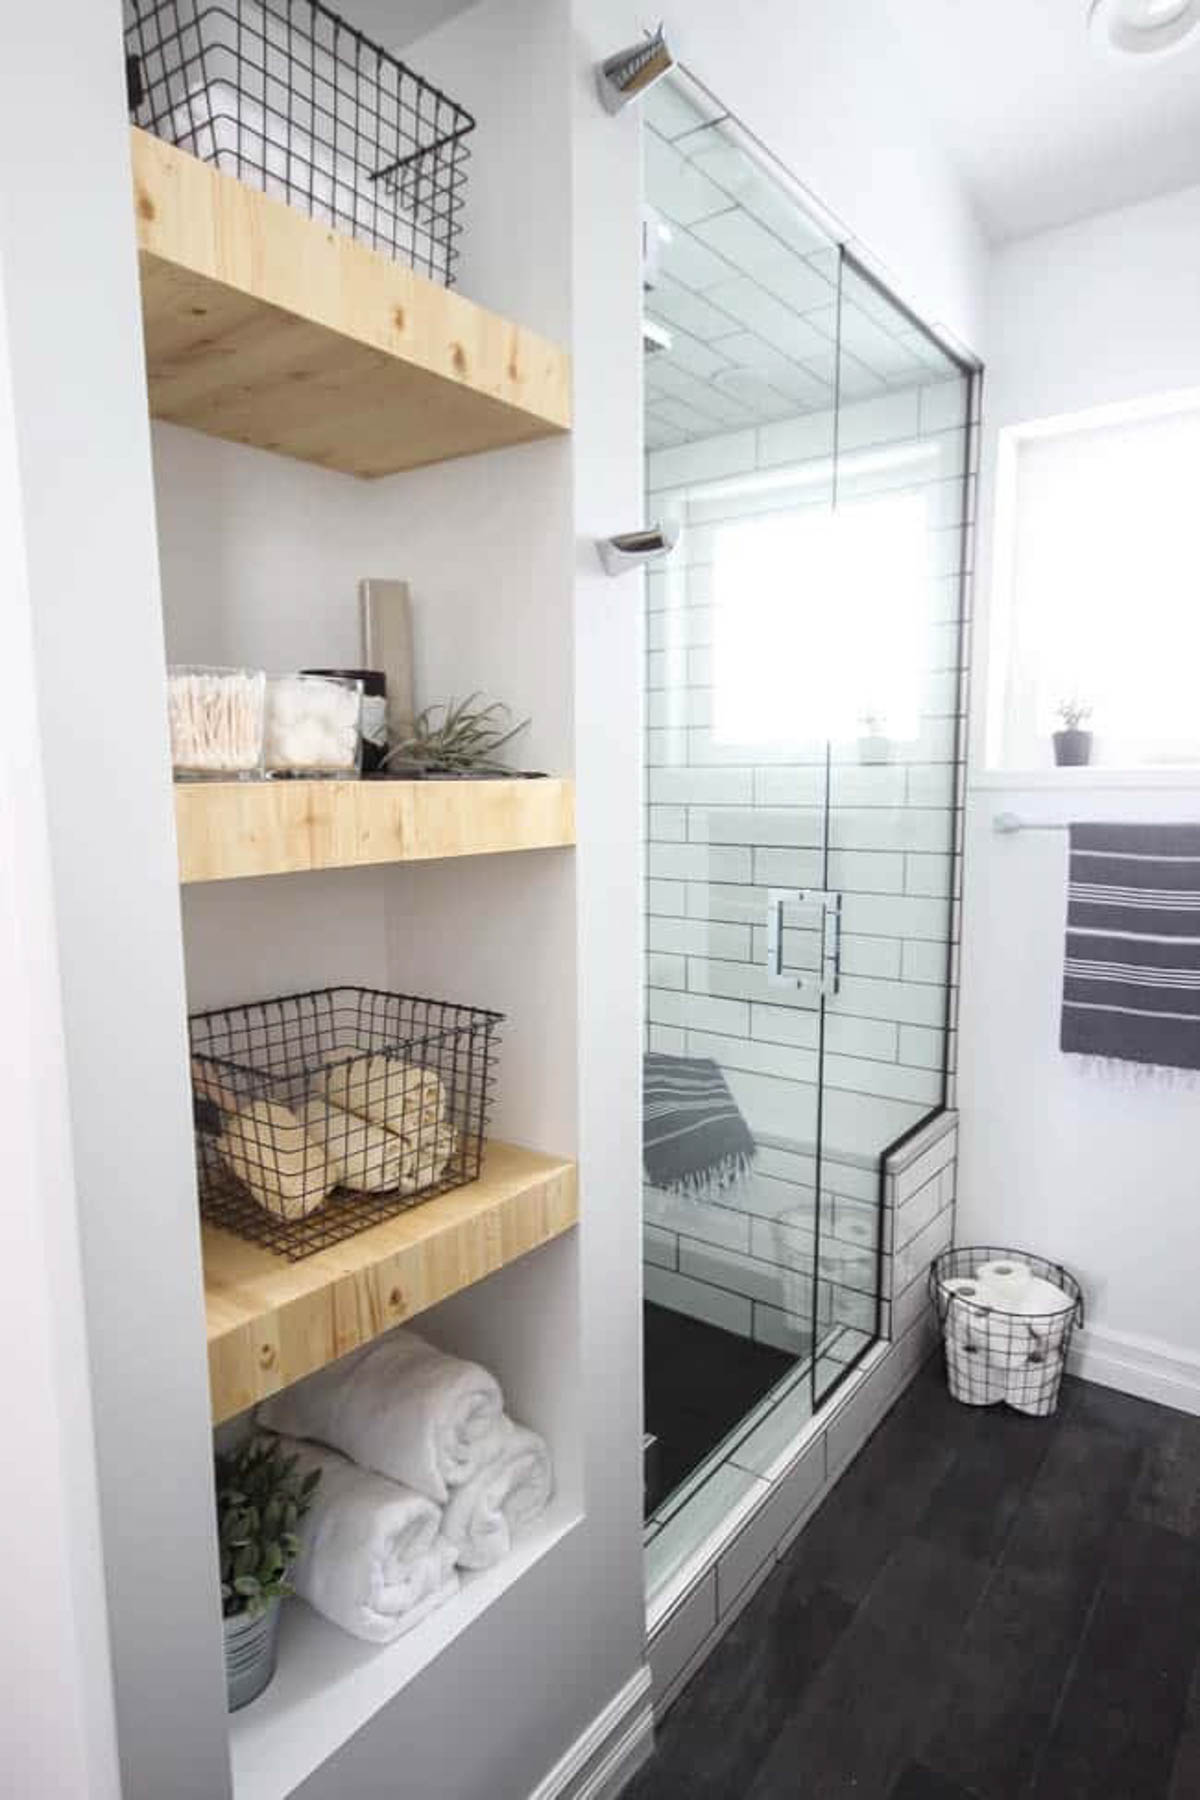
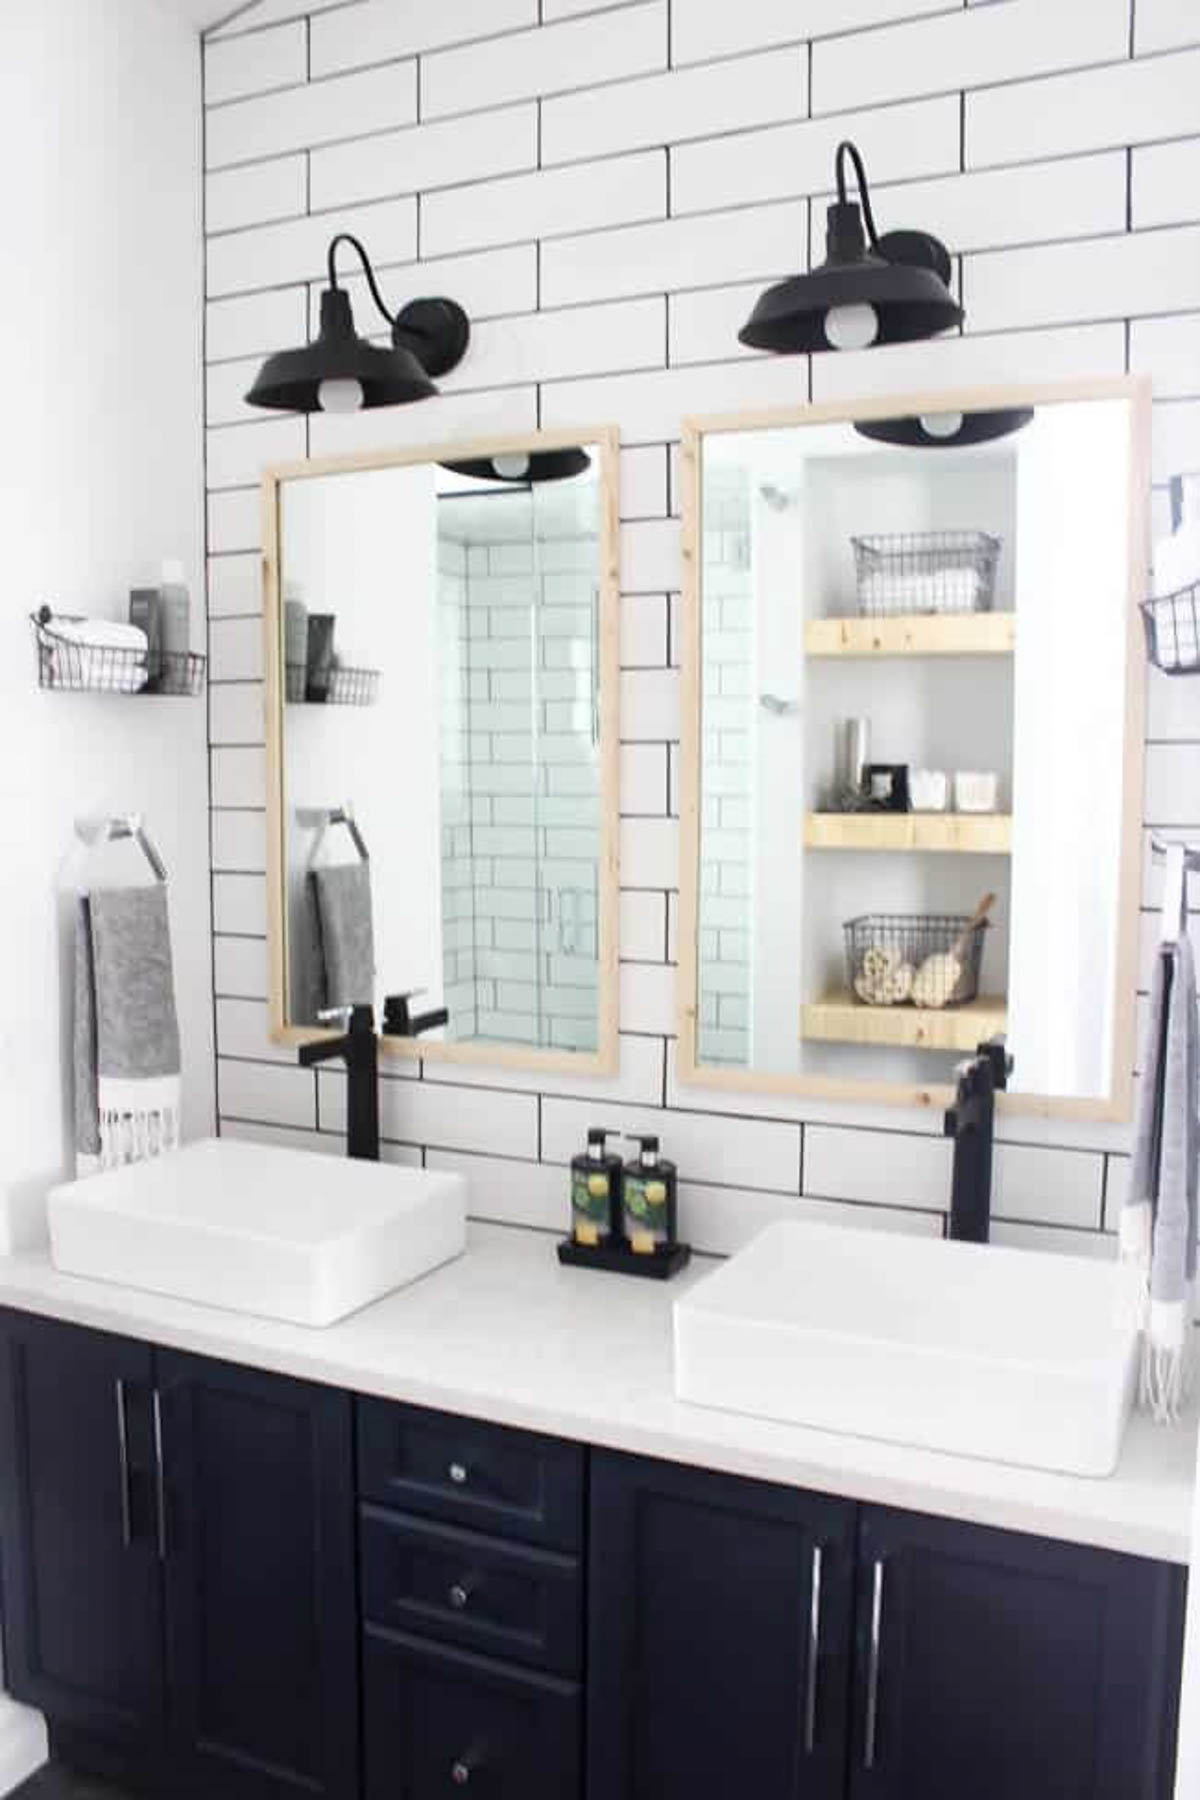
Fill up those shelves and enjoy your new modern floating shelves!

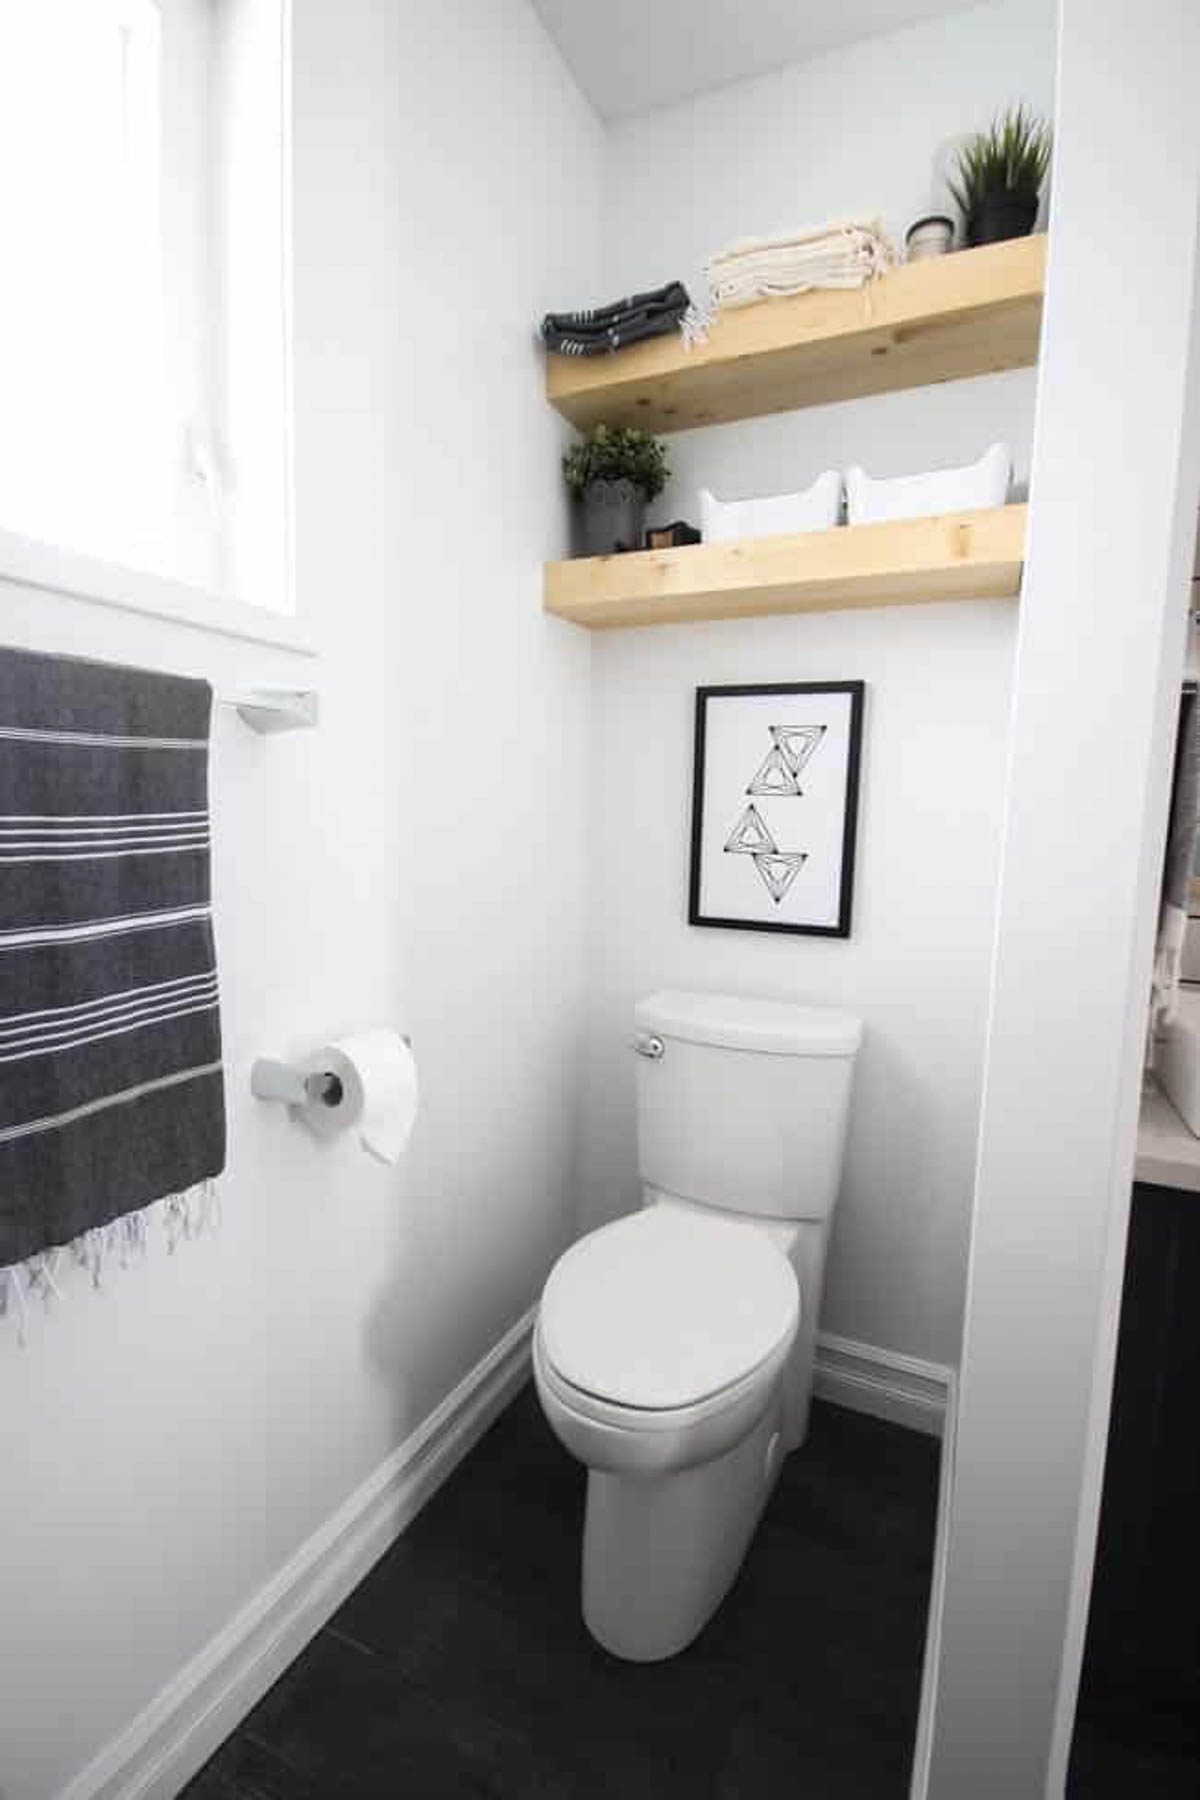
These shelves are exactly what I wanted! You can’t find custom-built shelves like this anywhere! I’m SO happy with how the project turned out :)
You can also learn how to easily make Built-In Shelves!
If you haven’t see it, be sure to check out the full Bathroom Renovation!
85 Ideas To Build Your Own DIY Floating Shelves (Free Plans)
Monday 24th of February 2020
[…] First, build the supports for the floating shelves using the 2x2s wood slats that you mount on the wall using drywall anchors. Next, build the outer shelves using pine shelf boards of MDF. Create a custom appeal of them using a stain of choice. Easy floating shelf project. lovecreatecele […]
DIY Floating Shelves - Perfect Storage Solution • DIY Home Decor
Monday 1st of July 2019
[…] lovecreatecelebrate.com […]
20+ Easy DIY Floating Shelves - Curioosify
Tuesday 25th of September 2018
[…] from ‘Love, Create, Celebrate‘ shows us how to make these easy DIY floating shelves for the bathroom. Simple project, simple to […]
22 Easy DIY Floating Shelves | Decorating Your Small Space
Tuesday 15th of May 2018
[…] from ‘Love, Create, Celebrate‘ shows us how to make these easy DIY floating shelves for the bathroom. Simple project, […]
Lisa
Tuesday 12th of September 2017
Wow, the finish is perfect! Great tutorial.
Lindivs
Tuesday 12th of September 2017
Thank you so much!! :)