
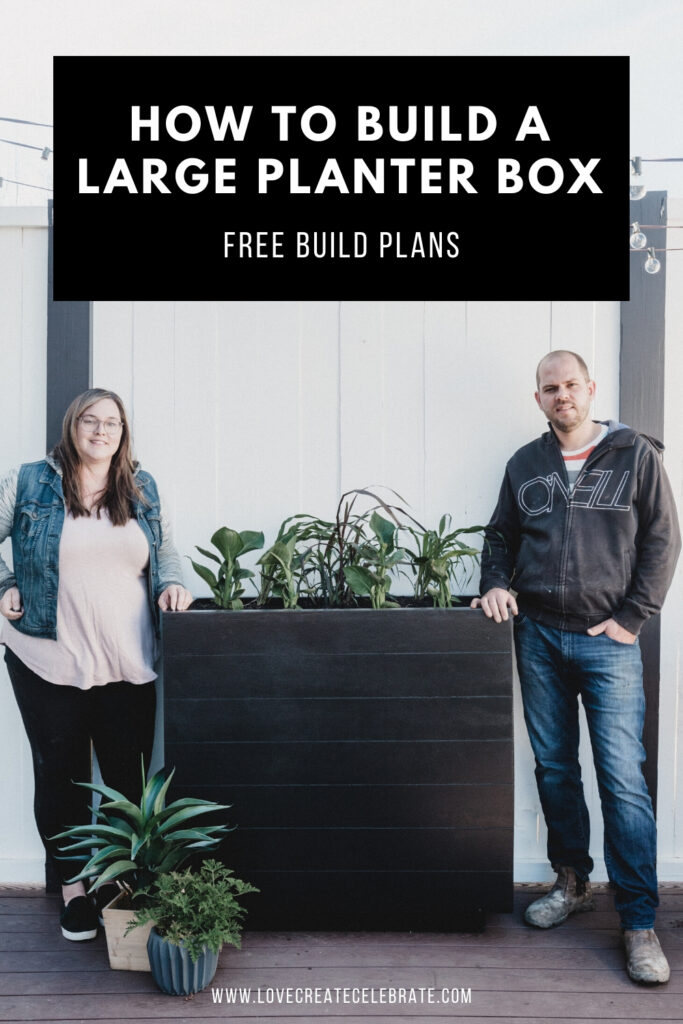
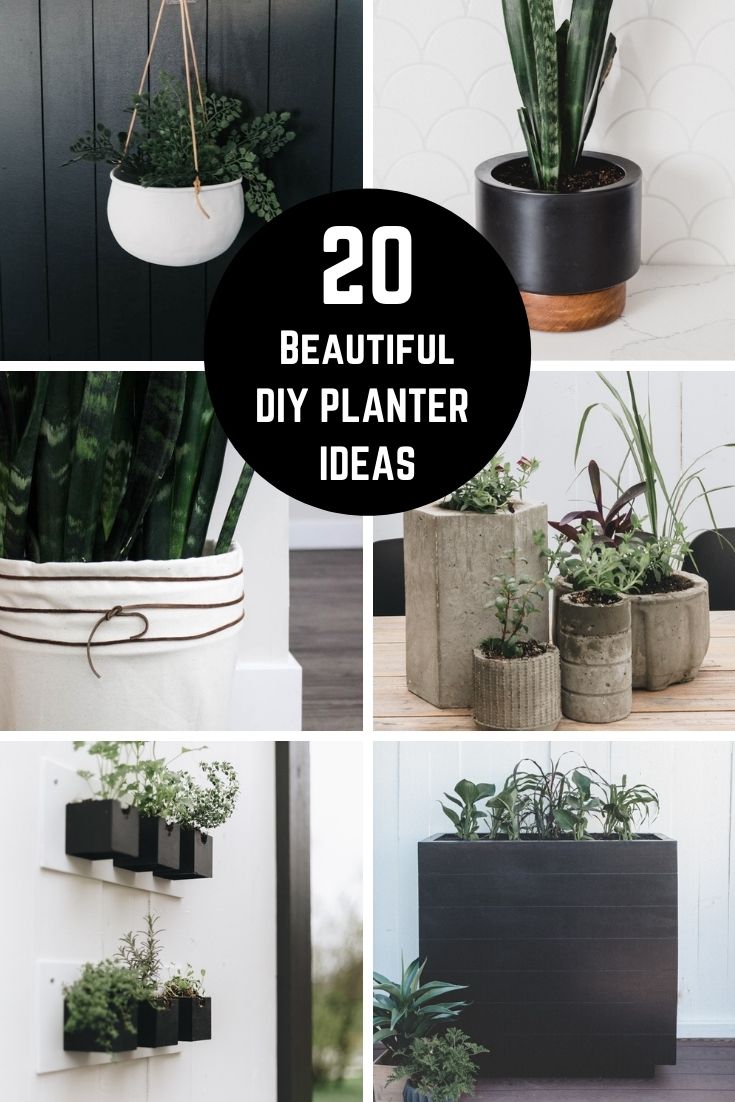
A great tutorial for how to build a large planter box! These DIY outdoor planter ideas are perfect for desks, front porches, patios & indoor use!
It’s SPRING! This week we tackled out first outdoor project of the year and I couldn’t be happier about it. I wanted to build a large planter last year and we just didn’t get around to it in time, but this year I swore it would be our first project when the snow started to melt.
I’m sharing our tutorial for how to build a large planter box today because I know some of you are going to love this large outdoor planter as much as I do.
*This post was sponsored by Kreg and Build Something, and may contain affiliate links. As always, opinions are 100% my own. For more information, please see my disclosure page.*
We have big plans for our outdoor space this year. We’re tackling a few projects that are going to to keep us outdoors for months. I can’t wait! This large modern planter was the first on our many list of projects.
Pocket Hole Joinery
Almost every one our builds includes pocket hole joinery, including this one! If you’ve never heard of pocket holes, it’s basically a way to have your wood pieces attach by drilling into the board through an angled hole. It allows you to hide your joinery and gives you a strong connection between the two pieces.
We have Kreg’s K5 Master System and we love it. I can honestly say that we use it on almost all of our builds because it’s so practical (& affordable!).
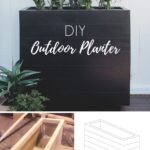
How to Build a Large Planter Box
Beautiful, modern planter boxes can get very expensive, especially larger ones like this, so we wanted to build something instead. I wanted to design something that was beautiful, would bring some height to our outdoor floating deck, and would still last for a long time against the outdoor elements.
For this planter we teamed up with Build Something to share the full build plans on their site. If you’ve never heard of BuildSomething.com it is a website full of great build plans, that are available for FREE.
GRAB THE FREE PLANTER PLANS HERE
Materials Needed for your Planter Box
- Plywood, 1/2″ thick
- 2×4 Boards, 96″
- 5×8 heavy plastic
- outdoor construction adhesive
- outdoor caulking
Tools Needed for your Planter Box
- Pocket Hole Jig
- Mitre Saw
- Jigsaw
- Drill
- Impact
- Nail Gun
- Router
Instructions for Building your Large Planter Box
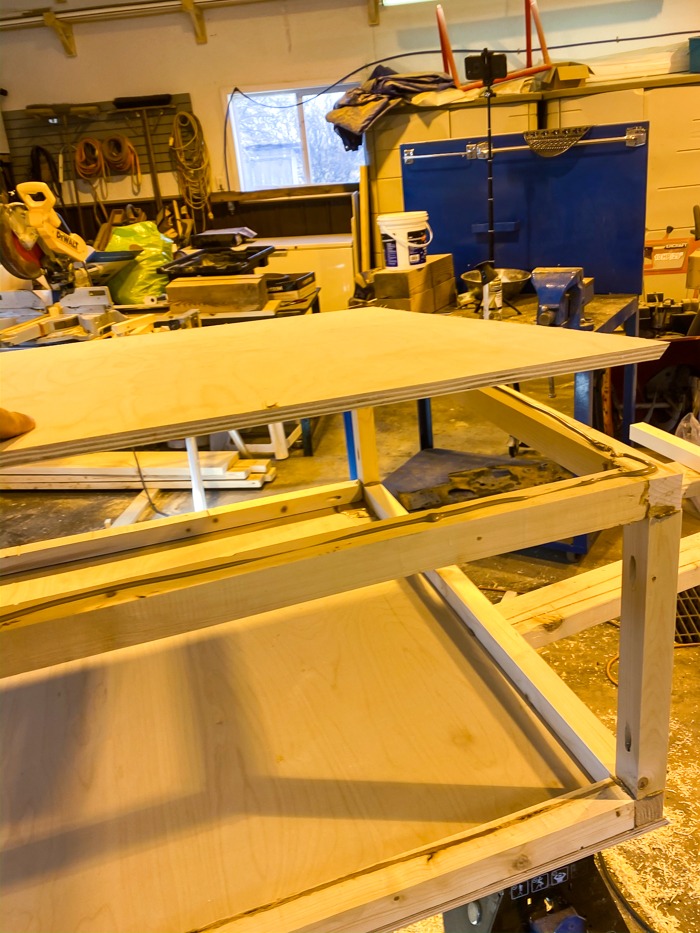
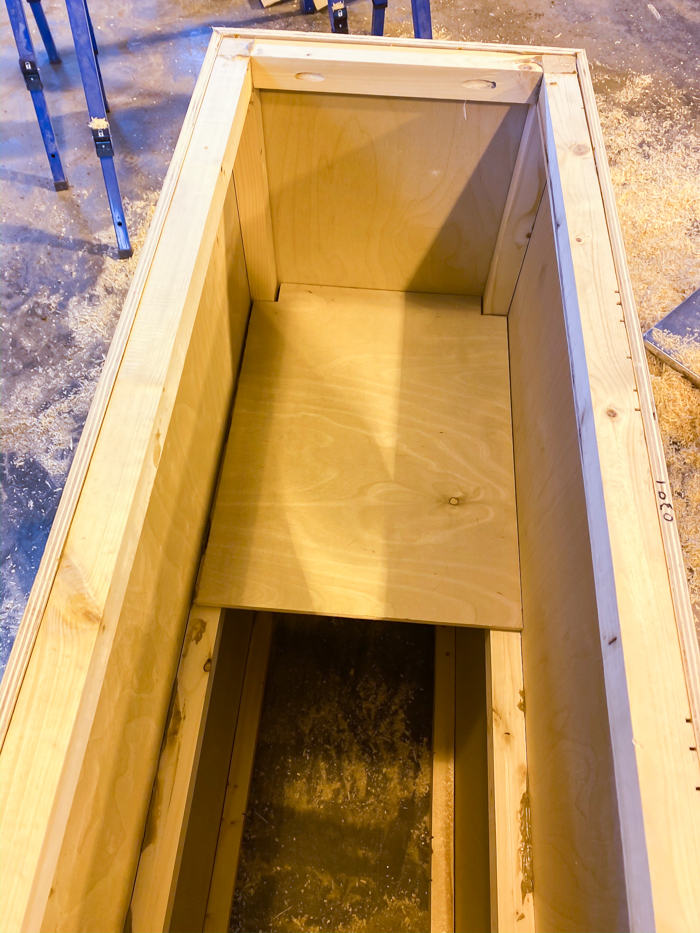
Our first step was to build the frame, which is essentially made of 2x2s and plywood. Next we built a false bottom into the planter, about 16″ down from the top.
The reason for the false bottom was that we didn’t want to have to fill the entire planter with dirt. No plants need that much room for their roots. Having the false bottom also makes it easier to move the planter around after the dirt and plants are planted (although I we did have to move it once already, and it was still pretty heavy when it was full of dirt and plants!).
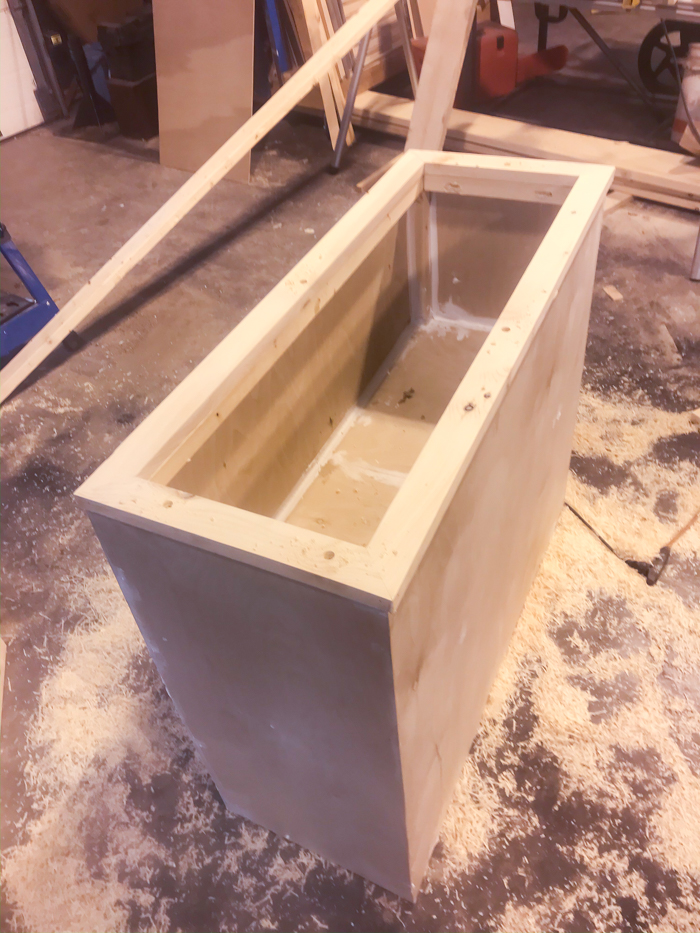
Next we built a small frame on the bottom from 2x4s for underneath the planter, that the planter would sit on. The reason we did this was so that the planter was raised off the ground.
That piece was not glued on (only screwed in place) so that it can easily be replaced or removed if needed down the line. Design wise, the tiny inset frame pieces at the bottom looks really great too!
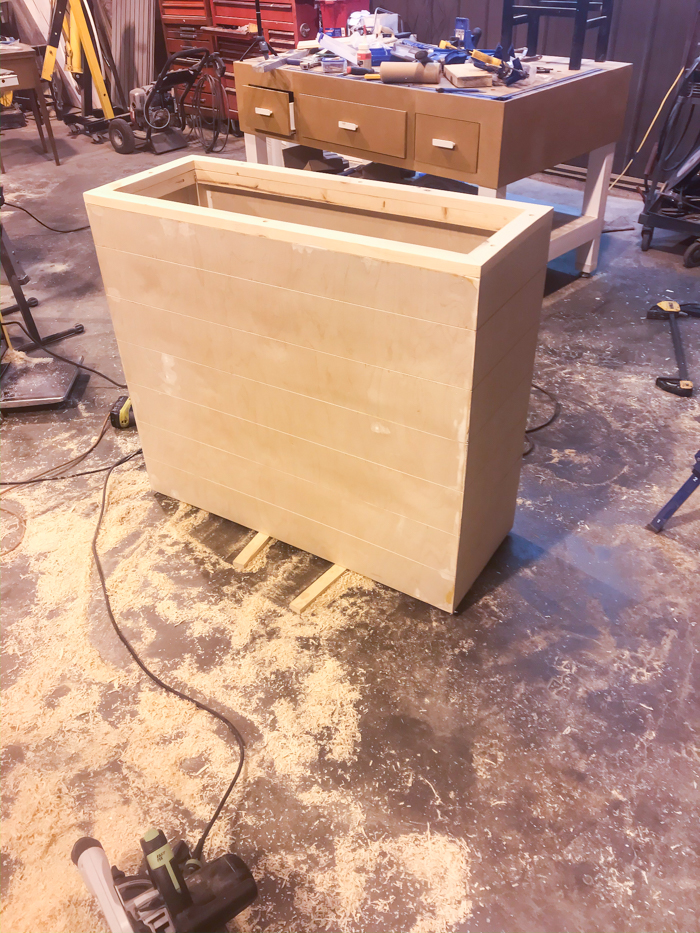
We chose to prime and paint our planter, but you can you also stain and varnish your planter if you prefer a wood look! But you will also have to use wood products that can be stained (for example, not using the caulking on the outside as we did).
How to Protect a Wooden Planter from the Outdoor Elements
Wooden planters are common outdoors, but there are many ways for them to warp, especially when working with materials like plywood, and to rot over time.
There’s a few things that we did to make sure that our planter would withstand the outdoor elements and last as long as possible.
EXTERIOR PAINT
We did prime and paint our planter, but we made sure to to use an exterior paint. You can also protect your wood with stain and varnish if you choose to stain your wood planters instead of paint them.
SWAP GLUES
Usually if we were doing a woodworking project like this, we would use a typical wood glue. In this case, we opted for construction adhesive instead. It’s a much more permanent solution, but also better suited to outdoor environments. Water is not going to seep into this planter and warp our boards!
USING CAULKING
Another thing we did was swap out our usual putty and instead we used caulking. By using an outdoor caulking, we were able to seal all of our joints and help prevent any water from seeping in and warping our plywood.
PLASTIC LINER
The final and most substantial change we made, was to add a plastic line and drainage inside of our planter box. We wanted to be able to freely water the plants, and let our kids water the plants (even messier!) without having to worry about wrecking the planter we made, so we protected the interior.
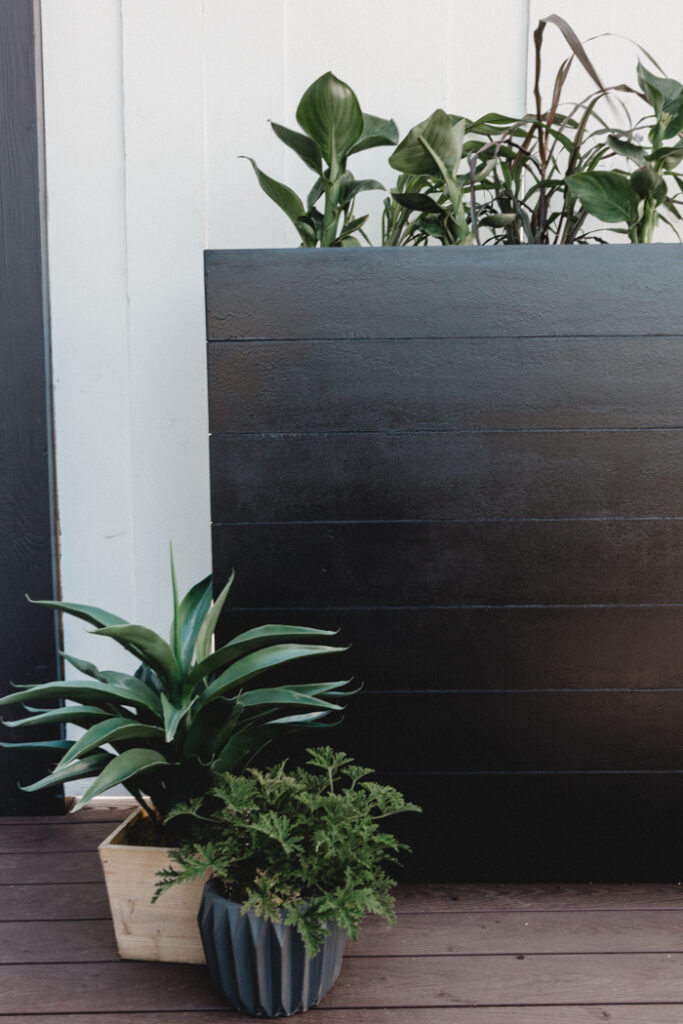
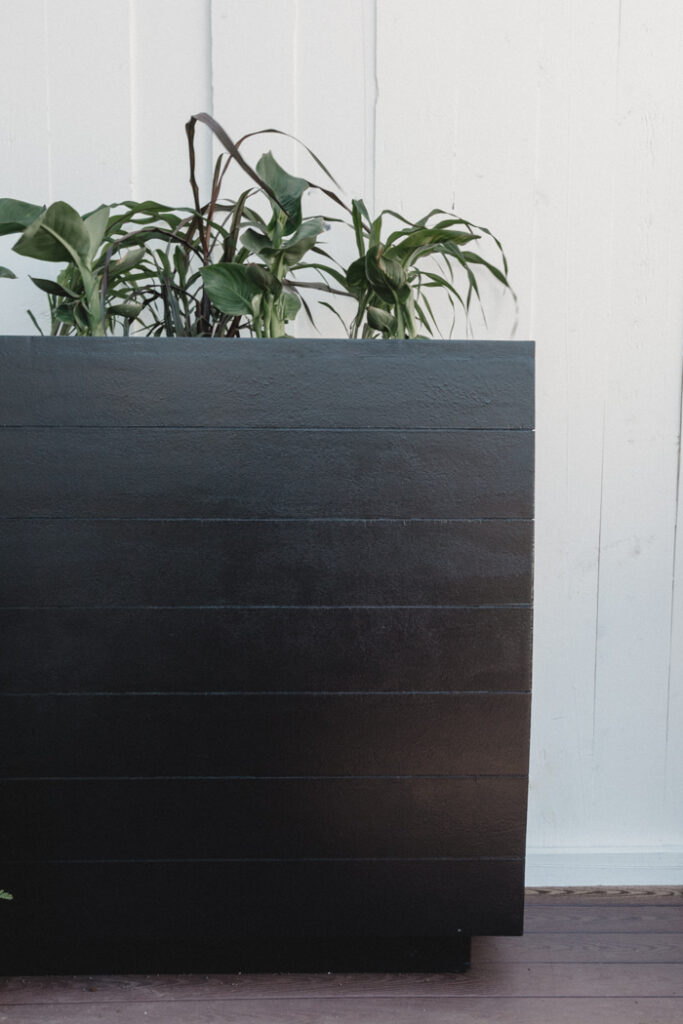
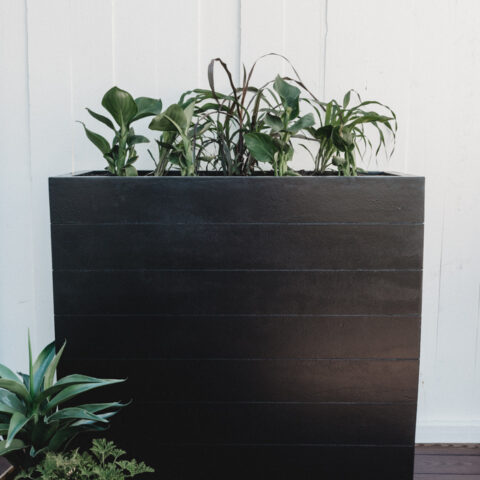
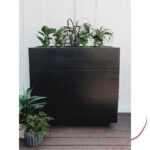
Our Large Planter Box
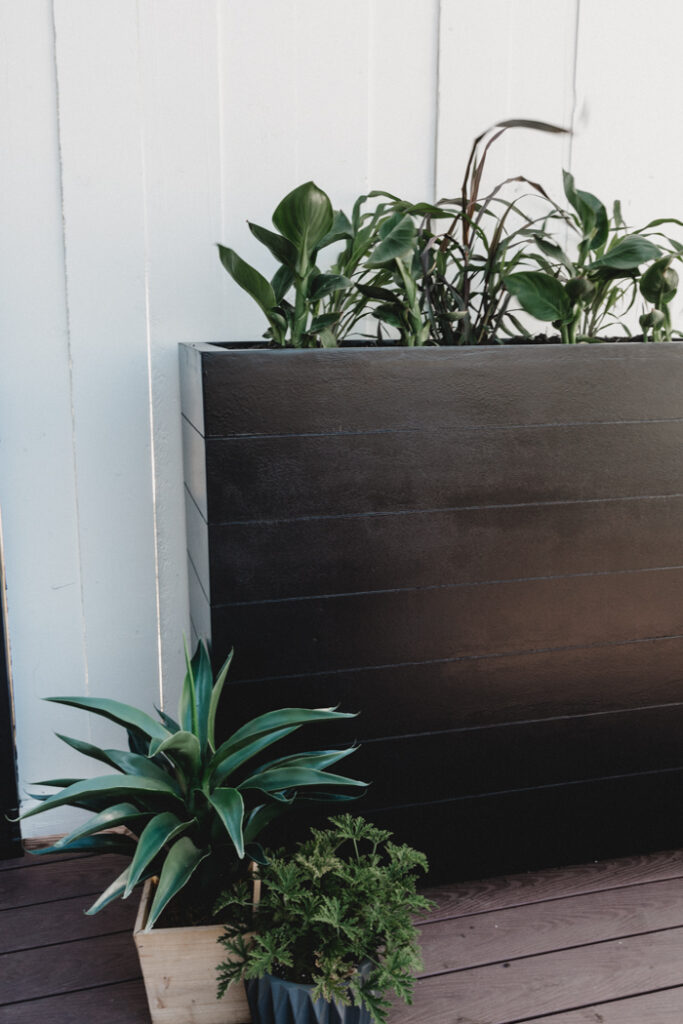
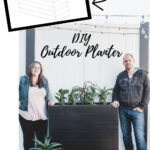
I love how this planter box turned out. It’s exactly what I envisioned in my head. I think it would look beautiful on a front porch, patio or back deck. I’m already trying to convince my husband that we need another one for behind our outdoor sofa!

Our planter box has been living on our DIY Floating Deck and I love how it looks in that space.
If you’re not sure what to plant in your planter, take a look at these outdoor container plant ideas! Here are some tips on outdoor container soils to use too! Or you can do what we did, and ask an attendant at your local garden nursery, lol.

How to Build a Large Planter Box
Materials
- Plywood
- 4 2x4s (8ft long)
- heavy plastic
- outdoor construction adhesive
- outdoor caulking
- primer
- paint or stain
Tools
- K5 Pocket Jig
- table saw
- mitre saw
- sander
- drill
- brad nailer
- impact
- clamps
- router
- caulking gun
- planer (optional)
Instructions
- Cut materials on cut list
- Build wooden frame
- Nail and glue plywood onto frame
- Build top frame and base
- Add false bottom
- Add faux lines
- Fill and caulk any holes and seams
- Prime
- Paint
- Add plastic liner
- Install base and top frame
- Caulk top frame seams and holes
- Final Paint
Recommended Products
As an Amazon Associate and member of other affiliate programs, I earn from qualifying purchases.


If you’re looking for another great outdoor project, check out our Modern DIY Fire Table!

Here’s a ton of other great DIY planter ideas too!

Josh
Friday 29th of April 2022
Hi my auntie wants a planter just like this. Could you please share the drawings. I have the. build plan but not the 3d drawing.
Alex
Monday 11th of May 2020
What a beautiful plant box! This plant box can save a lot of space compares with my plant pots, why I have never thought about this sooner! Thank you for sharing!