
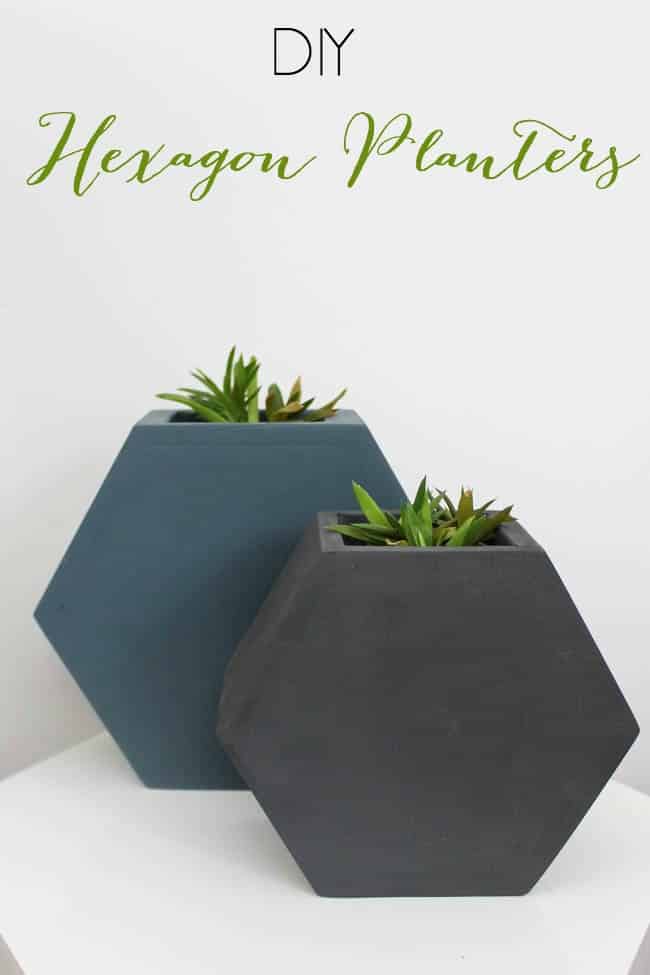
Make your own hexagon wall planter with this simple DIY tutorial. Free plans are included! LOVE the chic, geometric design!
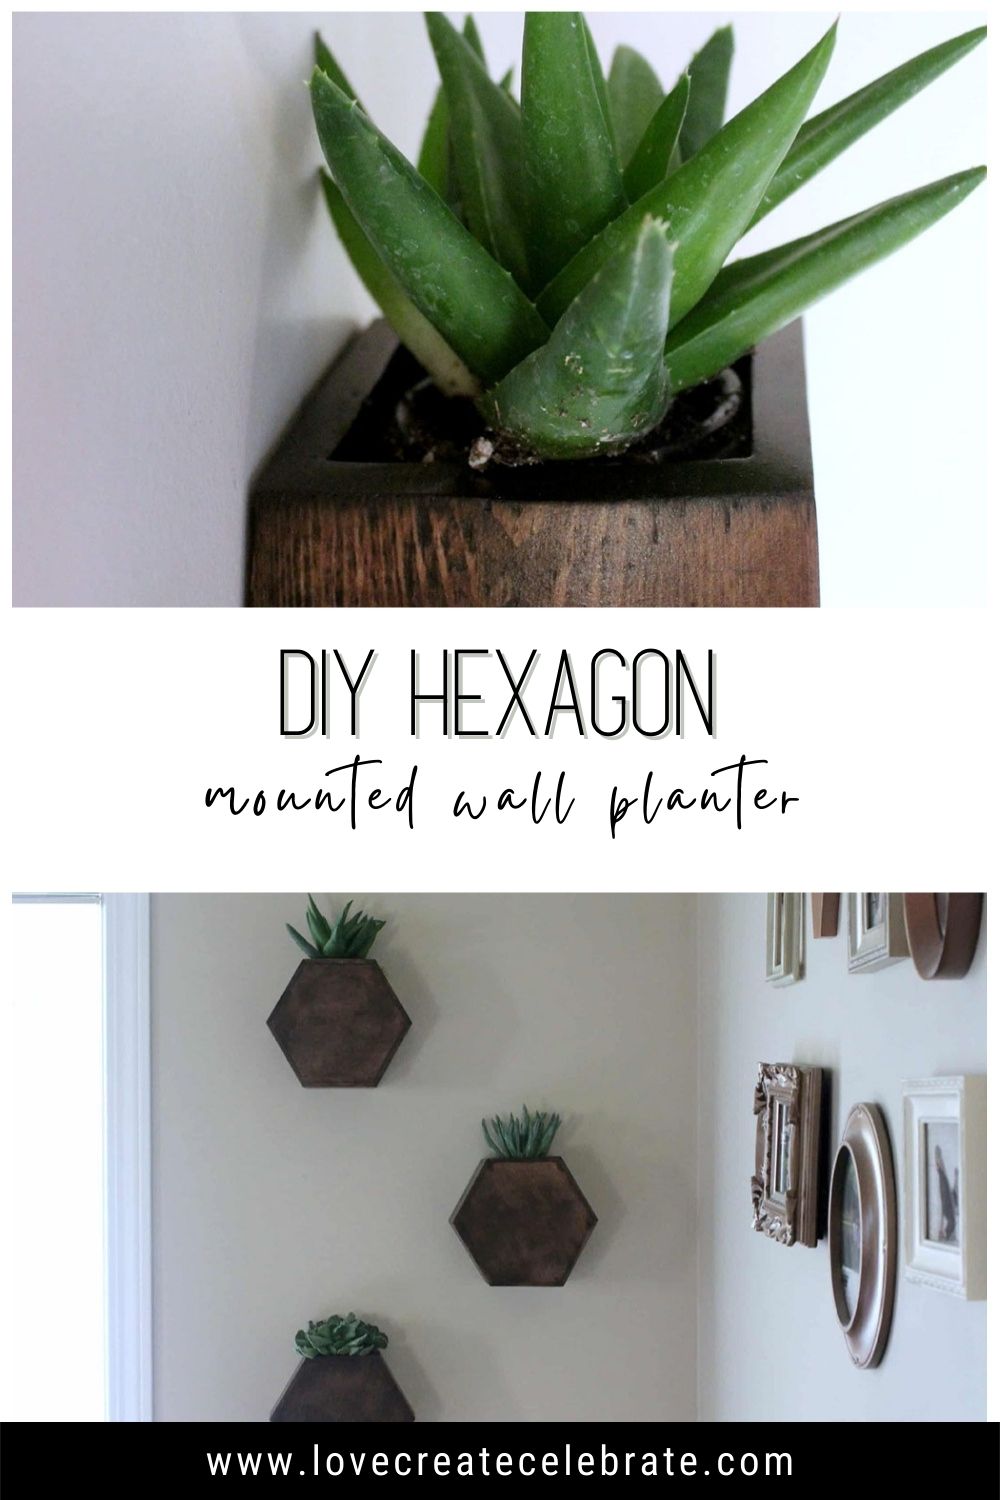
DIY Hexagon Wall Planter
I love having greenery in the house, and I’m always looking for the perfect plants to compliment my house decor. I usually aim for something that breathes life into the space without being too high maintenance. And of course, finding the right planter is half the battle.
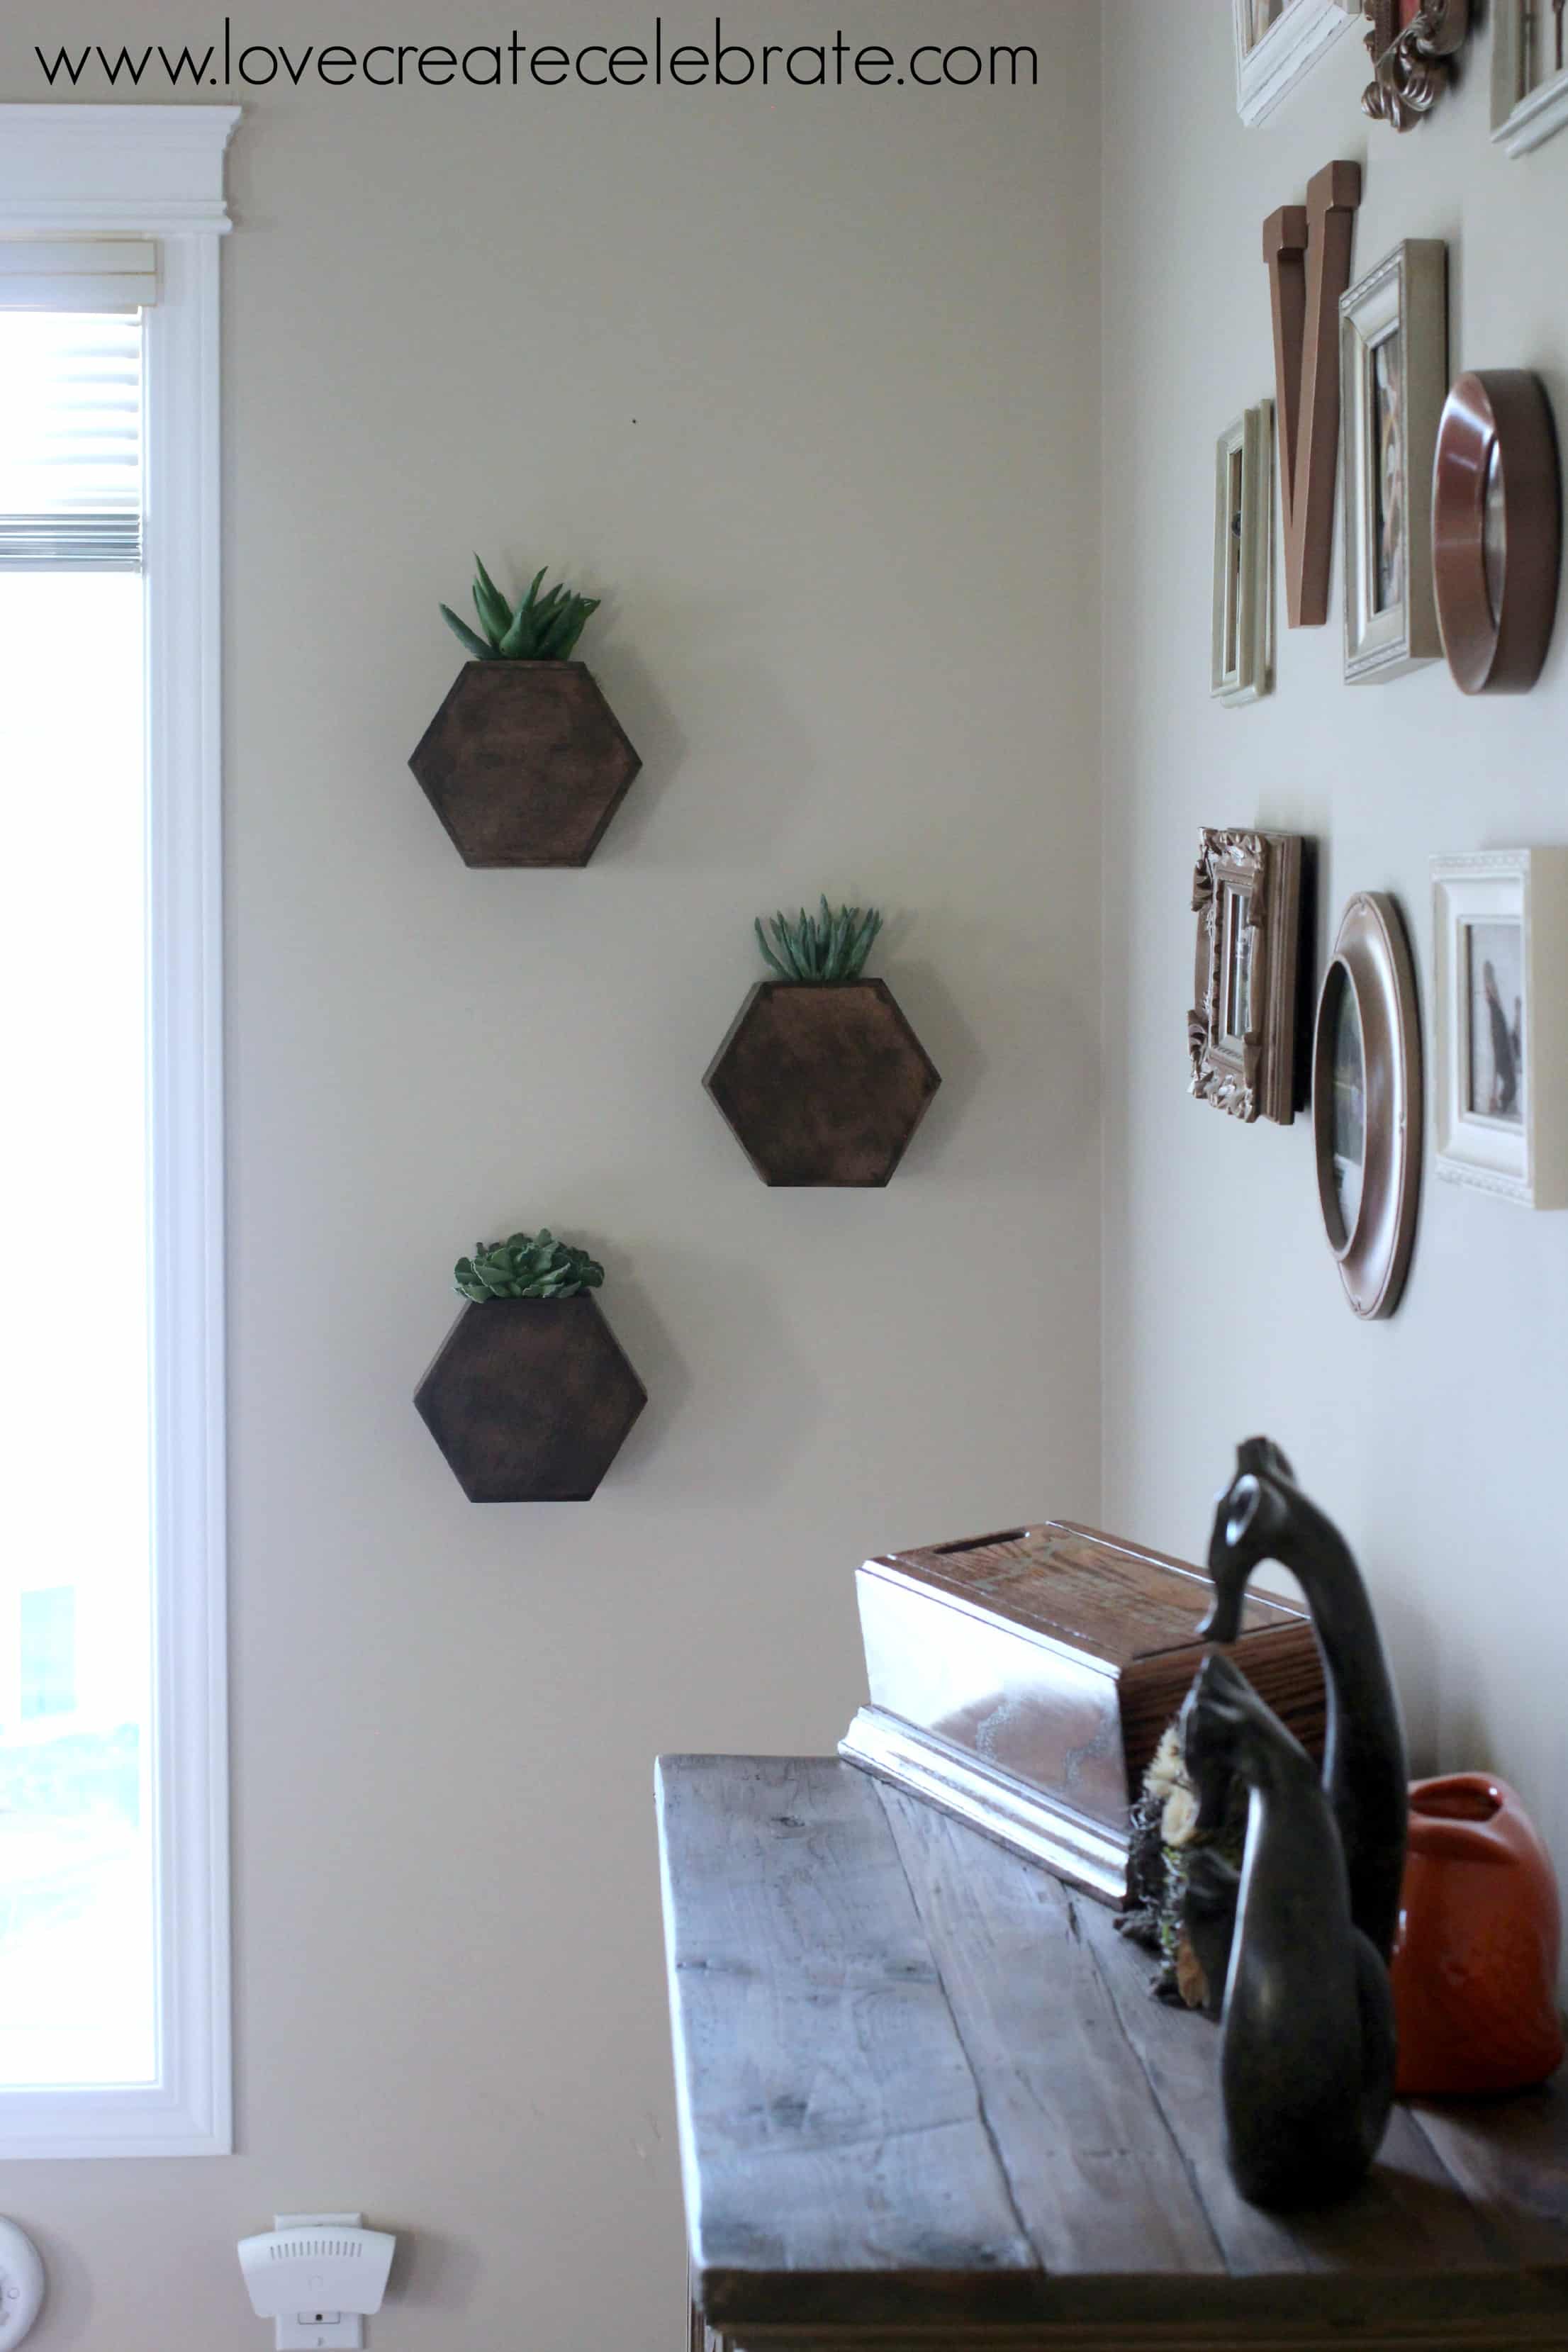
I knew I wanted something that could hang on the wall; something with a modern yet rustic feel. Voila! This is how the hexagon wall planter came about. The hexagon shape gives it its modern feel and the wood adds a rustic touch. It compliments the wooden picture frames on my wall so perfectly.
These planters are not only fabulous decorative elements for your space, they also make for great gifts. Any housewarming parties coming up? No problem, I’ve got you covered. These planters are easy enough to make on your own (especially with my detailed instructions below), or a fun project to do together with your handy hubby or friend.
Plant Options and Upkeep
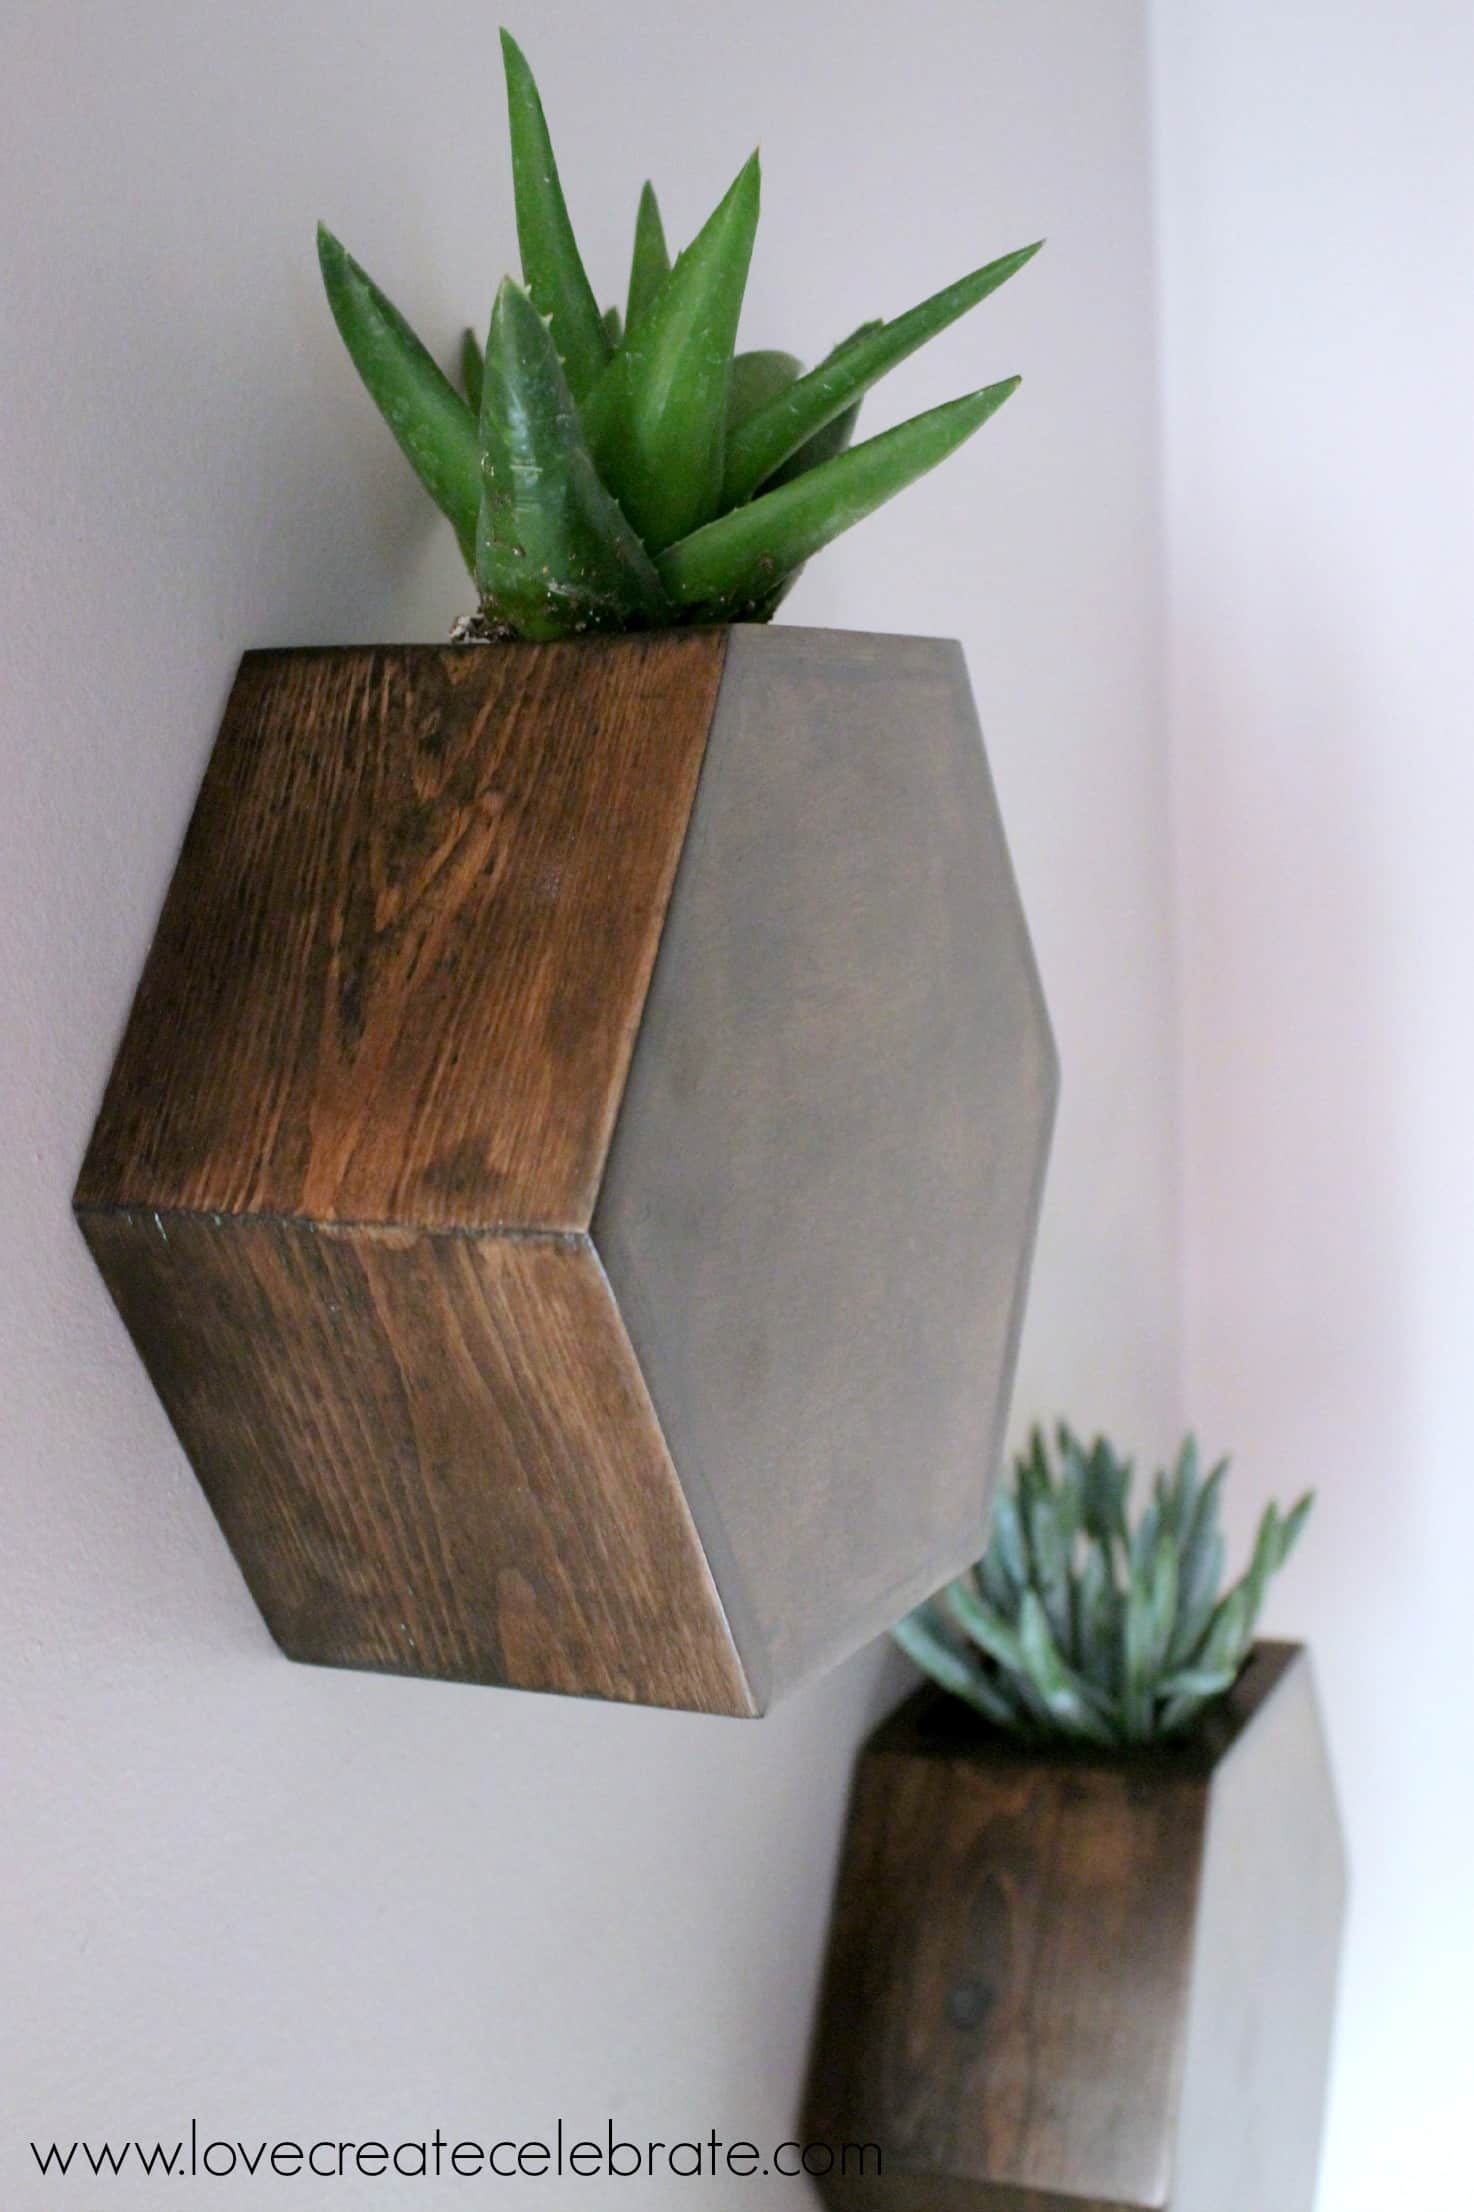
What can you grow in this wall planter? I decided to go with succulents, because they are easy to take care of and I love the contrast of their green leaves with the dark wood of the planter. The wood stain is what gives the planter its rich, deep color. It doesn’t protect the wood from any water damage, but you don’t need to worry about that with this particular planter.
The plants will be sitting in a glass jar inside the wood exterior, so watering them will not damage the wood. However, if you are worried about water damage with accidental spilling over time, you can always add a polyurethane coat as an extra precaution. I didn’t do this and my planters still look great.
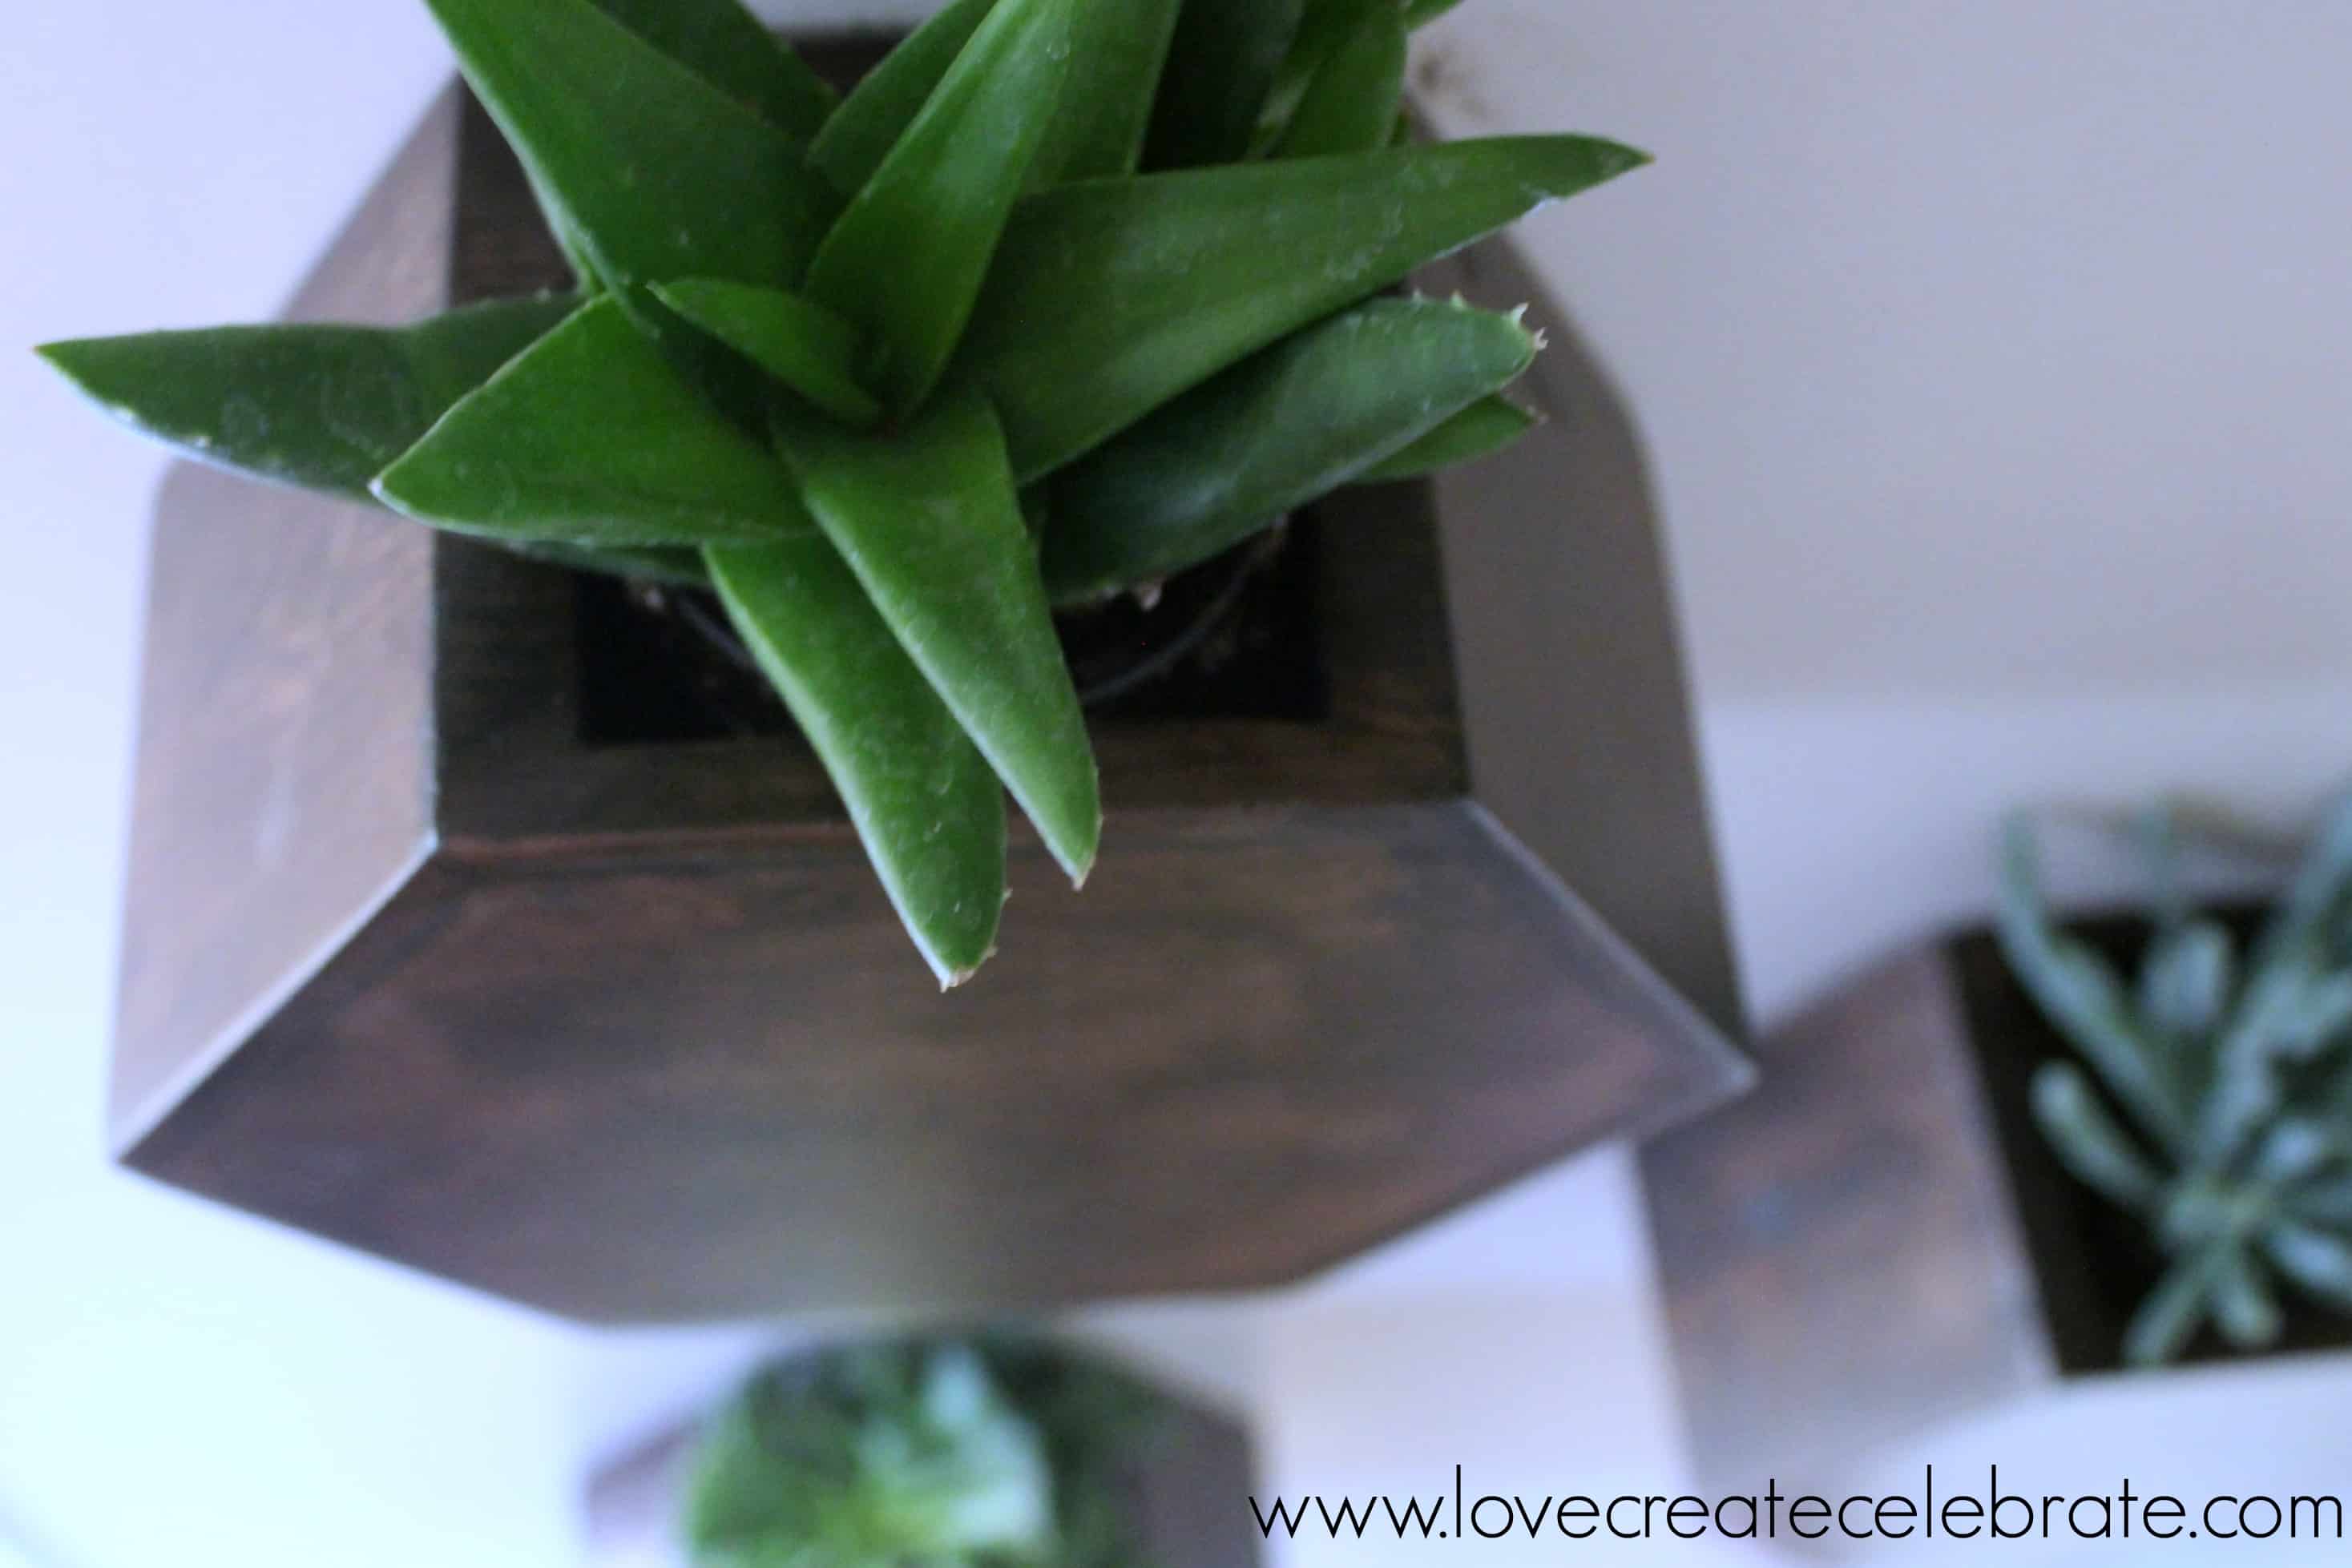
You can basically plant anything in your wall planter: indoor flowers, greenery, cascading plants. If you want to keep it super simple and eliminate upkeep, you can even go with artificial plants. For some great options of faux succulents, check out Amazon. Keep in mind that these planters sit flat against the wall, so there is a limited space between the wall and where the plant will sit. I decided to plant succulents in mine and I was able to fit one plant per planter.
If you like the idea of having succulents in your planters, make sure you select the right kind. You’ll want to think about the location of your planters first: will they be near a window that might provide some natural light? You will likely want to select succulents that are some shade of green—like the ones I chose. These do well indoors and can survive with slightly less direct sunlight. Water your succulents infrequently, soaking the roots and letting the soil dry for a few days before watering again. For more tips on how to take care of indoor succulents, check out this post.
What’s great about this planter, is that the glass jar which will hold your plants can be swapped out periodically, as you like. Maybe you want to display the succulents in the winter, and some colourful flowers in the summer. No problem, all you have to do is slide the jar out from the top and place another one in.
How to Make a Hexagon Wall Planter
Let’s get started by first checking off the materials you’ll need to make this planter:
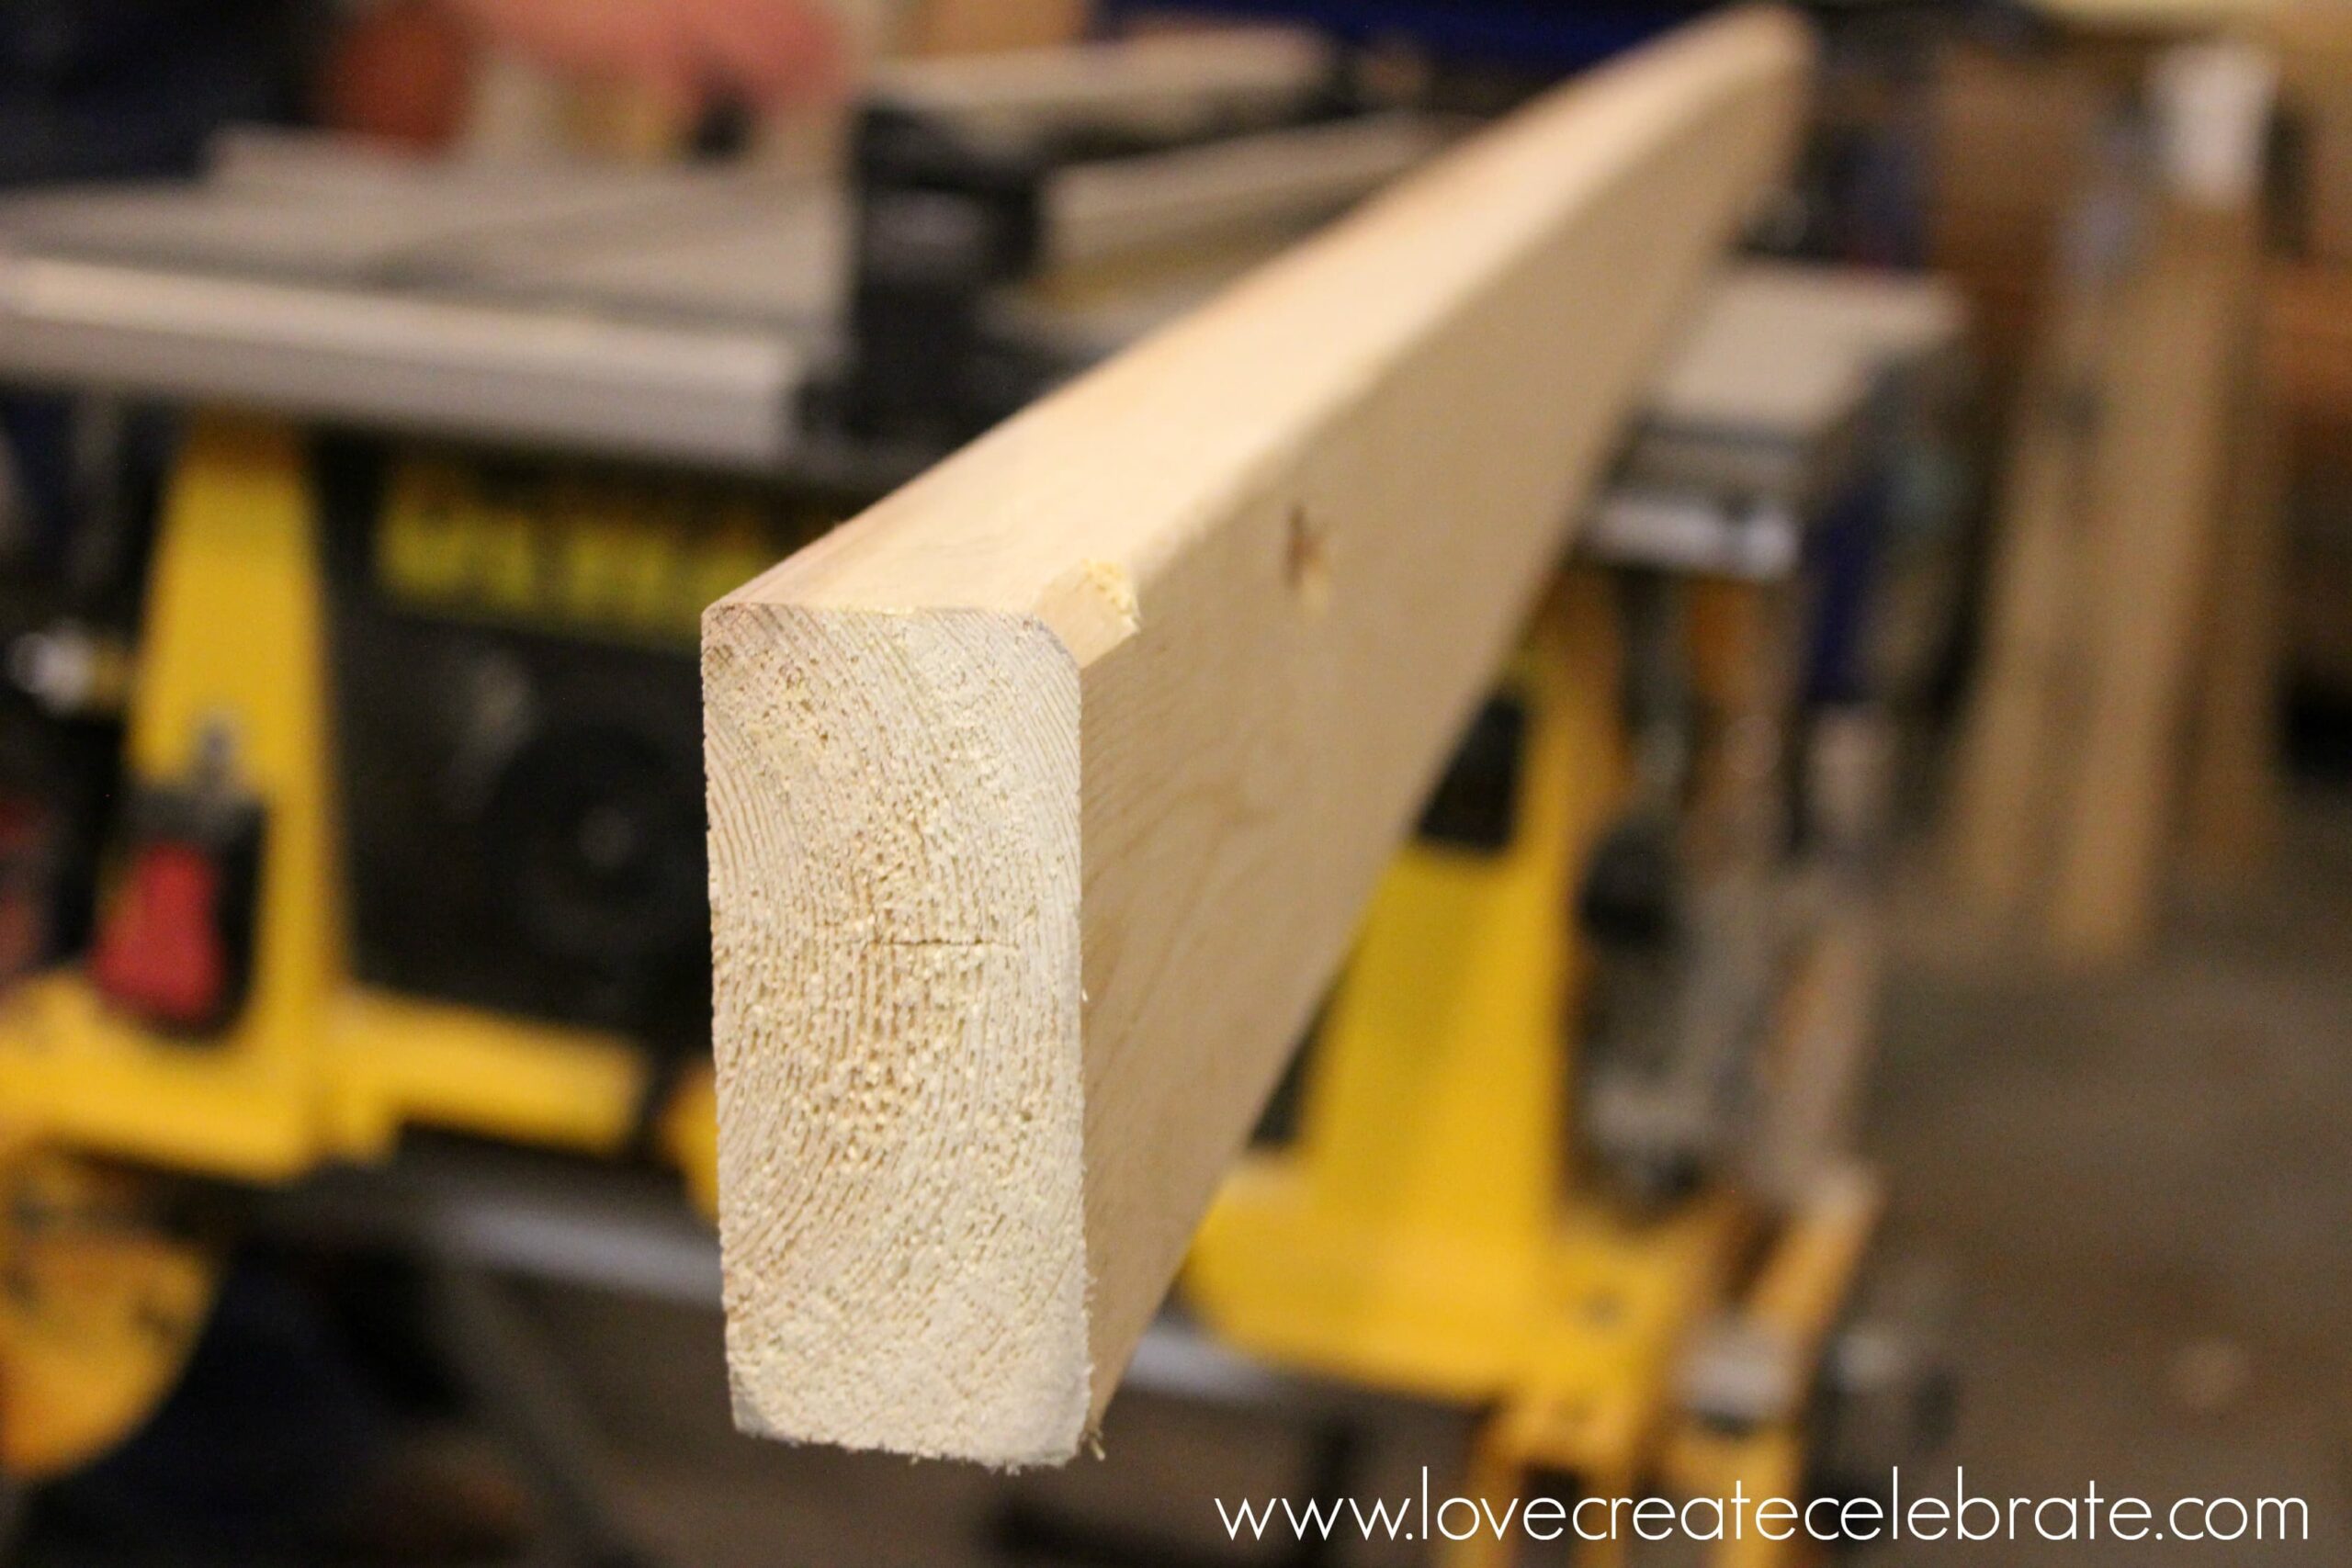
- A 2” x 4” (about 2 feet per box)
- 1/4″ thick plywood for front
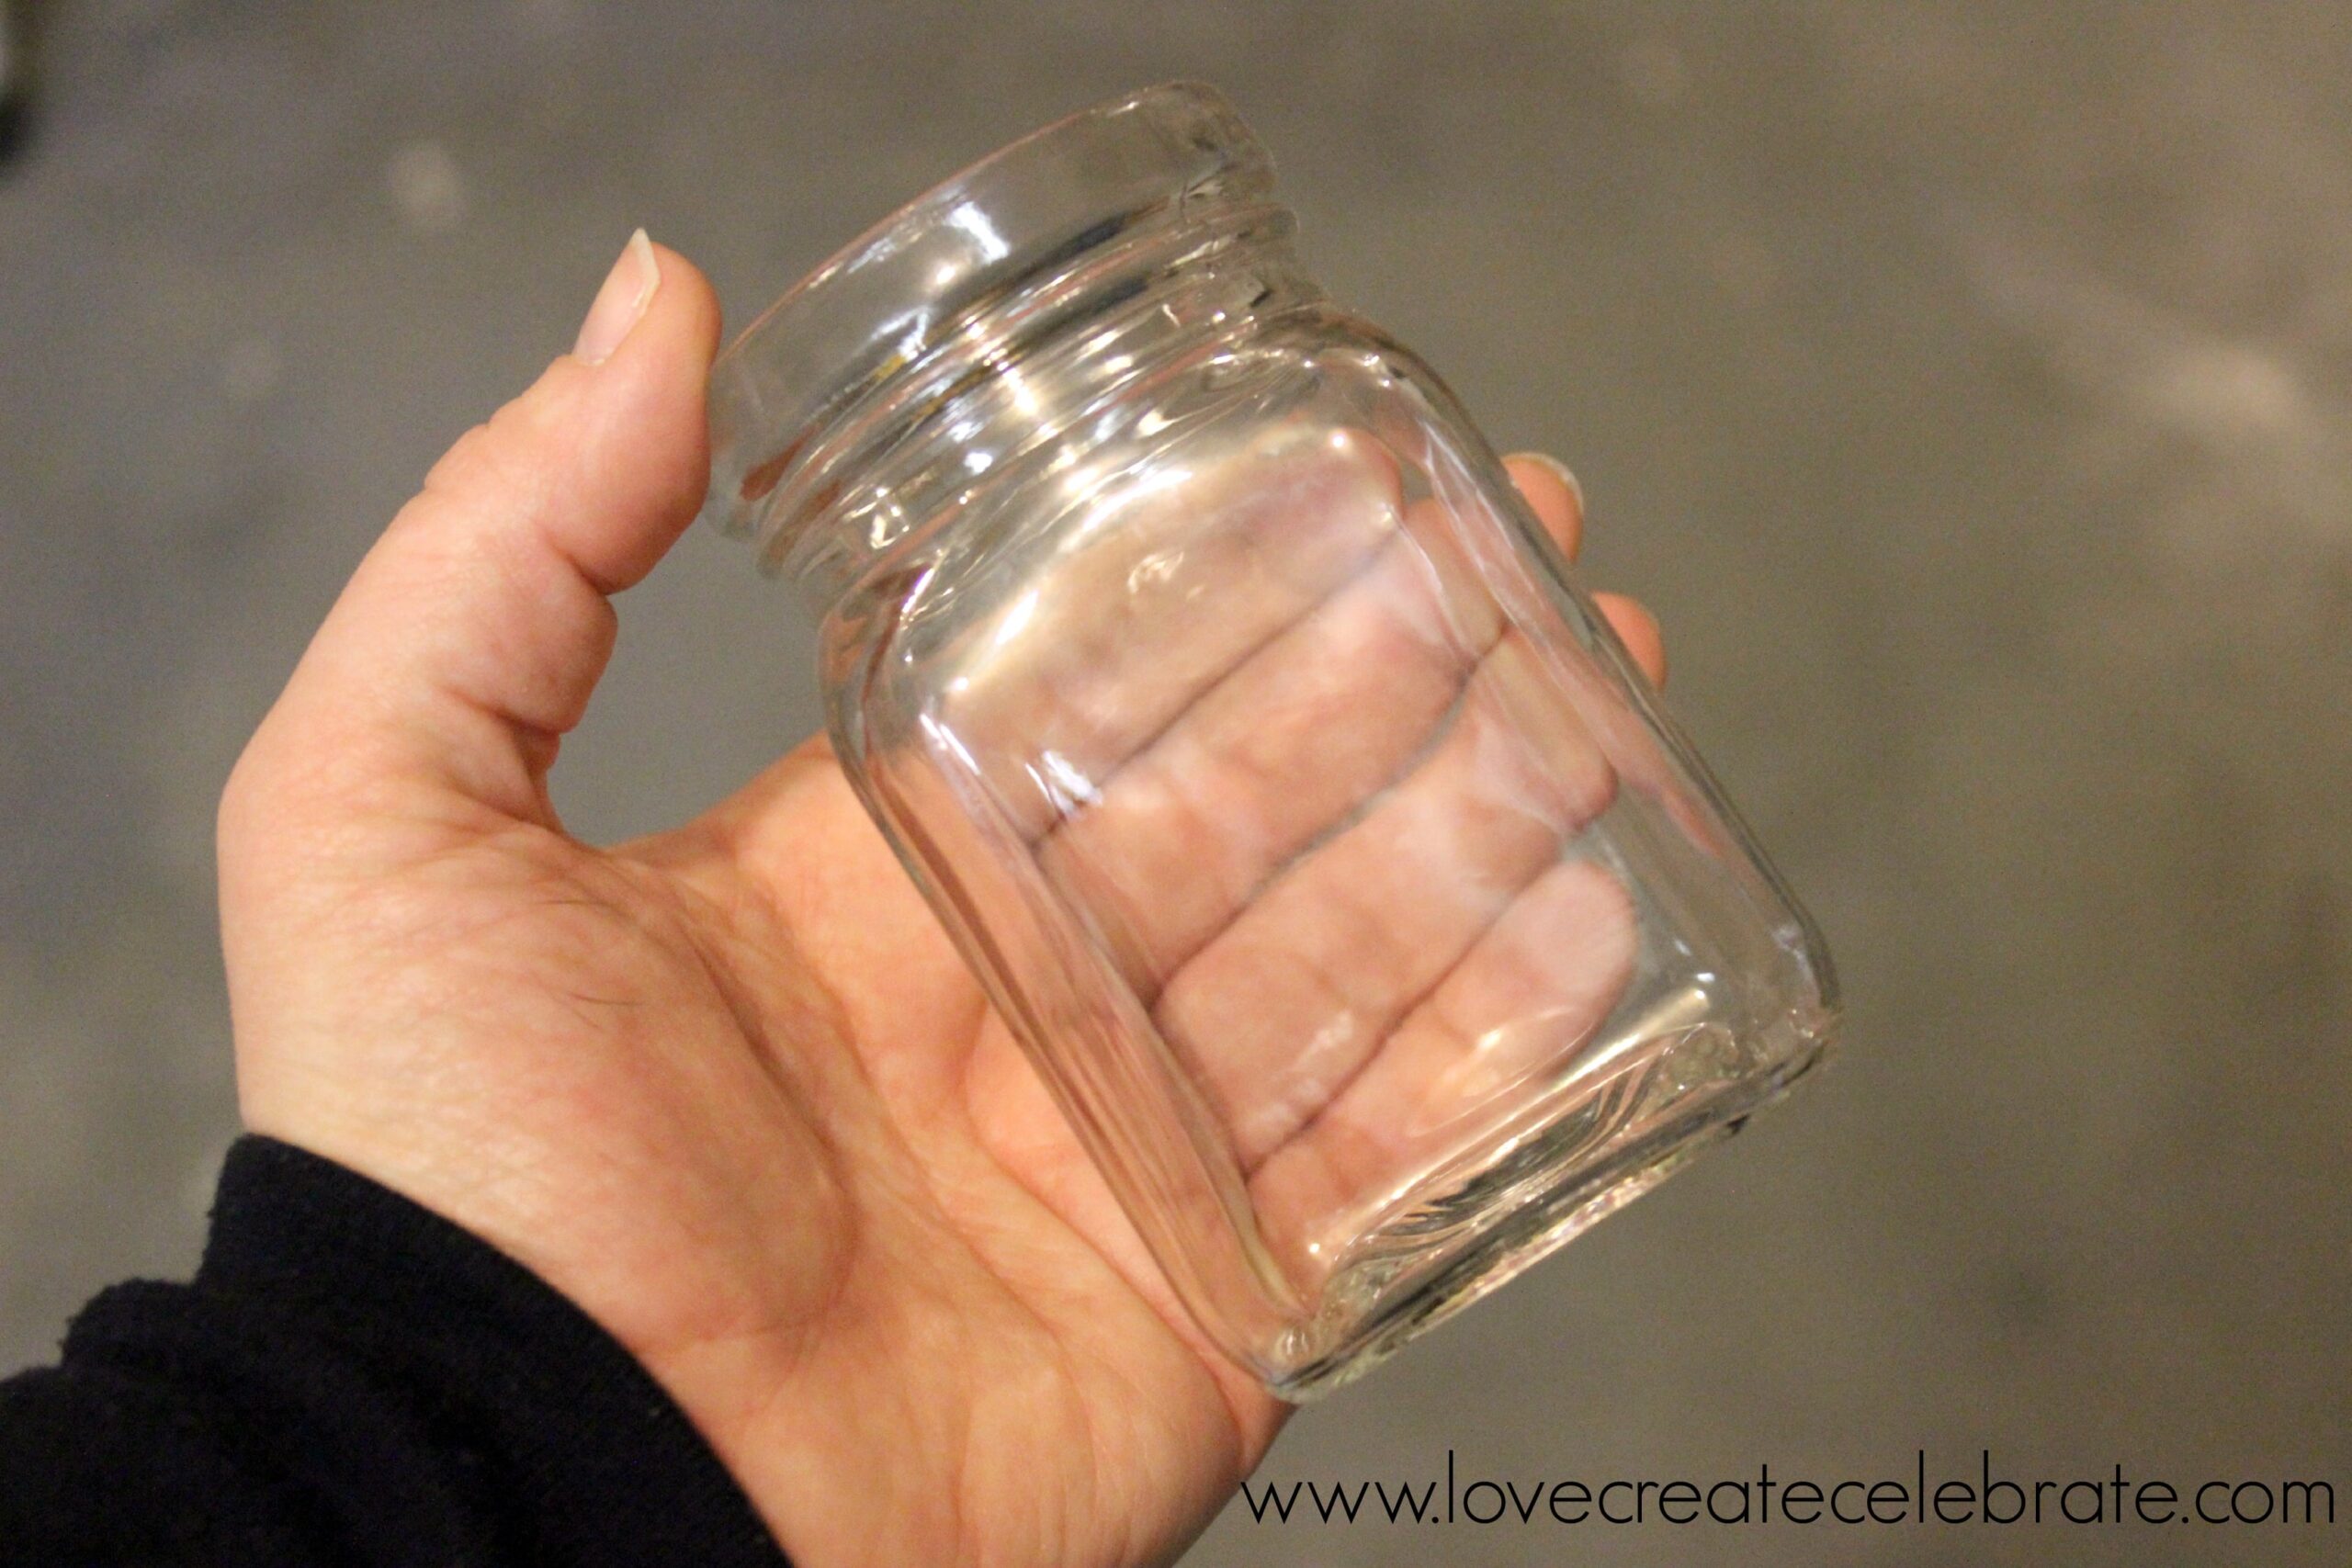
- Glass jar (mine are from the dollar store)
- Wood stain
- Plants (real or fake)
- Wood glue
- Nail gun
- Putty
- Table saw
- Drill
- Scroll saw or jigsaw
- Backing to hang the planter box
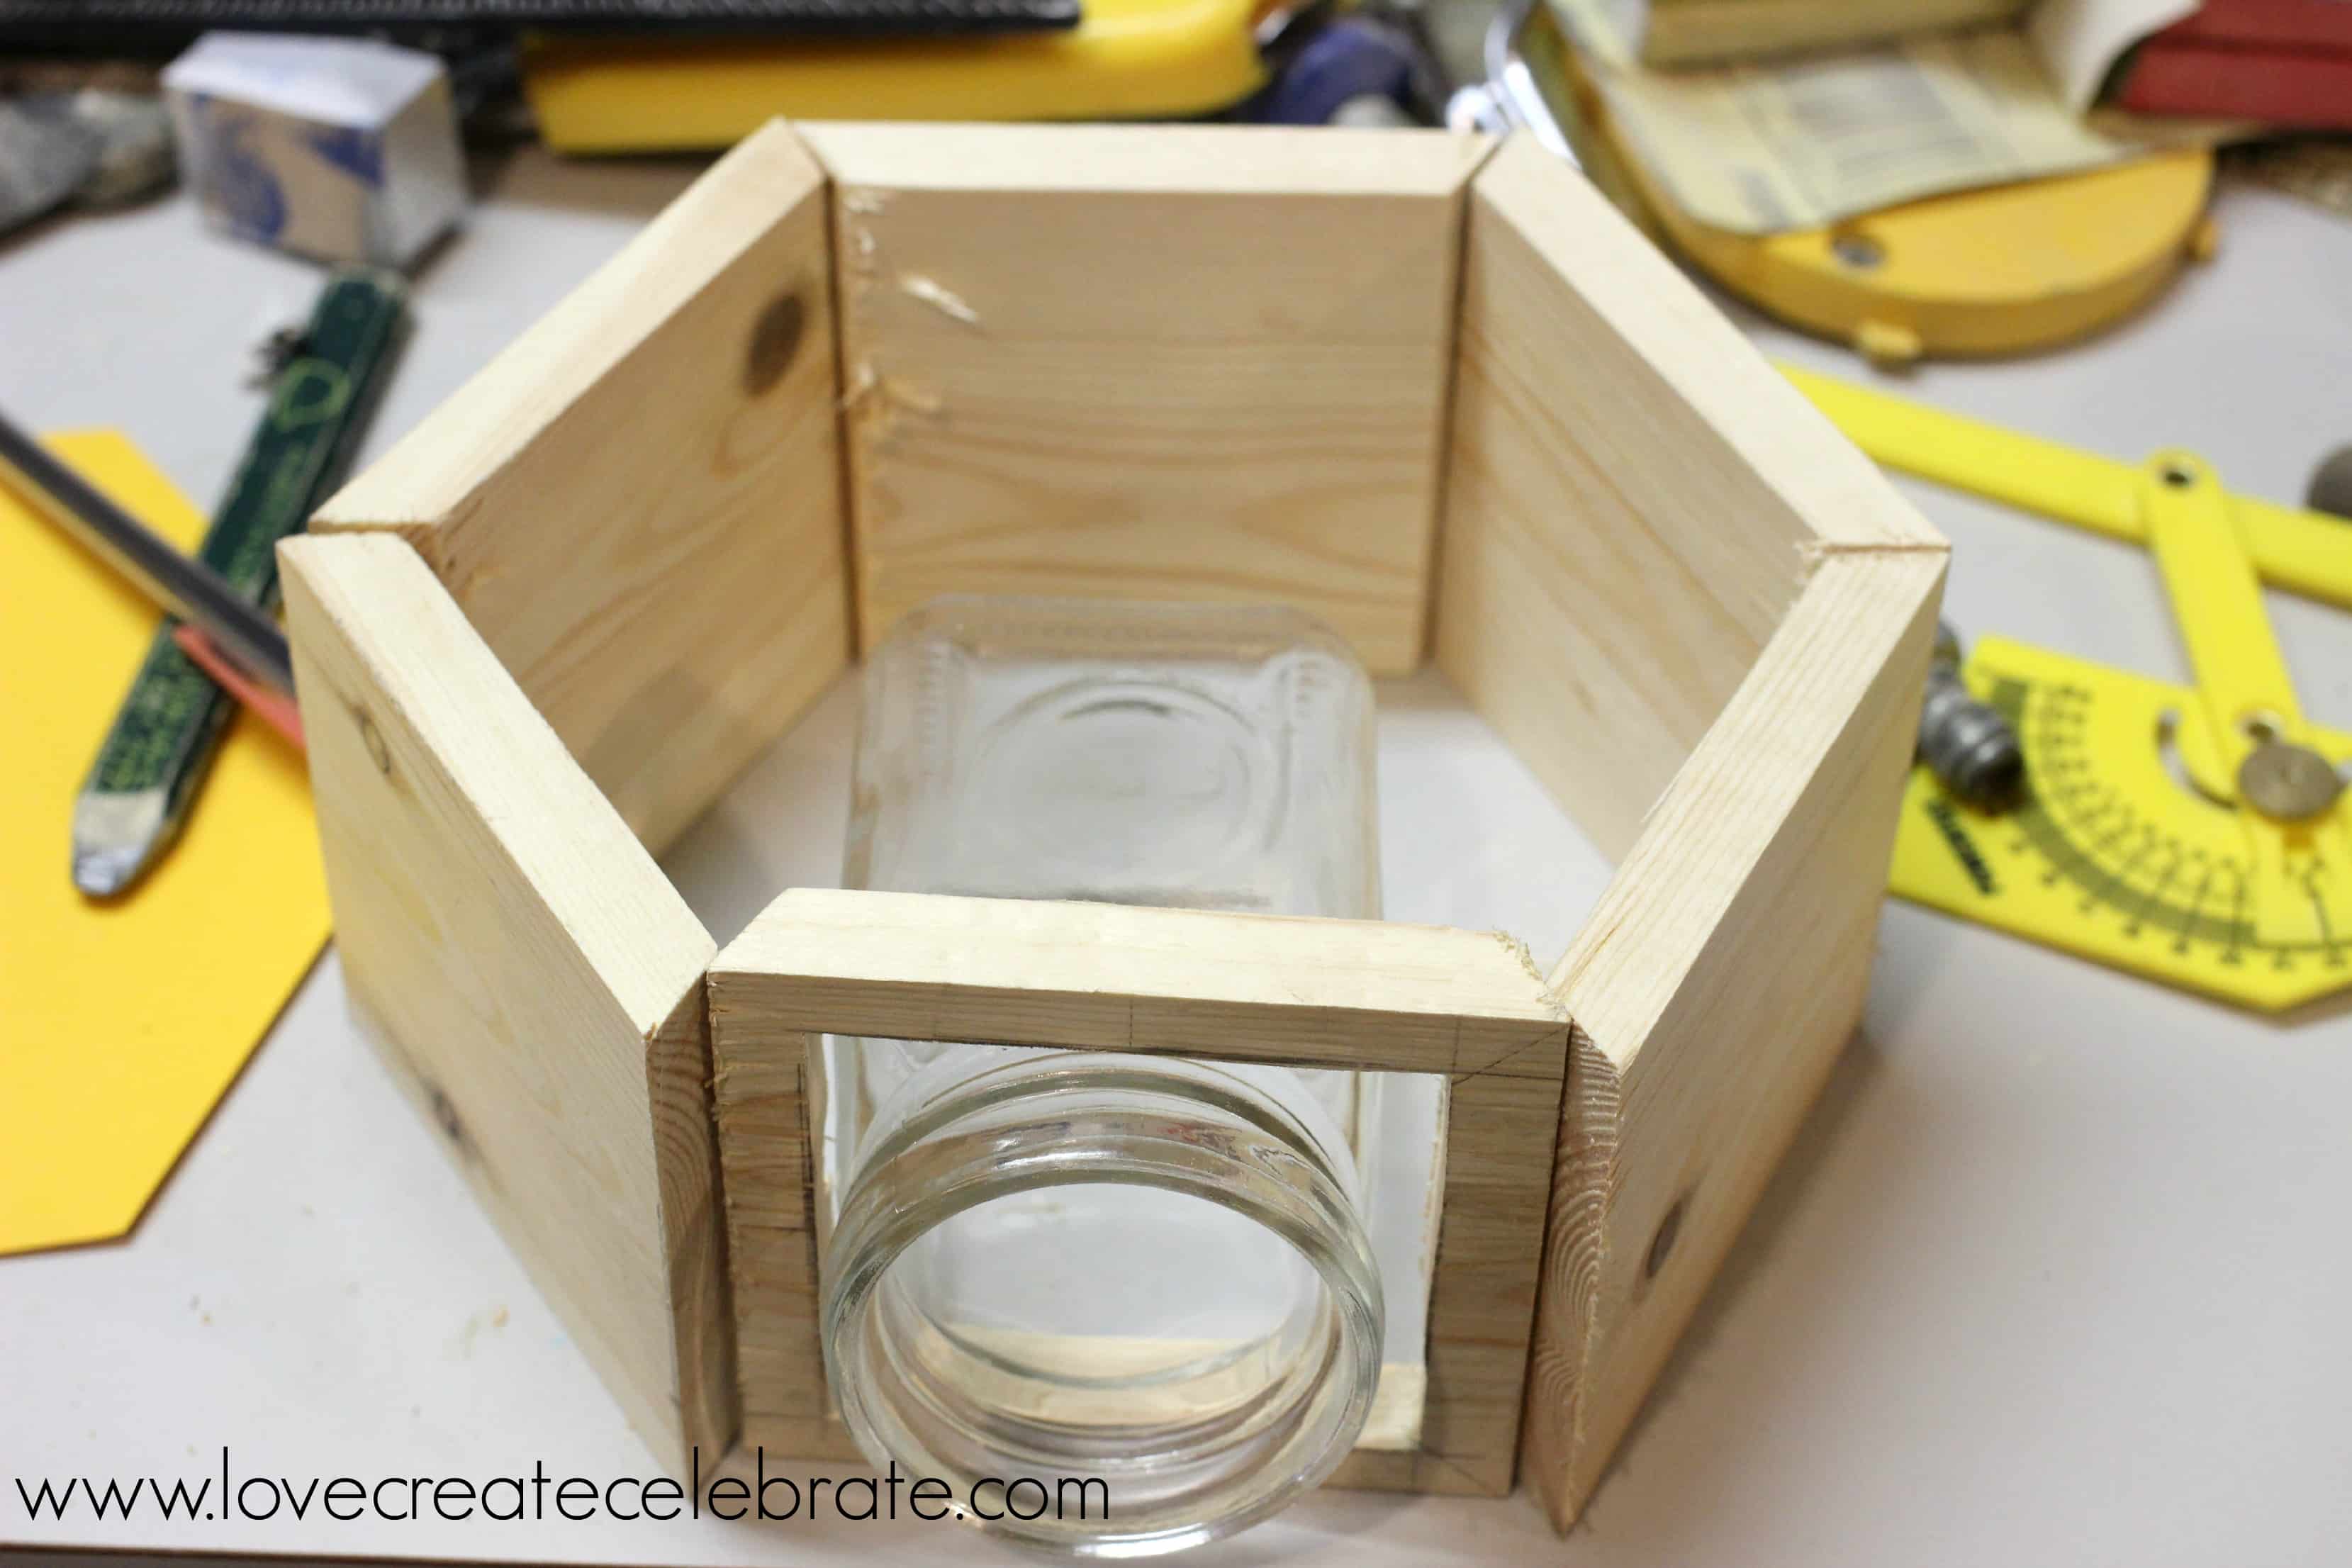
To start, here are the glass jars I bought from the dollar store. I had to plan my hexagon according to the size of the jar, which needs to fit inside, so I planned a hexagon that measures 3.5″ on each side.
Next, using the table saw, my handy husband sawed the 2 x 4 in half, width wise. He ran the pieces through the planer to clean them up (you could just sand them too), and then he cut six 3.5″ pieces for each box.
Next (not pictured), we cut an angle into the sides of each 3.5″ piece. Set your saw to 30 degrees, and cut each side of the wood so that the angles both go inwards (see photos below). The outside (long side) of each piece should remain 3.5″ long.
Next, you need to cut a hole into one of those sides that is large enough for your jar to slide through (mine was 2 3/4″ x 2 3/4″). I found the center of the blocks and made a square around the center point. Then, I drilled into the block, so that I could get into the hole easily with the scroll saw (or jigsaw). I used the saw to cut the square out—leaving the perfect opening for my jars :)
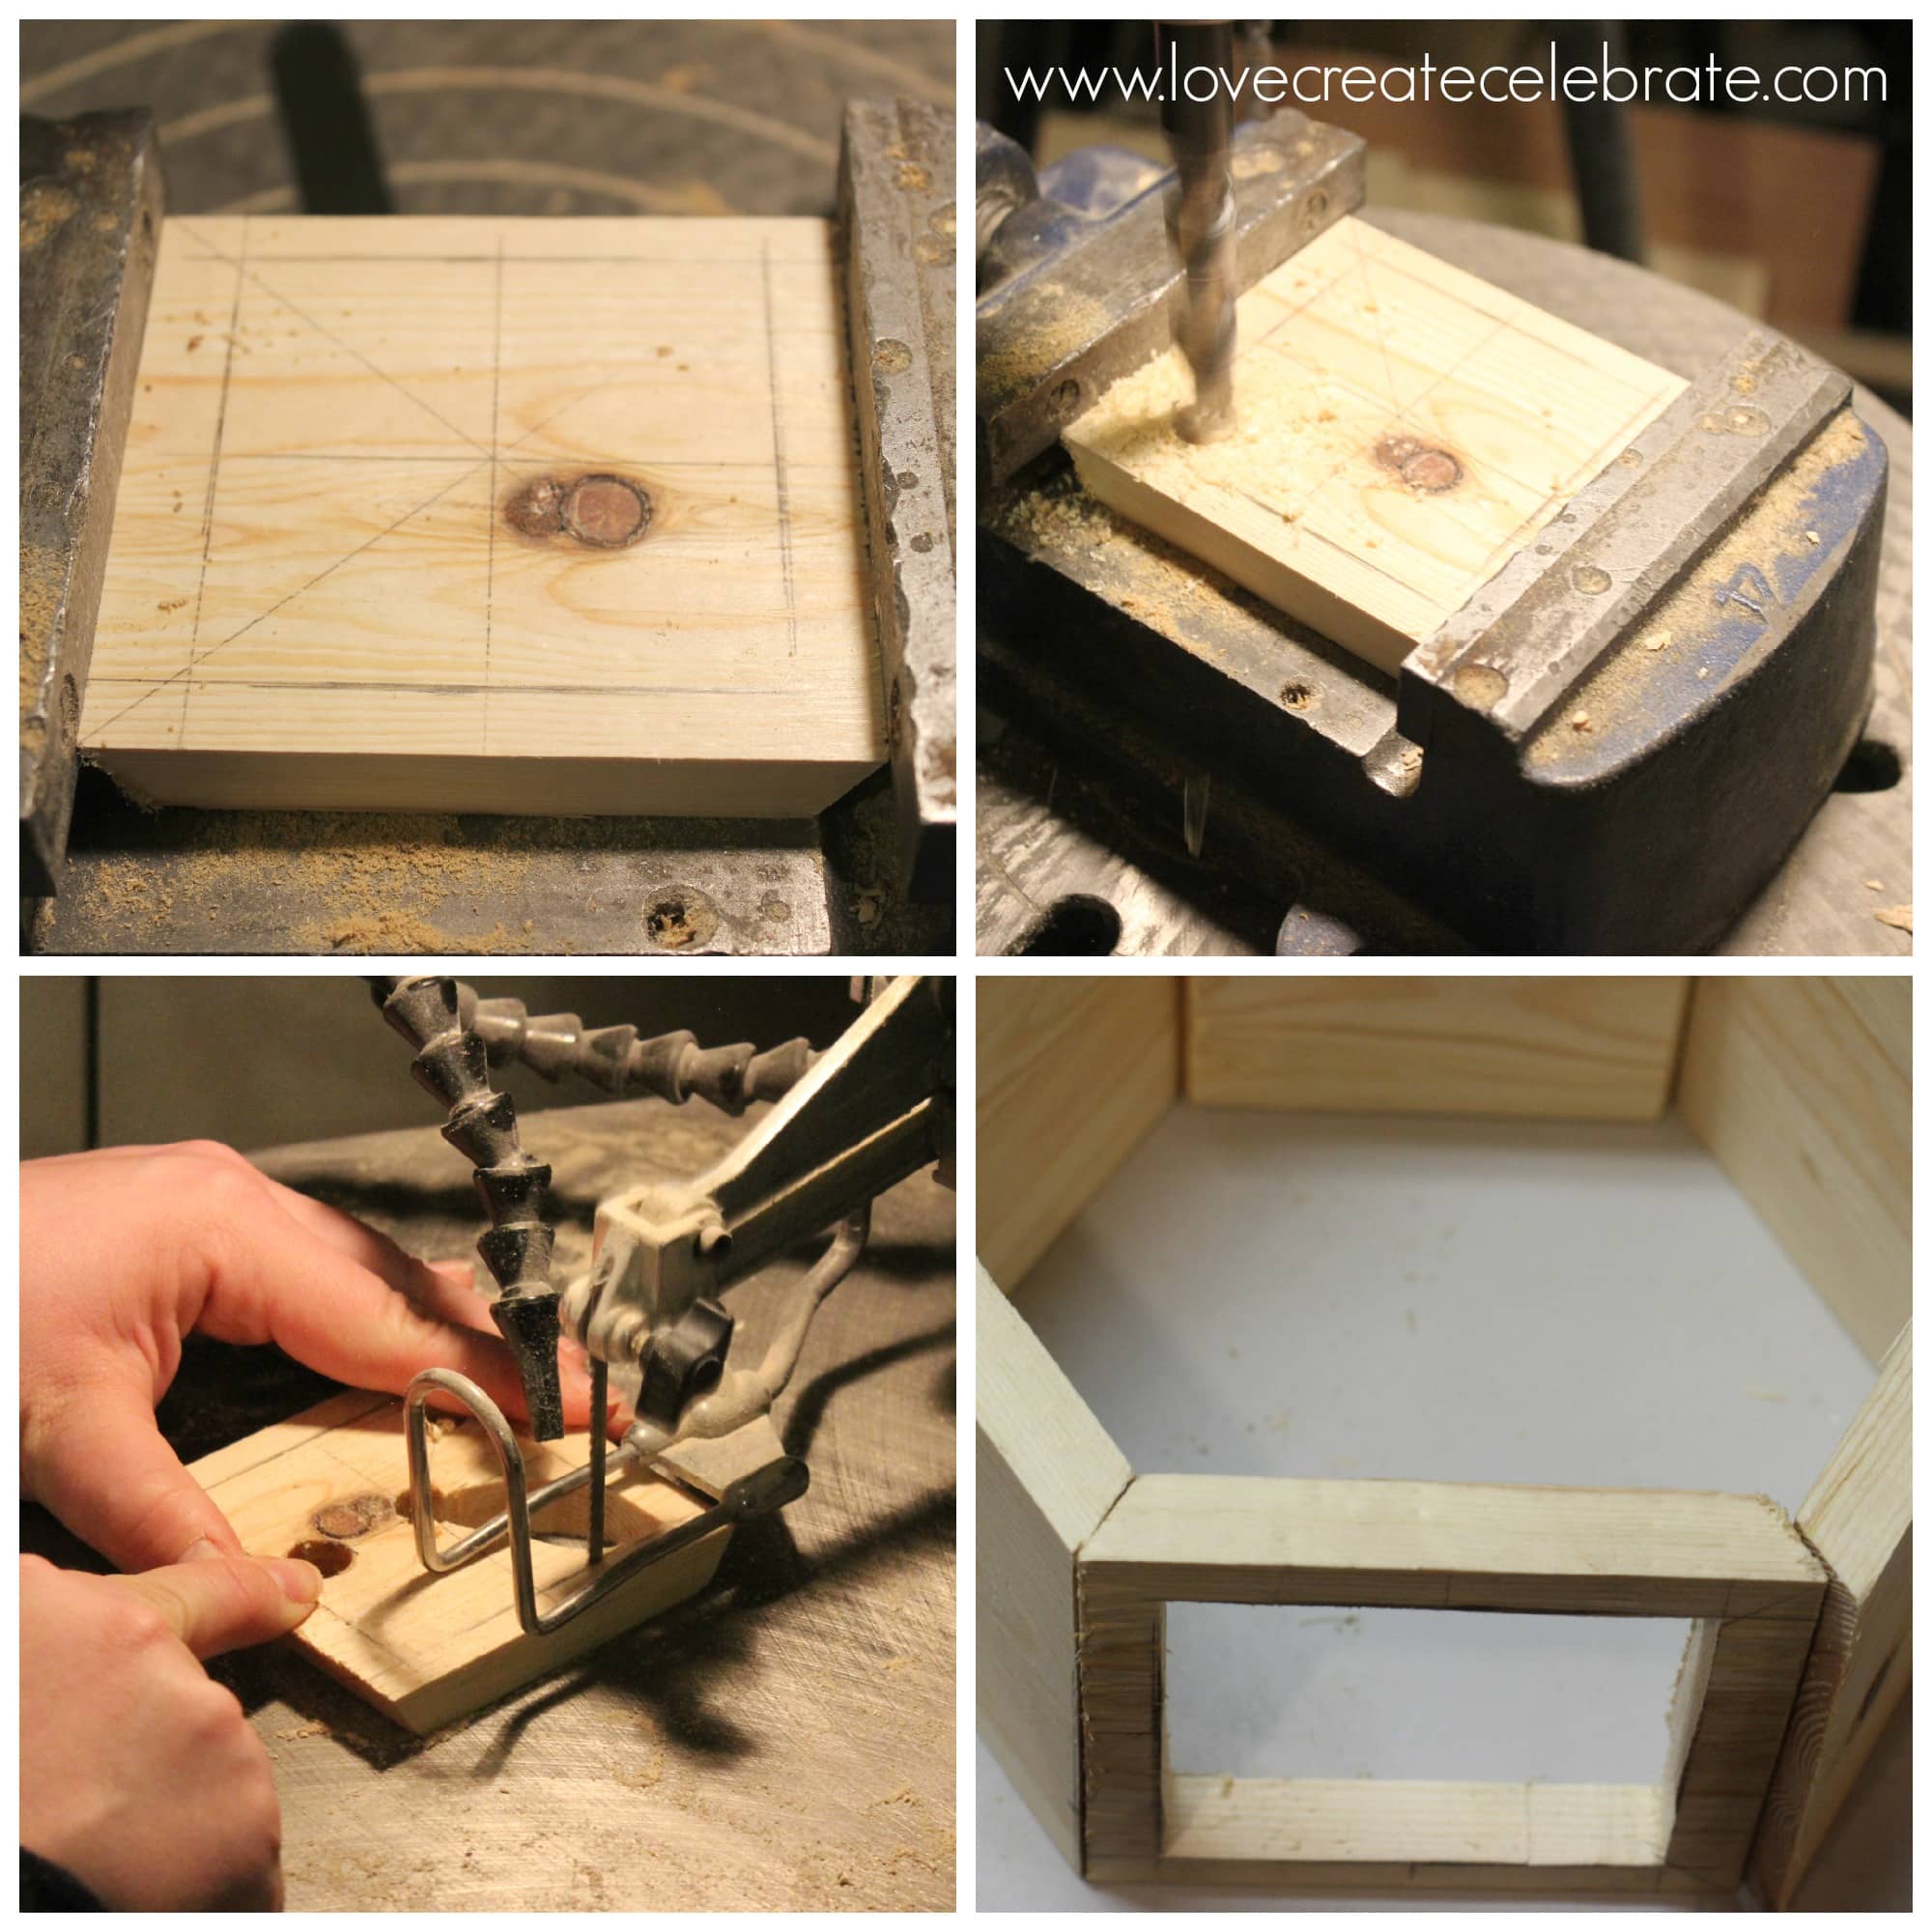
Here’s what the hexagon looks like all laid out, with the hole cut out for the planter jar
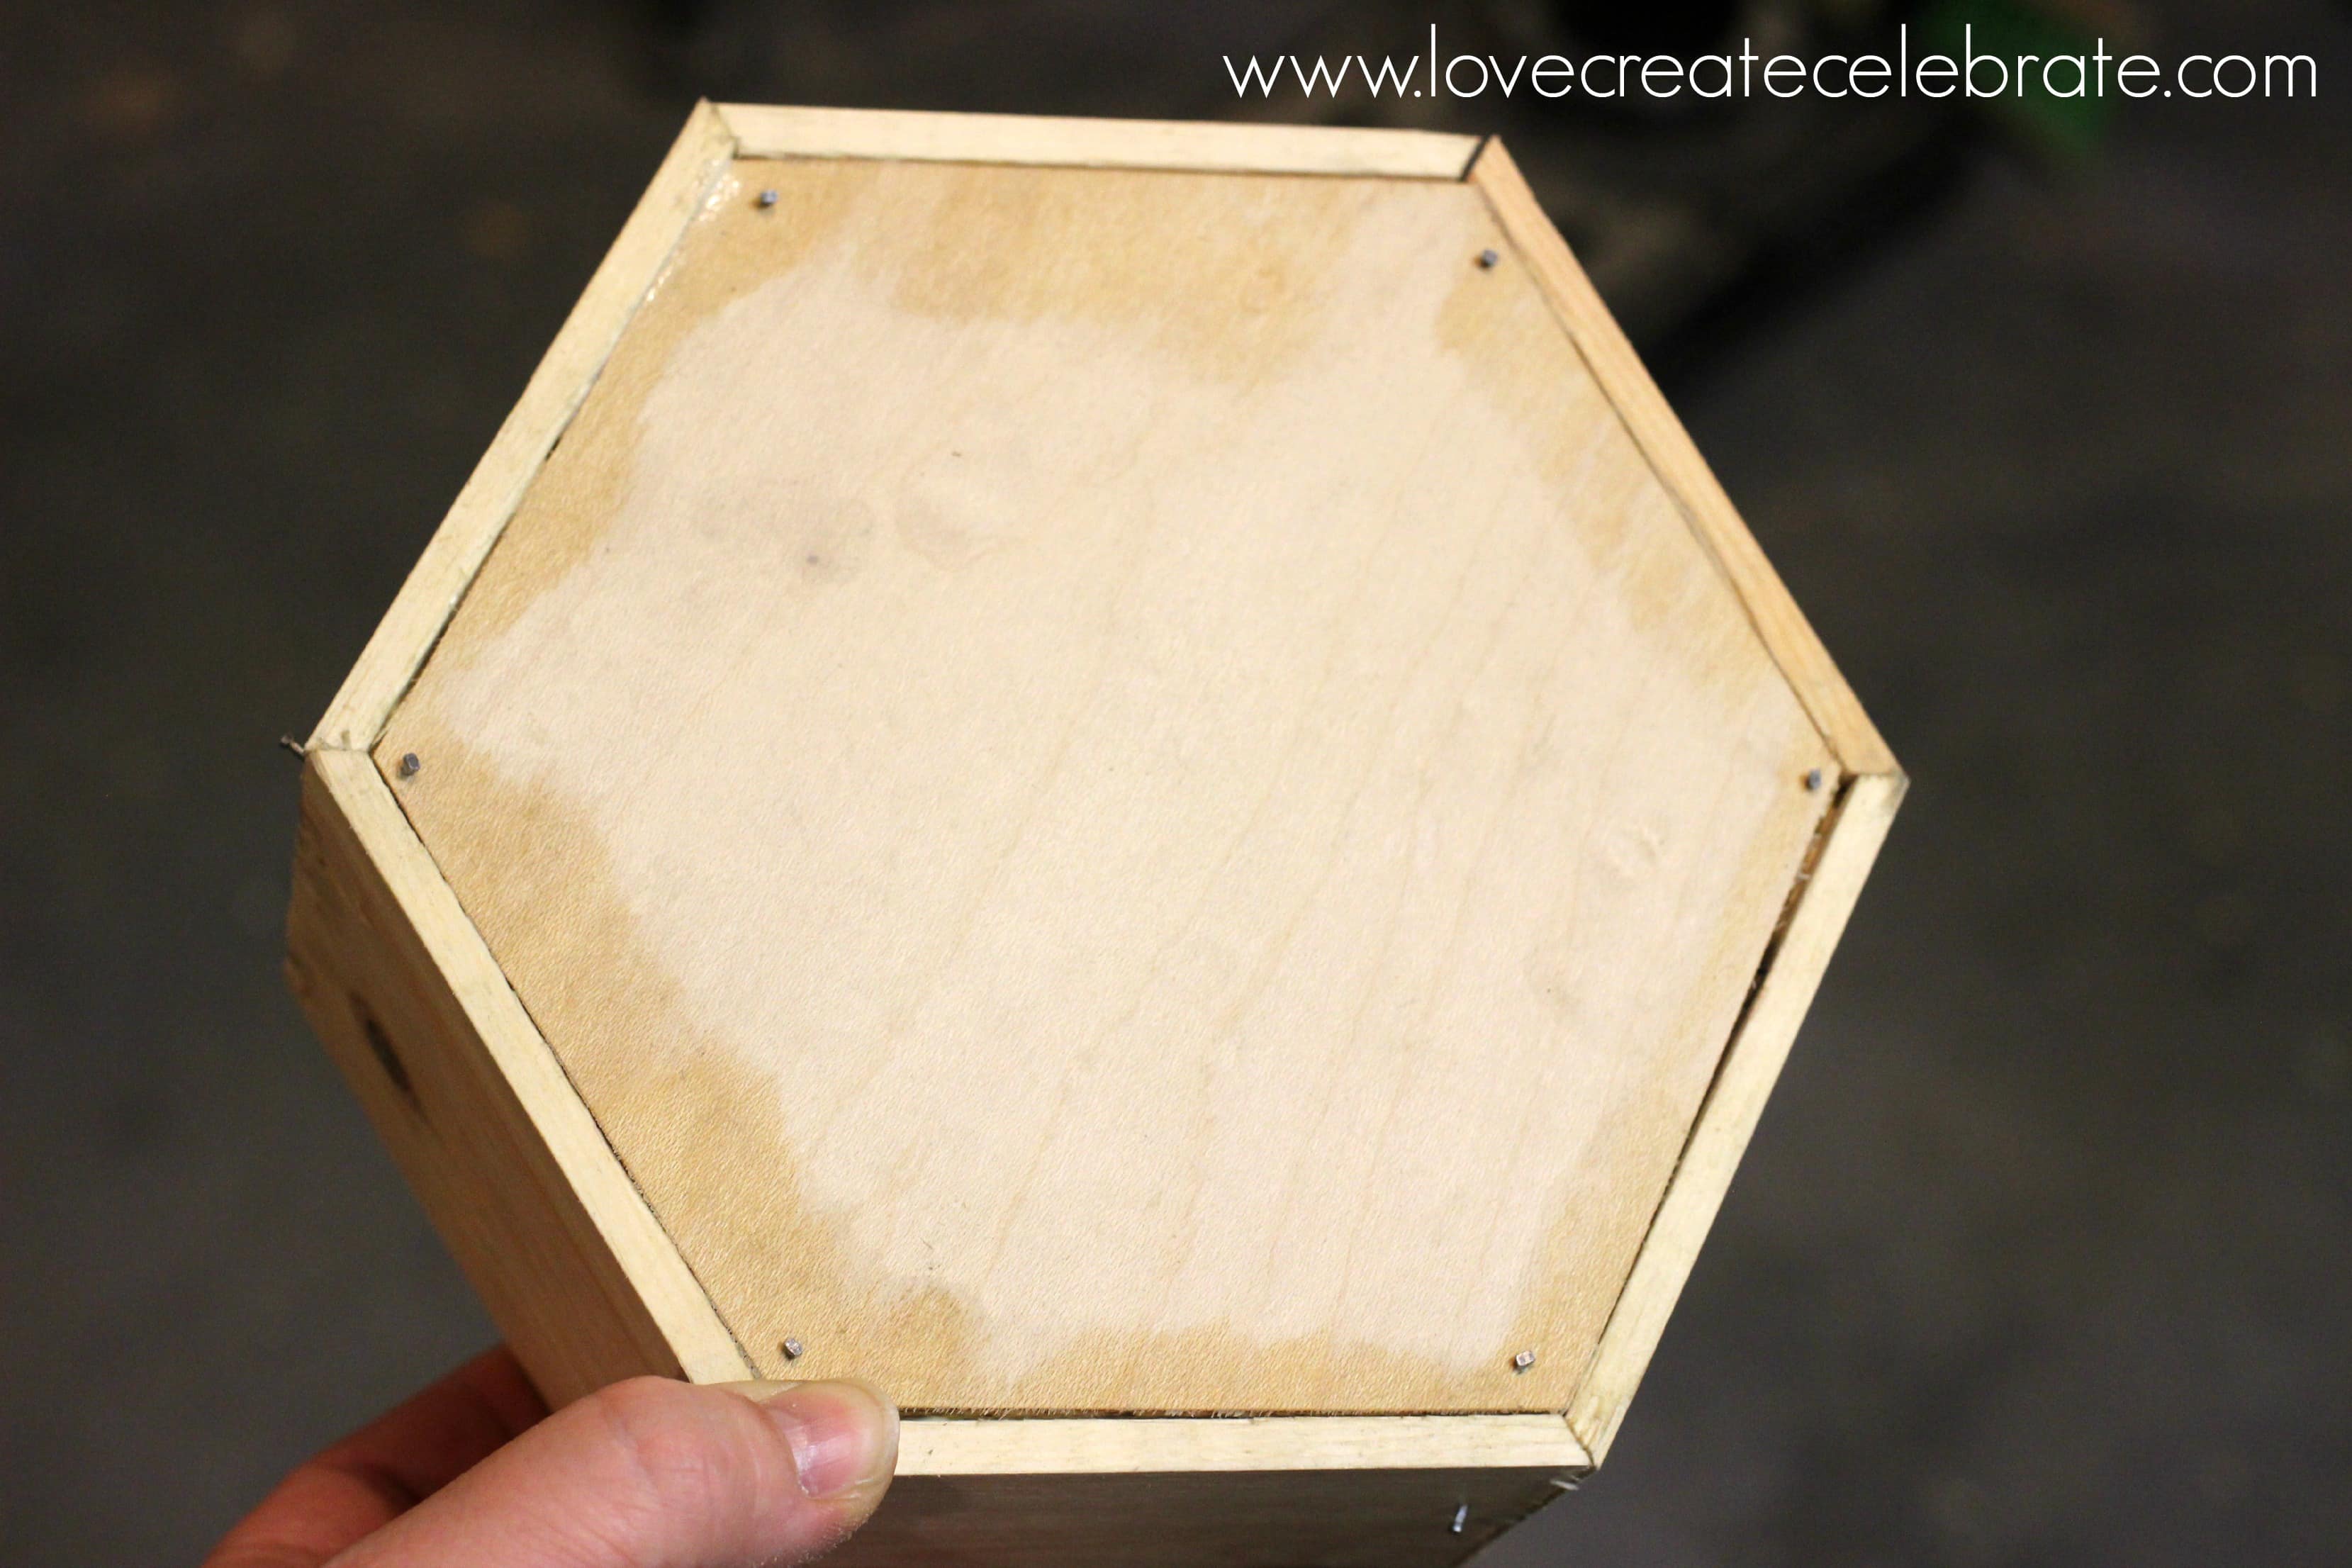
Next, you want to cut your plywood piece so that it fits perfectly on top. My husband inlaid our front piece (because he’s crazy talented like that), but if I were doing this on my own, I would’ve traced the box and nailed a piece directly to the front of the hexagon.
Next, put wood glue between each joint and then use nails to hold the wood pieces in place temporarily until the glue dries. I would recommend using 1″ brad nails.
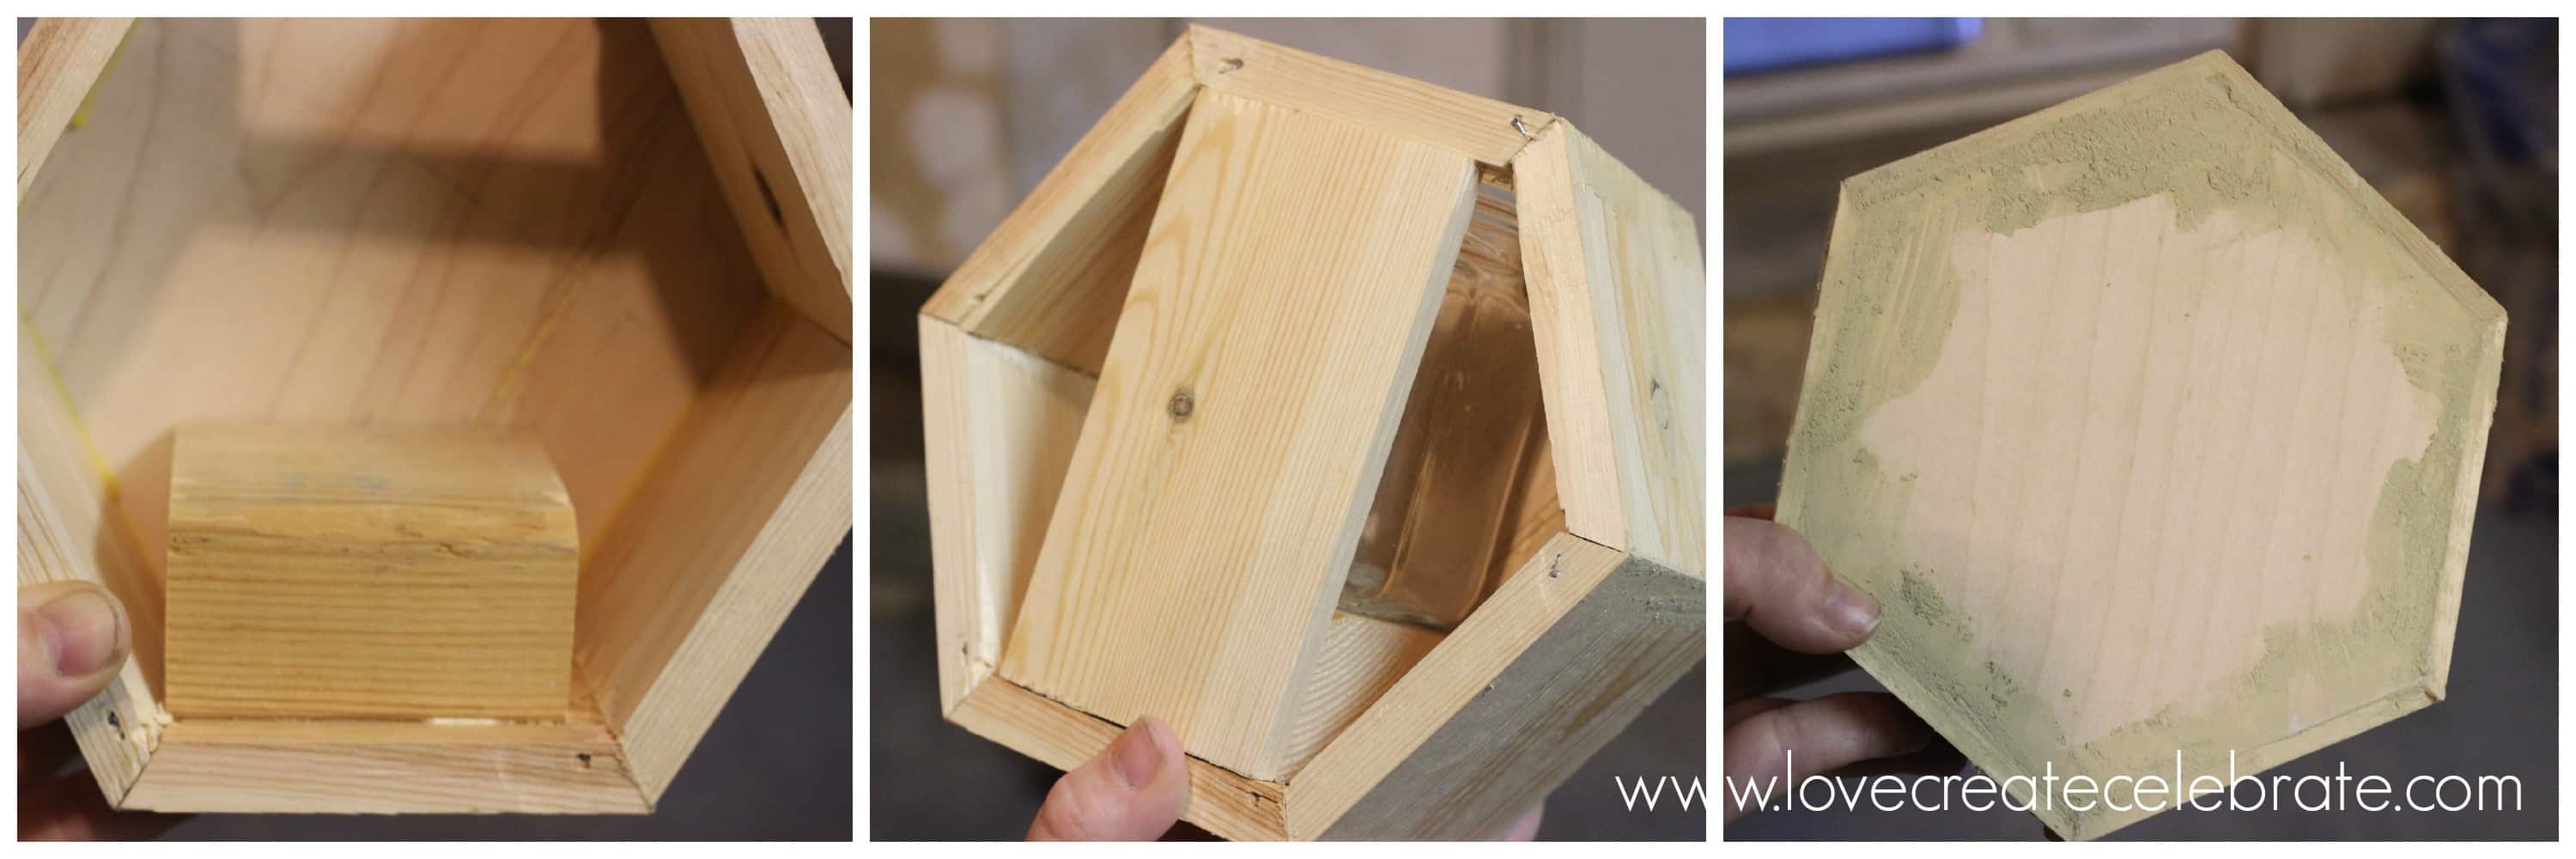
Since the jar can’t float in mid-air, we cut a box out from our 2 x 4 to fit just underneath the jar. Then, we cut a piece of wood to back the planter box so that we would have something to attach our wall hanger. This piece is made to fit your box (ours was 3/8″ thick x 2 3/4″ wide).
Next, putty EVERYTHING. You don’t want any empty spaces in your planter. When the putty dries, sand everything down so that you get a nice finish. Then, stain your boxes with your colour of choice :) The planters can be placed on a counter, table, or window sill or they can be hung on the wall. If you want to hang yours on the wall, your last step will be to add the hanging hardware.
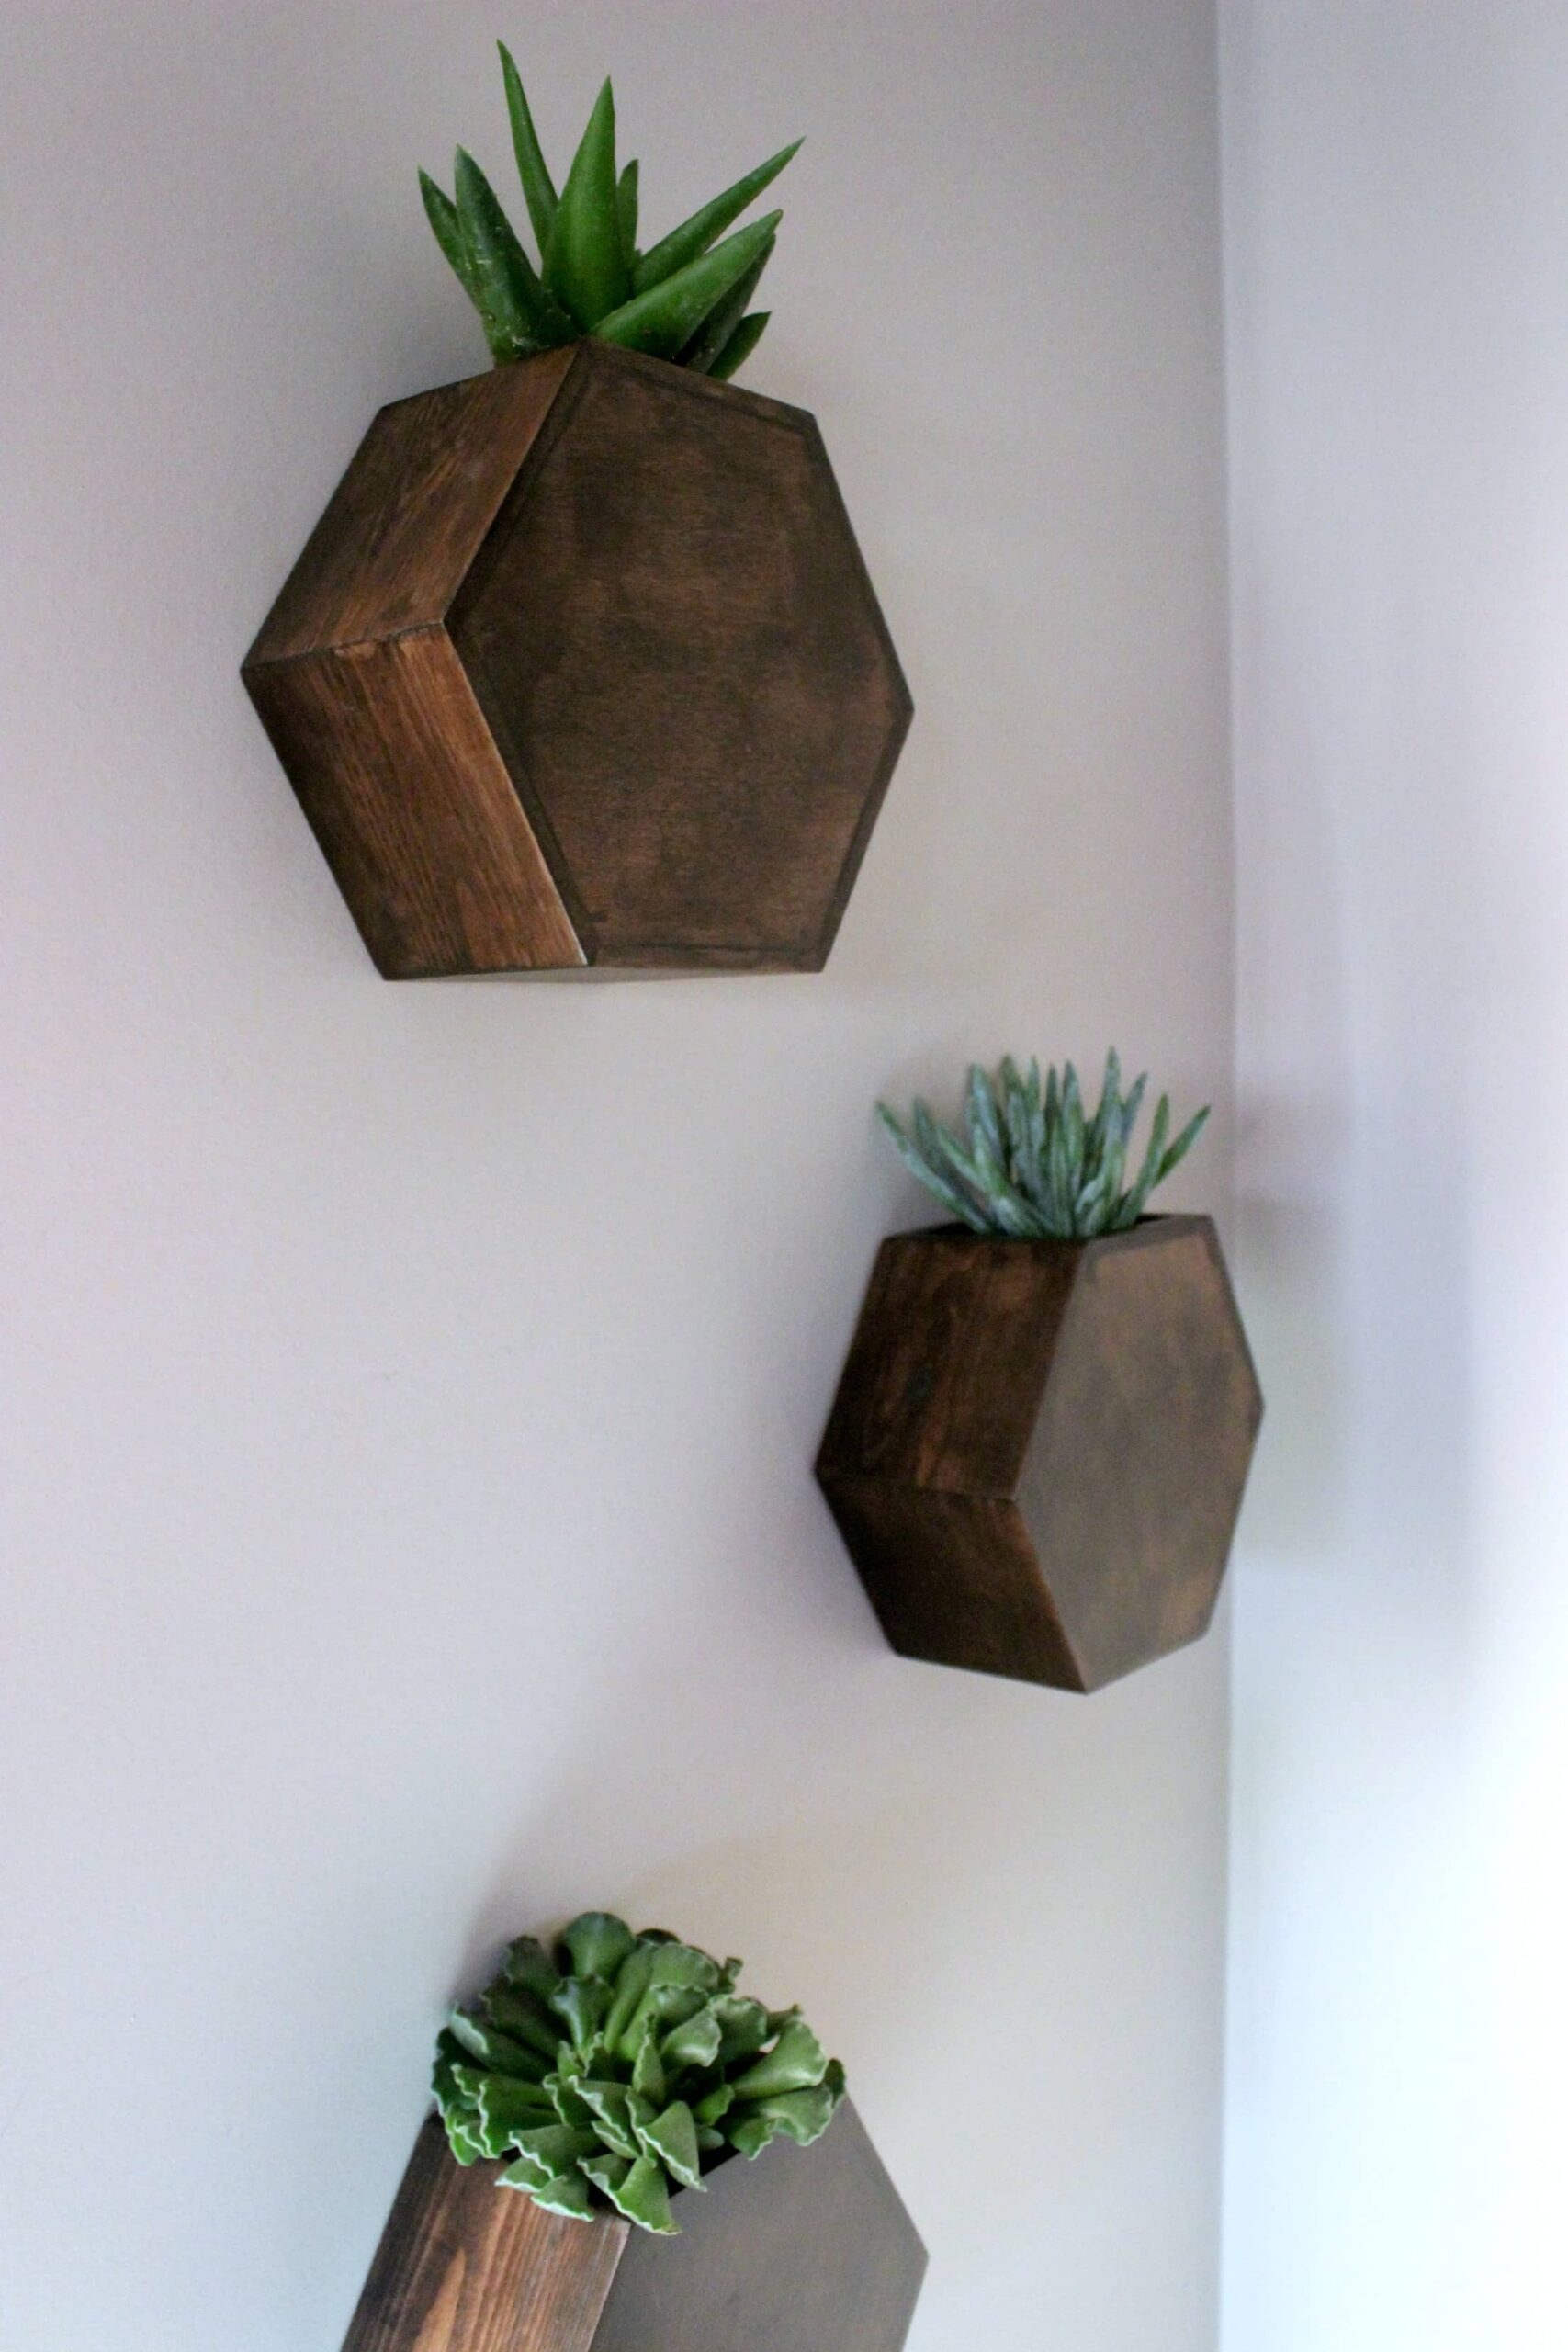
This project went SO quickly from start to finish. The steps were so simple, that it only took a couple of evenings in the garage to create three boxes! I love, love, LOVE how they turned out!

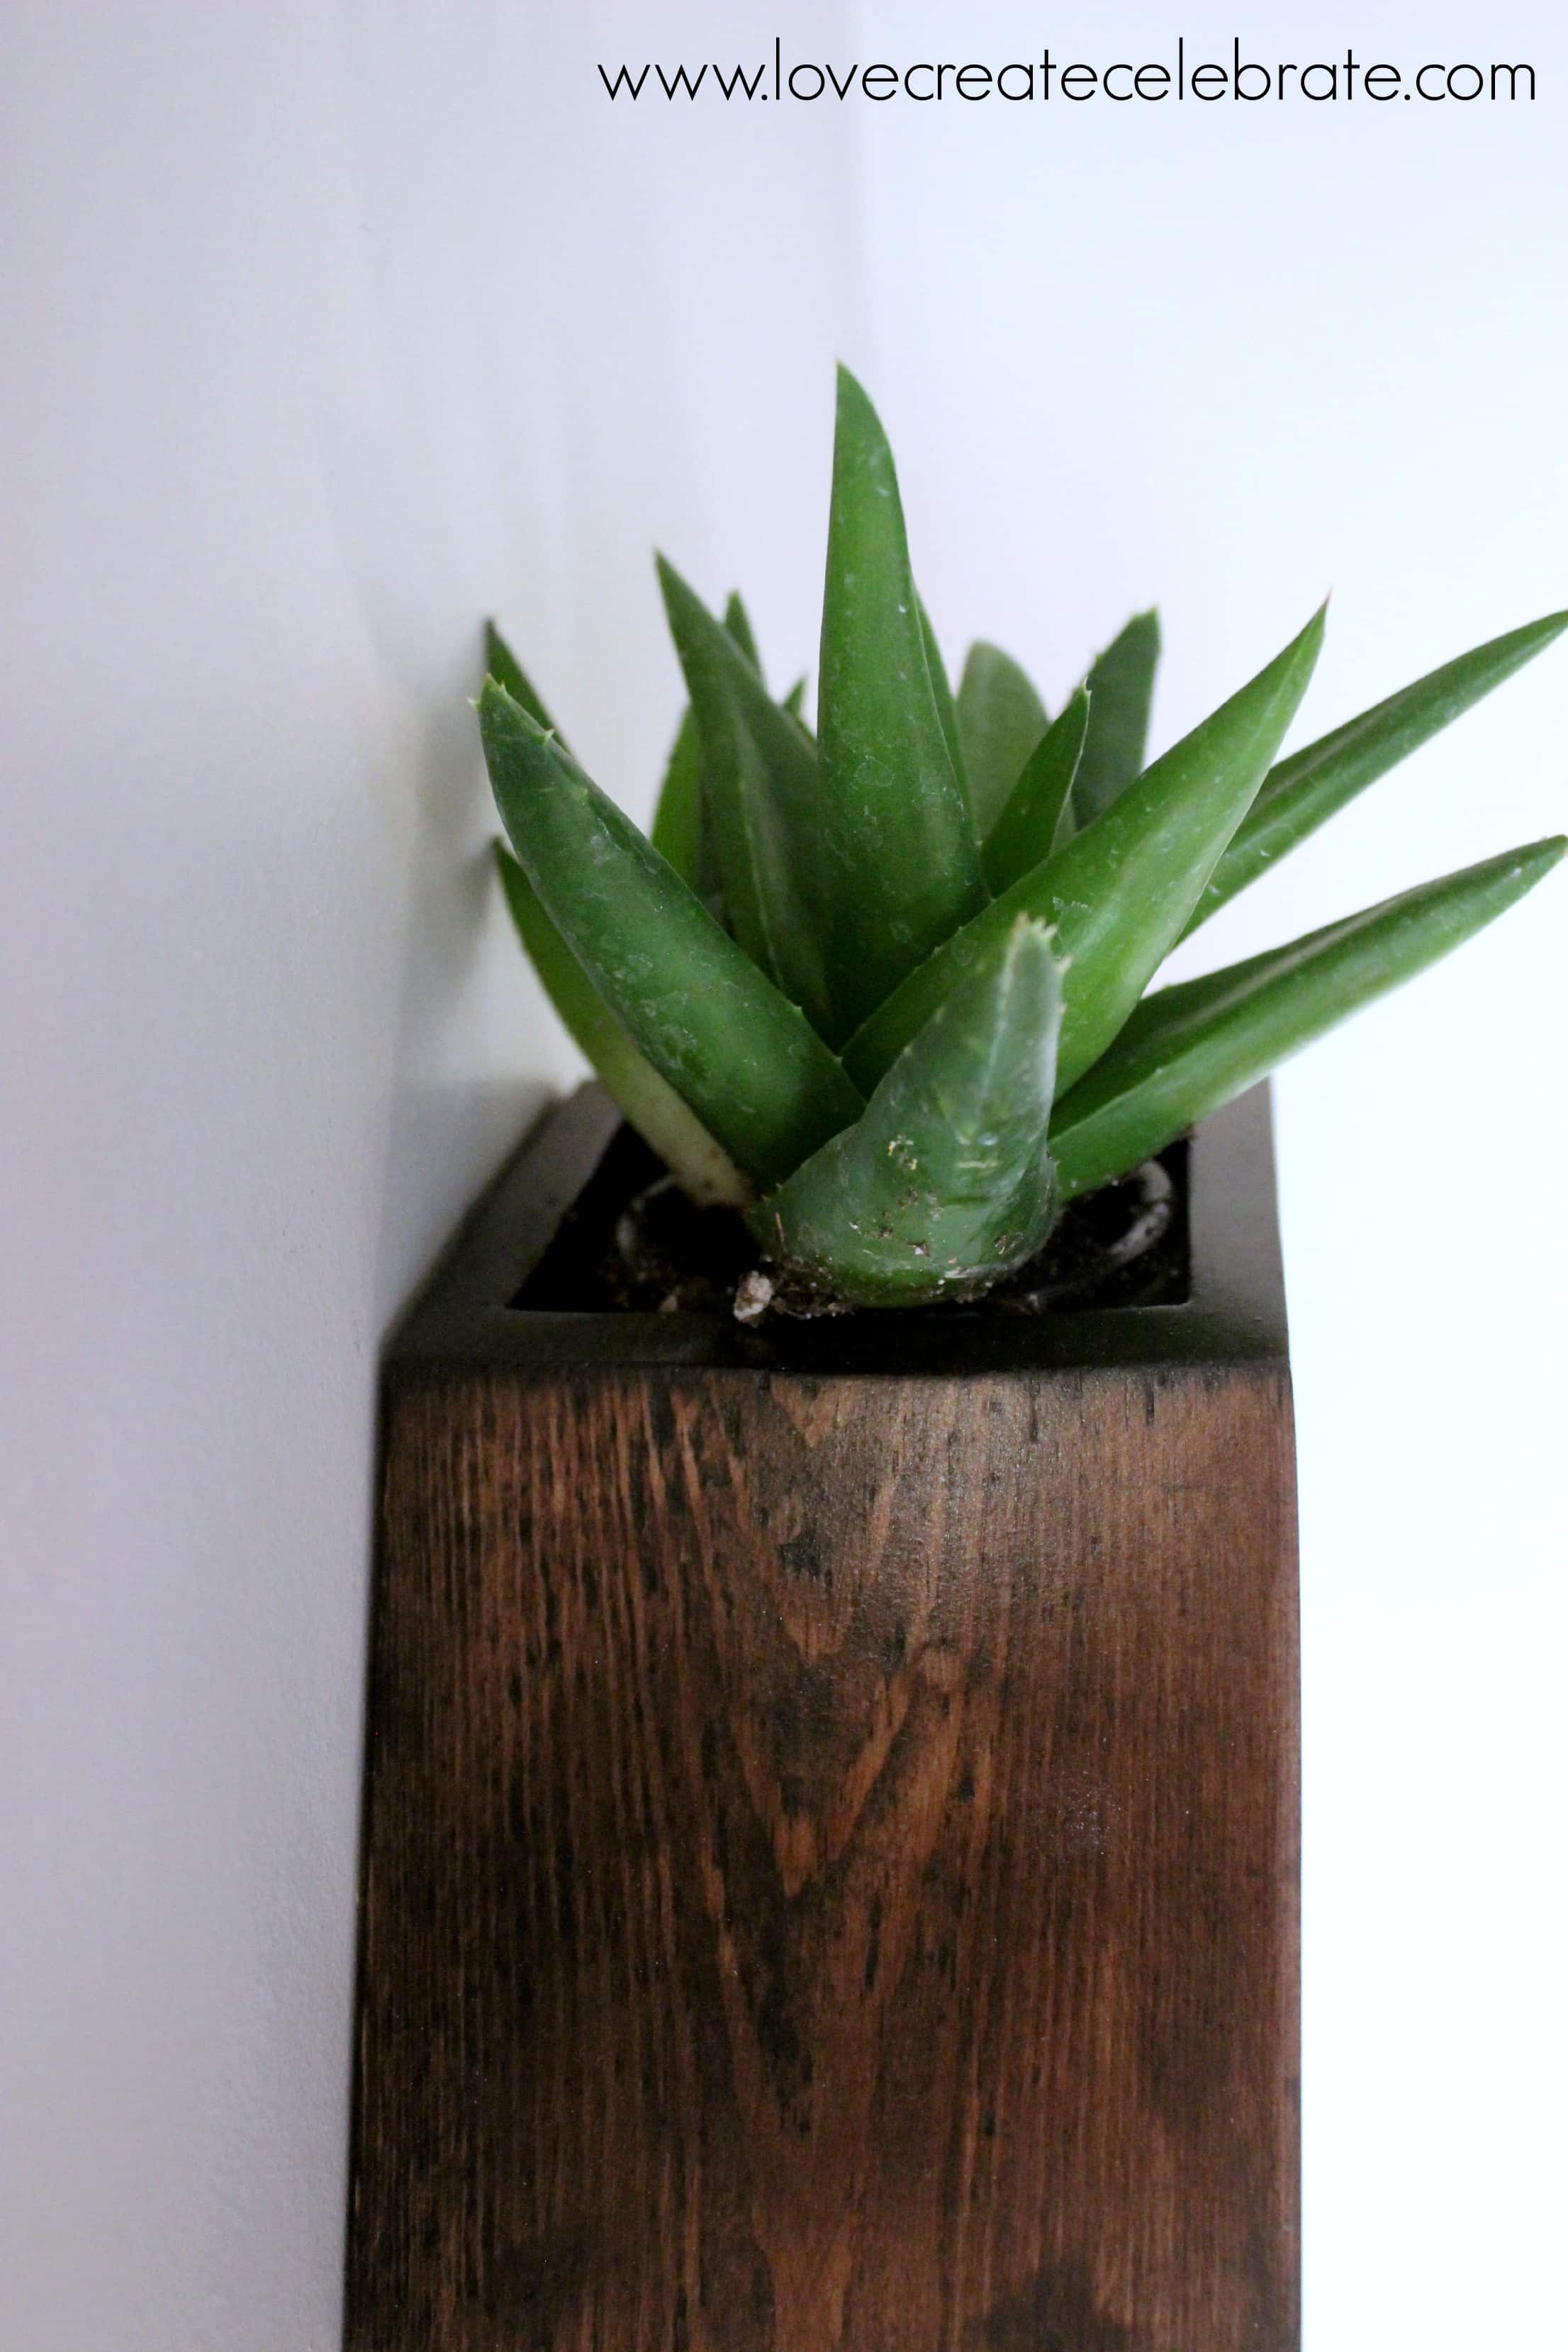
Here are my hexagon wall planters, hanging in my home :)
Hexagon Wall Planter
Make your own hexagon wall planter with this simple DIY tutorial. Free plans are included! LOVE the chic, geometric design!
Materials
- 2" x 4" (about 2 feet per box created)
- 1/4" thick plywood
- Glass jar
- Wood Stain
- Plants
- Wood glue
- Putty
- Backing (to hang planter box)
Tools
- Nail gun
- Table saw
- Drill
- Scroll saw/ jigsaw
Instructions
- Plan hexagon according to glass jar 3.5" on each side
- Saw 2" x 4" in half width wise and sand smooth
- Cut six 3.5" pieces for each box
- Cut 30 degree angles inwards on each 3.5" piece
- Cut hole in center of one piece to fit jar into
- Cut plywood piece to fit on top of hexagon piece
- Wood glue between each joint and use nails to temporarily hold in place
- Cut box to sit jar onto inside hexagon planter
- Putty then sand for nice finish
- Stain the boxes
- Attach backing hardware for mounting
I hope you liked my 2 x 4 project!! For more great wooden “welcome-to-your-new-home” gifts, click on the photos of the amazing projects below!
If you enjoyed making your own planter and want to give another one a shot, check out my DIY modern tiled planter.
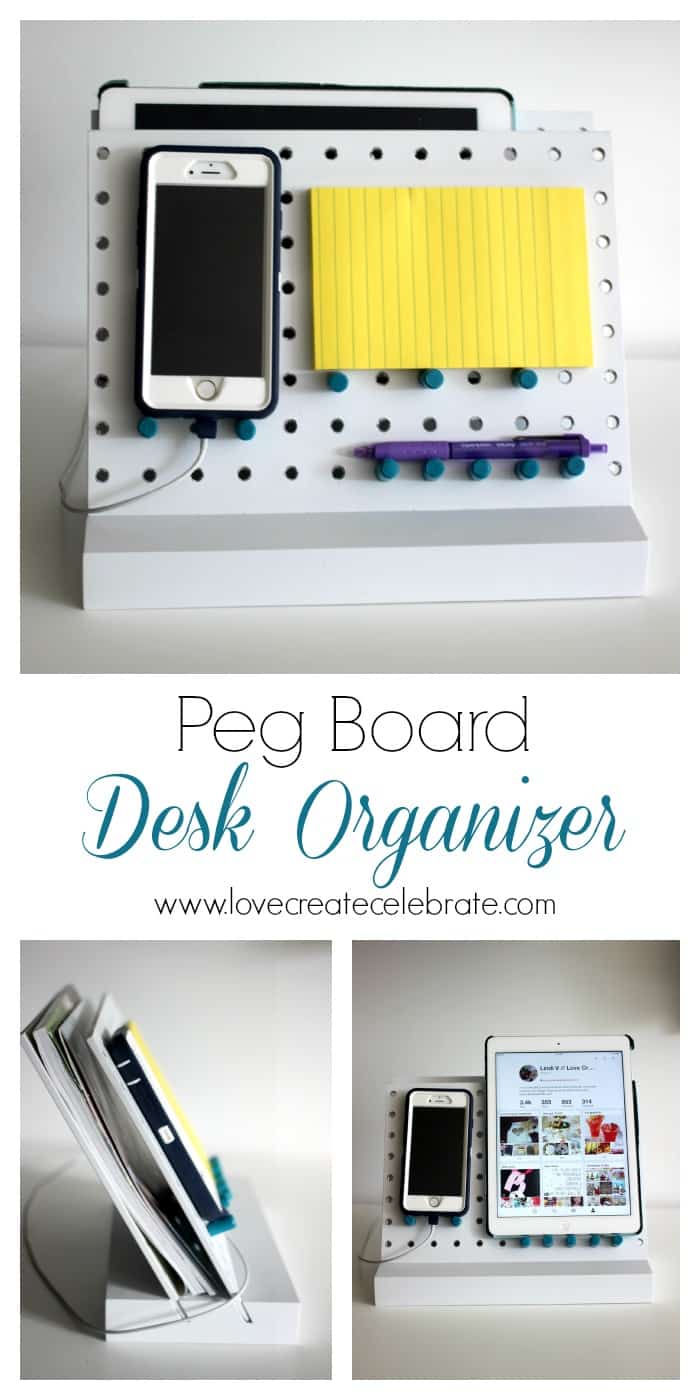
If you missed last month’s DIY challenge, I used Peg Board to make projects for the home, and I made this DIY Desk Organizer!


Harry
Thursday 9th of March 2023
This seems so cool and nature friendly idea. Surely going to use this idea for my workspace with bubble plant. Thank you for the step by step guide. Great work Sir!
Elbistan
Sunday 22nd of May 2022
Way cool! Some very valid points!
Ben Hilton
Saturday 20th of February 2021
Love this idea. Just pinned it to one of my boards. It looks really classy, I can imagine making a large-scale geometric pattern on one of our south-facing walls to display our succulent collection.
lana
Tuesday 16th of February 2021
Just follow your guide and made one for my kitchen and one for balcony. and I can't share my feelings that how much it looks cute on the wall.. I just want to say thank you so much
Dmtechnolab
Saturday 25th of July 2020
Very beautifully decorated , seriously Loved This !!